
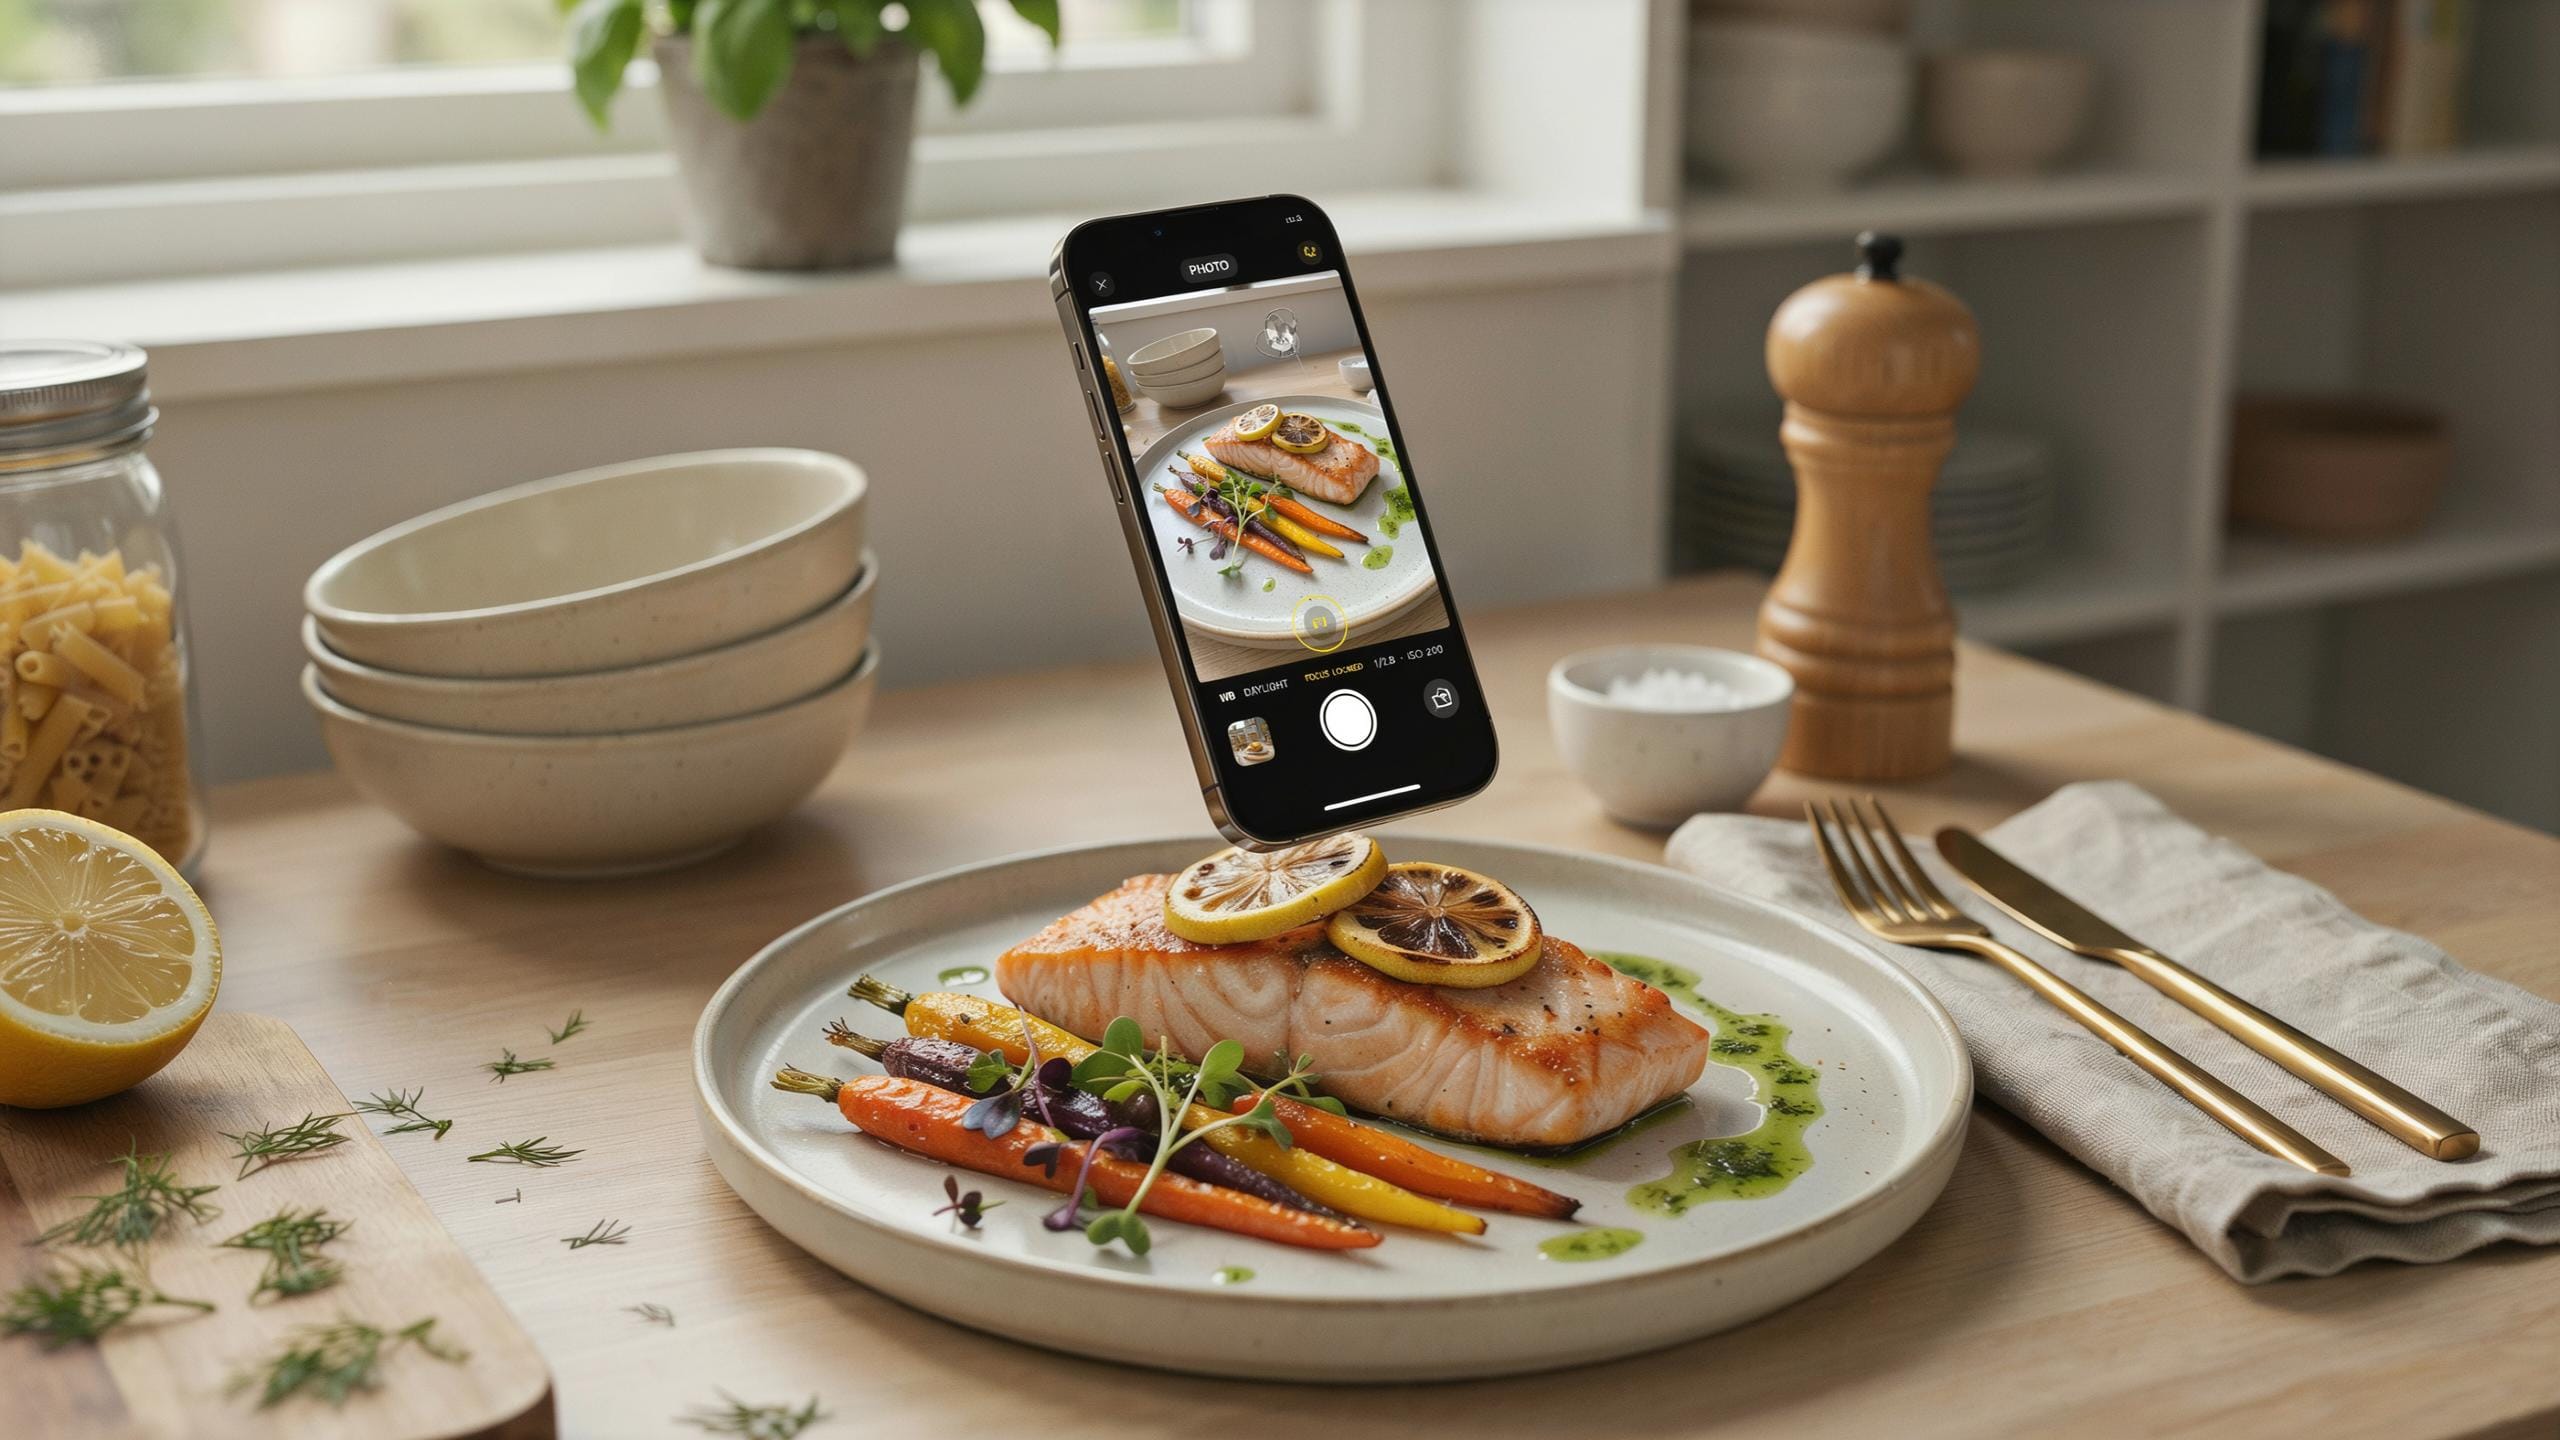
Understanding Your Phone Camera How To Take Food Photos
Camera Modes
Most phones offer portrait, landscape, and auto modes. Auto mode handles exposure and focus automatically, which works for casual shots but limits your control. Portrait mode blurs the background, isolating your food subject. Use portrait mode when you want depth and separation from a cluttered backdrop. Landscape mode keeps everything sharp, useful for flat lay compositions where all elements matter. Switch modes based on your composition goal, not habit.
Standard photo mode gives you the most flexibility for food work. It captures without artificial effects or heavy processing. Night mode boosts light in dim conditions but can introduce grain and blur if your subject moves. Avoid computational modes like night mode for most food shots because they add processing that distorts colors and textures. Stick with standard or portrait modes for reliable, controllable results.
Manual Controls
Manual exposure control lets you brighten or darken your frame independently of what the camera wants. Food often reflects light unevenly, so auto exposure underexposes shadows or blows out highlights. Tap your screen to lock exposure on your subject, then swipe up or down to adjust. This single action prevents washed out plates or lost detail in sauces and garnishes. Master this before attempting other manual adjustments.
Manual focus gives you precision over which elements stay sharp. Tap the area you want sharp, usually the front edge of your food. Hold focus by long pressing the screen until you see a lock icon. White balance control corrects color casts from indoor lighting. Warm tungsten bulbs create orange tints, while fluorescent lights add green. Adjust white balance by tapping the white balance icon and selecting tungsten, daylight, or fluorescent presets that match your light source. These three controls form the foundation of intentional food photography.

Composing The Perfect Shot How To Take Food Pictures
Rule Of Thirds
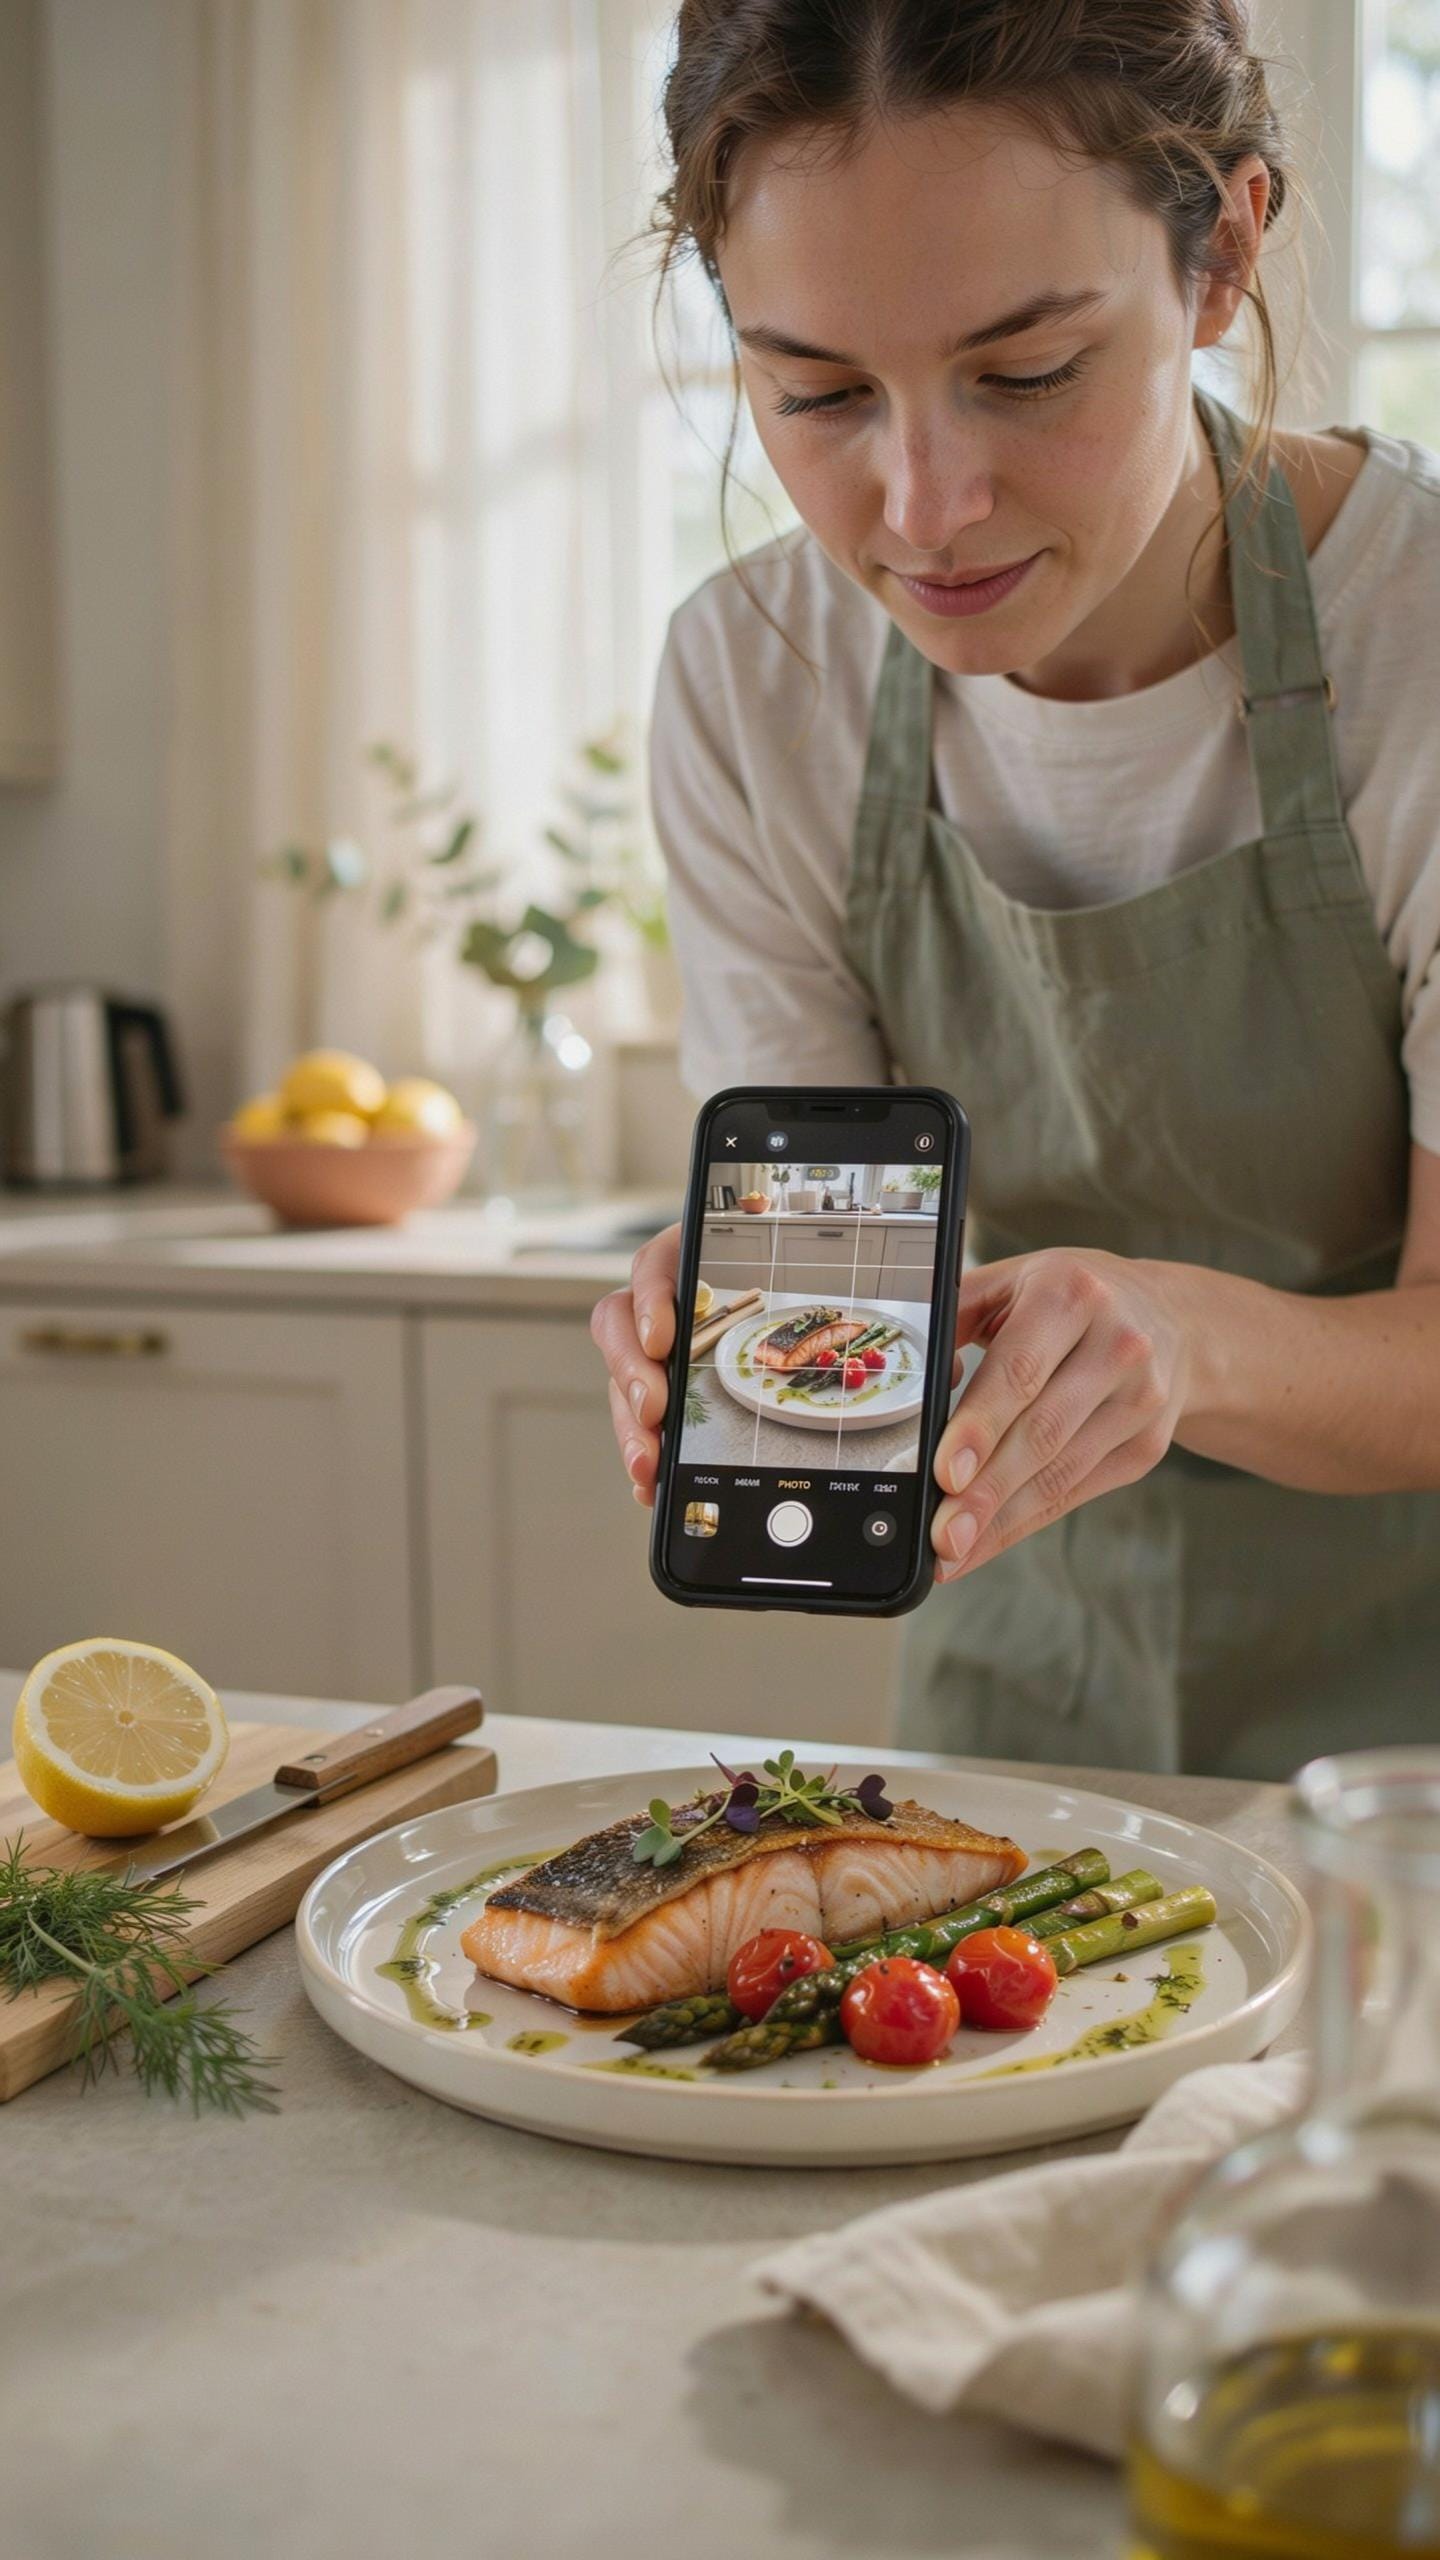
The rule of thirds divides your frame into nine equal sections using two horizontal and two vertical lines. Place your main food subject on one of these lines or intersections rather than dead center. This technique creates tension and draws viewer attention naturally. Your phone camera app likely has a grid overlay option. Enable it in settings to see these lines in real time while shooting.
Off-center placement works because human eyes don’t naturally track centered subjects as effectively. The rule of thirds aligns with how our brains process visual information. Moving your food slightly off center forces viewers to engage with the composition actively. This simple shift makes ordinary food photos feel intentional and composed. Test this principle immediately on your next shot to feel the difference.
Angles And Perspectives
Shoot from three distinct angles to discover which one highlights your dish best. The flat overhead shot works for foods with visual depth like layered desserts or bowls. The 45-degree angle captures height and dimension simultaneously. The straight-on angle emphasizes texture and surface detail. Switch between these three before settling on your final take. Each angle tells a different visual story about the same dish.

Perspective changes how viewers perceive portion size and food appeal. An overhead shot flattens the dish but shows plating and arrangement clearly. A 45-degree angle creates depth perception and makes food look more appetizing to most viewers. Straight-on angles emphasize texture detail and are ideal for showcasing crust, glaze, or garnish. Rotate through these positions systematically. You will consistently find at least one angle that outperforms the others for your specific food item.
Lighting Is Key Techniques For Food Photos
Natural Light
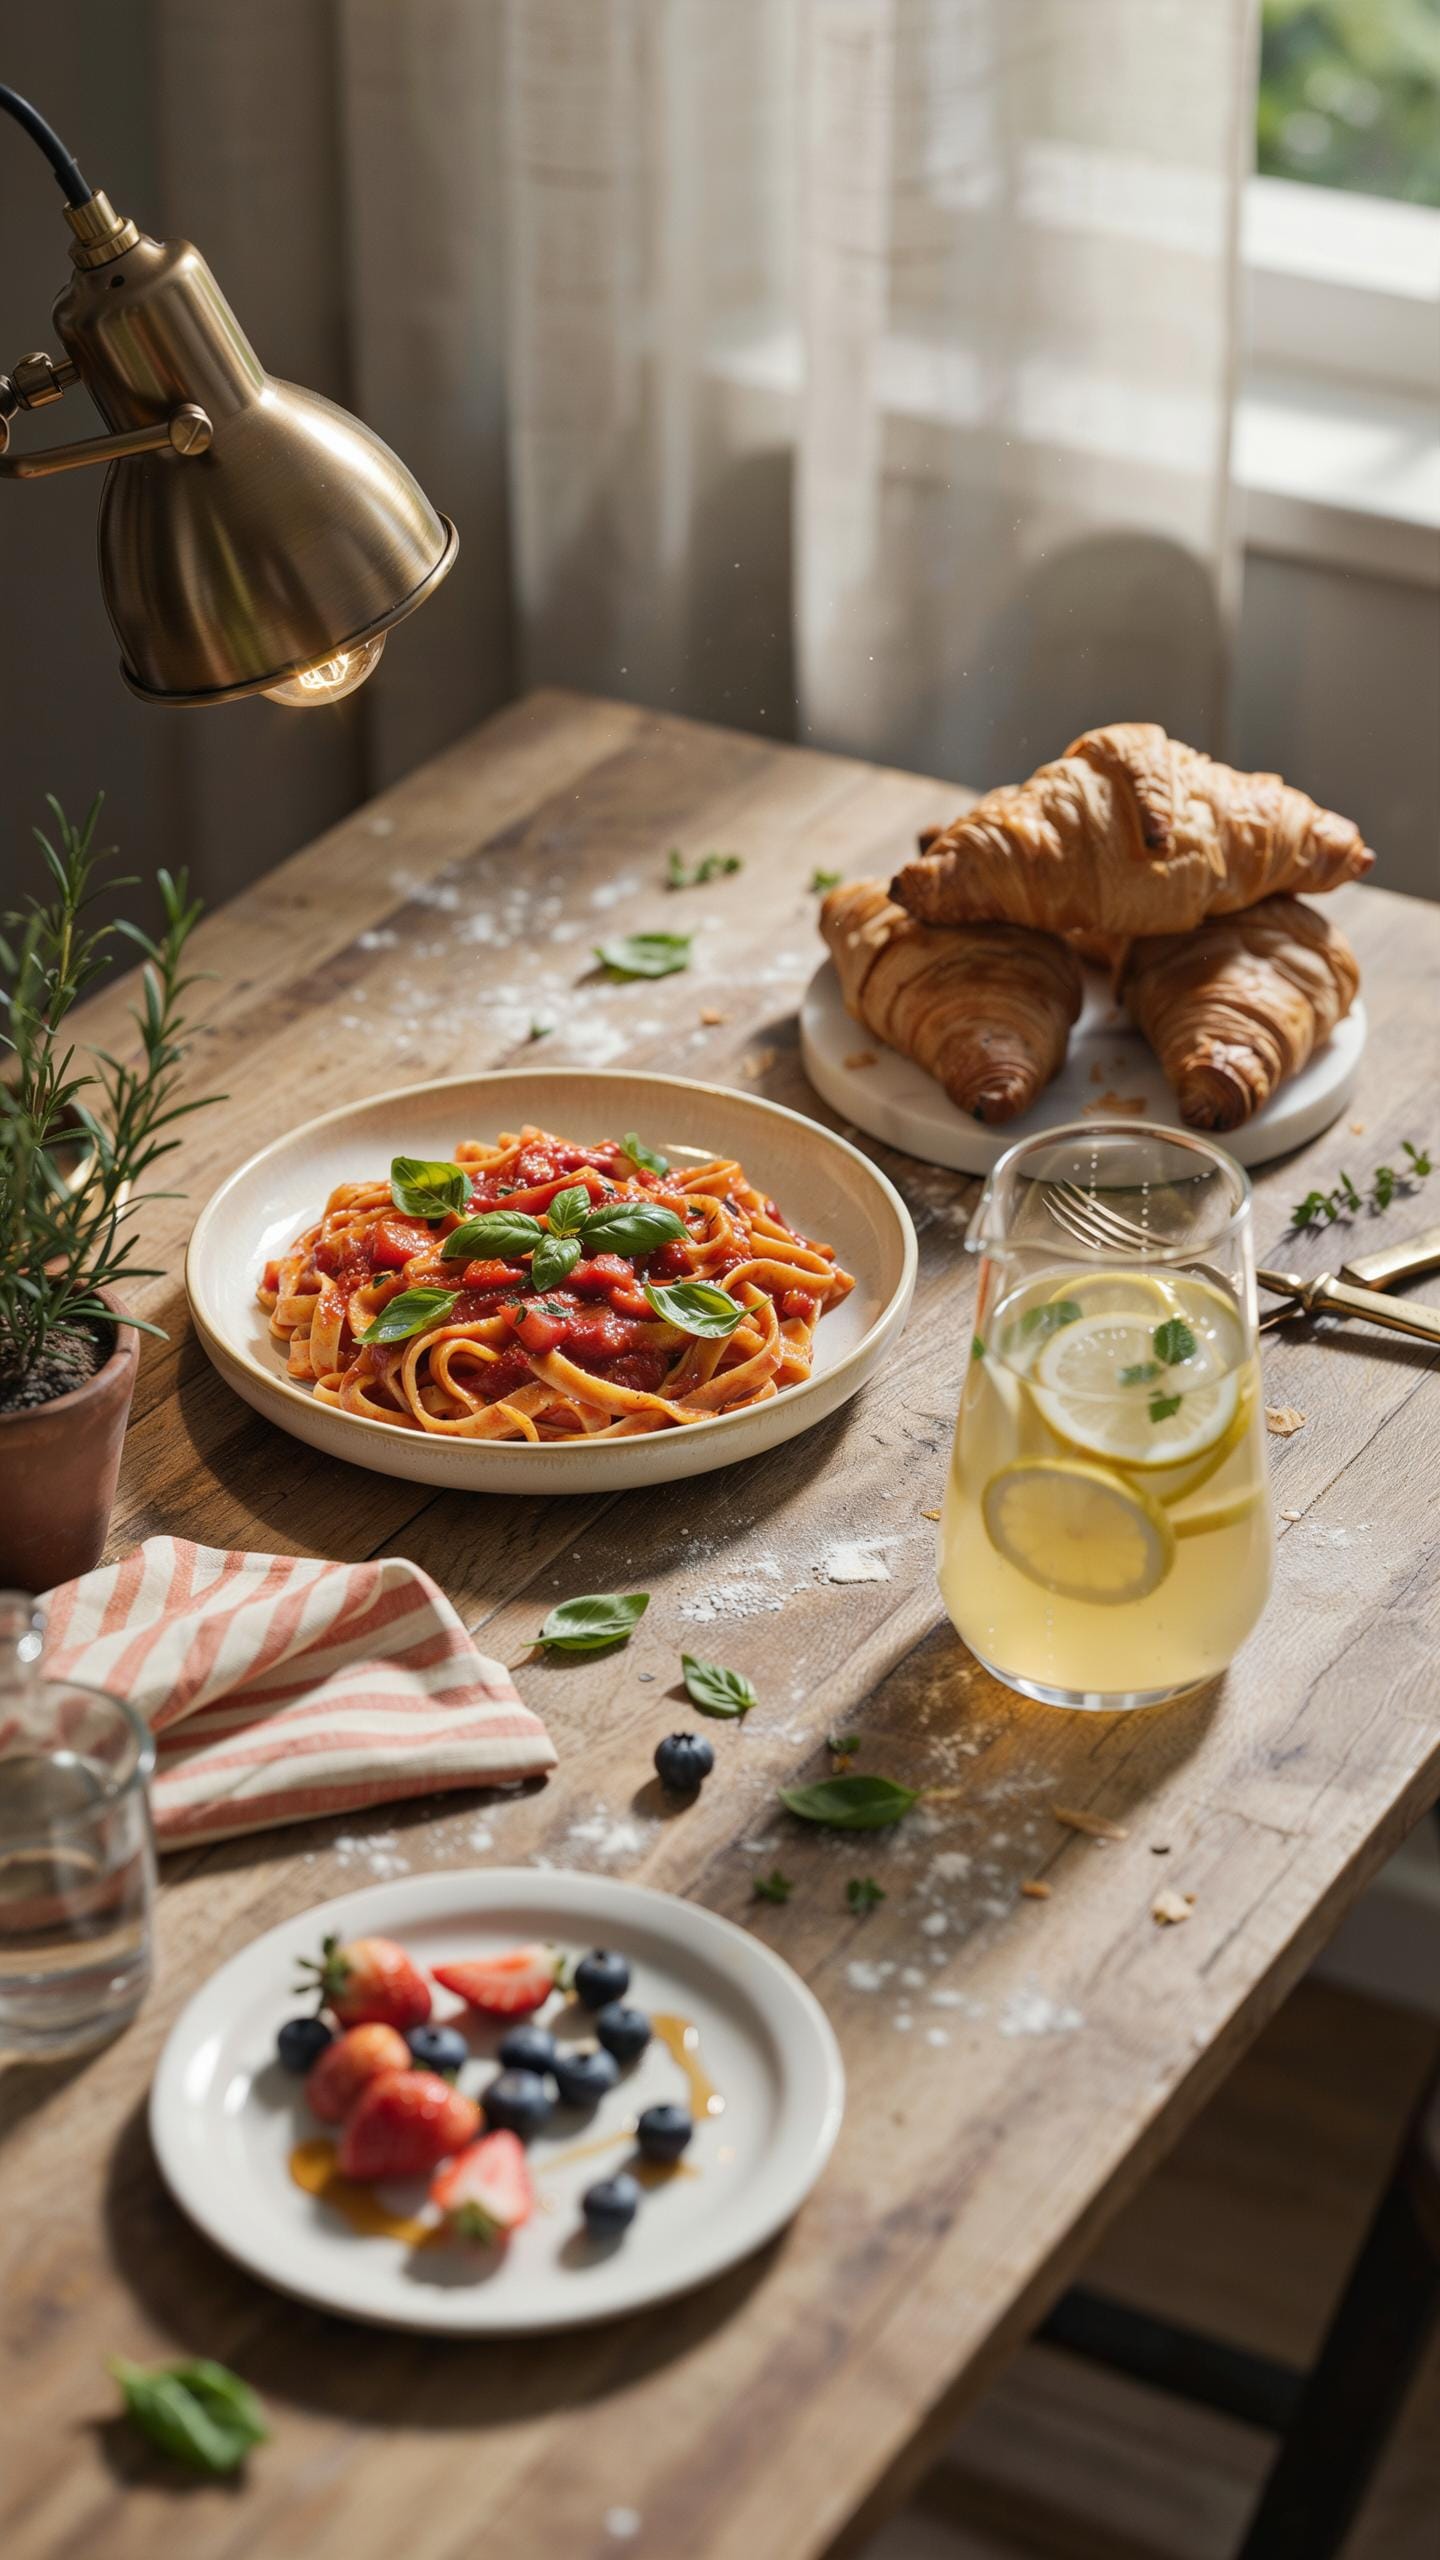
Natural light produces the most appetizing food photos because it renders colors accurately without the color cast that artificial light creates. Position your phone so light hits the food from the side or at a 45-degree angle. This angle reveals texture and dimension. Shoot during midday or early afternoon when light is bright and direct. Avoid shooting during golden hour if you want true color representation rather than warm tones.
Window light works best for food photography because it provides consistent, directional illumination. Place your food near a window on the side that receives steady light. The distance between your phone and the light source matters. Move closer to the window to increase light intensity on the food. Test different positions to find where the light flatters your subject without washing out details.
Avoiding Harsh Shadows
Diffusion eliminates harsh shadows by scattering light across the food surface. Use white fabric, parchment paper, or a translucent diffuser between your light source and the food. Position the diffuser close enough to soften shadows but far enough to maintain visible texture. Test the effect on your phone screen before shooting. Adjust diffuser placement incrementally until shadows disappear or become barely visible.

Reflectors bounce light into shadowed areas to balance exposure across the food. White foam boards, white cardboard, or commercial reflectors work equally well for this purpose. Place the reflector opposite your light source at a 45-degree angle to the food. Move it closer to increase fill light intensity and farther away to reduce it. This technique prevents dark areas while keeping the light source apparent and the image natural.
Styling Your Food Learn Photo Editing Basics
Props And Backgrounds
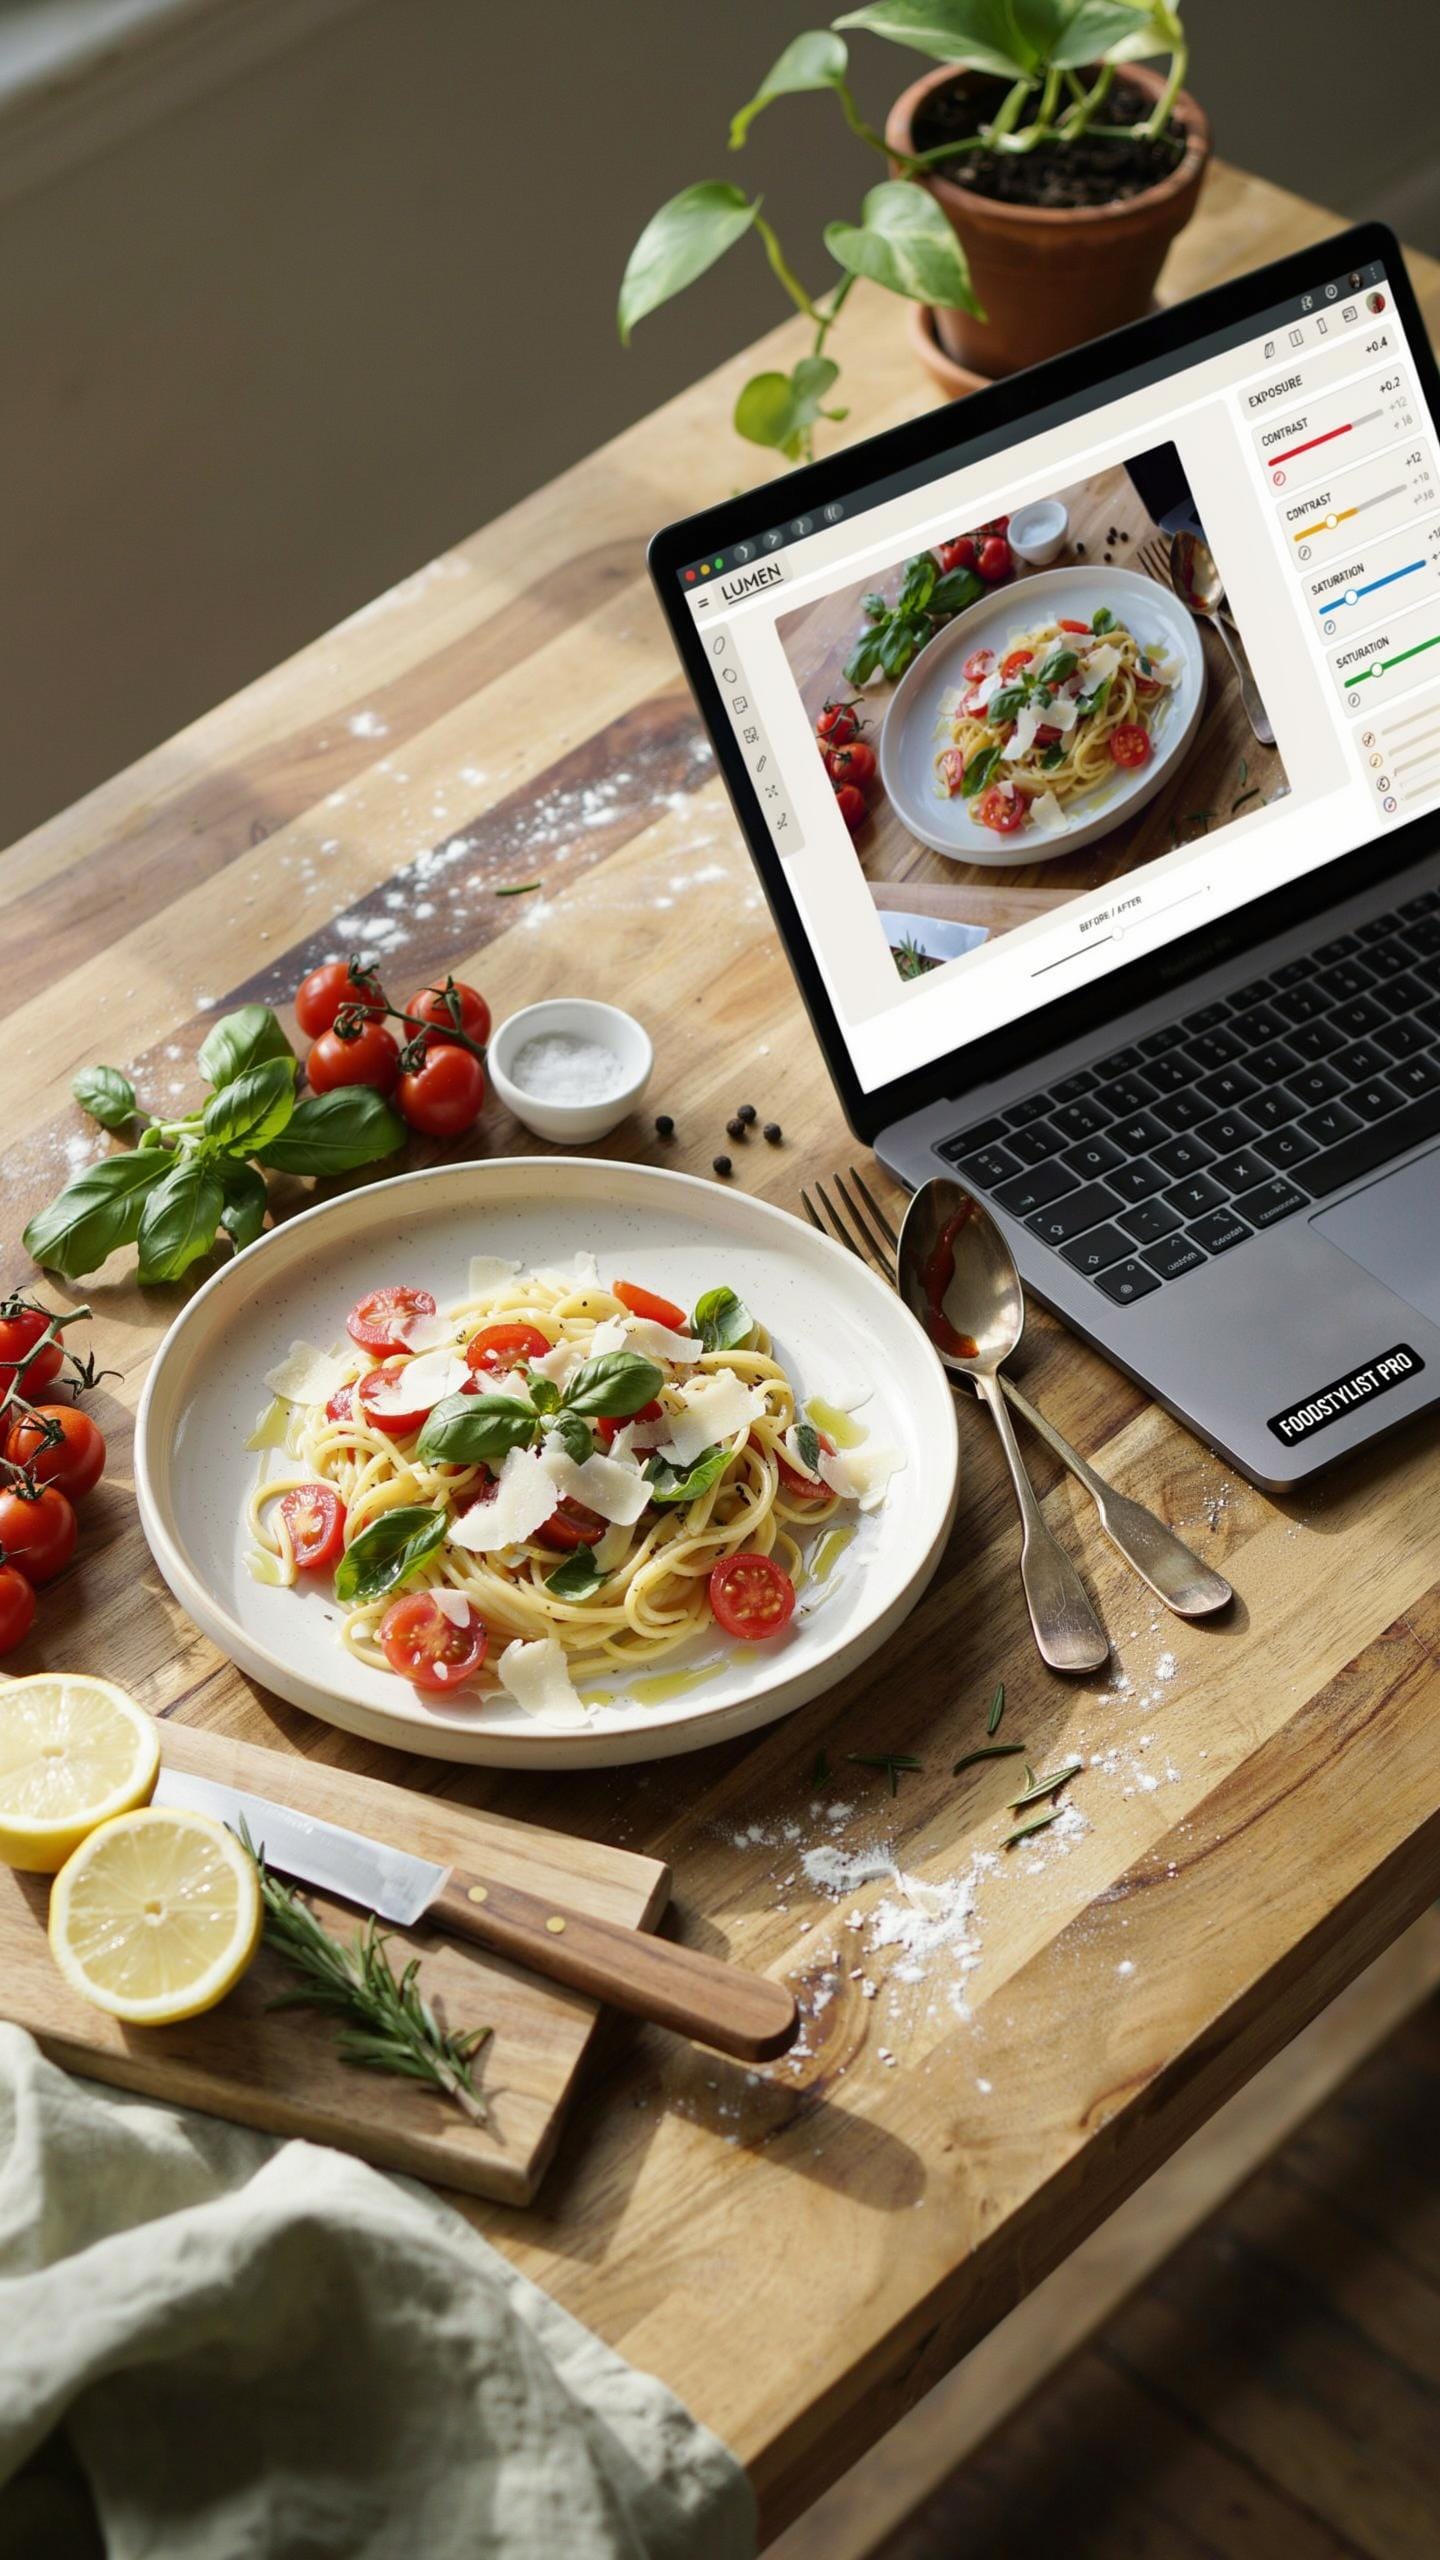
Your background directly impacts how your phone camera captures food. Choose surfaces that won’t compete with your dish. Neutral backgrounds like white, gray, or natural wood force the viewer’s eye onto the food. Colored backgrounds work only when they contrast without clashing. Test your background choices by shooting the same dish against three different surfaces. Your phone’s camera sensor will render colors differently depending on what surrounds your food.
Props serve one purpose: they provide context without stealing focus. A fork, napkin, or ingredient scattered nearby tells a story about the dish. Props must stay out of the frame’s center. Your phone’s camera sees depth differently than your eyes do, so cluttered backgrounds flatten and muddy your shot. Keep props minimal and intentional.
Food Preparation
Present food at its peak. Frost melts. Greens wilt. Steam dissipates. Arrange everything seconds before you shoot. Your phone’s camera captures fine details, so a wilted leaf or dried-out edge becomes obvious. Cold foods should come straight from refrigeration. Hot foods should steam visibly but not be actively cooling mid-shot.

Angles matter for presentation. Overhead shots work for soups, salads, and dishes where layers are visible. Forty-five degree angles reveal depth and texture in plated food. Side angles show height and structure. Your phone’s camera sensor performs best when food sits at angles that catch available light naturally. Position food to show its most appetizing side first.
Pre Editing Essentials Photo Editing Techniques
Cropping Straightening
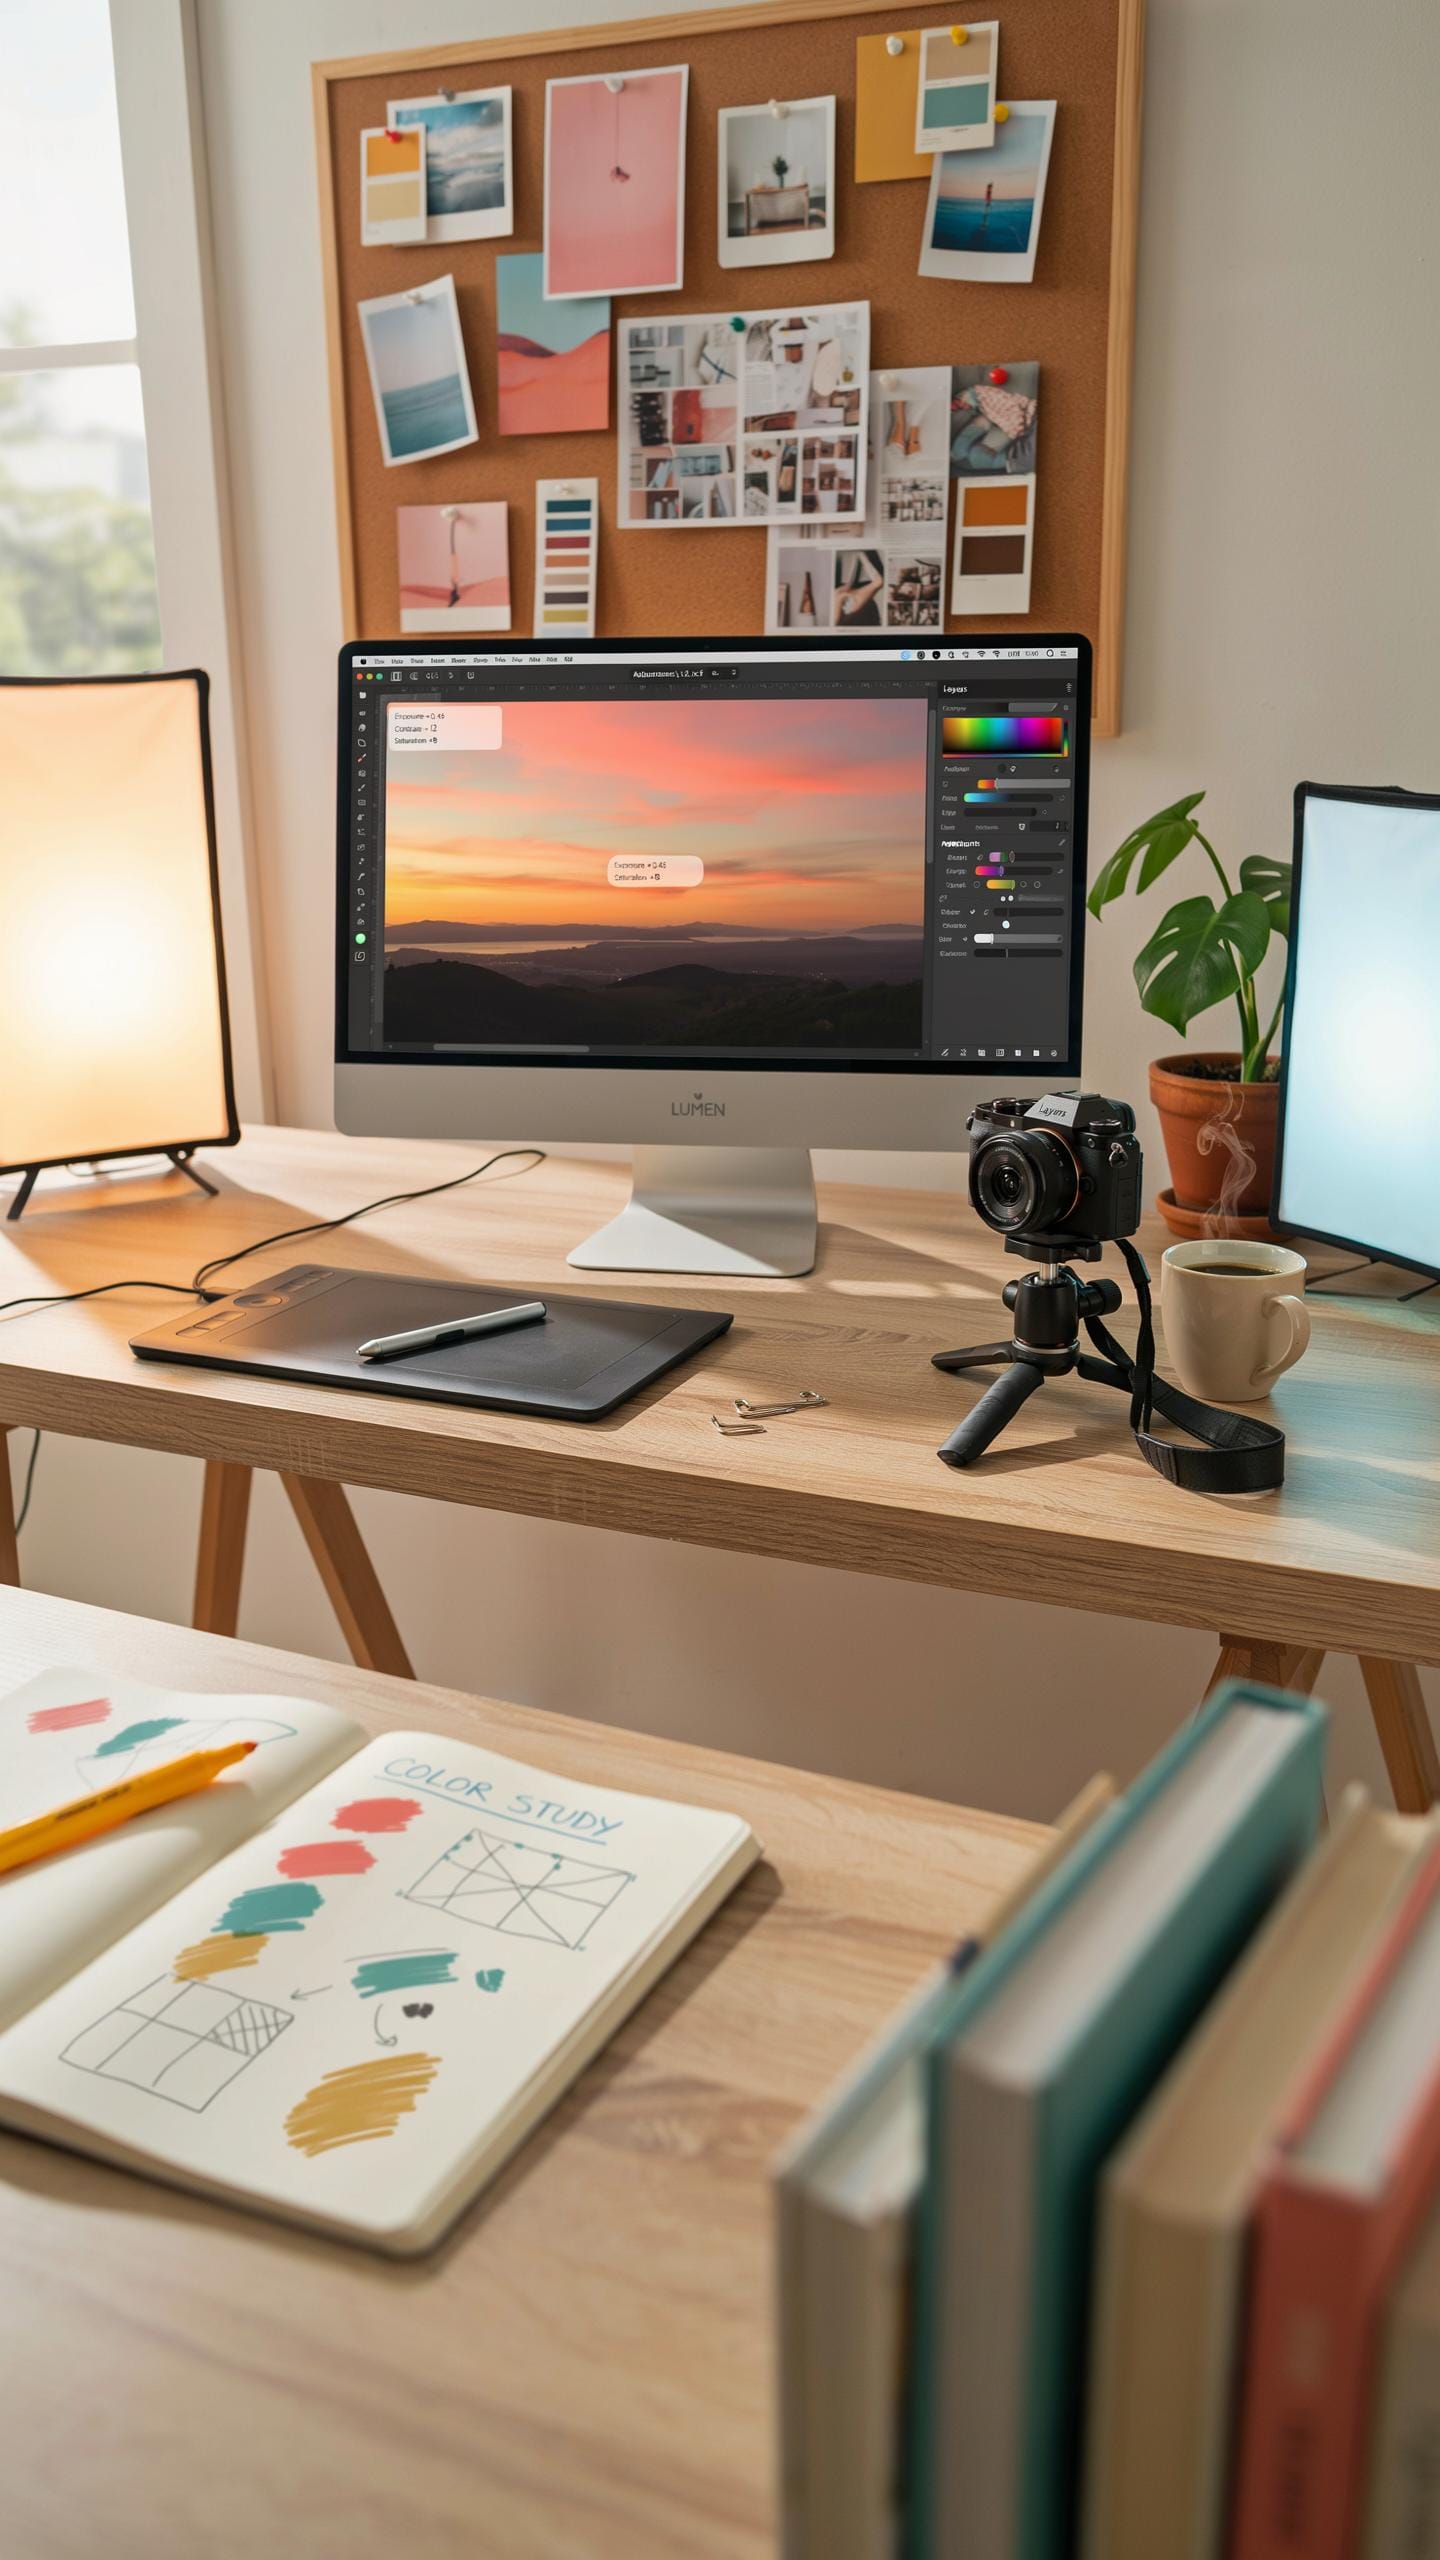
Cropping fixes composition mistakes you missed during capture. Use your phone’s native editing tools to remove distracting background elements and tighten your frame around the food. Straighten the horizon line and any tilted plates or surfaces. Most phones offer a grid overlay during cropping that helps align elements to the rule of thirds.
Apply the 80/20 rule: crop to keep 80 percent food and 20 percent context. This ratio prevents empty space from competing with your subject. Straightening takes seconds and transforms an amateur shot into a professional one. Do this before any color adjustments because composition problems can’t be fixed later.
Exposure Corrections
Underexposed images lose detail in shadows and appear flat. Increase exposure gradually using your phone’s editing app until you see texture in the darkest areas. Overexposed images blow out highlights and look washed out. Pull back the exposure slider until you recover definition in bright spots like sauces or glazes.
Contrast adjustment separates your food from the background. Raise contrast moderately to add depth without creating harsh, artificial shadows. Balance shadows and highlights so no single area dominates the image. Use your phone’s histogram if available to confirm the tonal range is distributed evenly across the image.
Editing Food Pictures IPhone Filters Photo Editing Food
Built In Filters
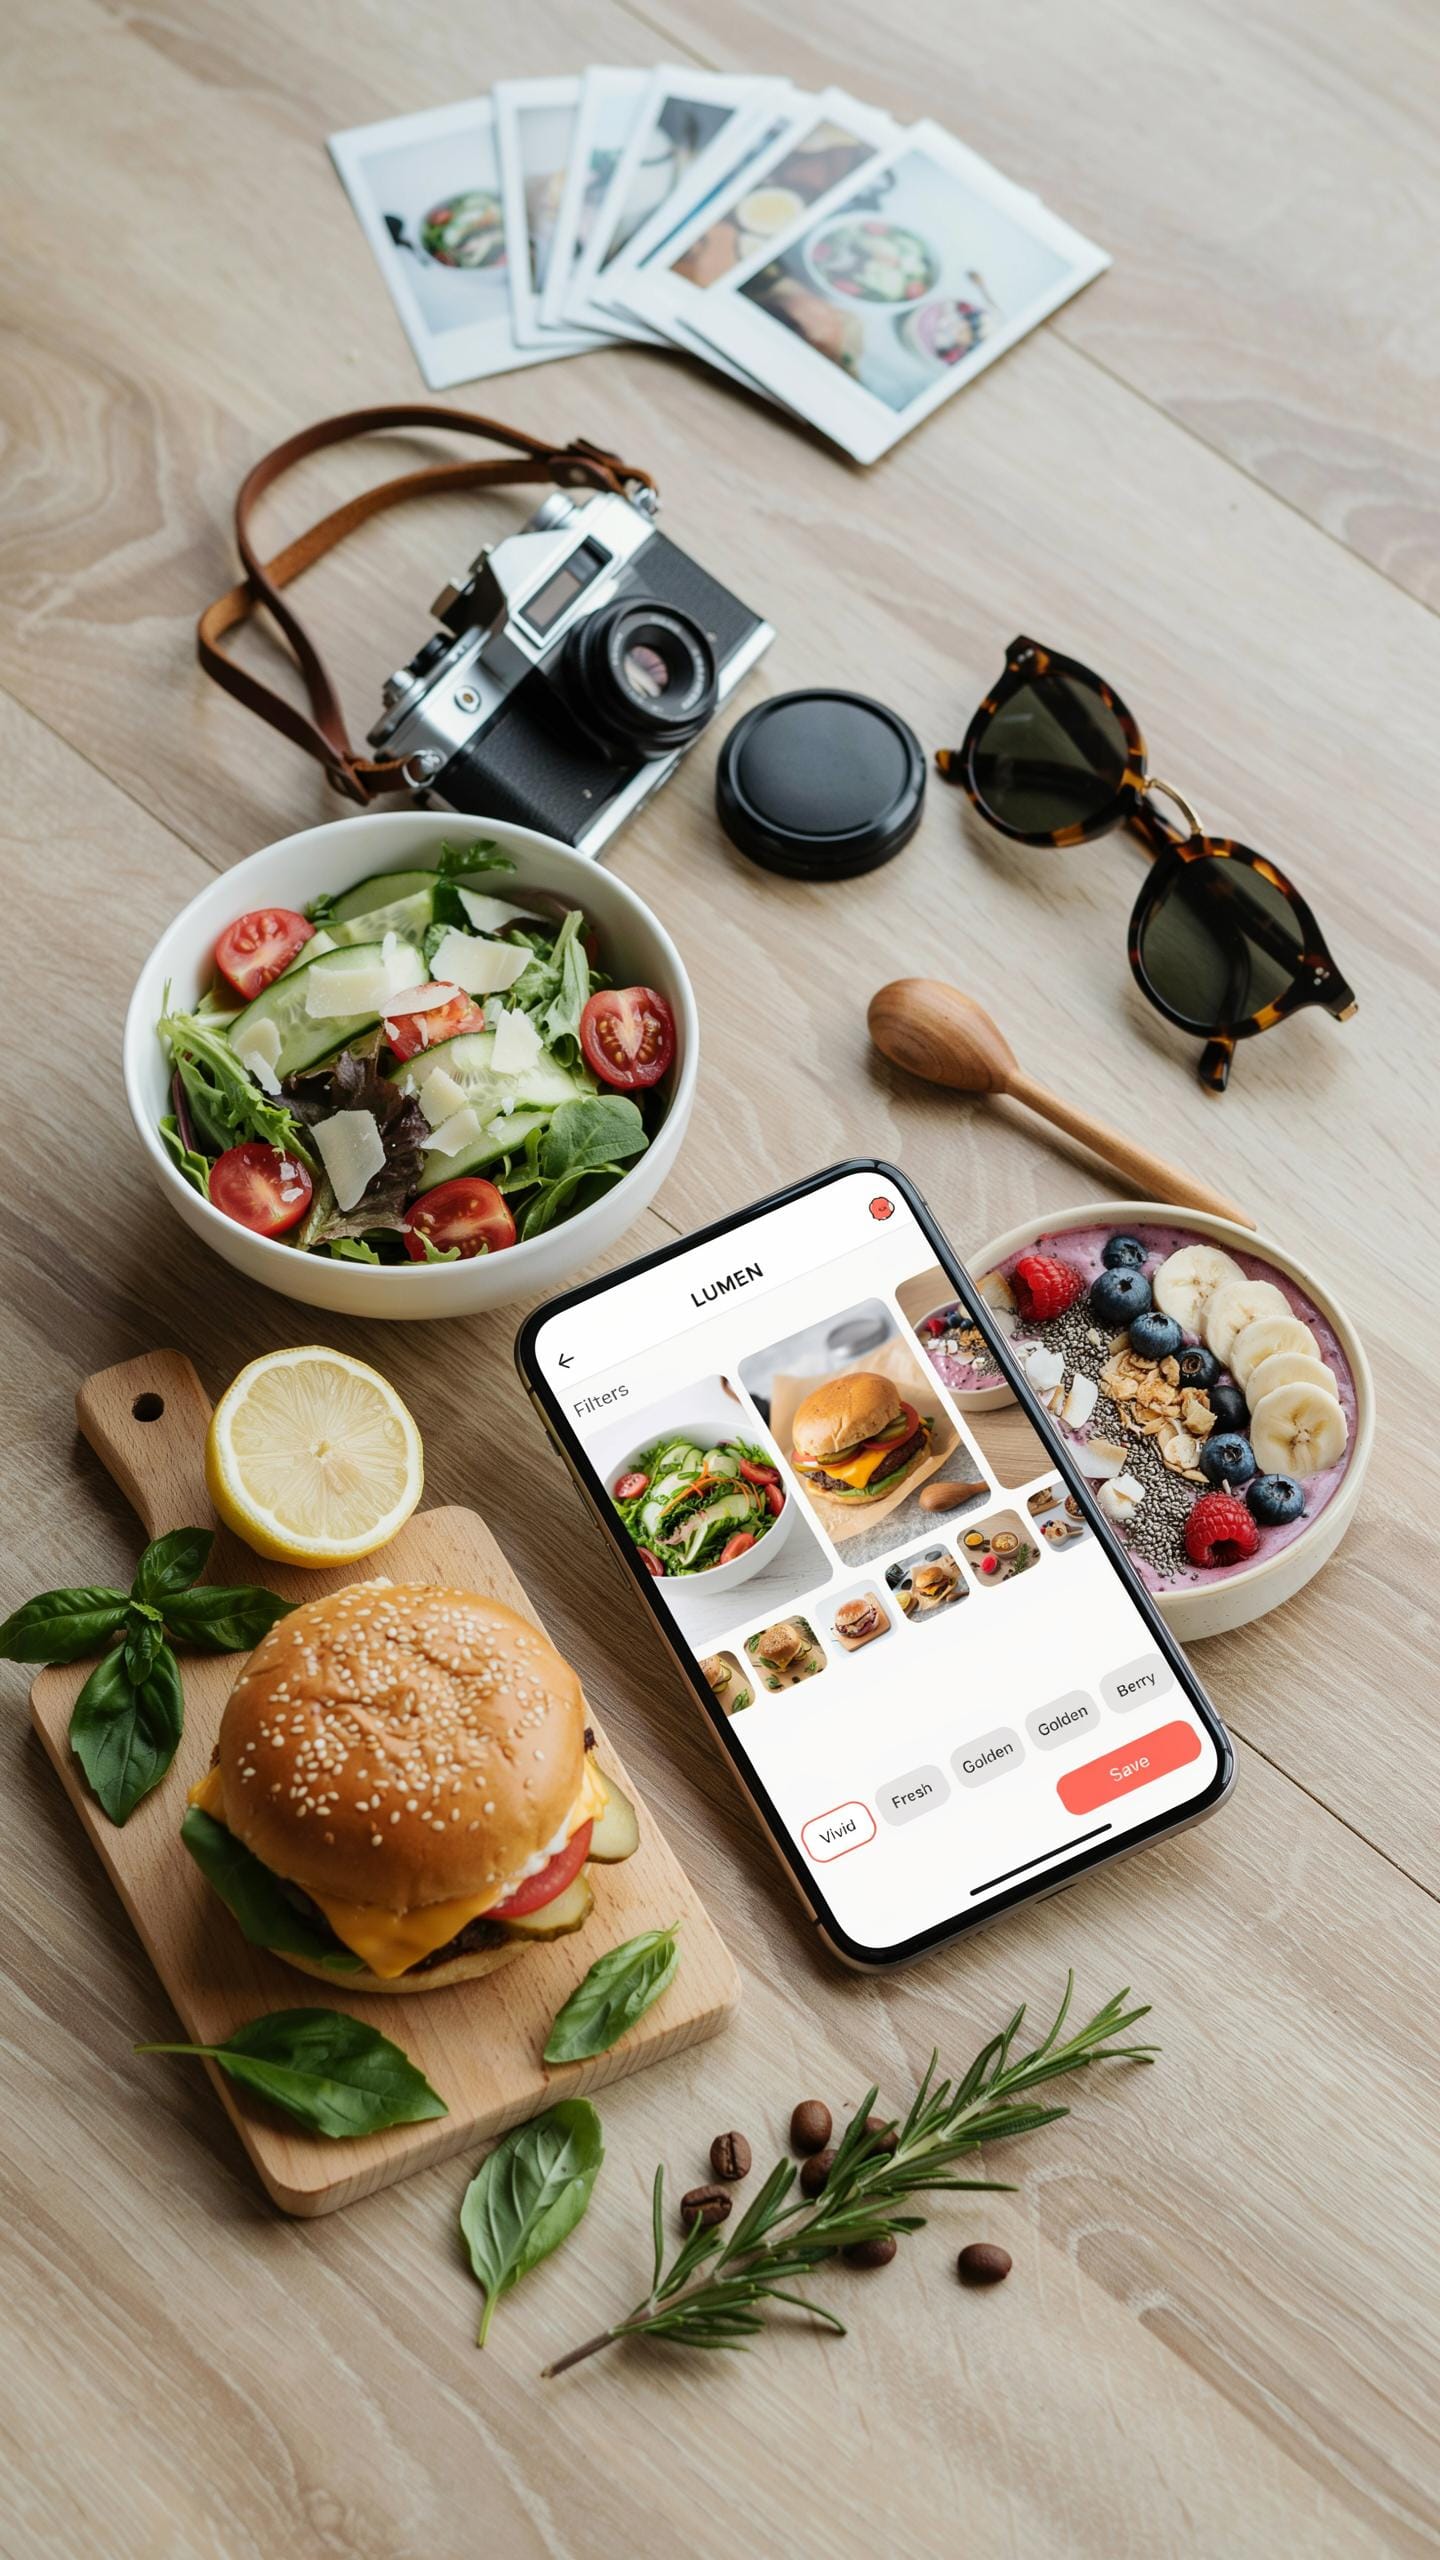
iPhone’s native Photos app includes basic filters that apply color grading in one tap. These filters adjust saturation, contrast, and color temperature across your entire image. Most filters lean toward either warm or cool tones. The Vivid filter boosts saturation for bright, punchy results. The Warm filter adds yellow and orange undertones that suit comfort foods well. Use filters as a starting point, not a finish line.
Filters work best on already well-composed shots with proper lighting. They cannot fix bad exposure or composition problems. Apply filters at minimal strength, then adjust further using the app’s sliders. Most food photos benefit from subtle filter adjustments rather than maximum intensity. Experiment with each filter on your specific dish to see which one preserves natural food colors best.
Color Correction
iPhone’s color correction tools let you adjust hue, saturation, and brightness individually. The Saturation slider controls color intensity. Higher saturation makes food pop but risks looking unnatural on rich sauces or proteins. Lower saturation works for delicate dishes like salads or desserts. Adjust saturation based on what dominates your frame. Use the Hue slider sparingly since extreme shifts create color casts that repel viewers. Brightness and contrast adjustments require restraint to maintain food texture detail.

Color correction targets specific problems in your shot. Fix color casts by identifying which color dominates the unwanted tone, then sliding that hue slightly away from it. Cool fluorescent light casts benefit from increasing warmth. Warm incandescent light sometimes needs a blue shift. The Shadows slider brightens dark areas without blowing out highlights, which preserves food detail in underlit conditions. Test each adjustment incrementally since small changes often outperform aggressive edits.
Advanced Editing Food Photo Editing Ideas
Selective Adjustments
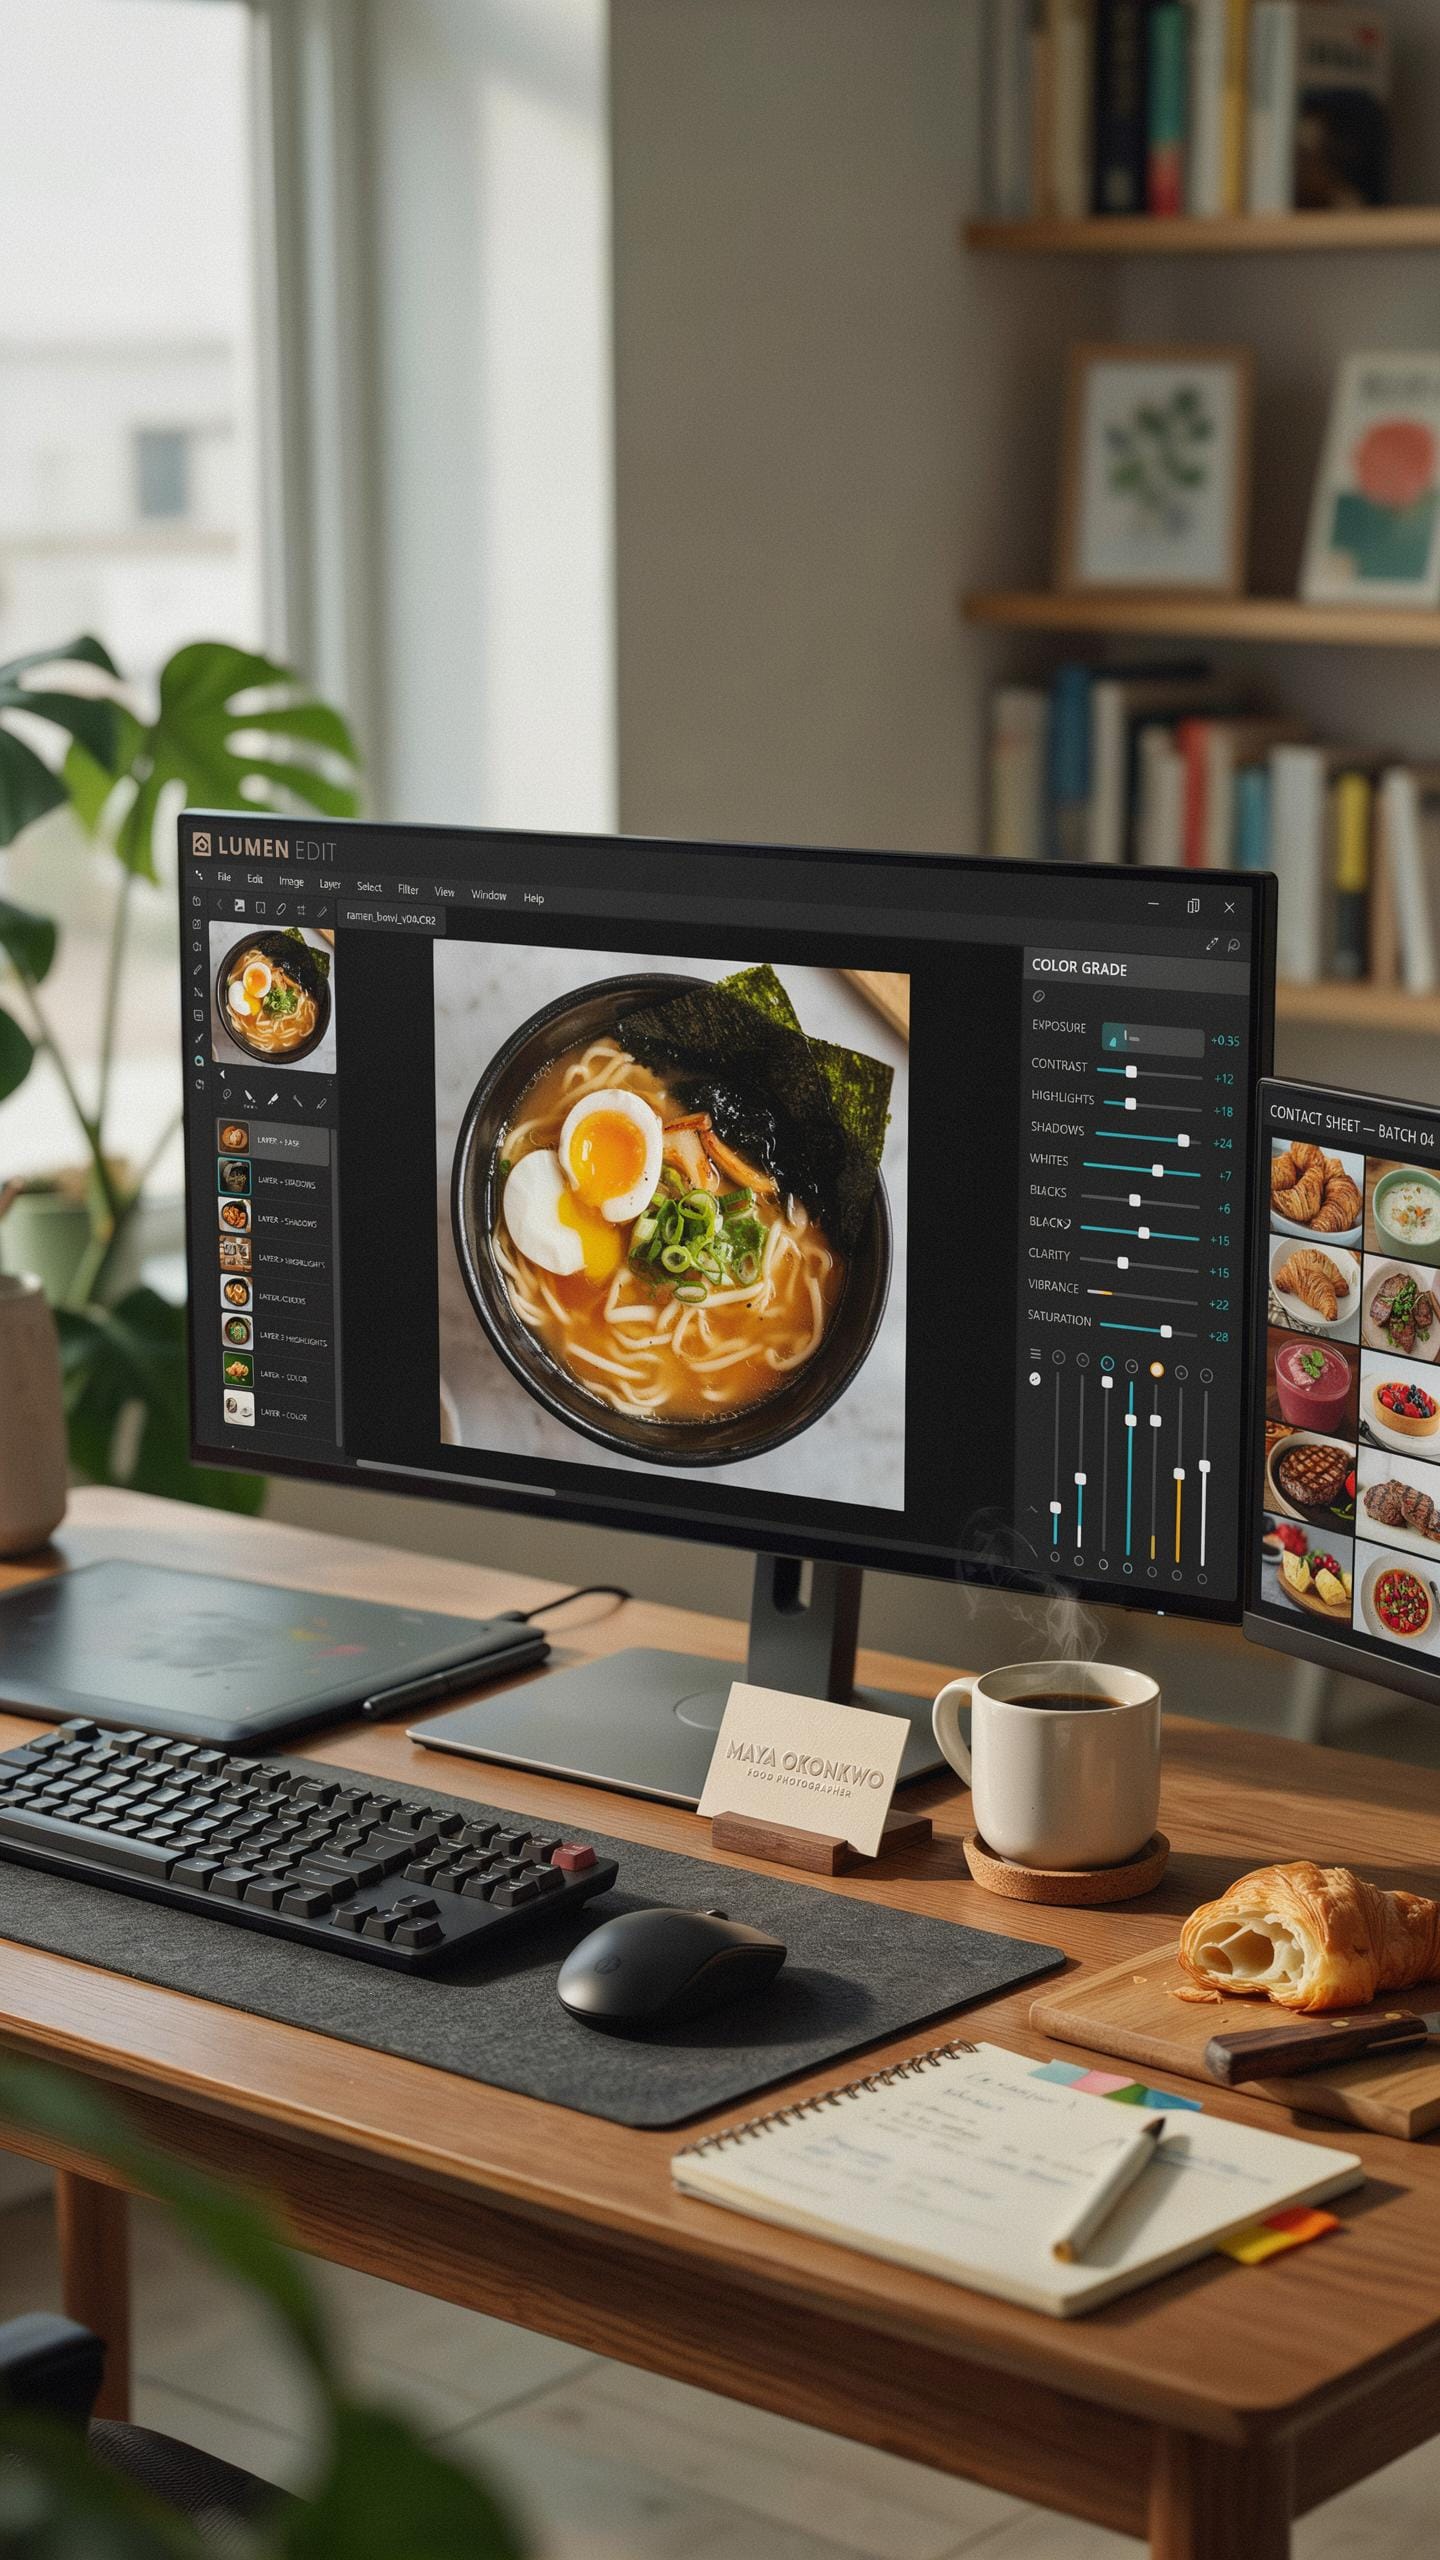
Selective adjustments isolate specific areas of your image for targeted edits. Use masking tools in Lightroom or Snapseed to brighten the main dish while leaving the background untouched. This technique draws the viewer’s eye directly to your food. Adjust saturation, exposure, and contrast on individual elements without affecting the entire frame. The goal is enhancement that feels natural, not artificial or overdone.
Apply selective adjustments to fix exposure problems in specific zones. If your plate sits in shadow while the background blows out, mask and brighten only the plate. Reduce highlights in bright areas separately from darker regions. This approach gives you surgical control over the final image. Mobile editing apps handle selective adjustments effectively without requiring desktop software.
Sharpening Details
Sharpening brings out texture and detail that makes food look fresh and appetizing. Most phones apply default sharpening automatically, but manual adjustment gives you precision. In Lightroom Mobile, use the Detail slider to increase clarity without creating halos around edges. Start at moderate settings and increase gradually. Over-sharpening produces artifacts that damage image quality.

Apply localized sharpening to the hero element of your dish using your app’s masking feature. Sharpen the top of a burger, the crust of bread, or the surface of sauce. Leave surrounding areas less sharp to maintain focus hierarchy. Sharpening works best on images shot with adequate light and proper focus. Avoid sharpening overly compressed images, as this amplifies compression noise instead of detail.
Third Party Apps Photo Editing VSCO Others
Popular Apps
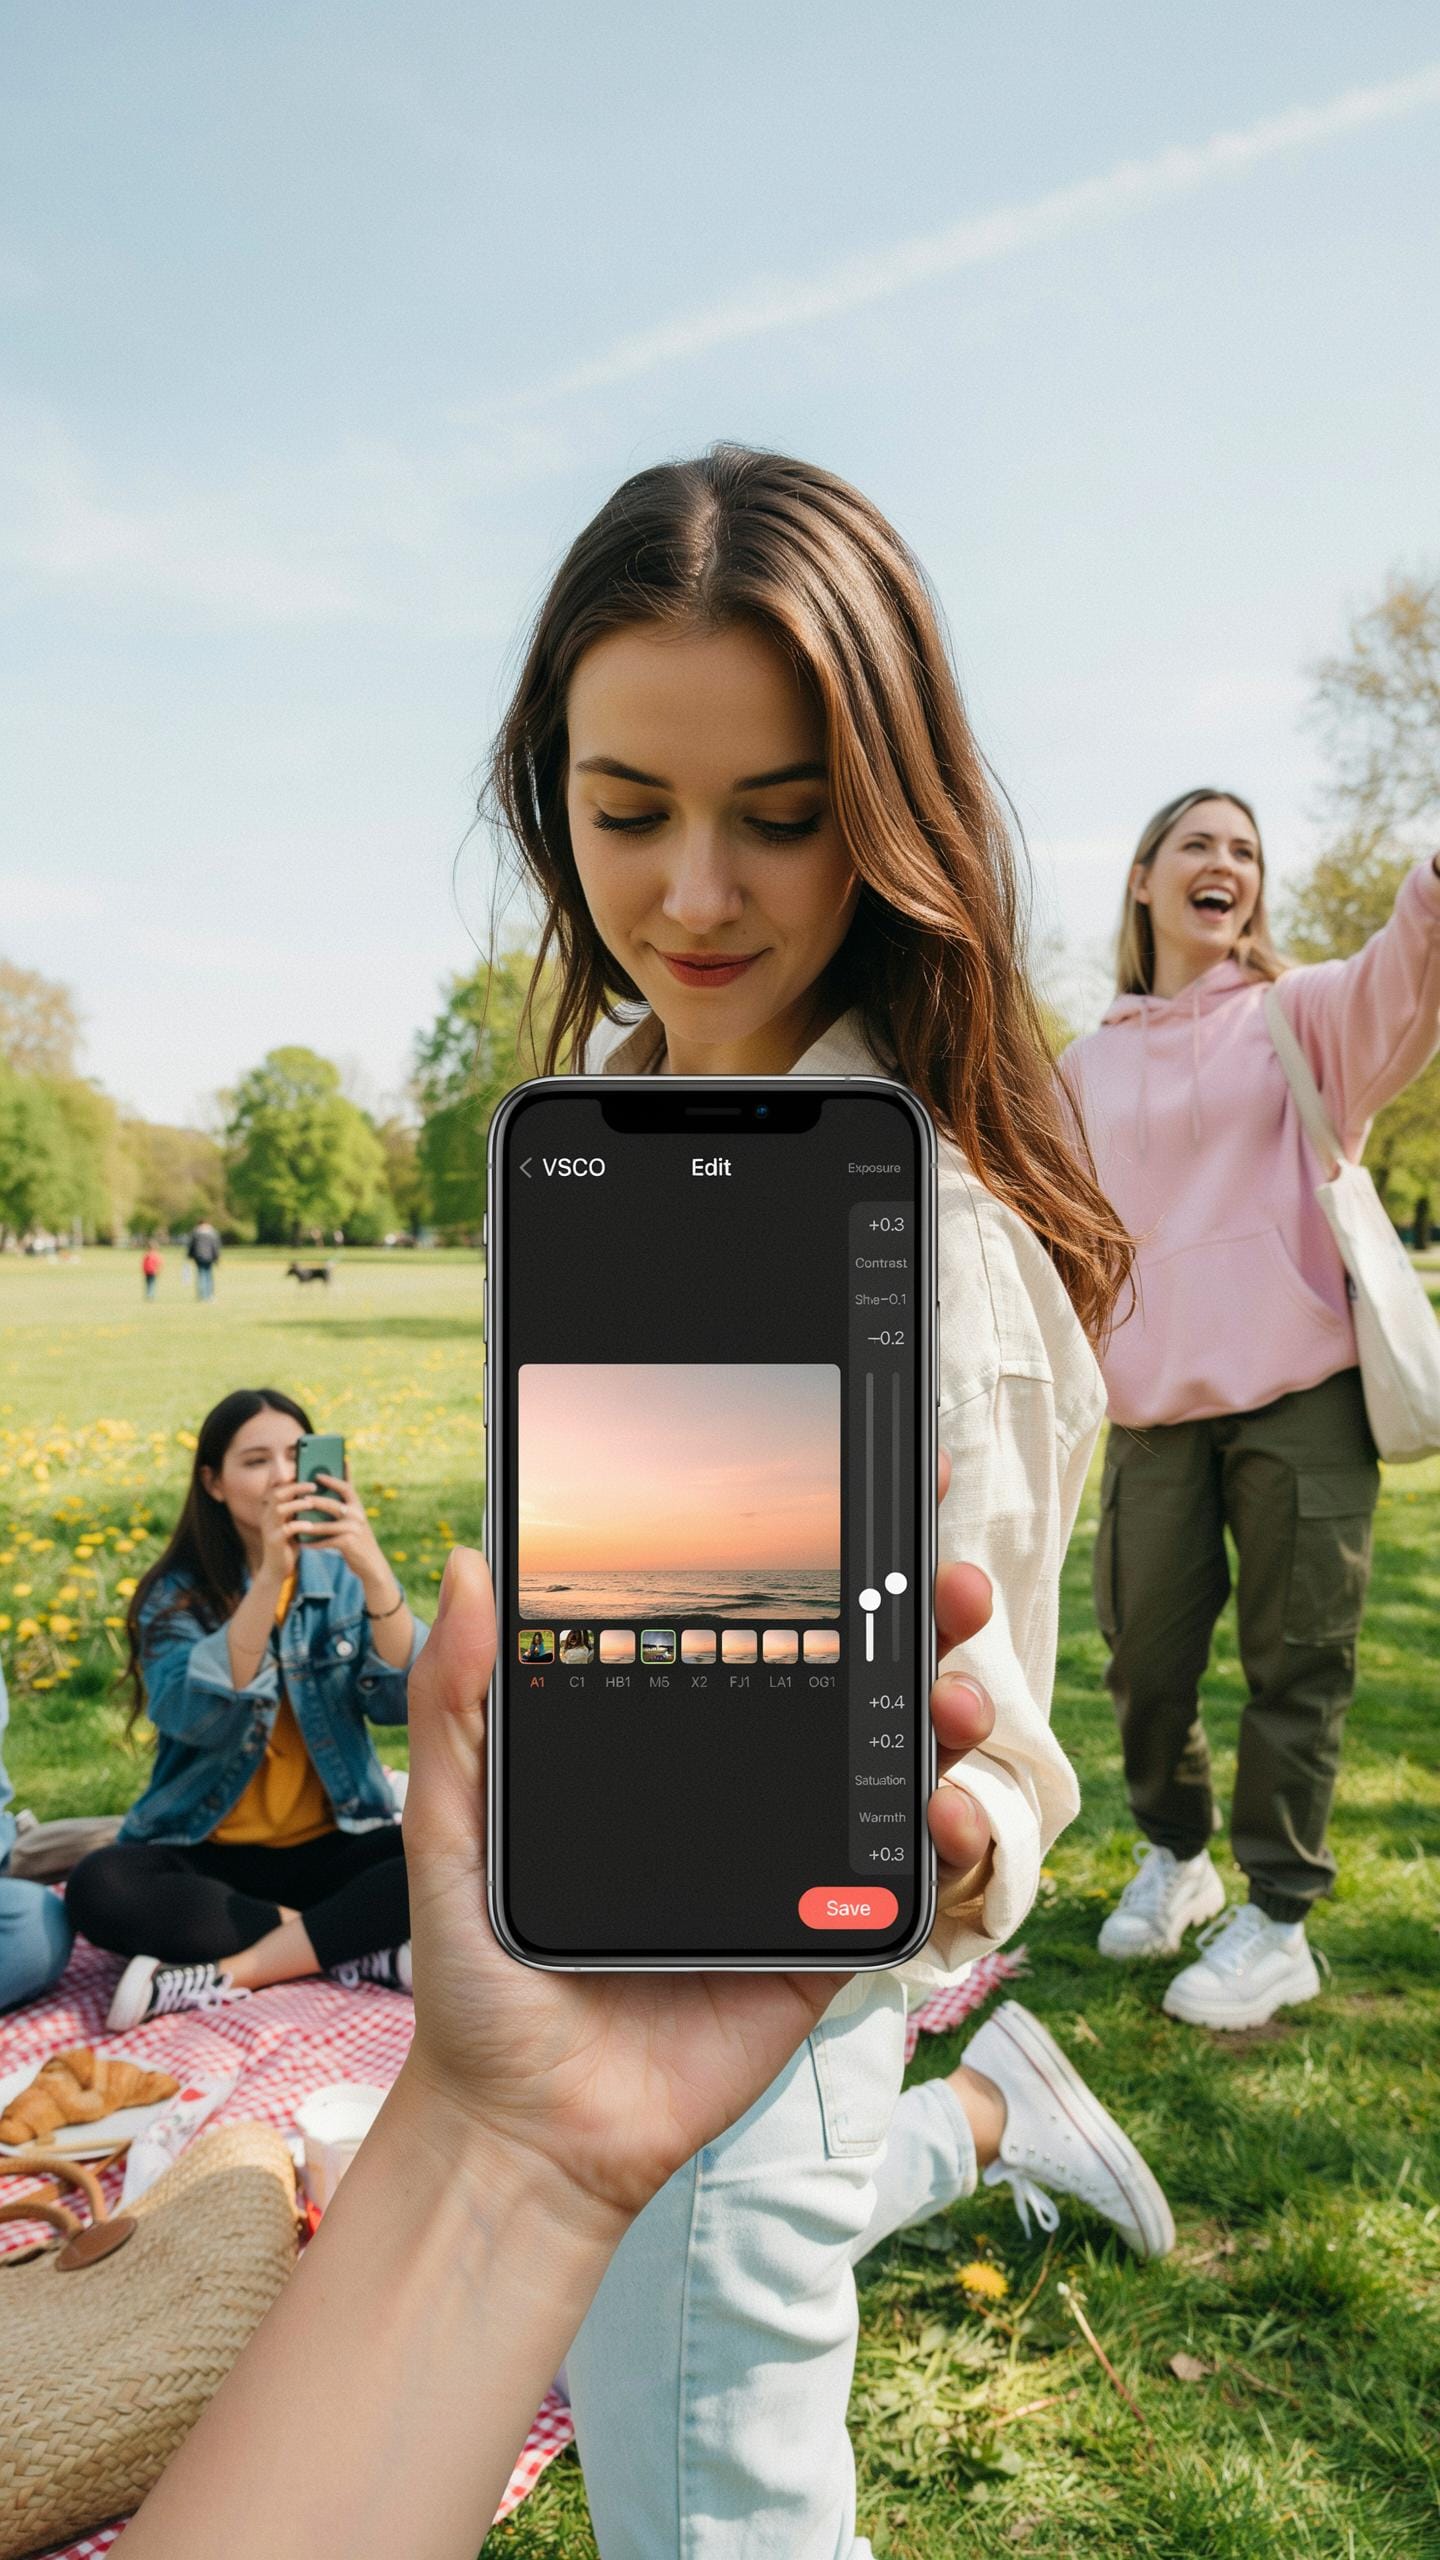
VSCO dominates food photography editing because it offers film emulation filters built on actual film stock profiles. The app simulates characteristics of Kodak, Fujifilm, and other film types, giving food shots authentic color grading without guesswork. Snapseed provides granular control through selective editing tools that let you adjust exposure and color in specific image areas. Adobe Lightroom Mobile syncs with desktop versions, enabling consistent editing workflows across devices. These apps all prioritize speed and deliver results that translate well to Instagram and other social platforms.
Facetune specializes in detail work like blemish removal and skin tone adjustment, though food photographers use it for product cleanup and shine enhancement. Afterlight combines preset filters with layering capabilities for complex edits. Each app serves different shooting styles, but they share one core function: they transform raw phone captures into polished content. Choose based on your editing workflow and whether you need desktop synchronization or mobile only editing.
The perfect plate, beautifully captured with a touch of warmth from your phone’s lens, truly brings those cherished culinary memories to life. Adjust your settings with love, and let every pixel tell a delicious story.
Preset Usage
Presets accelerate your editing process by applying predetermined color and tone adjustments with a single tap. VSCO presets like A6 and C1 work well for warm food tones, while others handle cool lighting conditions. Building a personal preset library ensures consistency across your food photography feed. Create presets by adjusting saturation, contrast, and whites until you achieve your target look, then save for reuse. This approach eliminates decision fatigue during editing and maintains recognizable visual branding across your content.

Custom filters address specific lighting conditions you shoot in regularly. Shoot the same subject under your typical indoor lighting, edit until it looks right, then save as a preset for future use. This method accounts for your phone’s sensor behavior and ambient light patterns in your space. Presets also work as starting points rather than final adjustments. Fine tune individual shots after applying a preset to handle unique lighting variations while maintaining overall aesthetic cohesion.
Optimizing For Sharing Food Photo Editing IPhone
Aspect Ratios
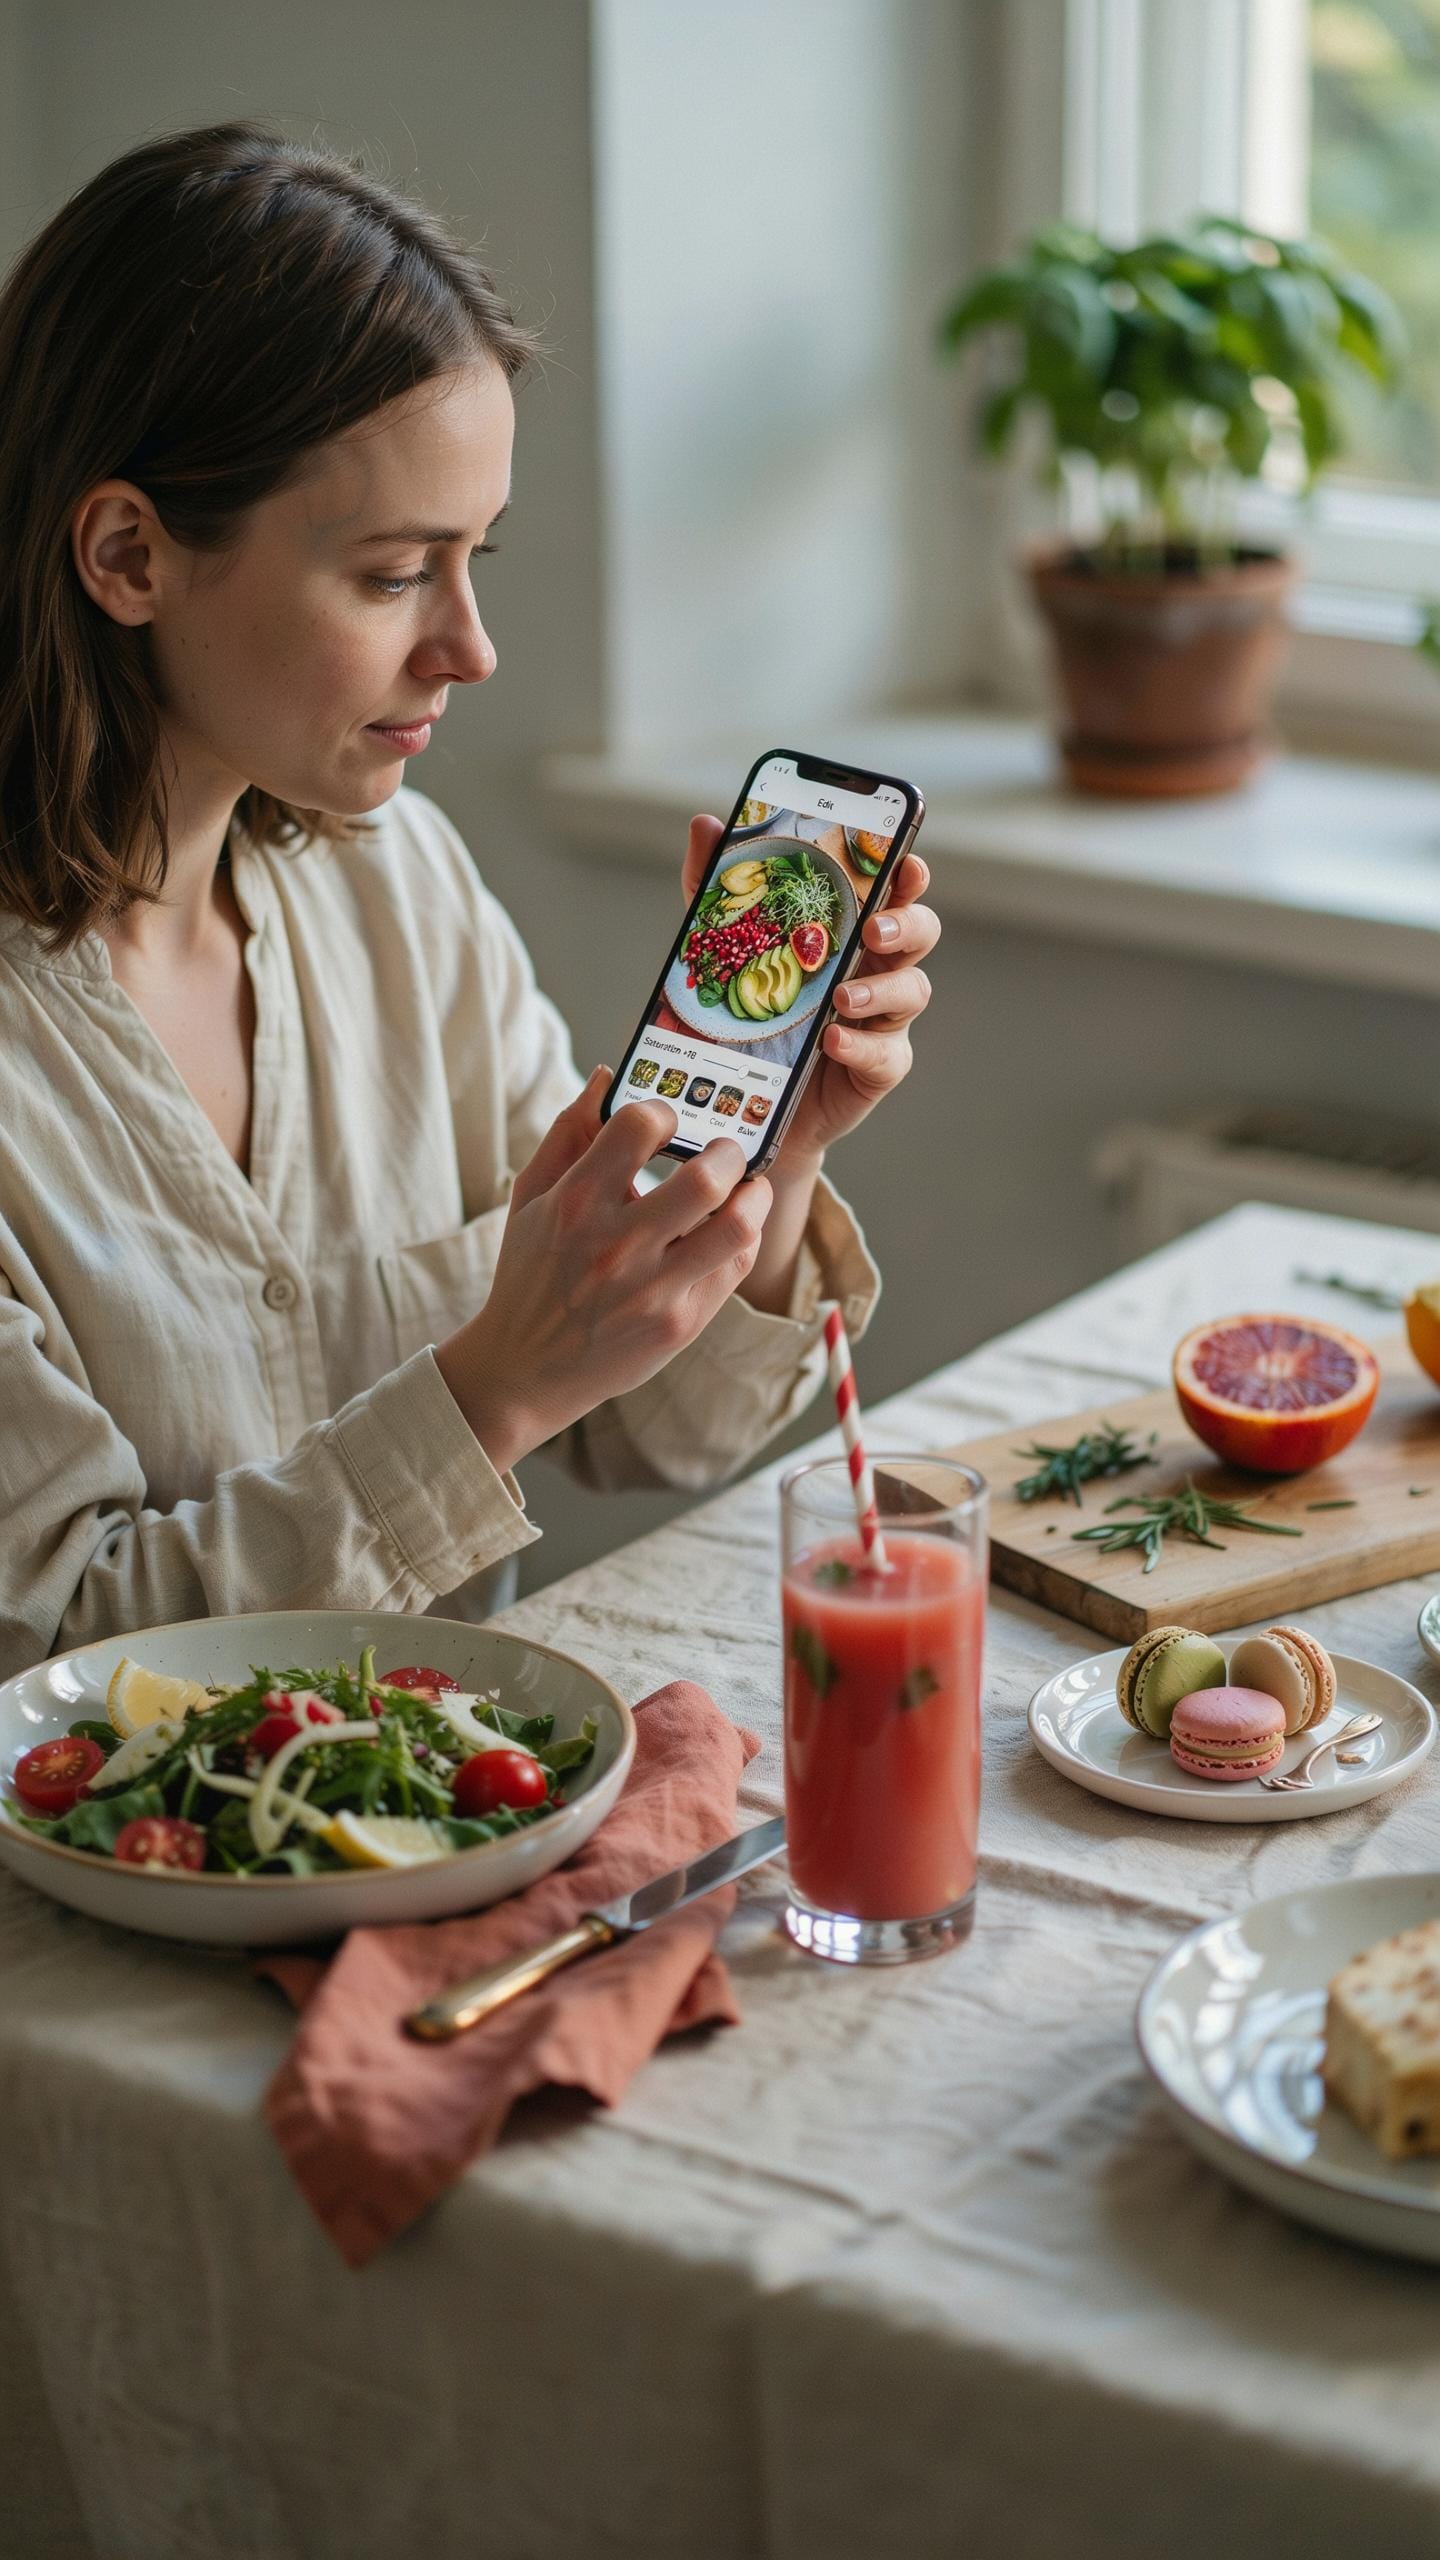
Instagram feeds demand 1:1 or 4:5 ratios. Stories require 9:16. Facebook accepts multiple ratios but performs best at 1.2:1 for feed posts. Pinterest wants 1000 x 1500 pixels, which converts to a 2:3 ratio. TikTok uses 9:16 full screen. Each platform crops differently, so shoot with your target platform in mind. Composition matters more than perfect ratio adherence, but knowing the constraints prevents losing important food details at the edges.
Shoot wider than needed when composition allows. You can crop tighter later without losing quality. Test your final image on the actual platform before publishing. Mobile screens vary in size, and what looks centered on your phone might shift on desktop. Save multiple versions in different ratios from a single shot. This maximizes content value without requiring additional shoots.
Export Settings
Export at 72 DPI for screen viewing. Your phone camera captures far more data than social platforms need. Reducing resolution cuts file size without visible quality loss on mobile screens. JPEG format works best for food photos because it compresses efficiently while maintaining color accuracy. Set JPEG quality to 80 to 85 percent. This balance preserves detail while keeping files under 2 MB for faster uploads.
Compress before uploading to avoid platform re-compression that degrades quality further. Most phones allow you to adjust export quality in the Photos app or through third-party apps. Aim for files between 500 KB and 1.5 MB. Smaller files upload faster and load quicker for viewers on slower connections. Test one image on your target platform to confirm quality meets your standards before exporting your full batch.
Beyond The Basics Learn Photo Editing For Food
Tethering Remote
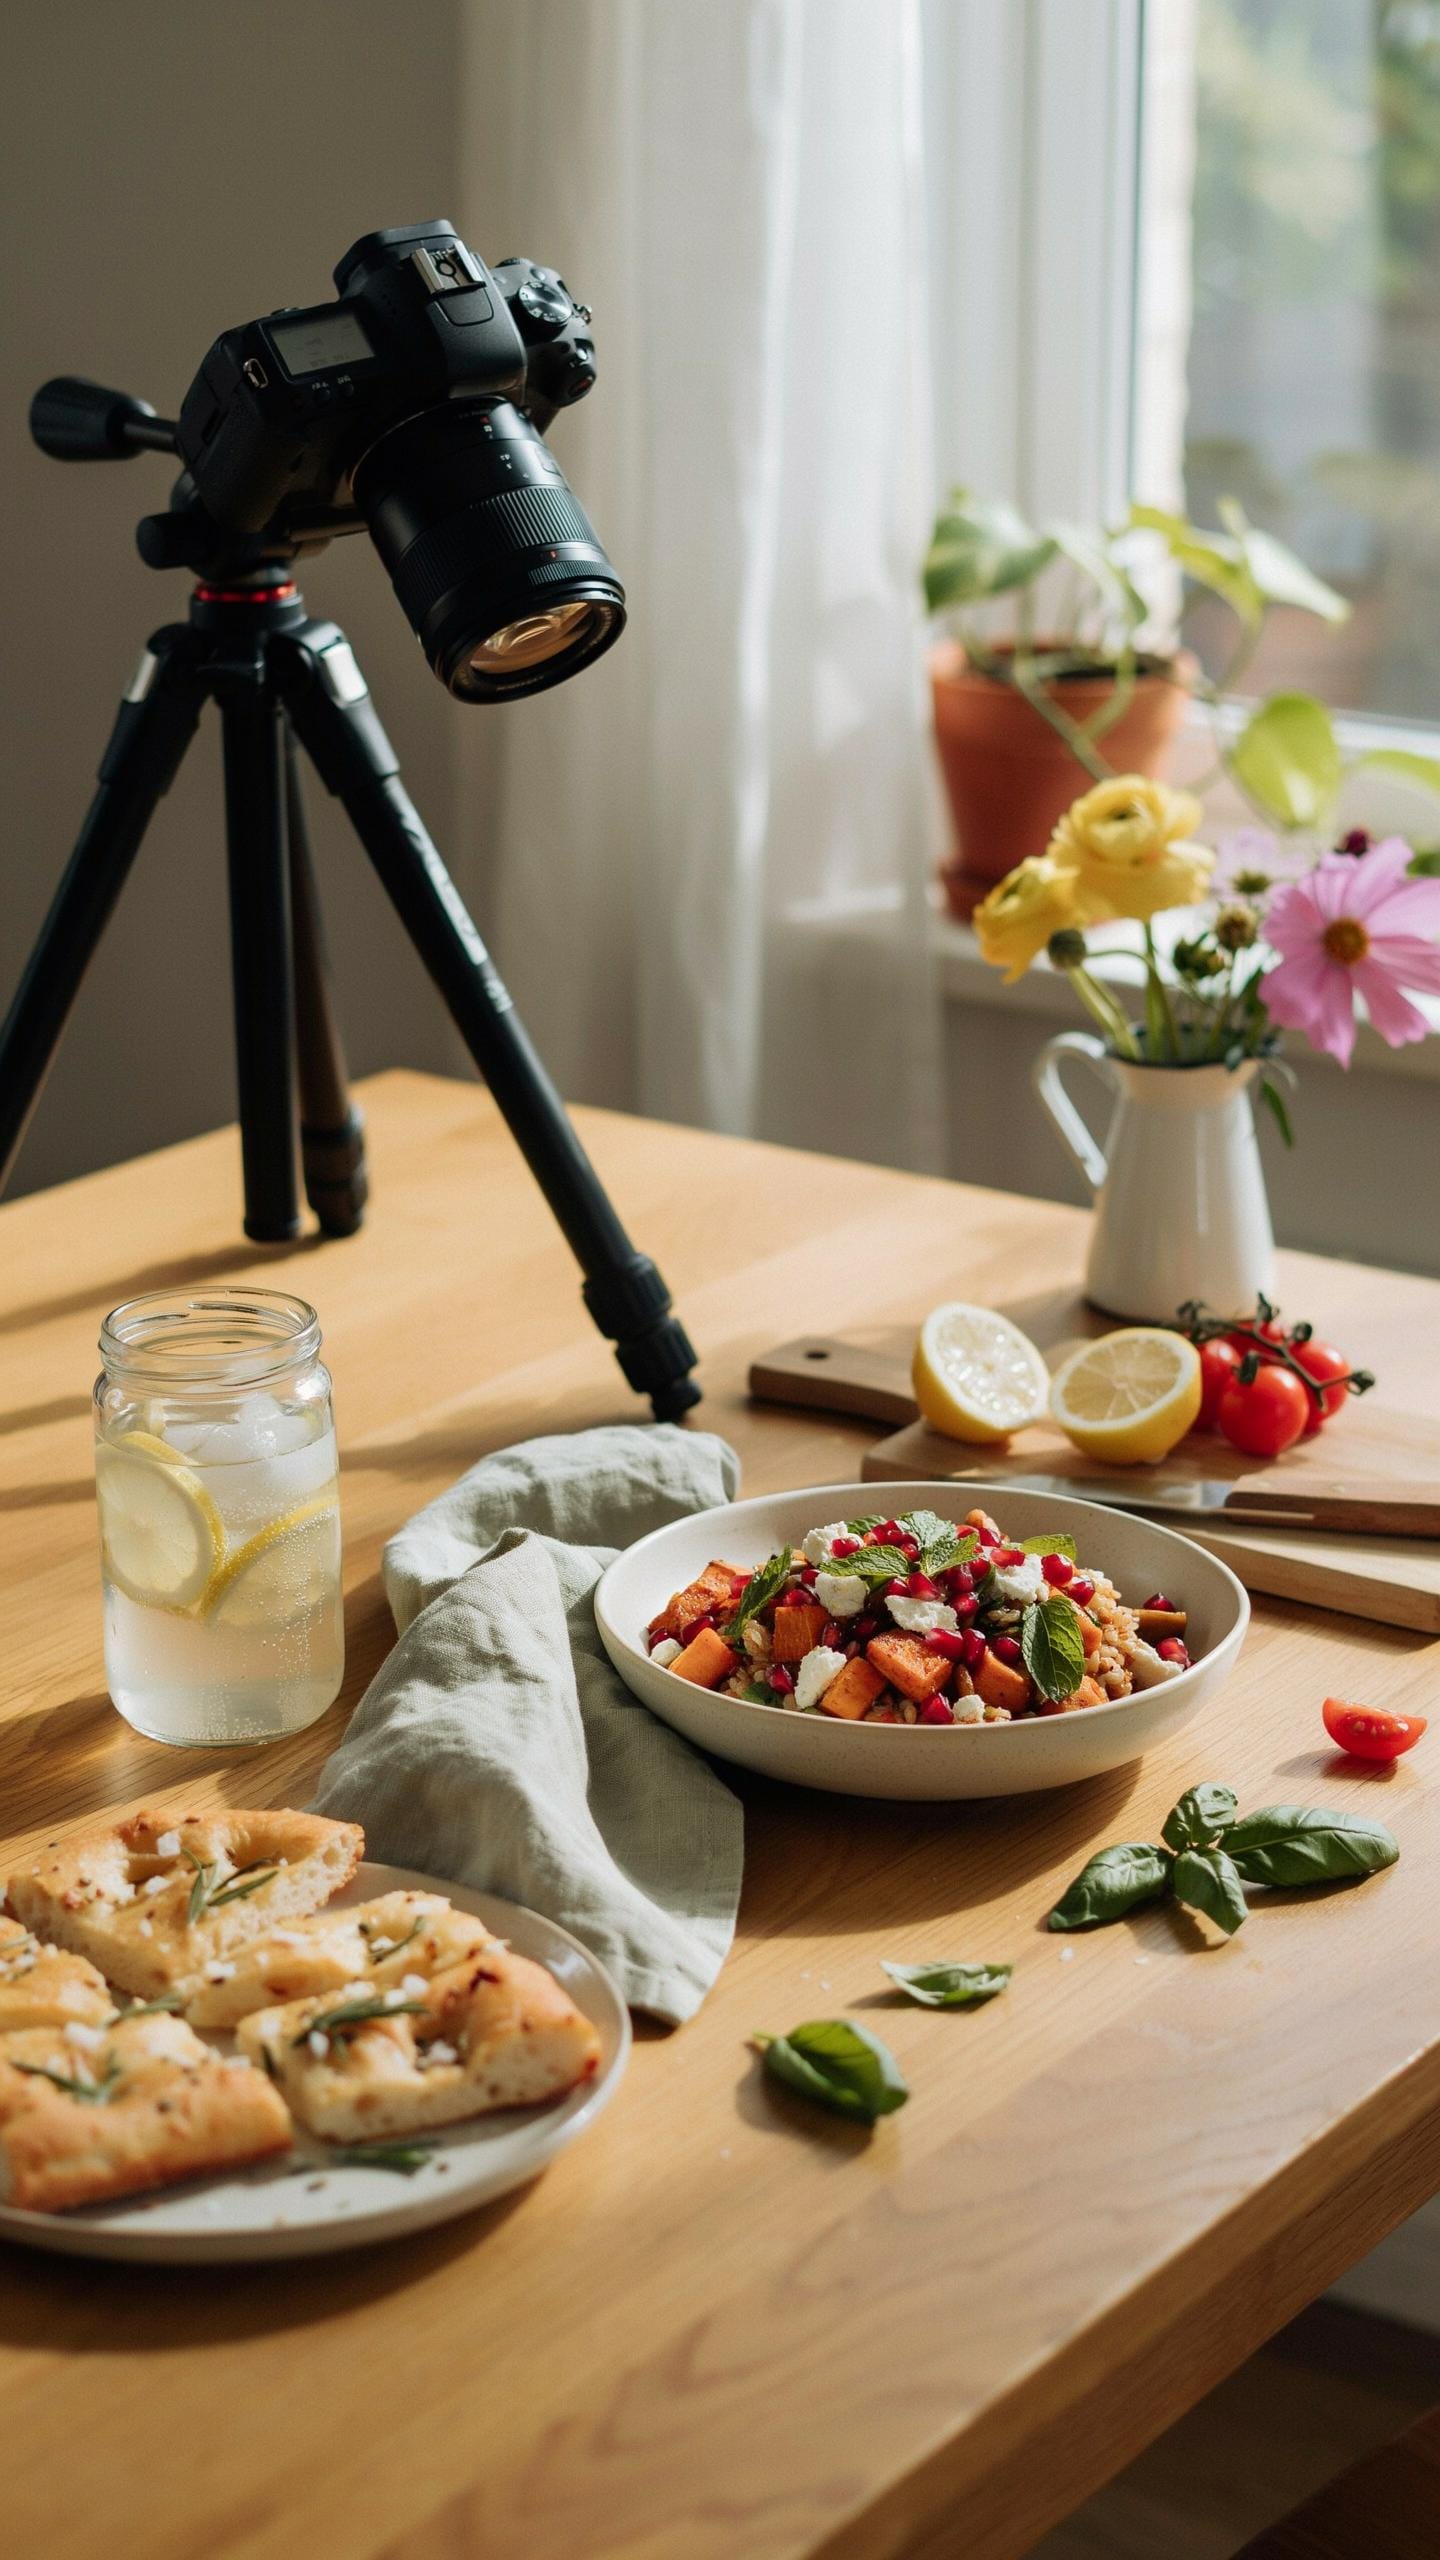
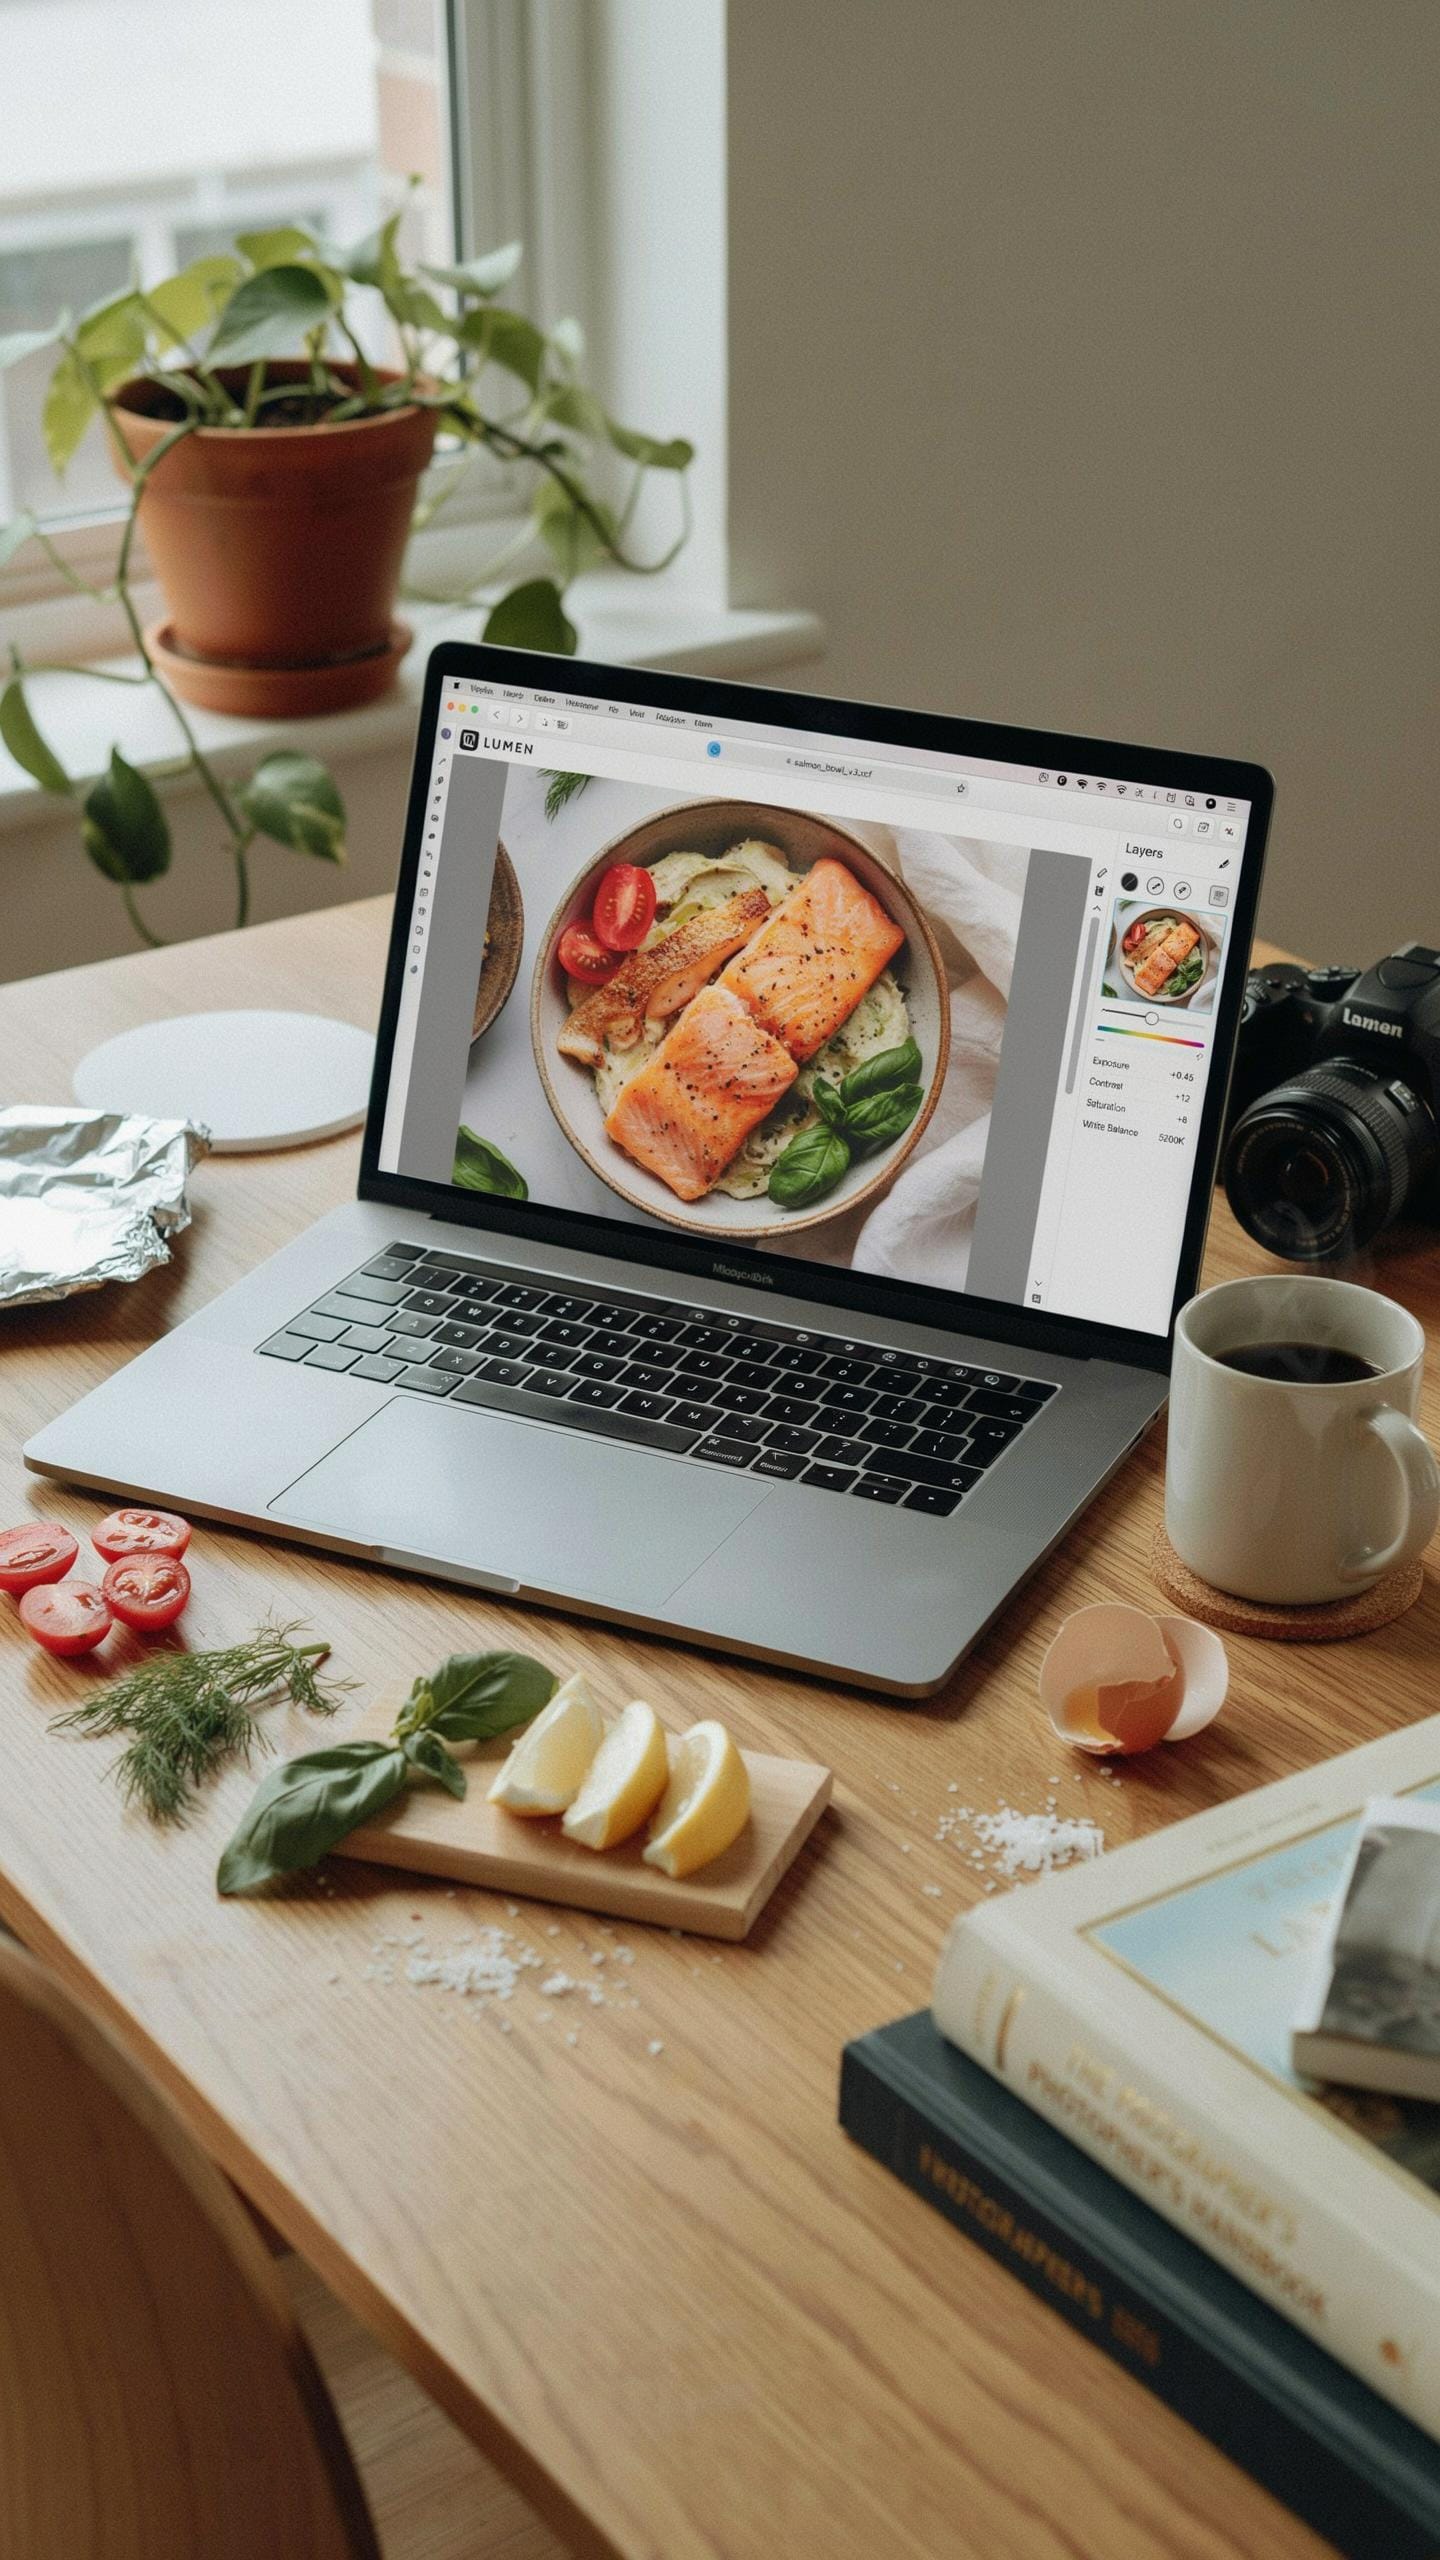
Remote shooting and tethering let you control your phone camera from a distance or external device. This setup matters for food photography because it eliminates camera shake when you press the shutter button. You compose the shot, step back, and trigger capture without touching the device. Most phones support this through native apps or third-party software that connects via USB or wireless protocols.
Tethering also displays your live feed on a larger screen, making focus and framing adjustments easier. You see exactly what the sensor captures before committing to the shot. This workflow reduces failed attempts and speeds up your editing decisions later. For tabletop food setups, remote triggering prevents vibration blur that occurs from finger contact on the lens.
Consistency Branding
Your editing approach determines whether viewers recognize your work across Instagram, your website, and other platforms. Pick one color grade and apply it consistently to every image you publish. Match your whites, shadows, and saturation levels shot to shot. This creates a visual signature that builds audience recognition over time without appearing monotonous.
Develop a personal editing template in your phone’s native editing app or Lightroom Mobile. Save your preferred settings as a preset or default starting point. This cuts editing time and ensures color consistency across your catalog. Your audience remembers photographers with cohesive visual styles more than those who change their approach with every post.
Frequently Asked Questions

I’m completely new to phone food photography. What’s the single most important setting to adjust first?
For beginners, the most impactful phone camera setting for food photography is often exposure. Look for the EV (Exposure Value) slider or tap on your screen to brighten or darken the image. Getting the brightness right is crucial for making your food look appetizing and will instantly improve your shots without needing complex adjustments.
How can I make my food photos look sharp and not blurry, especially for close-ups?
To achieve sharp close-ups, utilize your phone’s manual focus or tap on the specific area of your food you want in focus. Ensure good lighting; inadequate light often leads to blurry images as the camera struggles. Experimenting with phone camera settings for food photography, particularly focusing, significantly enhances clarity and detail.
I have an older smartphone. Can I still take good food photos without buying new equipment?
Absolutely! You can definitely take great food photos with an older smartphone. Focus on mastering composition, finding natural light, and using simple props. While newer phones offer more advanced phone camera settings for food photography, optimizing light and angles manually can make a huge difference, often surpassing poor technical settings on a new device.



