
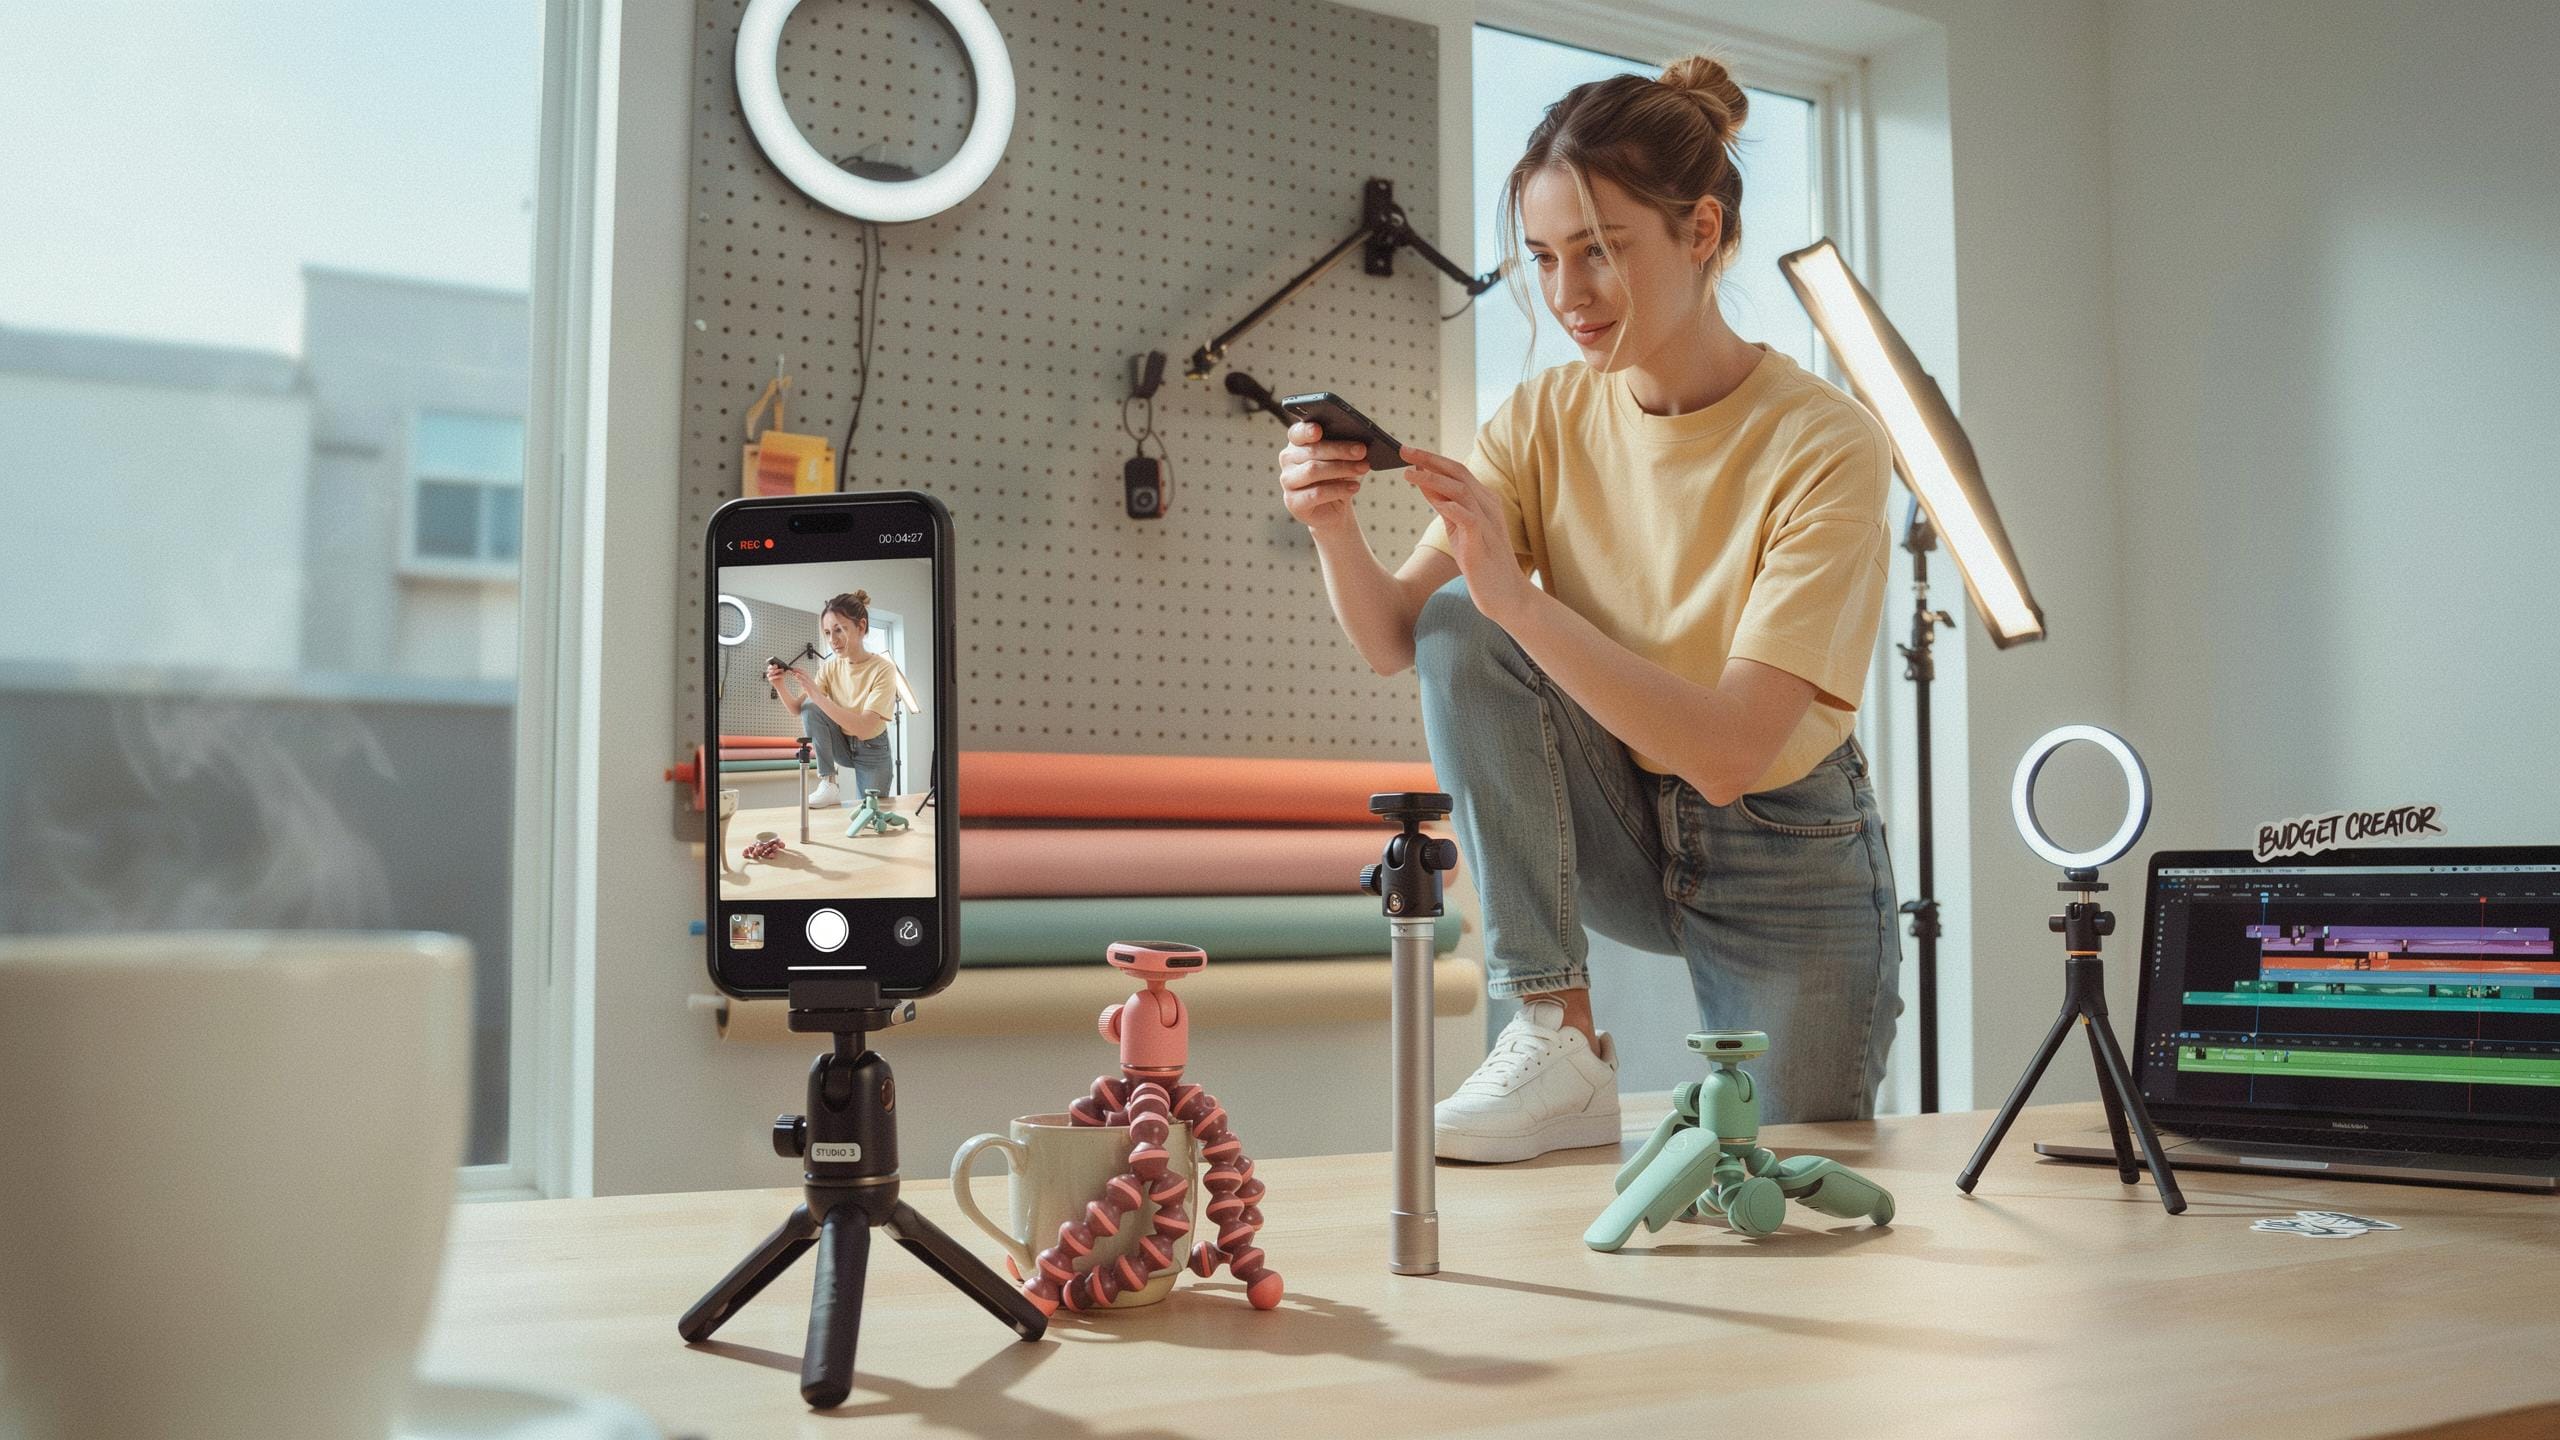
Why Every Content Creator Needs A Phone Tripod
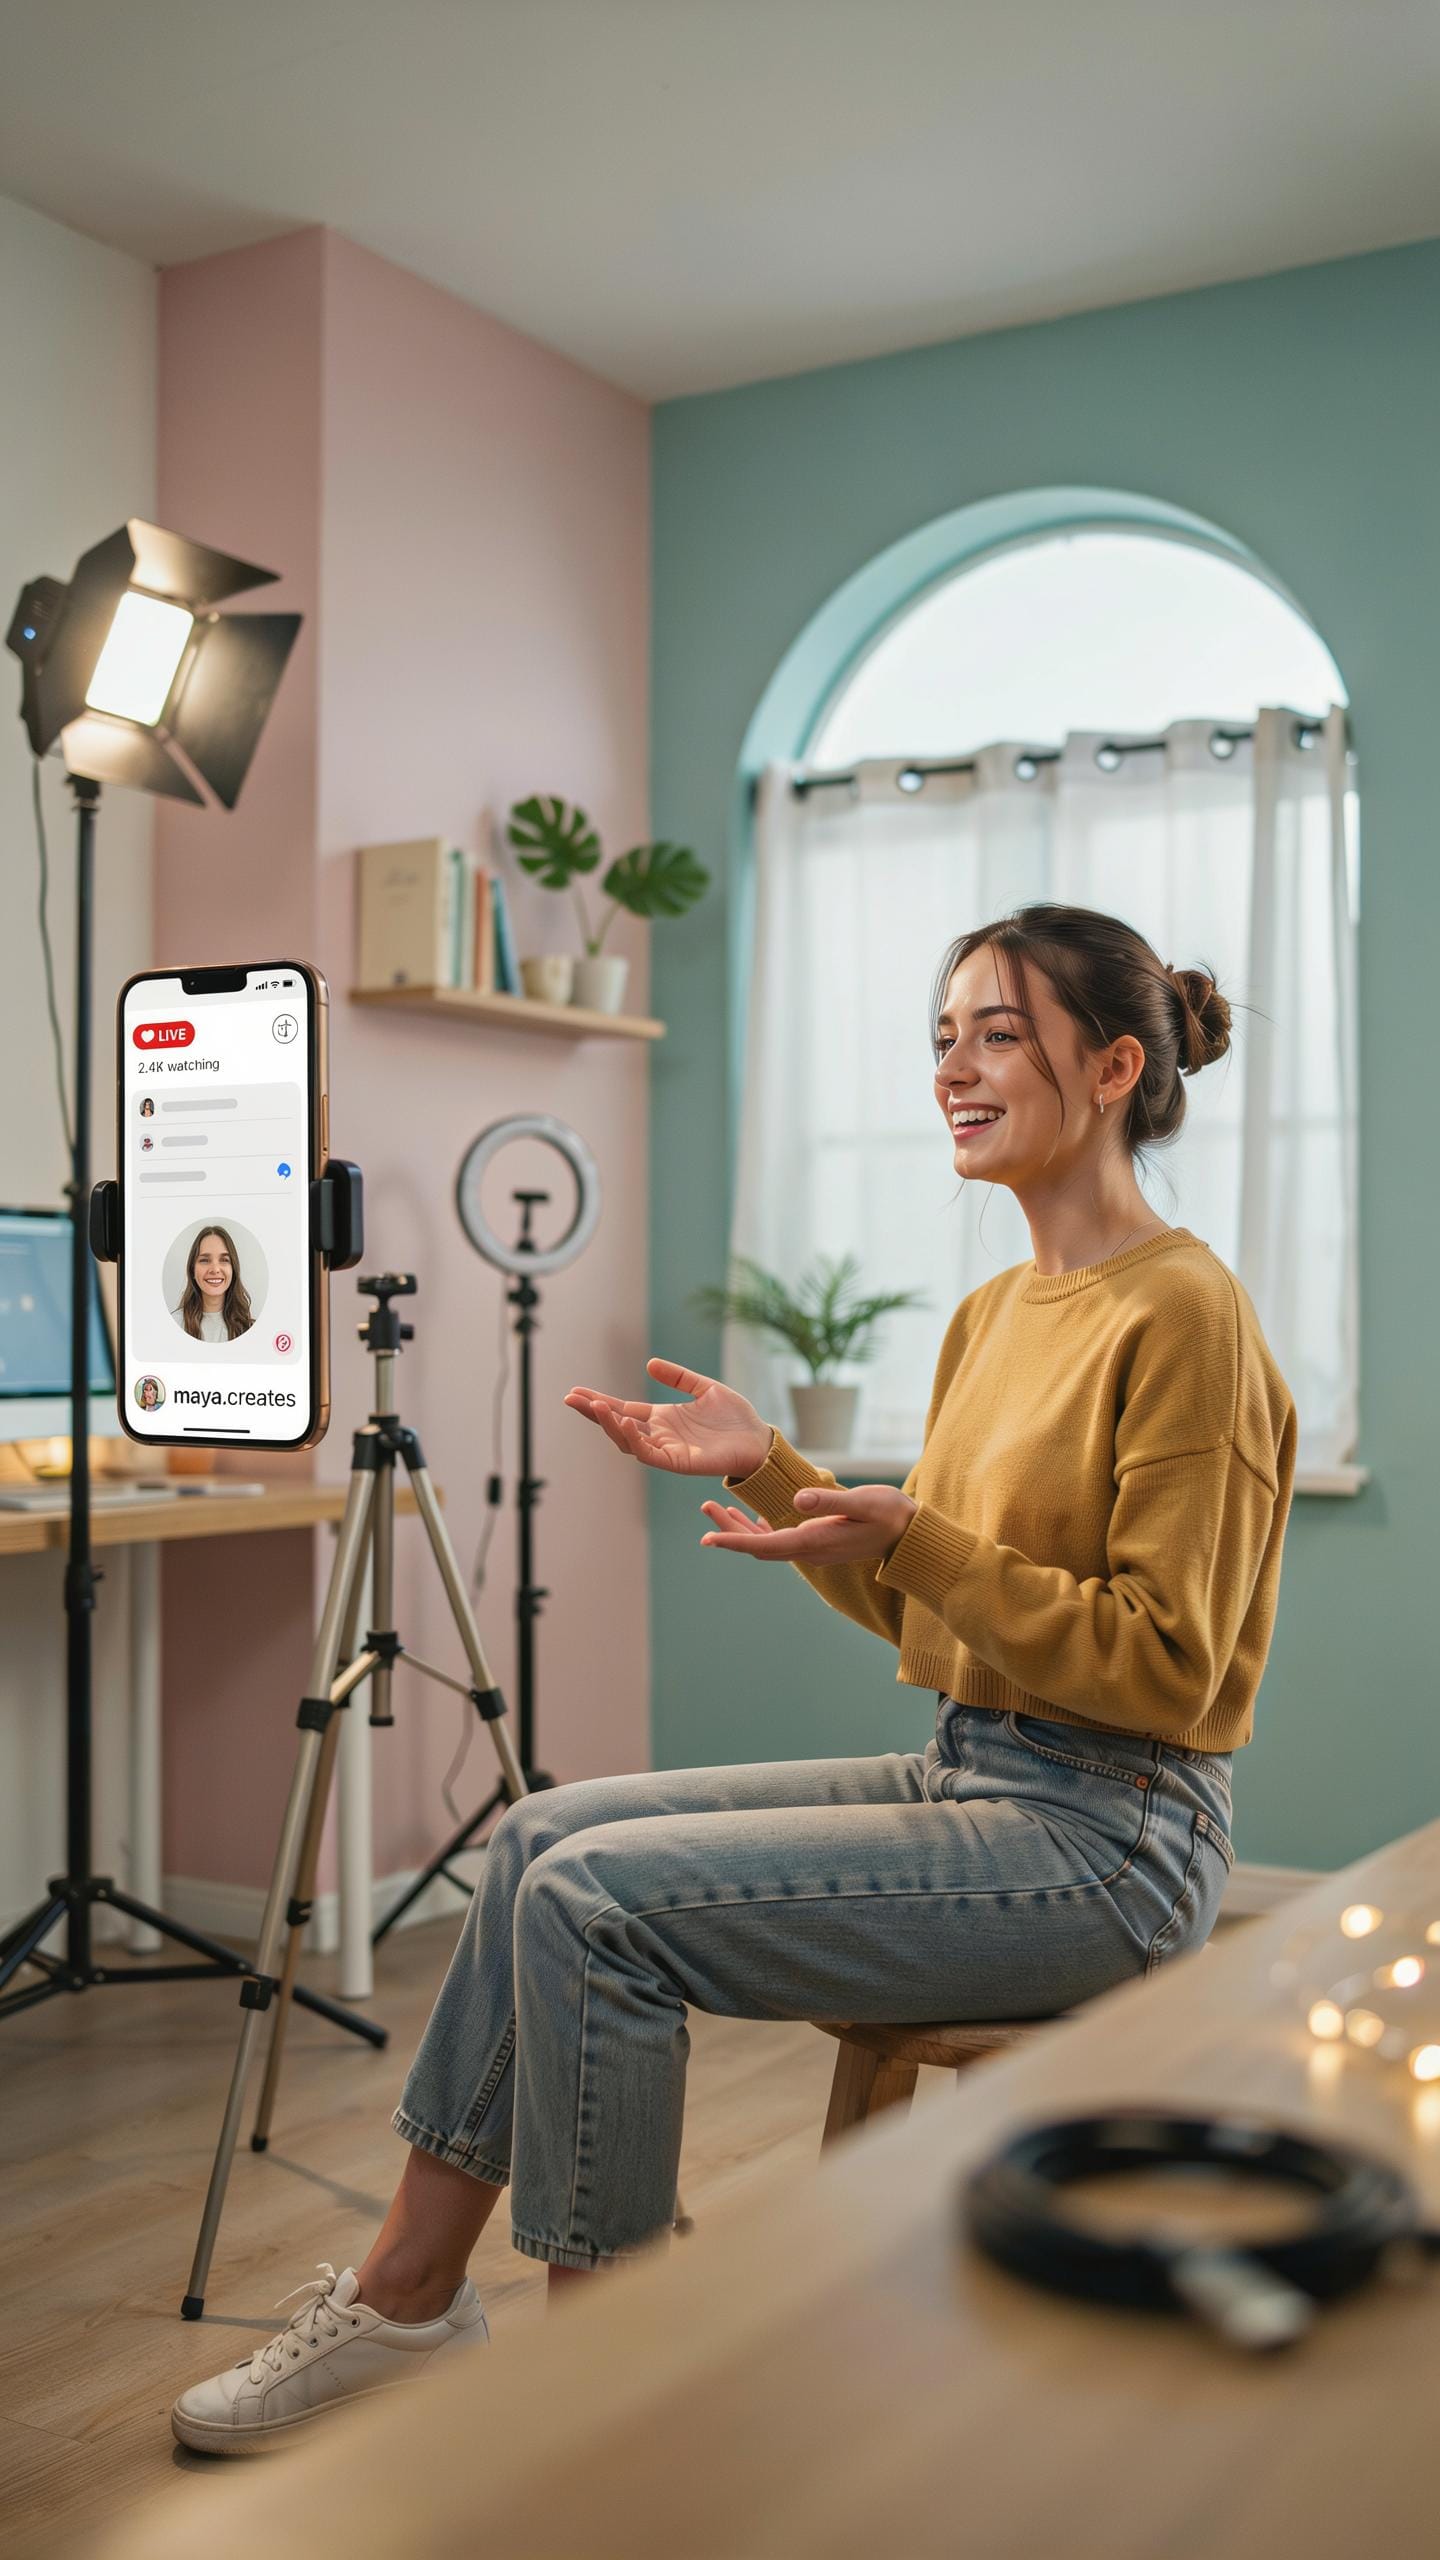
Stability Matters
Camera shake destroys video quality. Phone tripods lock your device in place, eliminating hand tremor and micro-movements that degrade footage. Stable video signals professionalism to viewers and algorithms alike. This foundational requirement separates amateur content from work that commands attention and engagement.
A tripod removes the physical constraint of holding your phone steady for extended periods. Your hands tire. Your arms drift. Your framing shifts. A tripod maintains exact composition throughout your entire shoot, whether recording for thirty seconds or thirty minutes. This consistency matters for platform algorithms and audience retention.
Beyond Shaky Hands
Phone tripods enable you to frame shots that handheld recording cannot achieve. Wide angles, overhead perspectives, and precise eye-level framing become repeatable and reliable. Your footage matches professional broadcast standards in visual stability and composition. This technical capability directly improves how platforms and viewers perceive your content quality.
Tripods free your hands for actual content work. You can gesture naturally, interact with products, write on whiteboards, or manipulate objects while maintaining perfect camera positioning. This operational freedom transforms what you can accomplish in a single recording session. Better footage requires less reshooting, cutting your production time significantly.

Understanding Different Types Of Phone Tripods For The Creator
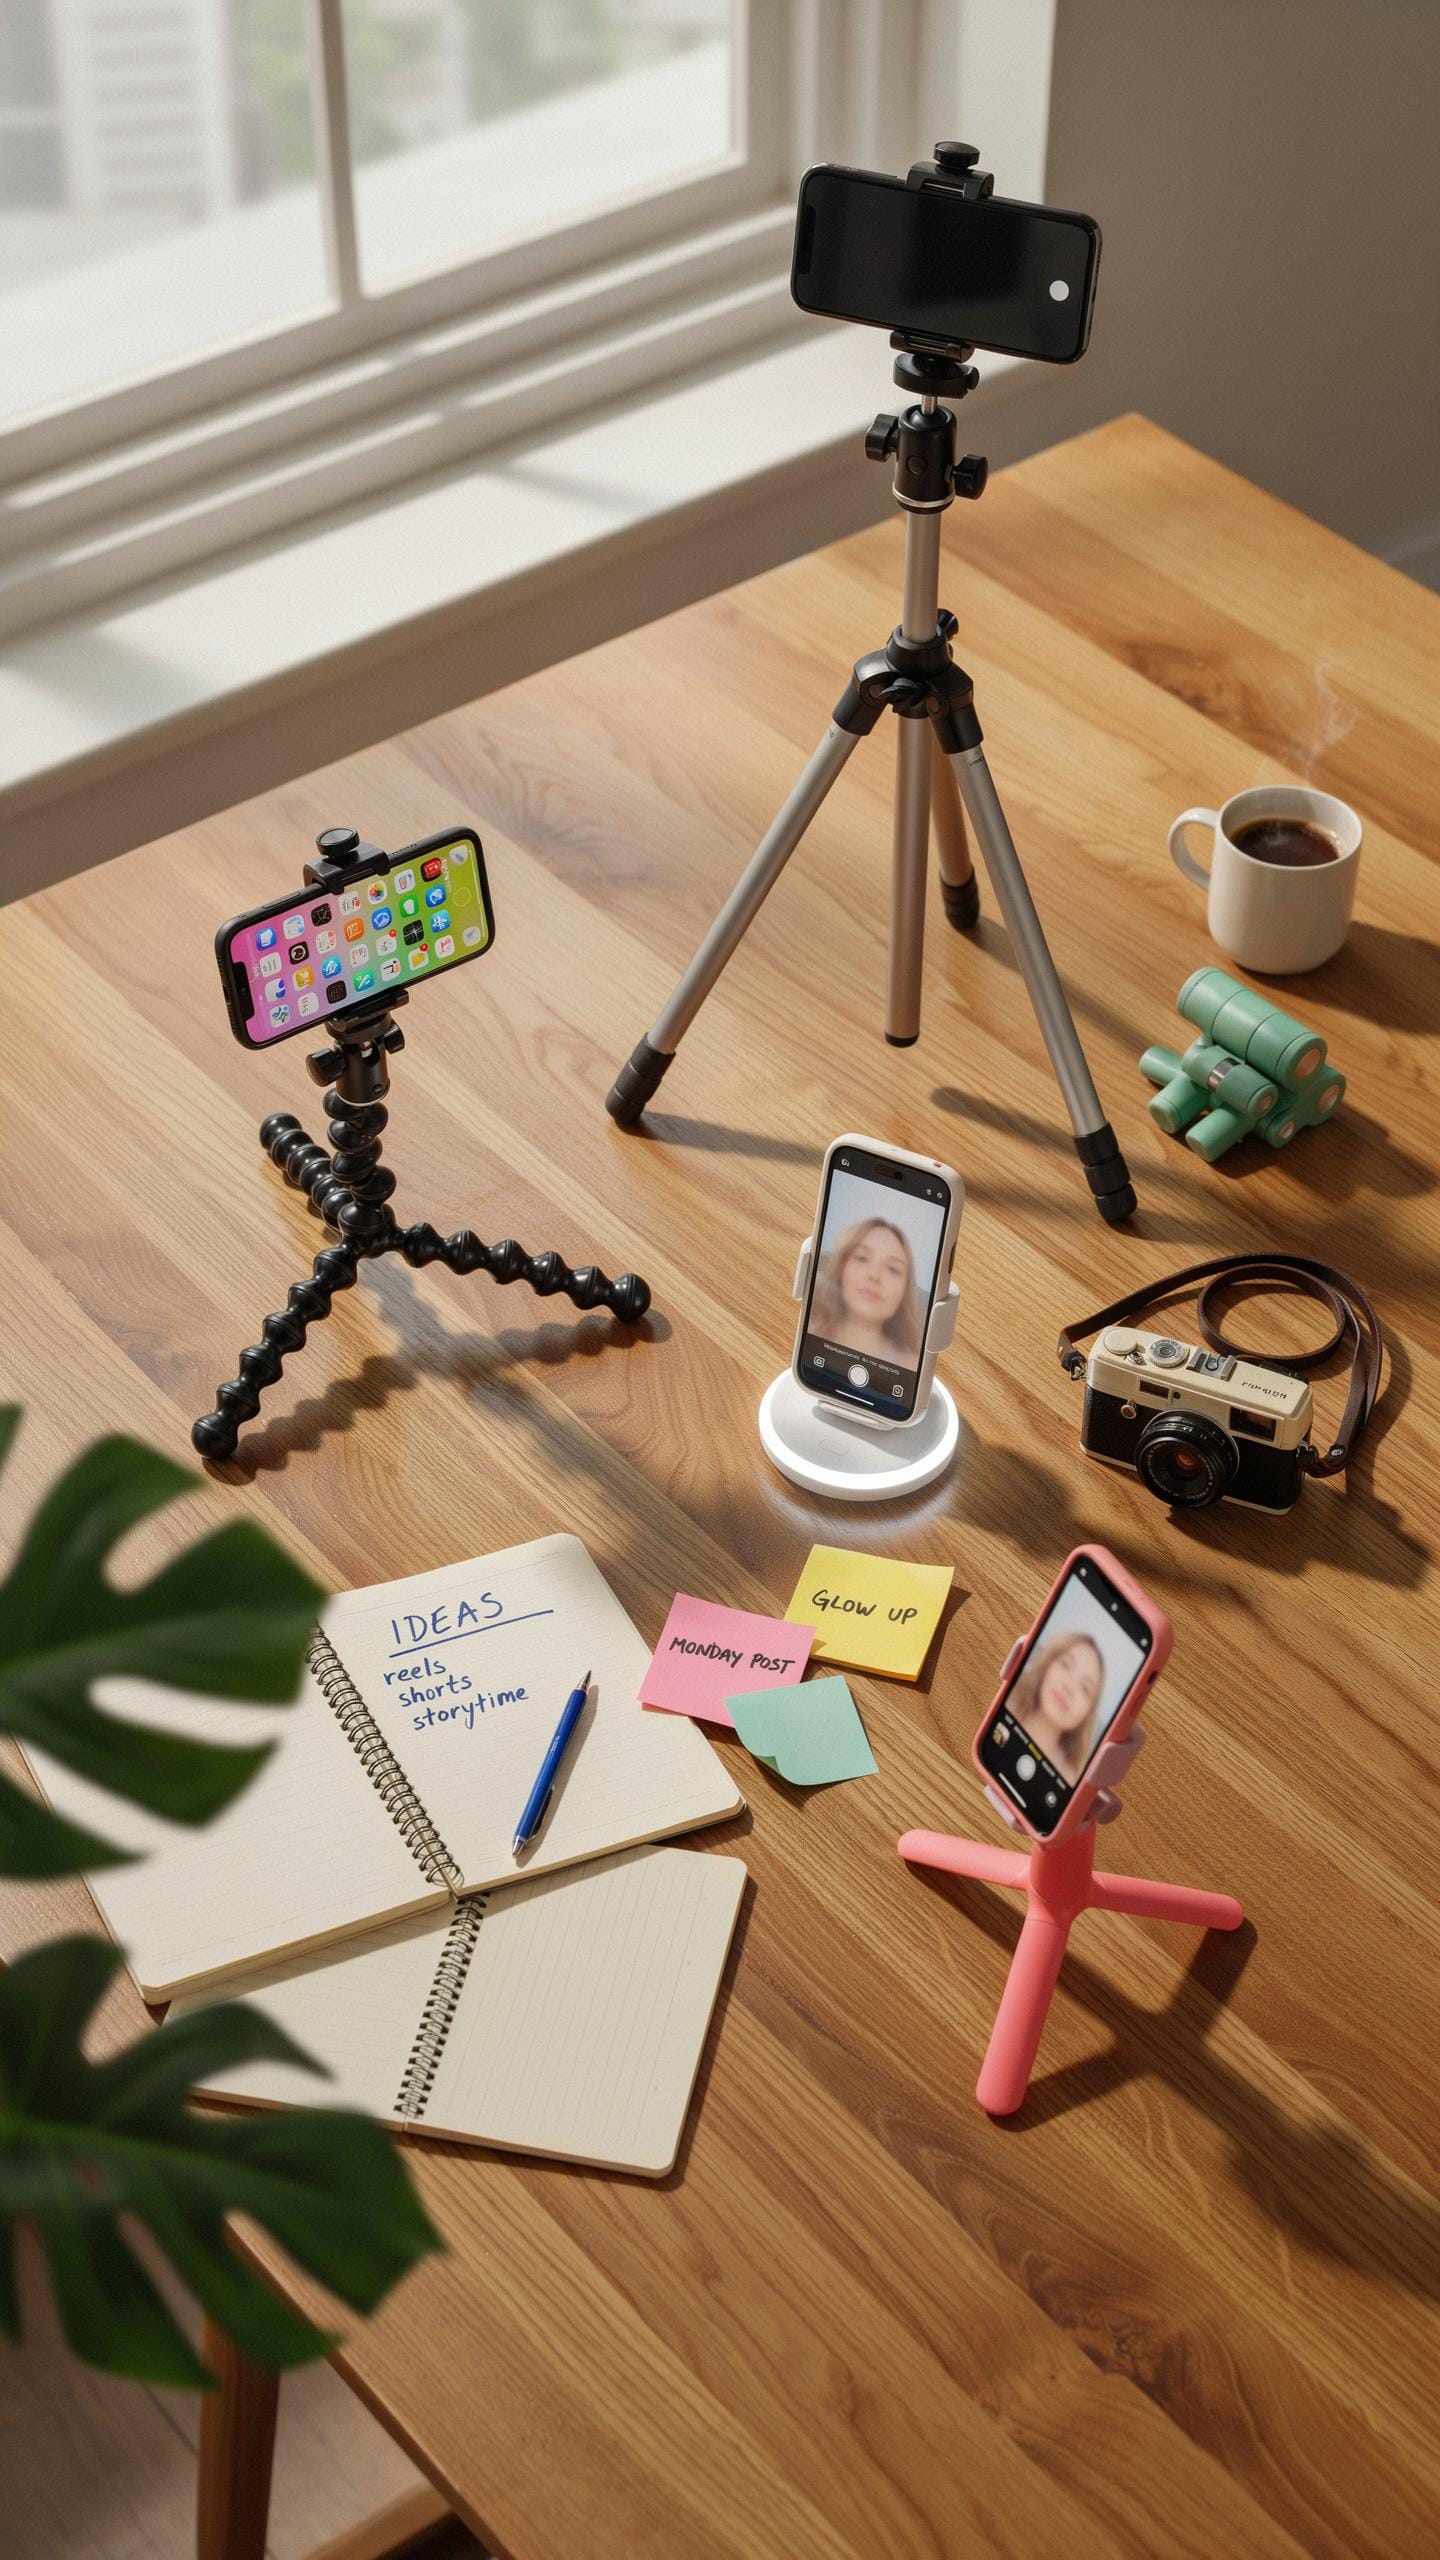
Mini Vs Full Size
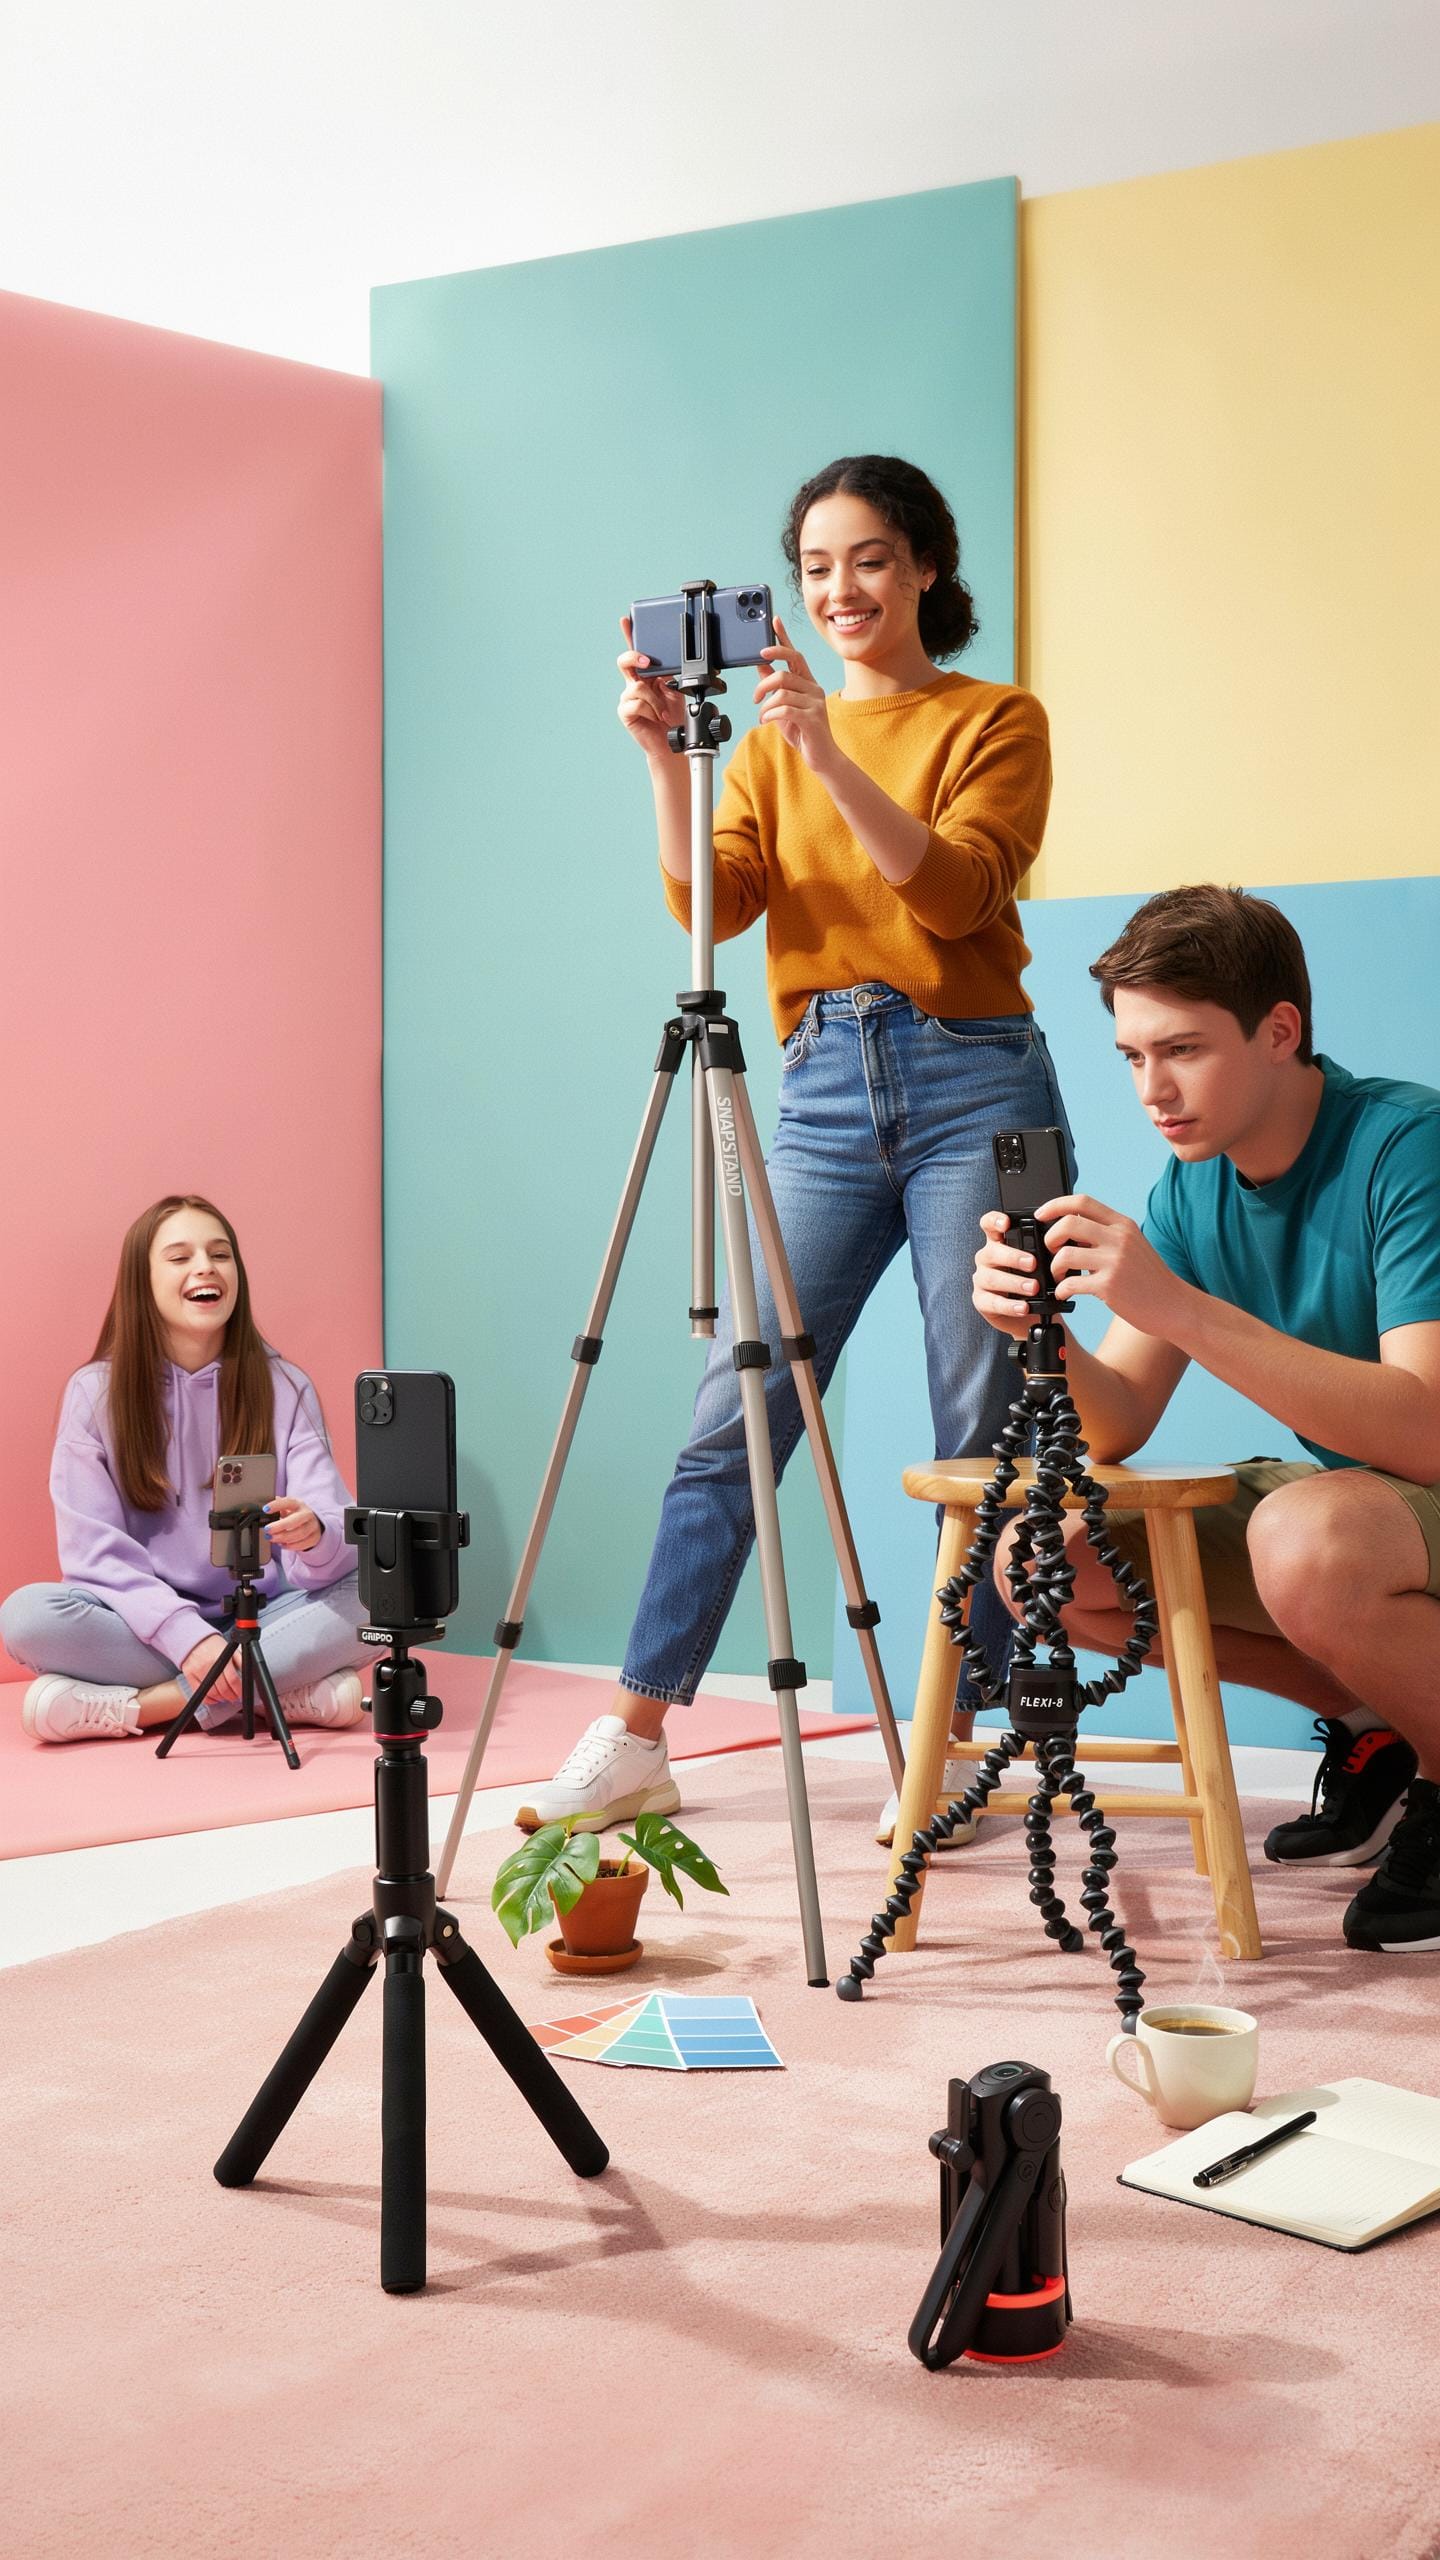
Compact tripods stand between 7 and 20 inches tall. Full-size tripods extend 50 to 67 inches. The choice depends on your shooting setup and mobility needs. Mini tripods work well for desk recording, product shots, and stationary content. Full-size tripods give you height flexibility and reach. They accommodate multiple angles without repositioning your phone constantly.
Mini tripods sacrifice height for portability and storage space. You pack them in bags or backpacks without hassle. Full-size tripods require dedicated carrying cases. Mini models work best indoors or for close-range framing. Full-size models give you outdoor versatility and audience-facing angles. Your content type and location determine which serves you better.
Gorilla Pods And Flexible Legs
Flexible leg designs wrap around objects like branches, railings, and poles. This design solves the problem of finding flat surfaces for standard tripods. You bend each leg independently to lock onto irregular shapes. Gorilla pods typically range from 5 to 12 inches and weigh under a pound. The rubber-coated legs grip surfaces without slipping or damaging them.
Flexible tripods eliminate setup time in outdoor environments. You secure your phone in seconds rather than searching for level ground. The ball joint mount rotates 360 degrees for angle adjustment. These tripods cost between 15 and 35 dollars at retail. They handle quick location changes and creative shooting angles that rigid tripods cannot achieve.
Key Features To Look For In A Budget Phone Tripod
Material And Durability
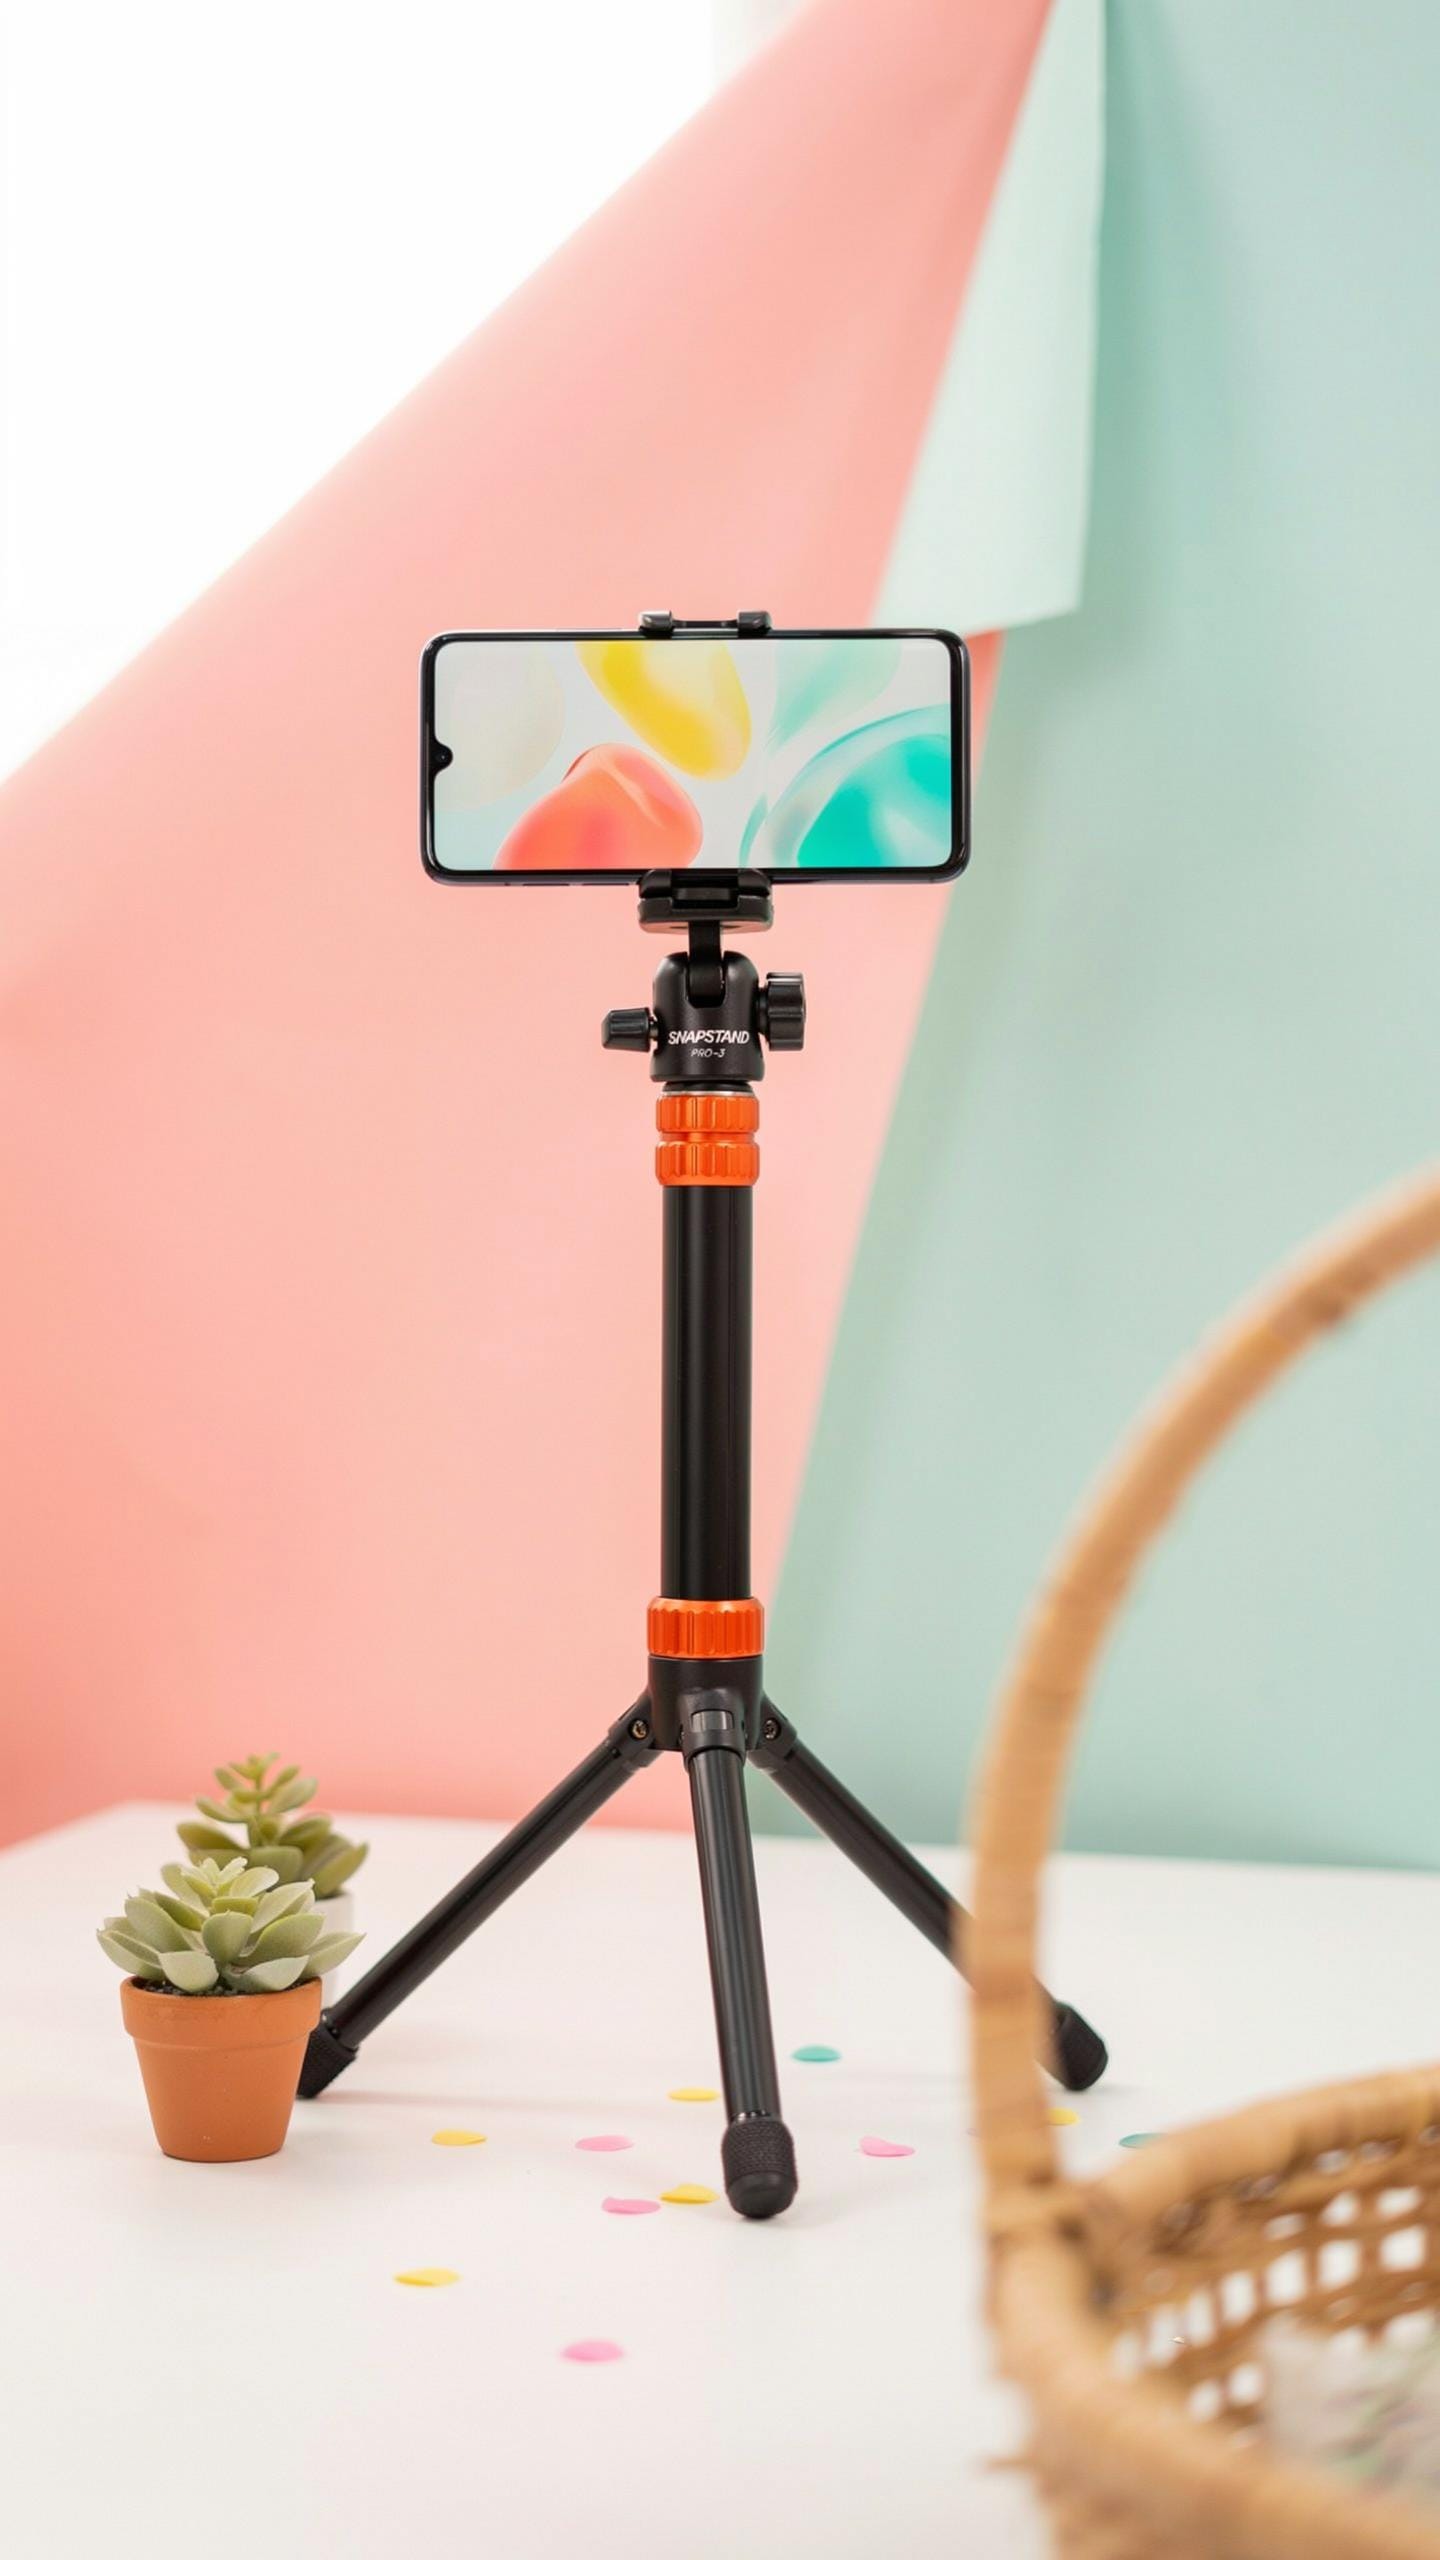
Budget tripods use aluminum, stainless steel, or plastic legs. Aluminum offers the best balance between weight and stability for content creators on a tight budget. It resists corrosion and handles repeated setup cycles without failing. Plastic components reduce cost but fail faster under regular use. Check leg locks and joints first. These break before the main shaft does.
Rubber feet matter more than most creators realize. They prevent slipping on smooth surfaces and protect floors during shoots. Budget models often skimp here, so inspect feet before purchase. Joints should tighten without wobbling. Test the center column screw by hand. If it spins too loosely, the tripod won’t hold steady during recording.
Adjustability And Height
Maximum height determines your shooting angles and frame compositions. Budget tripods reach 50 to 67 inches typically. This covers most sitting and standing perspectives for phone content. Minimum height matters equally. Tripods that collapse to 8 to 15 inches work for low-angle shots without additional rigs. Extended legs should lock at each section securely.
Tilt and pan ranges affect video quality. Look for tripods with 360-degree pan rotation and 90-degree tilt capability. Phone holders must rotate between portrait and landscape orientation. The holder itself should grip phones from 2.2 to 3.5 inches wide. Test the grip tension. Loose grips cause phones to slip mid-recording, killing your footage instantly.
The Bluetooth Remote A Content CreatorS Best Friend
Hands Free Filming
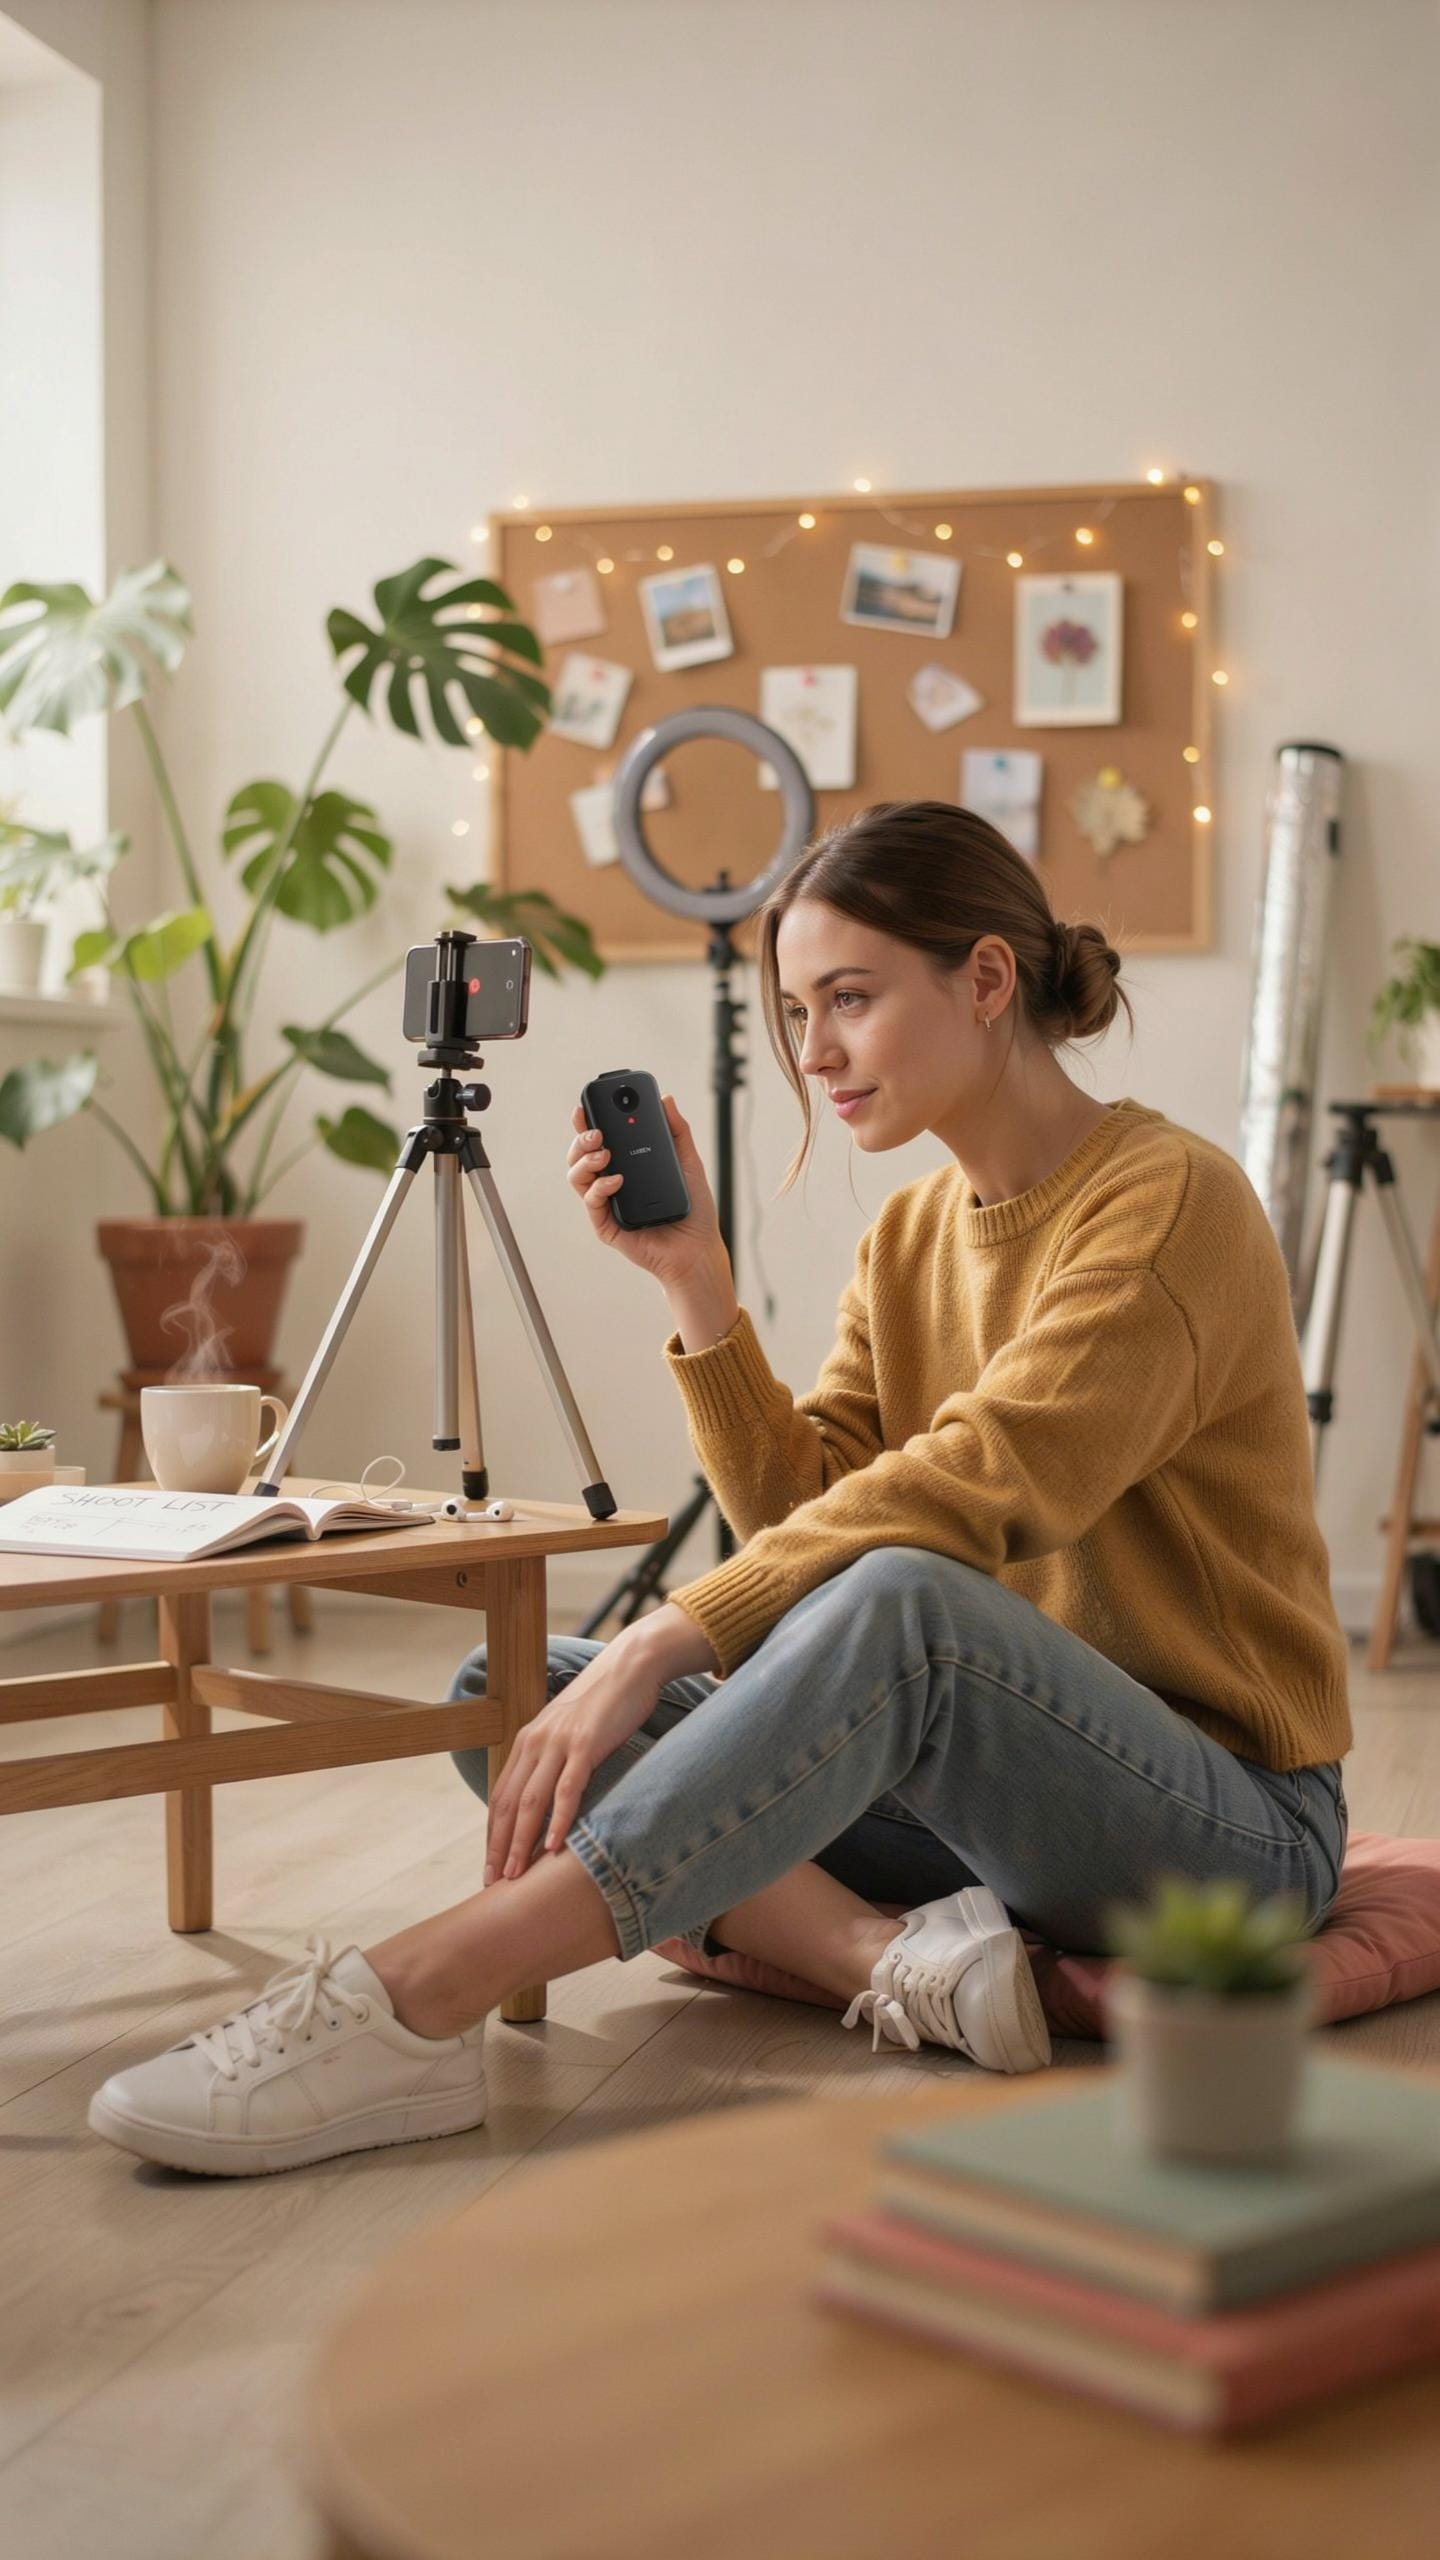
A Bluetooth remote eliminates the need to touch your phone during recording. You trigger the camera from a distance, reducing motion blur and camera shake. This matters because even small vibrations degrade video quality. The remote connects wirelessly to your phone, giving you control from anywhere within range, typically ten to thirty feet depending on the model.
Remote operation lets you frame shots precisely before recording starts. You can adjust your position, check lighting, and verify framing without resetting your phone. Then you trigger recording from exactly where you need to be. This workflow saves time on shoots and cuts down on unusable footage from fumbling with your phone.
Solo Shoots Made Easy
Solo creators gain independence from tripod timers and app-based recording. A Bluetooth remote lets you start and stop recording instantly without running back to your phone. You control the action from your position, maintaining natural movements and expressions. This approach works for tutorials, vlogs, interviews with yourself, and product demonstrations.

Budget tripods often include basic Bluetooth remotes in their packages or sell them separately for under twenty dollars. These remotes typically feature simple buttons for record start, stop, and sometimes zoom control. Compatibility varies, so verify your phone model works with the remote before purchase. This addition transforms a static tripod into a functional solo filming setup.
Phone Tripod Vs Selfie Stick When To Choose Which
Stability Vs. Portability
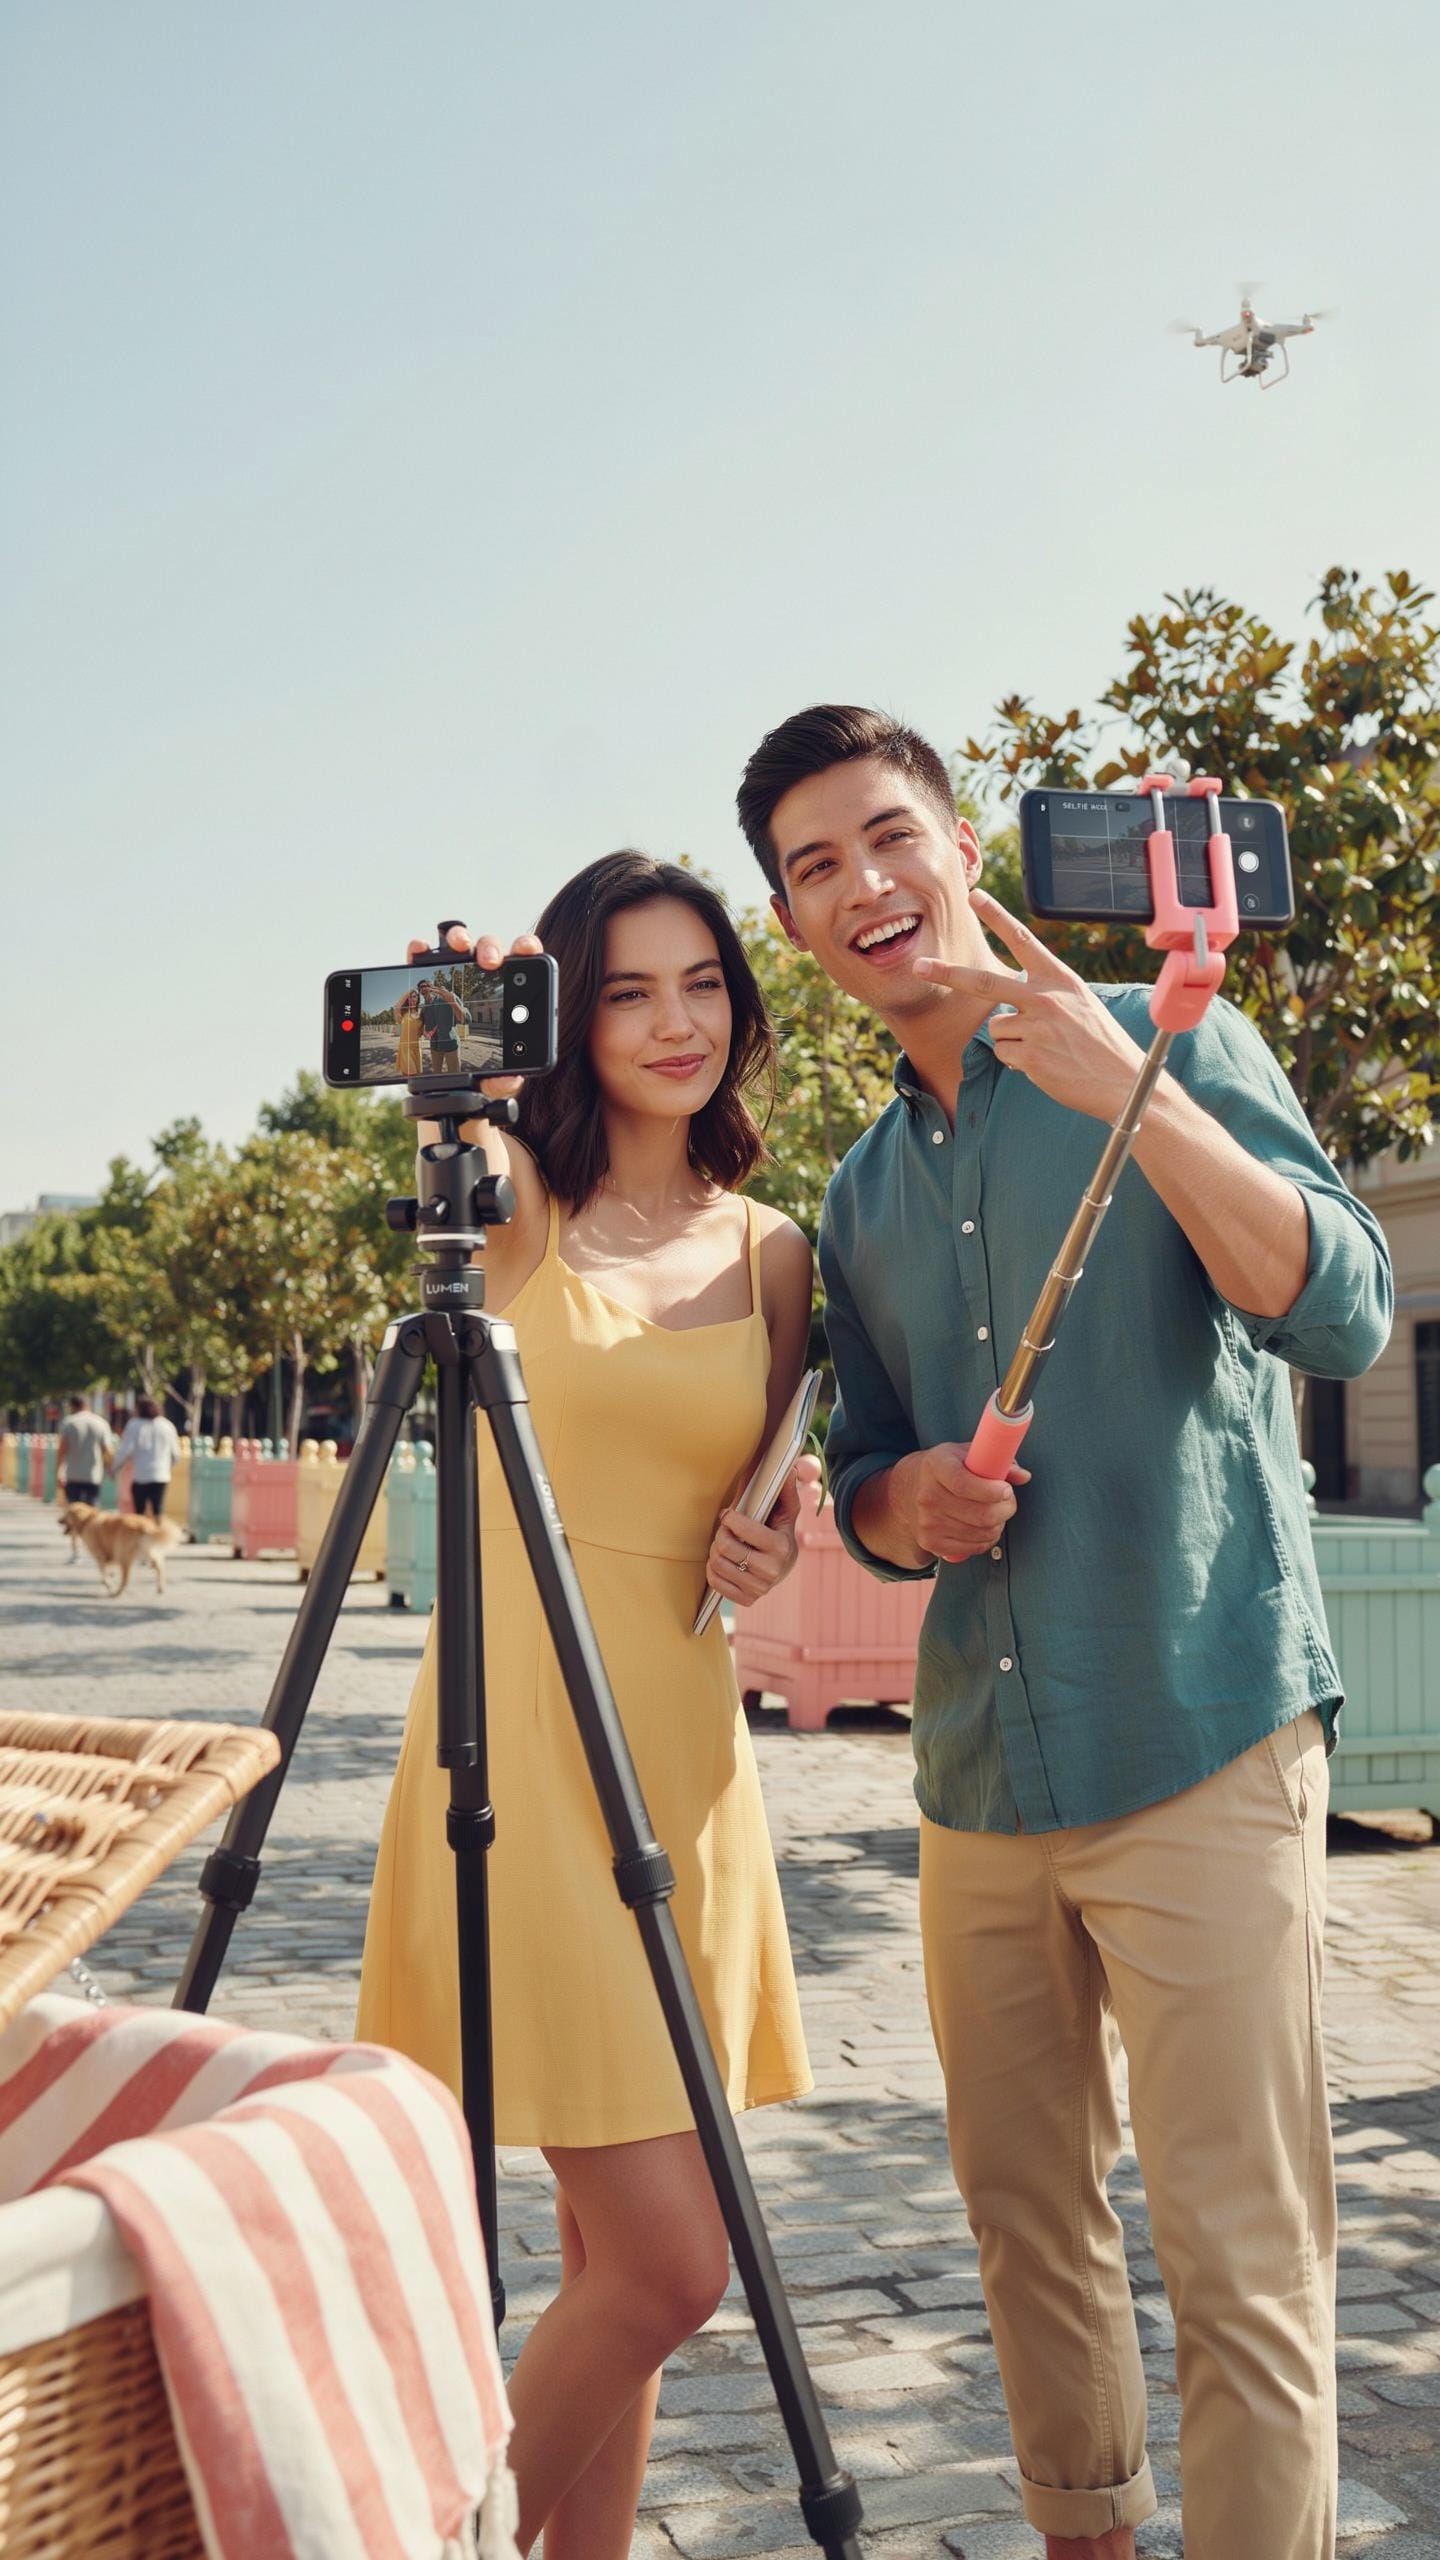
Tripods lock your phone in place. They eliminate hand shake and fatigue. You get consistent framing for long recording sessions. The trade-off is weight and setup time. Selfie sticks extend your reach while you hold them. They’re lighter and pack smaller. You sacrifice stability for mobility and spontaneity.
Choose a tripod when your content demands precision. Interviews, tutorials, and product shots require locked angles. Your hands stay free to manage props or lighting. Tripods work best in controlled environments where you control the camera position throughout shooting.
Creative Applications
Tripods enable static shots and time-lapses. Mount your phone and let it run. Perfect for vlogging at a desk, filming workout routines, or capturing product demonstrations. Tripods work for wide shots showing your full body or workspace. They’re essential when you need your hands free for other tasks.

Selfie sticks excel at dynamic movement and crowd shots. Use them for walking vlogs, event coverage, or capturing yourself with landmarks. They let you frame yourself and your surroundings simultaneously. Selfie sticks work best for content requiring varied angles without stopping to reposition equipment.
Top Budget Friendly Phone Tripods For Content Creators
Recommended Models
Budget tripods deliver core functionality without premium pricing. You need stability, adjustability, and compatibility with your phone. The models below handle video recording, photography, and live streaming effectively. They range from 15 to 50 dollars and perform reliably for beginner to intermediate creators.
- Neewer 50-inch Aluminum Tripod: Offers height adjustment up to 50 inches with a phone holder clamp. Weighs 1.5 pounds for portability. Works for both indoor and outdoor shoots. Includes a carry bag for transport and storage convenience.
- AmazonBasics 21-inch Compact Tripod: Lightweight design at under one pound with three-section legs for compact storage. Phone clip rotates 360 degrees for portrait or landscape framing. Stable base prevents tipping during recording sessions and content capture.
- Victiv Phone Tripod with Remote: Extends to 40 inches with a Bluetooth remote control included. Ball head allows full rotation and angle adjustment for creative shots. Remote enables hands free recording for tutorials, vlogs, and selfie content.
- UBeesize 42-inch Phone Tripod: Features a universal phone holder compatible with devices 2.2 to 3.5 inches wide. Non slip rubber feet grip surfaces without leaving marks. Includes a carry bag and costs under 20 dollars for full setup.
- Fotopro UFO2 Portable Tripod: Compact enough to fit backpacks with legs that fold completely flat. Quick setup takes under 30 seconds for on location recording. Maximum height reaches 27 inches with rubber grips on all adjustable sections.
These tripods share common strengths: fast setup, reliable phone holding, and price points under 50 dollars. They lack advanced features like motorized heads or app control, but handle standard content creation tasks without failure. Choose based on your primary location, whether you need portability or maximum height reach.
Remember those early videos, a little shaky but full of heart? A small tripod, a mighty dream, that’s where the magic truly begins.
Where To Buy Deals
Major retailers compete aggressively on tripod pricing. Amazon, Best Buy, and Walmart frequently discount models by 15 to 25 percent during seasonal sales. Sign up for price drop alerts on specific models you target. Timing matters, with December holidays and back to school periods offering steeper discounts than summer months.

Check third party seller reviews carefully on marketplace platforms. Some sellers offer legitimate discounts while maintaining warranty coverage. Direct manufacturer websites sometimes offer bundle deals pairing tripods with phone holders or remote controls at lower combined prices. Costco and warehouse clubs occasionally stock budget tripods at member only rates, though selection rotates quarterly and availability remains inconsistent by location.
Setting Up Your Phone Tripod For Optimal Filming
Quick Setup Guide
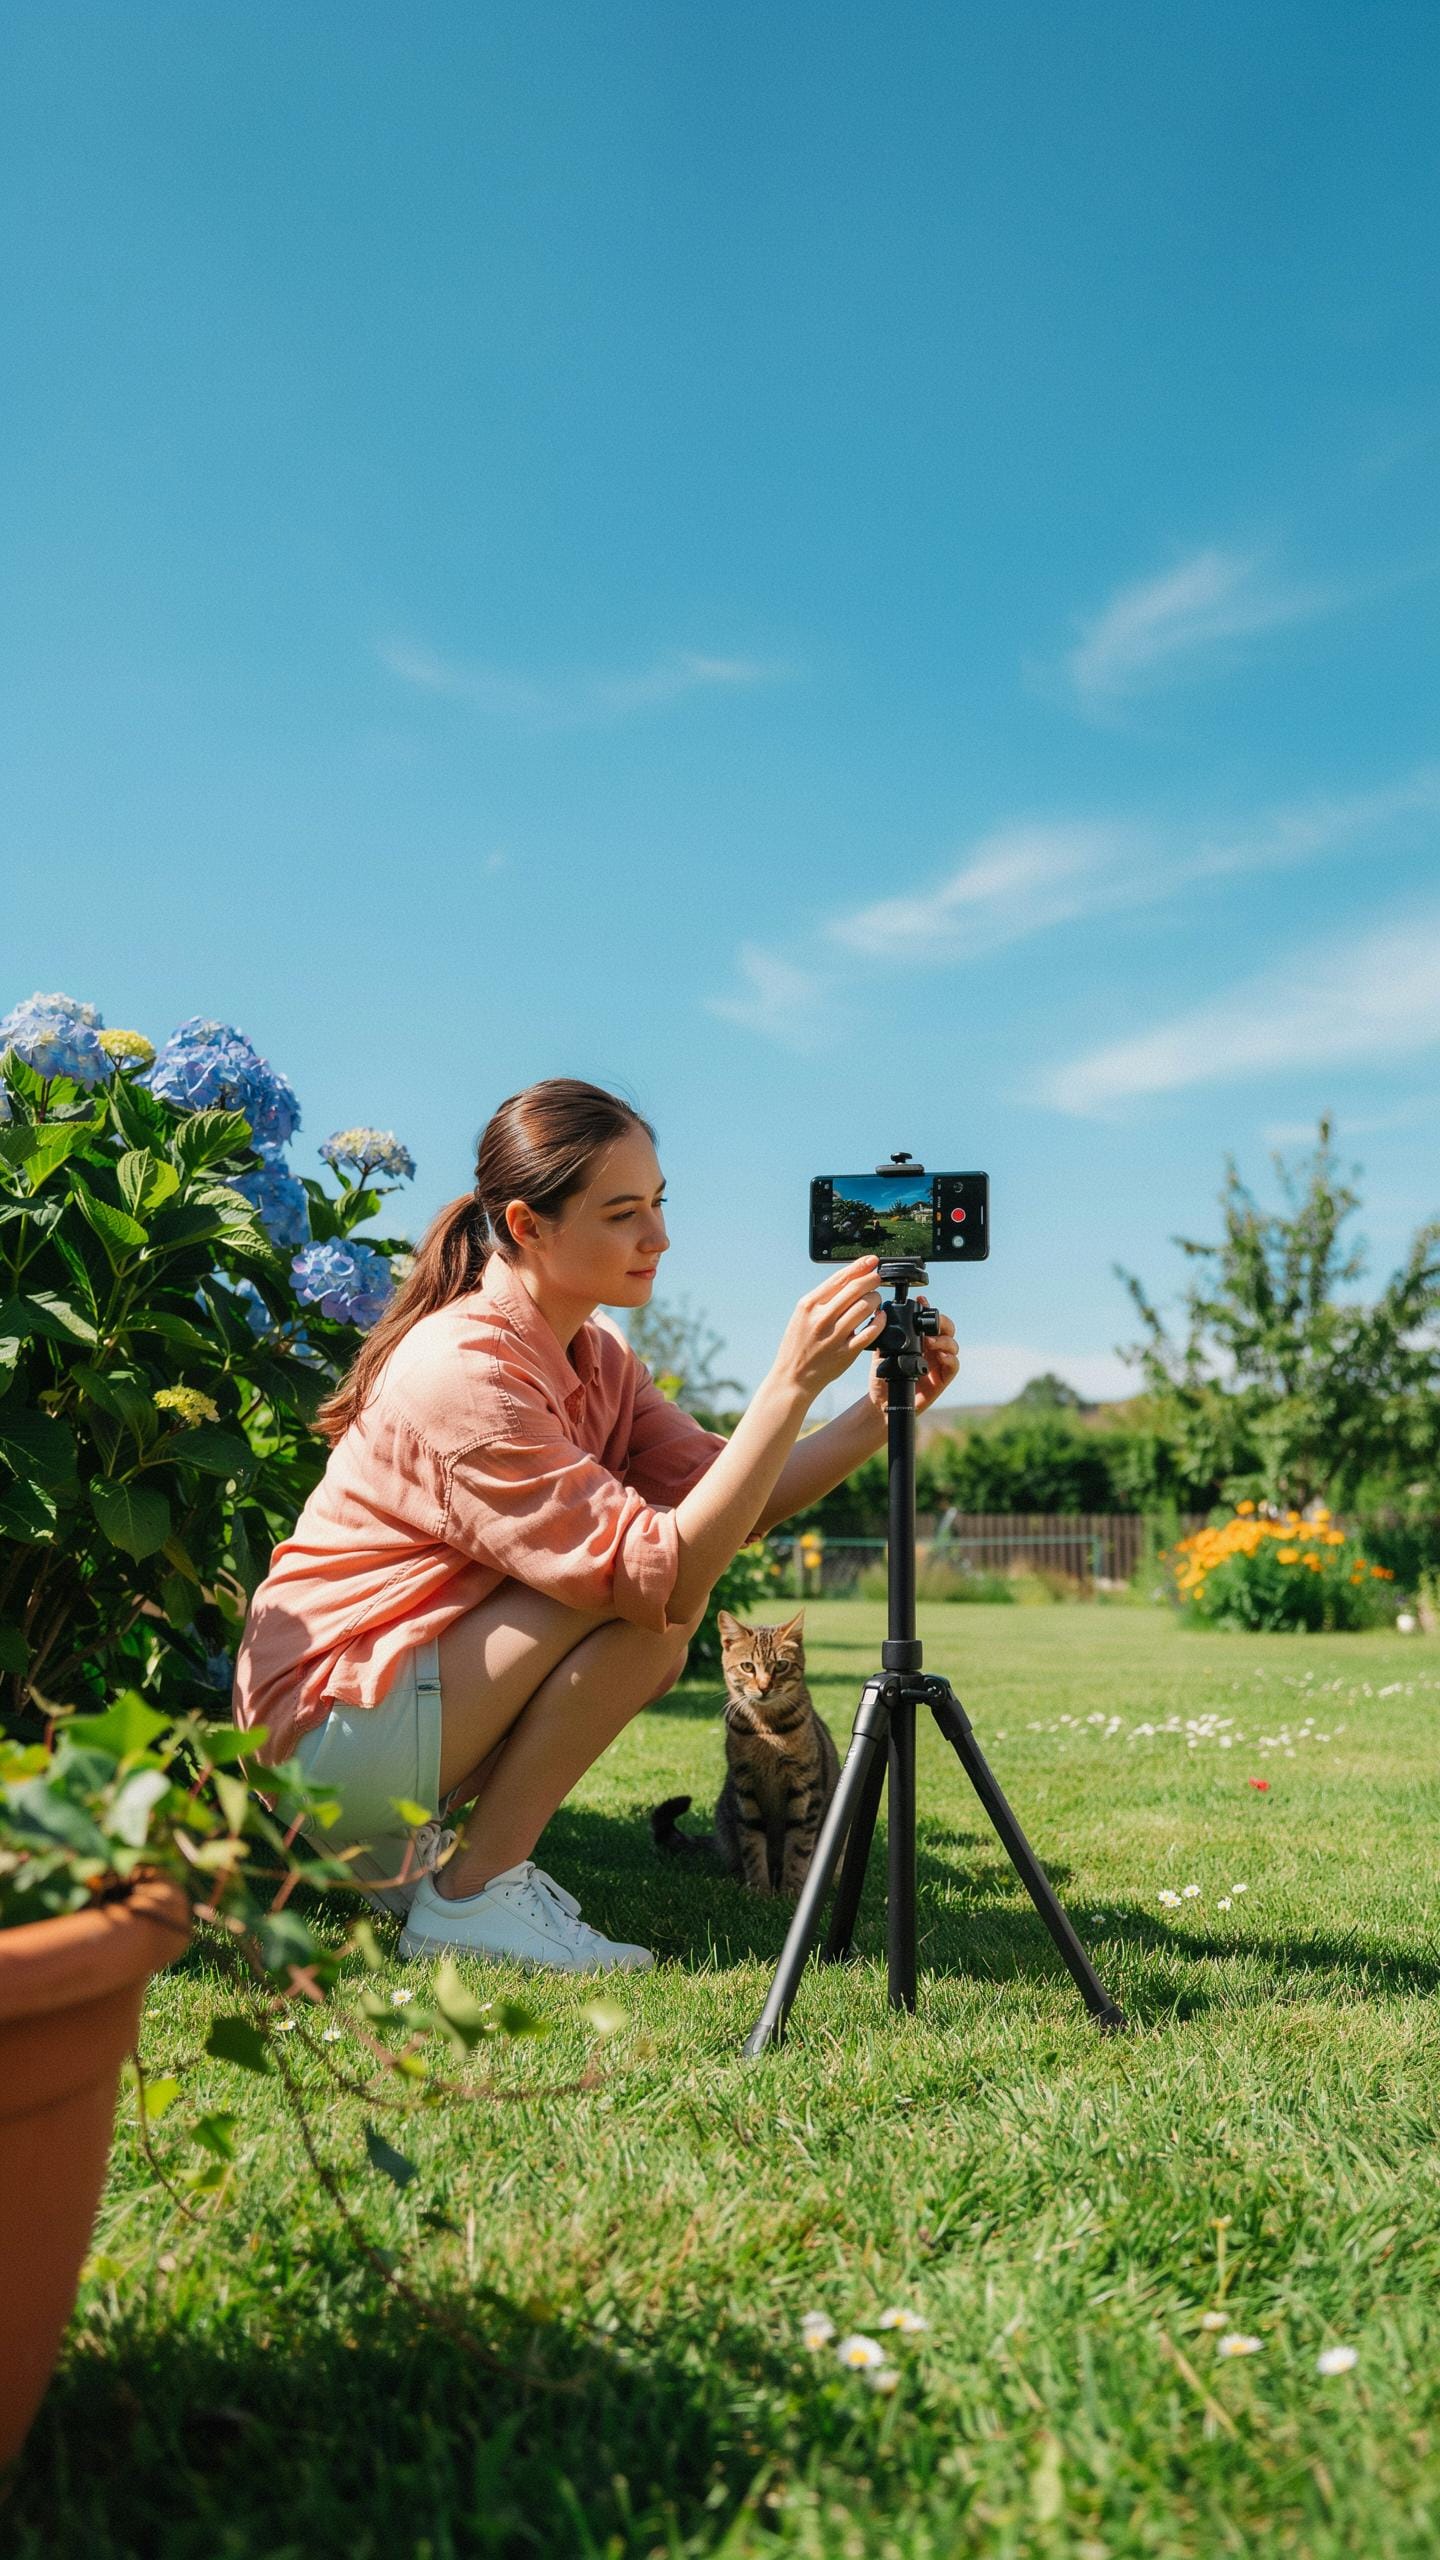
Start by extending the tripod legs fully and locking each section in place. Check that all three legs are even on the ground to prevent tilting. Attach your phone mount to the top of the tripod, ensuring it sits level. Adjust the mount’s grip pads so they hold your phone without damage. Test the stability by gently pushing the setup sideways before filming.
Position the tripod at arm’s length from your subject or scene. Extend the center column only if you need extra height, as this reduces stability compared to spreading the legs wider. Tighten all locking mechanisms with moderate force. Never overtighten, as this damages the joints and shortens the tripod’s lifespan. A secure tripod eliminates camera shake and keeps your footage steady throughout your recording session.
Framing And Composition
Place your tripod so the camera frames your subject with the rule of thirds in mind. Position key elements like faces or objects at the intersection points rather than dead center. This creates visual interest and holds viewer attention longer. Adjust the tripod height so the lens points slightly downward toward your subject’s face for flattering angles. Test different distances before you start recording to confirm the framing works for your content type.

Ensure your backdrop is clean and intentional. Clutter behind your subject distracts from your message and dilutes video quality. Use consistent lighting by positioning your tripod to avoid harsh shadows across your face or subject. Check your phone’s preview screen to catch framing issues before you roll. Lock all tripod adjustments once you finalize your composition so nothing shifts during recording.
Advanced Tips For The Creator Using Digital Tools
Lighting And Audio Accessories
Your phone tripod becomes ineffective without proper lighting and audio support. Most budget tripods accept standard cold shoe mounts or have threaded attachment points. Ring lights clip directly to tripod heads or mount on separate arms. Lavalier microphones connect to your phone’s headphone jack or lightning port. These additions cost between 20 to 80 dollars and dramatically improve output quality.
Audio clarity matters more than video clarity to audiences. Cheap phone mics capture wind noise and background clutter. External microphones isolate your voice from unwanted sound. Position your tripod near treated surfaces that absorb sound reflections. Test audio levels before recording full content. This prevents wasting time on unusable footage.
Post Production Workflow
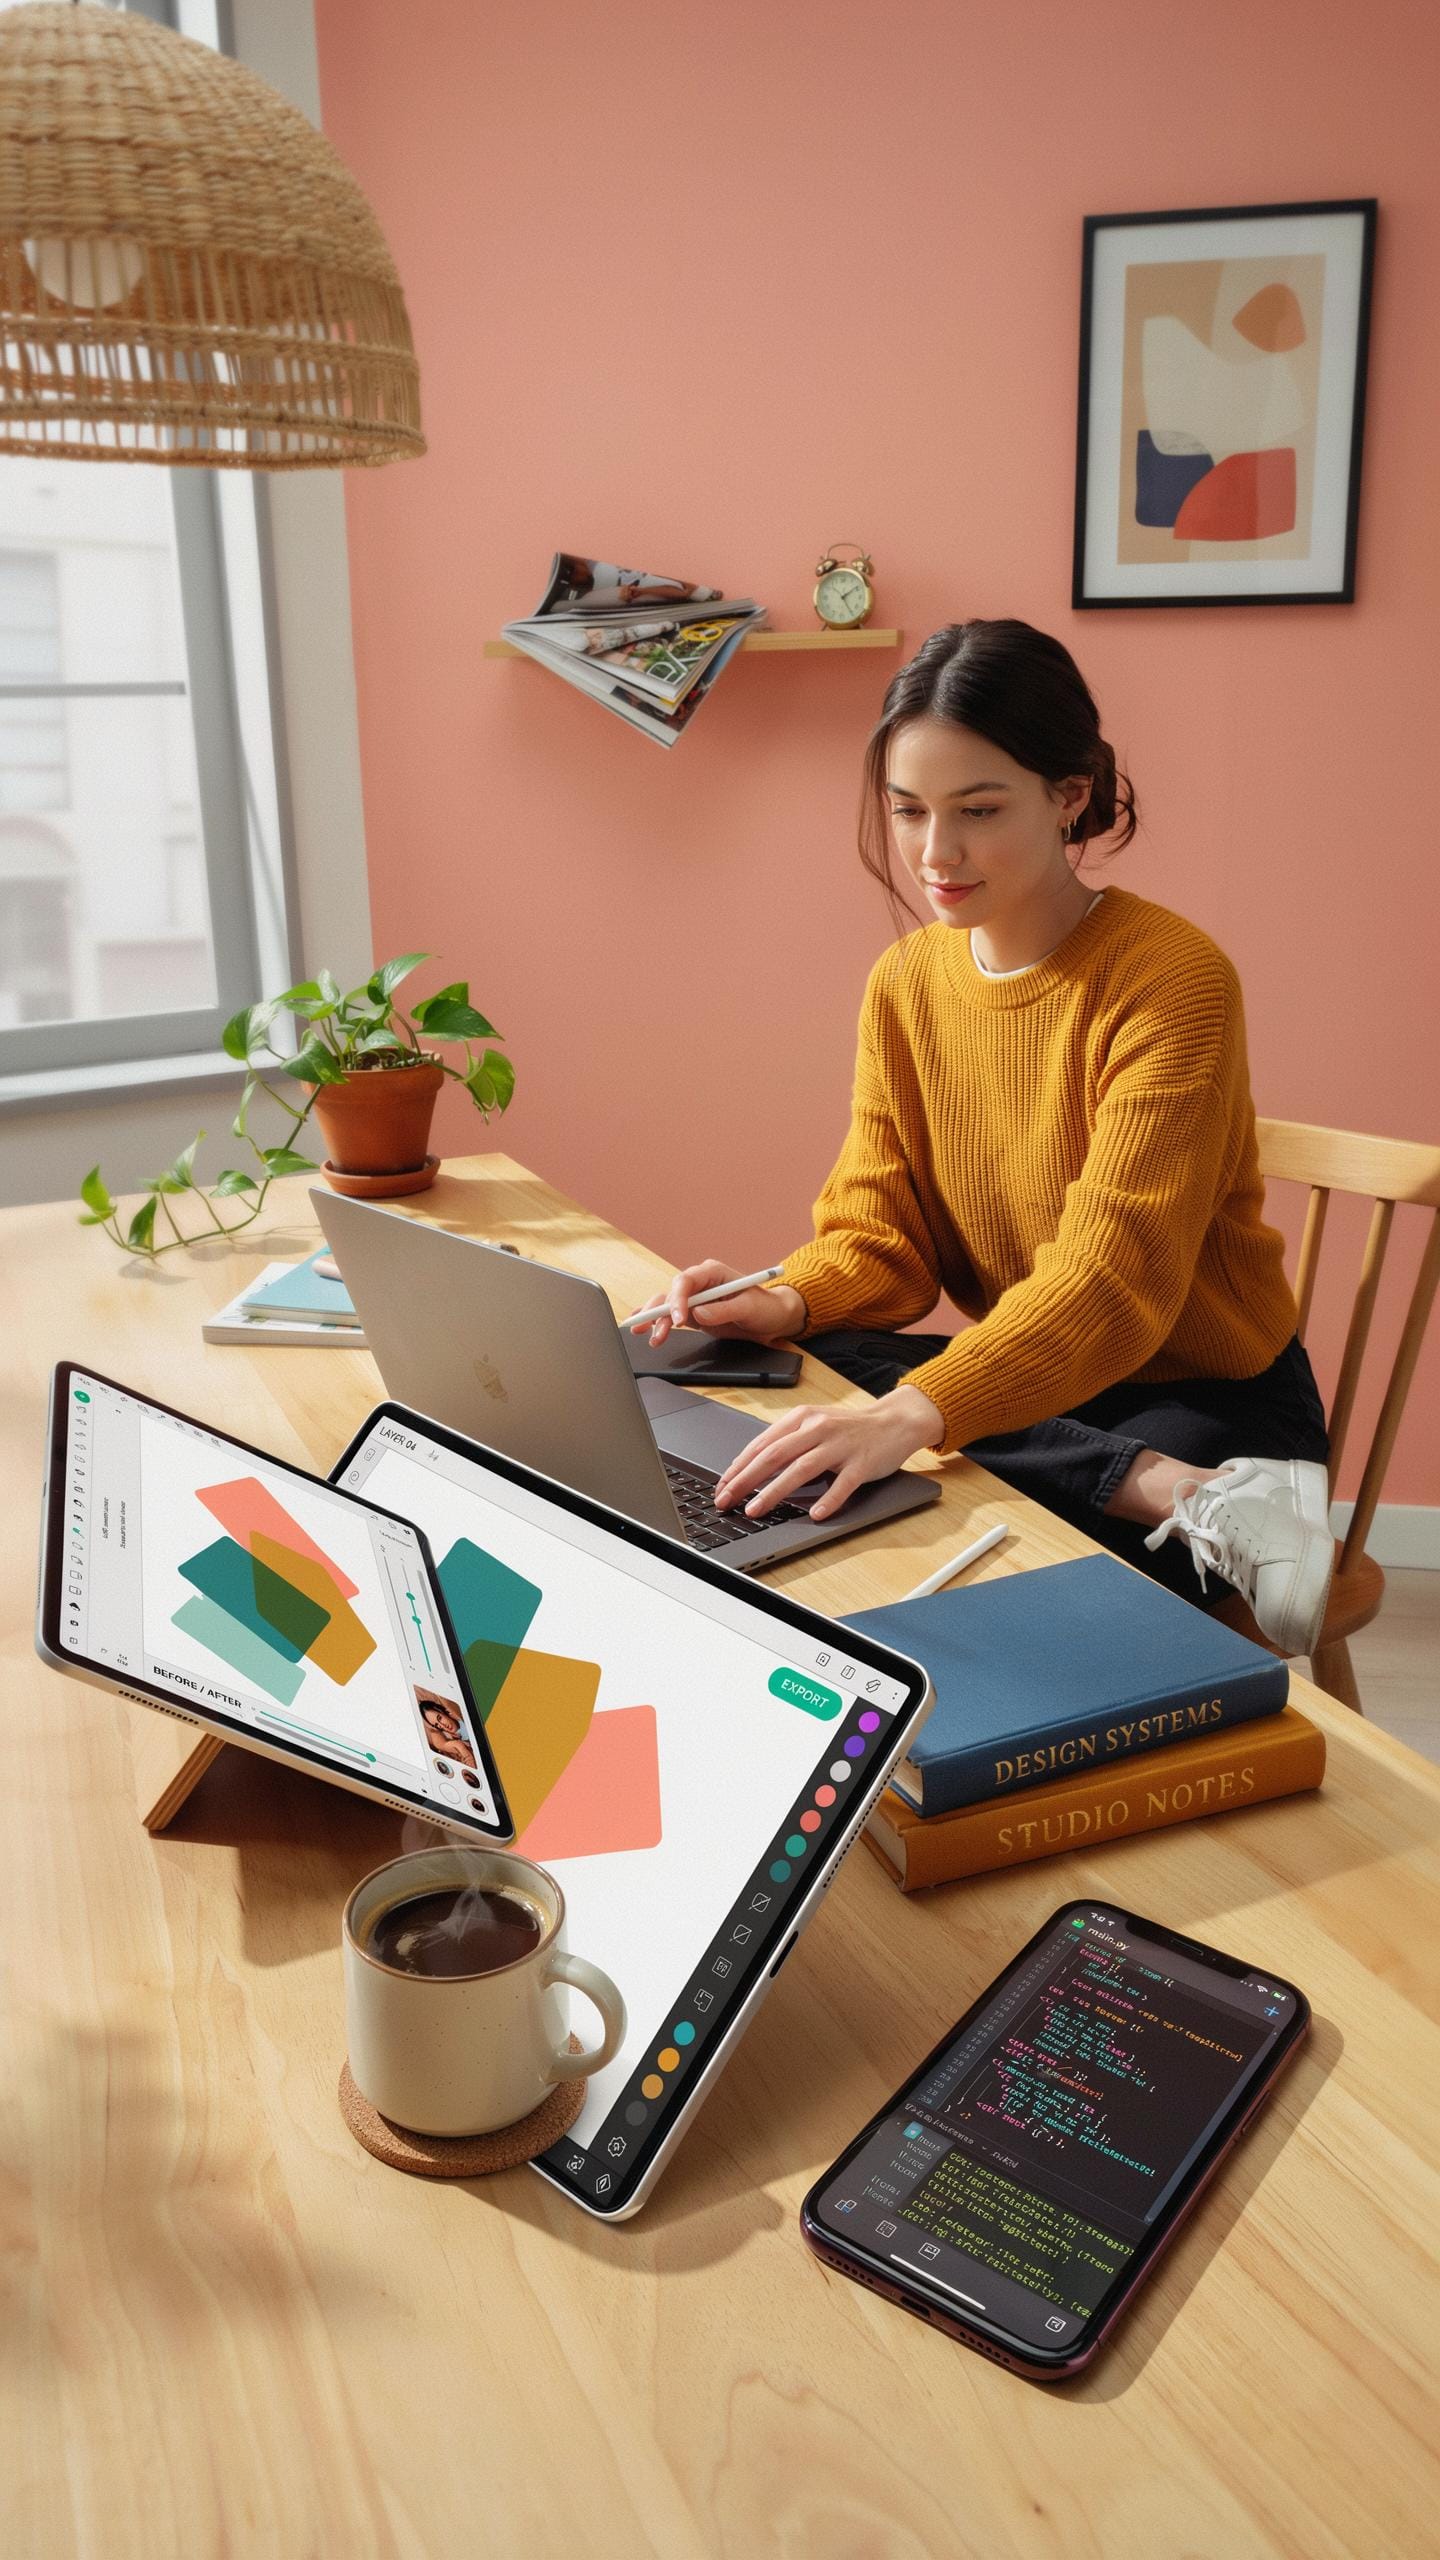
Footage shot on phone tripods transfers directly to editing software via USB or cloud storage. Stabilized tripod footage requires minimal correction in post production. This saves rendering time and reduces file corruption risks. Organize your footage by session and date immediately after shooting. Name files with descriptive labels, not generic timestamps.

Import tripod footage into your editing timeline as proxy files if working with 4K. Proxy workflows prevent playback stuttering on lower spec machines. Export final content at the bitrate your distribution platform requires. YouTube, TikTok, and Instagram each demand different specifications. Matching output specs prevents re-encoding that degrades quality. Plan your export settings before you start editing to maintain consistency across all uploads.
Frequently Asked Questions
Why do I need a phone tripod for content creation if I’m just starting out?
A phone tripod for content creators is essential for stability, ensuring your videos and photos are professional-looking and shake-free. It allows you to experiment with different angles and lighting hands-free, which is crucial for improving content quality without breaking the bank. It truly elevates your production value from day one.
How can I use a phone tripod to get steady shots for my Instagram reels or TikToks?
To get steady shots, simply mount your phone securely onto your phone tripod for content creators. Extend the legs for desired height and angle, ensuring the base is level. Use your phone’s self-timer or a remote shutter to avoid touching the device during recording, guaranteeing super smooth footage every time, perfect for dynamic reels.
Are there genuinely affordable phone tripods that still offer good quality for content creators on a tight budget?
Absolutely! Many excellent, budget-friendly phone tripods are available that provide robust quality. Look for models with adjustable heights, sturdy build materials, and universal phone holders. You can find fantastic options under $30-$40 that are perfectly capable of handling daily content creation needs without sacrificing stability or versatility.



