
Understanding Portrait Mode And Lighting Essentials
What Is Portrait Mode
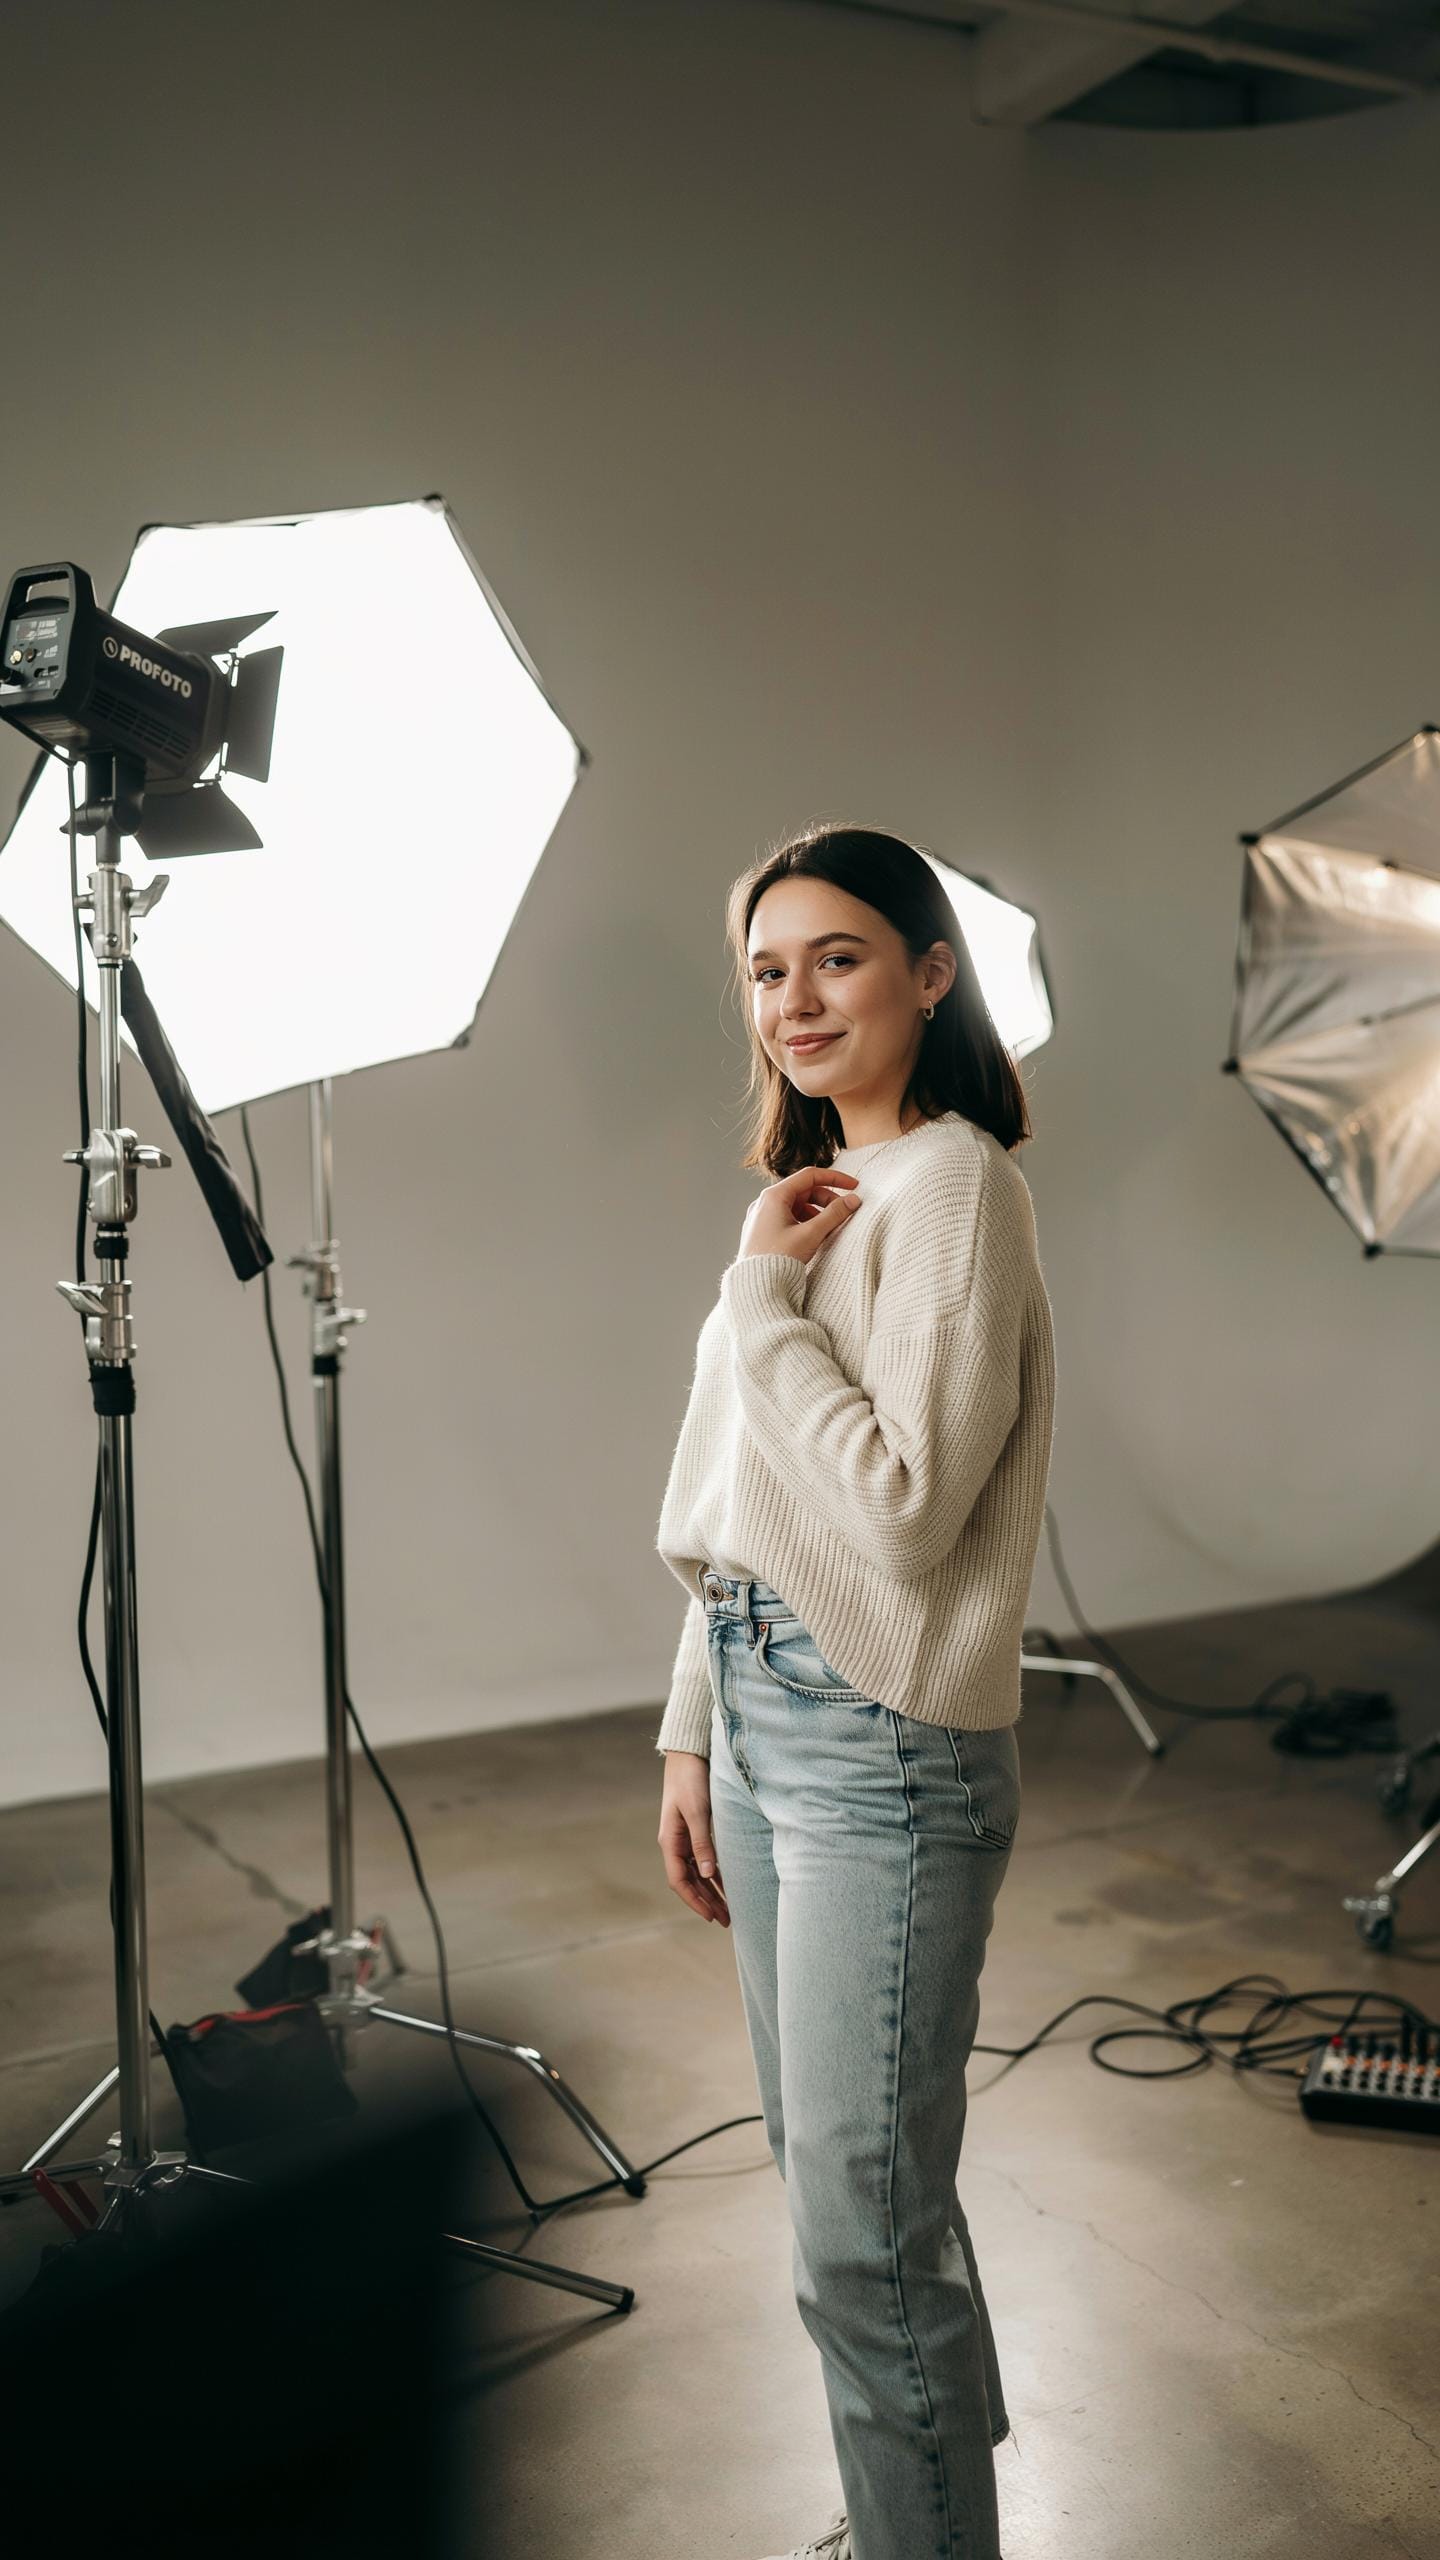
Portrait mode uses computational photography to isolate your subject from the background. Your camera captures multiple images and analyzes depth information to separate foreground from background. The camera then applies a blur effect to everything behind your subject while keeping them sharp. This simulates the shallow depth of field you get with expensive telephoto lenses. Most smartphones and modern cameras include this feature built into their software.
The depth calculation happens in real time on your device. Some cameras use dual lenses to measure distance. Others rely on machine learning to understand what constitutes your subject versus background. The result is a synthetic shallow depth of field that draws viewer attention directly to your face or upper body. Portrait mode works best when your subject stands one to eight feet from the camera.
The Importance Of Good Lighting In Portrait Photography
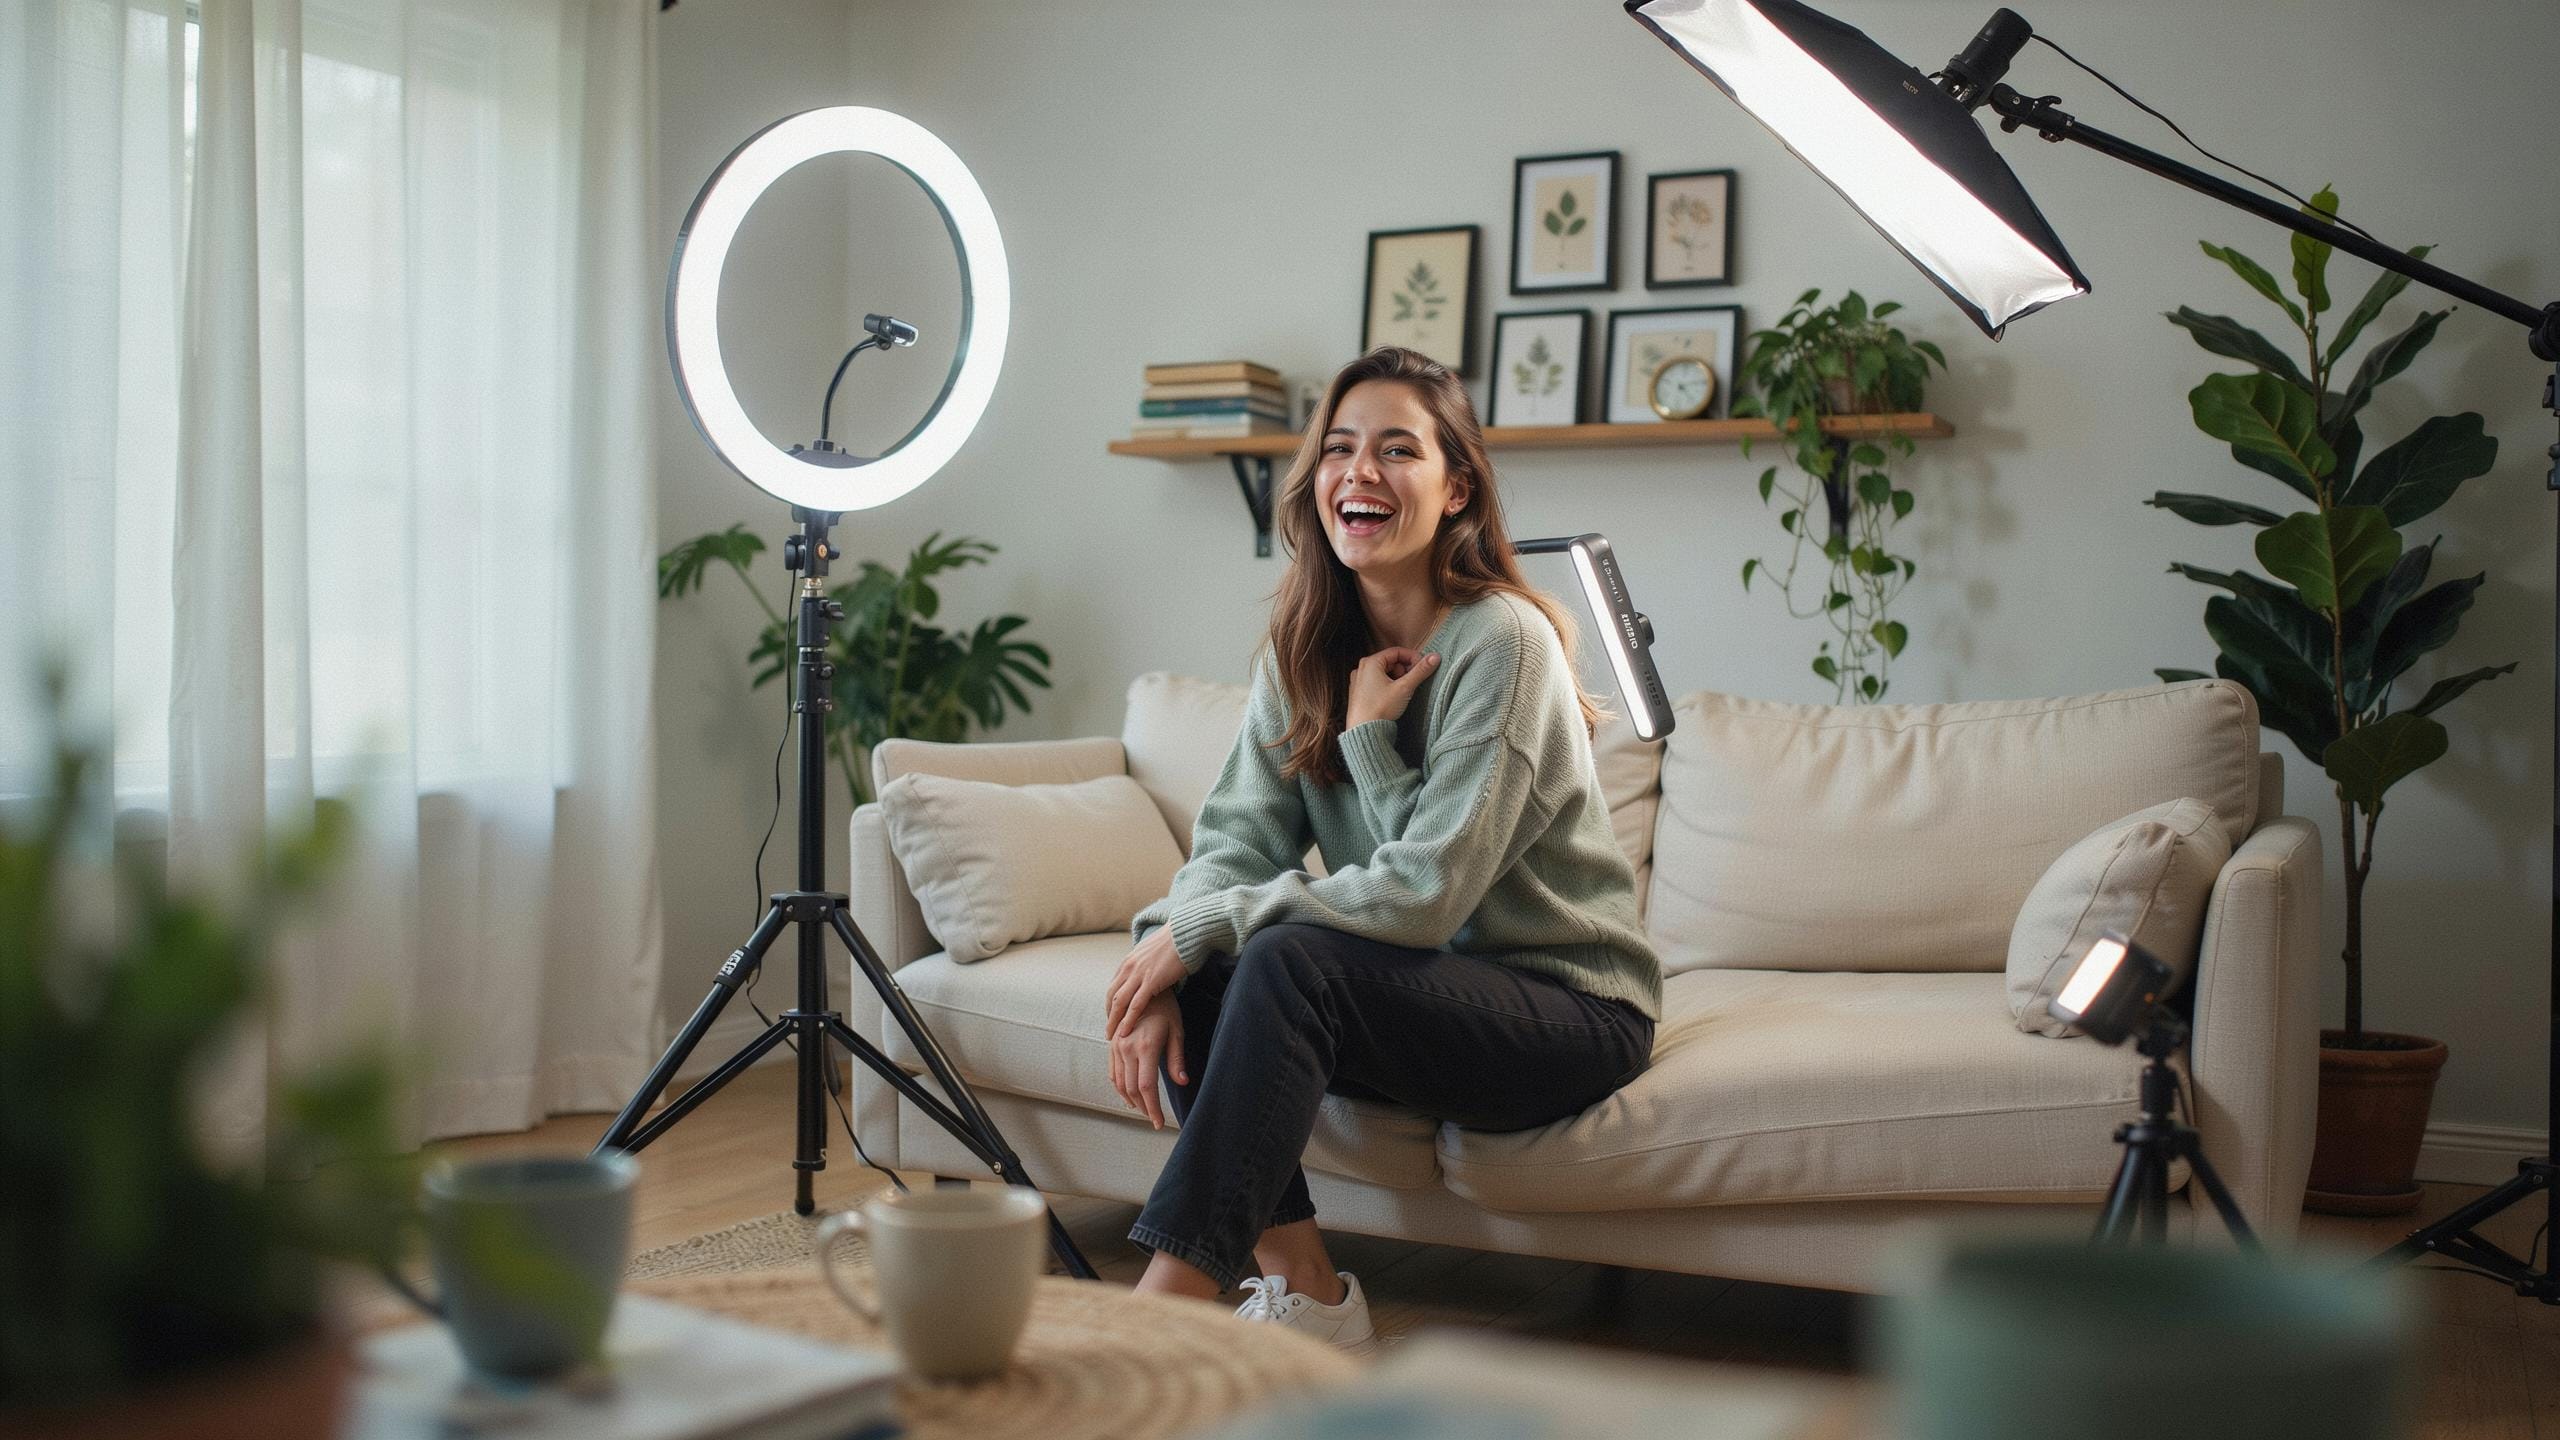
Lighting shapes how your face appears in portraits. Poor lighting creates harsh shadows, uneven skin tones, and loss of detail. Good lighting reveals texture, defines facial structure, and controls where shadows fall. Home lighting often comes from above, creating unflattering shadows under your eyes and chin. A portrait mode lighting kit solves this problem by placing light sources strategically around your subject.
Professional lighting gives you control over mood and dimension in your images. Soft light minimizes blemishes and skin imperfections while hard light emphasizes texture and drama. Three point lighting uses a key light, fill light, and back light to create separation and depth. Home photos shot with a lighting kit look polished because light hits your face evenly and your background stays properly exposed. This transforms casual snapshots into images suitable for professional use.

Choosing Your Portrait Lighting Setup
Key Components Of A Basic Lighting Kit
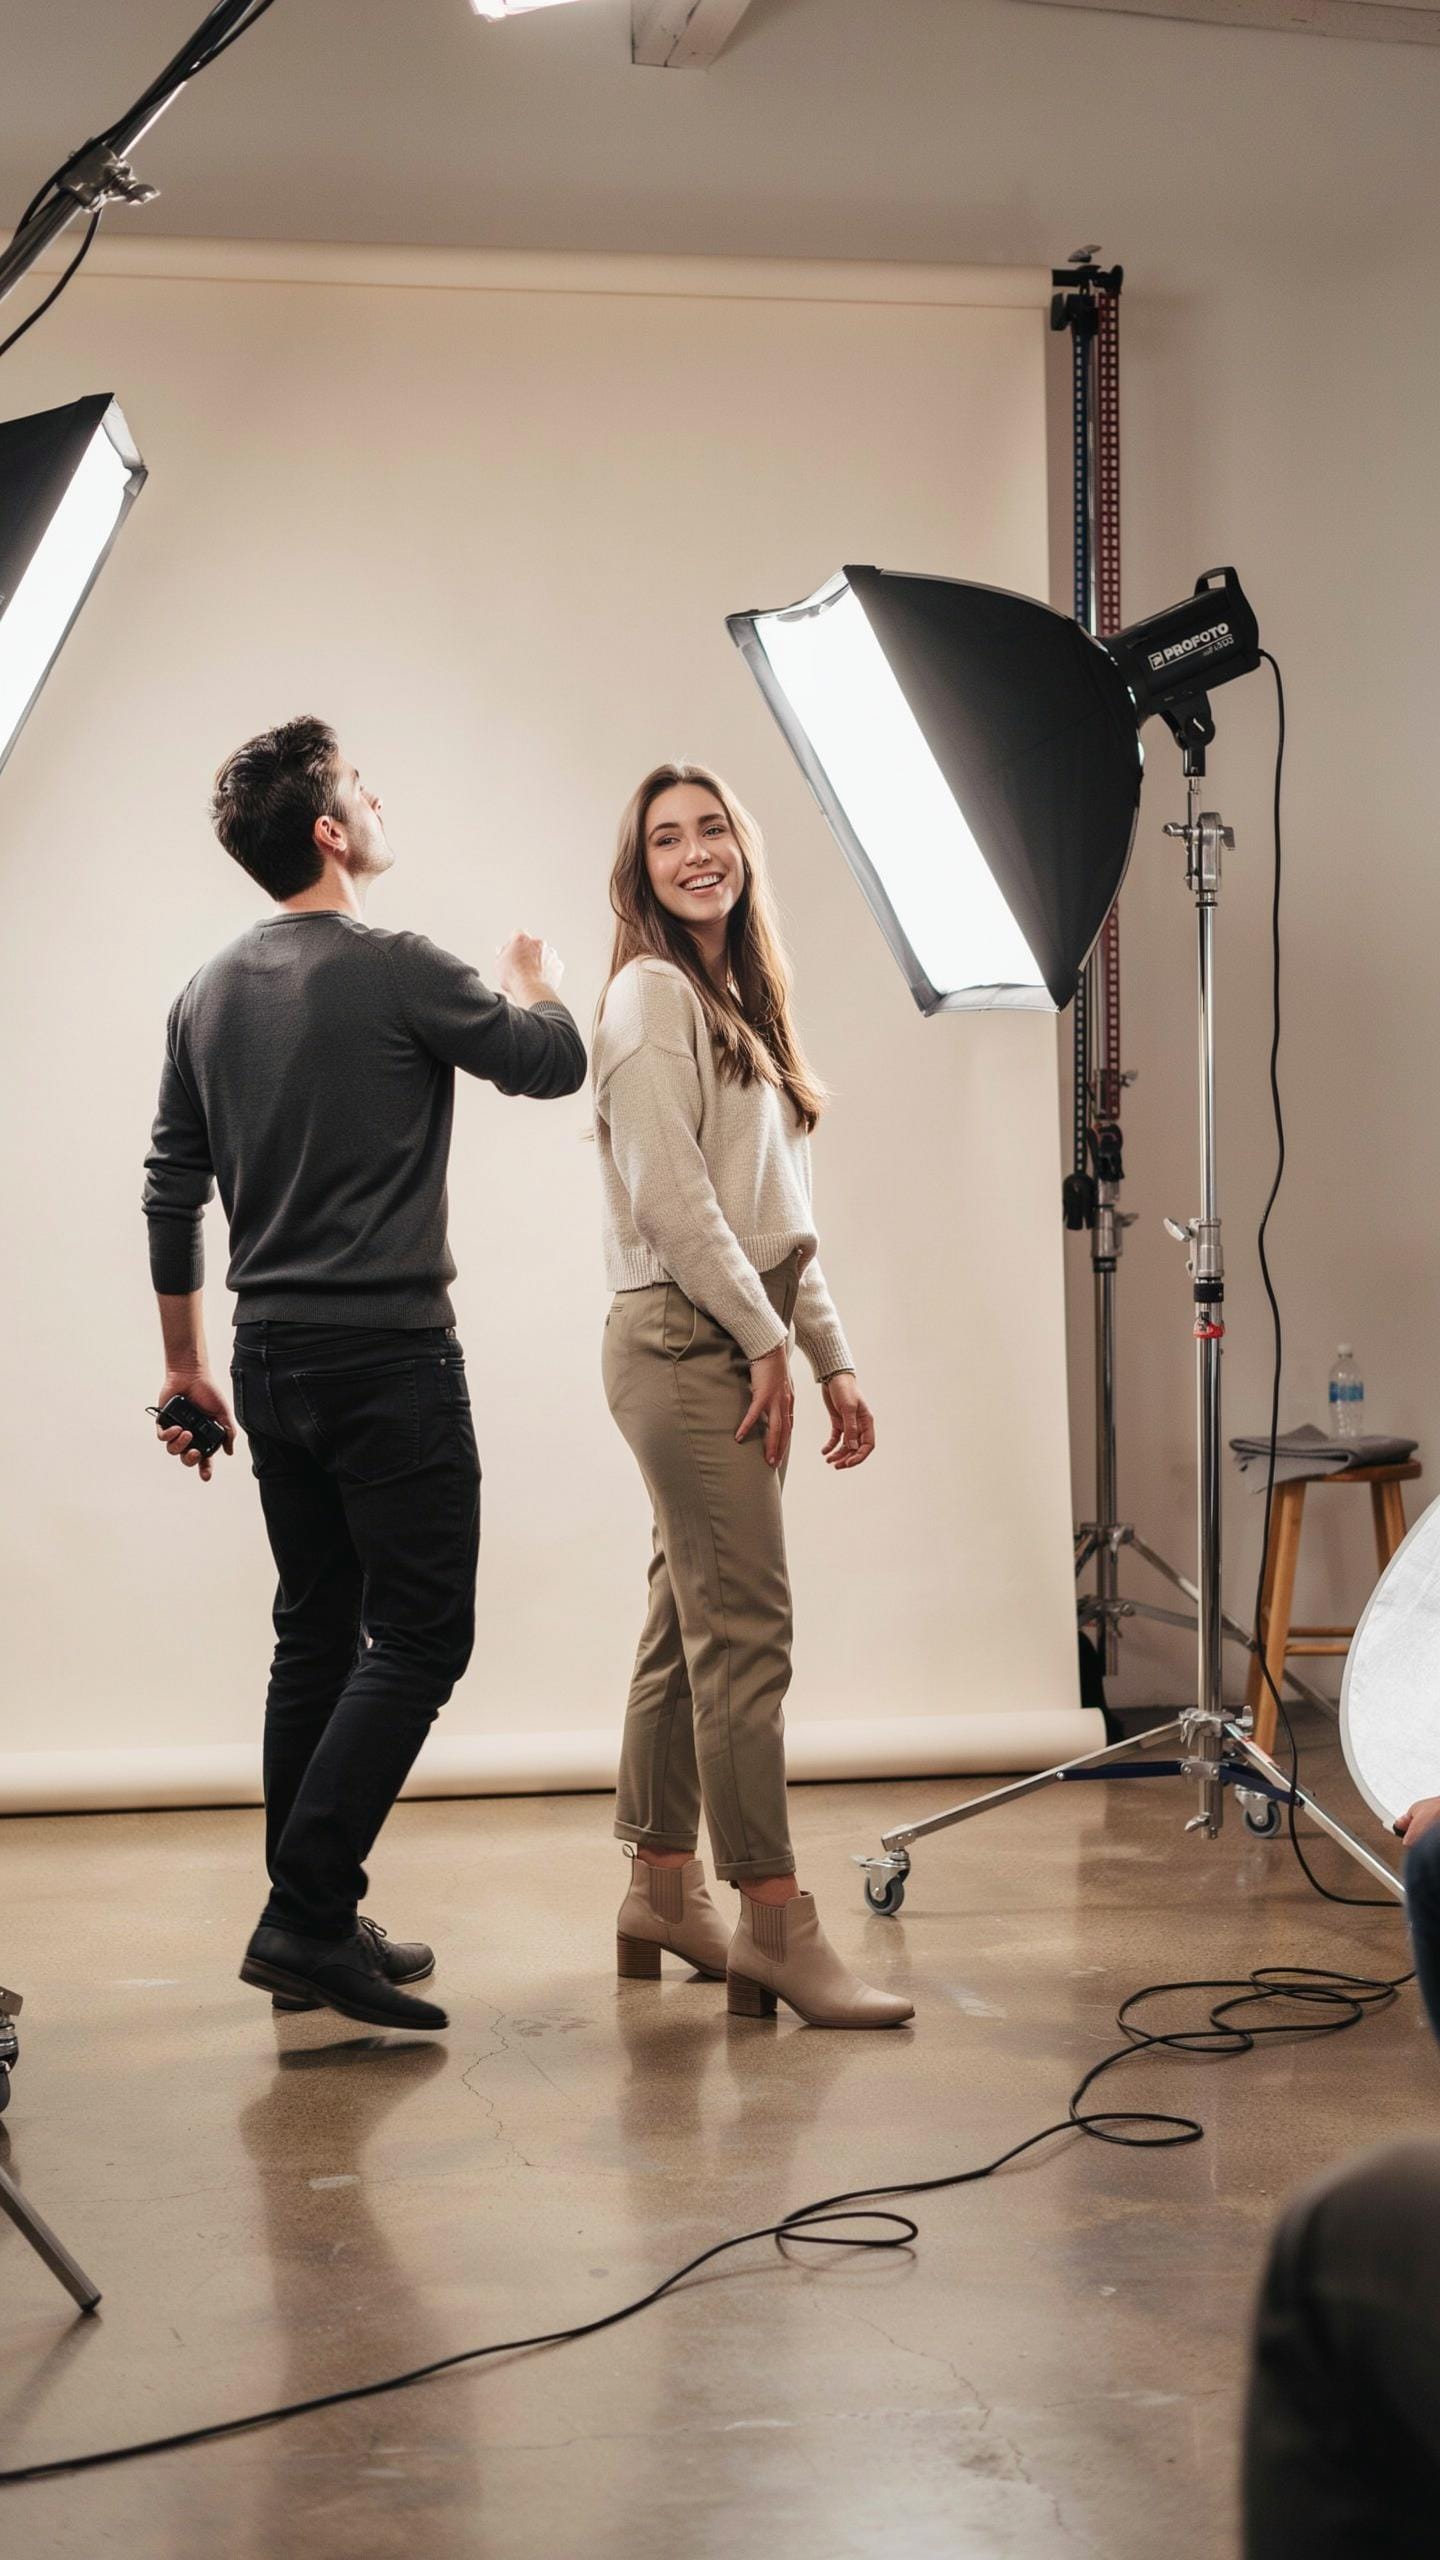
A functional portrait lighting kit requires three core elements to control light direction, diffusion, and bounce. Continuous lights serve as your primary source, offering real-time preview of shadows and highlights on your subject. You need at least one main light to establish direction and depth in your images.
- Continuous Lights: LED panels or tungsten bulbs that stay on during shooting, allowing you to see exactly how light falls on your subject before capturing the frame.
- Softboxes: Fabric-lined boxes that diffuse light, reducing harsh shadows and creating even illumination across your subject’s face and body.
- Reflectors: Collapsible discs with white, silver, or gold surfaces that bounce light back onto shadow areas, balancing overall exposure without adding new light sources.
- Light Stands: Adjustable tripod-style stands that position your lights at precise heights and angles for consistent setups across multiple sessions.
- Diffusion Panels: Semi-transparent materials placed between your light source and subject to soften harsh shadows and reduce intensity.
Each component plays a specific role in shaping light. Softboxes create flattering, directional light suitable for facial features. Reflectors cut production costs by leveraging existing light rather than requiring additional equipment. Light stands enable repeatable positioning, critical for consistency when shooting multiple subjects or sessions.
Budget Friendly Vs Professional Options
Entry-level kits with two LED panels, basic softboxes, and reflector sets cost between 150 to 400 dollars and deliver adequate results for home portraits. These kits lack advanced features like dimming controls and color temperature consistency, but they produce usable images for social media and personal projects. Starting here prevents overinvestment before you confirm your commitment to portrait photography.
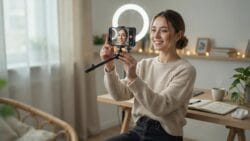
Professional-grade kits with high-output continuous lights, motorized stands, and premium softboxes range from 800 to 2500 dollars. This tier offers precise dimming, better color rendering, and durable construction that withstands frequent use. The investment pays off if you shoot portraits regularly or charge clients. Mid-range kits between 400 and 800 dollars balance quality and cost, offering improved controls without enterprise-level expenses.
Mastering Photoshoot Lighting Setup Techniques
One Light Setups For Beginners
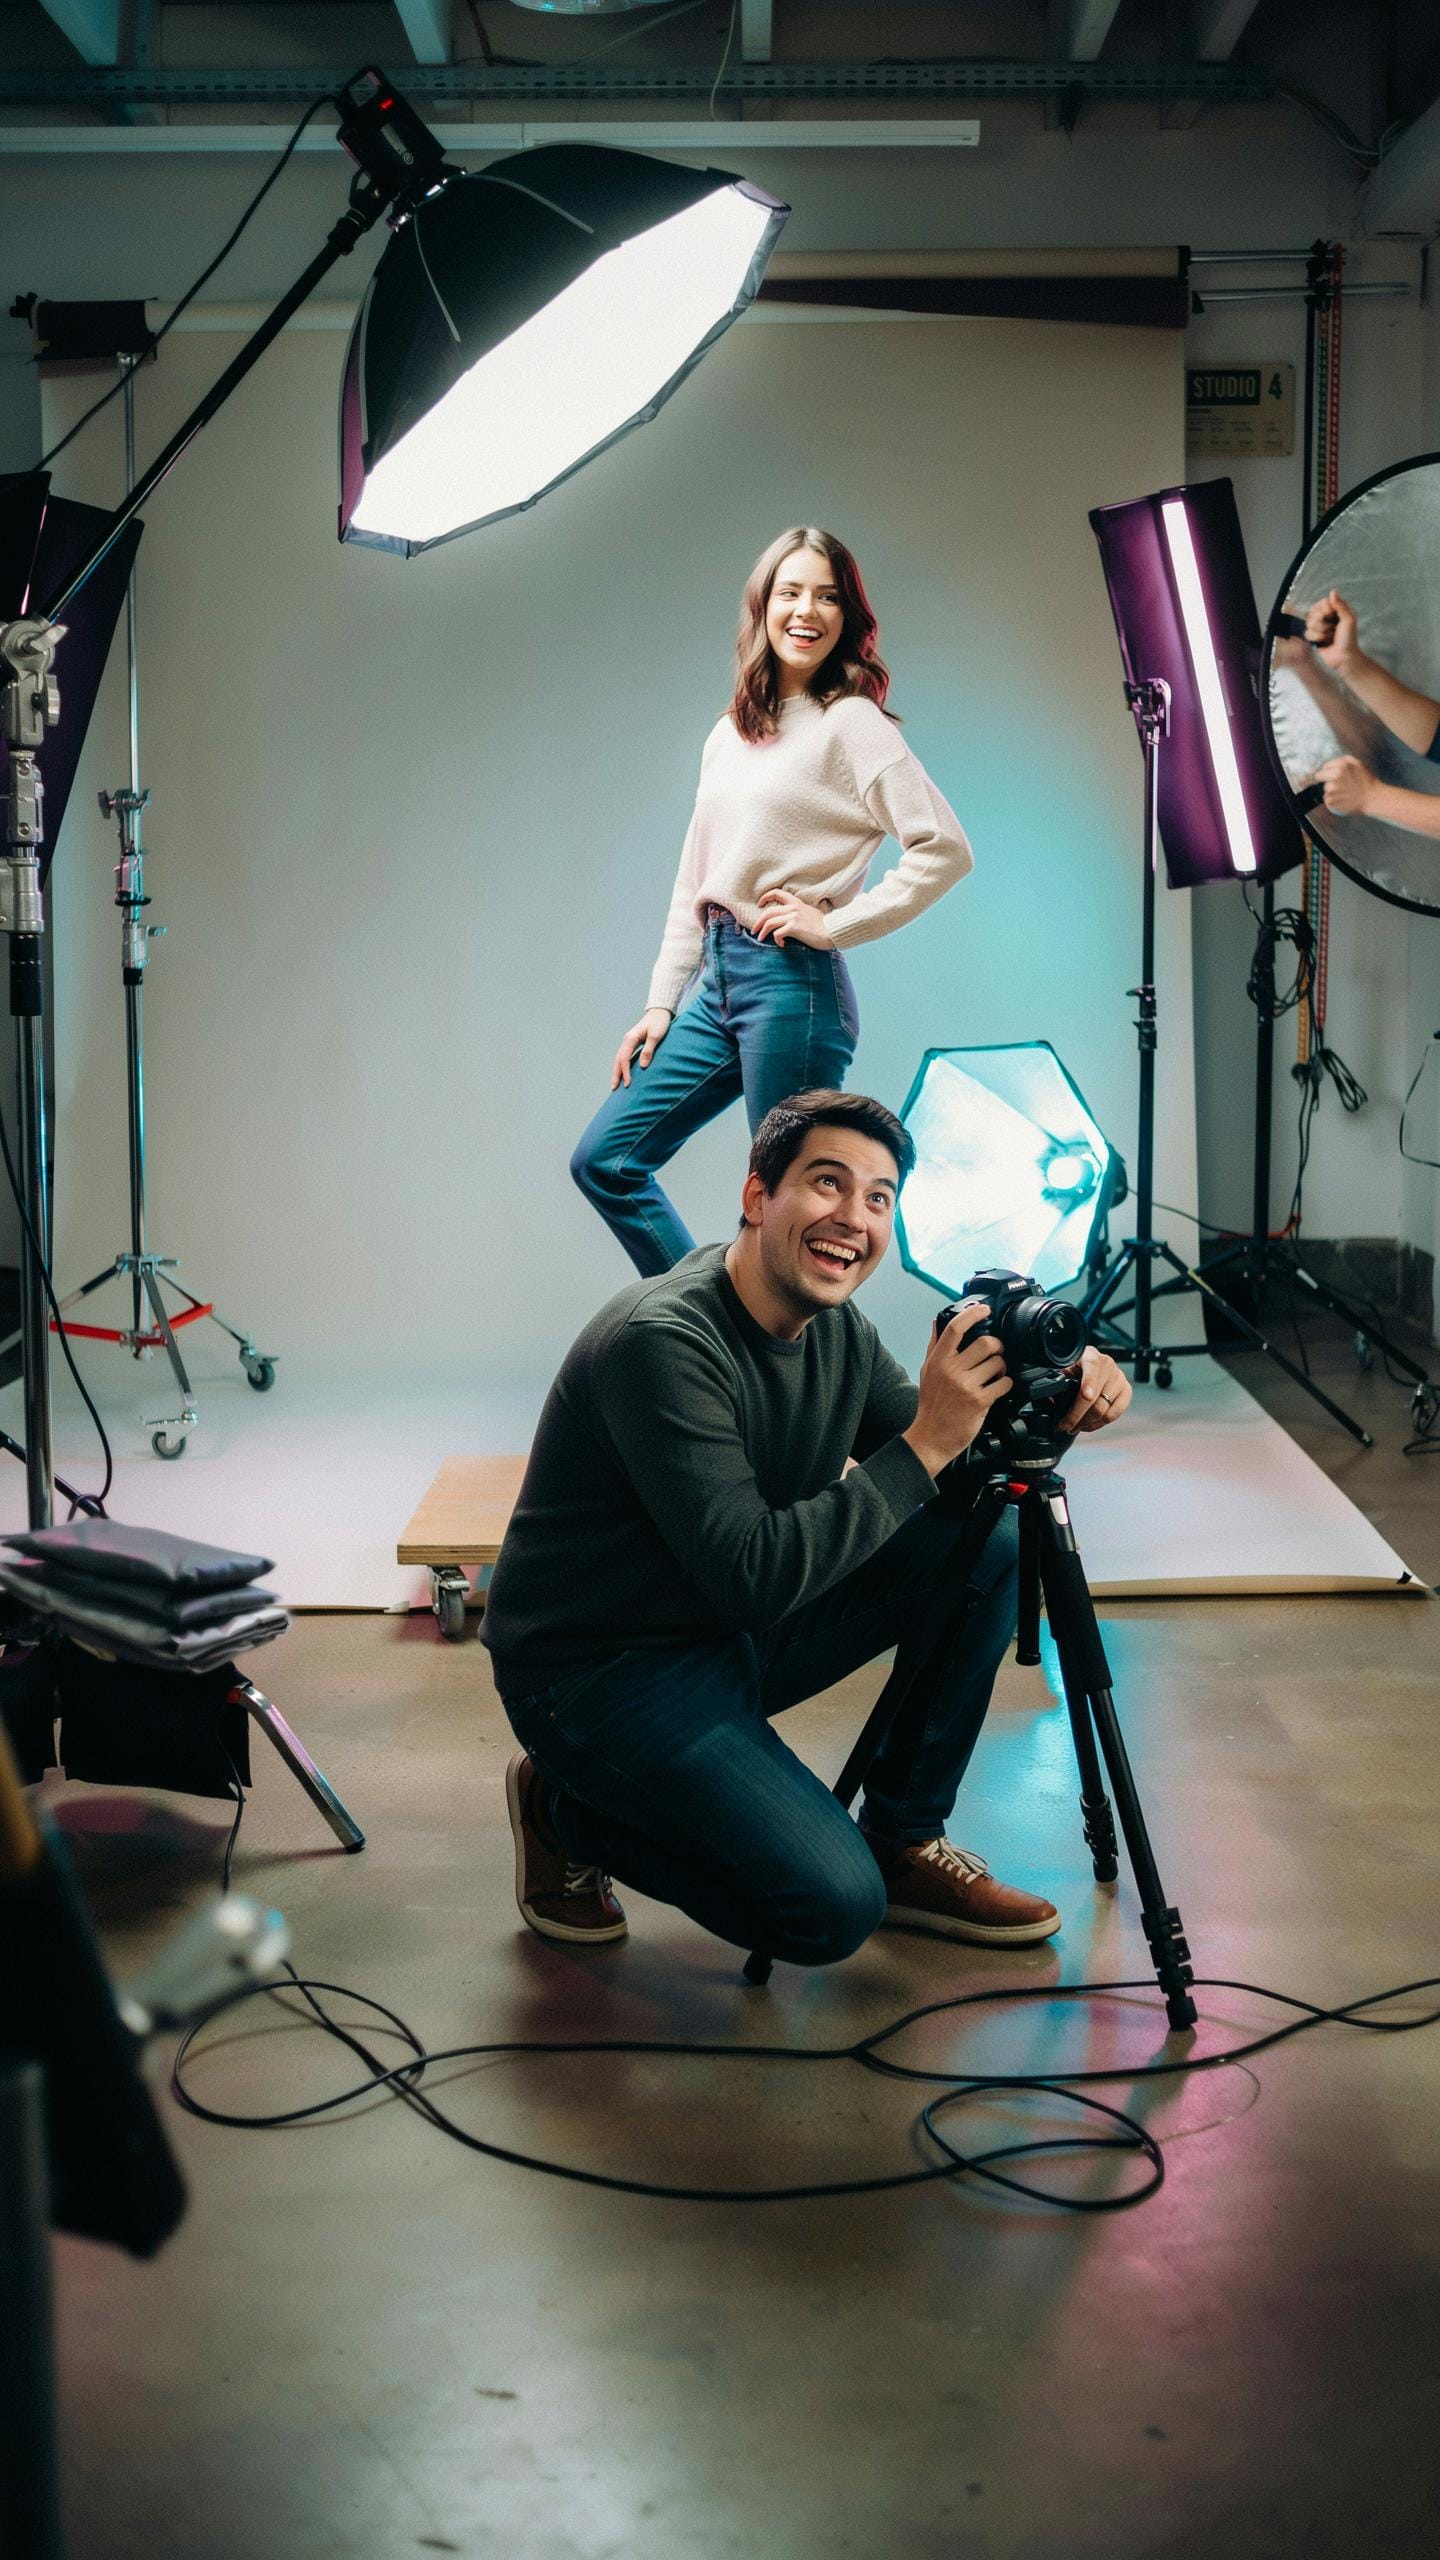
A single light source forces you to make intentional decisions about placement and direction. This constraint actually accelerates your learning. Position your light 45 degrees to the subject’s face and slightly above eye level. This angle creates dimension without overwhelming complexity. Adjust distance to control intensity. Closer light produces harder shadows and faster falloff. Farther light spreads more evenly across the face.
The key variable is what fills the shadows. Use white walls, foam boards, or reflectors to bounce light back into shadow areas. This secondary reflection eliminates harsh contrast without adding a second light source. Experiment with light placement relative to camera position. Side lighting reveals texture and shape. Front lighting flattens features but works for certain styles. Test each position with your actual subject to see real results before committing to a full shoot.
Two Light And Three Light Setups For Enhanced Dimension
Adding a second light lets you separate the subject from the background. Use your primary light for the face at 45 degrees. Place the second light behind or to the side of the subject to create rim lighting or hair light separation. This technique adds perceived depth because viewers see clear distinction between foreground and background. Control the power ratio between lights. A 2 to 1 ratio creates subtle separation. A 3 to 1 ratio produces dramatic definition.

Three light setups introduce a fill light to control shadow depth. Position your main light as before. Add rim or hair light for separation. Use your third light at lower power on the opposite side of the main light to fill shadows gradually. This setup mimics professional studio results in a home environment. Each light serves a specific function. Main light shapes the face. Rim light separates the subject. Fill light preserves detail in shadow areas while maintaining contrast.
Exploring Various Lighting Setups For Portrait Photography
Rembrandt Lighting For Dramatic Effects
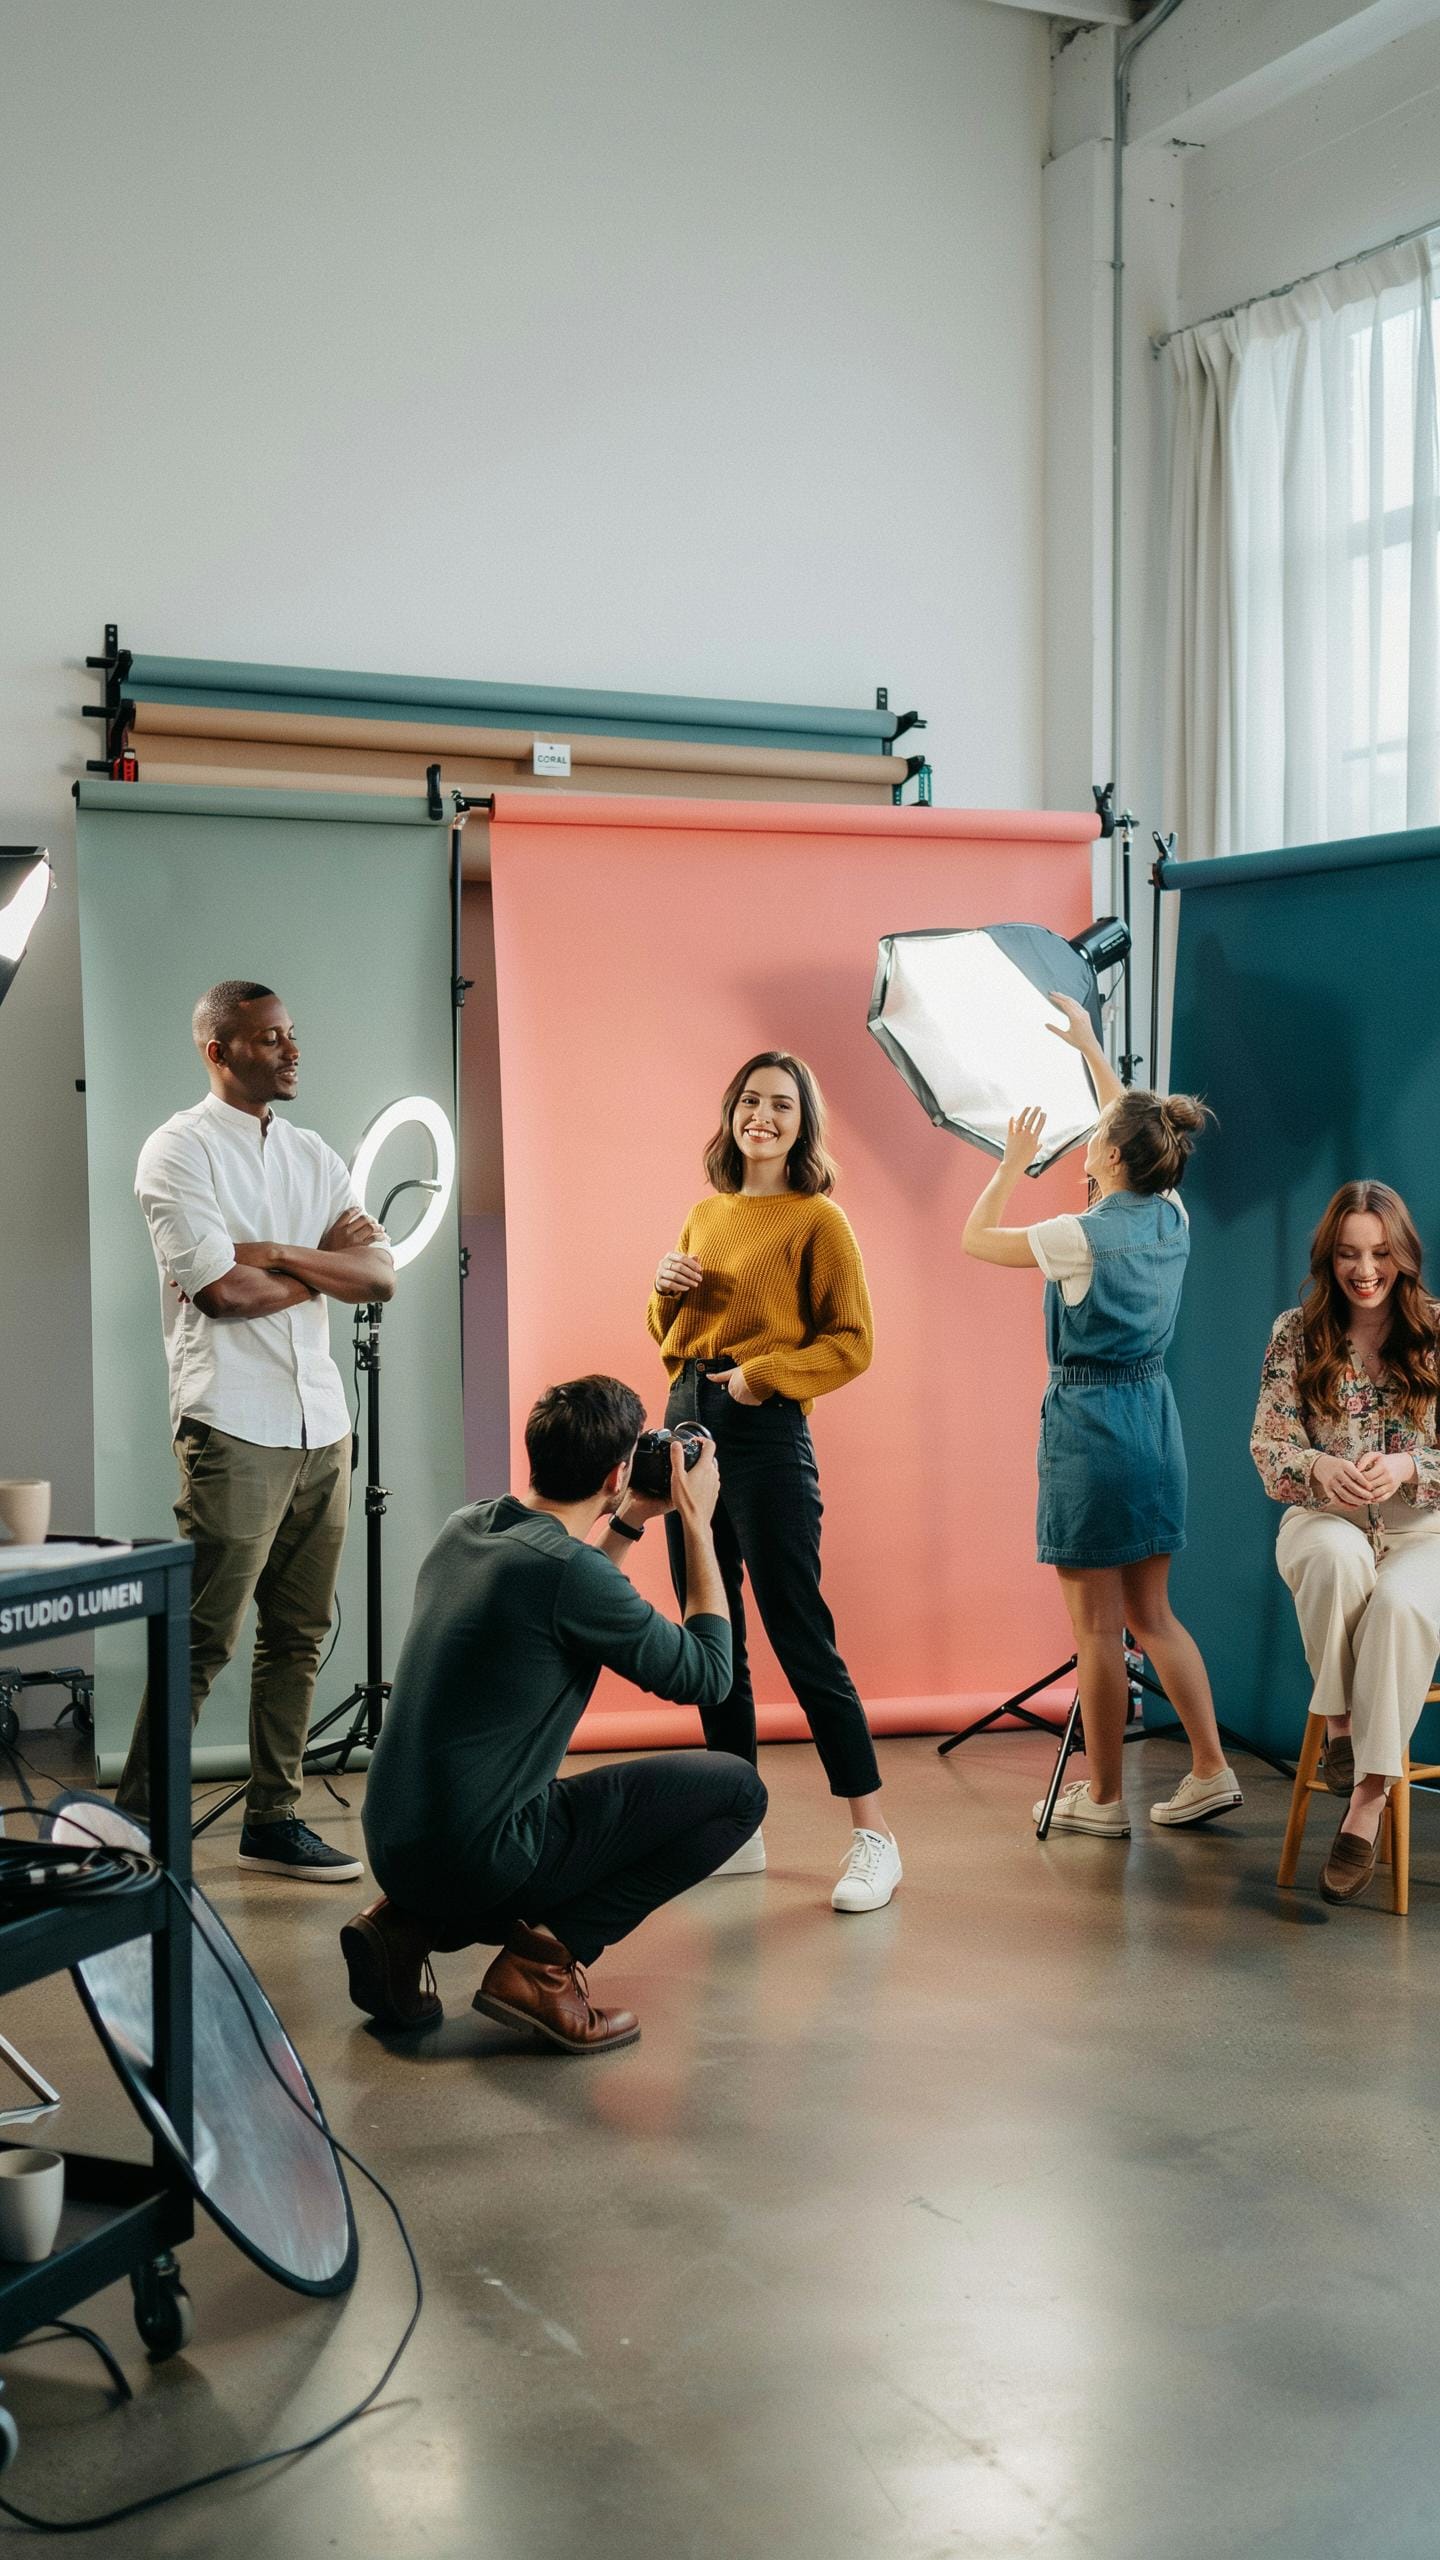
Rembrandt lighting uses one main light positioned at a 45-degree angle to create a triangle of light on the subject’s cheek. This technique originated from the Dutch Golden Age painter’s work and produces shadow patterns that feel natural yet striking. The setup requires minimal equipment: a single key light, reflector, and dark backdrop. Position your light source high and to the side of your subject’s face.
The triangle highlight under the eye distinguishes Rembrandt lighting from other single-light setups. Adjust your light’s distance and angle to control shadow depth and drama. Move the light closer for stronger contrast and further away for softer transitions. This method works well for home portrait setups because it demands less space and fewer light sources than multi-light configurations.
Illuminate your cherished moments at home, for each face tells a story only light can truly capture.
Butterfly Lighting For Glamour Shots
Butterfly lighting places the main light directly in front of and slightly above the subject’s face, creating a symmetrical shadow under the nose. Fashion and beauty photography rely on this setup for its flattering results. The name derives from the butterfly-shaped shadow cast below the nose. Position your light at roughly 30 to 45 degrees above eye level and centered on your subject.

This setup minimizes shadows and emphasizes facial symmetry, making it ideal for glamour portraits. Use a reflector below the subject’s face to fill shadows and soften the overall look. Butterfly lighting reveals skin texture more than other techniques, so ensure your subject’s skin is well-prepared. Keep the light close enough to control shadows but far enough to avoid harsh transitions on cheekbones.
Innovative Photography Lighting Ideas For Home Portraits
Utilizing Natural Light With Reflectors
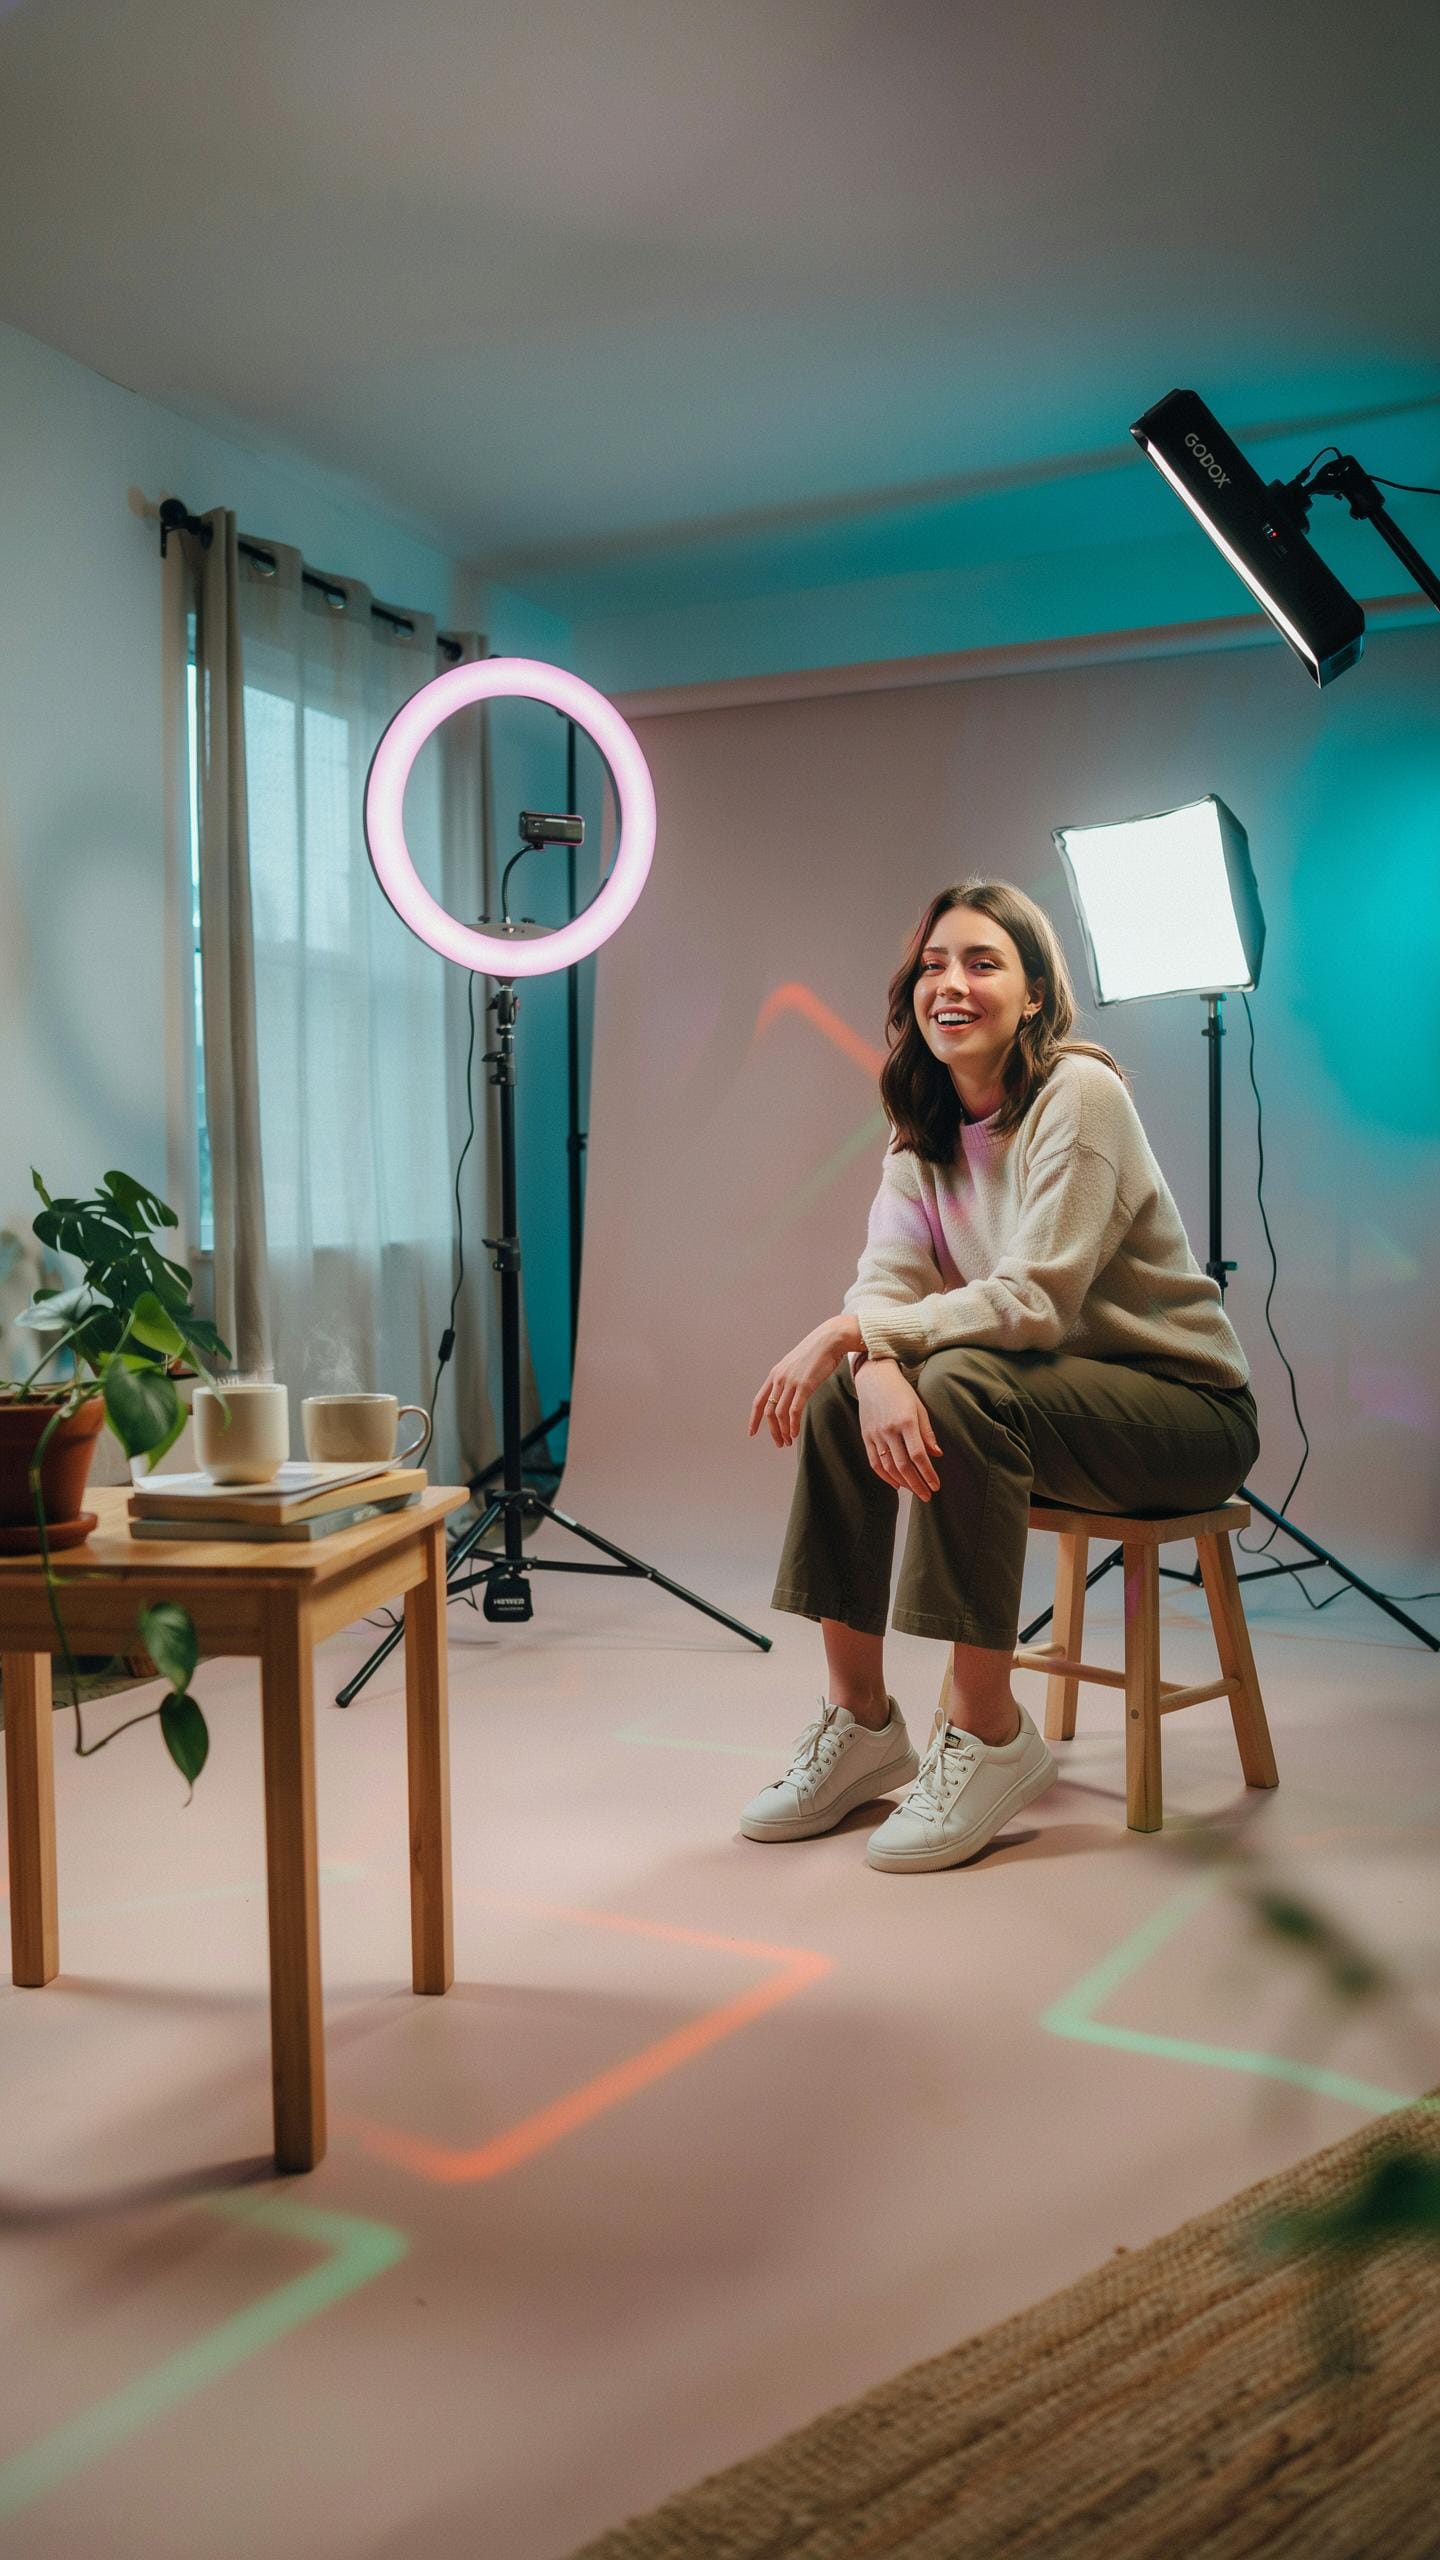
Window light remains the gold standard for portrait work. Position your subject perpendicular to the window rather than directly facing it. This creates directional light that sculpts facial features without harsh shadows. The window acts as a large, diffused light source comparable to professional softboxes. Shoot during midday or overcast hours when sunlight diffuses through clouds or window glass.
Reflectors bounce window light into shadow areas to control contrast. Use white foam boards, silver reflectors, or even white bedsheets to redirect light onto the shaded side of the face. Position the reflector at a 45-degree angle opposite the main light source. This fills shadows without eliminating them, maintaining dimension in your portrait. Reflectors cost little and deliver results matching expensive lighting kits when paired with natural windows.
Creative Uses Of Practical Lights And Household Items
Household lamps create practical lighting solutions for portrait mode work. Desk lamps, floor lamps, and overhead fixtures produce directional light sources you already own. Remove the shade from a desk lamp to concentrate light, or keep the shade on for softer output. Position lamps at 45-degree angles to your subject’s face rather than pointing directly at them. Experiment with different distances to control light intensity and shadow depth.

Common household items modify light in tactical ways. White paper or cardboard becomes a bounce surface for fill light. Translucent fabric stretched over a lamp frame diffuses harsh bulb output. String lights create separation lighting for backgrounds without professional equipment. Colored bulbs shift light temperature but compromise skin tone accuracy unless you adjust camera white balance accordingly. Test these setups before shooting important portraits to understand how each item affects final images.
Setting Up Your Portrait Lighting To Capture Better Portrait Pics
Optimal Placement And Angles For Light Sources
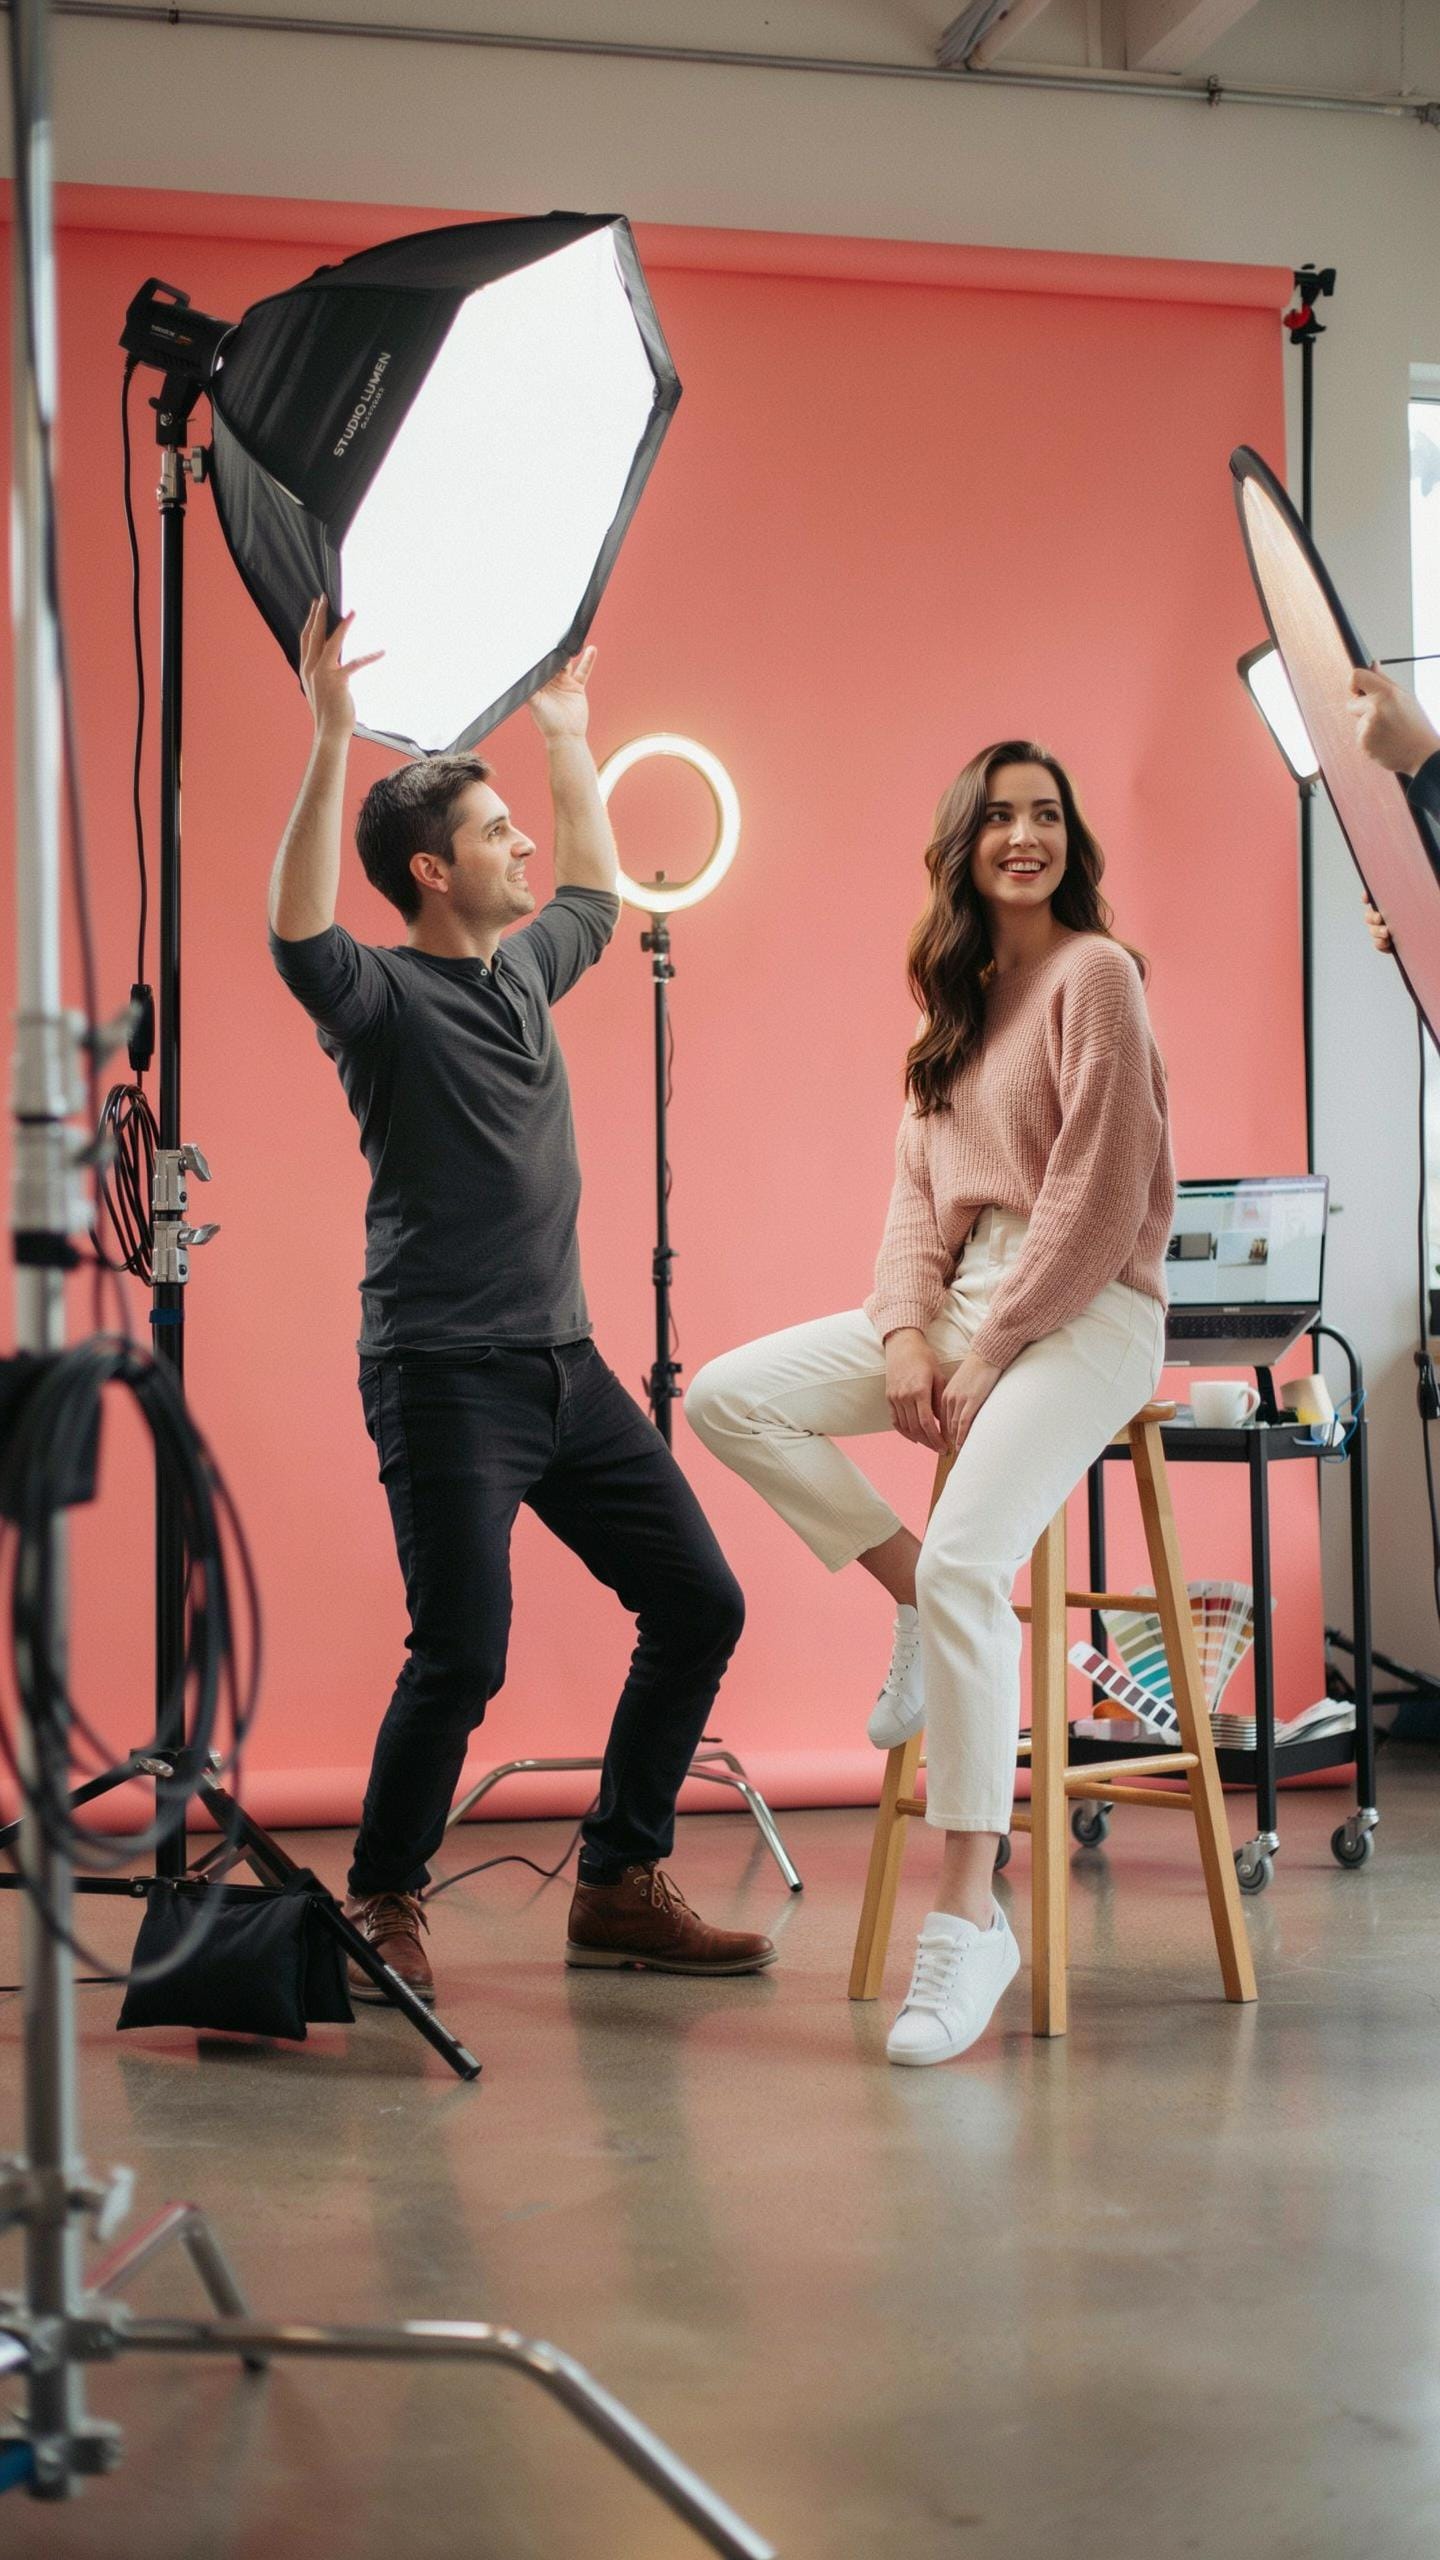
Position your key light at a 45-degree angle to the subject’s face, roughly 2 to 3 feet away. This angle flatters facial structure and creates dimension without producing harsh shadows under the nose or eyes. The light should sit slightly above eye level to mimic natural overhead light. Adjust height based on face shape: higher placement for wider faces, lower for longer faces.
Place your fill light opposite the key light at a lower intensity to reduce shadow depth on the unlit side. Position it at chest height or slightly below to lift shadows without creating a second shadow on the background. Keep the fill light further from the subject than the key light, typically 4 to 6 feet away. This setup prevents overexposure and maintains contrast that defines facial features.
Adjusting Light Intensity And Spread With Modifiers
Diffusers soften light by scattering rays across a wider area, reducing harsh shadows and hot spots on skin. Place a diffuser panel directly in front of your light source or bounce light through it. Larger diffuser panels spread light more gradually than smaller ones. Adjust distance: moving the diffuser closer to the subject increases softness but reduces overall light reaching the face.
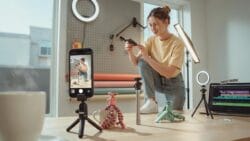
Grids narrow light spread into focused beams, controlling exactly where light falls on your subject. A grid restricts light to a specific area, preventing spillover onto the background or unwanted fill from ambient light. Use tighter grids for dramatic portraits with defined shadows. Combine grids with reflectors or fill lights to maintain subject visibility while controlling exactly where illumination concentrates.
Achieving Flat Lighting Photography For A Soft Look
Techniques For Evenly Lit Portraits
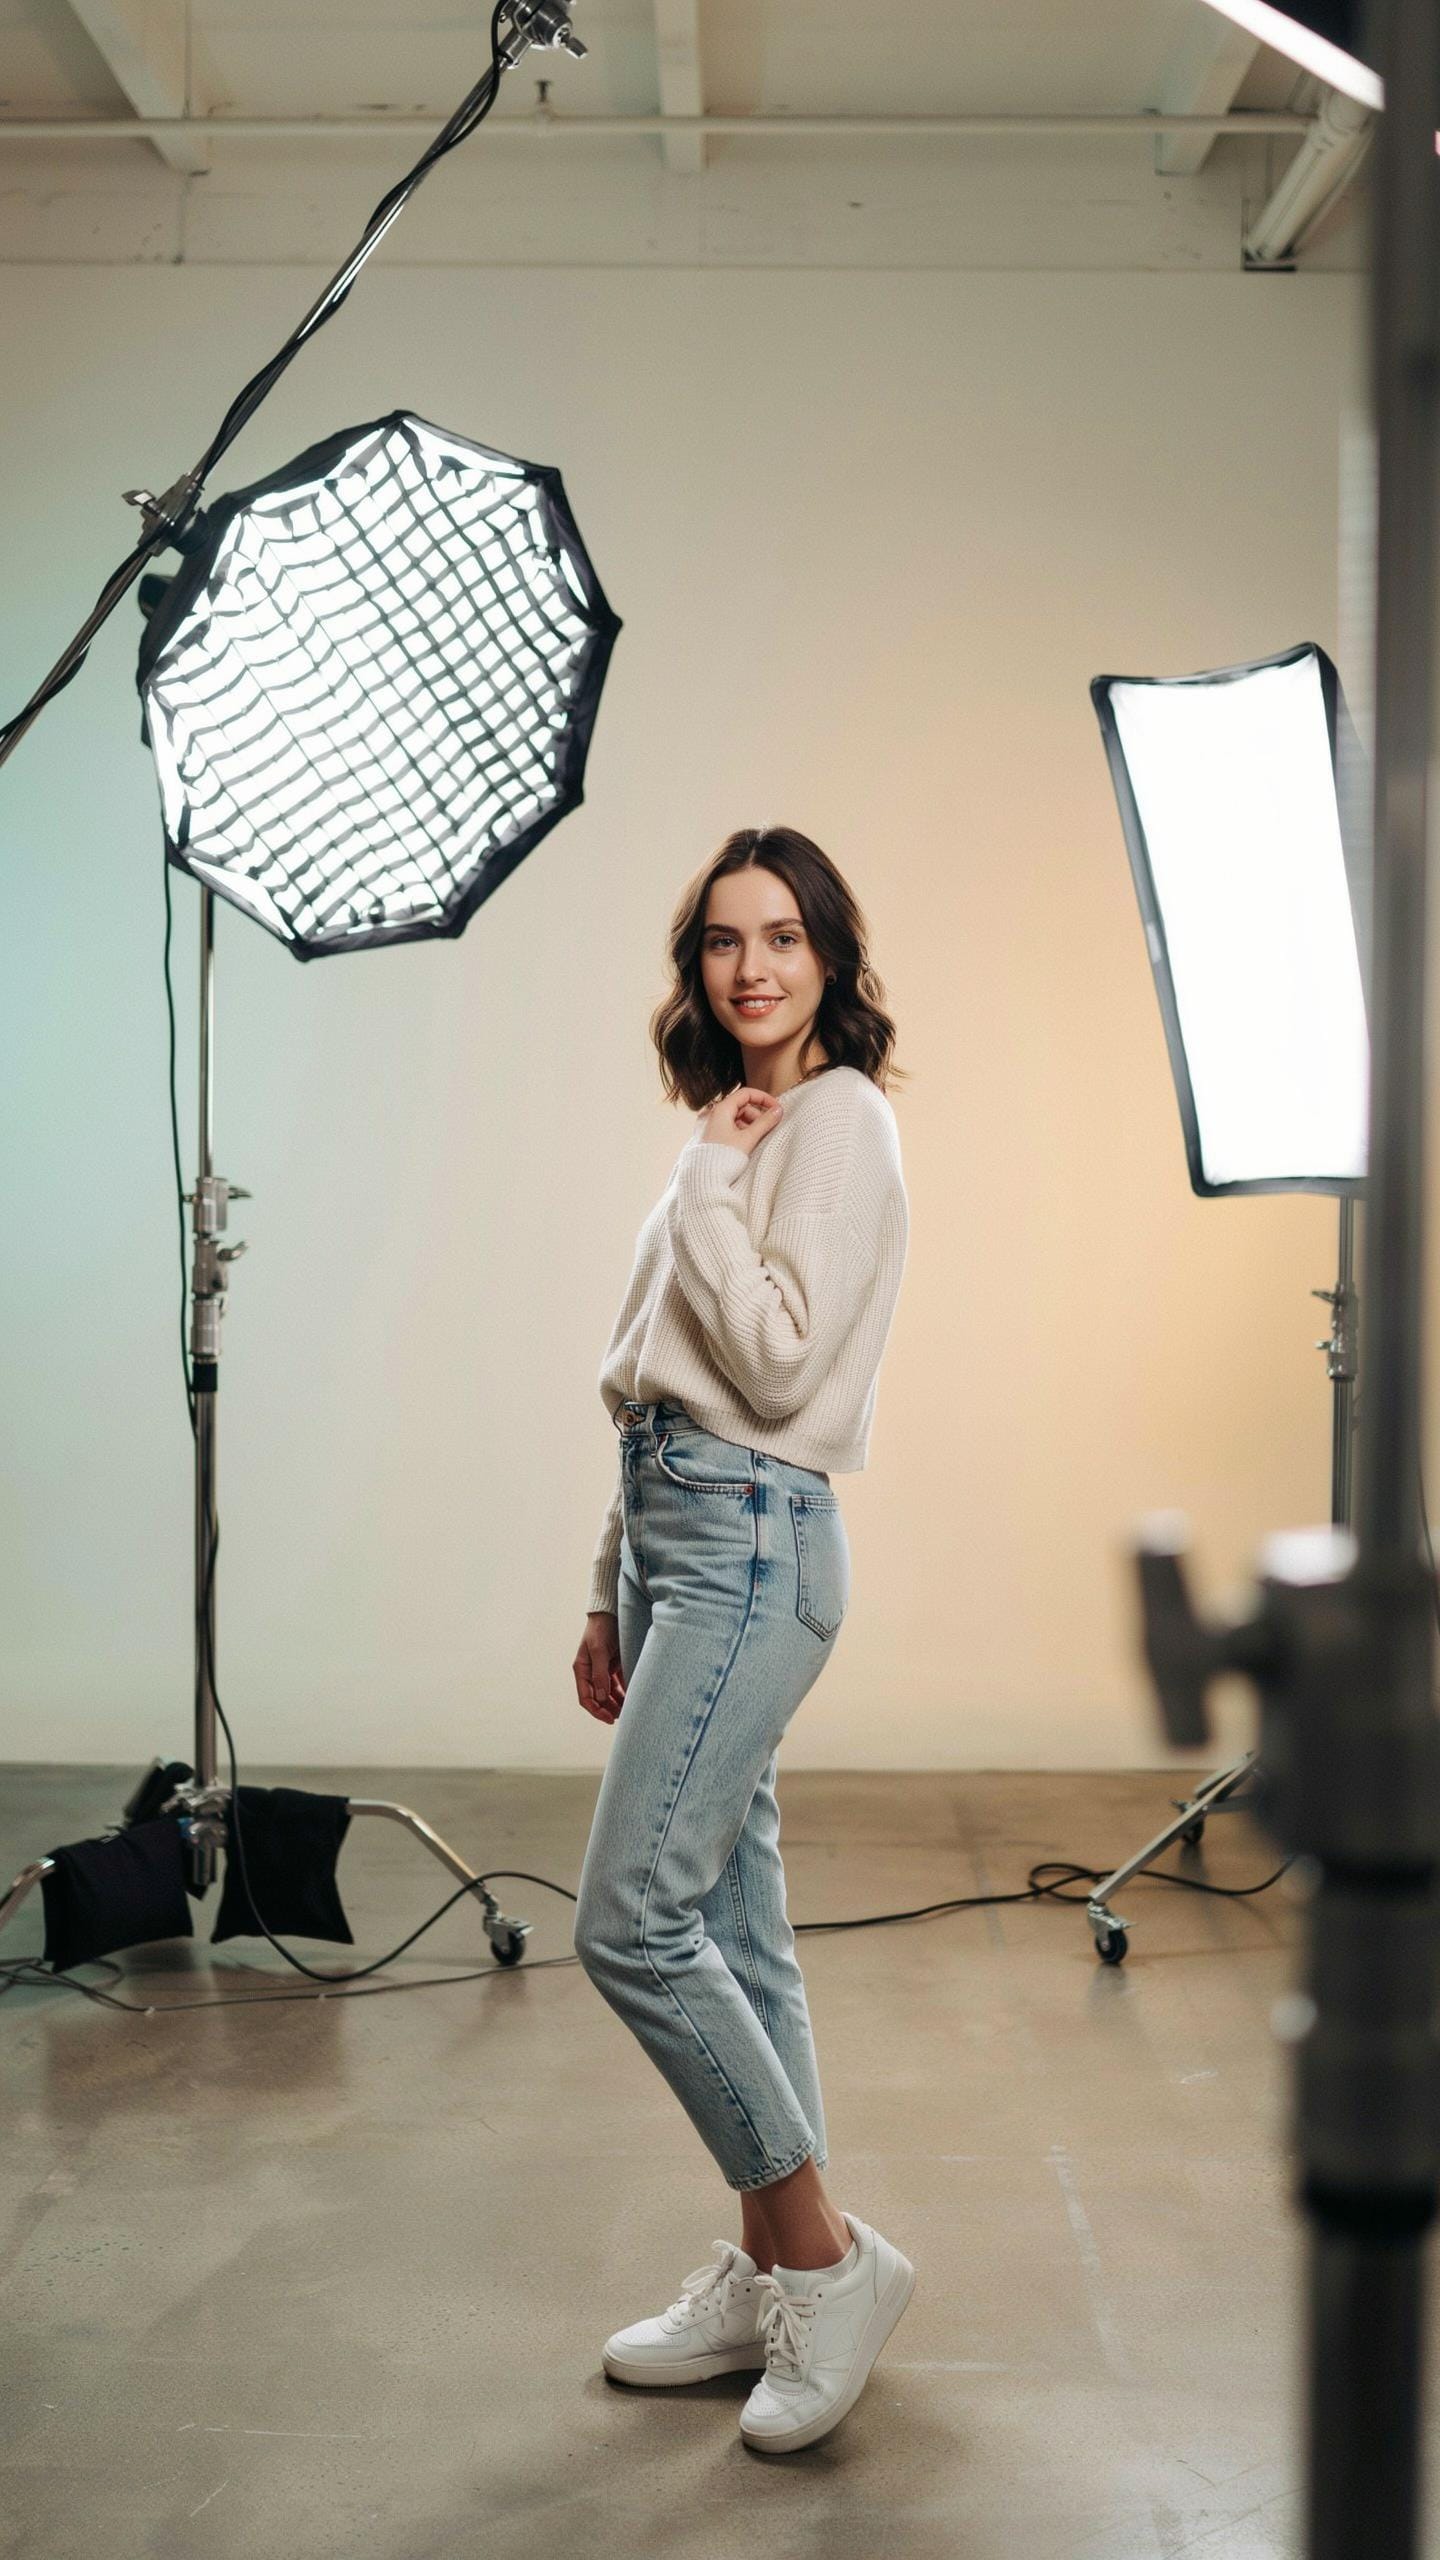
Flat lighting uses two equal light sources positioned at roughly 45 degrees on either side of your subject. Place your key light and fill light at matching distances and power settings. This eliminates the shadow patterns that directional lighting creates. Use diffusion panels on both lights to soften the output. Position lights slightly above eye level and angle them toward the subject’s face. The result is uniform illumination across the face with minimal contrast.
A reflector or second fill light fills remaining shadows on the far side of the face. If using a reflector, place it opposite your main light source at equal distance. Adjust the reflector angle until shadows disappear completely. Keep your subject roughly equidistant from both light sources for true balance. Test your setup by checking the catchlights in the subject’s eyes. Both eyes should show identical light reflections.
When To Use Flat Lighting And Its Advantages
Flat lighting works best for beauty photography, makeup application shots, and skin-focused portraits. It suits product photography where you need texture detail without dramatic shadows. Use it when you want to show skin condition accurately or minimize facial imperfections. The even illumination reveals pores, texture, and subtle skin tones that directional lighting would hide. This technique served as a standard in early television and film makeup application.

Flat lighting reduces perceived depth and dimension compared to three-point setups. This trade-off delivers a clinical, clean aesthetic that works for specific purposes. The approach minimizes wrinkles and age lines by eliminating shadow contrast. It eliminates unflattering under-eye shadows and cheekbone hollows. Choose flat lighting when the subject’s skin quality matters more than facial dimension or sculpting.
Deconstructing The Lighting Diagram Your Blueprint For Success
Reading And Interpreting Standard Lighting Diagrams
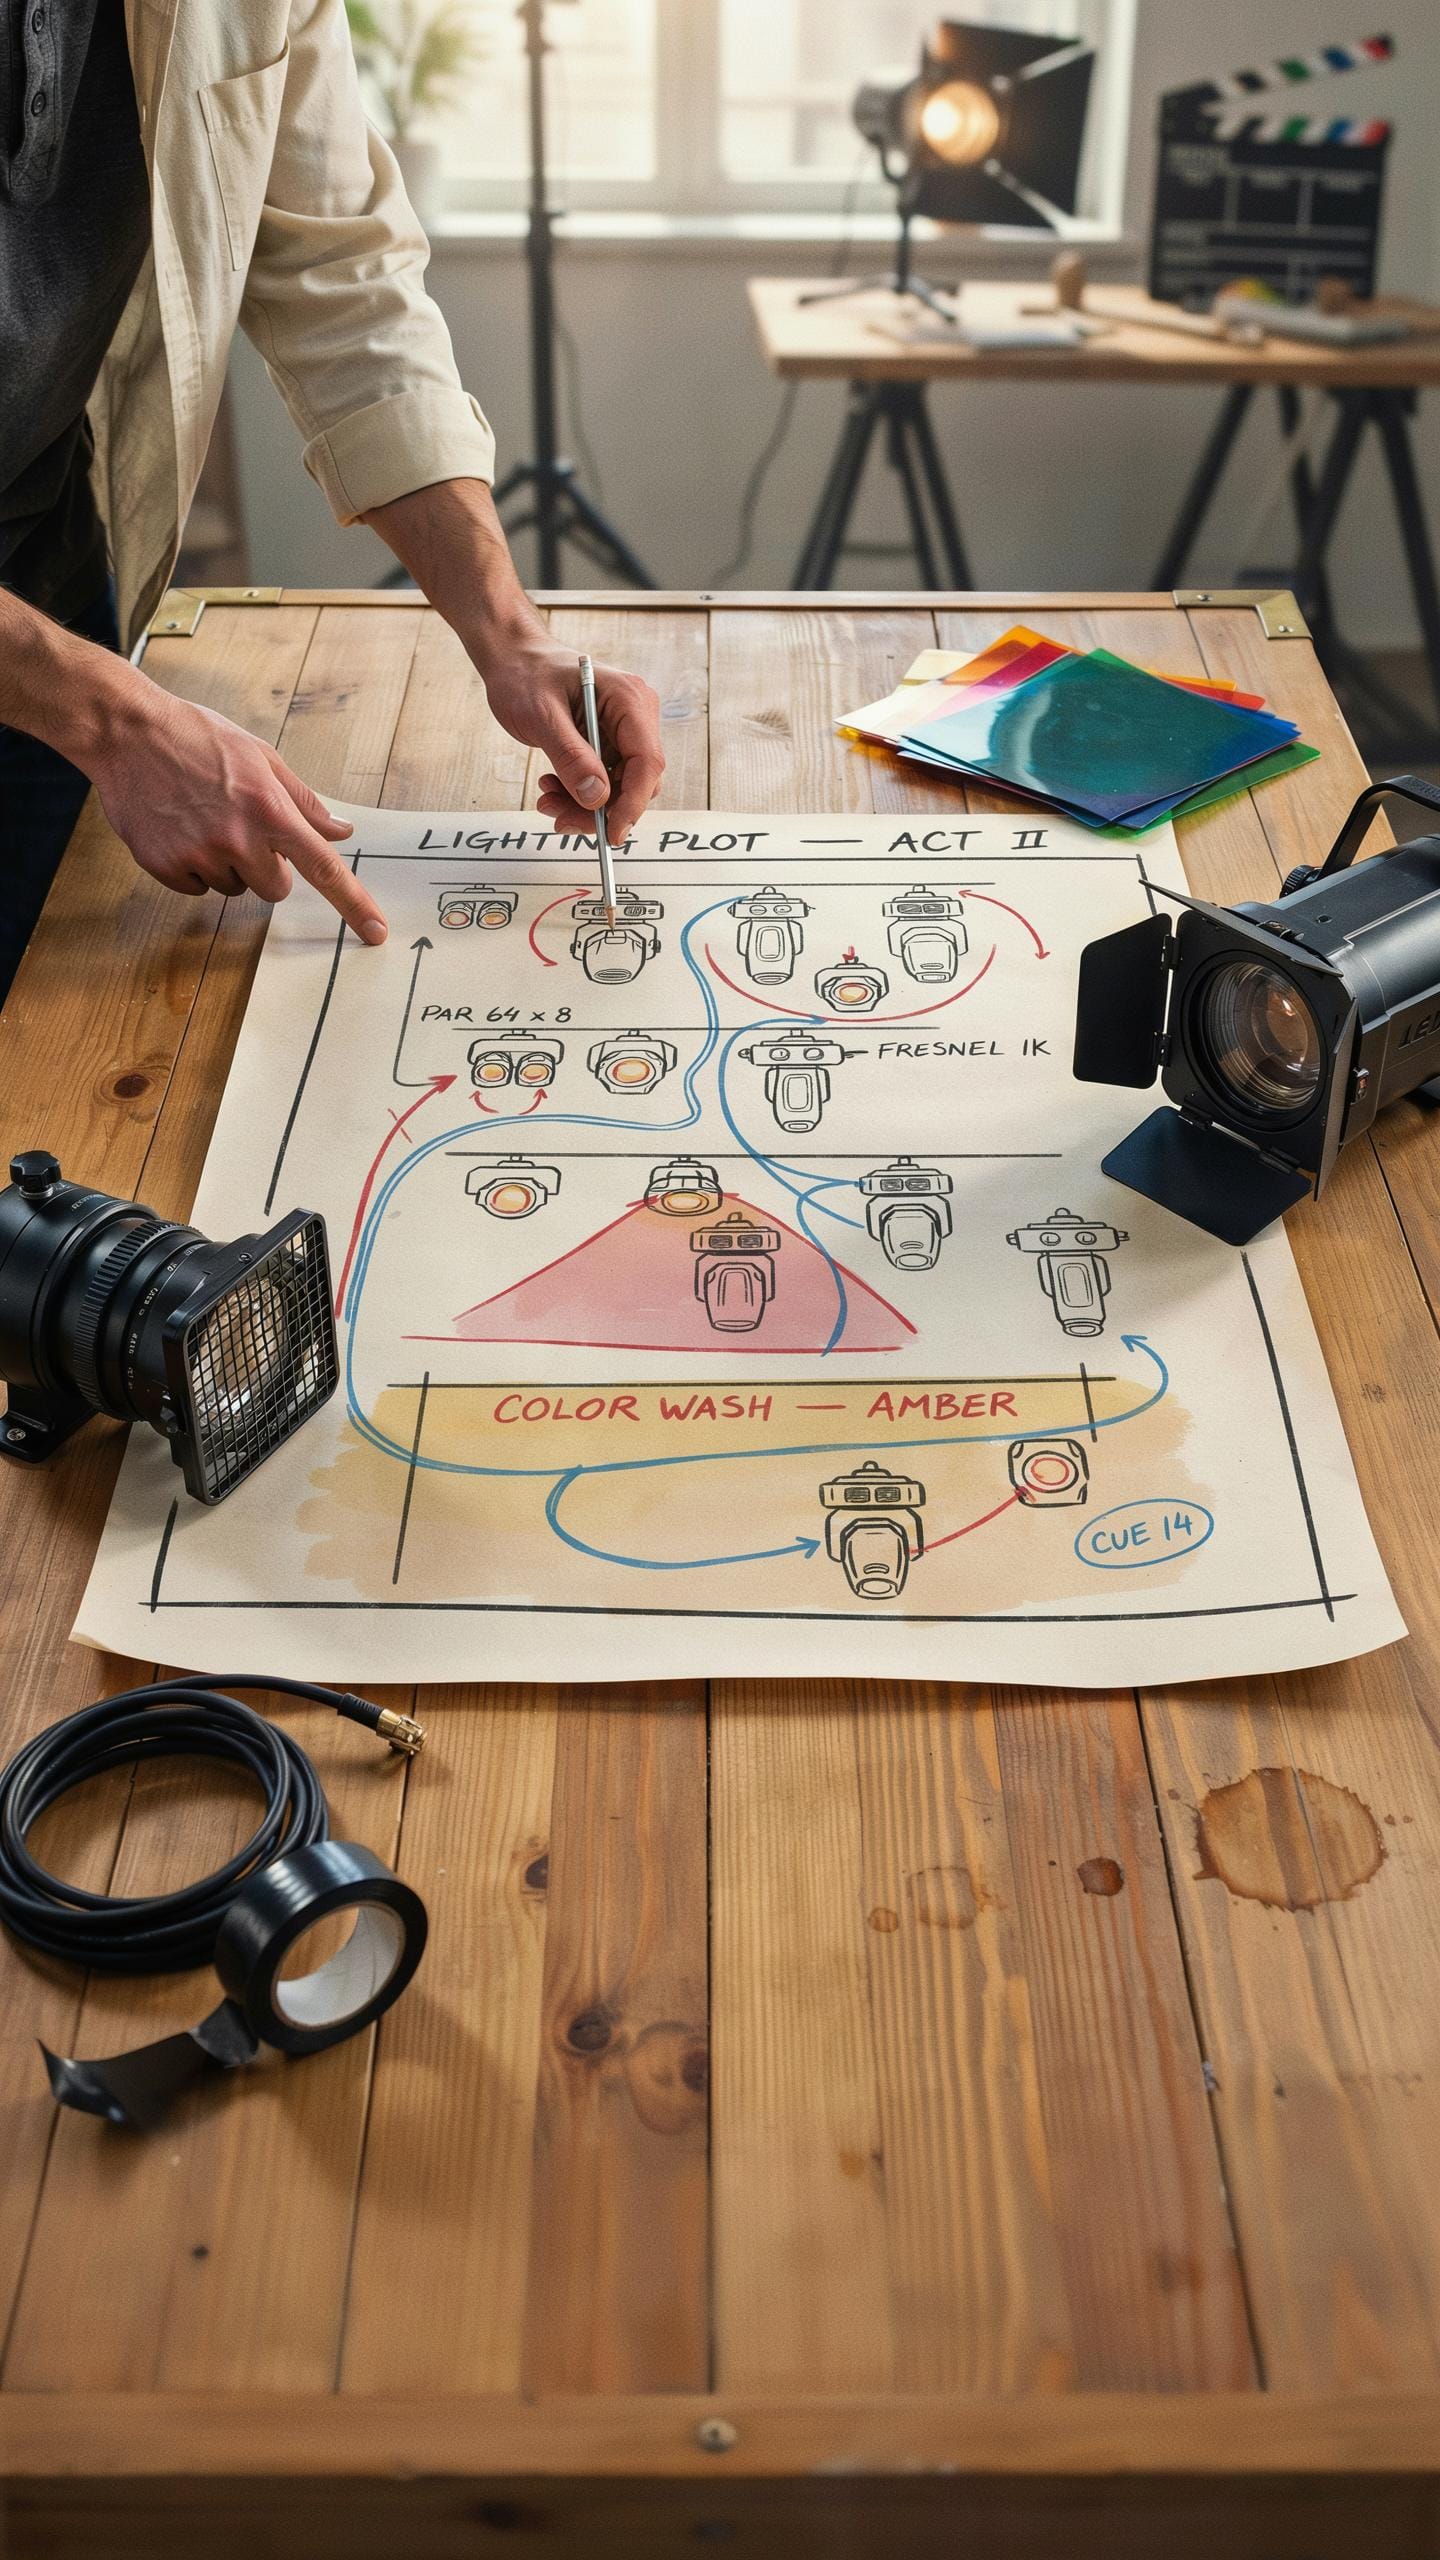
Lighting diagrams use top-down views to show light source placement, subject position, and camera angle. They strip away complexity and reveal what matters: where light hits your subject and from what distance. Photographers use these diagrams to replicate setups without guesswork. Learn to read them and you decode professional technique instantly.
Standard diagrams show key lights, fill lights, and backlights as circles or arrows. The size of the symbol indicates light intensity or modifier type. Distance from subject matters more than you think. A light moved six inches closer doubles its impact. Study the diagram’s geometry before you touch your equipment.
Creating Your Own Lighting Diagrams For Future Shoots
Document your setups by sketching a top-down view of your space, light positions, and subject placement. Use simple shapes: circles for softboxes, rectangles for umbrellas, arrows for direction. Record distances in feet. Note your camera height and angle. This takes five minutes and saves hours of failed attempts on future shoots.
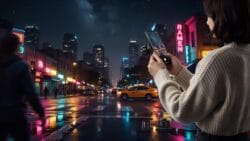
Personal diagrams become reference material you build over time. When a portrait works, diagram it immediately. Future you will thank present you. These become your visual playbook. Each successful setup teaches you something about how light behaves in your specific space. Your diagrams become more valuable than any purchased lighting guide.
Post Processing Tips To Enhance Your Home Portraits
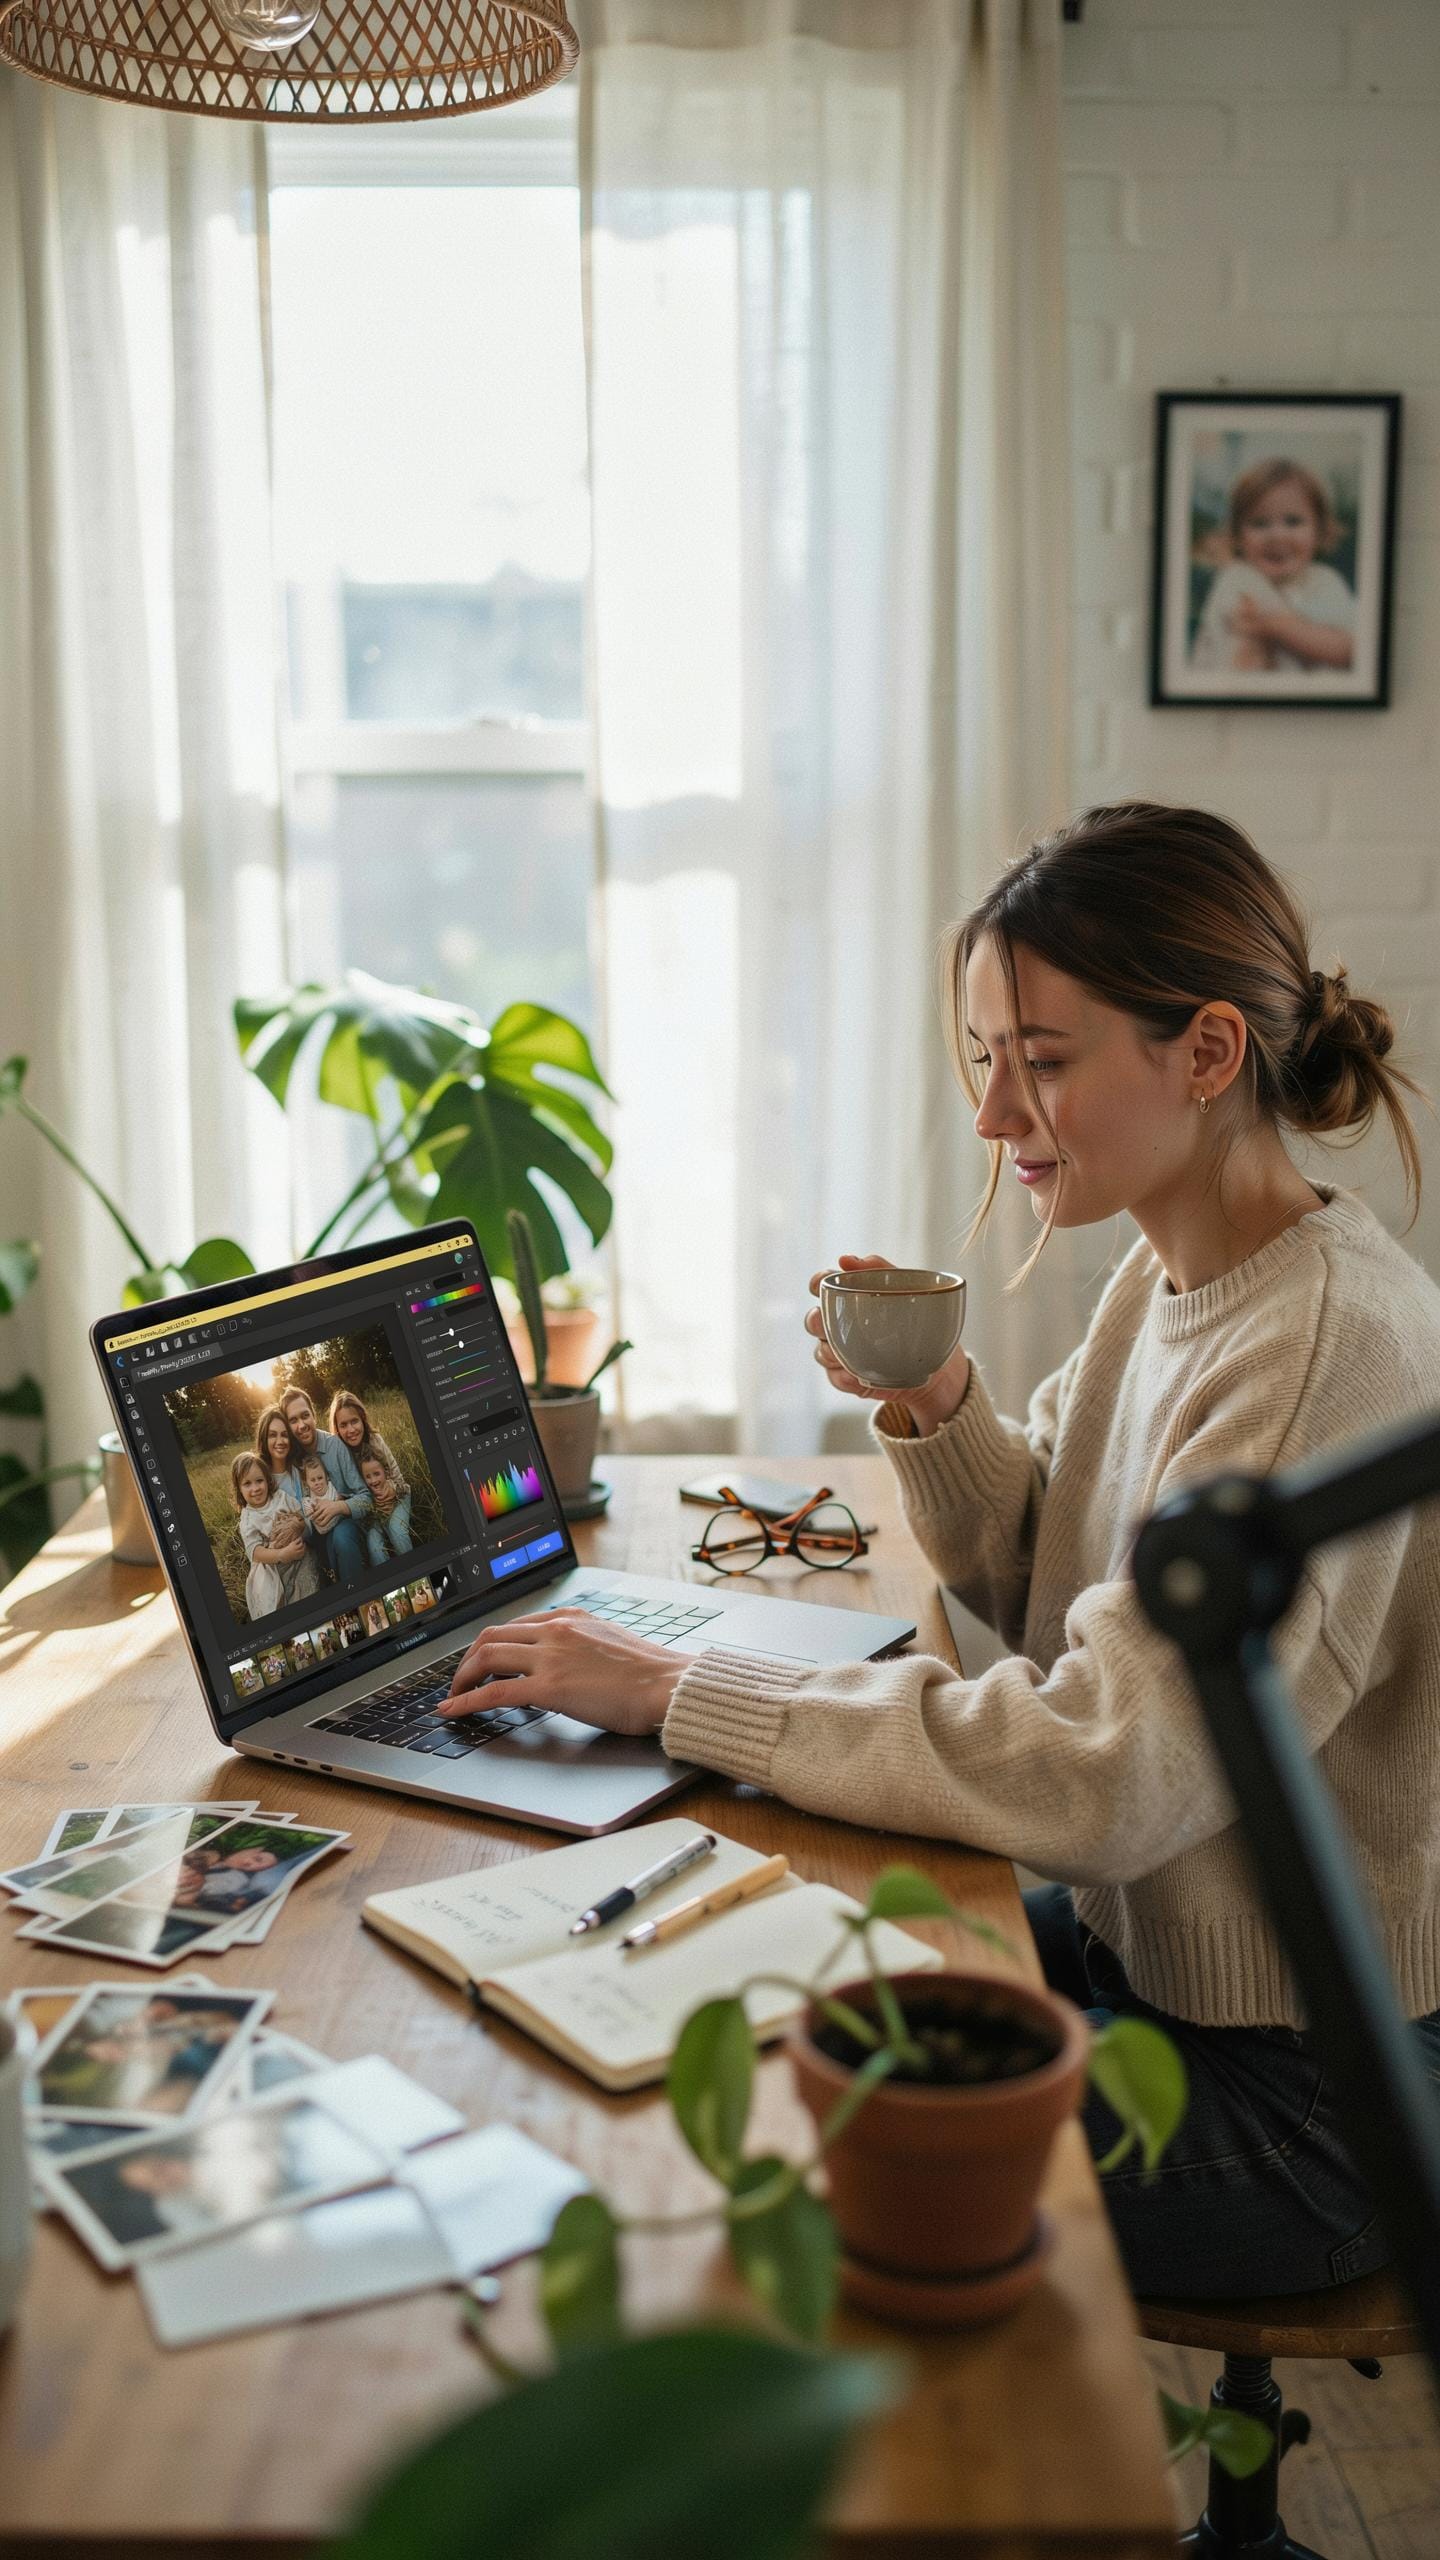
Basic Editing For Exposure And White Balance
Exposure adjustments fix underexposed or overexposed images from your portrait mode lighting kit. Most editing software lets you recover detail in shadows and highlights. Start by adjusting the exposure slider incrementally. Move it right to brighten or left to darken. Then target specific tonal ranges with shadows and highlights sliders. This gives you surgical control over dark and bright areas without crushing either end.
White balance correction removes color casts from artificial lighting. Your portrait mode kit produces specific color temperatures. Tungsten lights run warm (around 3200K), while LED panels vary by model. Use the temperature slider to add blue if your image looks orange, or add yellow if it looks too blue. Most cameras shoot in RAW format, which preserves white balance data for maximum correction flexibility without quality loss.
Retouching Techniques For A Polished Professional Finish
Skin smoothing removes texture while preserving natural detail. Use spot healing or clone tools on blemishes and minor imperfections. Avoid over smoothing, which creates plastic looking skin. Work at 50 percent opacity for subtle results. Apply healing strokes selectively rather than blanket smoothing entire faces. This maintains skin texture while cleaning up specific problem areas that distract from your portrait.
Eye sharpening draws viewer attention to the face. Apply localized sharpening only to the iris and catch lights from your lighting kit. Use mask tools to isolate eyes before sharpening. This prevents sharpening skin or background areas that would look unnatural. Slightly boost clarity and vibrance on eyes to make them pop without looking overdone or artificial in the final image.
Frequently Asked Questions

What exactly is a portrait mode lighting kit, and why do I need one for my home photos?
A portrait mode lighting kit is an essential setup that helps you achieve professional-looking, artfully blurred backgrounds and well-lit subjects directly from your smartphone or camera. By controlling light, you eliminate harsh shadows and enhance details, making your home photos, whether of decor items or loved ones, truly pop and look cohesive.
How do I set up a basic portrait mode lighting kit for optimal results when photographing objects at home?
For optimal results with your portrait mode lighting kit, position your main light source slightly to the side and in front of your subject. Use a reflector on the opposite side to bounce light and fill in shadows. Experiment with the distance of the light to control intensity and enhance the depth-of-field effect generated by your phone’s portrait mode.
Can I create a decent portrait mode lighting kit on a budget, or are expensive professional kits necessary?
Absolutely! You don’t need expensive gear. A fantastic budget portrait mode lighting kit can start with a simple ring light or LED panel, often available for under $50. Supplement it with DIY reflectors made from white foam board or even aluminum foil. These inexpensive alternatives can significantly elevate your home photos.



