
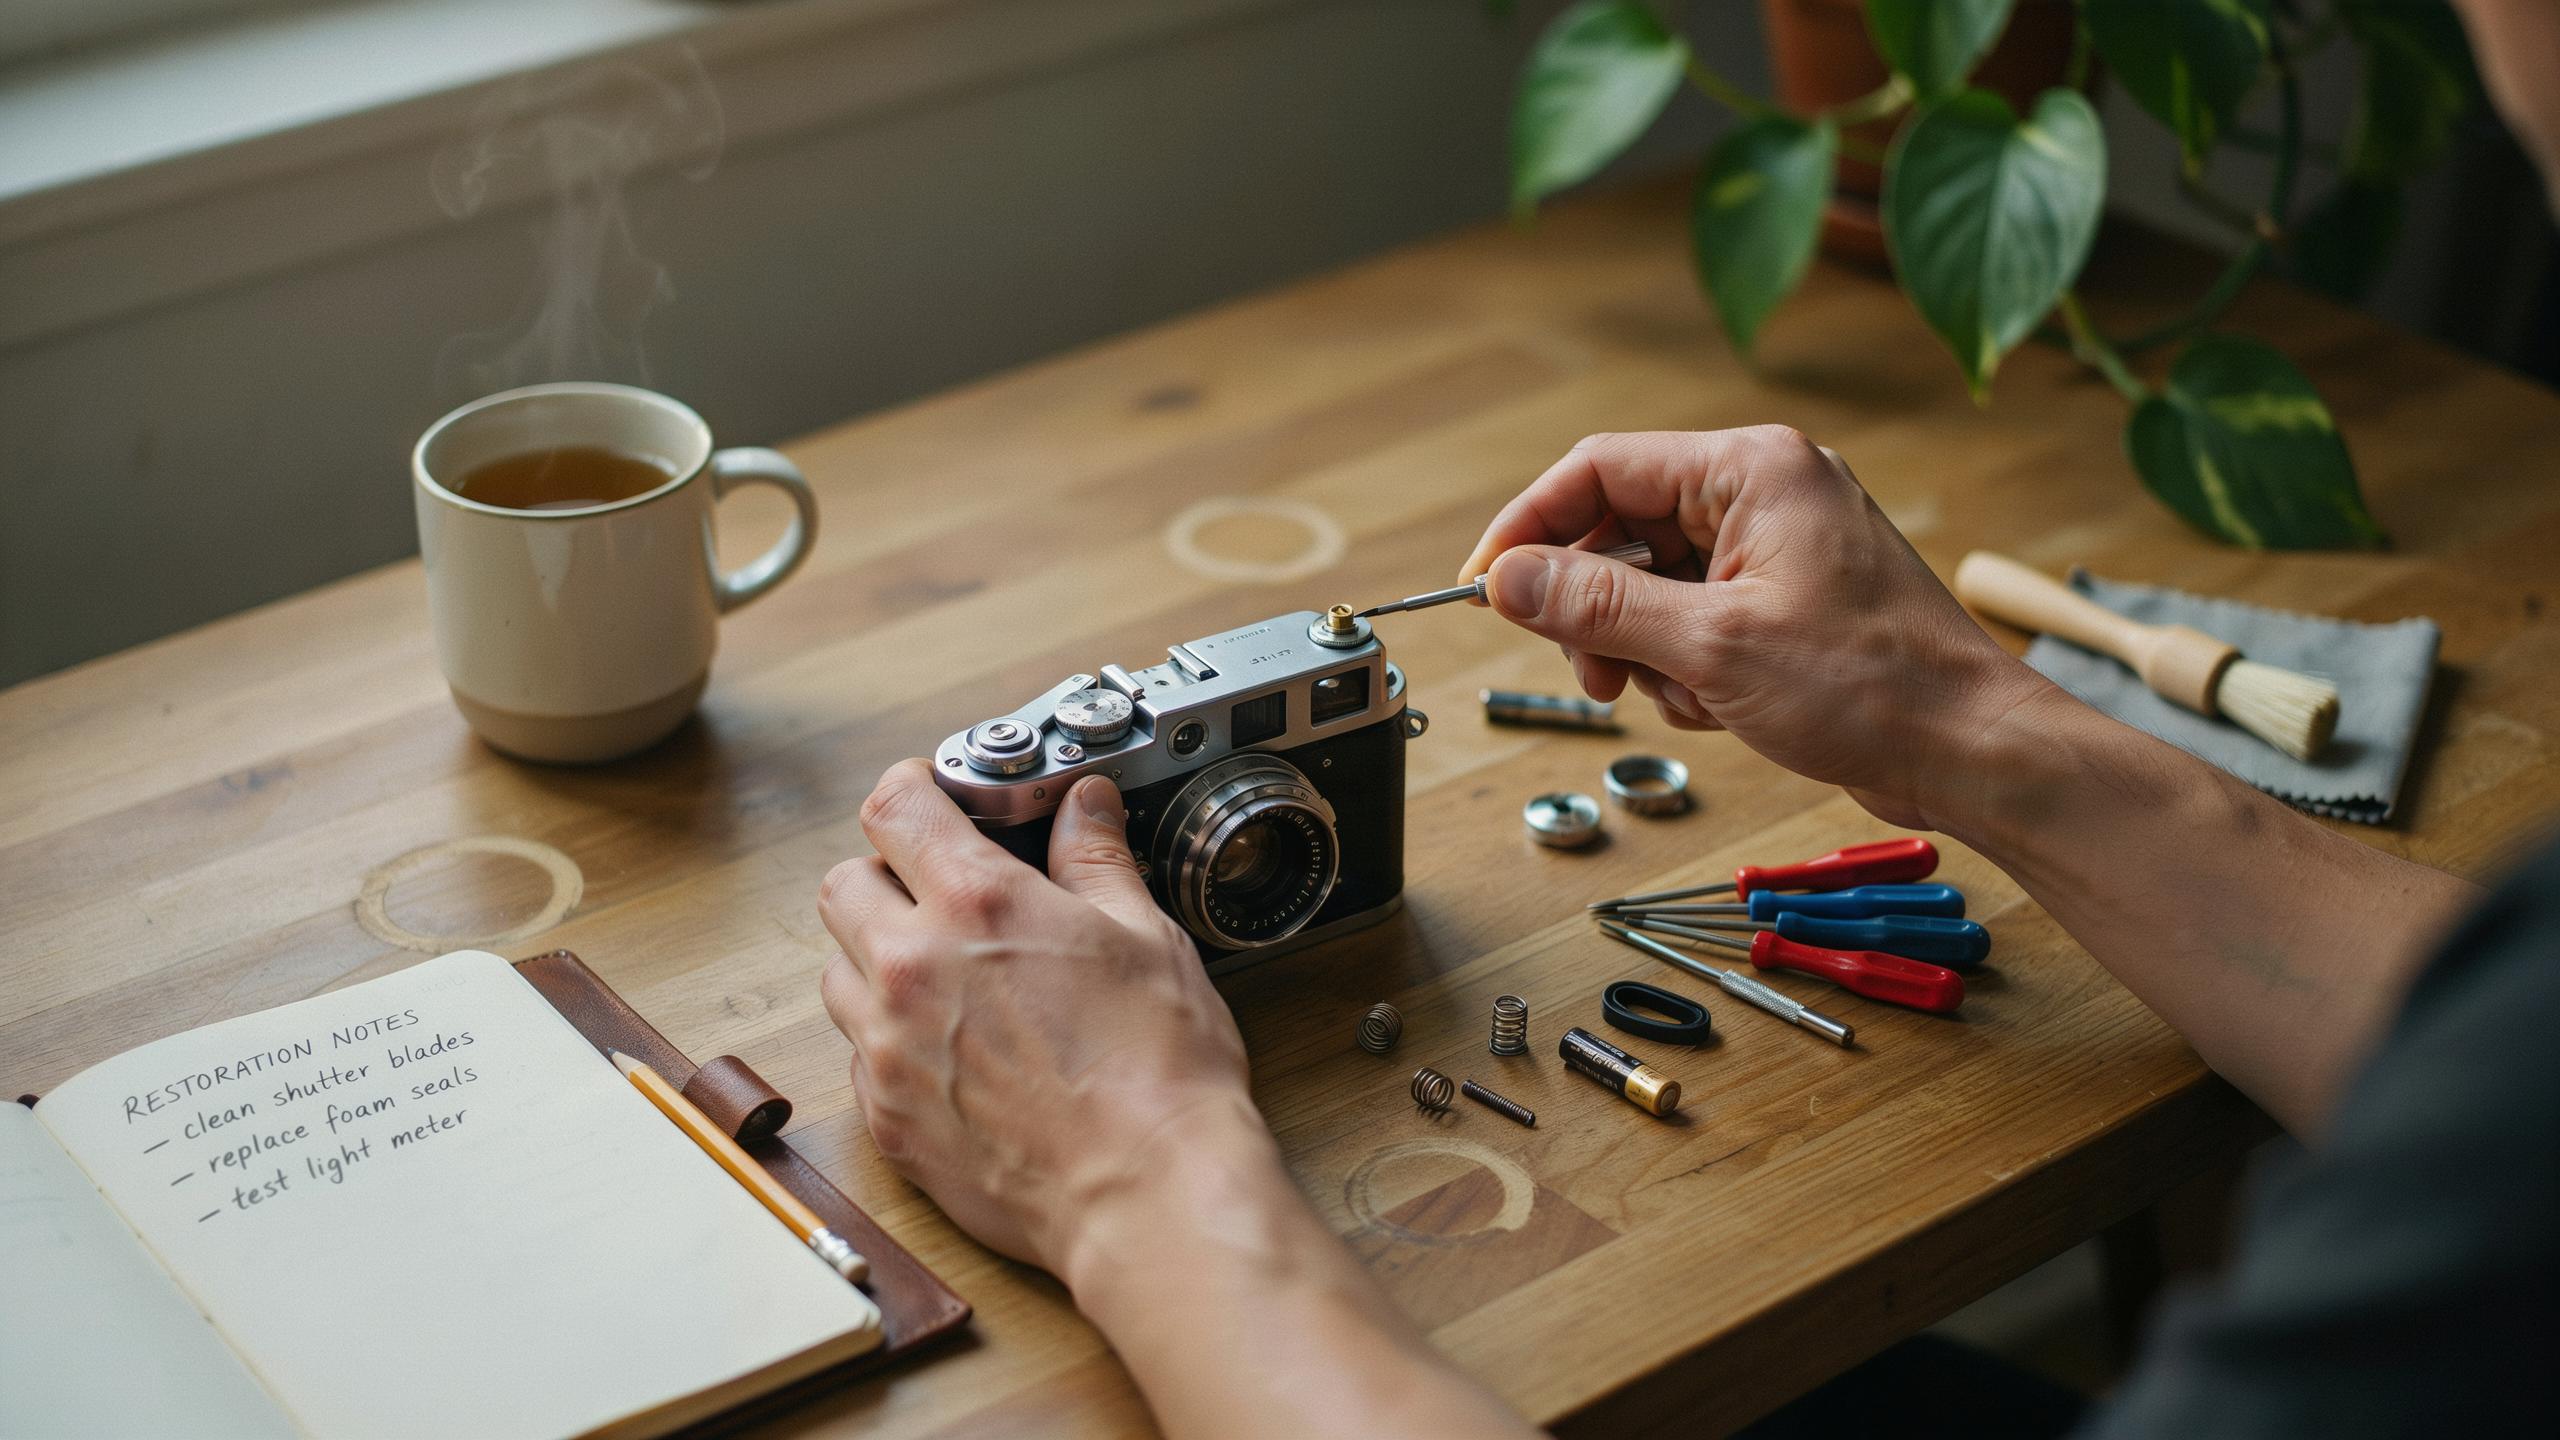
Why Restore A Film Camera
The Charm Of Analog Photography
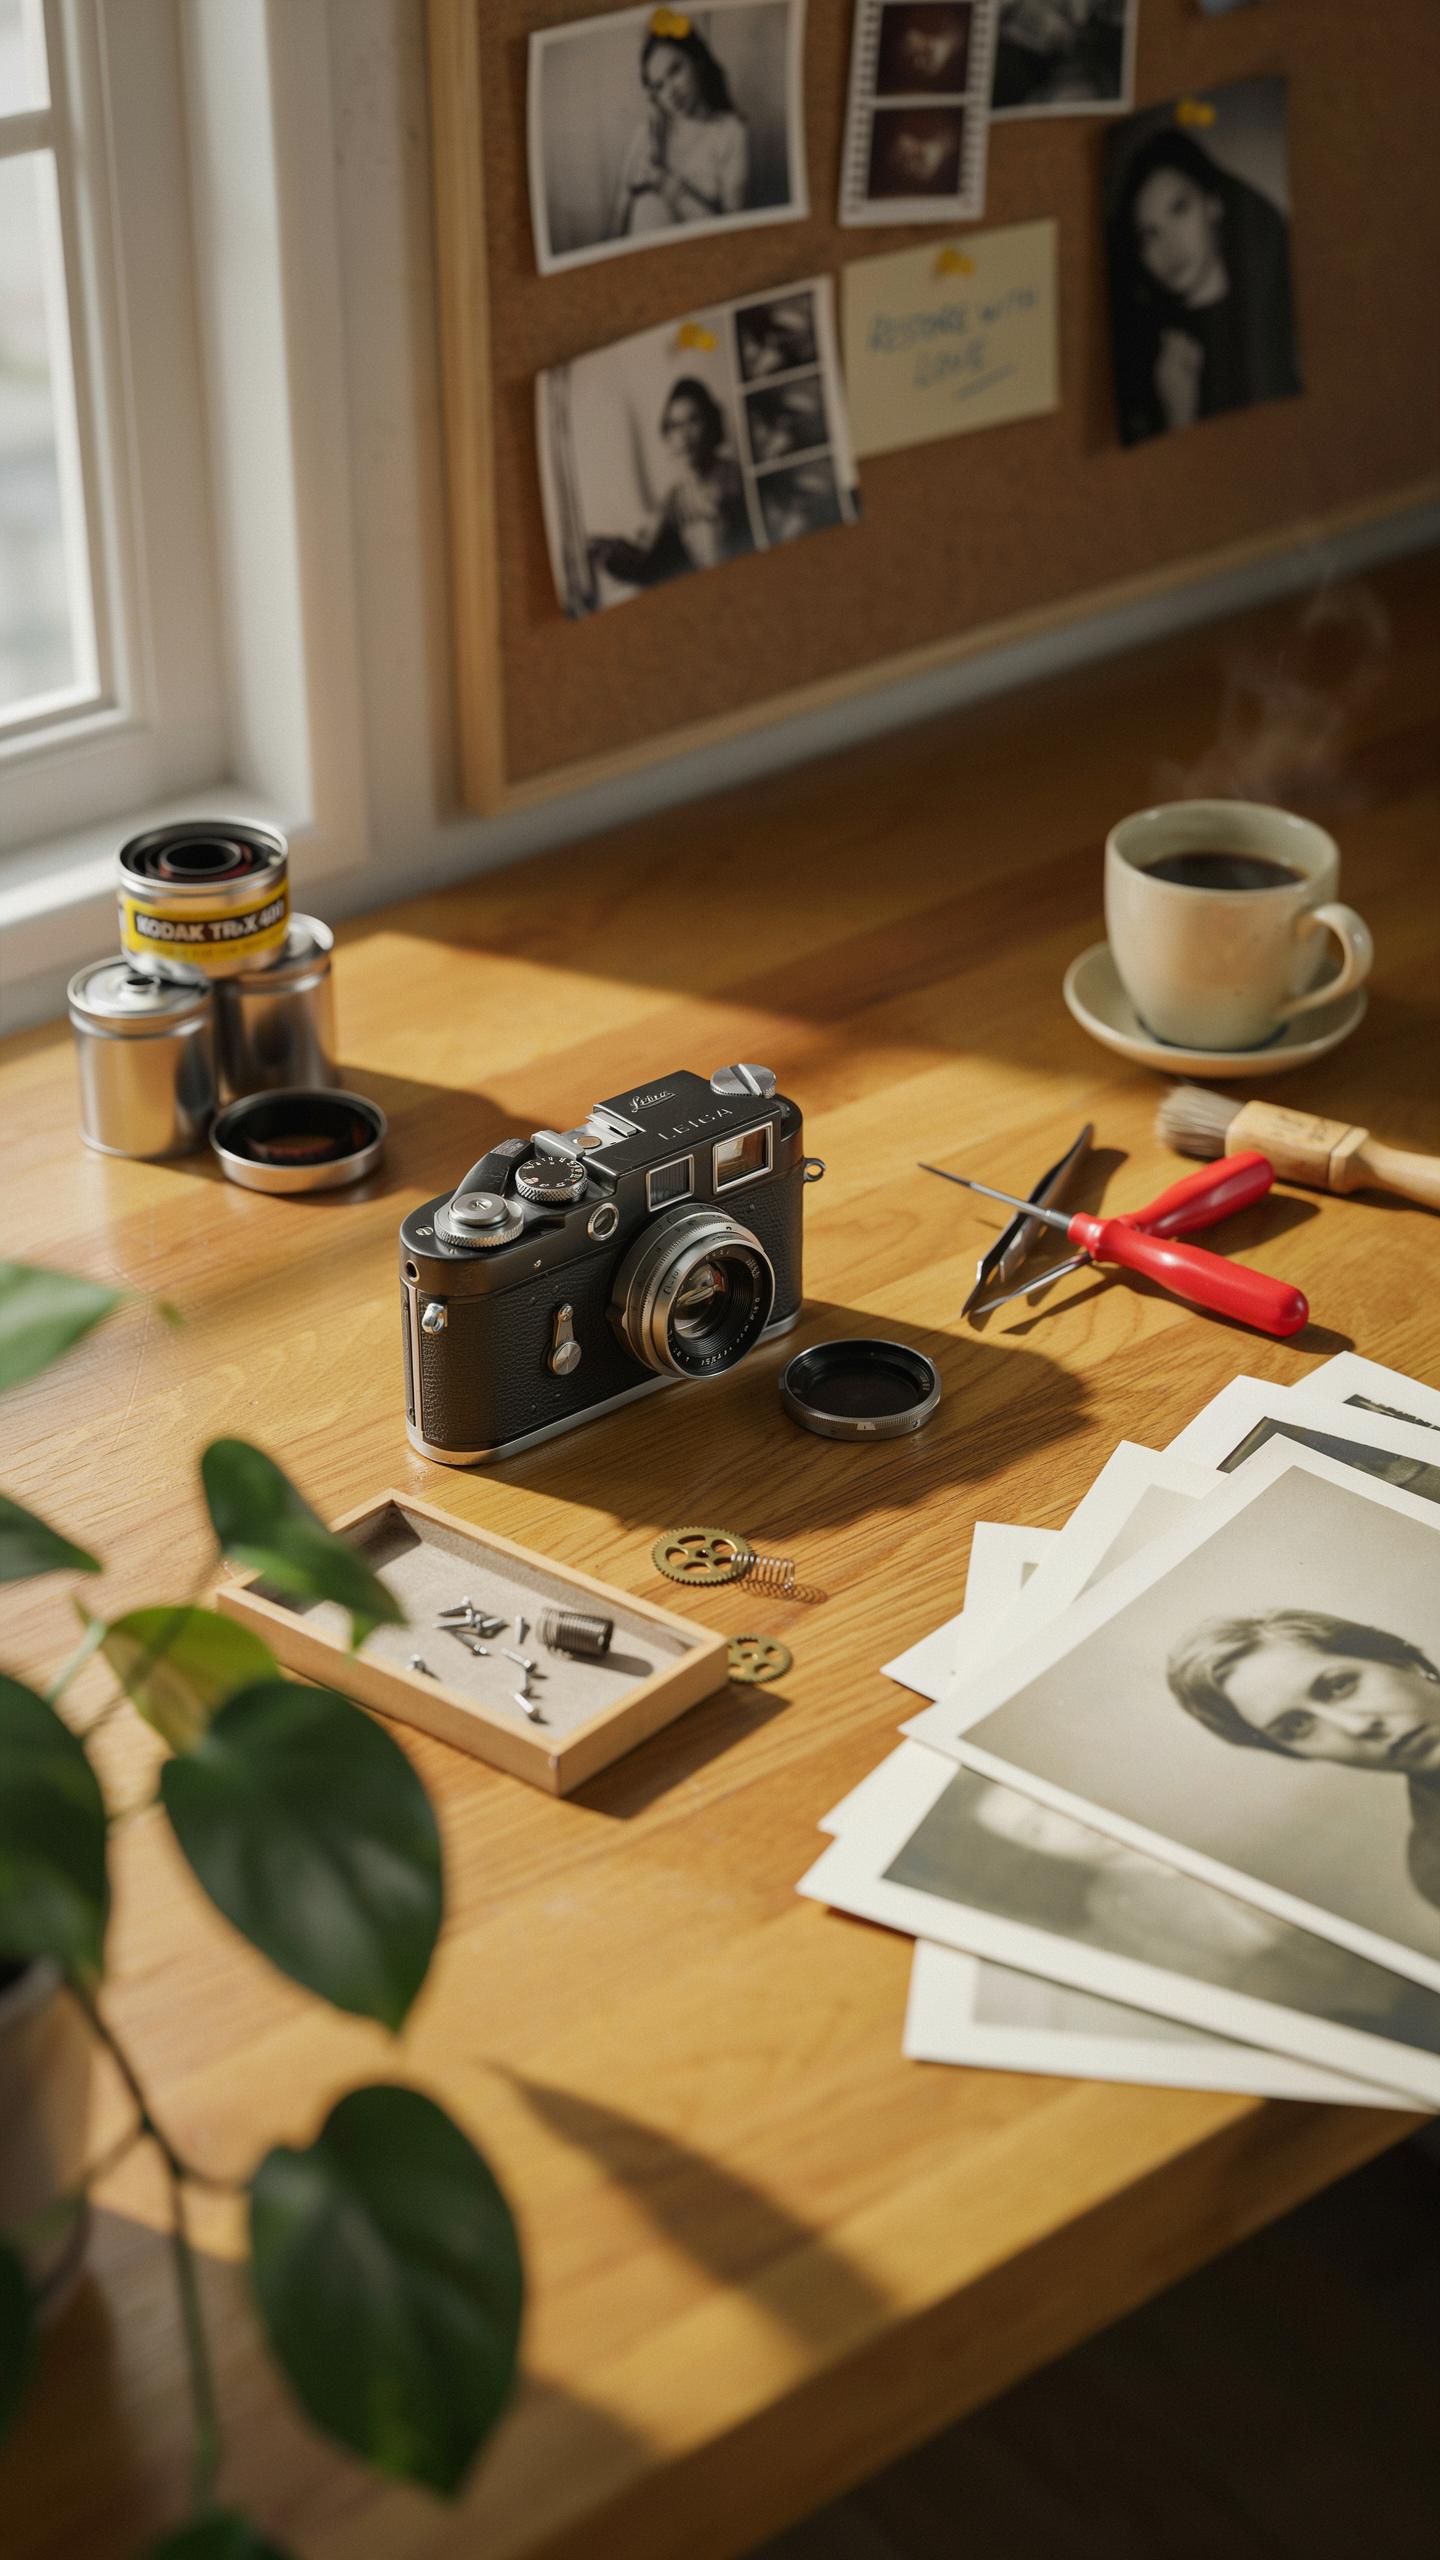
Film photography produces output that digital cannot replicate. Film captures light through chemical reaction on emulsion rather than electronic sensors. This creates grain structure, color rendition, and tonal gradation that many photographers prefer. The tactile process demands intention. You load film, set exposure manually, advance the shutter, and wait for development. No instant feedback. No chimping at the back of the camera. This workflow forces deliberate composition and technical discipline.
Restoring a film camera reconnects you to this mechanical process. You handle equipment built to exacting standards decades ago. Metal shutter mechanisms click with precision. Rangefinder systems focus through optical geometry rather than autofocus algorithms. Using restored gear teaches how photography functioned before computational imaging. This knowledge applies directly to your craft, regardless of current format preference.
Preserving Photographic History
Cameras document how engineering and design evolved. A 1960s SLR represents specific manufacturing techniques, material science, and optical theory of that era. German and Japanese manufacturers produced cameras that defined professional standards for decades. Restoring these tools preserves functional history. You maintain working examples of industrial design that shaped photography. Without restoration, these cameras sit dormant or disintegrate.
Vintage cameras have monetary value, but cultural value matters more. Museums and collections preserve only select examples. Most working cameras exist in private hands. Hobbyist restorers maintain the broader archive through active use and repair. A functioning 1950s rangefinder camera in your hands generates images and stays part of photographic practice. Neglected equipment becomes landfill. Restoration keeps these tools productive and accessible to future photographers.

Essential Tools In A Film Camera Restoration Kit
Cleaning Supplies And Solvents
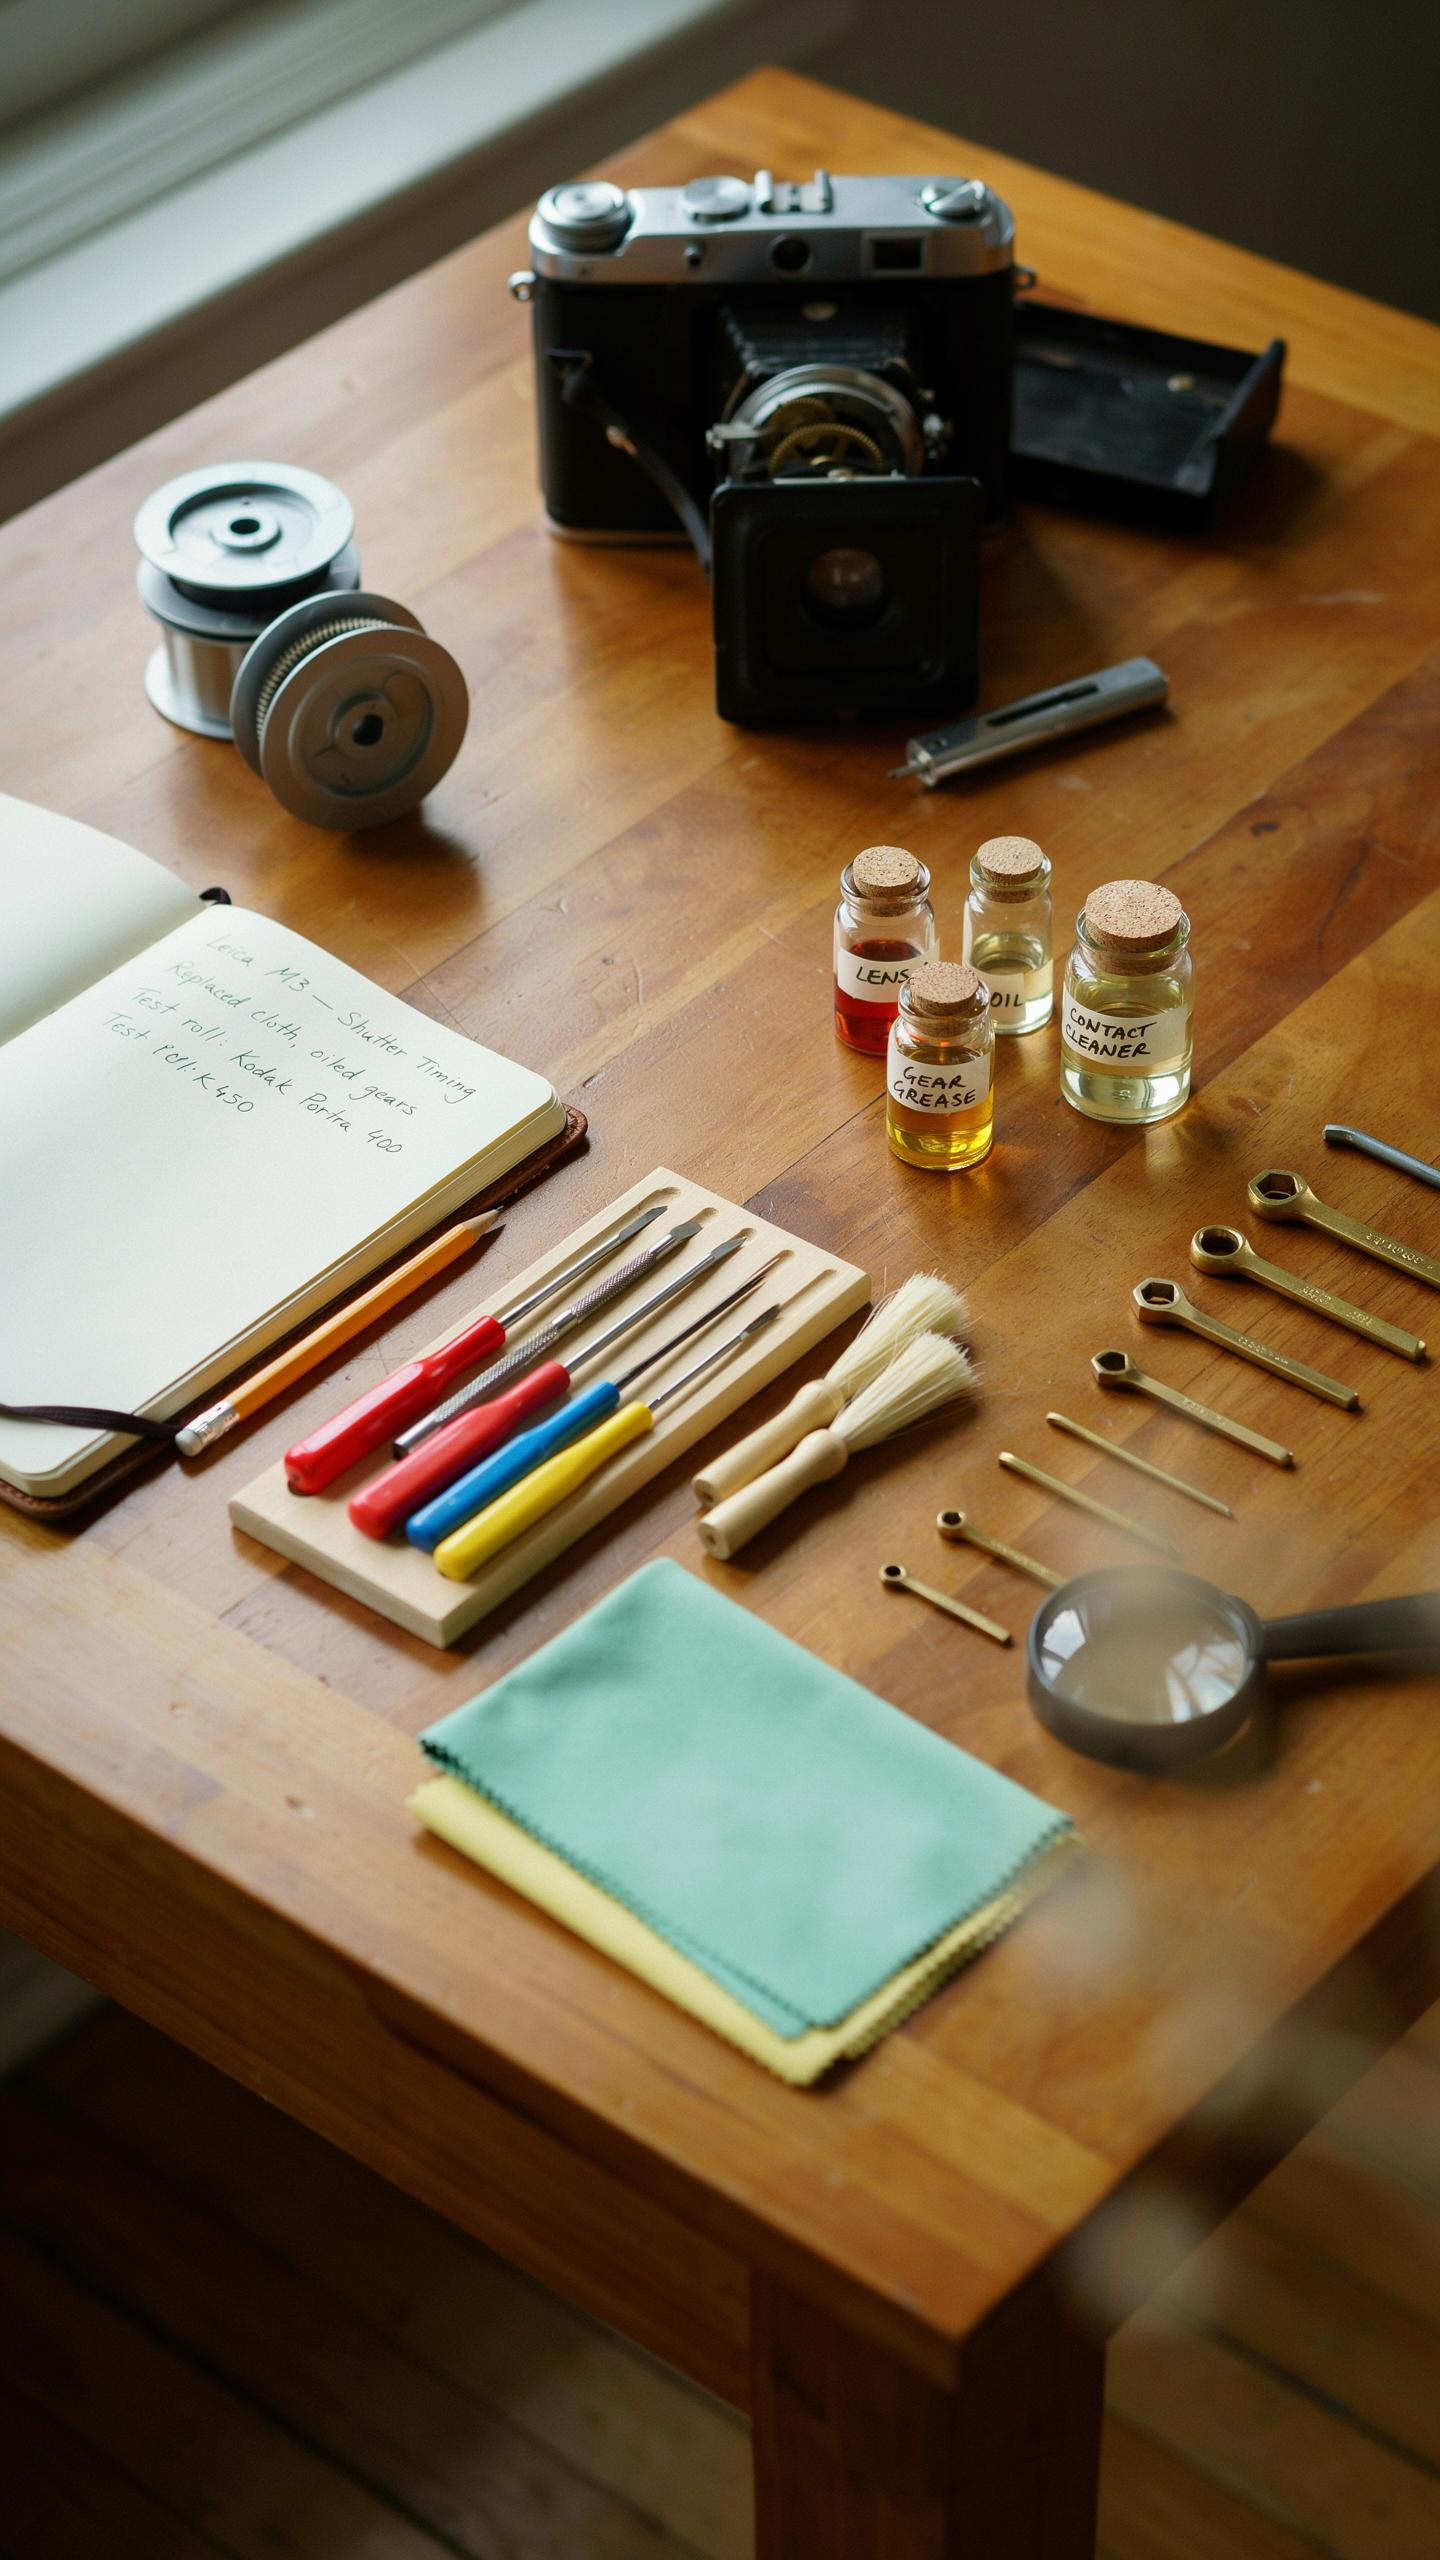
Camera internals accumulate decades of dust, oil residue, and corrosion. You need specific solvents because wrong chemicals damage coatings and cement lens elements together permanently. Isopropyl alcohol removes old lubricant and dirt without degrading metal or glass. Lighter fluid works for stubborn residue on mechanical parts. Distilled water prevents mineral deposits that tap water leaves behind.
Brushes matter more than you think. Natural hair brushes avoid static buildup that attracts particles. Rocket blowers displace dust without touching surfaces. Microfiber cloths prevent scratches on glass and metal surfaces. Cotton swabs reach tight crevices around shutters and mirror boxes. Lens tissue dissolves quickly without leaving lint, unlike regular paper towels.
Precision Tools For Disassembly
Small screwdrivers come in specific sizes because camera manufacturers used proprietary screw heads. Phillips head, flathead, and specialty slot drivers are mandatory. Tweezers with fine points grab springs and screws without dropping them into camera bodies. Jeweler’s loupe magnifies small parts so you see what you are working on. A proper workbench with good lighting prevents mistakes that compound restoration problems.
Screwdriver handles matter for control. Hollow handles accept multiple bits, reducing tool clutter. Magnetic screwdrivers prevent lost fasteners inside camera chambers. Precision hex key sets access internal adjustments on shutters and rangefinders. You also need a parts tray with compartments to organize screws by location because reassembly requires exact placement.

Understanding Common Camera Issues
Addressing Light Leaks And Shutter Problems
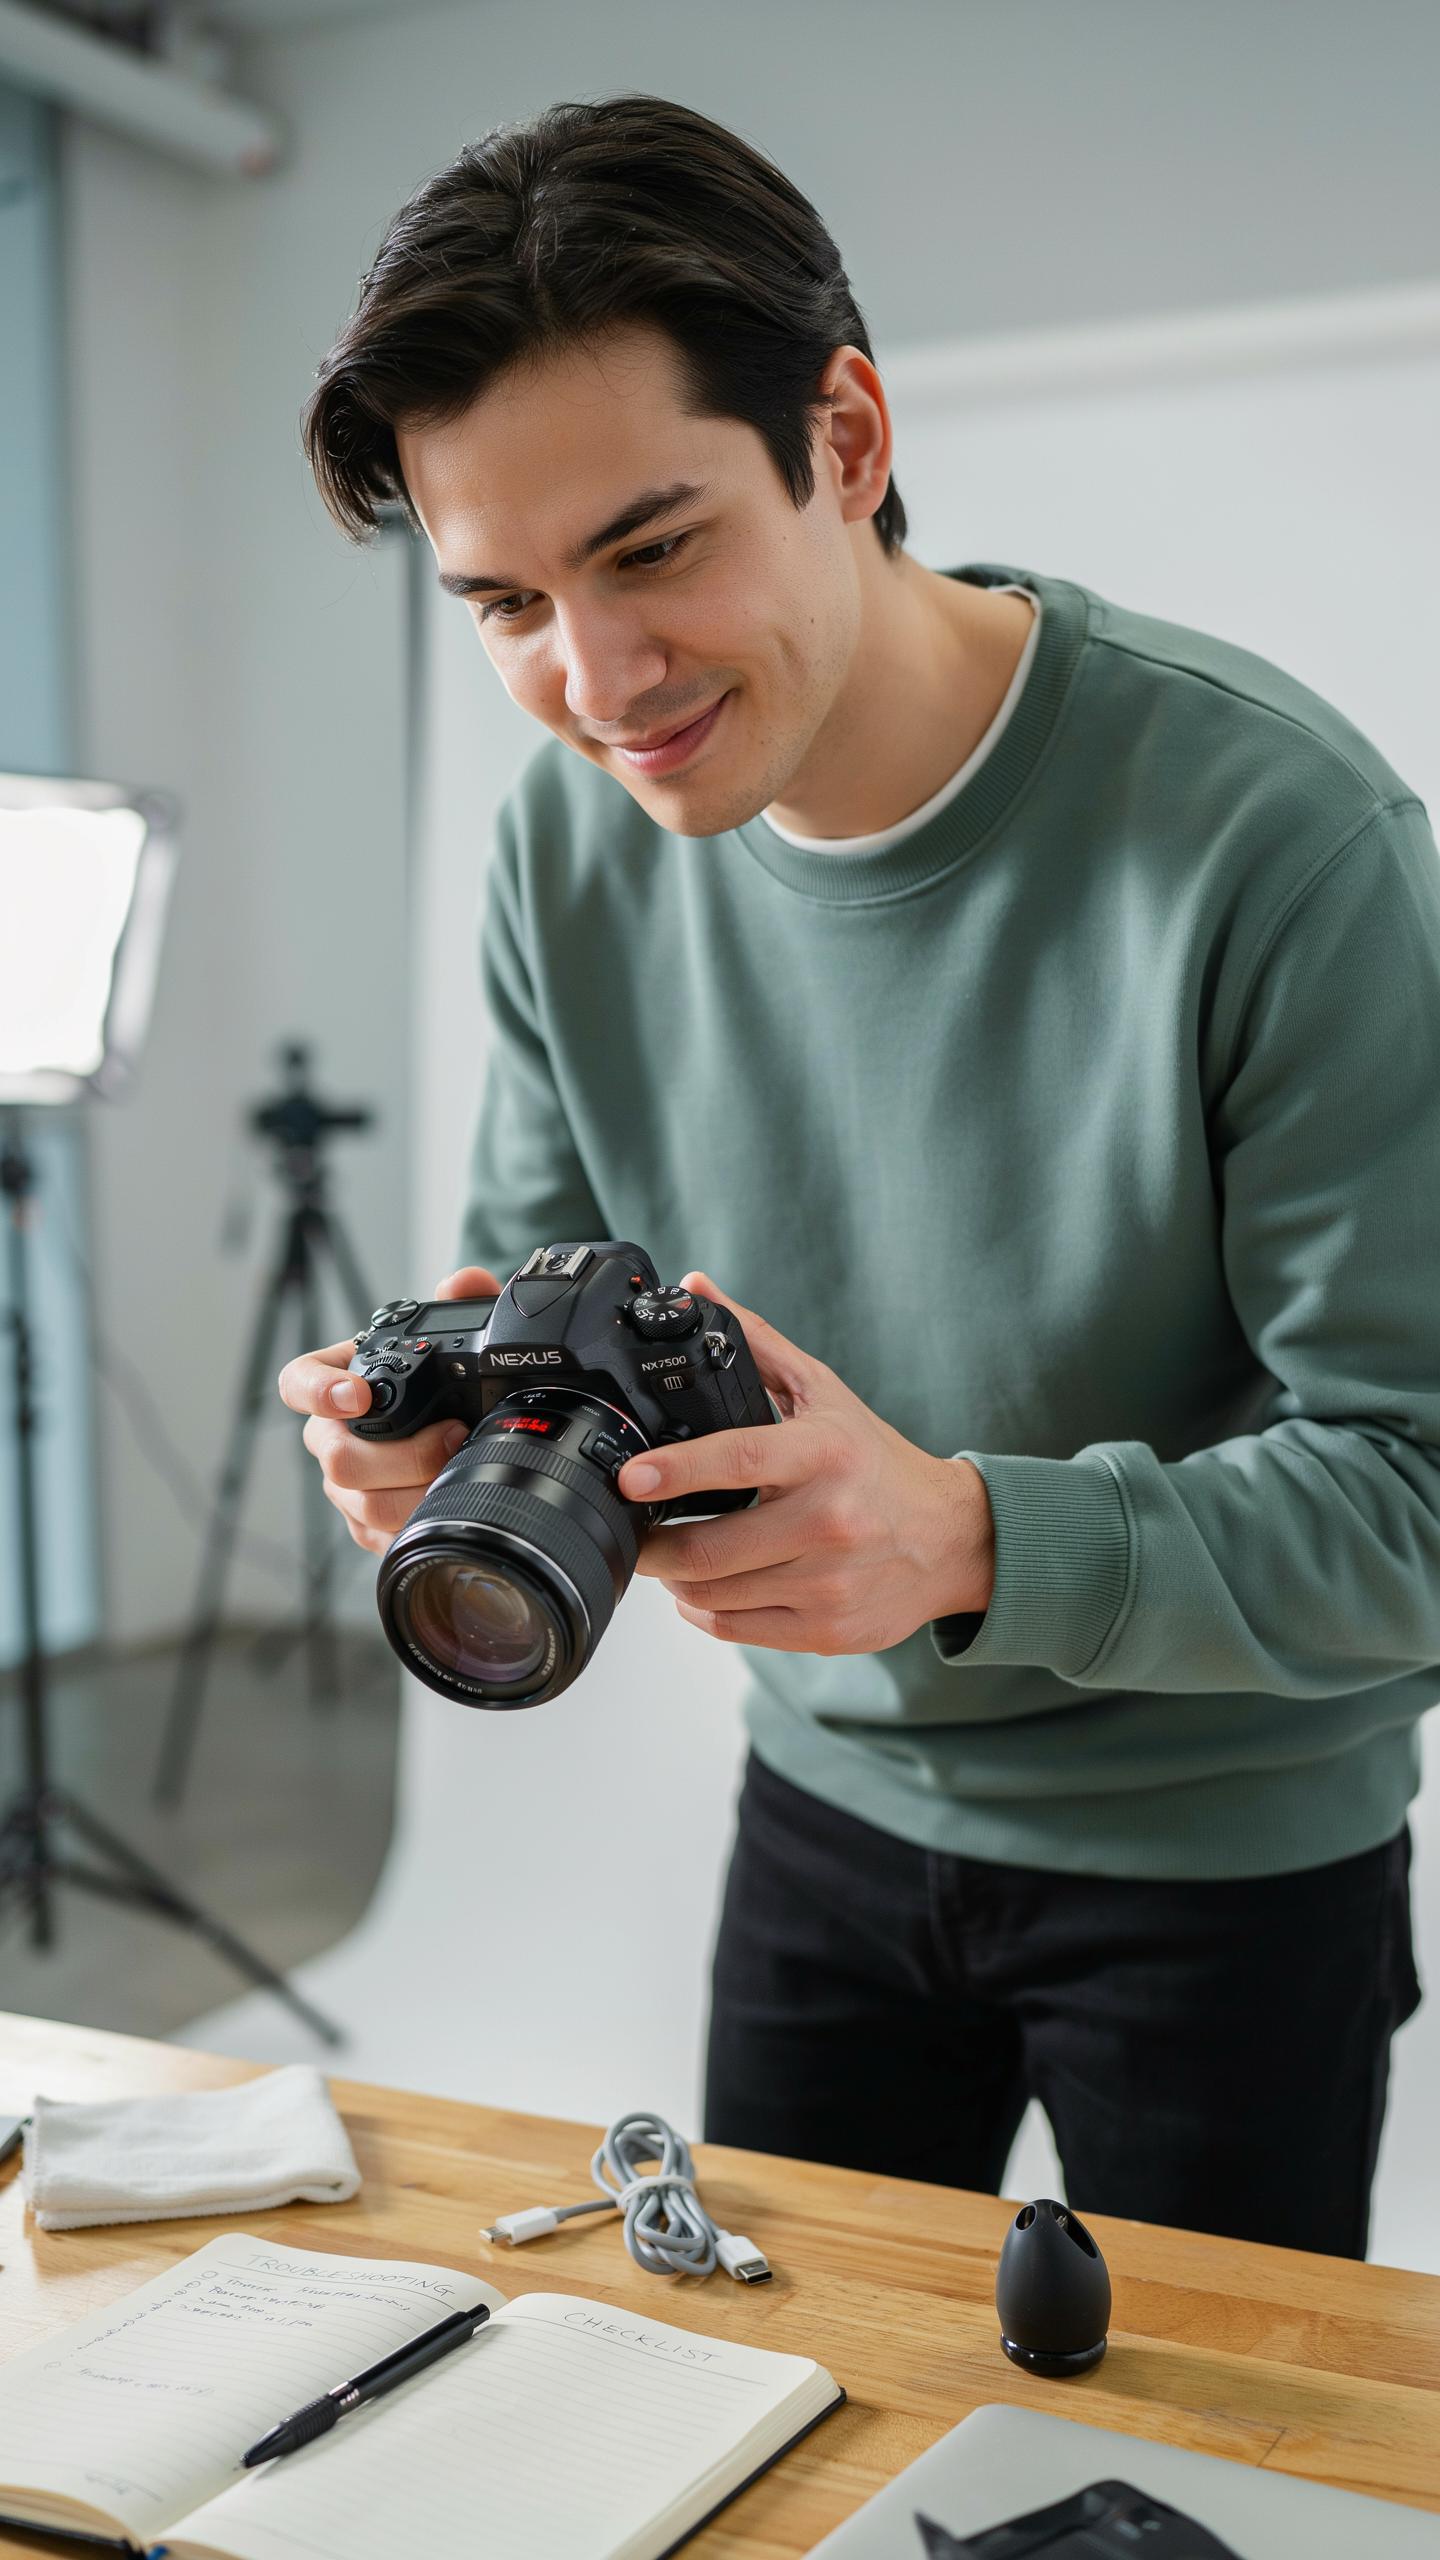
Light leaks occur when light enters the camera body through gaps in seals or deteriorated light-blocking materials. Most film cameras use light traps made from felt, foam, or velvet that degrade over decades. You identify leaks by loading unexposed film, leaving the camera in bright sunlight for minutes, then developing it. Fogged or streaked negatives confirm light entry points.
Shutter problems range from sluggish speeds to complete failure. Metal shutters stick from dried lubricant or corrosion. Cloth shutters tear or lose tension. Test shutter speed using a smartphone camera app that measures flash frequency or by listening for consistent clicking. Replace cloth shutters with appropriate material or carefully clean metal shutters with appropriate solvents. Mechanical sluggishness often improves after controlled lubrication with clock oil or sewing machine oil applied to pivot points.
Fungus And Haze Removal From Lenses
Fungus grows inside lenses when moisture and warmth create ideal conditions. Fungal patterns appear as branching white or gray marks visible when you shine light through the glass. Internal fungus requires disassembly since fungicide cannot reach infected surfaces inside sealed lens elements. External haze from condensation or film residue cleans off with lens paper and appropriate solvents like isopropanol or specialized lens cleaner.

Disassemble lenses by removing the rear glass element first, which usually unscrews from the barrel. Separate elements carefully to avoid scratching coatings. Clean internal surfaces with lens paper using circular motions from center outward. Dry elements completely before reassembly to prevent recurring fungus. This process demands precision and patience. Reassemble in reverse order, ensuring you align lens components correctly to maintain optical performance and prevent grinding noises during focus.
Restoring Vintage Camera Gear Beyond The Body
Servicing Lenses And Optics
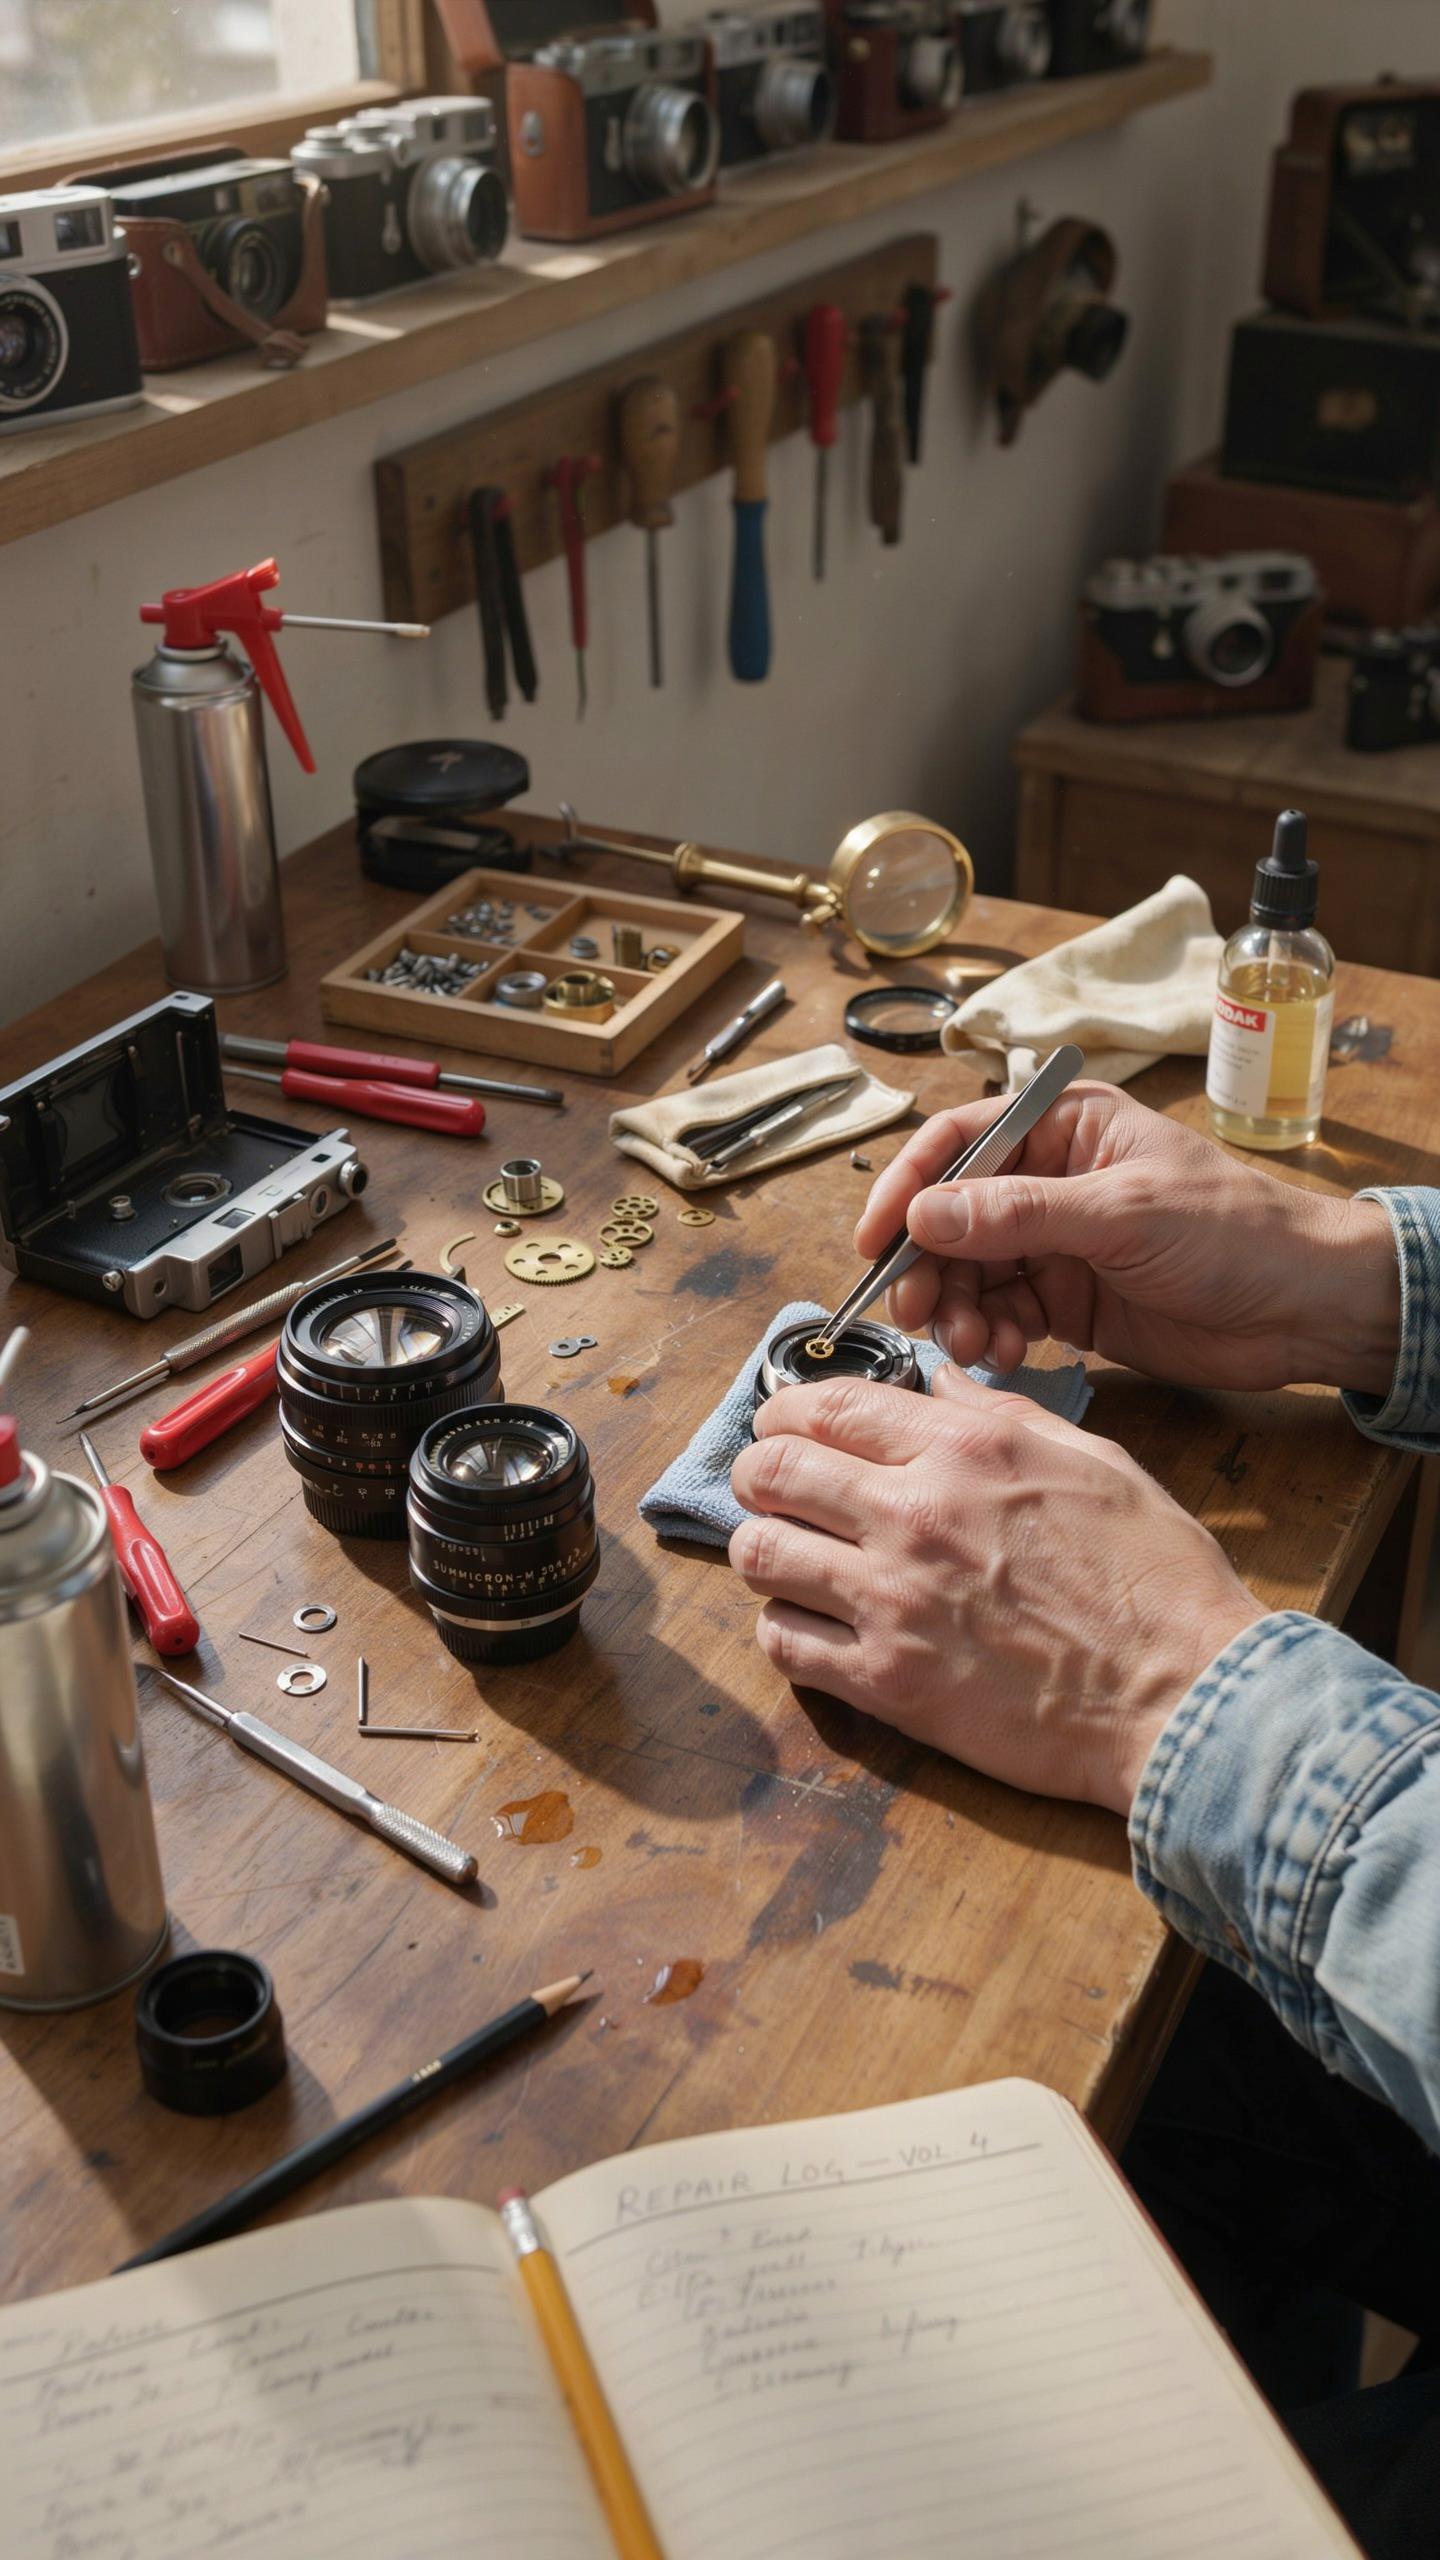
Lens cleaning demands a methodical approach because dust and fungal growth degrade image quality directly. Start by removing loose particles with a rocket blower, never touching the glass surface first. For internal dust between lens elements, you need a proper lens disassembly toolkit and steady hands. Most hobbyists should stop here and send complex internal cleaning to professionals.
Aperture blades stick due to old lubricant turning to varnish. Soak the blade assembly in pure ethanol for 15 to 30 minutes, then gently work the blades open and closed. Focus rings deteriorate when grease hardens. Clean the helicoid threads with a soft brush and light mineral oil to restore smooth rotation. Test focus accuracy before reassembling the lens onto the camera body.
Revitalizing Leatherette And Exterior Components
Leatherette, the plastic covering on camera bodies from the 1960s onward, cracks and peels as plasticizer chemicals break down over decades. Remove loose material with a plastic scraper, then clean the exposed areas with isopropyl alcohol. Replace it with adhesive-backed leatherette material matched to the original color and texture, or leave the camera bare for authentic patina.

Vulcanite and rubber components turn sticky and decompose into a gummy residue. Wipe affected areas with ethanol and let them air dry completely. For severely degraded rubber grips, replacement grip tape or custom-cut rubber sheets provide functional restoration. Metal chrome plating can be professionally replated if pitting is severe, though most hobbyists accept the cosmetic wear as part of the camera’s history.
How To Develop Film At Home The Next Step
Introduction To Home Development Equipment
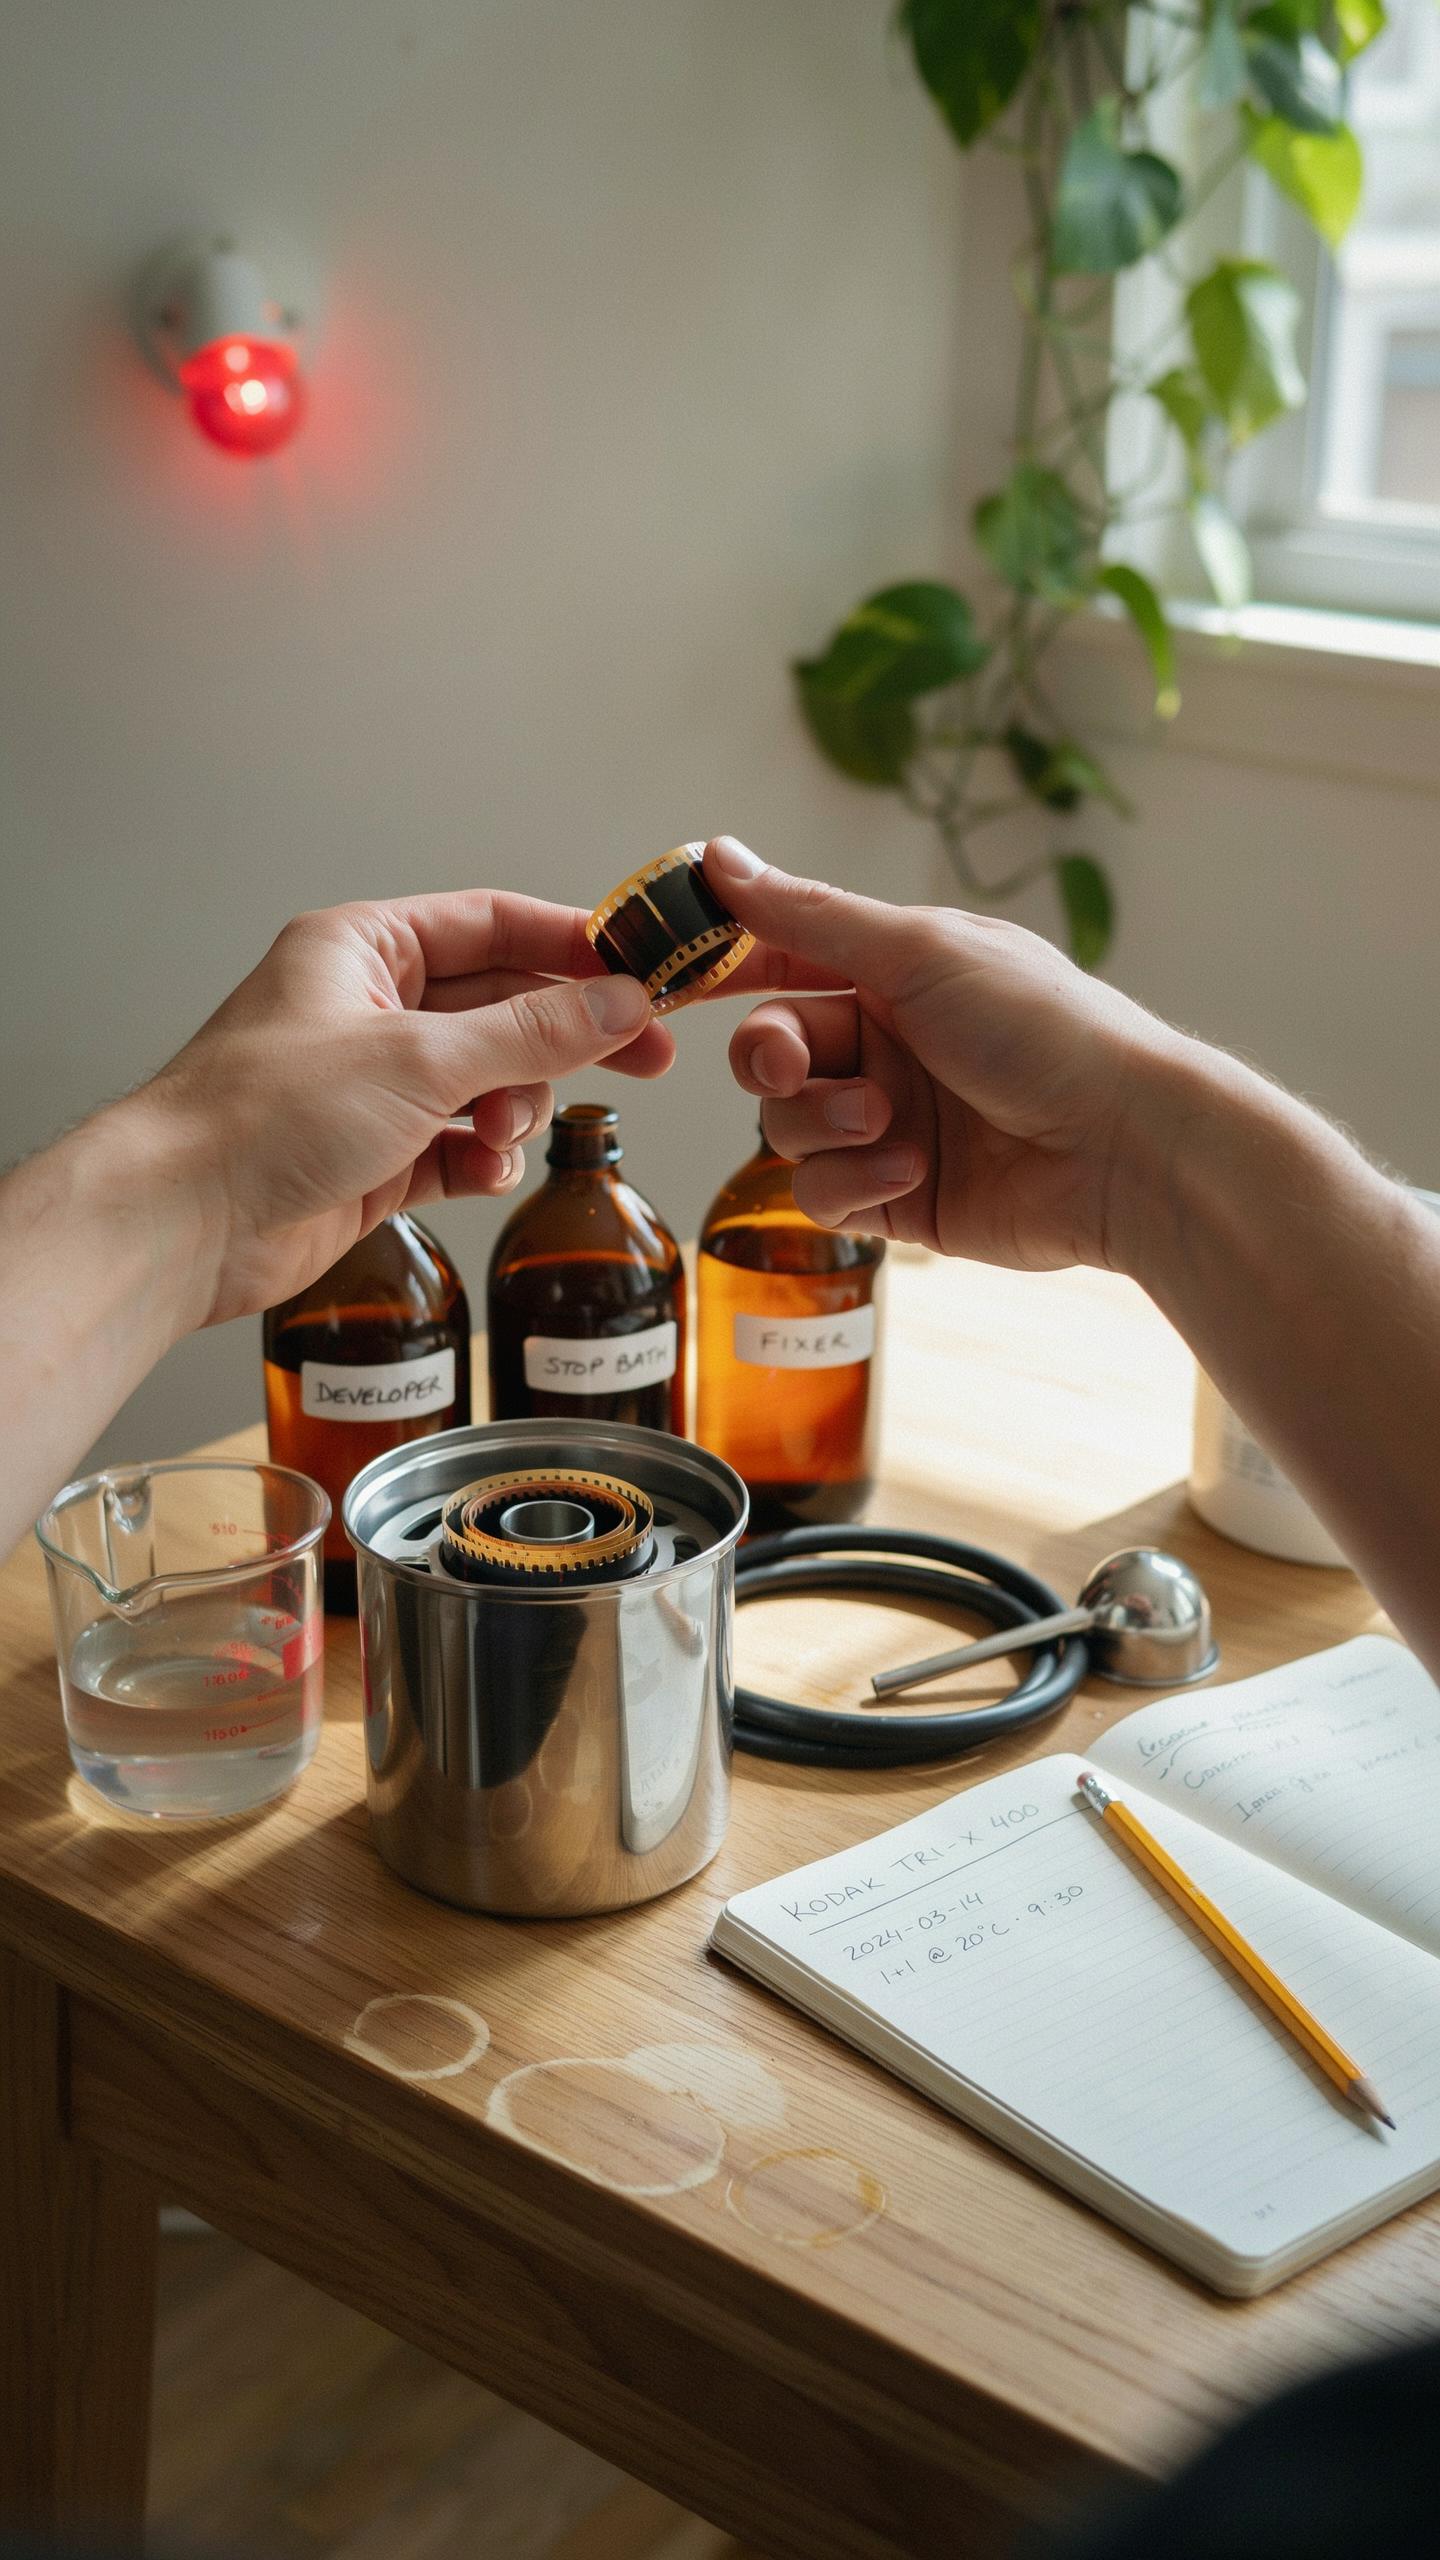
Home film development requires a controlled workspace and specific tools. You need a light-tight environment to load film onto reels without exposing it. The core equipment pieces handle the chemical process that converts exposed film into usable negatives. Getting this right eliminates darkroom rental costs and gives you control over development timing and chemistry.
- Development Tank: Light-tight container that holds film reels and chemicals. Allows you to process film safely in normal room conditions without a darkroom.
- Film Reels: Spiral-shaped devices that hold film during development. Come in different sizes for 35mm or 120 format film.
- Chemical Bottles: Containers for developer, stop bath, and fixer. Brown glass bottles protect chemicals from light degradation and extend shelf life.
- Thermometer: Monitors chemical temperature during processing. Temperature directly affects development speed and final image contrast.
- Timer: Tracks development time accurately. Precision matters because under or over development ruins negatives.
- Measuring Cups and Stirring Rods: Prepare chemicals at correct dilutions. Accurate mixing prevents inconsistent development results across batches.
Temperature control matters more than you might think. Most developers work at 68 to 70 degrees Fahrenheit. You regulate this through water baths or careful room temperature management. Investing in basic thermometers and possibly a heating pad saves failed development runs.
Bringing a classic camera back to life with your own hands isn’t just repair, it’s a tender embrace of history, lens by lens.
Processing Black And White Film Negatives
Load your film onto the reel in complete darkness. Once the film sits on the reel inside the tank, you can turn the lights on. Pour pre-warmed developer into the tank and start timing immediately. Agitate the tank for the first thirty seconds, then every minute for the recommended time interval, typically between six and thirteen minutes.

After development finishes, pour the developer out and add stop bath. The stop bath halts development instantly and prevents chemicals from contaminating the fixer. Use the fixer for the full recommended time, usually five to ten minutes, with regular agitation. Rinse thoroughly with water and use a final rinse agent to remove mineral deposits that cause spots on dried negatives.
Developing Film Color And Advanced Techniques
Understanding C 41 Color Processing
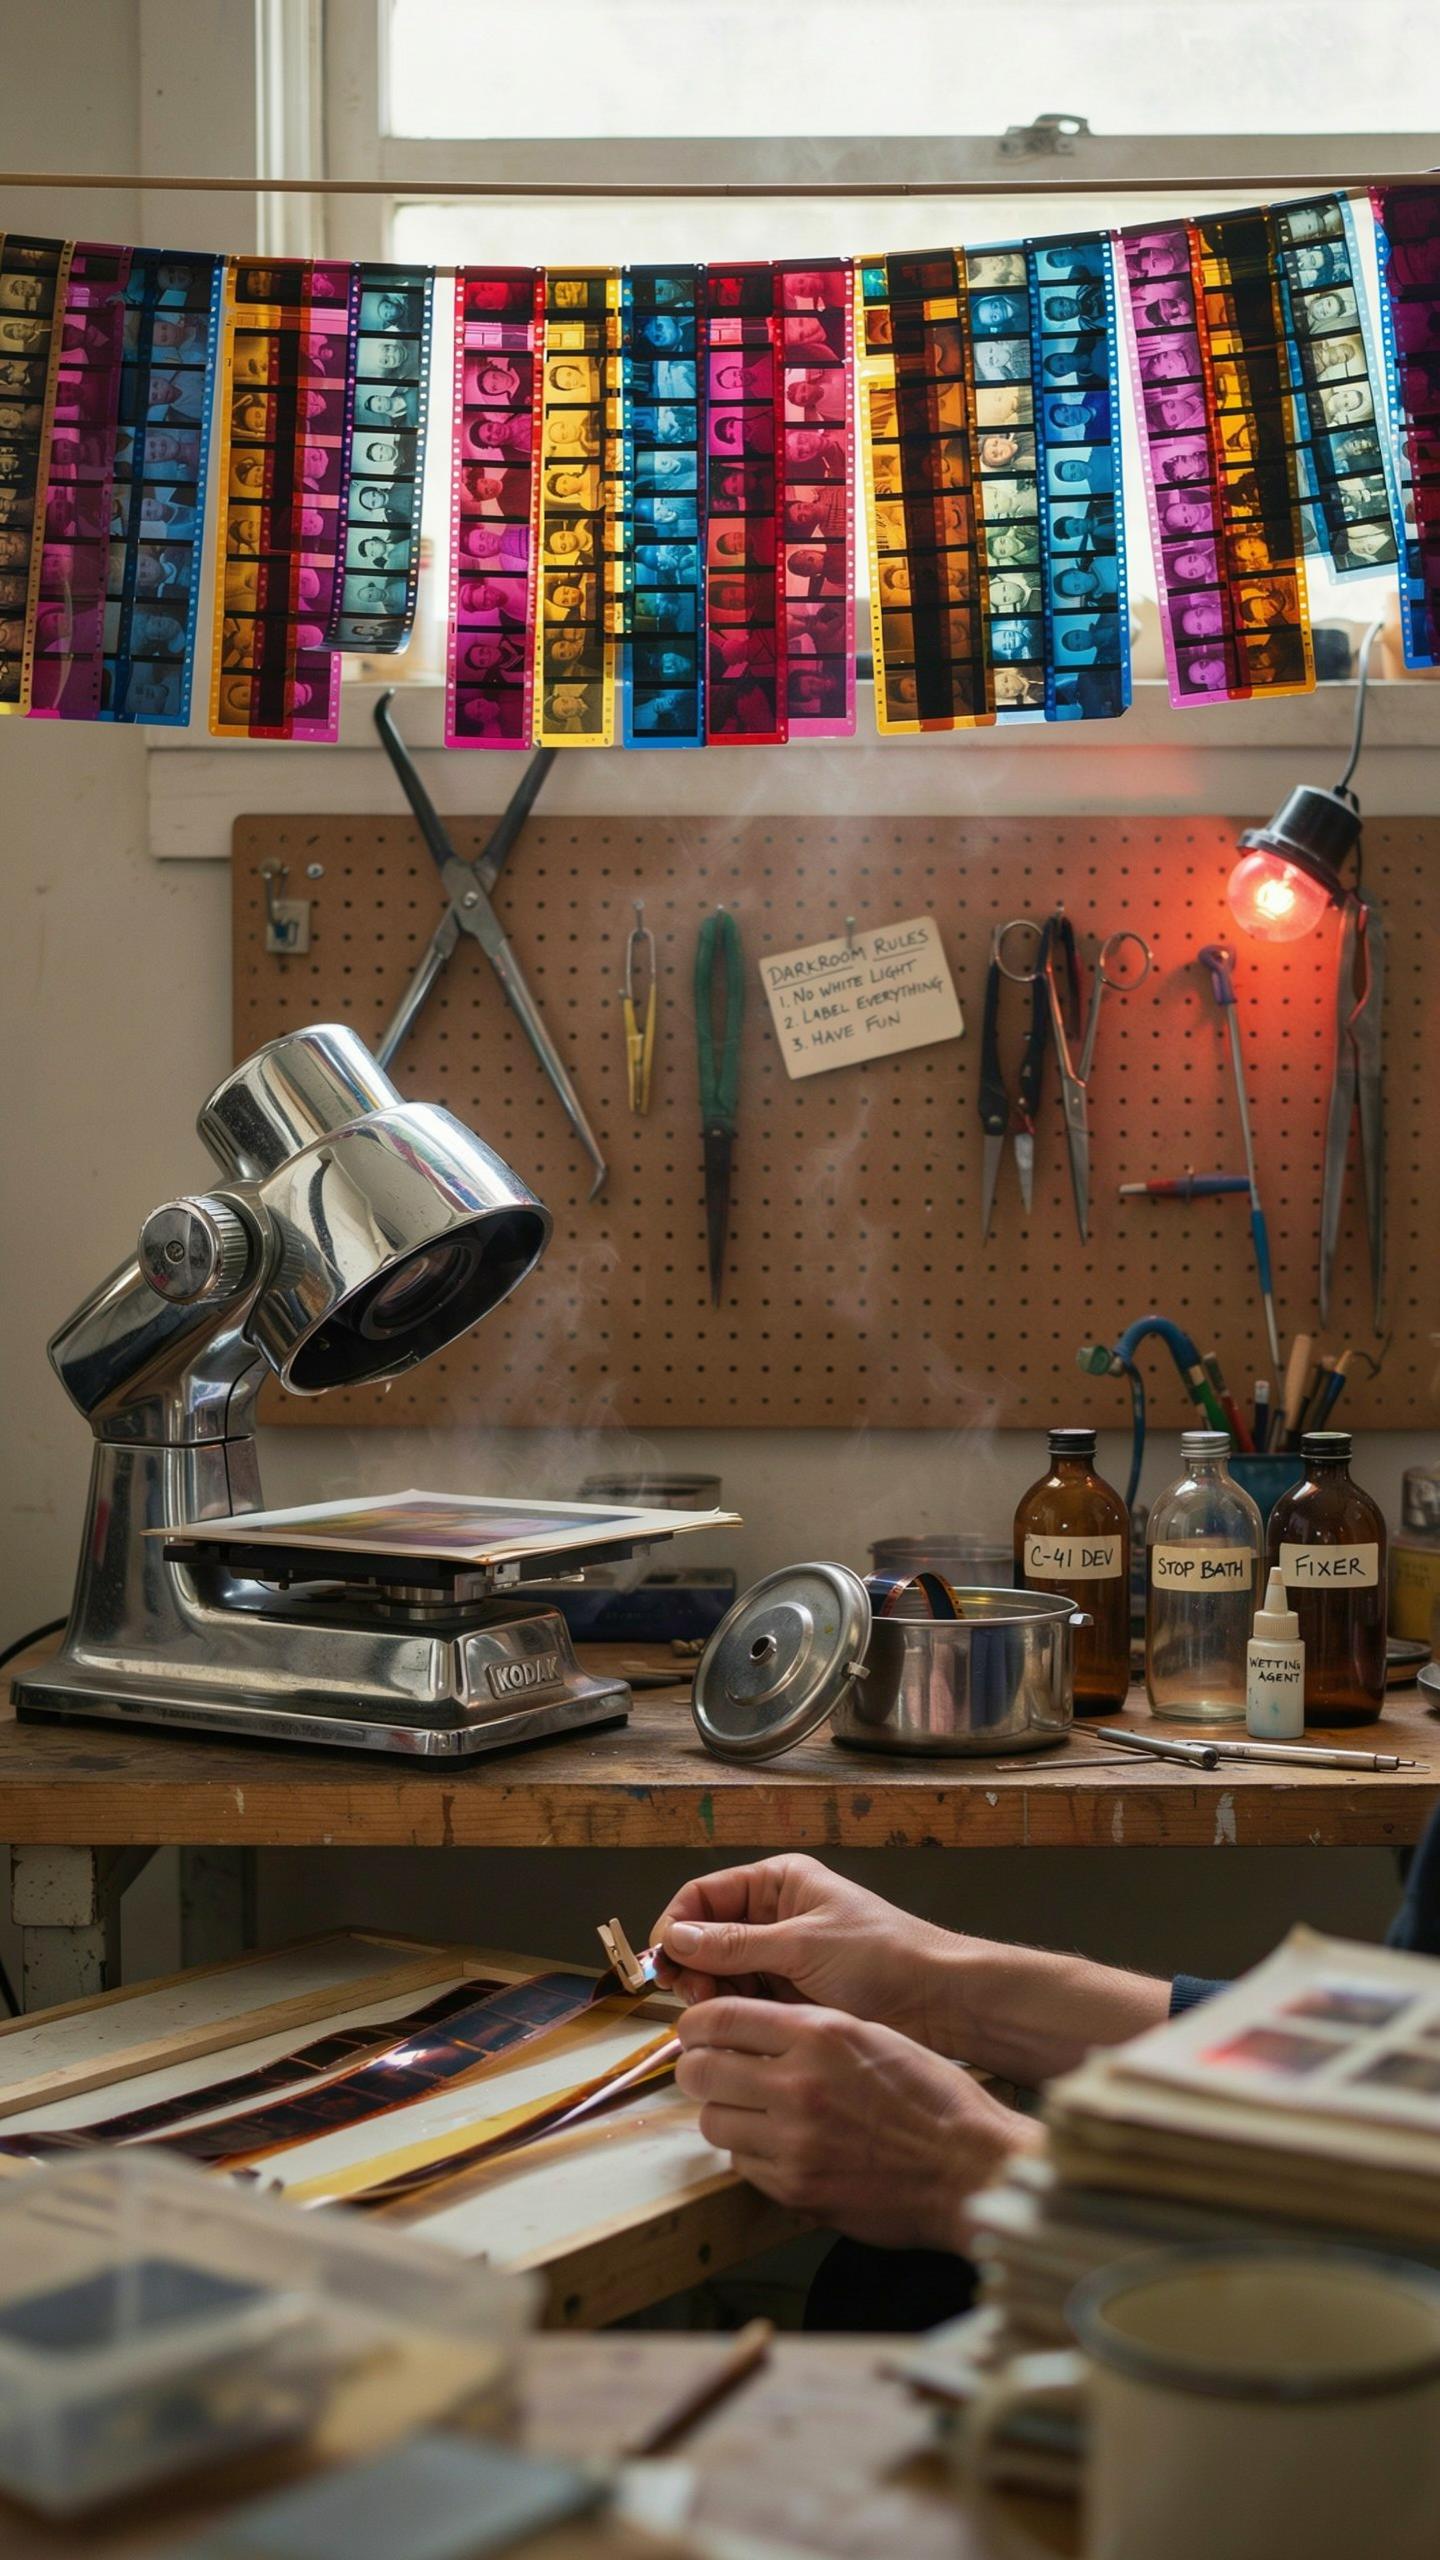
C-41 is the standard color negative film development process used since the 1970s. It requires three chemical stages: developer, bleach, and fixer. Temperature control matters more than anything else in C-41. You need to maintain 100 degrees Fahrenheit with a tolerance of plus or minus 0.5 degrees. Deviations shift color balance across your entire roll.
Home C-41 kits exist but demand precision most hobbyists lack initially. Commercial labs standardize temperature and timing through automated equipment. If you pursue home C-41, invest in a reliable thermometer and water bath system. Chemistry ages quickly once mixed, so calculate batch sizes carefully. Most kits last only a few weeks before color shifts occur.
Pushing And Pulling Film For Creative Effects
Pushing film means underexposing during shooting, then extending development time to compensate. This increases contrast and graininess while raising shadow detail. Pulling does the opposite: overexposure with reduced development time. Pulling lowers contrast and grain while preserving highlights. Both techniques work with black and white film more reliably than color.

Development time charts exist for standard push and pull increments like one stop or two stops. Your film stock and developer combination determine the specific timing adjustments needed. Test single rolls before committing to full batches. Color shifts become pronounced with extreme pushing or pulling, especially beyond two stops. Black and white film tolerates these techniques better due to simpler chemistry involved.
Film Developing Safety And Best Practices
Handling Photographic Chemicals Safely
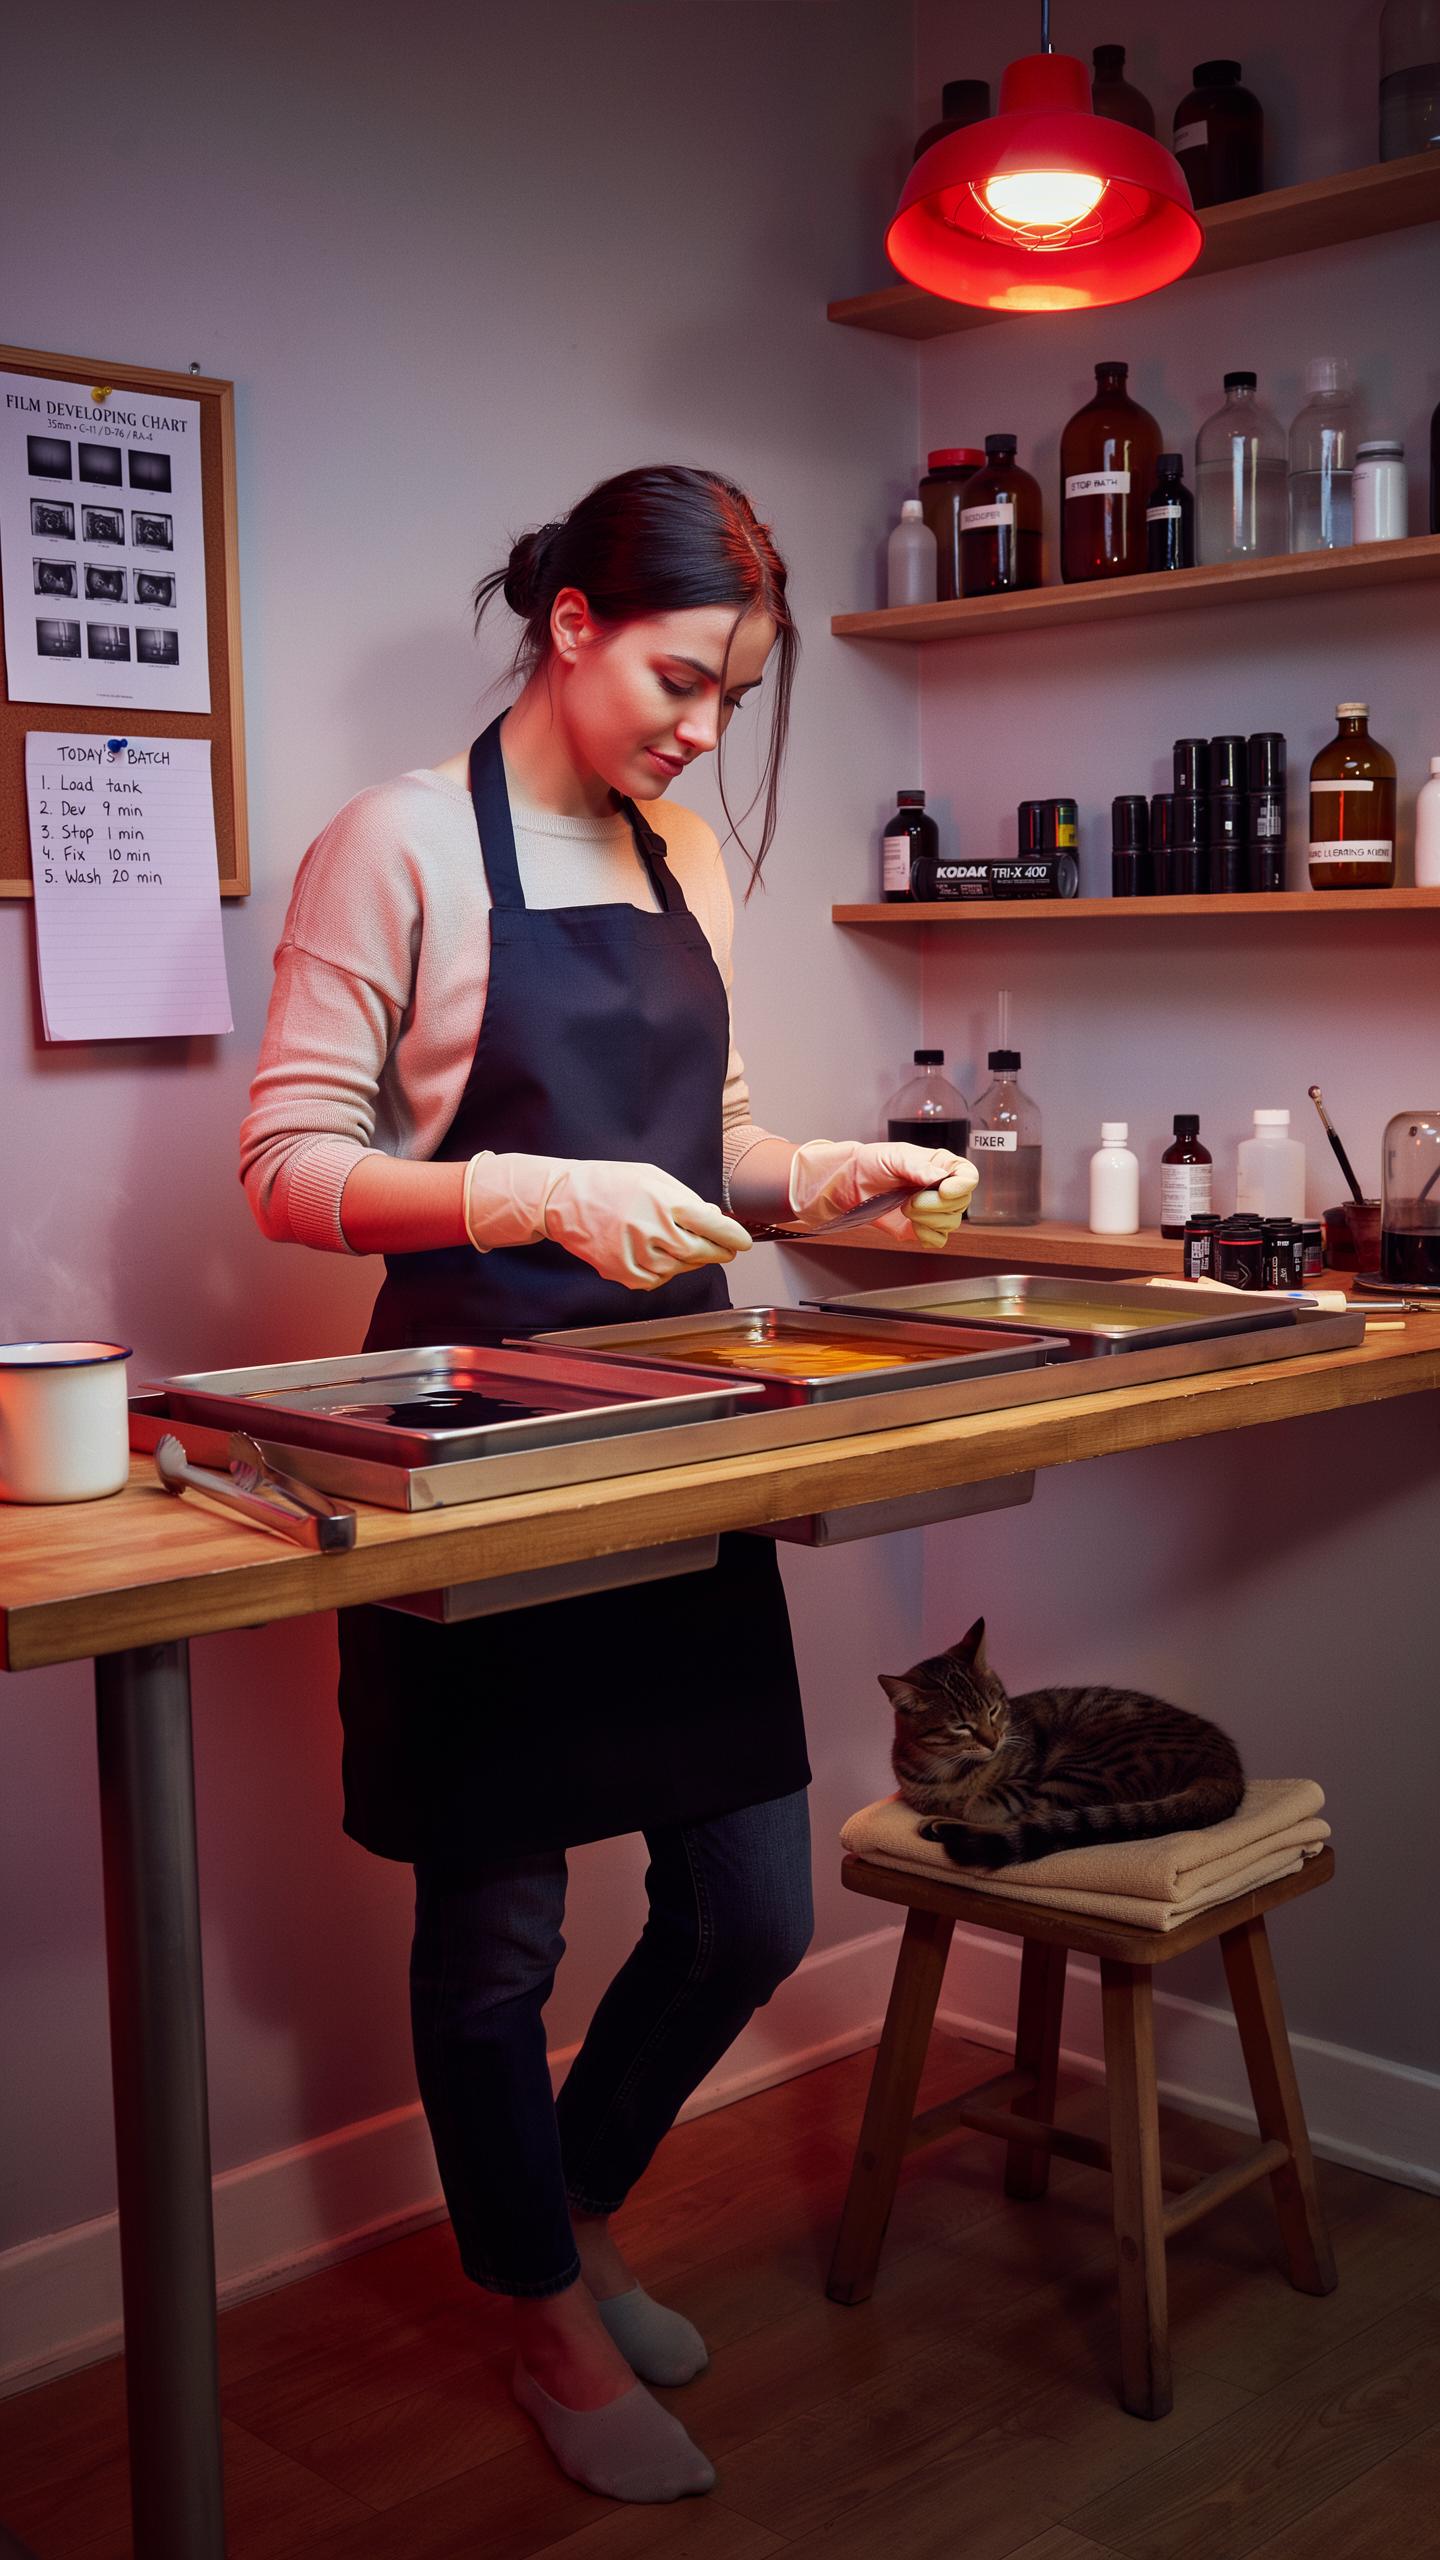
Photographic chemicals require respect. Developer, stop bath, and fixer contain compounds that burn skin and damage eyes. Always wear nitrile gloves, not latex. Mix chemicals in proper sequence to avoid exothermic reactions. Never pour water into concentrated chemicals. Work in a dedicated space away from food and living areas. Store chemicals in clearly labeled bottles away from children and pets.
Ventilation matters more than you think. Poor air circulation forces you to breathe chemical fumes that cause respiratory irritation and headaches. Use a window fan or install ducting to move air out. Never work in sealed rooms. For chemical disposal, check local regulations. Never pour chemicals down drains. Contact your local waste management facility for proper disposal sites. Many communities have hazardous waste collection days specifically for this purpose.
Maintaining A Clean Darkroom Environment

Dust kills image quality. Dust particles land on film and create spots on negatives that show up in prints as black marks. Sweep and mop your darkroom floor before starting work. Use lint-free cloths for all surfaces. Keep chemicals in sealed containers. Organize your workspace so you know where everything goes without searching. Clutter leads to accidents and contamination.
Temperature and humidity affect developing consistency. Chemicals work at specific temperatures, typically 68 degrees Fahrenheit for standard black and white development. Fluctuations change reaction times and produce uneven results. Install a reliable thermometer in your darkroom. Control humidity between 40 and 60 percent to prevent mold growth and equipment corrosion. Store film in sealed containers with desiccant packets. This stability directly impacts your print quality.
Retro Film Photography Equipment Expanding Your Kit
Exploring Vintage Lenses And Accessories
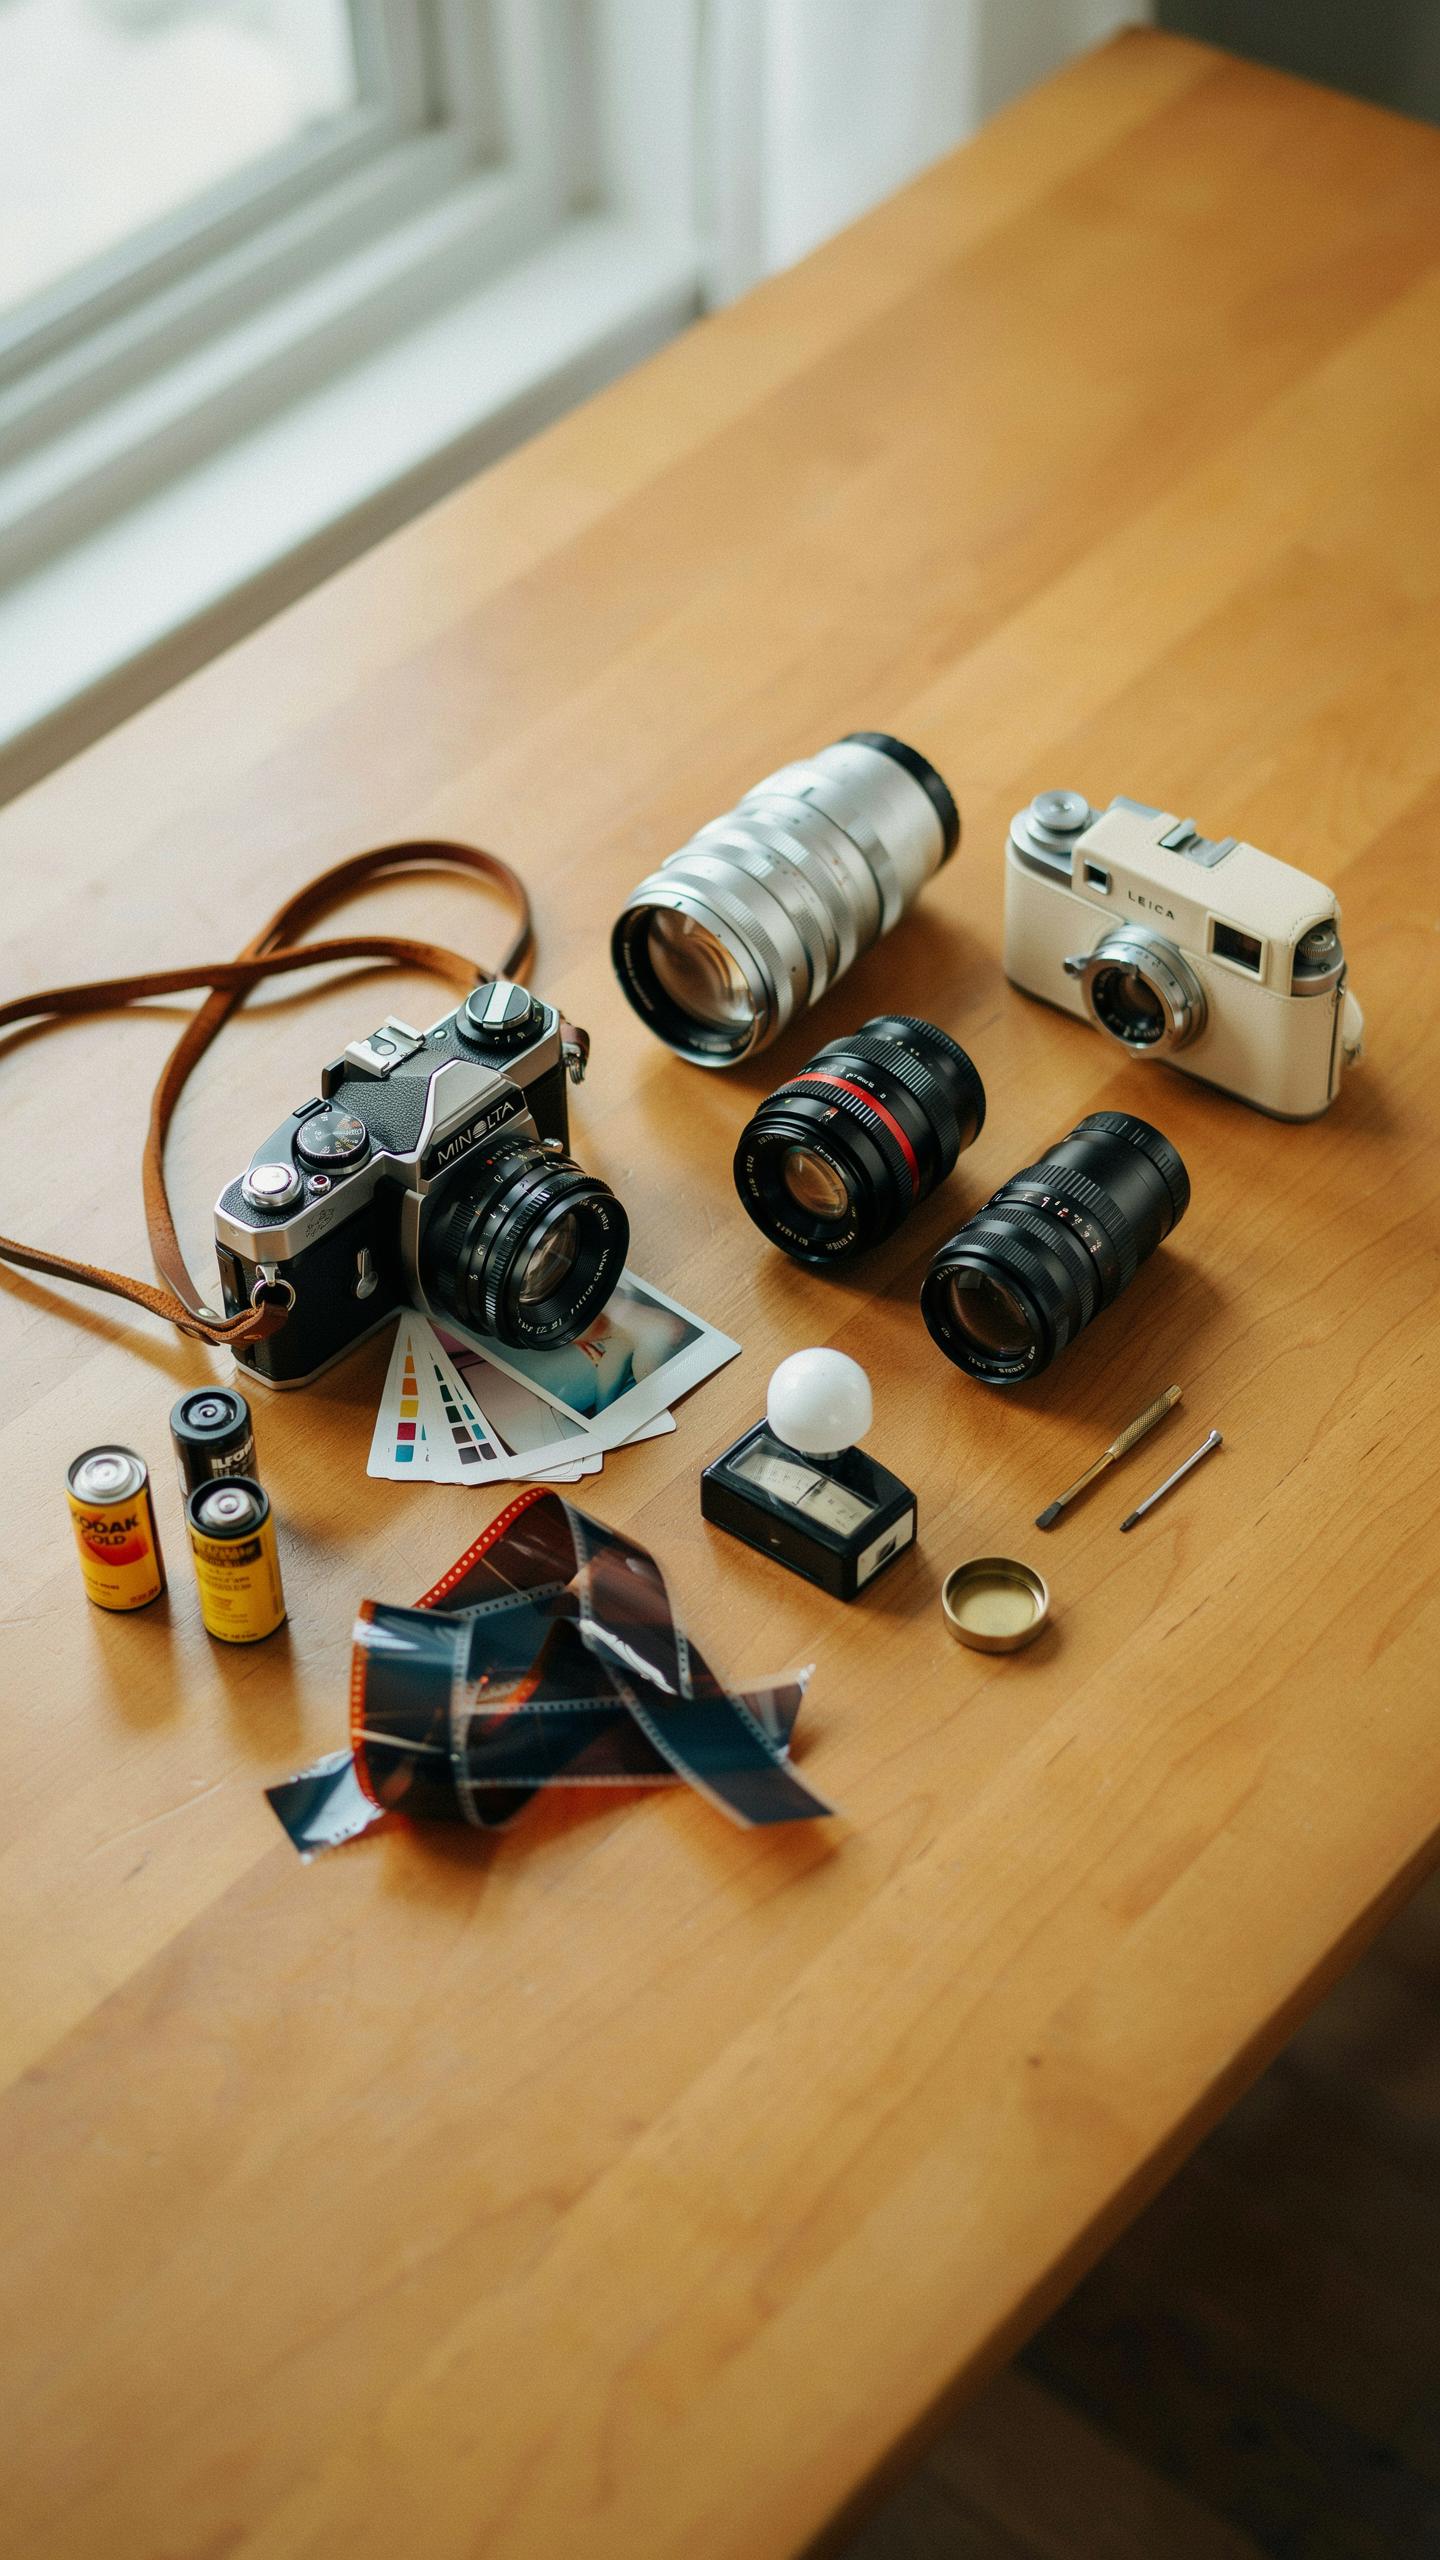
Your restoration kit gives you the foundation, but quality optics determine your results. Vintage lenses from the 1960s through 1980s offer optical designs that remain competitive with modern glass. Brands like Carl Zeiss, Leica, and Canon produced lenses with coatings that perform well today. Seek lenses matching your camera’s mount system. Check focus mechanisms and aperture blades before purchasing.

Accessories amplify your shooting capability and extend camera lifespan. Light meters, cable releases, and lens caps protect equipment during use and storage. Tripods stabilize longer exposures and reduce shake. Viewfinder magnifiers improve focus accuracy on ground glass screens. These items cost little but prevent expensive damage and improve image quality significantly.
Joining The Film Photography Community
Online forums like Fred Miranda Forums and Fred Miranda Software host active discussions about camera repair and technique. Users share restoration methods, troubleshooting tips, and sourcing strategies for parts. Reddit communities dedicated to analog photography offer real-time problem solving. These platforms connect you with people who have hands-on experience with specific camera models and restoration challenges.
Local camera clubs and workshops provide in-person learning opportunities. Many cities host film photography meetups where hobbyists shoot together and discuss equipment. Photography schools often offer affordable classes on camera maintenance and film processing. Attending these gatherings accelerates your knowledge, expands your network, and creates opportunities to test equipment with peers before investing money.
Frequently Asked Questions

I’m completely new to camera repair. What exactly is a film camera restoration kit for hobbyists, and what will it help me do?
A film camera restoration kit for hobbyists is a curated set of tools and supplies designed to help you clean, lubricate, and often replace basic components of vintage film cameras. It empowers beginners to tackle common issues like sticky shutters or dusty viewfinders, bringing old cameras back to life without needing professional expertise.
What are some essential first steps when using a film camera restoration kit for hobbyists to bring an old camera back to life?
Begin by thoroughly cleaning the exterior and interior surfaces using the included brushes and cloths, paying close attention to the lens and viewfinder. Next, carefully apply a small amount of lubricant to moving parts as directed in your kit’s instructions, ensuring smooth operation. Always work slowly and refer to a camera-specific guide.
I’m on a tight budget. Can I assemble my own effective film camera restoration kit for hobbyists, or is buying a pre-made one always necessary?
While pre-made kits offer convenience, you can absolutely assemble your own effective kit on a budget! Focus on essential items like precision screwdrivers, lens cleaning fluid and wipes, cotton swabs, and a small air blower. Many common household items can be adapted, and individual specialized tools can be purchased as needed.



