
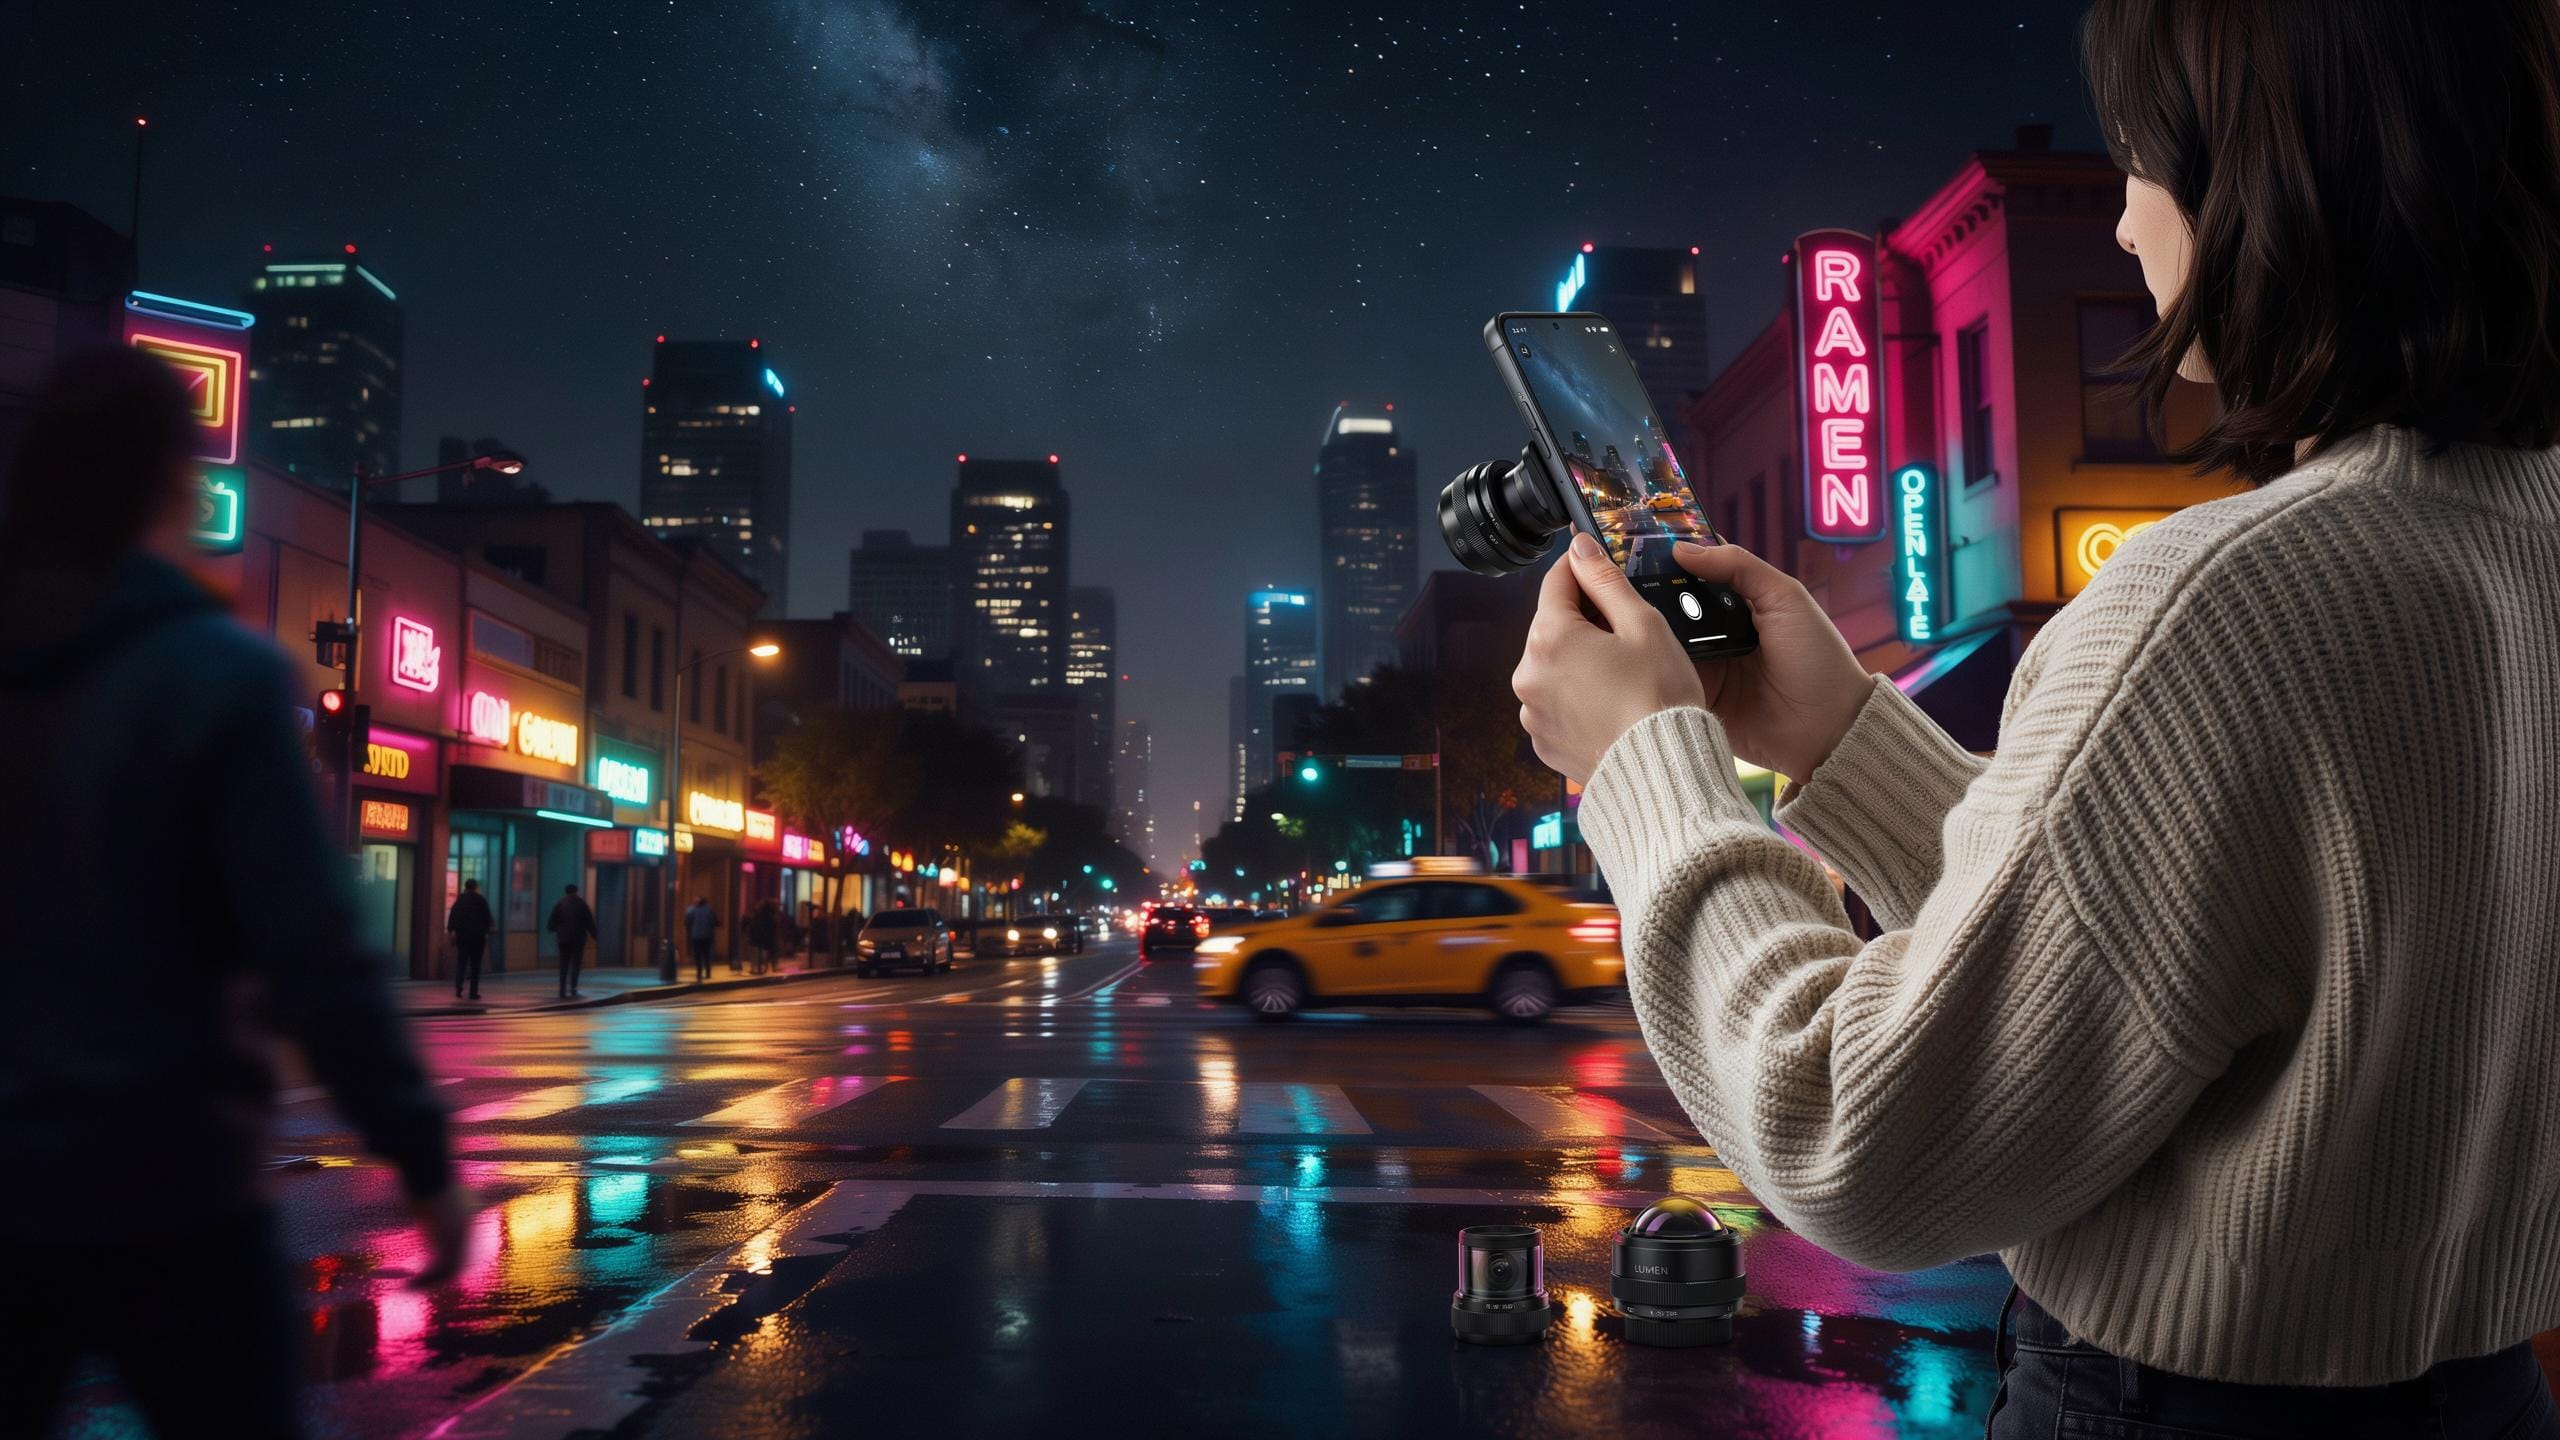
Why A Phone Lens Kit For Night Photography
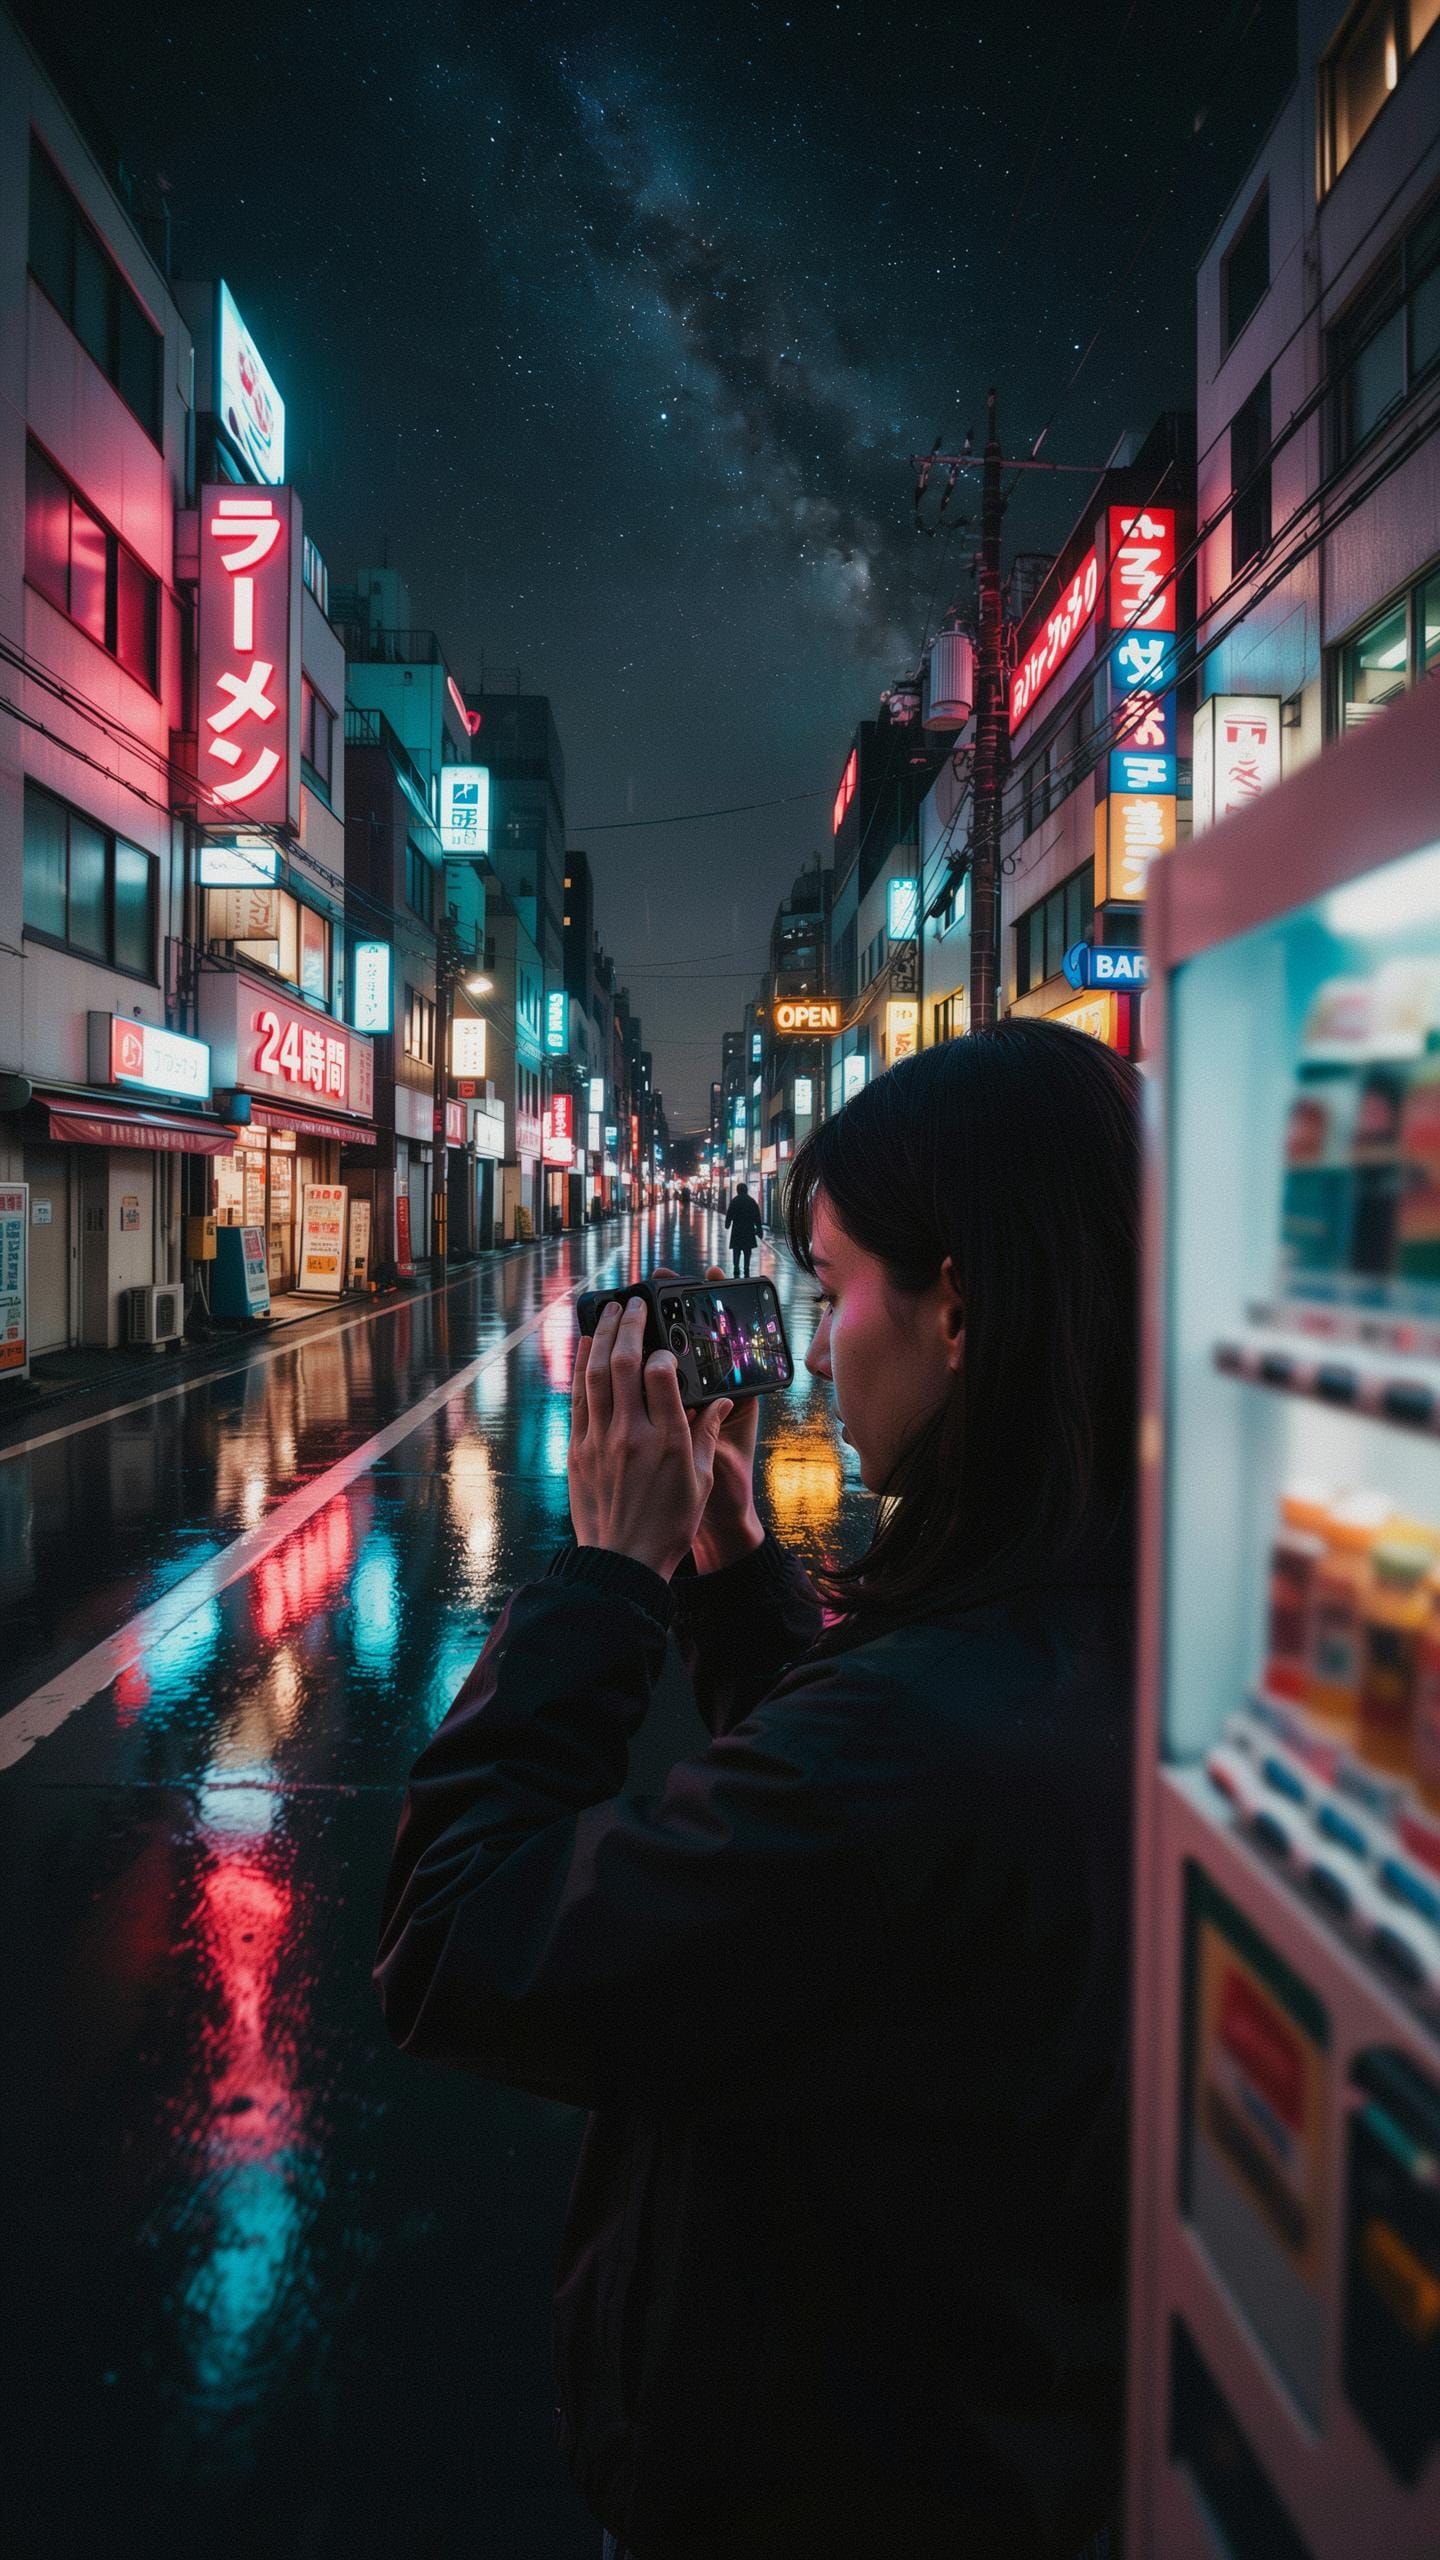
Enhancing Your Phone’S Camera
Smartphone cameras have fixed apertures and small sensors. These design constraints limit light capture in dark environments. External lenses bypass these limitations by adding optical elements that gather more light and improve focus performance. A quality lens kit expands your phone’s capability where it fails most: low light shooting.
Night photography demands light collection that phone sensors cannot achieve alone. Wide aperture lenses attach to your existing phone camera and fundamentally change how much light reaches the sensor. Telephoto lenses in kits provide zoom without digital cropping that destroys image quality. Macro lenses reveal detail in shadows that standard phone optics miss entirely.
Cost Effective Photography Gear
A complete phone lens kit costs between 50 and 150 dollars. A entry level DSLR body alone starts around 500 dollars without lenses. You eliminate the need for expensive dedicated camera bodies, separate lenses, and additional accessories. Phone kits deliver professional capability at a fraction of traditional camera system costs.
Lens kits require no learning curve for new camera bodies or menus. You already know your phone. You simply attach optical hardware and shoot. Replacement costs stay low if you damage a lens. You avoid investing thousands in camera gear before confirming night photography suits your needs.

Essential Lens Types Best Lens For Night Photography
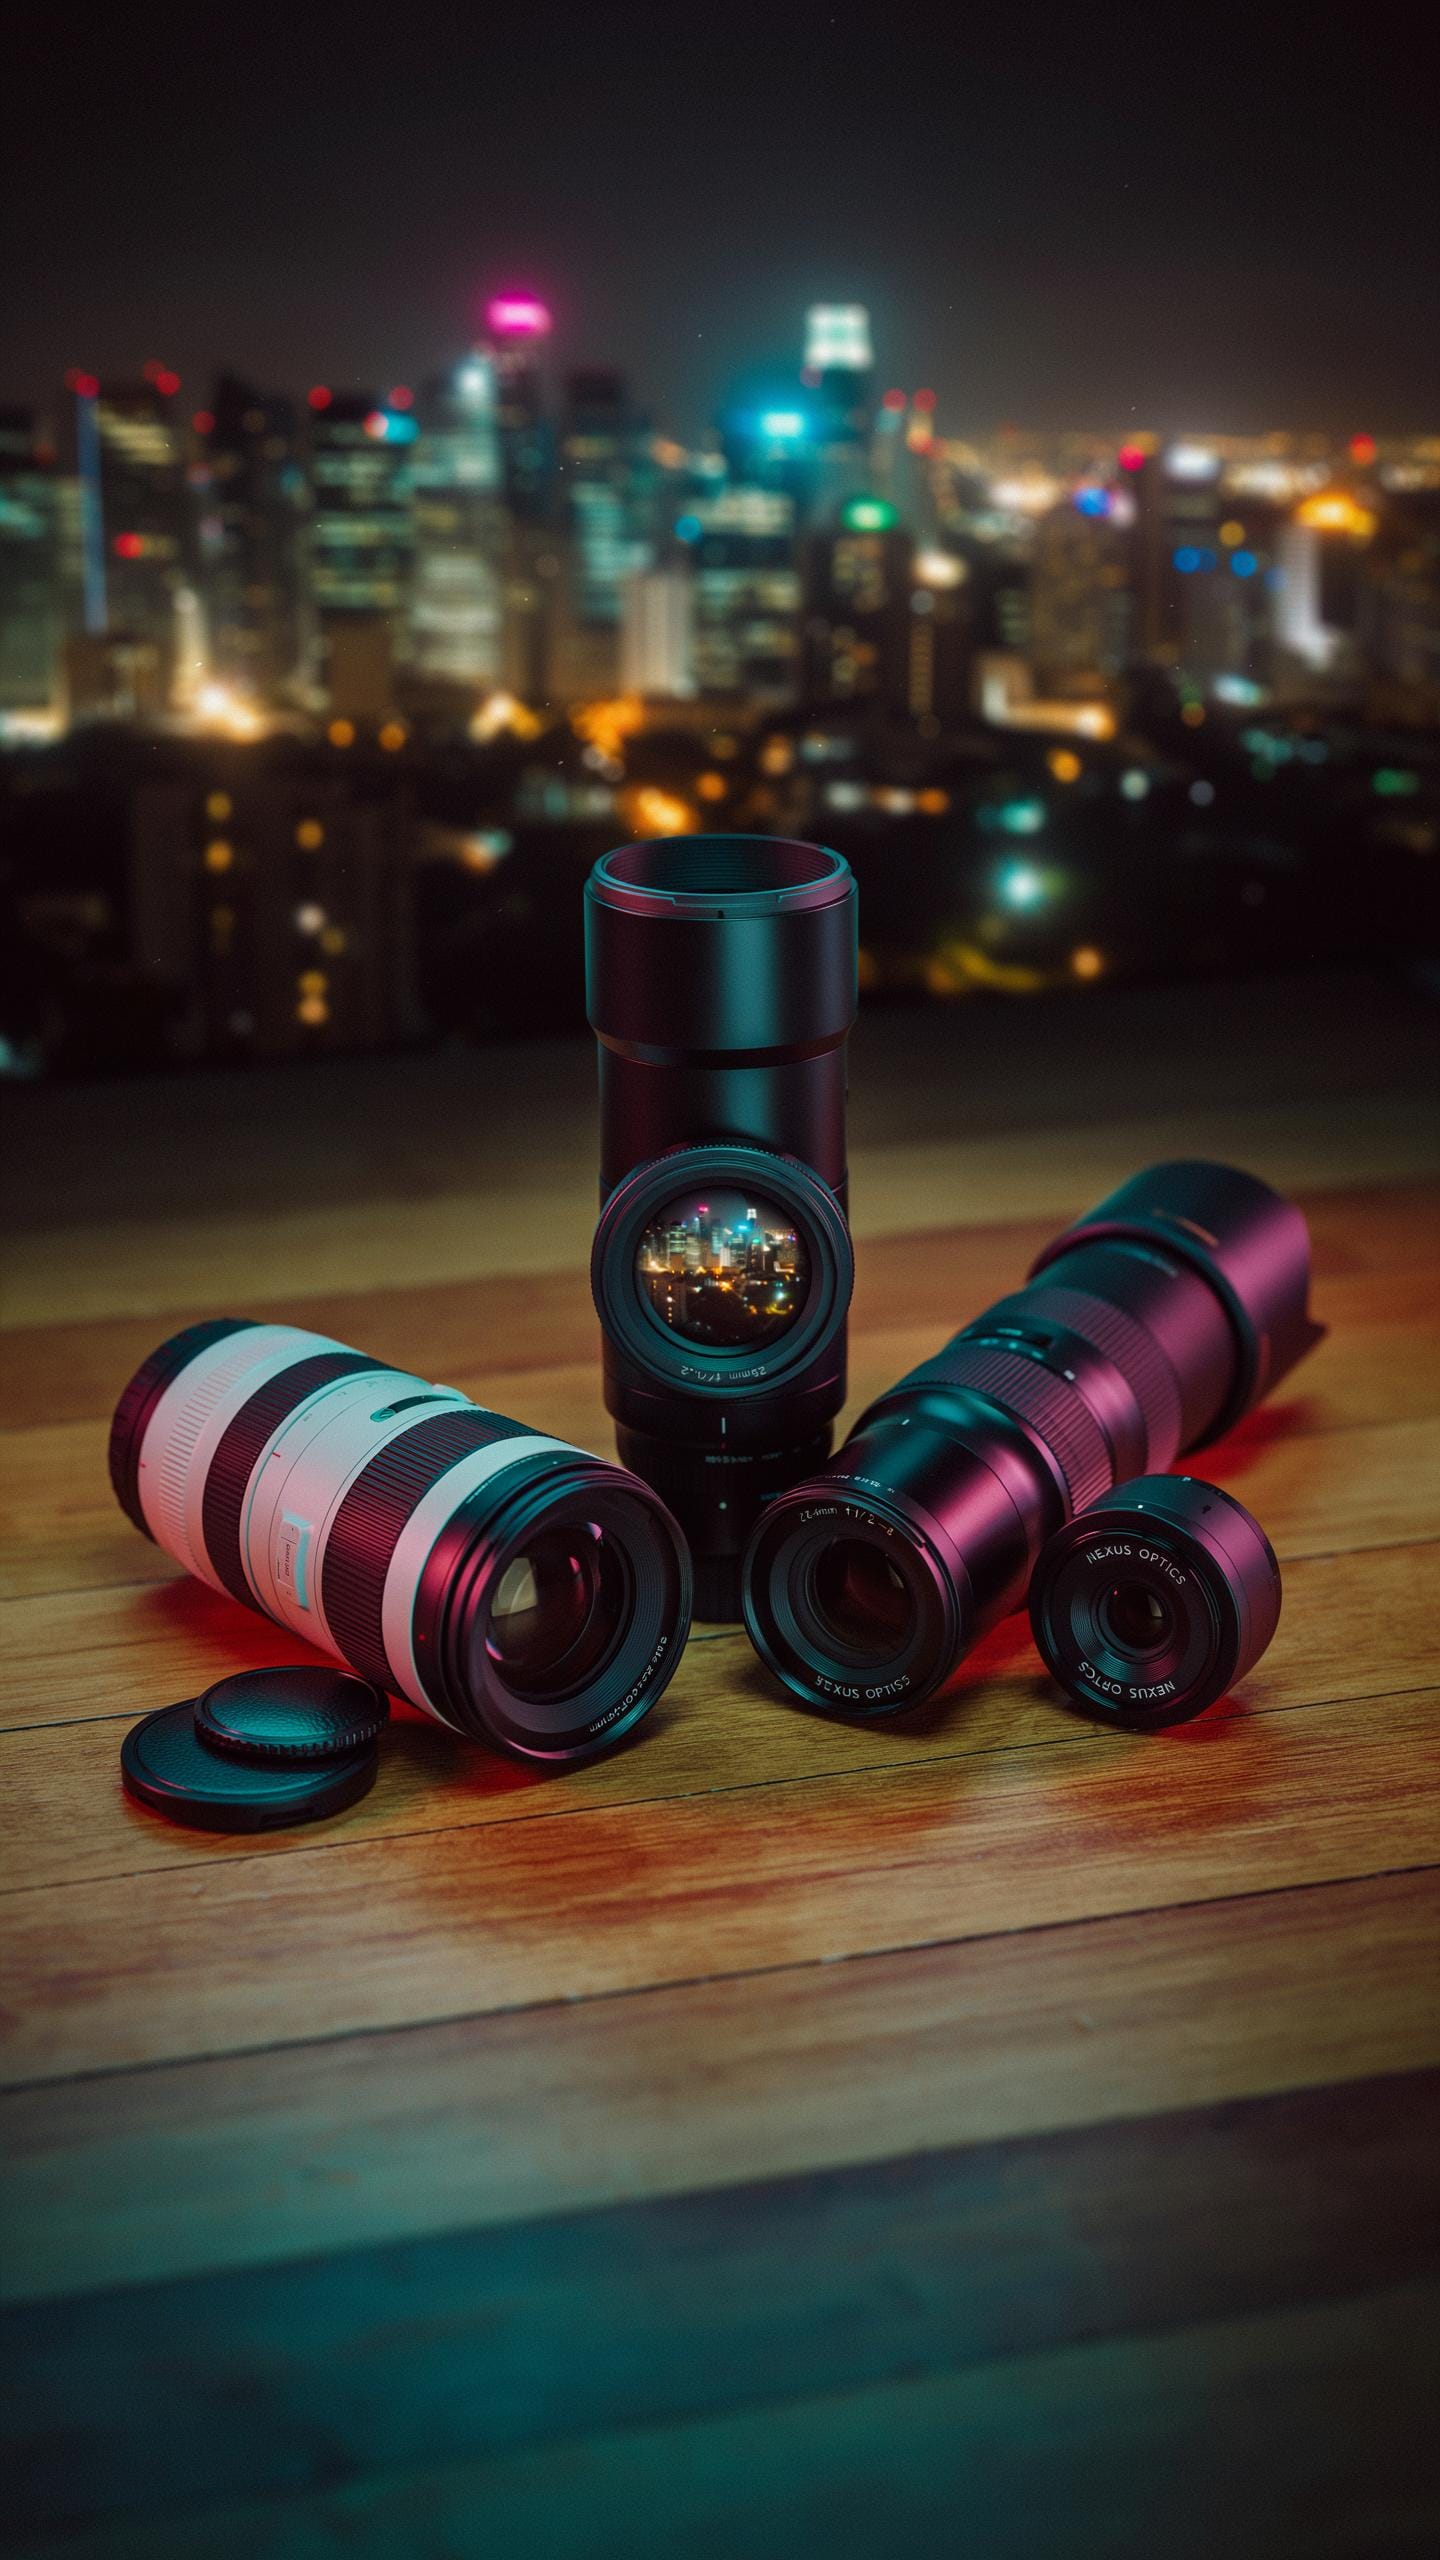
Wide Angle Lenses For Broader Scenes
Wide-angle lenses expand your field of view from 60 to 100+ degrees. This matters at night because you capture more sky and landscape in a single frame. Phone kits typically include 0.6x to 0.75x wide-angle attachments. These lenses let you include foreground elements while maintaining starry skies above.
The optical design of wide-angle lenses uses multiple glass elements to correct distortion. Night scenes benefit because the broader perspective reduces the need to stitch multiple images. You gather more light across a larger scene, which matters when ambient light is low. This eliminates the technical hassle of combining photos in post-production.
Every night sky holds stories waiting to be told; with a simple lens kit, your phone becomes the storyteller.
Macro Lenses For Detailed Night Shots
Macro lenses magnify subjects to 2x or 4x their actual size. Night photography uses macros for close-up work on bioluminescent organisms, reflective surfaces, and textured details. Phone macro kits typically feature clip-on lenses with focal lengths between 15mm and 30mm equivalent. These lenses isolate small subjects against dark backgrounds effectively.
Macro lenses work by reducing minimum focus distance. This allows your phone to focus inches away from subjects instead of feet. Night scenes like glowing fungi, wet leaves reflecting light, or frost patterns become viable subjects. The magnification also compresses depth of field, creating separation between subject and background in low light conditions.
Choosing Your First Phone Lens Kit
Compatibility With Your Smartphone
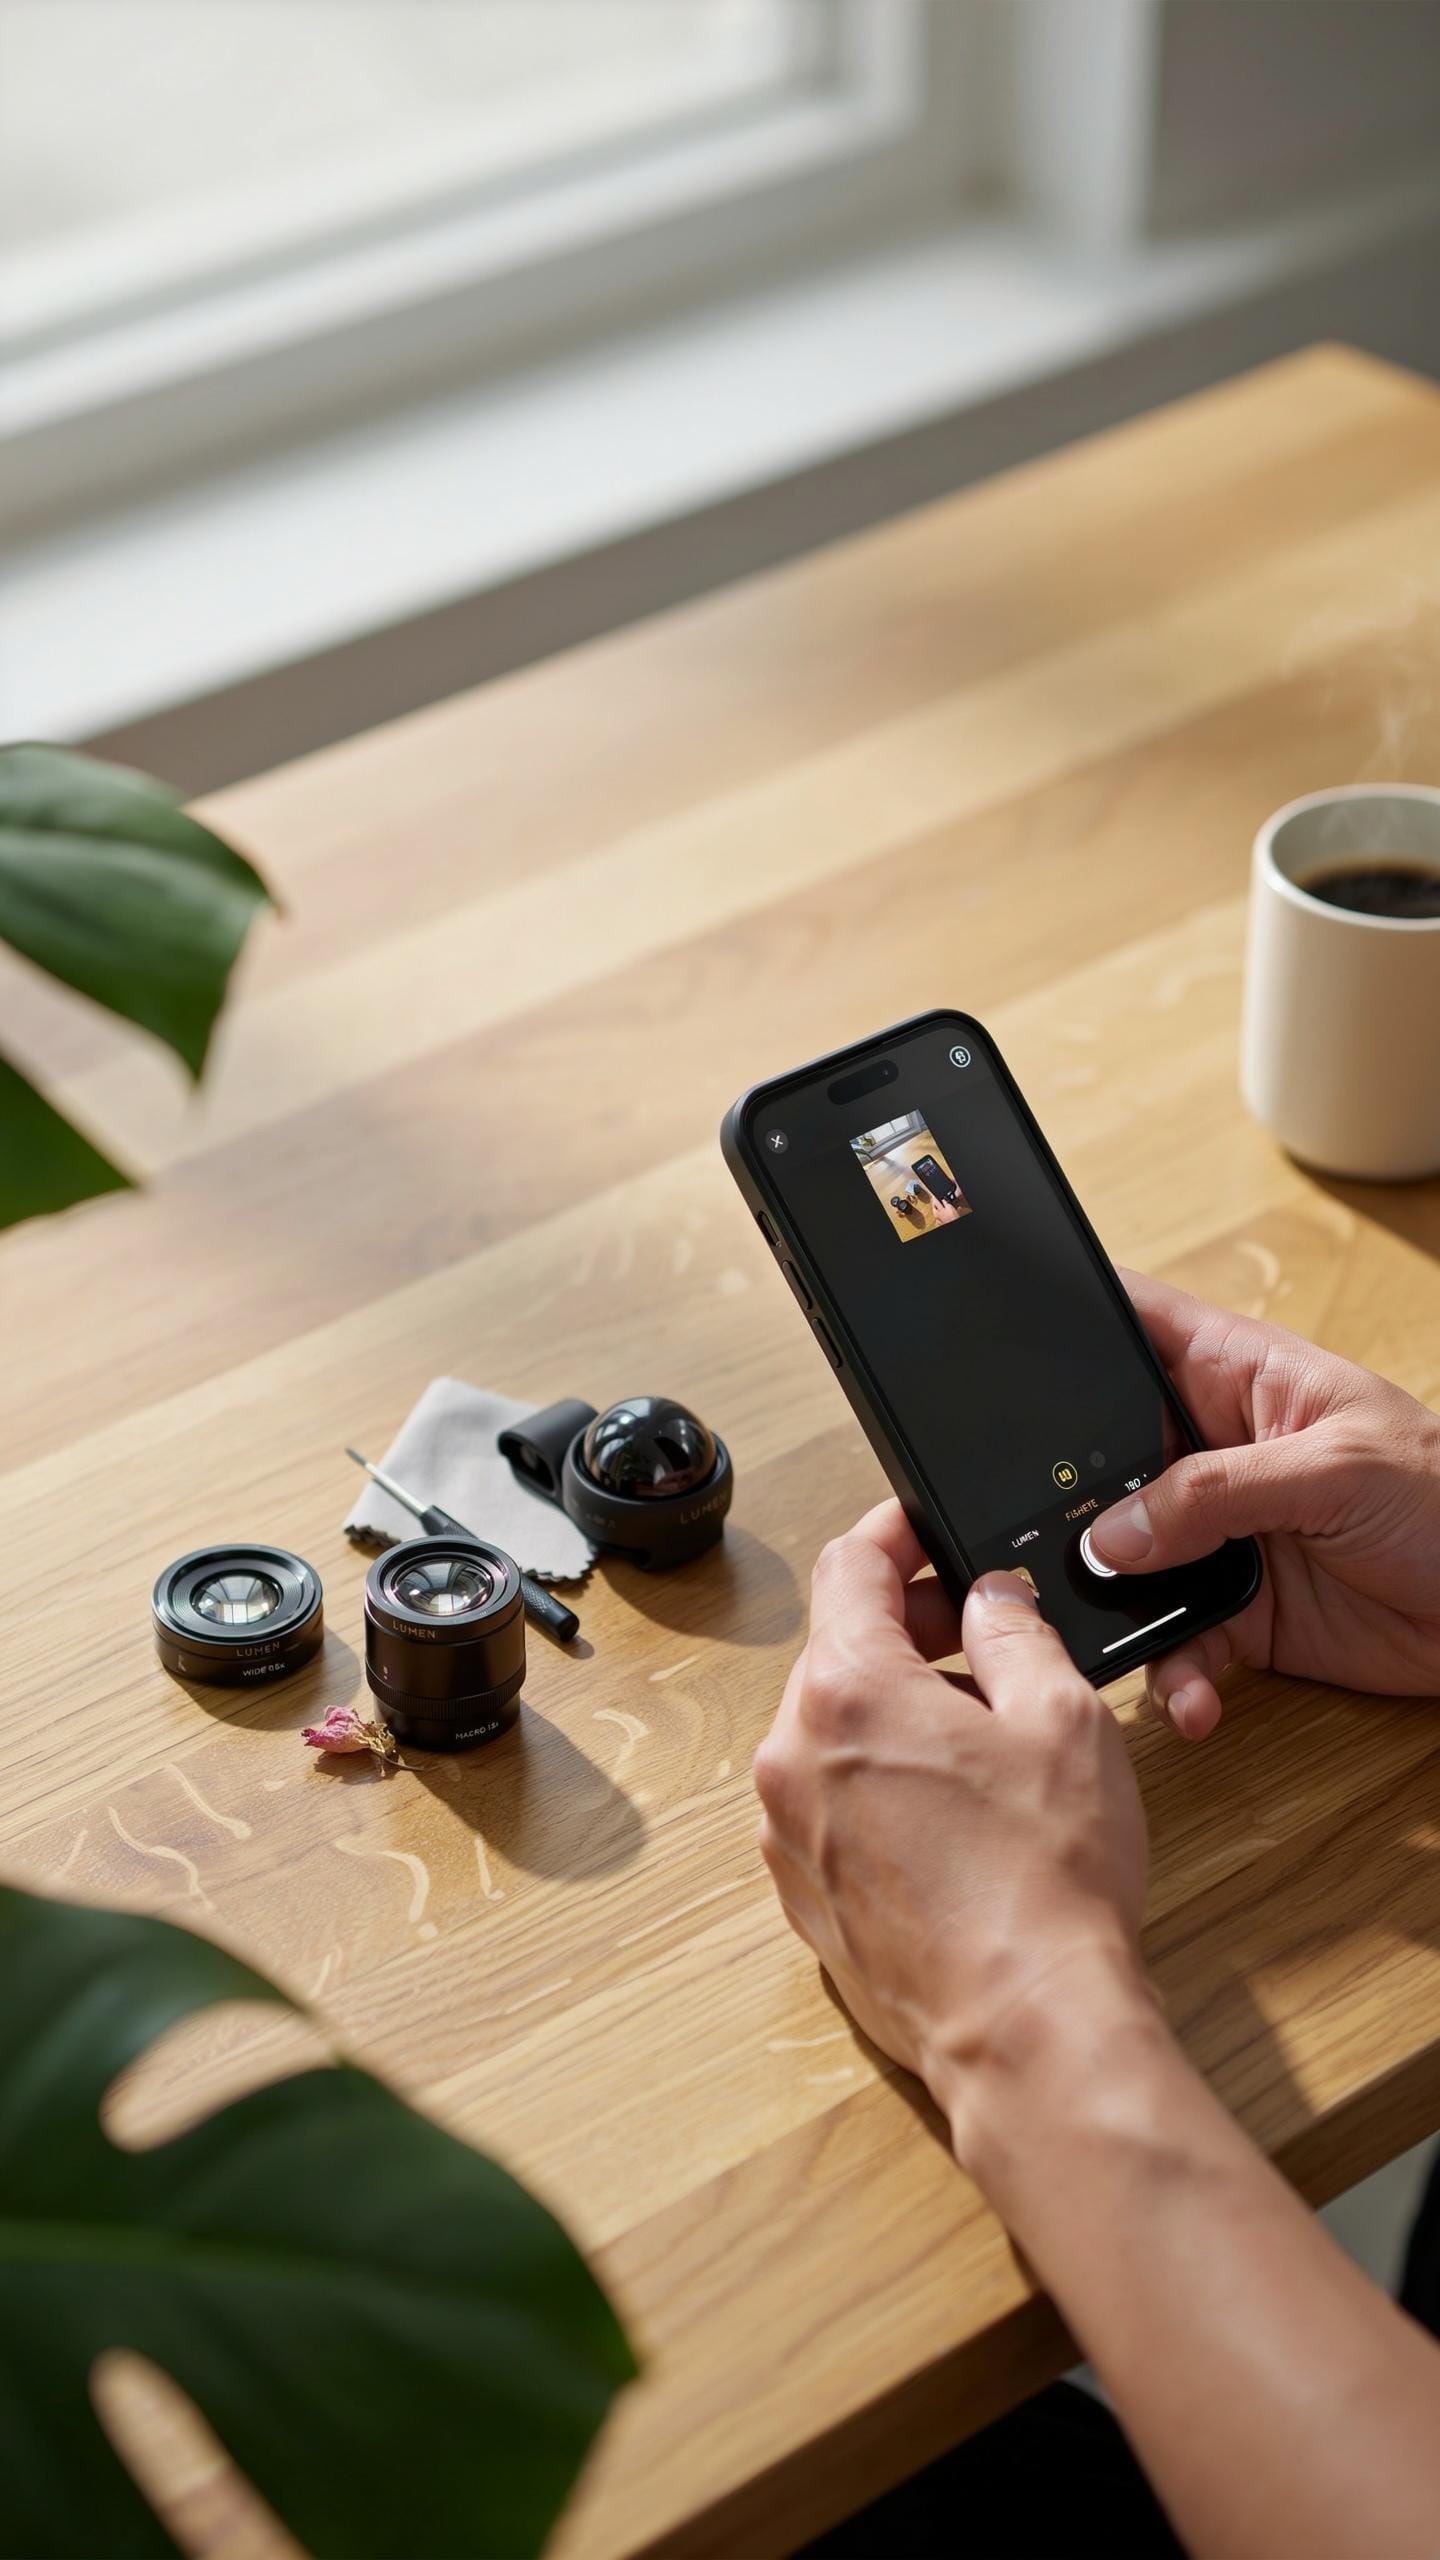
Your phone model determines which lens kits will mount properly. Most manufacturers design kits for specific phone sizes and frame designs. Check your phone’s exact model number before purchasing. Mounting systems vary between brands. Universal clip mounts work on many phones but offer less stability than dedicated holders. Magnetic mounts require metal plates attached to your phone or case. Research your phone’s compatibility before buying any kit to avoid wasted money.
Lens attachment quality directly impacts image sharpness during night photography. Poor mounting causes vibration and misalignment. Test the mount’s grip strength before shooting critical photos. Damaged mounts from improper fitting will compromise every image you take. Verify that your phone case works with the chosen mounting system. Many photographers miss this step and face frustration after purchase.
Key Features To Look For
Optical quality separates functional kits from reliable ones for night work. Glass lens elements matter more than plastic construction in low light. Multi-element designs reduce aberrations and improve edge clarity. Coatings on glass reduce internal reflections that create flare and ghosting.
- Optical Glass Construction: Multi-coated glass elements minimize light loss and internal reflections in darkness. Avoid kits using plastic optics for night photography applications.
- Wide Aperture Design: Look for kits with f-stop ratings of f/1.8 or wider. Lower f-numbers gather more light during night shooting scenarios.
- Secure Mounting Mechanism: Test clamps and connectors for stability without damaging your phone. Wobbly mounts ruin night photos through blur and misalignment.
- Minimal Weight Distribution: Heavy lenses strain phone cameras and require stabilization. Balanced kits prevent fatigue during extended shooting sessions at night.
- Simple Attachment System: Quick-release designs save time between shots. Complicated mounting processes waste battery power and opportunity windows.

Ease of attachment separates kits beginners can use from those requiring technical knowledge. Single-step mounting beats multi-part assembly every time. Test the attachment process in daylight before relying on it at night. Your hands will be colder and less precise in darkness. Kits with intuitive designs keep you focused on composition rather than wrestling with hardware.
Setting Up Your Phone For Night Time Photography Settings
Stabilization Is Key: Tripods And Mounts
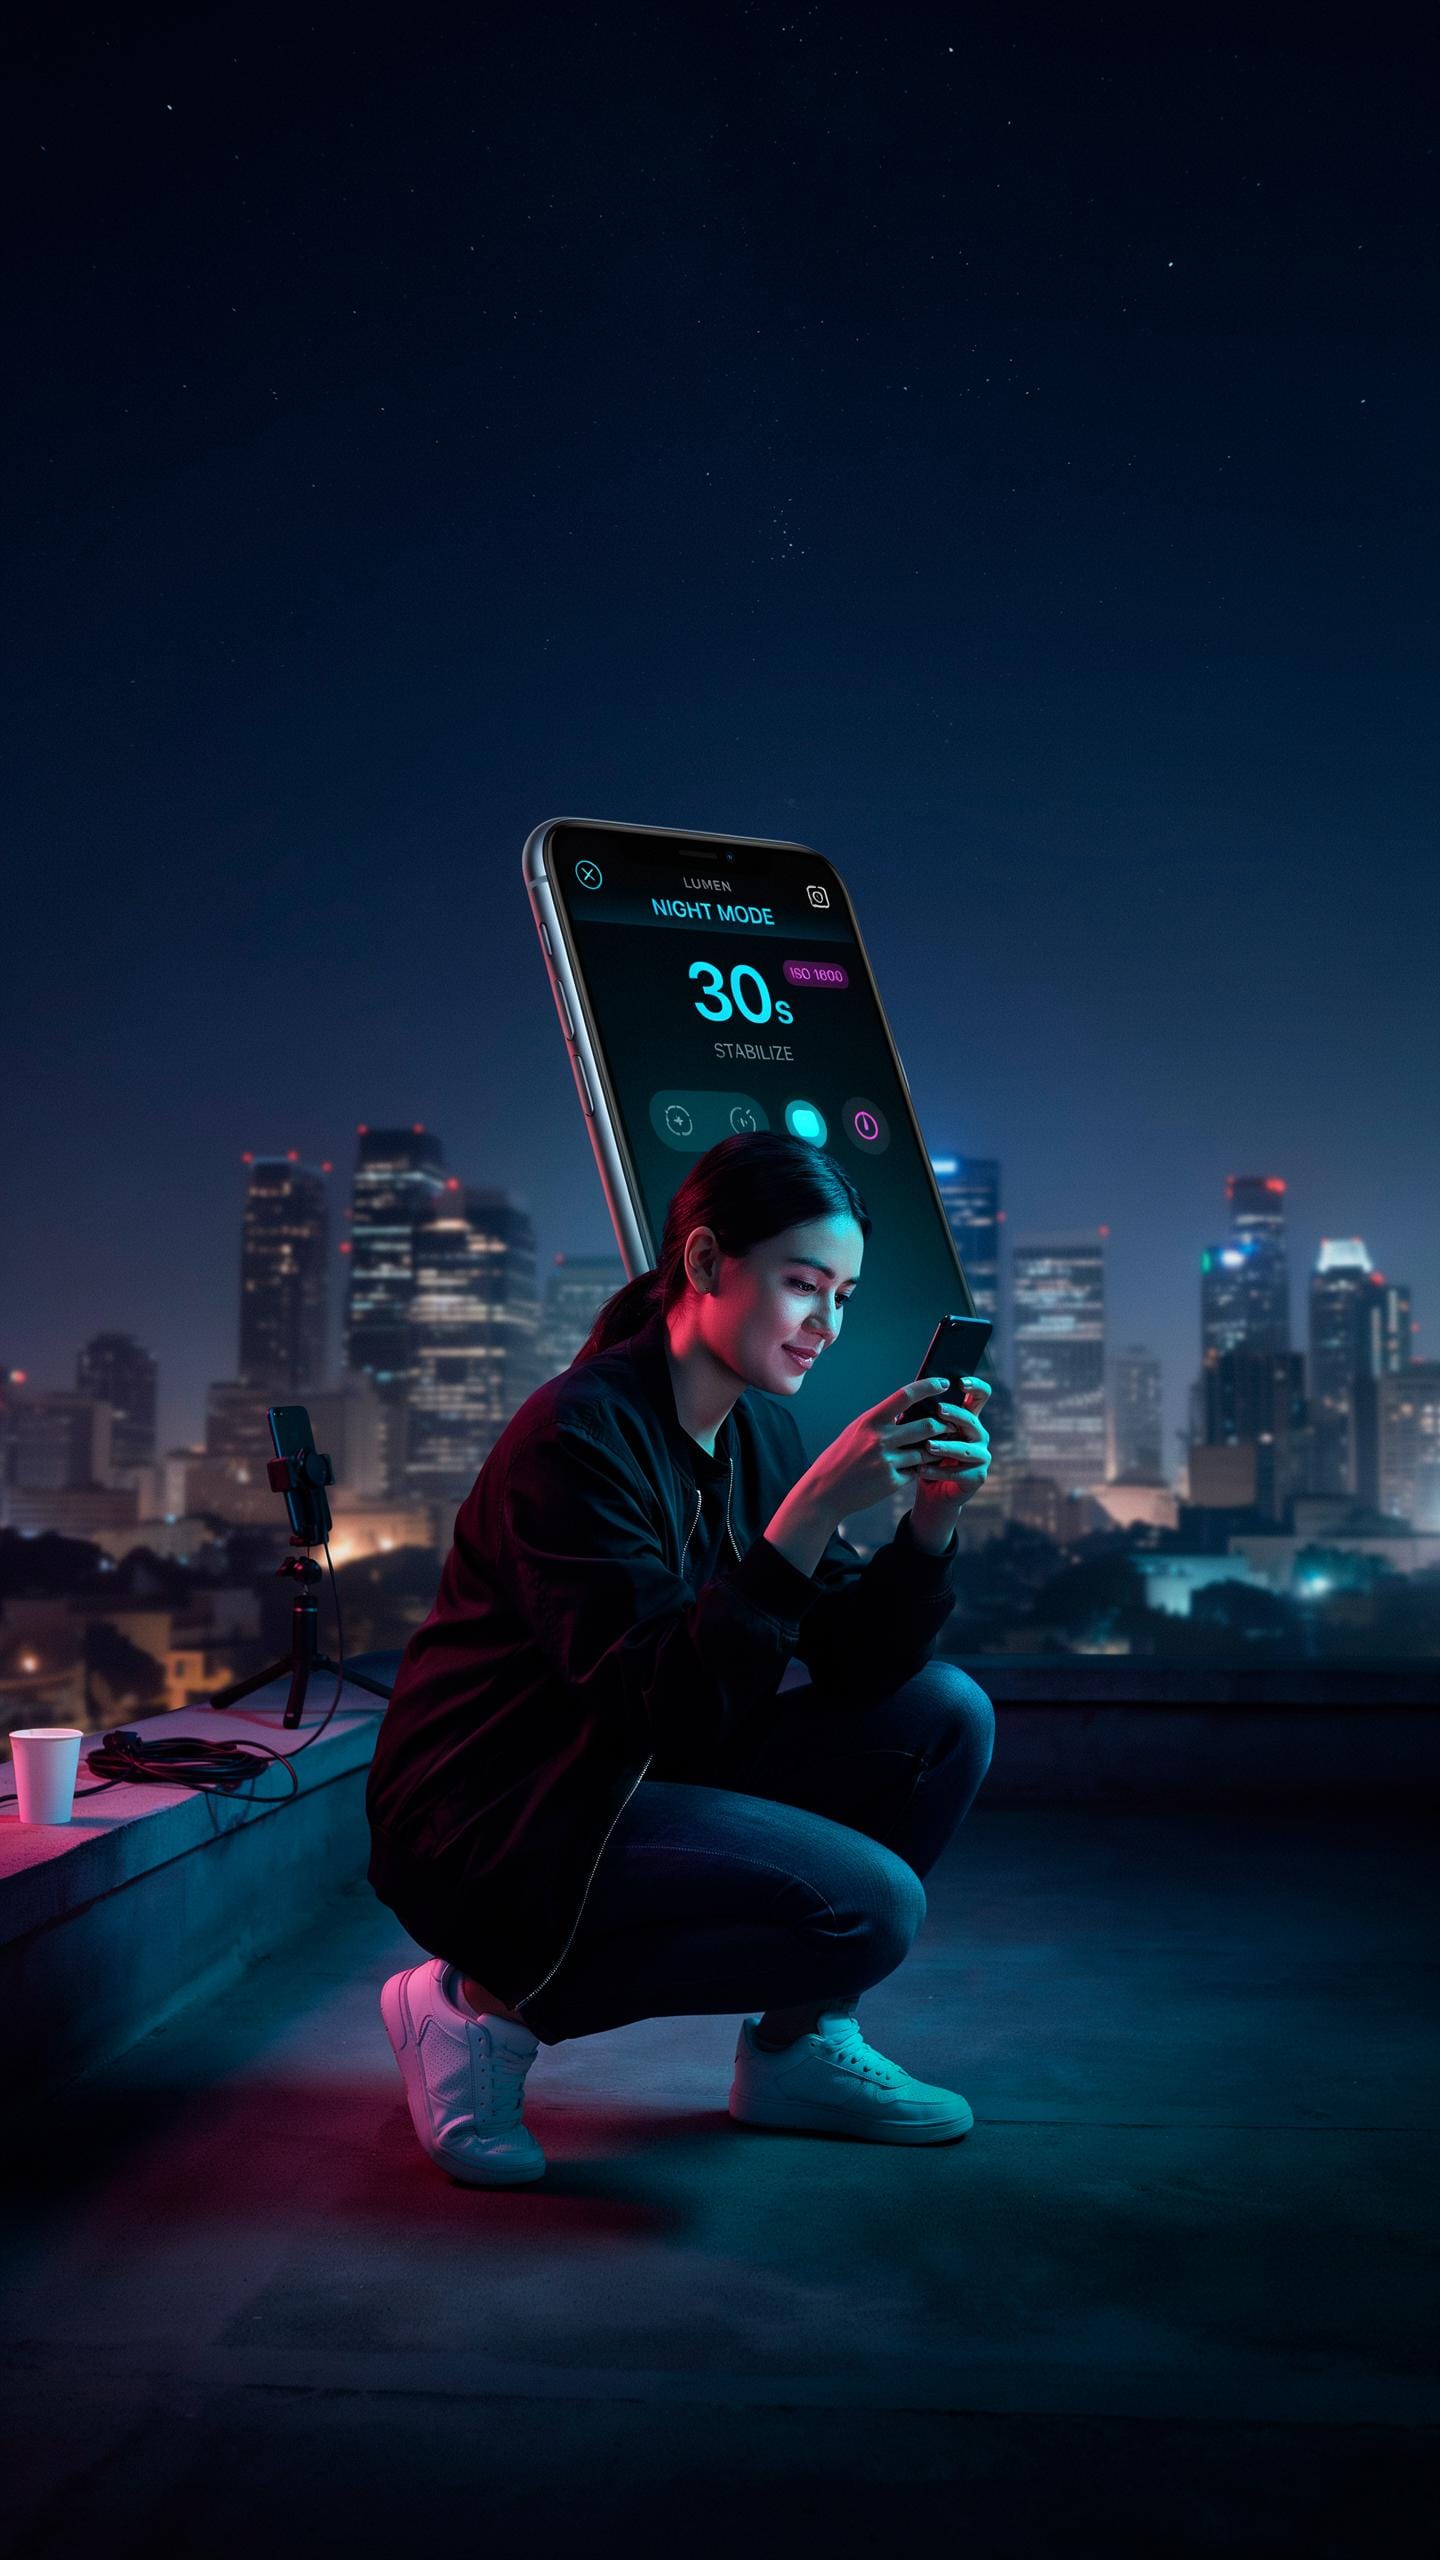
A tripod eliminates camera shake during long exposures. Night photography requires slower shutter speeds to gather enough light. Without stabilization, your phone moves during the exposure, creating blurred images. A rigid mount keeps your phone perfectly still. This stabilization directly determines whether your final image is sharp or ruined.
Smartphone tripod mounts clamp or attach your phone to any standard tripod. These mounts cost between ten and thirty dollars. Ball heads or gooseneck adapters give you full control over phone angle and orientation. Investing in a quality mount prevents your phone from slipping or rotating mid shot. Stabilization transforms marginal night photos into usable results.
Manual Controls And Camera Apps
Your phone’s default camera app locks exposure and focus automatically. Night photography demands manual control over ISO, shutter speed, and focus point. Apps like Lightroom Mobile, Manual, and ProCamera let you adjust these settings individually. Manual mode prevents your phone from fighting against your intended exposure. This control separates professional night shots from typical smartphone photos.

ISO controls your sensor’s light sensitivity. Higher ISO brightens images but introduces noise. Shutter speed determines how long light hits your sensor. Longer exposures gather more light but require complete stabilization. Focus mode lets you lock focus on your subject instead of letting autofocus hunt. These three controls work together to expose night scenes correctly without guesswork.
Mastering Night Photography Settings For Low Lights
Adjusting ISO And Shutter Speed
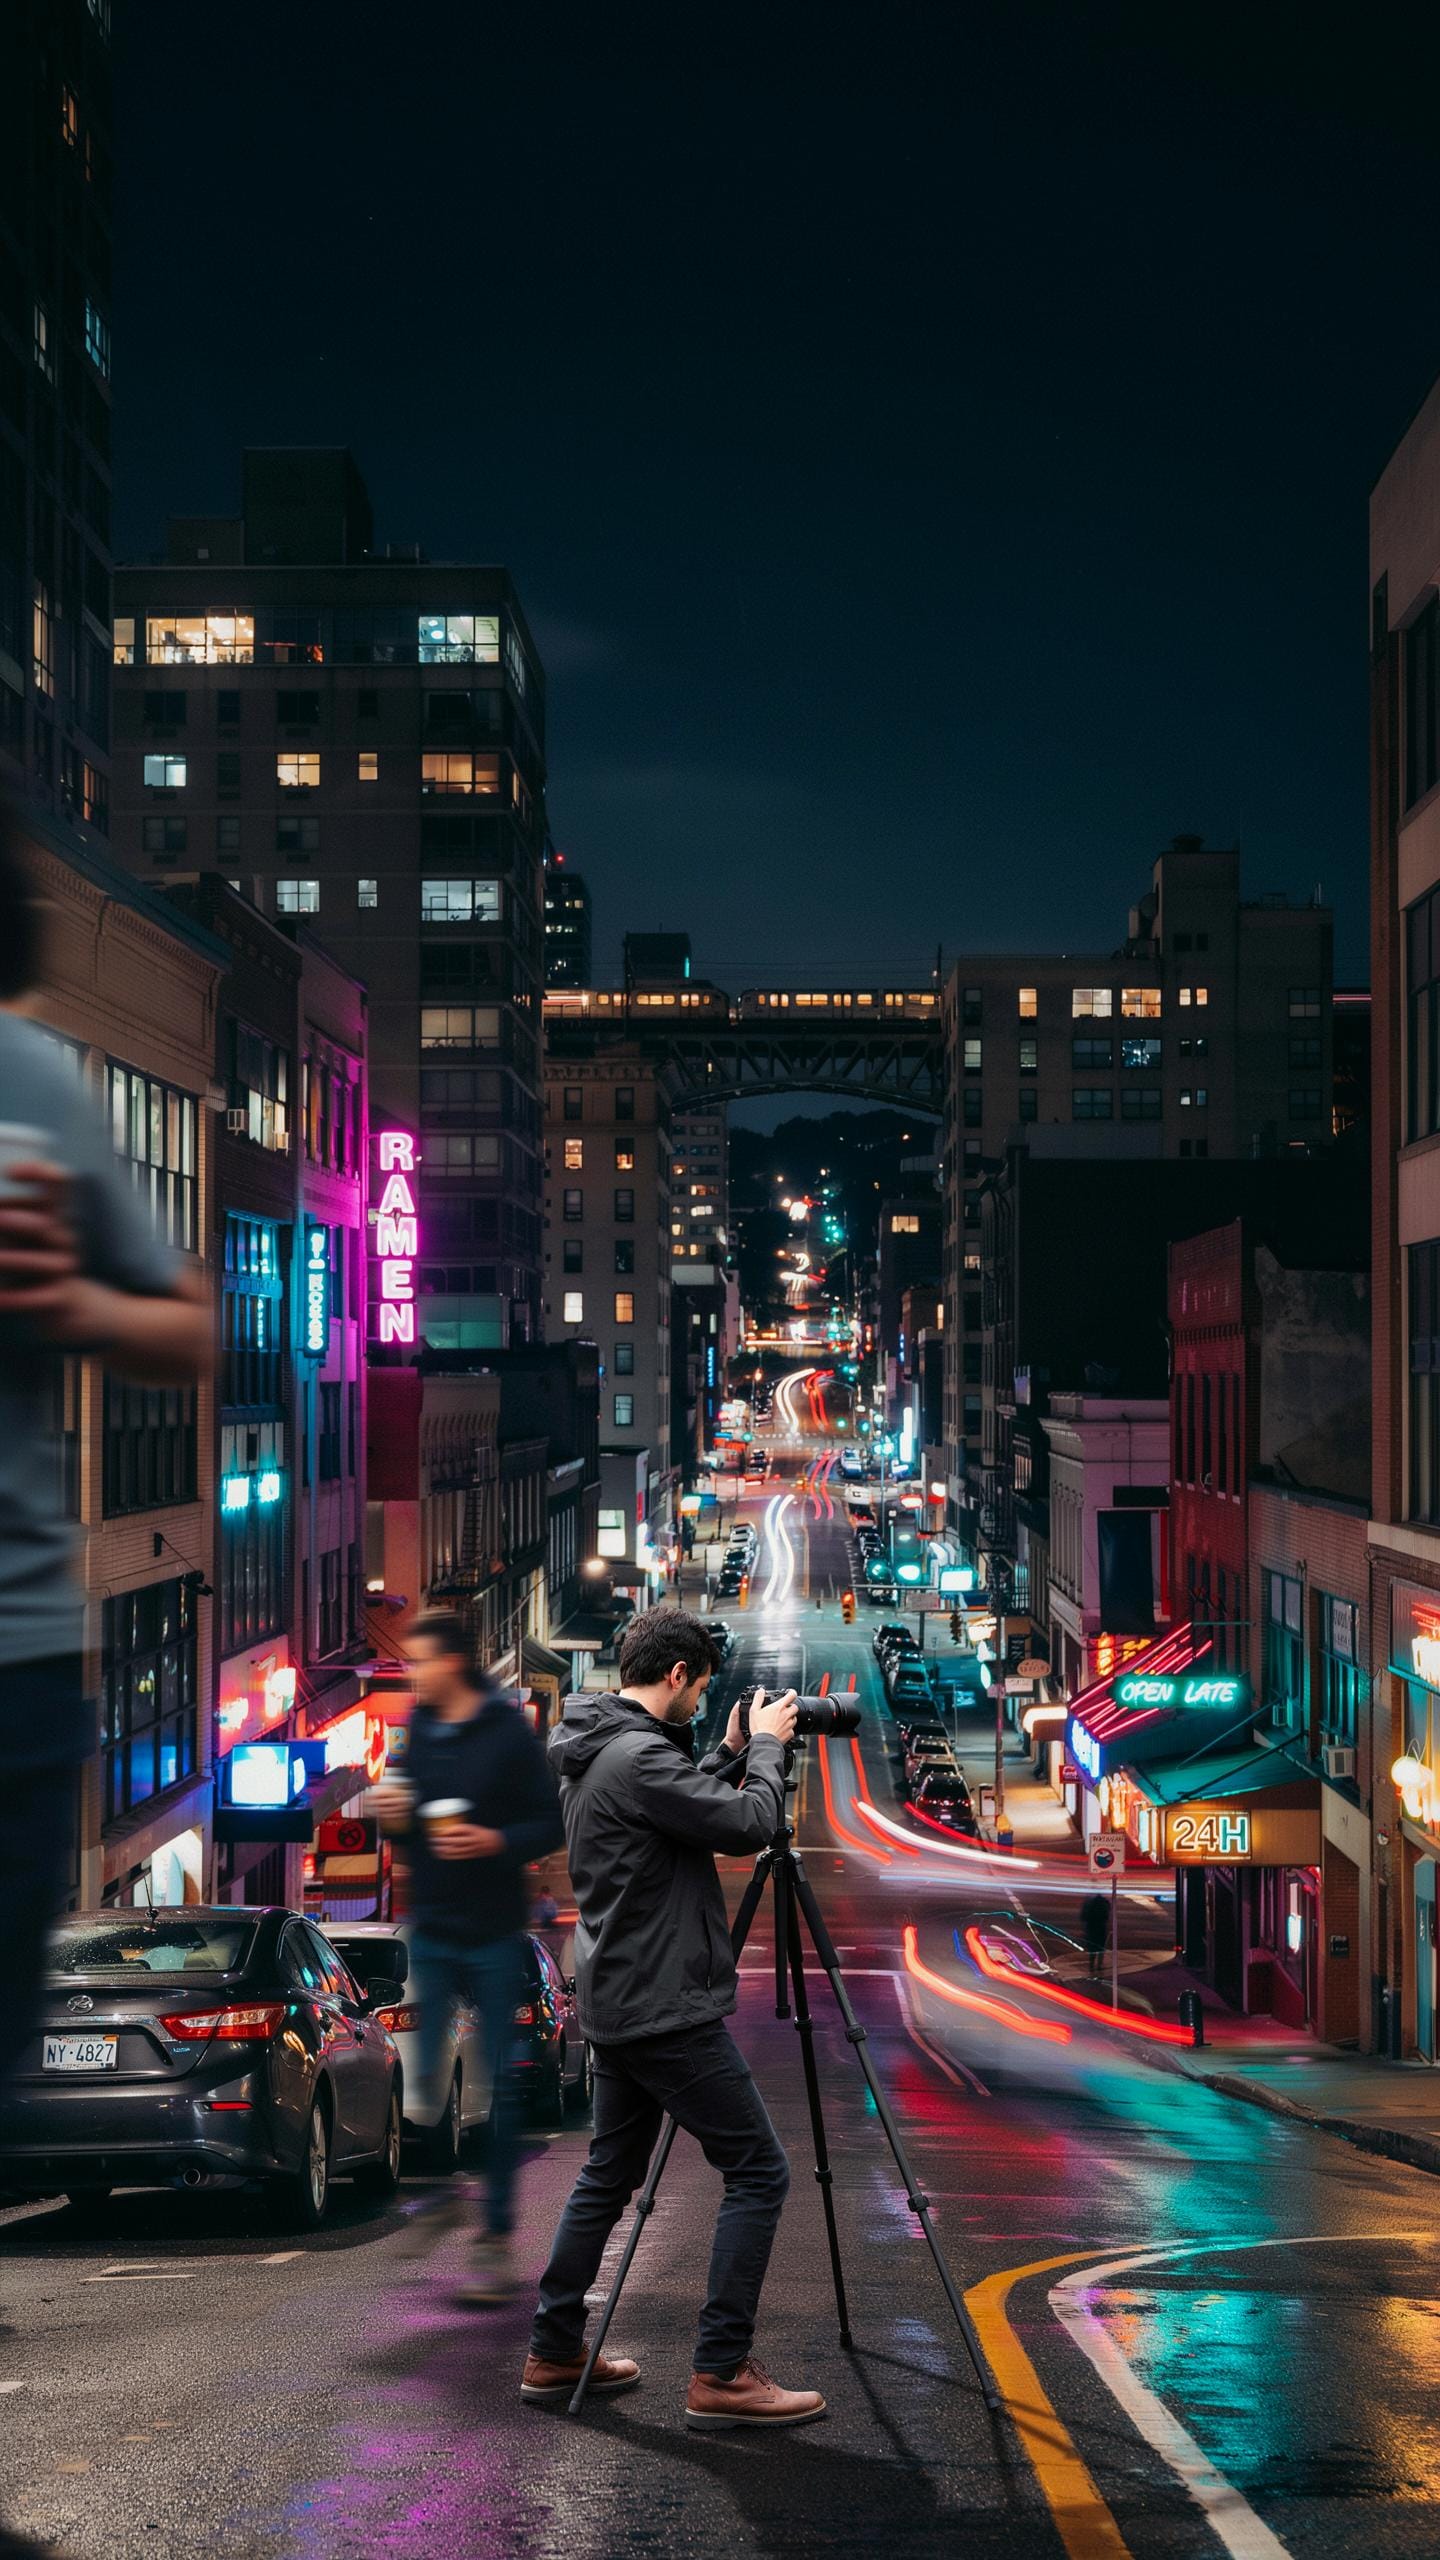
ISO controls your sensor’s light sensitivity. Higher ISO values capture more light in darkness but introduce grain or noise into your images. Most phone sensors perform acceptably at ISO 800 to 1600 without severe degradation. Beyond 3200, noise becomes problematic on most devices. Start at ISO 800 and increase only when necessary to maintain shutter speed.
Shutter speed determines exposure duration. Longer exposures gather more light but risk motion blur from camera shake or subject movement. Phone cameras typically handle shutter speeds between 1/30 and 1/2 second without requiring a tripod. Anything slower demands stable support. Balance your shutter speed against ISO to achieve proper exposure without excessive noise or blur.
White Balance And Focus Tips
White balance corrects color temperature in different lighting conditions. Night scenes contain mixed light sources like streetlights, neon signs, or moon glow. Manual white balance lets you select a specific temperature in Kelvin rather than relying on auto mode. Set white balance between 3000K and 4500K for most night photography. This range prevents the orange cast from artificial lights or the blue dominance of cooler sources.

Manual focus eliminates autofocus hunting in low light. Tap your phone screen to select a focus point, then fine-tune by sliding up or down to sharpen critical details. Night scenes often confuse autofocus because subjects lack contrast. Identify your main subject before composing the shot. Lock focus on that element, then reframe your composition as needed without losing focus lock.
Specific Techniques Best Lens For Nightscape Photography
Capturing Stars And The Milky Way
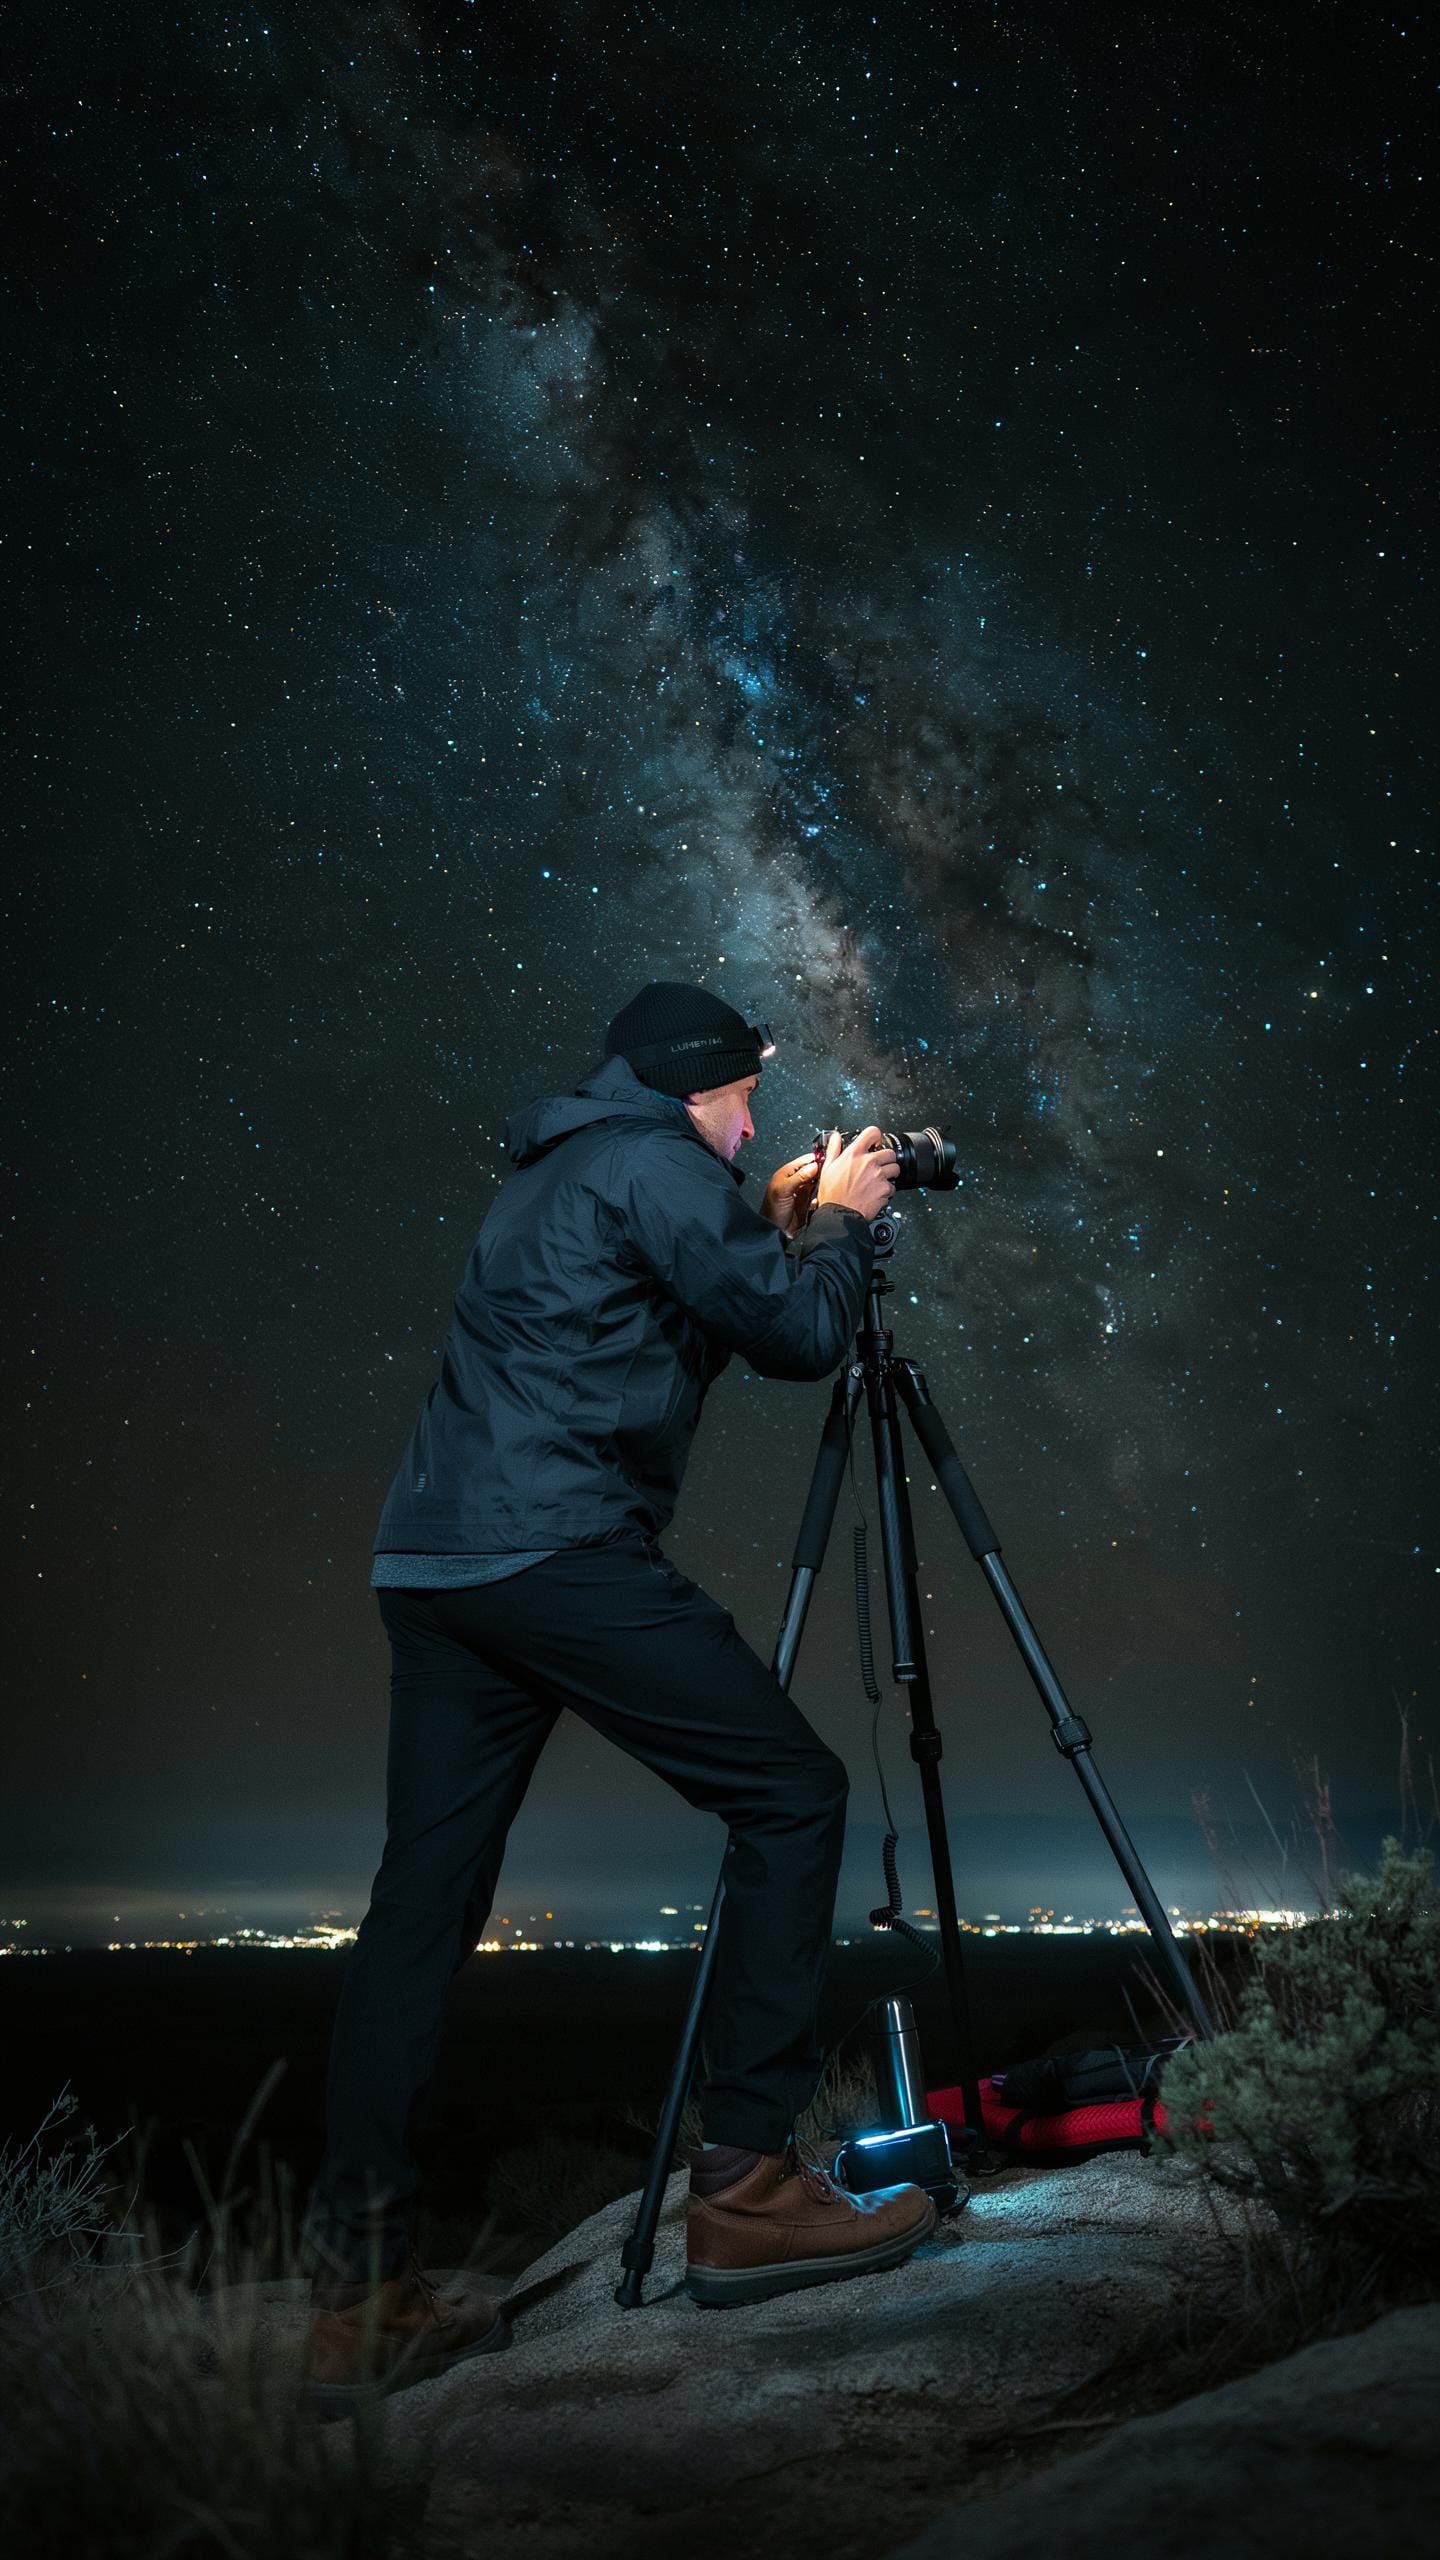
Wide-angle lenses capture more sky in a single frame, essential for astrophotography. Phone lens kits typically include 0.5x to 0.6x wide-angle attachments that expand your field of view to 100 degrees or more. This wider perspective lets you include foreground elements like trees or mountains while capturing substantial portions of the night sky. Wide lenses also gather more light across a larger area, improving your ability to resolve faint stars and galactic structure in low-light conditions.
Position your wide-angle lens attachment before twilight ends to scout your composition. Use manual focus if your phone allows it, tapping on a bright star to lock focus at infinity. Set your exposure time between 15 and 25 seconds to balance star trails with point stars. The wider the lens, the longer you can expose without noticeable star movement, making wide-angle attachments fundamentally superior for milky way capture compared to standard phone cameras alone.
Light Painting With Your Phone Lens Kit
Light painting requires long exposure times between 10 and 30 seconds, achievable through third-party camera apps that override standard phone limitations. Your phone lens kit’s standard or slightly telephoto lens works best for light painting because it frames your subject without excessive distortion from wide-angle optics. Position your light source strategically before you start the exposure. Move the light source deliberately through the frame during the exposure window to create intentional trails and patterns.

Darkness is your requirement here, so scout locations without ambient light pollution. Use a flashlight, LED stick, or even your phone’s flash held at arm’s length to paint your subject. Experiment with multiple exposures on the same subject to build complexity. Review each take immediately to adjust your light movement speed and direction for the next attempt.
Post Processing Your Night Shots
Essential Editing Apps For Smartphones
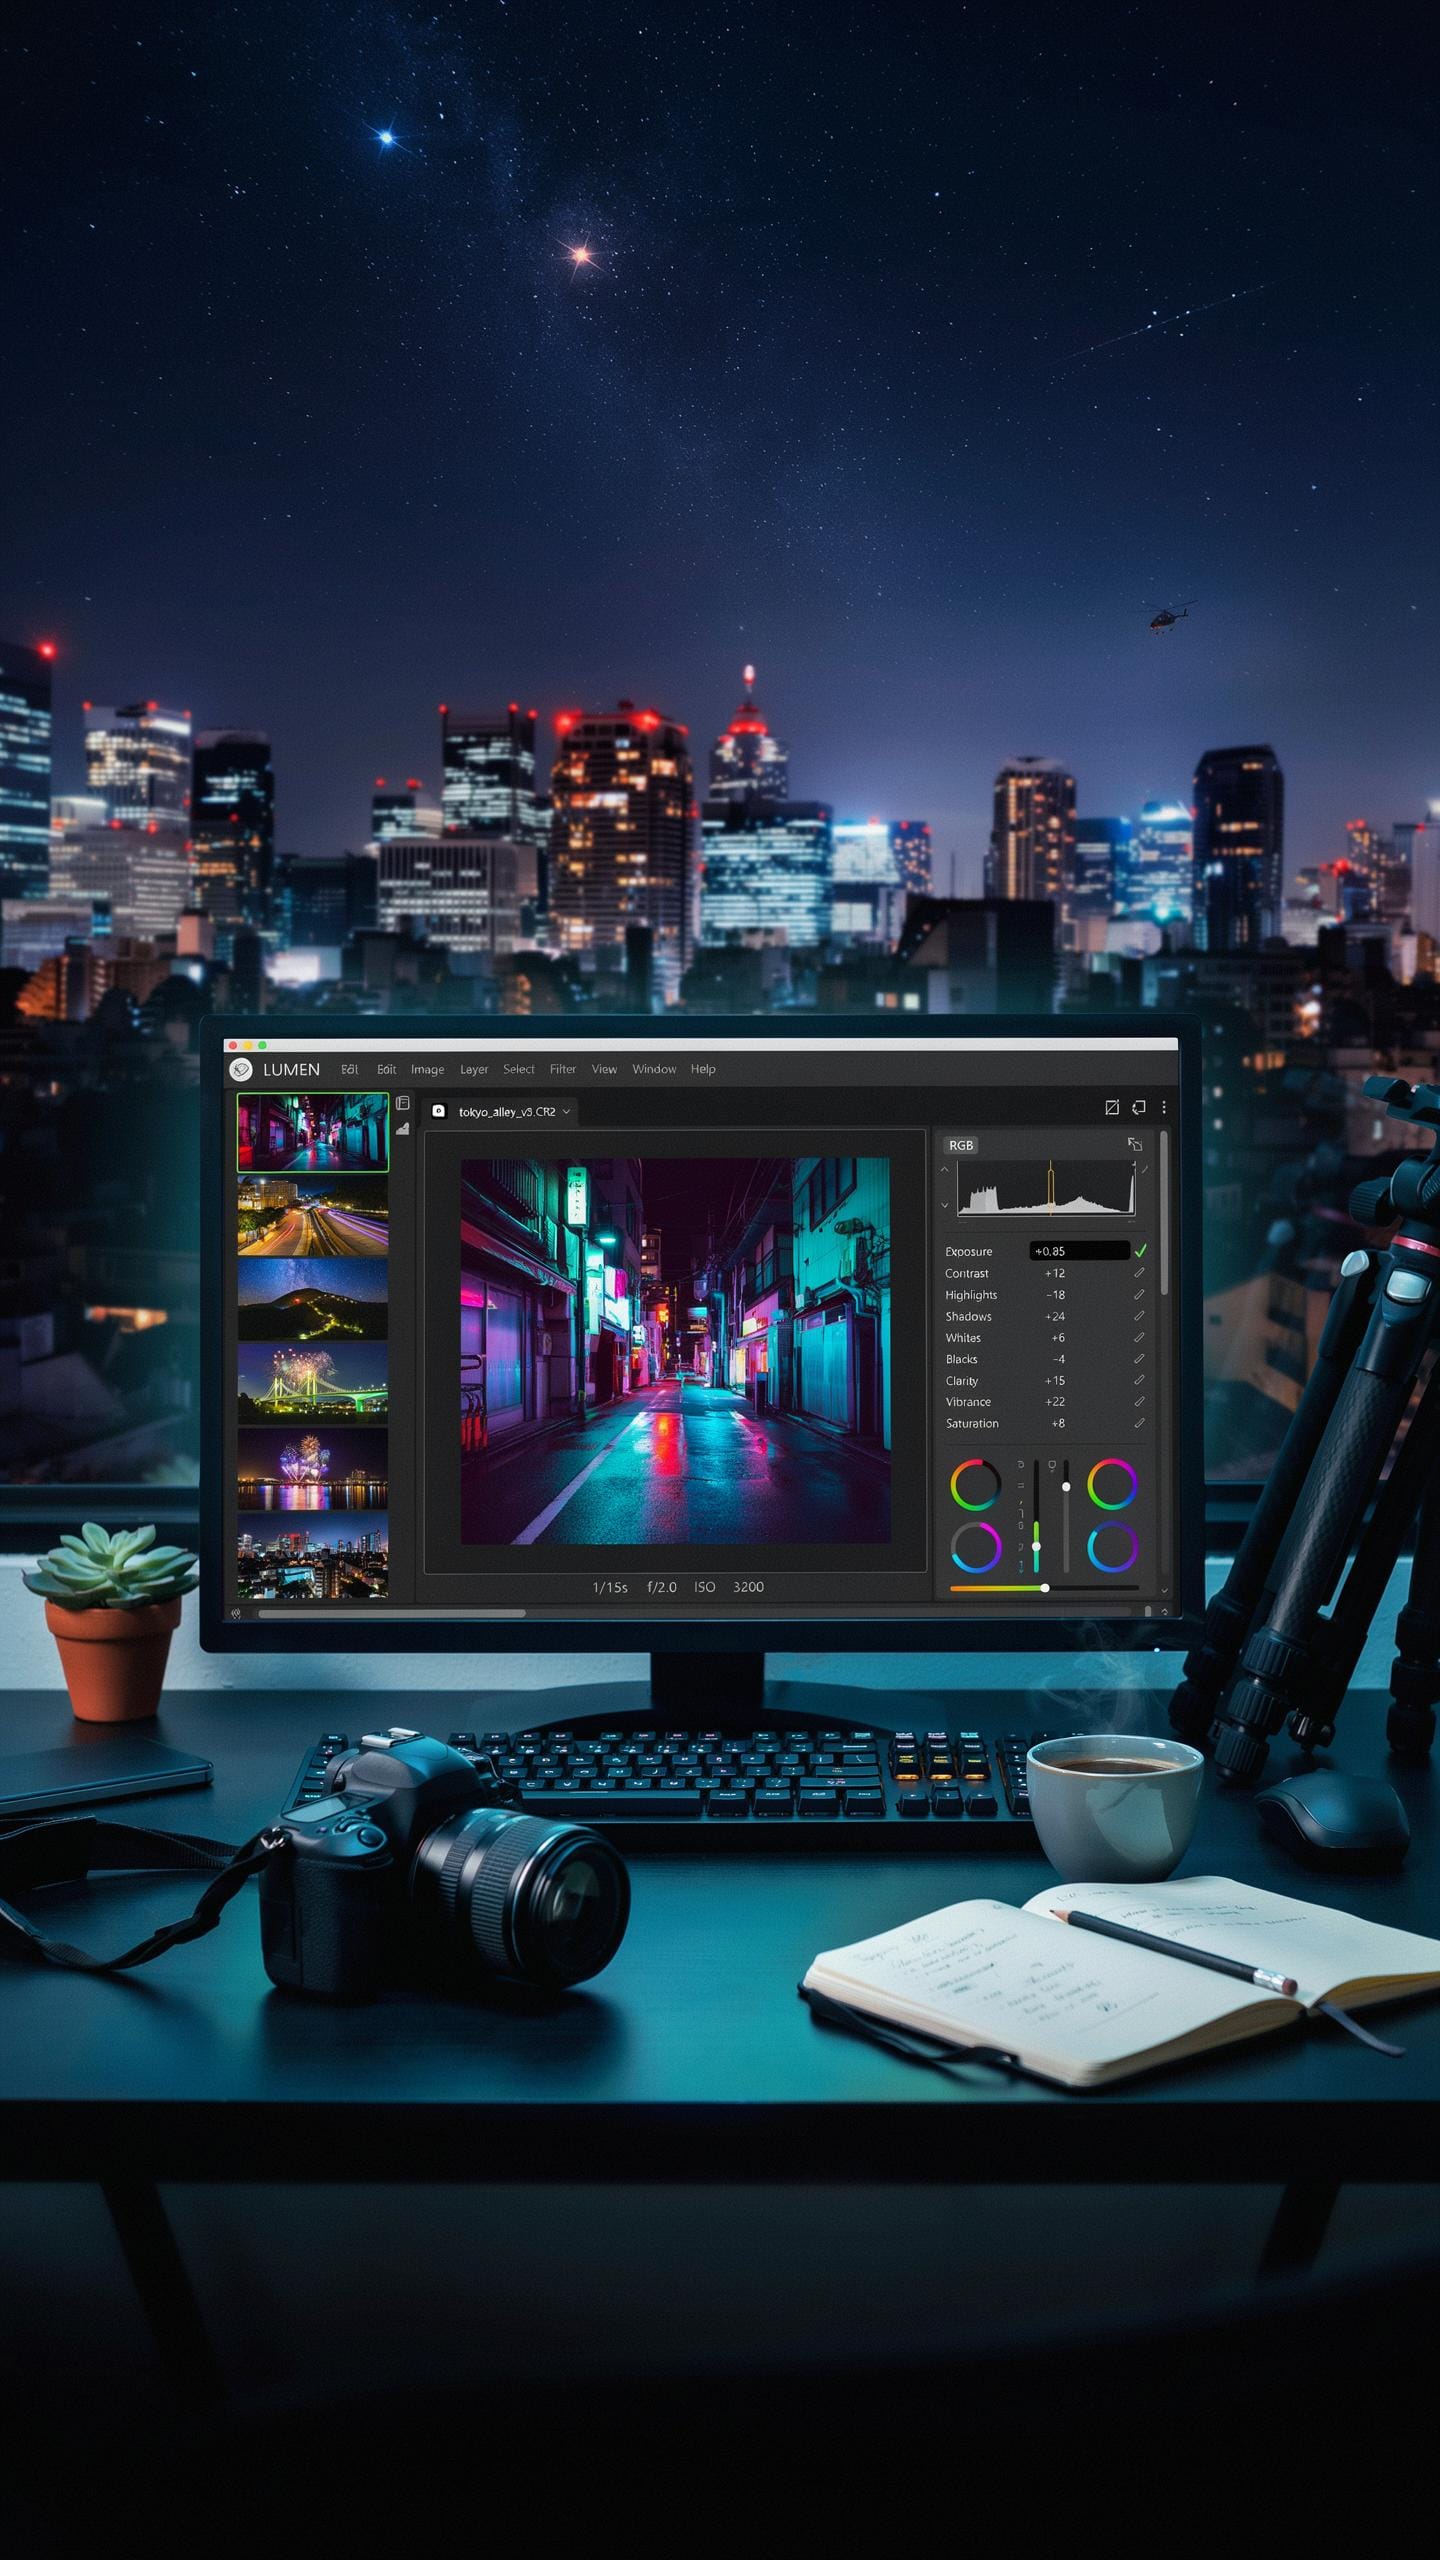
Mobile editing apps handle the core adjustments your night shots need. Lightroom Mobile, Snapseed, and Adobe Capture give you precise control over exposure, shadows, and highlights. These apps work directly on your phone without requiring a computer. They preserve image quality better than social media filters. Start with these tools before considering desktop software.
The editing workflow on mobile differs from desktop but delivers comparable results for night photography. These apps use non-destructive editing, meaning you adjust settings without permanently altering the original file. You can undo changes, compare before and after versions, and export multiple versions. Mobile editing saves time since you edit immediately after shooting, while memory of the scene remains fresh.
Noise Reduction And Clarity
Night photography creates visible noise due to high ISO settings and low light conditions. Lightroom Mobile’s noise reduction slider targets luminance and color noise separately. Snapseed’s Healing tool removes small noise artifacts, while its Structure slider adds clarity without amplifying grain. Start with conservative noise reduction to avoid losing detail and texture in your images.

Over processing destroys the detail your lens kit captured. Apply noise reduction gradually and zoom in to check results at full resolution. Clarity adjustments enhance edge definition but worsen noise if overdone. The goal is balance: reduce noise enough to improve the image without creating artificial smoothness that erases important details and textures from your night shots.
Advanced Tips For Your IPhone Wide Angle Camera Lens
Experimenting With Filters
ND filters reduce incoming light without changing color, giving you control over exposure in bright conditions. Polarizing filters cut reflections from water and glass surfaces. Both attach via adapter rings to your wide angle lens kit. Test filters during shooting to see real time results on your screen before committing to shots.
Stacking filters creates stronger effects but reduces image sharpness. Use quality glass filters rather than plastic alternatives. Remove filters between sessions to prevent lens coating damage. Start with single filter use until you understand how each one affects your specific iPhone model and wide angle lens combination.
Joining Online Photography Communities
Reddit communities like r/mobilephotography and r/nightphotography connect you with photographers using phone lens kits. Facebook groups dedicated to iPhone photography offer daily feedback on your images. These spaces provide real critique from users who shoot in identical conditions with matching gear.

Engagement matters more than lurking. Post your night shots with technical details about your setup and settings. Ask specific questions about lens kit performance in low light scenarios. Other members share which accessories work best for iPhone wide angle lenses, saving you expensive trial and error cycles.
Frequently Asked Questions

What exactly is a phone lens kit for night photography and do I really need one to take good nighttime pictures?
A phone lens kit for night photography equips your smartphone with external lenses like wide-angle or fisheye, enhancing its built-in camera capabilities. While modern phones perform well, a dedicated lens kit significantly improves low-light image quality by gathering more light and reducing noise, resulting in clearer, more vibrant night shots.
How do I properly attach and use a phone lens kit for night photography to get the best results?
Most phone lens kits for night photography clip directly onto your phone’s camera without complicated installation. Ensure the lens is centered over your phone’s camera for optimal clarity. Experiment with different lenses like wide-angle for landscapes or macro for close-ups. Stabilize your phone, perhaps with a tripod, to avoid blur in low-light conditions.
Are expensive phone lens kits the only option for capturing impressive night photography, or are there affordable alternatives?
Absolutely not! While high-end kits offer premium optics, many affordable phone lens kit for night photography options deliver fantastic results for beginners. Look for kits that include a wide-angle and macro lens, as these are versatile for night shots. Prioritize good reviews and compatibility with your phone model over price alone for great value.



