
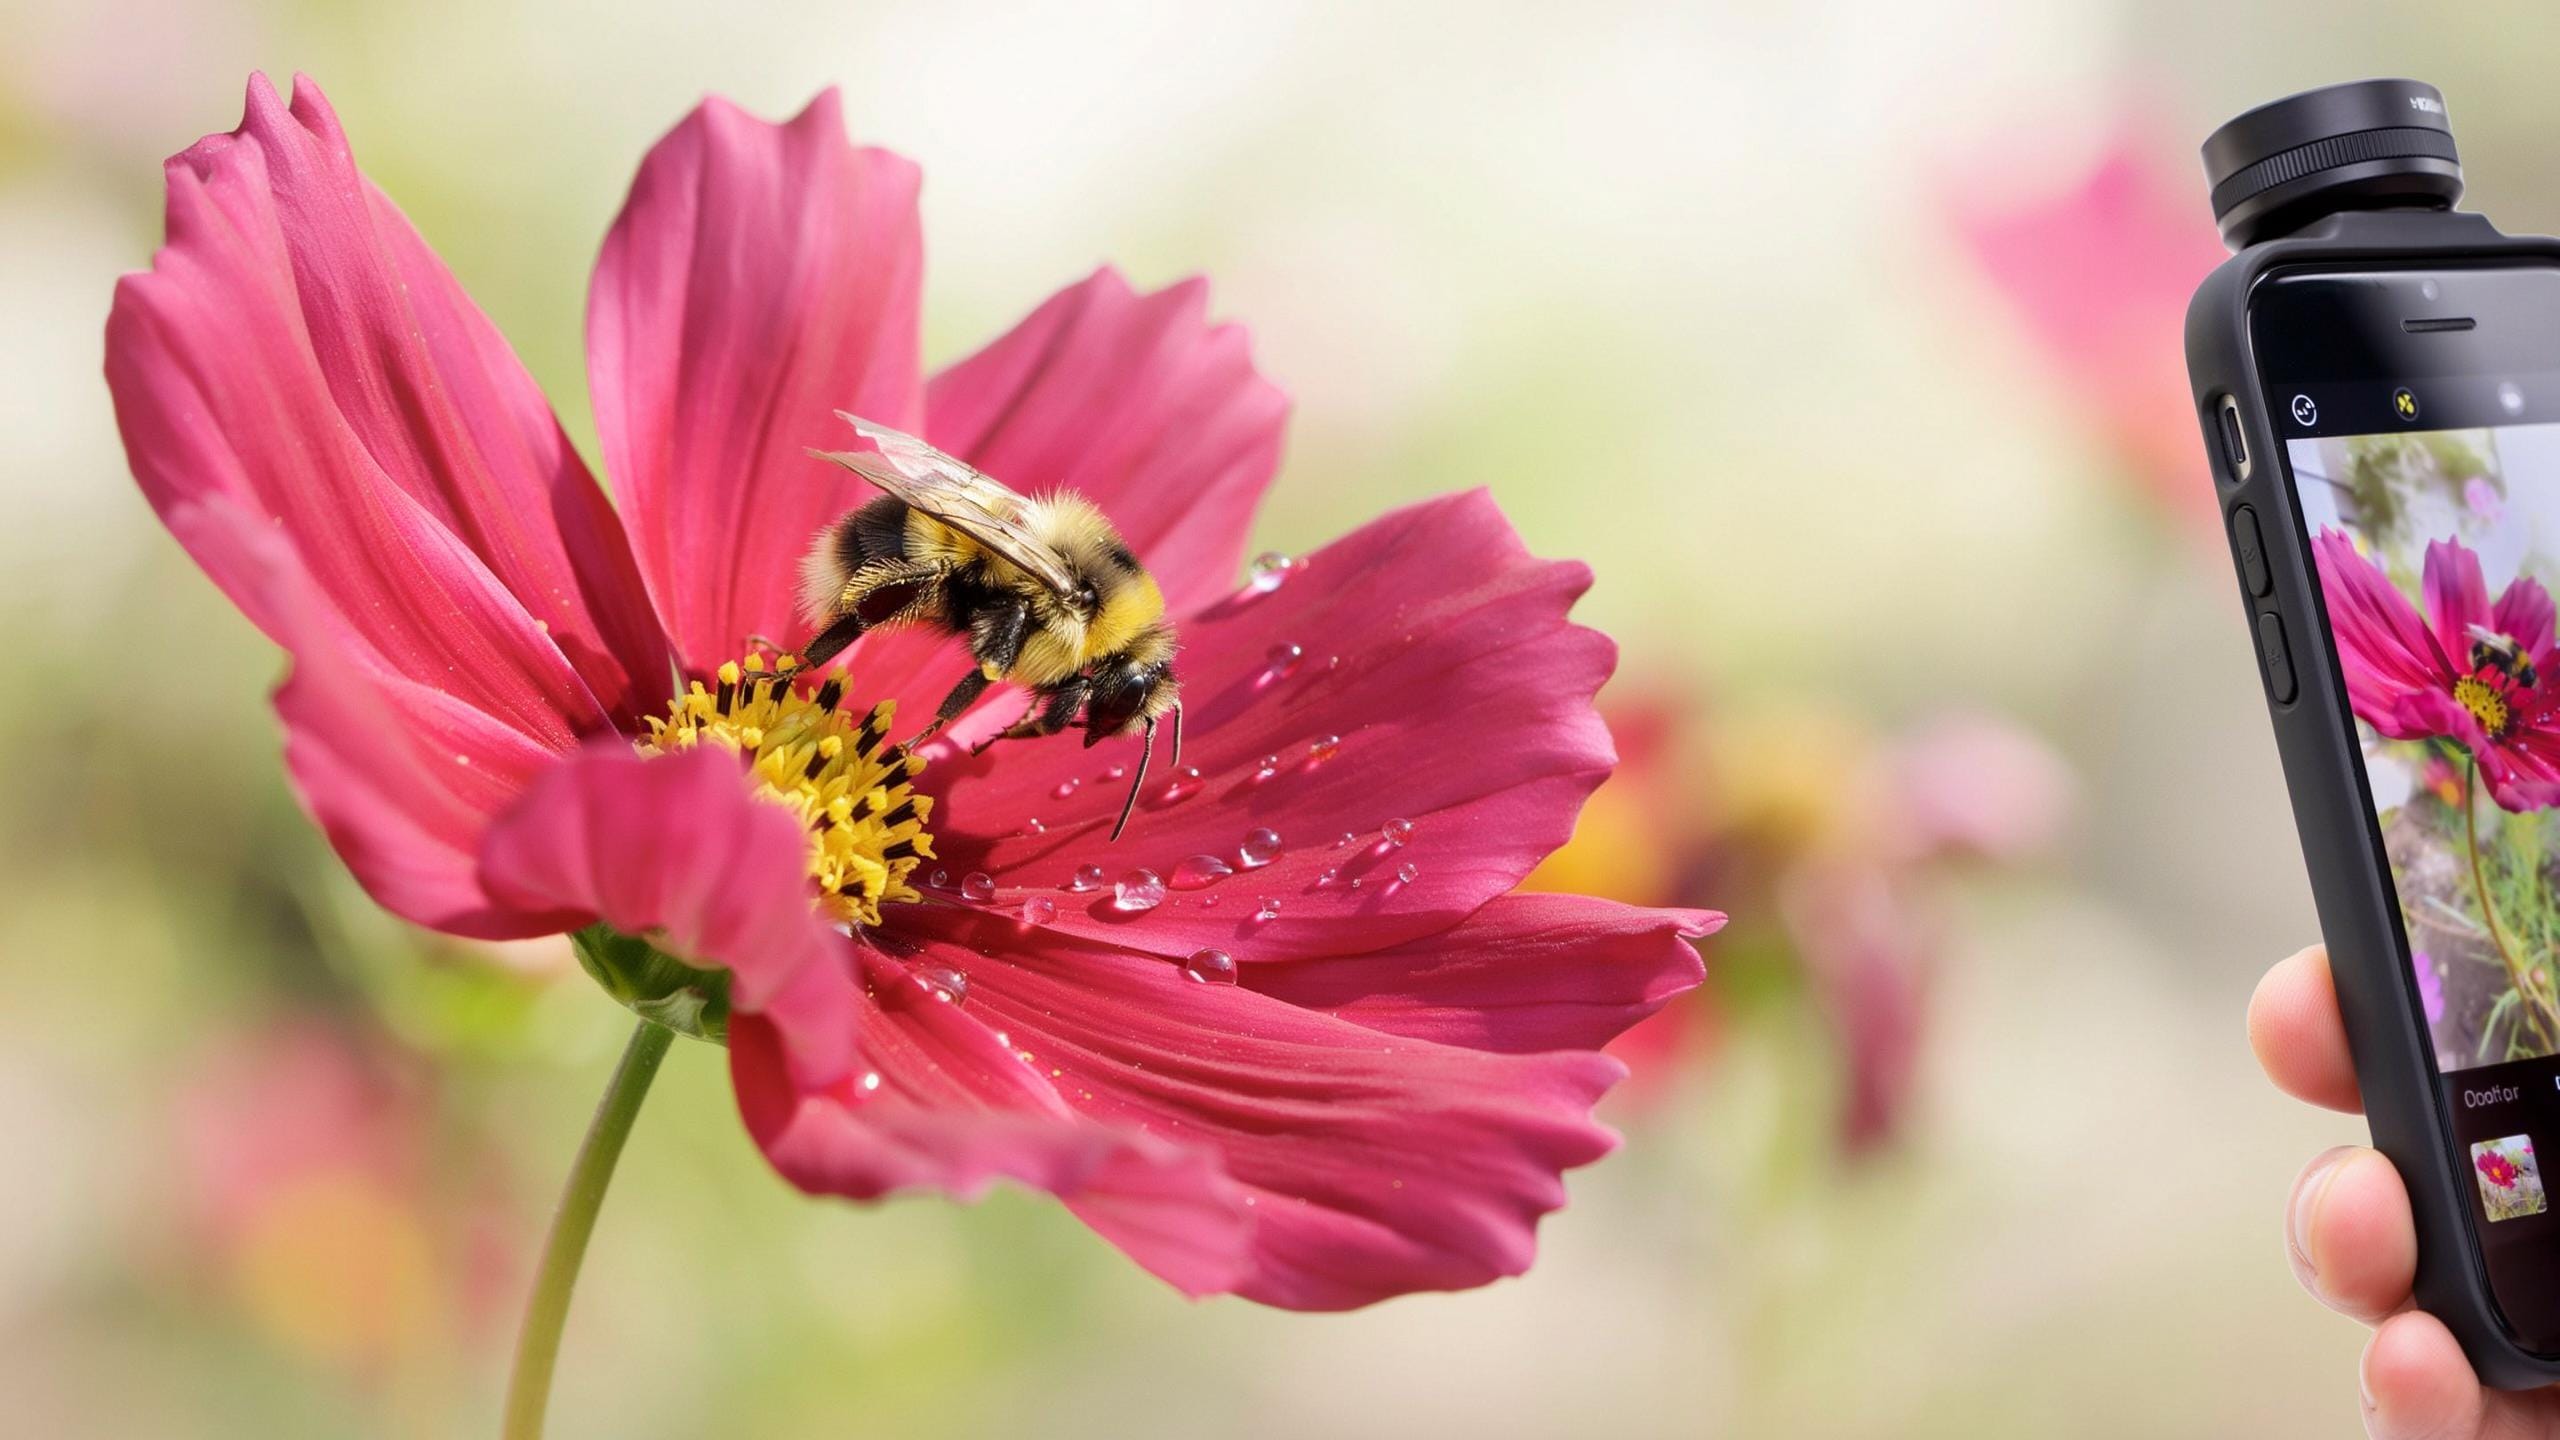
What Is A Macro Lens For IPhone
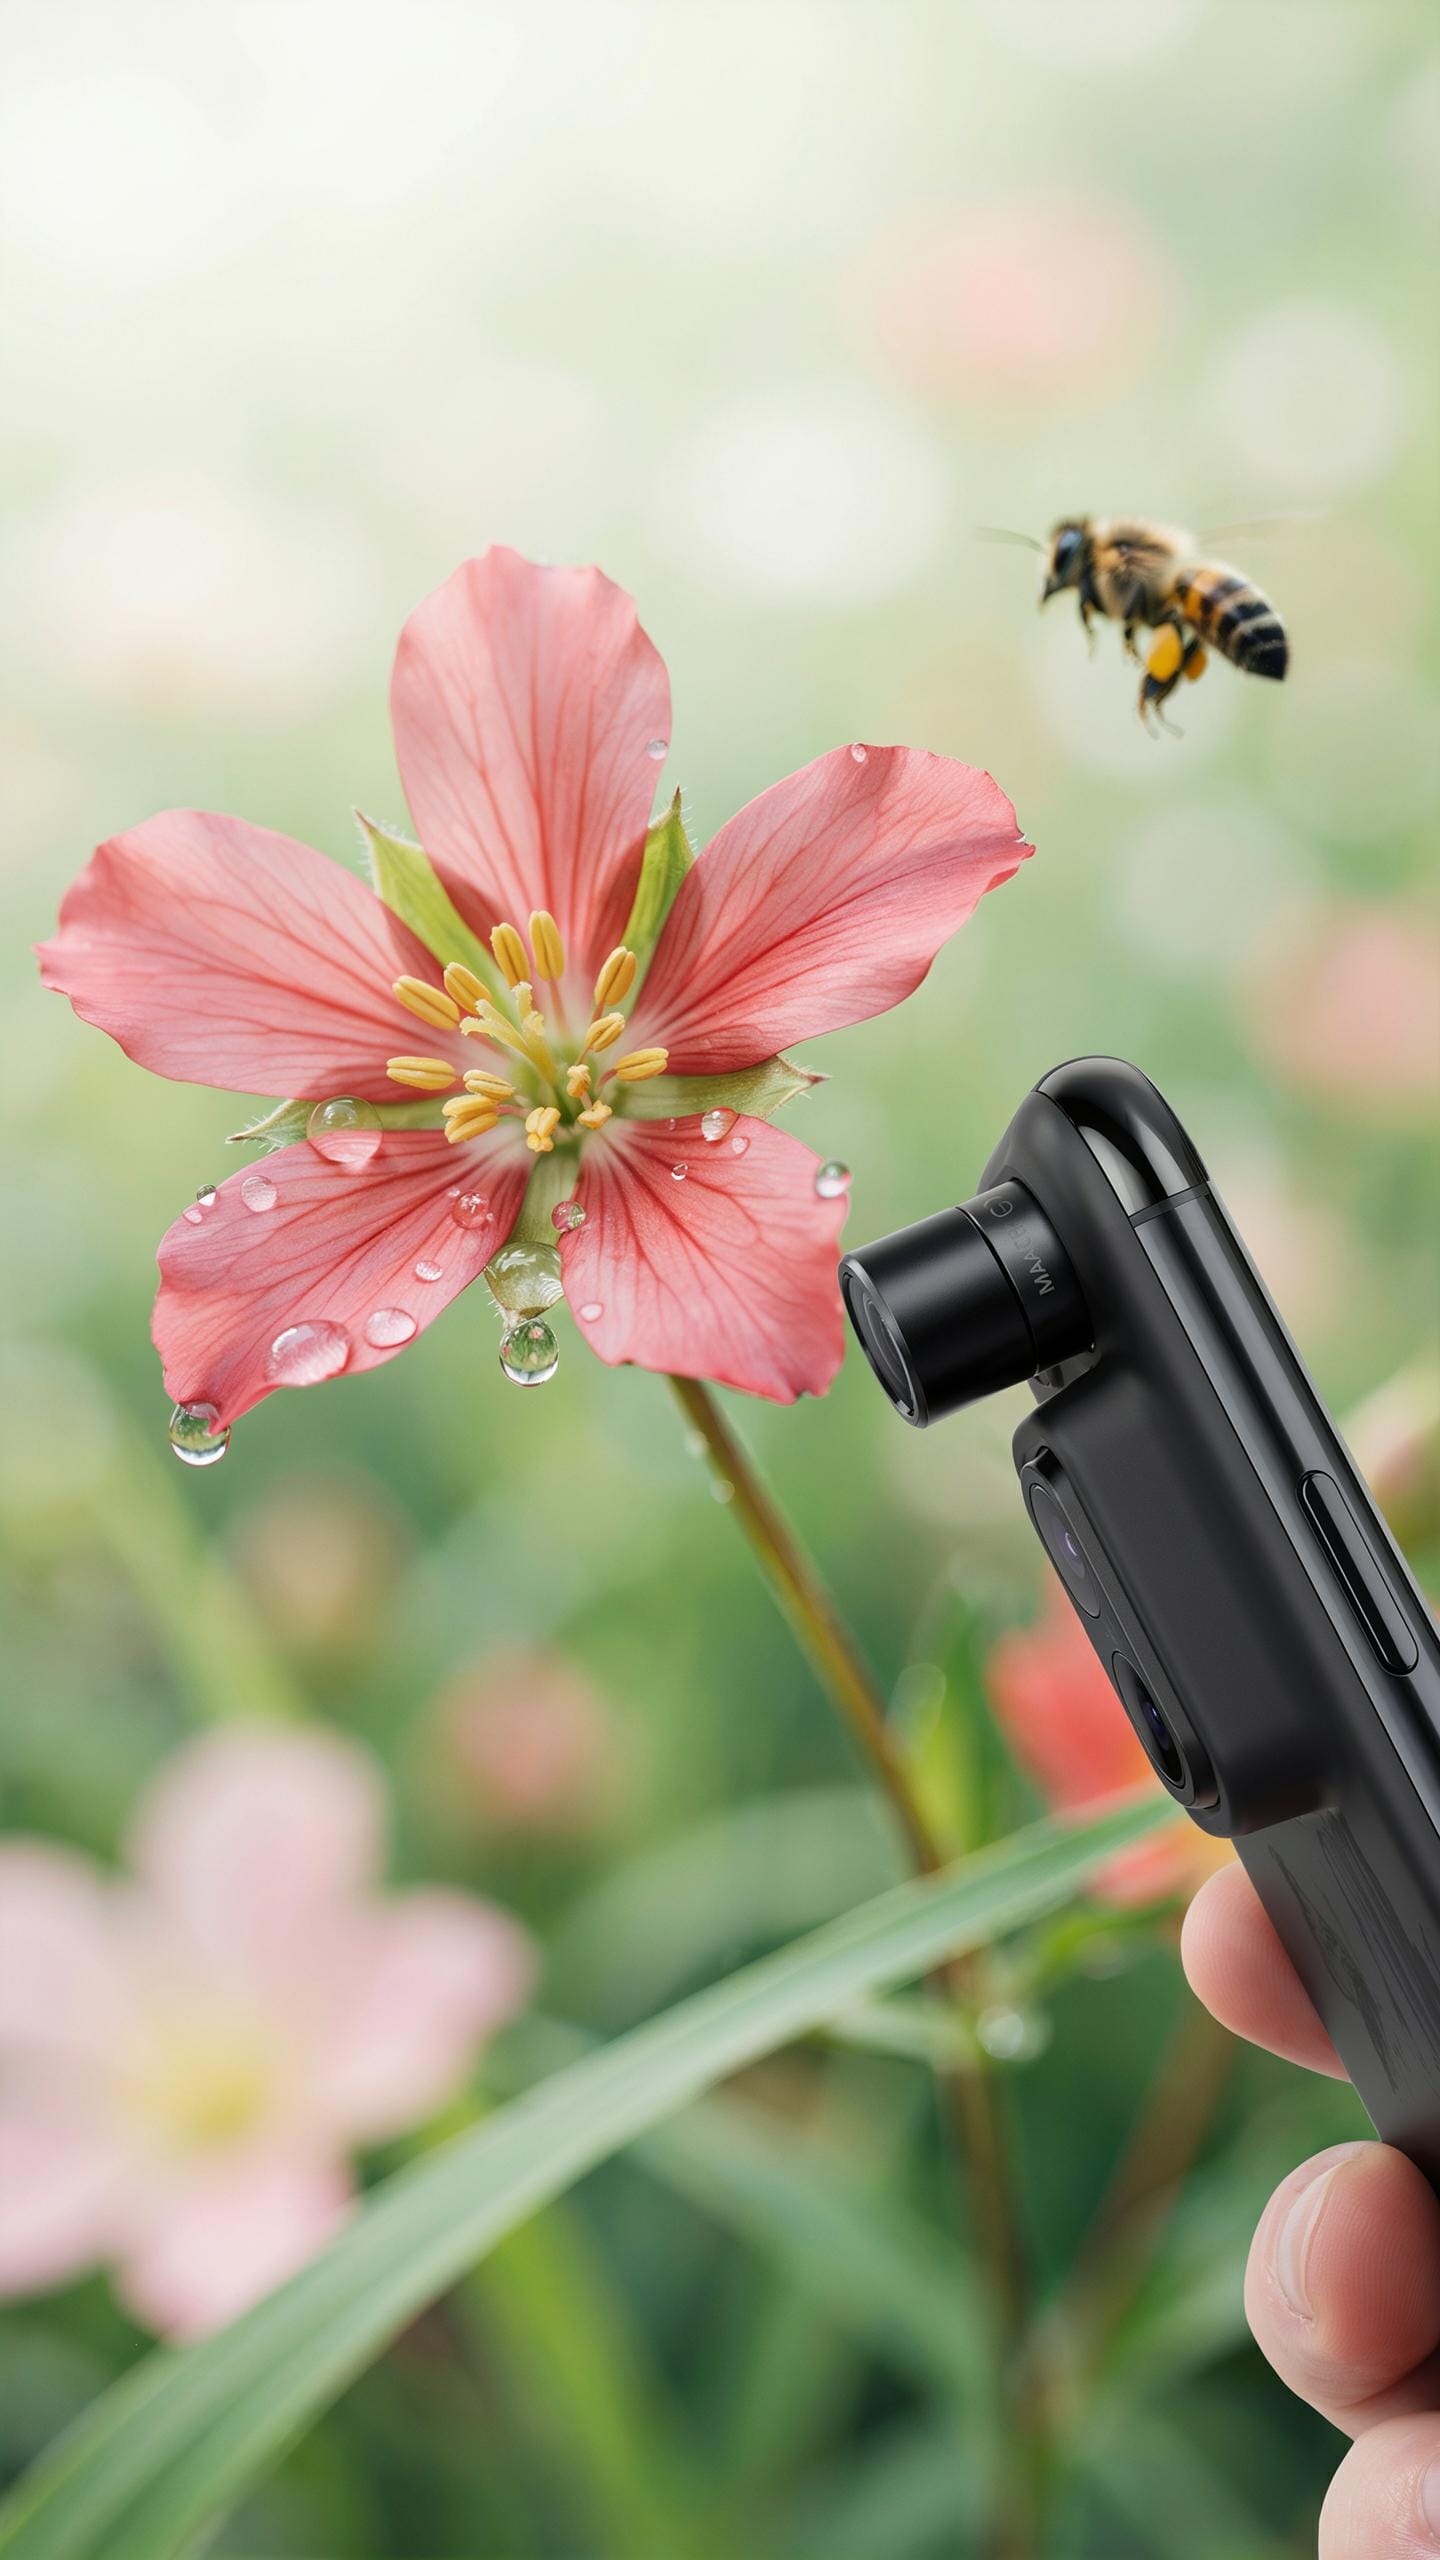
Understanding Macro Photography With Your Smartphone
Macro photography captures subjects at extreme close range, revealing detail invisible to the naked eye. Your iPhone camera has limits. Most iPhone models focus down to about 4 inches minimum distance. Macro lens attachments push past this barrier, letting you shoot objects from 1 inch away or closer. The result is magnified detail of insects, plants, textures, and small objects. This technique turns ordinary subjects into compelling visual content.
The physics behind macro work involves depth of field trade-offs. When you magnify a subject, your depth of field shrinks dramatically. Only a razor-thin slice of your subject stays in focus. This creates technical challenges but also produces striking images with sharp subjects and blurred backgrounds. Understanding these constraints shapes how you compose and light your shots.
How A Macro Lens Attachment Works
Macro lens attachments mount directly over your iPhone’s camera lens using clips or adhesive rings. The attachment contains optical elements that bend light differently than your phone’s native lens. This redirection allows your iPhone to focus much closer than its standard capability. The magnification ranges typically from 15x to 25x depending on the attachment quality and design.
The attachment acts as a supplementary optical system. Light enters the macro lens first, then passes through your iPhone’s camera lens second. This two-stage optical path creates the magnification effect. Most attachments are compact and lightweight, weighing under an ounce. They attach in seconds and detach just as quickly, making them practical for everyday use.

Why Use A Macro Lens Attachment For IPhone
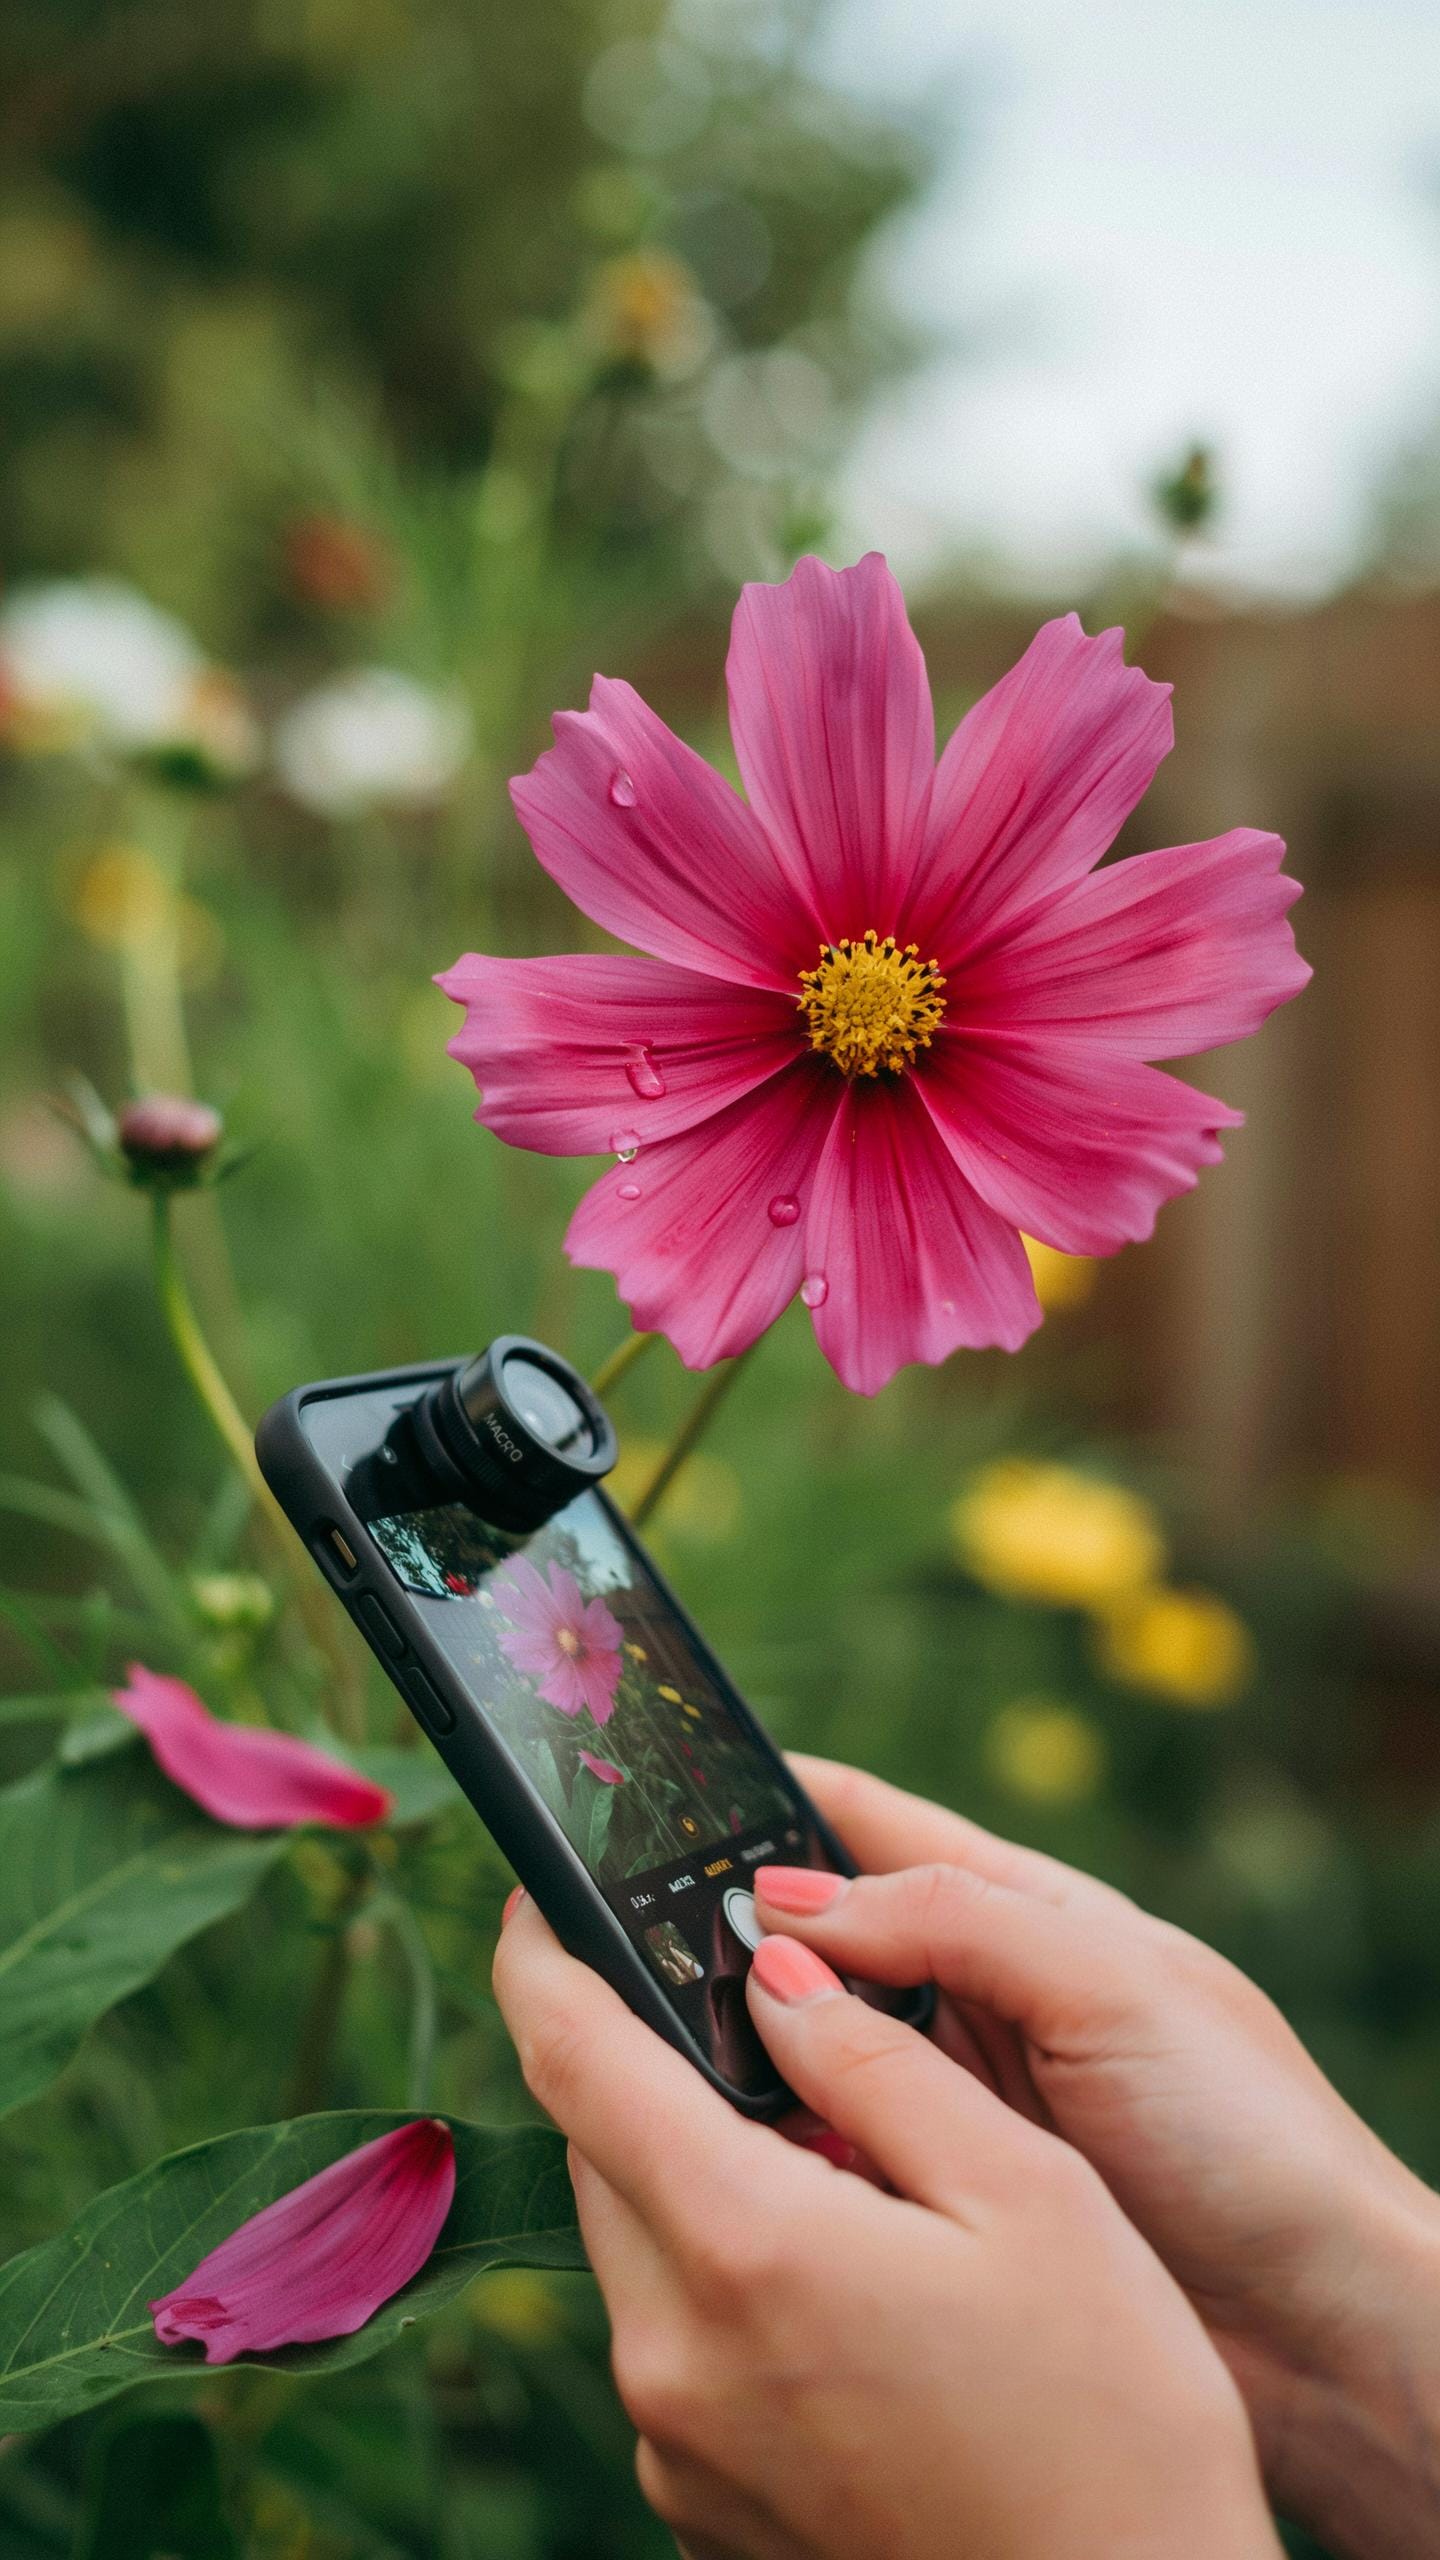
Benefits Of Magnifying Small Details
Your iPhone camera captures what your eyes see at normal distances. A macro lens attachment closes that gap. It reveals texture, structure, and patterns that remain invisible to naked vision. Insects show compound eyes and intricate exoskeletons. Plant cells display their actual organization. Printed surfaces reveal dot patterns and imperfections. This access to hidden detail drives both scientific documentation and visual storytelling. You capture information your audience cannot access without this tool.
Macro photography serves practical purposes beyond aesthetics. Quality control inspectors use magnification to spot manufacturing defects. Naturalists document species behavior and anatomy for research. Jewelers photograph stones and settings to showcase craftsmanship. Medical professionals document skin conditions and wound healing. Forensic work benefits from detailed evidence capture. The macro lens attachment transforms your iPhone into an inspection instrument with documentation capability.
Transforming Everyday Objects Into Art
Common objects shift meaning when magnified. Water droplets become spheres with reflected landscapes. Fabric weaves expose geometric precision. Rust patterns display natural erosion maps. Flower stamens reveal bright geometry. Food texture becomes architectural. These transformations happen through magnification alone, no editing required. The macro lens attachment does the optical work your iPhone camera cannot perform independently.
This shift in perspective creates engagement. Viewers connect with familiar objects they never examined closely. A coffee bean shows surface cracks and color variation. A human hair displays scale and texture. Dust particles reveal complexity. Everyday items become subjects worthy of attention when magnified properly. The macro lens attachment unlocks visual storytelling possibilities within arm’s reach of your current location.
Choosing The Best Macro Lens For IPhone
Key Features To Consider In An IPhone Macro Lens
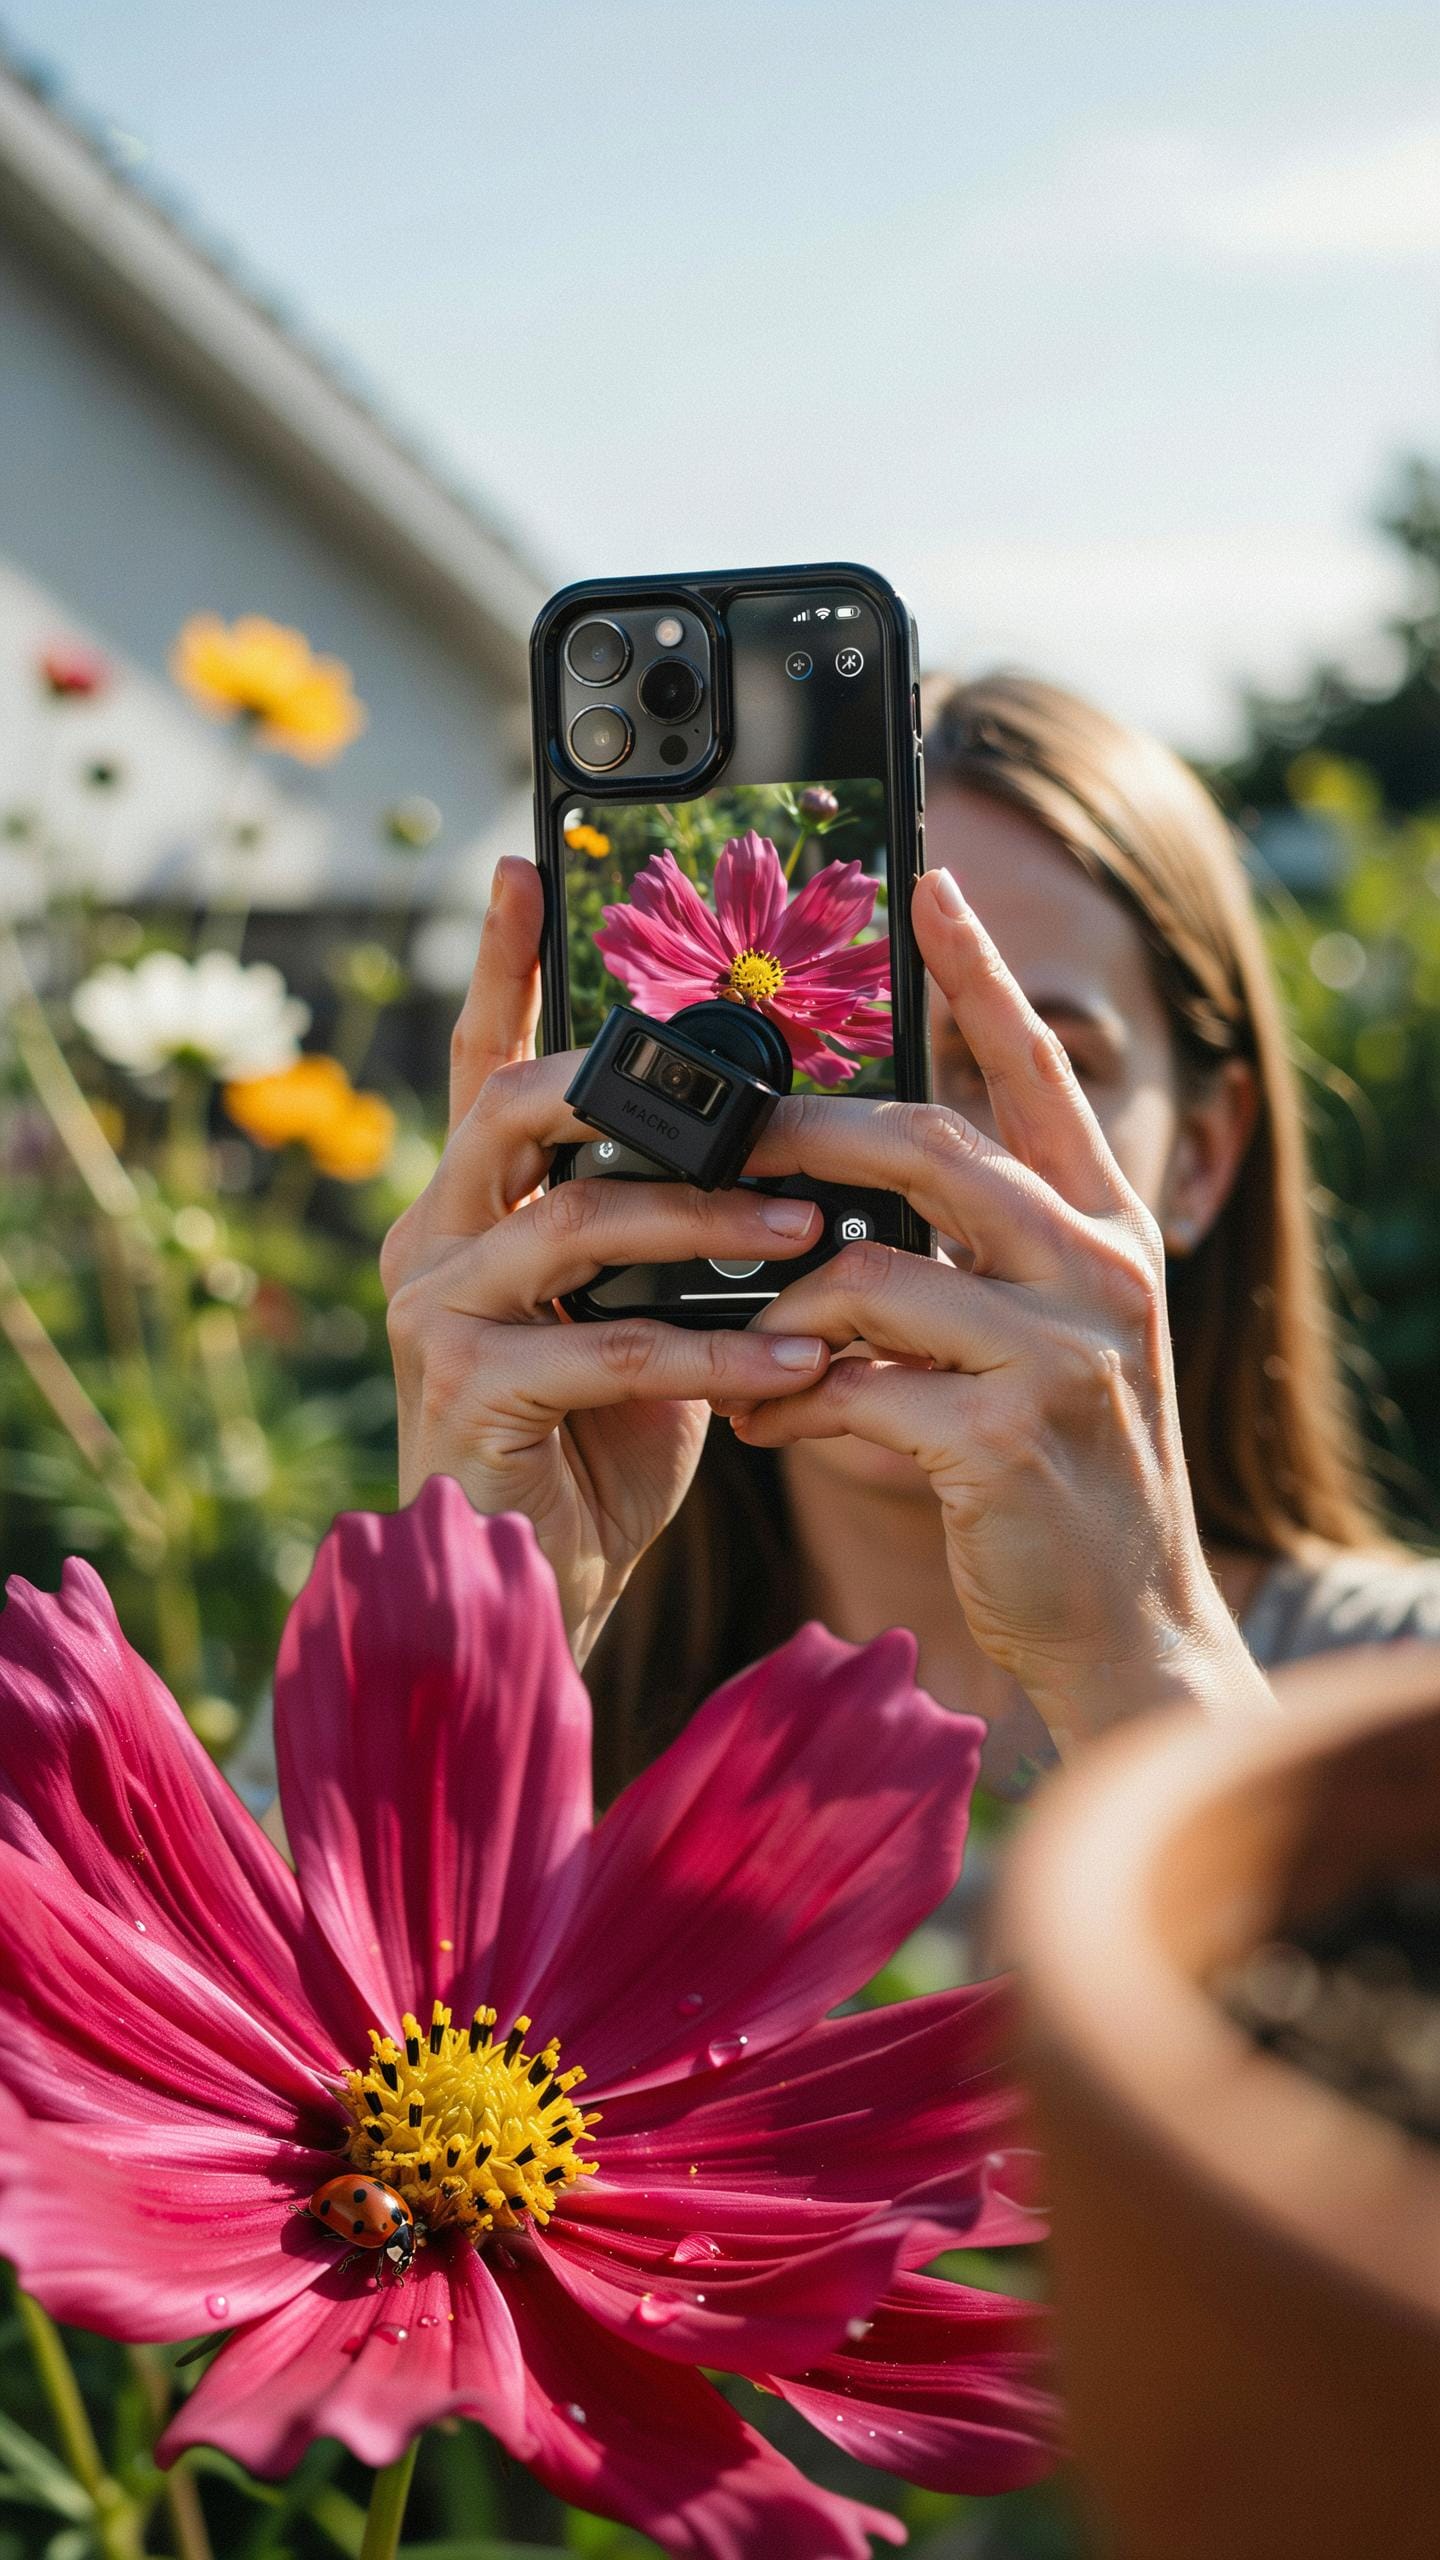
Magnification power determines what you can capture. Most macro lenses range from 10x to 25x magnification. Higher magnification shows finer details but narrows your field of view. Lens quality affects image sharpness and color accuracy. Check the glass elements and coatings used. Attachment method matters for speed and stability during shooting.
- Magnification Range: Determines detail level. 10x to 15x works for general use. 20x and higher requires steady hands or tripod support for sharp images.
- Optical Glass Quality: Multi-element glass reduces distortion and aberration. Coated lenses prevent light loss and flare. Check the number of lens elements in product specs.
- Attachment Mechanism: Clip-on designs fit most phones quickly. Screw-on mounts provide stability but take longer. Universal clips work across different phone models and sizes.
- Minimum Focus Distance: Indicates how close you must be to subjects. Shorter distances capture extreme detail. Verify this matches your intended photography subjects.
- Field Of View: Wider fields capture more context. Narrower views isolate subjects. Trade offs exist between magnification and field of view on all macro lenses.
Attachment strength prevents lens shift during use. Test the clip tension before purchasing. A secure fit stops accidental drops and protects your phone.
Popular Brands And Their Offerings
Moment, Olloclip, and Nomad produce reliable macro attachments for iPhones. Moment offers clip-based systems with interchangeable lenses rated at 60mm equivalent focal length. Their macro lens delivers 15x magnification with quality optical glass construction. Olloclip pioneered iPhone lens attachments with clip designs that work on multiple generations.

Nomad focuses on universal compatibility across Android and iOS devices. Saruo and Apexel provide budget alternatives with 20x magnification options. These brands offer screw-on and clip-on variations. Check user reviews on actual image output before committing. Compatibility with your specific iPhone model is essential before purchasing any brand.
Best Macro Lens For IPhone 13 Pro And Other Models
Optimizing Macro Photography On Newer IPhone Models
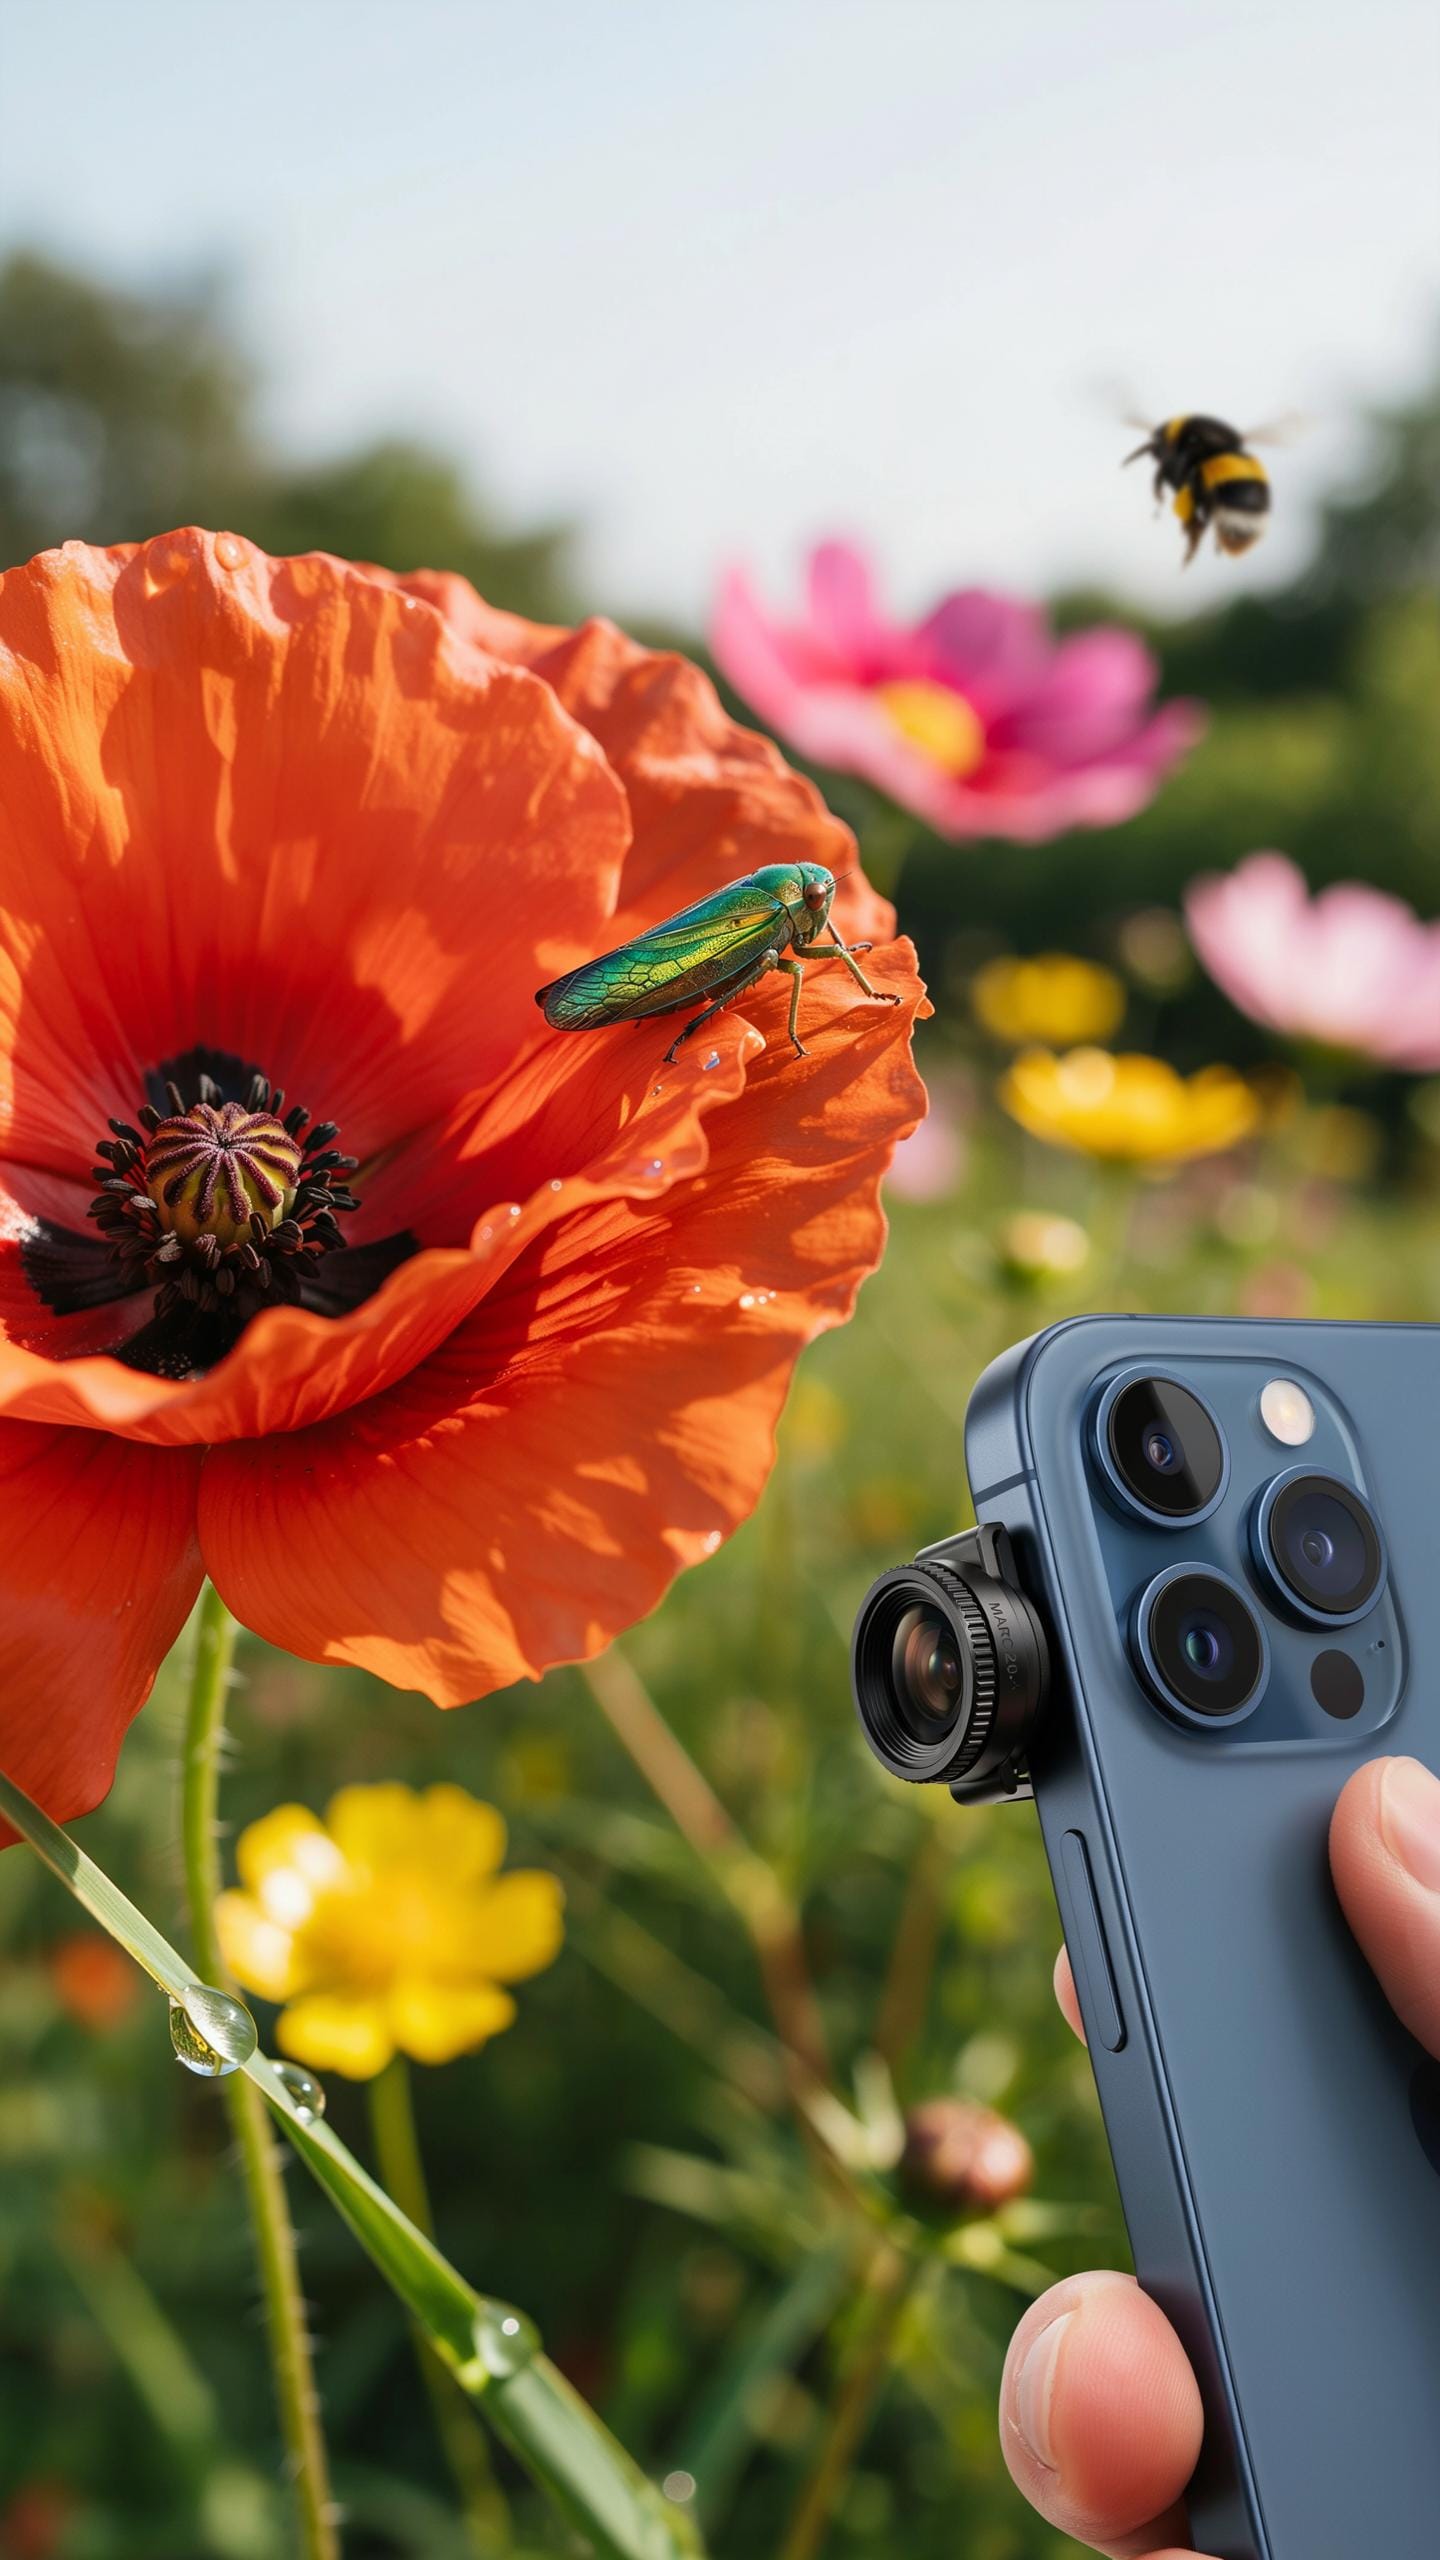
The iPhone 13 Pro introduced a dedicated macro mode through its 12-megapixel ultra-wide camera, which focuses as close as 2 centimeters. Third-party macro attachments work alongside this native capability by magnifying subjects further. The ultra-wide lens on the 13 Pro already delivers macro functionality, so attachments serve photographers wanting additional magnification or different optical properties beyond Apple’s built-in range.
Macro lens attachments clip onto the iPhone 13 Pro’s camera module or screw onto aftermarket lens adapters. The phone’s computational photography processes still function with most attachments, though some users report autofocus hunting with lower quality optics. Matching attachment quality to the phone’s camera specifications prevents optical degradation. The 13 Pro’s larger sensor and improved processing handle macro work better than earlier models, making attachment selection more critical for maintaining image quality.
Compatibility Across IPhone Generations
Macro lens attachments function across iPhone models from iPhone 11 through the latest versions, though implementation differs significantly. Older models like the iPhone XS or earlier lack ultra-wide lenses, making third-party macro attachments the primary macro solution. Newer models with ultra-wide cameras gain macro capability natively, reducing dependence on attachments but not eliminating their value for specialized shooting.

Universal clip-on macro attachments work with any iPhone because they mount externally without requiring specific hardware integration. Threaded lens adapter systems demand compatible adapters for each phone model or generation. Optical performance varies based on the host phone’s native lens quality and sensor size. iPhone 14 Pro and 14 Pro Max models perform marginally better with attachments due to improved sensors and processing, but practical differences remain minimal compared to iPhone 13 Pro performance.
DIY Macro Lens For IPhone Creative Alternatives
Exploring Budget Friendly Macro Solutions
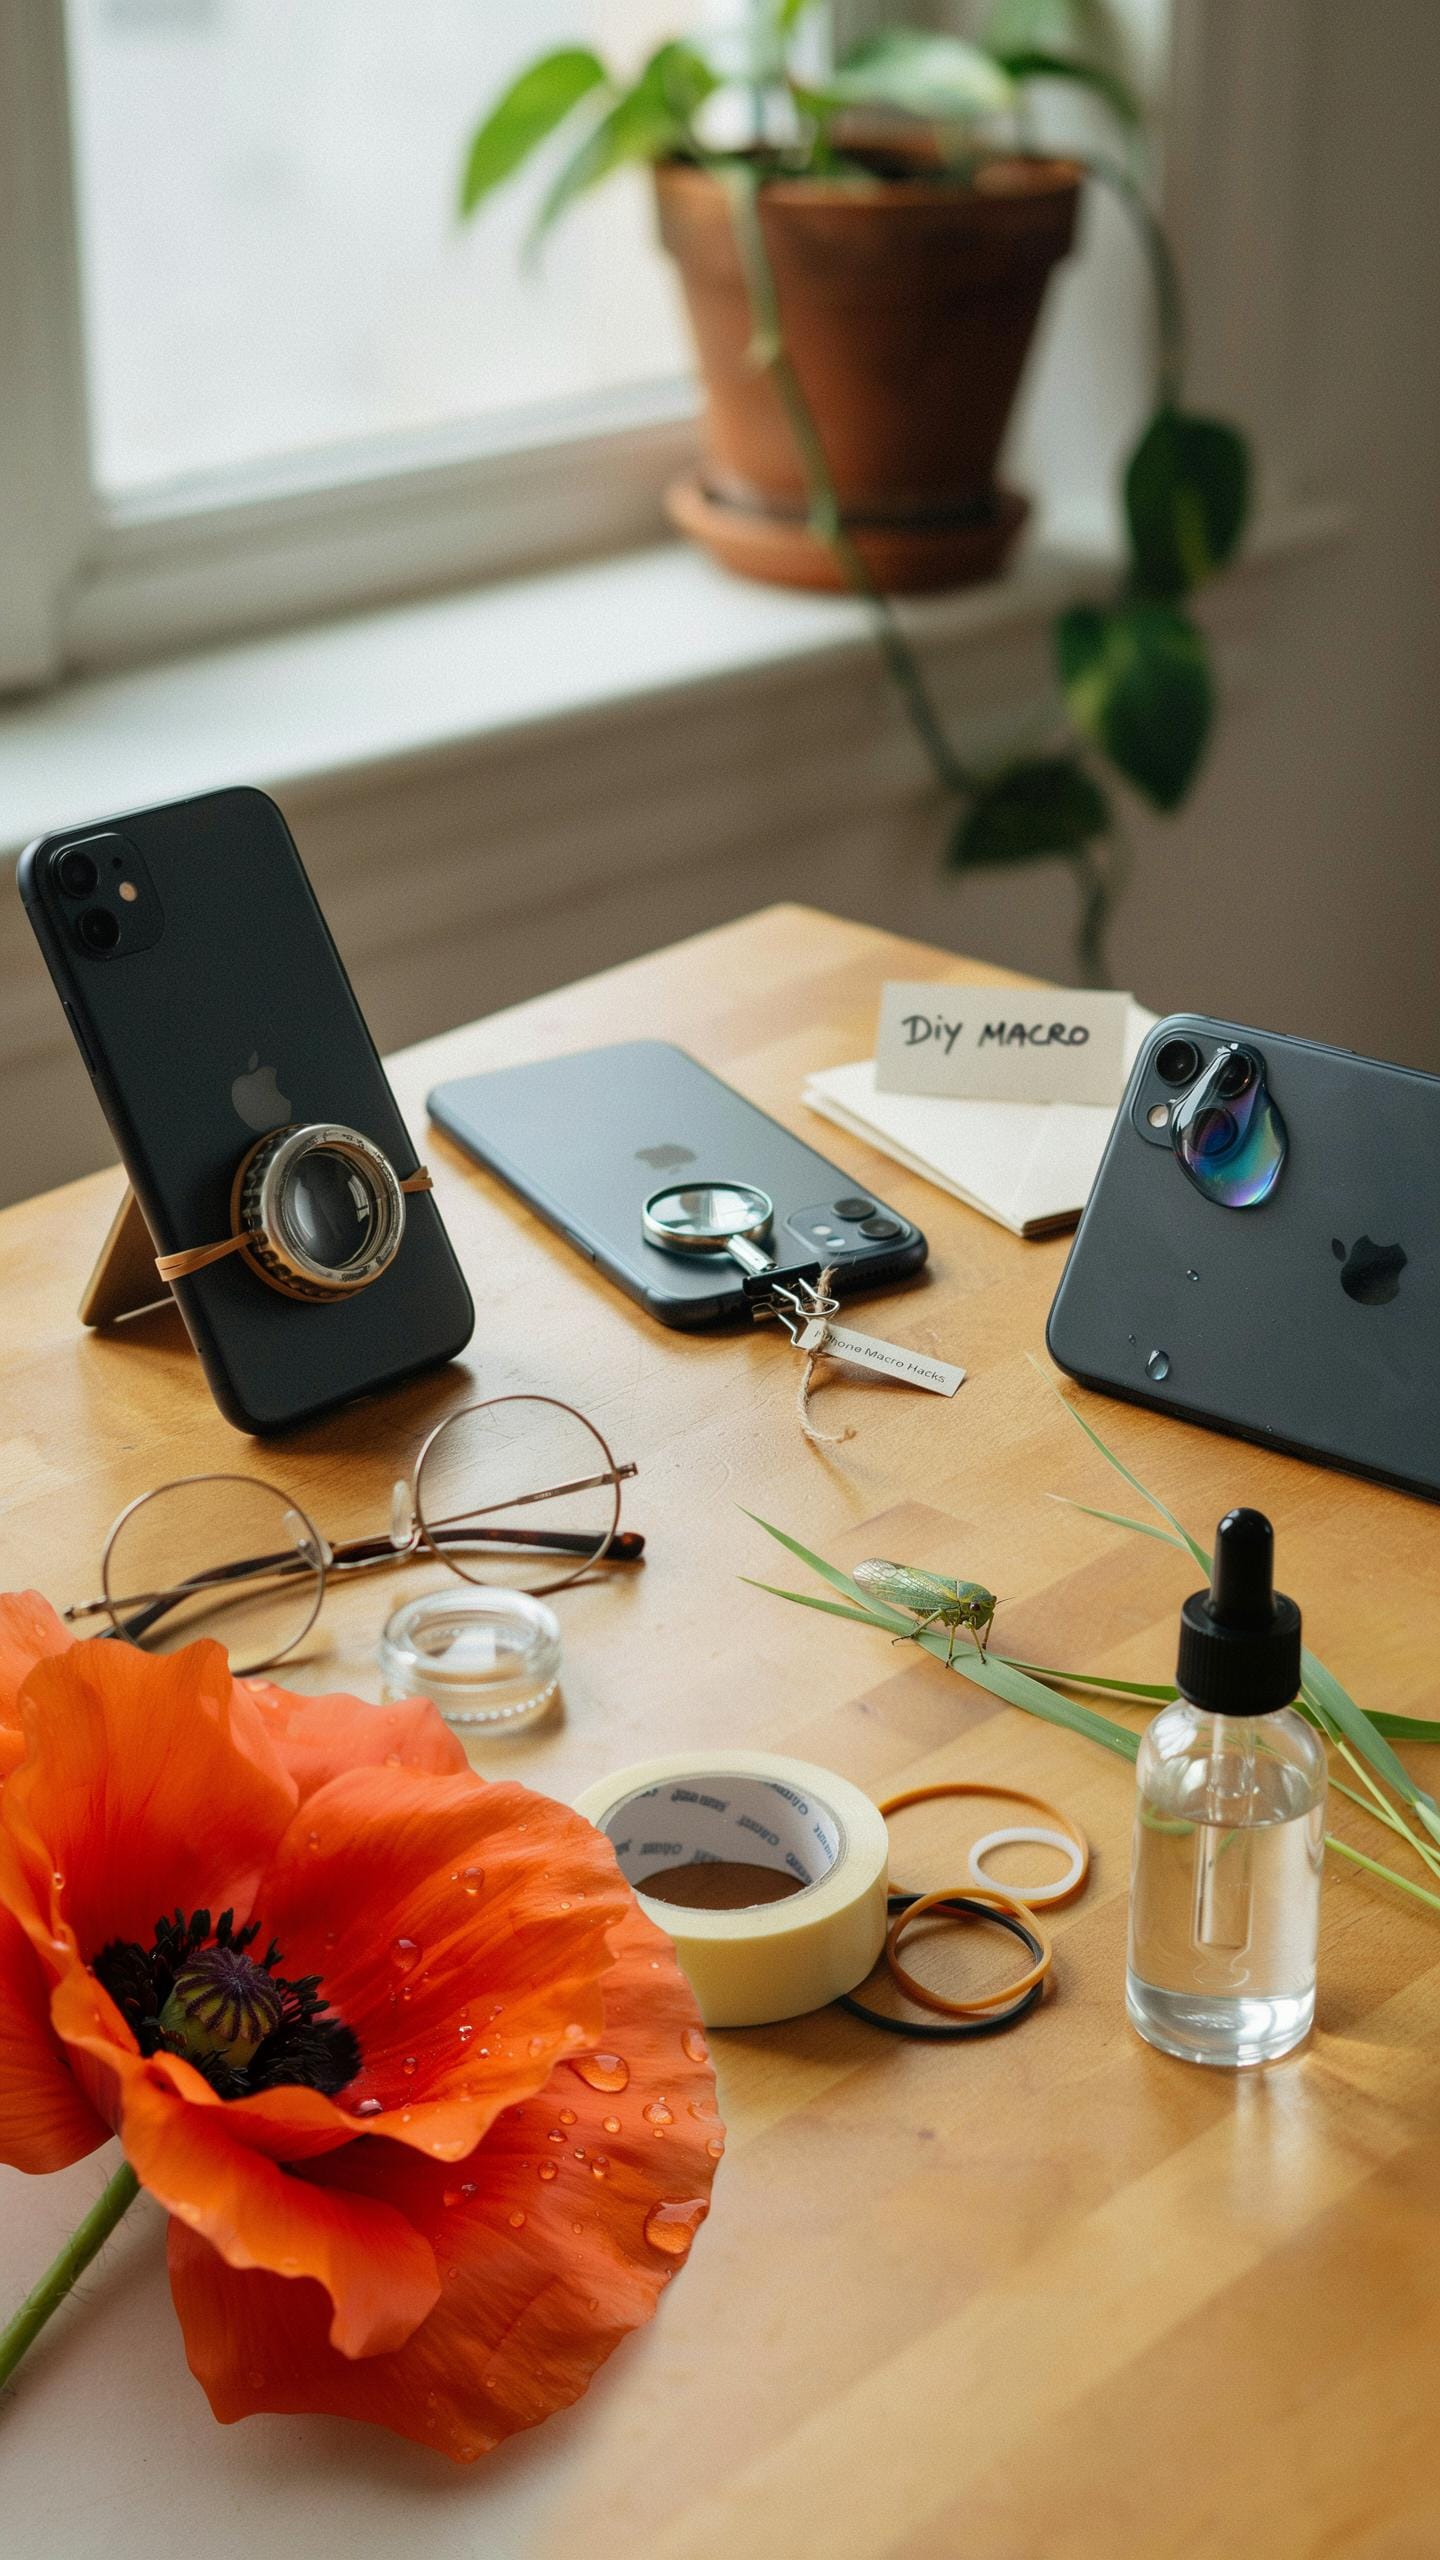
Water droplets magnify light effectively. Place a clear droplet on your iPhone camera lens, and it acts as a makeshift macro lens. This method costs nothing and works immediately. The droplet refracts light to enlarge distant objects. Positioning matters. The droplet must sit directly over the lens opening. Surface tension holds it in place without damaging the phone. Results vary based on droplet size and shape.
Smartphone macro lenses existed informally long before commercial attachments became common. Photographers experimented with magnifying glasses, jeweler’s loupes, and optical elements held against phone cameras throughout the early 2010s. A standard magnifying glass taped or held near your iPhone lens produces macro effects. Focus requires manual adjustment. The glass sits several inches from the lens, not directly on it. This distance prevents lens scratching and allows light to reach the sensor properly.
Limitations And Advantages Of Homemade Options
DIY macro setups cost between zero and ten dollars. Commercial attachments range from twenty to one hundred fifty dollars. Homemade solutions deliver real magnification without financial investment. However, they lack stability. A water droplet slides easily. A magnifying glass requires your hand to hold it steady. Movement ruins sharpness. Field of view narrows significantly with improvised setups. You photograph a smaller area than with quality commercial attachments.

Commercial macro attachments provide optical coatings that reduce glare and improve clarity. DIY options produce lower contrast images. Aberrations appear at lens edges with homemade solutions. Setup time favors commercial products. Screw-on attachments take seconds. Droplets need repositioning constantly. Quality matters when you need consistent results. Homemade methods suit experimentation and learning. They fail when professional output becomes necessary. Start with DIY to test macro photography before committing money to attachments.
Using A Macro Lens For Smartphone Photography Tips
Techniques For Achieving Sharp Macro Shots
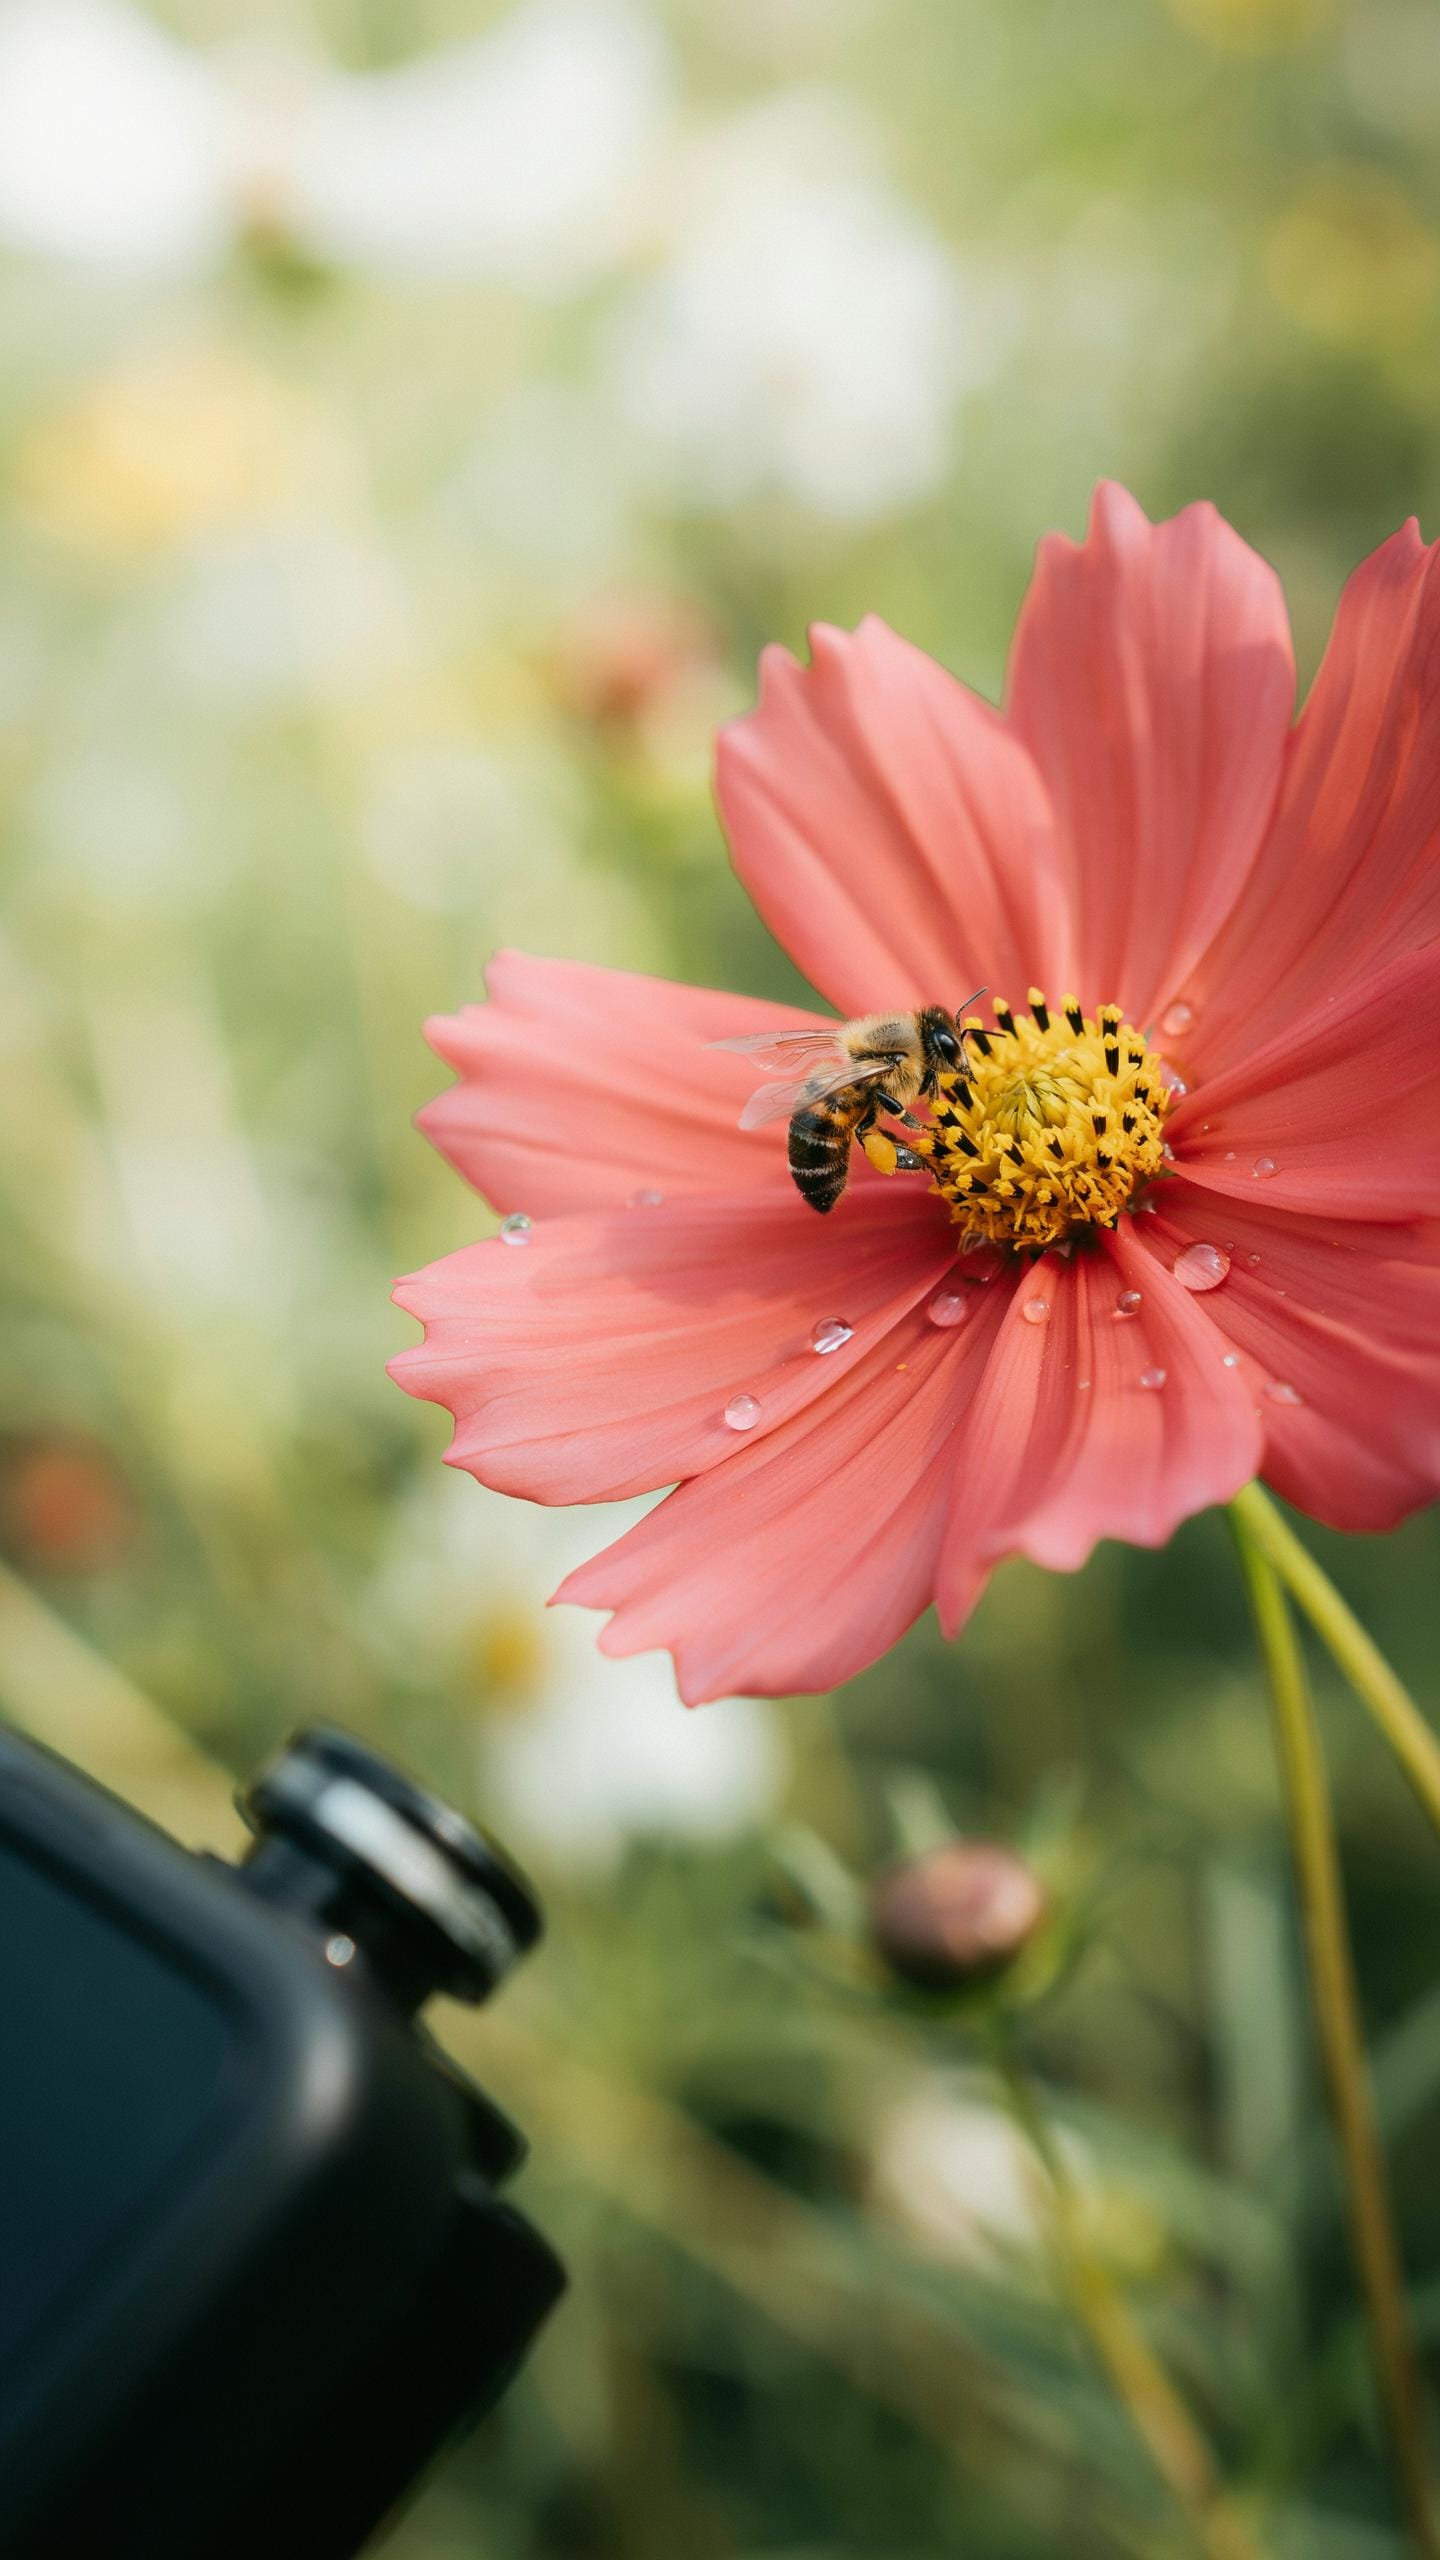
Macro photography demands stable camera positioning because magnification amplifies even tiny movements. Use a tripod or phone stand to lock your device in place. Avoid hand-holding whenever possible, as tremors blur details at close distances. Enable your phone’s timer or use voice commands to trigger the shot without touching the device.
- Natural Light Positioning: Position your subject near a window or outdoors to eliminate shadows. Direct sunlight creates harsh contrast, so use diffusion material like white fabric to soften light and reduce blown highlights on reflective surfaces.
- Manual Focus Control: Tap your phone screen to lock focus on the exact detail you want sharp. Most macro lenses require precise focal distance, so adjust your phone position incrementally until focus locks on your target area.
- ISO And Exposure Settings: Keep ISO low to reduce noise in macro shots. Increase exposure time instead, but only when your phone rests on a stable surface to prevent motion blur from camera shake.
- Distance And Lens Placement: Maintain consistent distance between your macro lens and subject for repeatable focus. Most macro attachments have a fixed focal distance, typically 2 to 4 inches. Respect this range to achieve the sharpness you expect.
- Depth Of Field Awareness: Macro lenses compress depth of field dramatically. Only a paper-thin slice of your subject stays in focus. Accept this limitation and frame your shot to highlight the sharpest critical detail within that narrow plane.
Stabilization directly impacts sharpness in macro work. Even professional macro photographers rely on tripods for consistent results. Your phone’s built-in stabilization helps but cannot replace mechanical support at extreme magnification levels.
Creative Composition In Macro Photography
Background selection determines whether your macro shot stands out or disappears. Use out-of-focus backgrounds to isolate your subject and eliminate visual clutter. Choose colors that contrast with your subject’s tone. A dark background makes light subjects pop, while light backgrounds emphasize darker objects. This technique forces the viewer’s eye directly to your focal point.

Perspective shifts your entire composition’s impact in macro work. Move around your subject rather than shooting straight on. Shoot from angles that reveal texture, layers, or hidden details invisible from standard views. Macro photography excels at revealing what the naked eye misses, so exploit unusual angles to showcase this advantage. Frame your subject off-center using the rule of thirds to create dynamic, engaging compositions that feel intentional rather than accidental.
Apexel Macro Lens For Phone A Closer Look
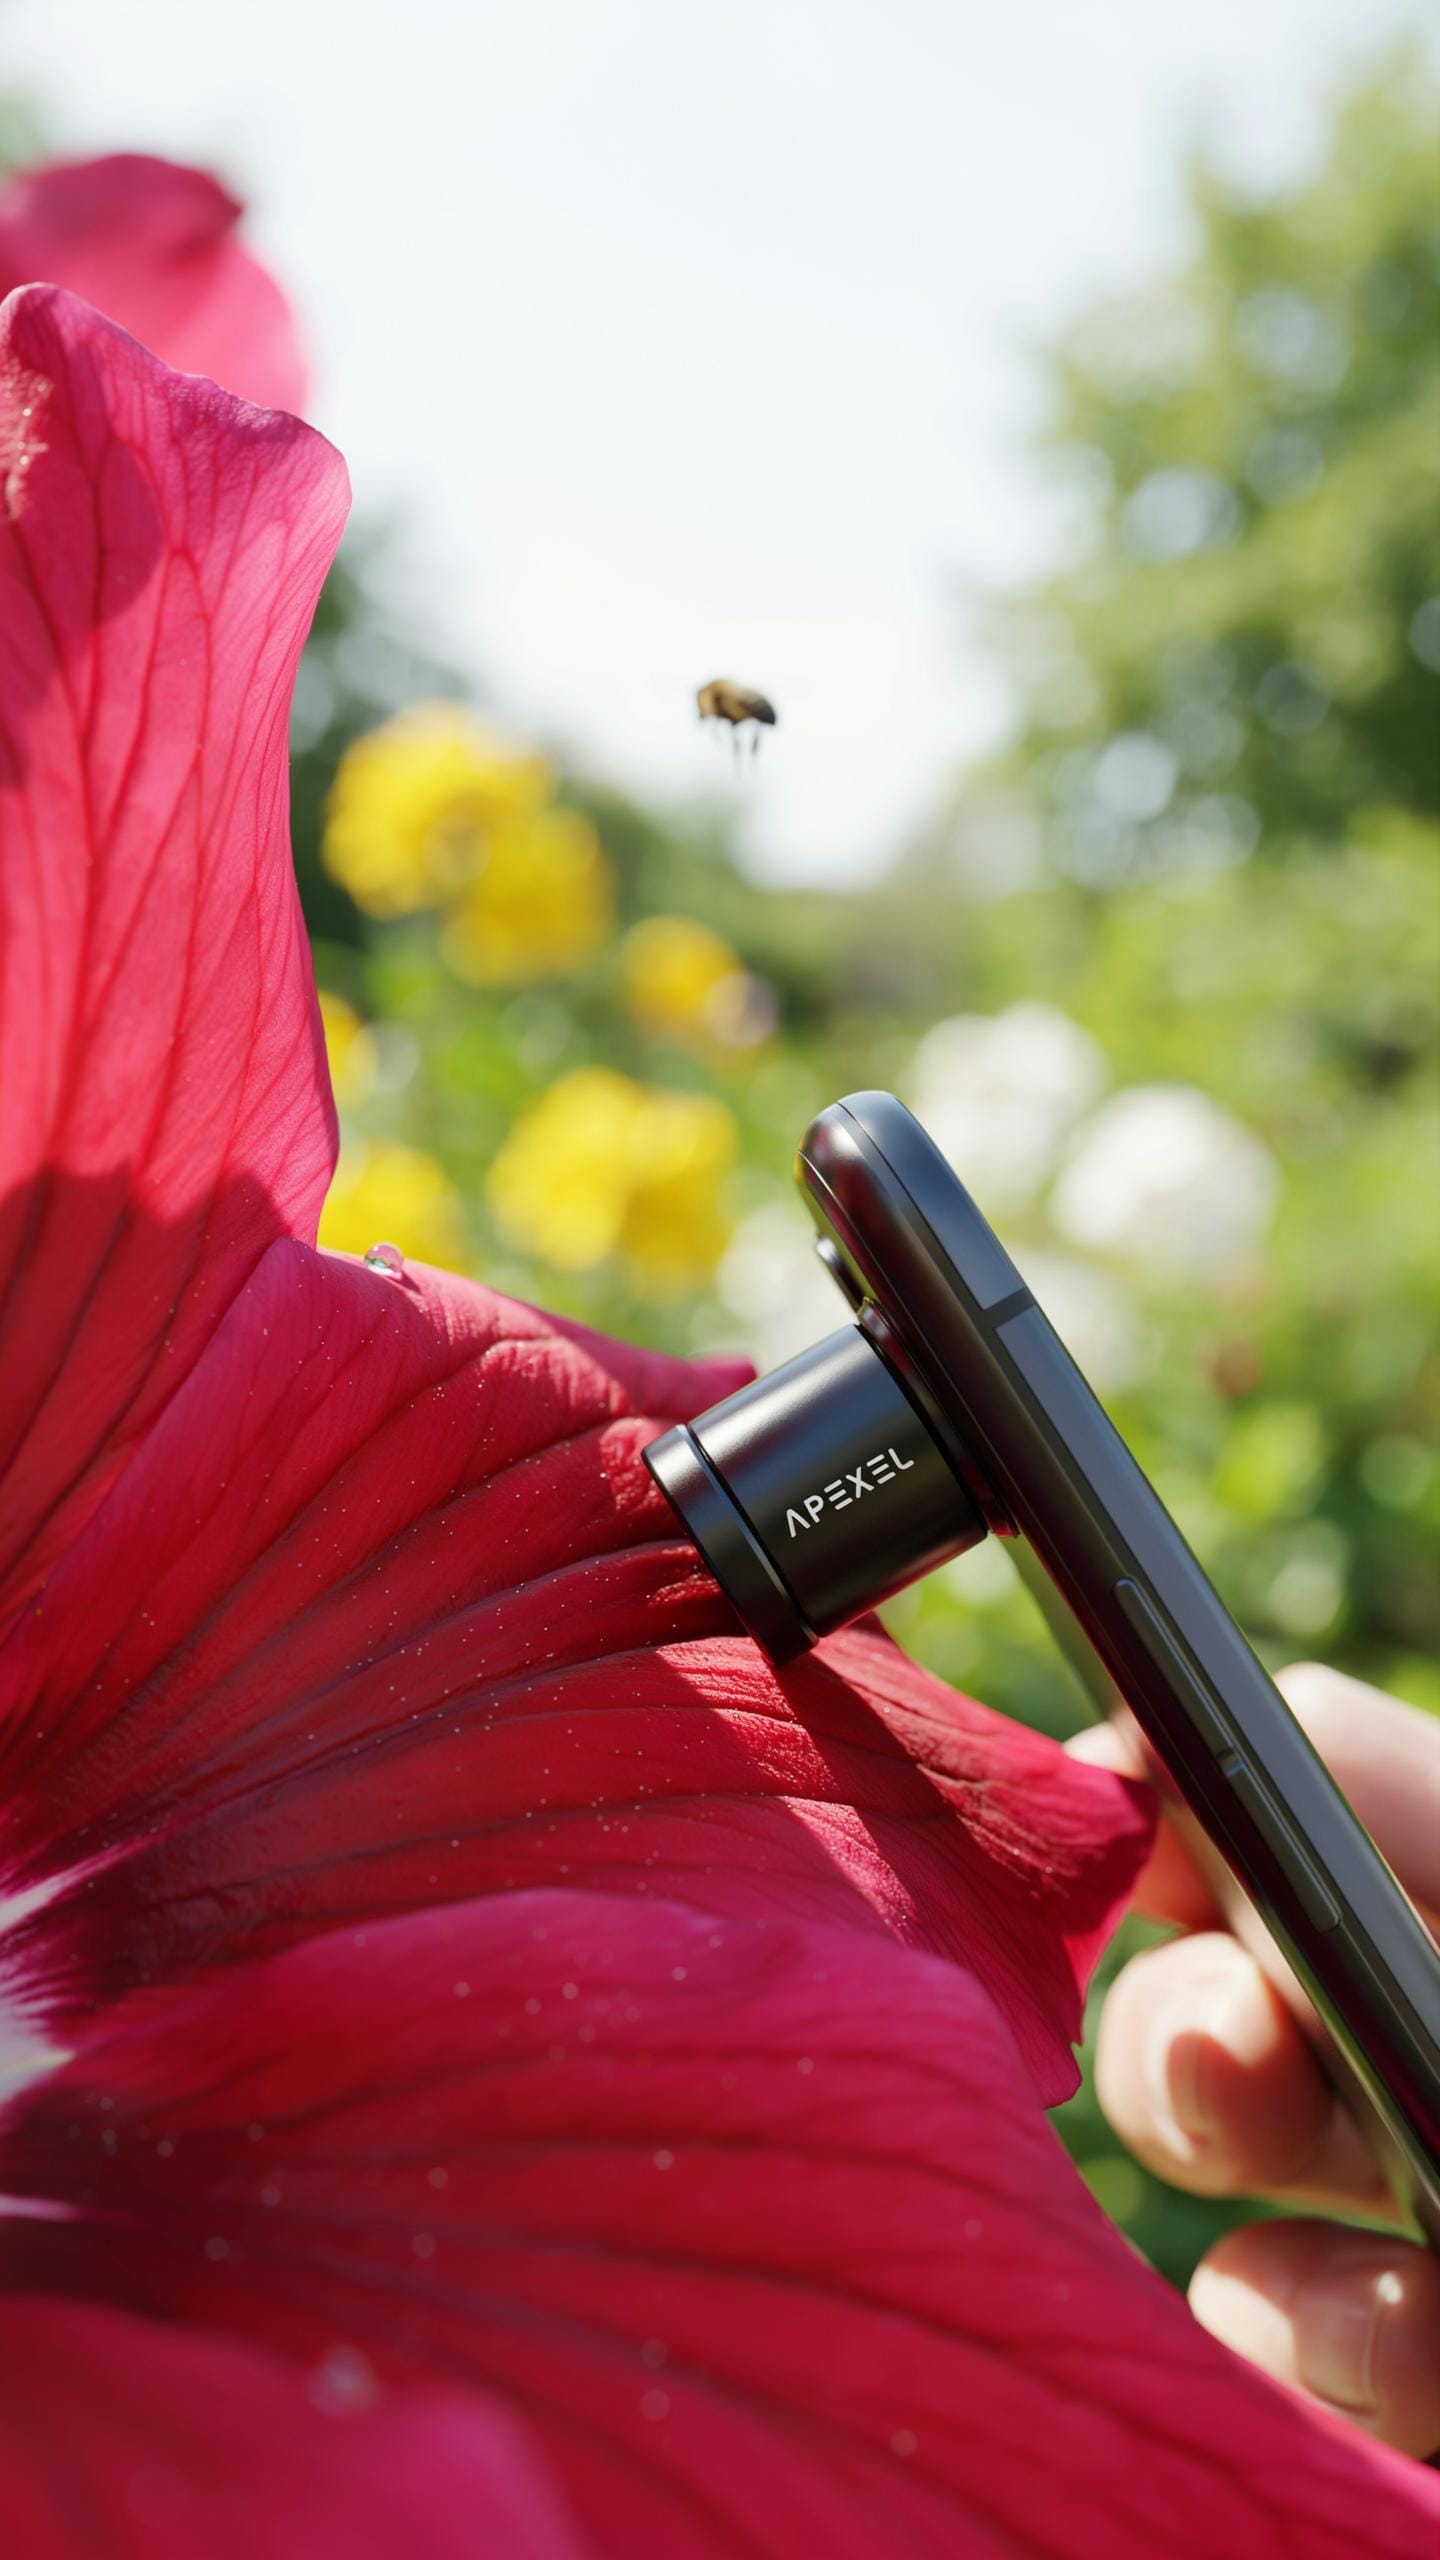
Features And Performance Of Apexel Macro Lenses
Apexel macro lenses attach via clip mechanism to iPhone camera systems. The brand offers magnification ranges typically between 60x and 100x, depending on the specific model. Optical glass elements provide the magnification, with coated surfaces reducing glare and improving contrast. Build quality relies on aluminum alloy construction for the clip housing, minimizing weight while maintaining durability. The lens barrel extends slightly from the phone body, requiring careful positioning to avoid obstruction during shooting.
Focusing with Apexel macros demands precision since depth of field shrinks dramatically at high magnification. Manual focus adjustment happens through rotating the lens barrel or using your phone’s built in focus controls. Image stabilization from your iPhone helps but does not eliminate shake at extreme magnification levels. Color rendering tracks fairly close to baseline iPhone camera output, though some models show slight warm tints under certain lighting. Chromatic aberration appears at lens edges in high magnification shots, a common limitation across budget macro attachments.
With an iPhone macro lens, every tiny detail becomes a nostalgic glimpse into the hidden beauty all around us, revealing miniature worlds we once overlooked. It’s like peeking through a secret keyhole into nature’s most delicate masterpieces.
User Reviews And Real World Applications
Users consistently report success photographing insects, plant details, and small manufactured objects. The clip mechanism grips various iPhone models securely without requiring permanent installation. Water droplets, fabric weaves, and circuit board components become clearly visible at full magnification, expanding creative options for hobbyists and professionals. Real world feedback indicates the lens performs best in natural outdoor lighting where shadows remain minimal. Low light environments create significant challenges, with images becoming grainy and focus becoming difficult to lock.

Practical applications span macro photography for documentation, social media content creation, and educational use. Repair technicians use Apexel lenses for inspecting small component damage before disassembly work. Jewelry and antique dealers photograph details for inventory and authentication records. Users note that vibration transmission from your hands increases substantially compared to single point of contact during normal phone use. Tripod mounting becomes essential for any shots requiring consistency or professional output quality.
Beyond The Lens Accessories For Enhanced Macro Photography
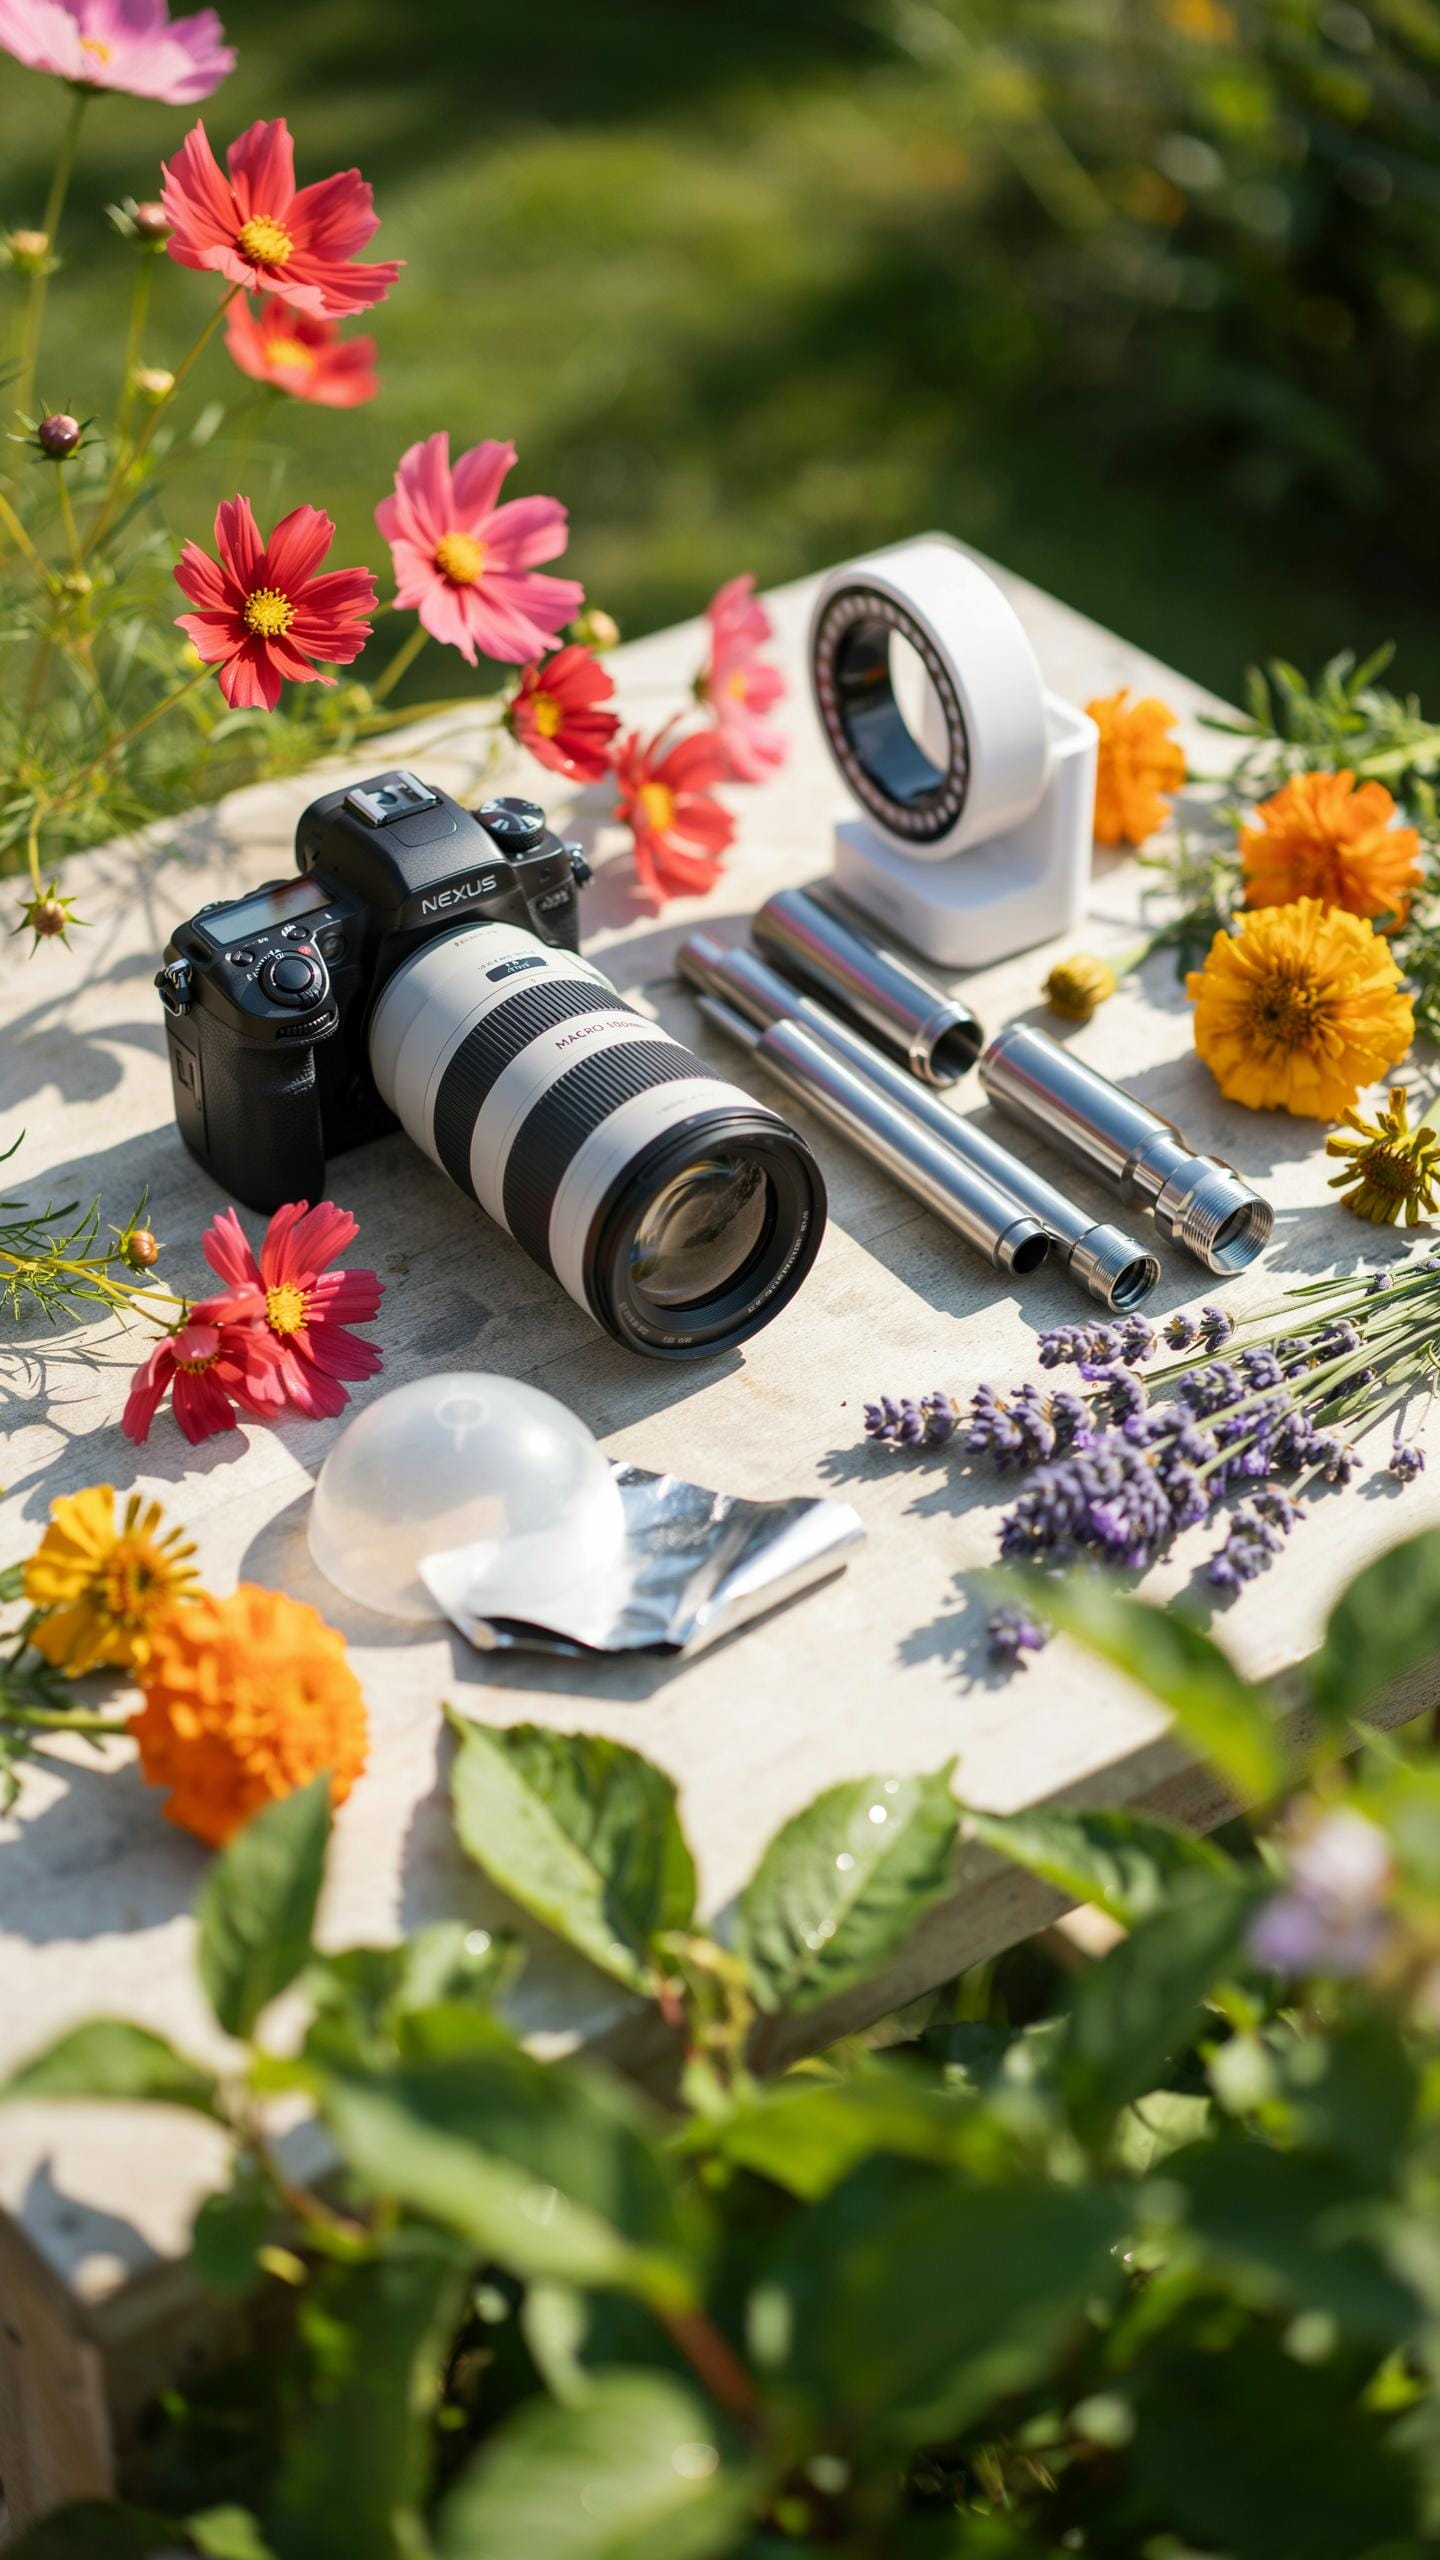
Lighting Solutions For Macro Shots
Macro photography demands precise illumination. Your iPhone’s built-in flash creates harsh shadows and washes out detail. External lighting fixes this problem by placing light exactly where you need it. Ring lights and LED panels mount near or around your macro lens attachment. They eliminate shadows, reveal texture, and provide consistent color temperature across your subject.
Portable LED solutions come in clip-on and ring configurations. Clip-on lights attach directly to your iPhone or tripod arm. Ring lights circle your lens, casting even light without shadows. Both types run on rechargeable batteries for extended shooting sessions. Choose based on your shooting environment and the types of subjects you photograph most often.
Stabilization Tools For Crisp Images
Camera shake ruins macro shots instantly. At high magnification, even tiny movements blur your image beyond recovery. Tripods hold your iPhone steady while you position your macro lens attachment precisely. Tabletop tripods work well for shooting small objects on desks or floors. Full-size tripods give you flexibility for shooting at various angles and heights.

Smartphone holders on tripods keep your iPhone secure and aligned with your macro lens. Ball heads allow fine adjustments without repositioning the entire rig. Some photographers use adjustable arms that clamp to tables or shelves. Stabilization takes time to set up properly, but the sharp results justify the effort every time.
IPhone With Macro Lens Attachment Editing And Sharing
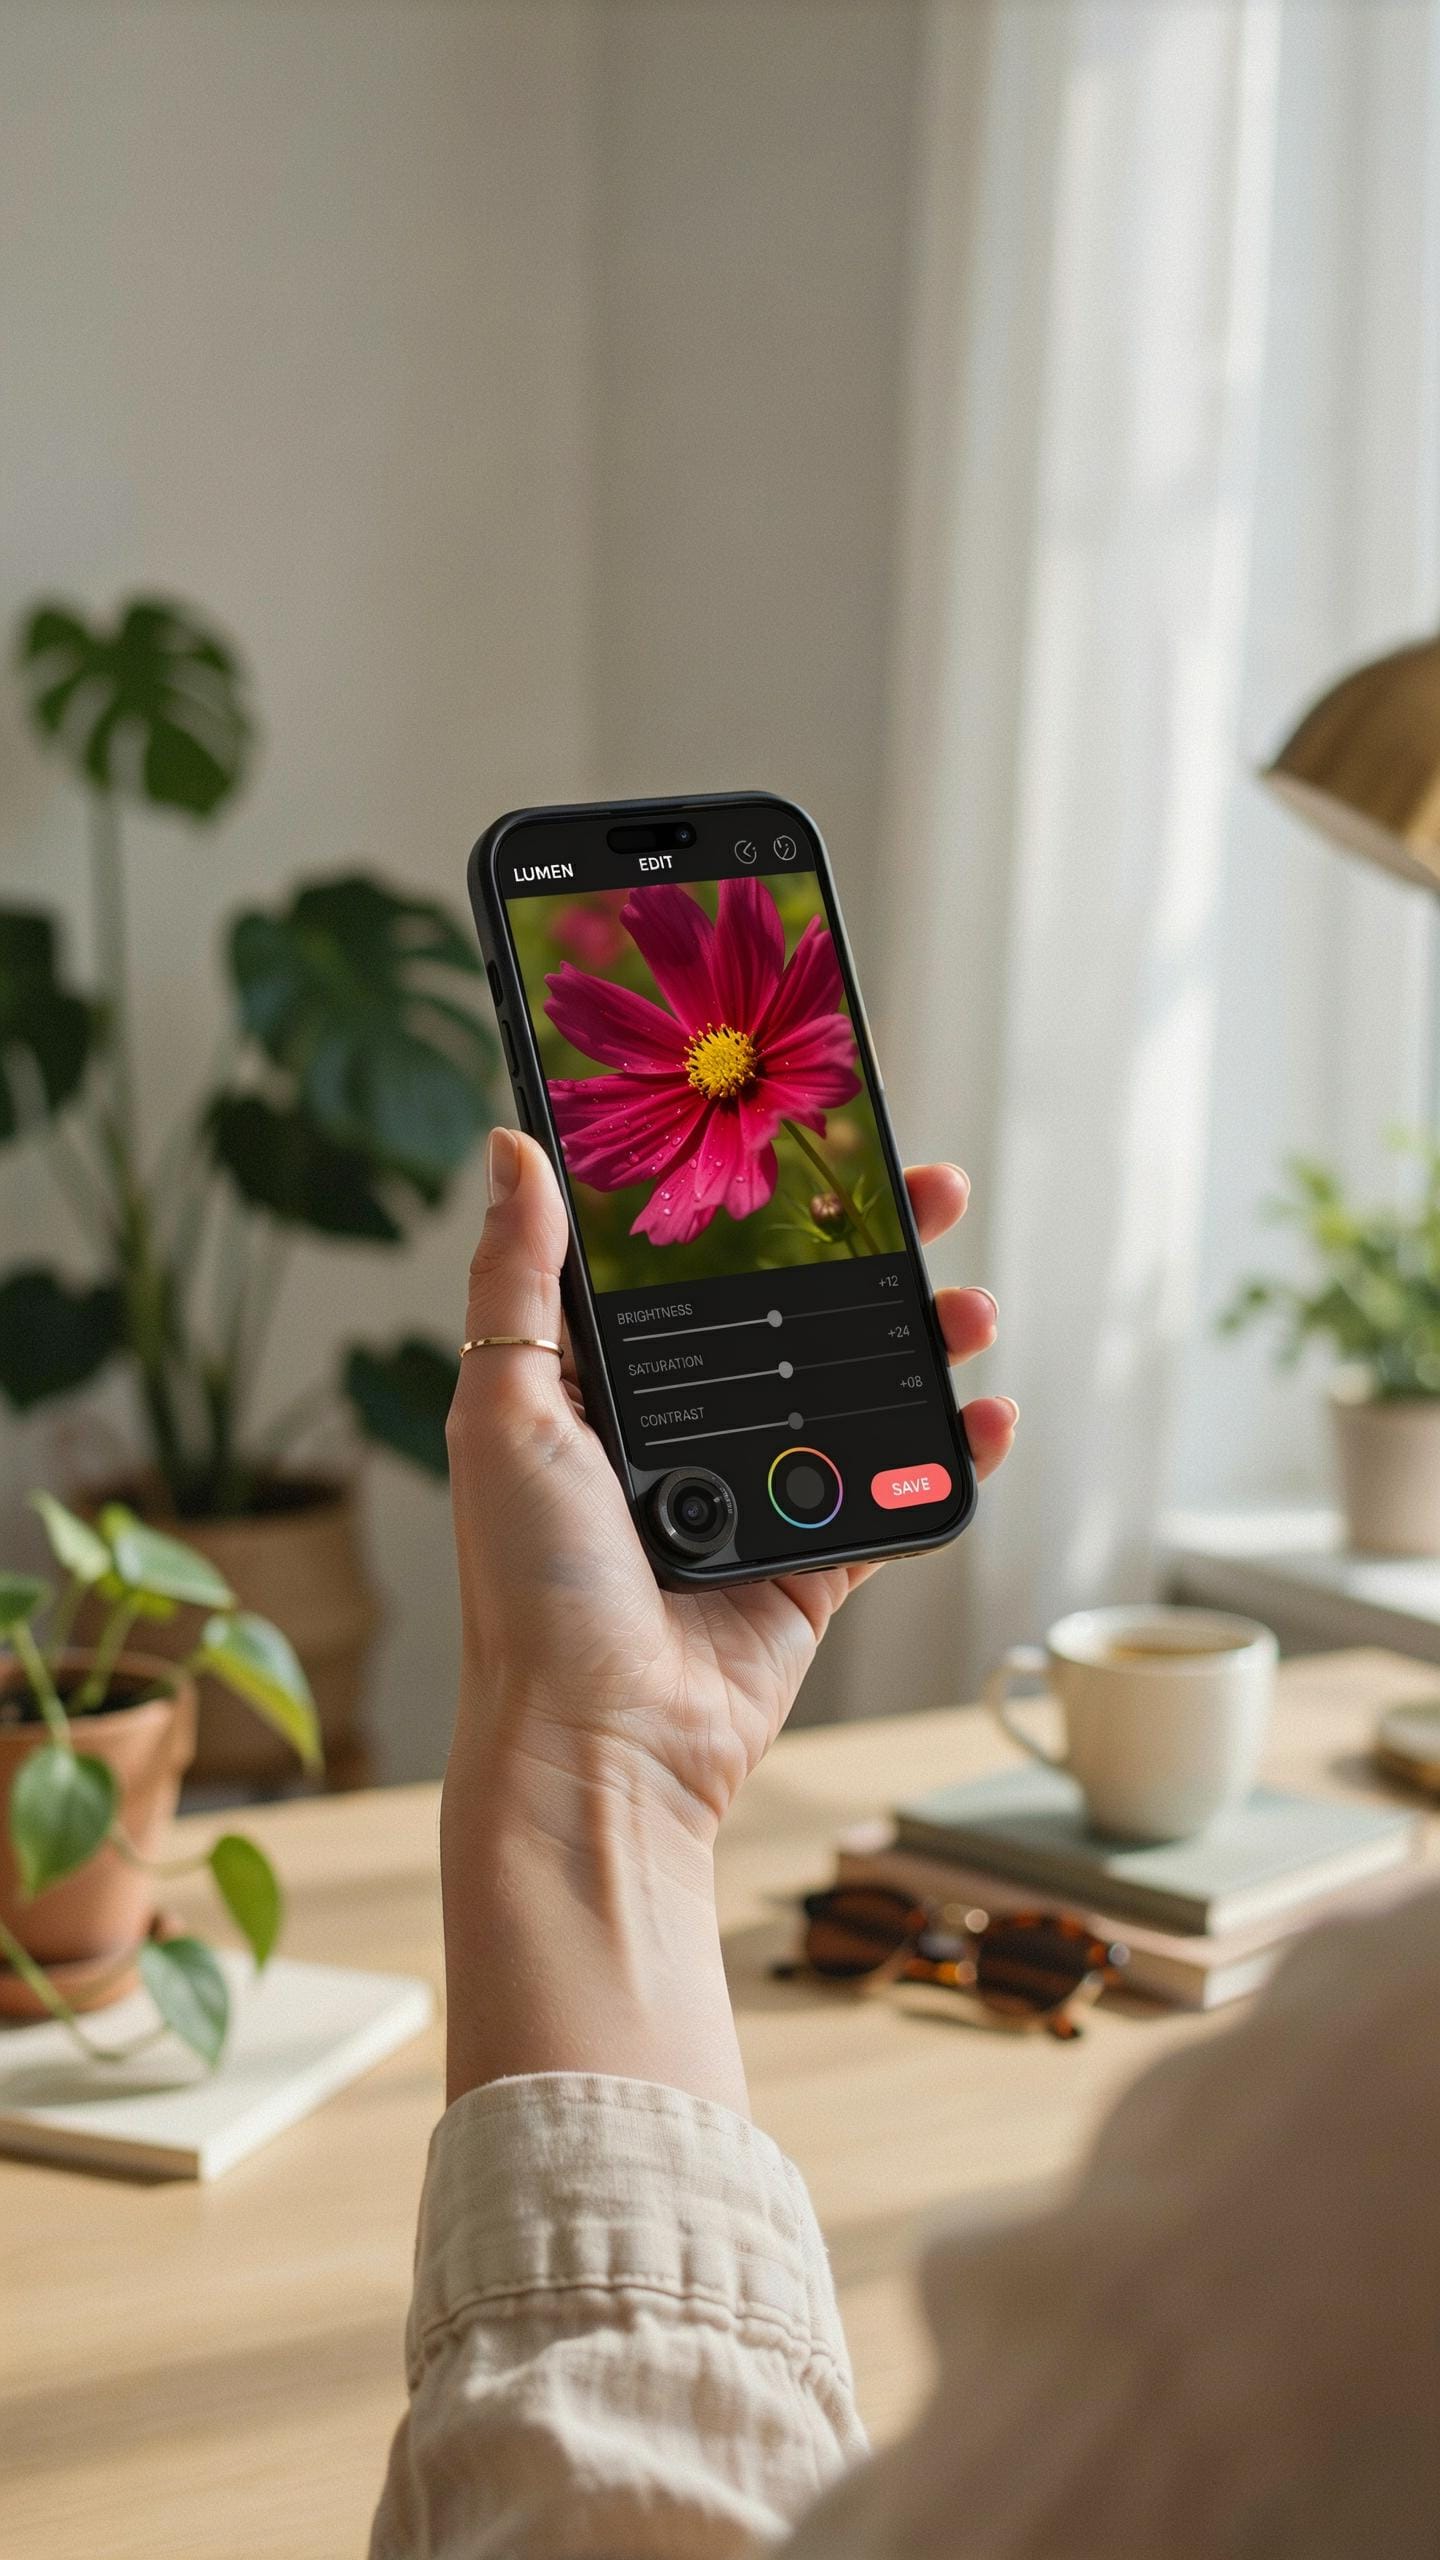
Post Processing Techniques For Macro Photos
Mobile editing apps handle the core adjustments your macro shots need. Lightroom Mobile and Snapseed deliver precise control over sharpness, contrast, and color temperature without destroying image quality. Macro photos often suffer from slight focus inconsistencies or uneven lighting. These tools let you selectively enhance the sharp areas while softening backgrounds. Start with clarity and texture sliders to reveal fine details that the macro lens captured. Avoid over-processing. Your goal is enhancement, not transformation.
Noise reduction matters in macro photography because lighting is typically limited. When you increase ISO to compensate for dim conditions, grain becomes visible. Denoise apps like Topaz Denoise or built-in noise reduction in Lightroom remove grain while preserving detail. Color grading brings consistency across your macro series. Establish a preset that matches your shooting conditions. Apply it to similar shots to create a cohesive visual style. This workflow speeds up editing when you have dozens of macro images.
Showcasing Your Miniature Masterpieces
Instagram and dedicated photography platforms like SmugMug work well for macro content. Instagram’s grid format shows repetitive macro themes effectively. Use hashtags like macro photography and iPhone photography to reach audiences searching for this content. The platform prioritizes engagement, so consistent posting builds visibility. SmugMug offers higher resolution display and professional portfolio options if you want to sell prints or licensing rights. Choose based on your goal: building audience or generating revenue.
Flickr remains viable for archiving macro work with community feedback. Reddit communities like r/MacroPhotography connect you with serious practitioners who value technical execution. Consider YouTube for macro timelapse or technique tutorials if video appeals to you. Pinterest drives significant traffic to macro photography because users actively search for nature and detail imagery. Each platform serves different purposes. Match your content strategy to where your target audience spends time.
Future Of IPhone Macro Photography
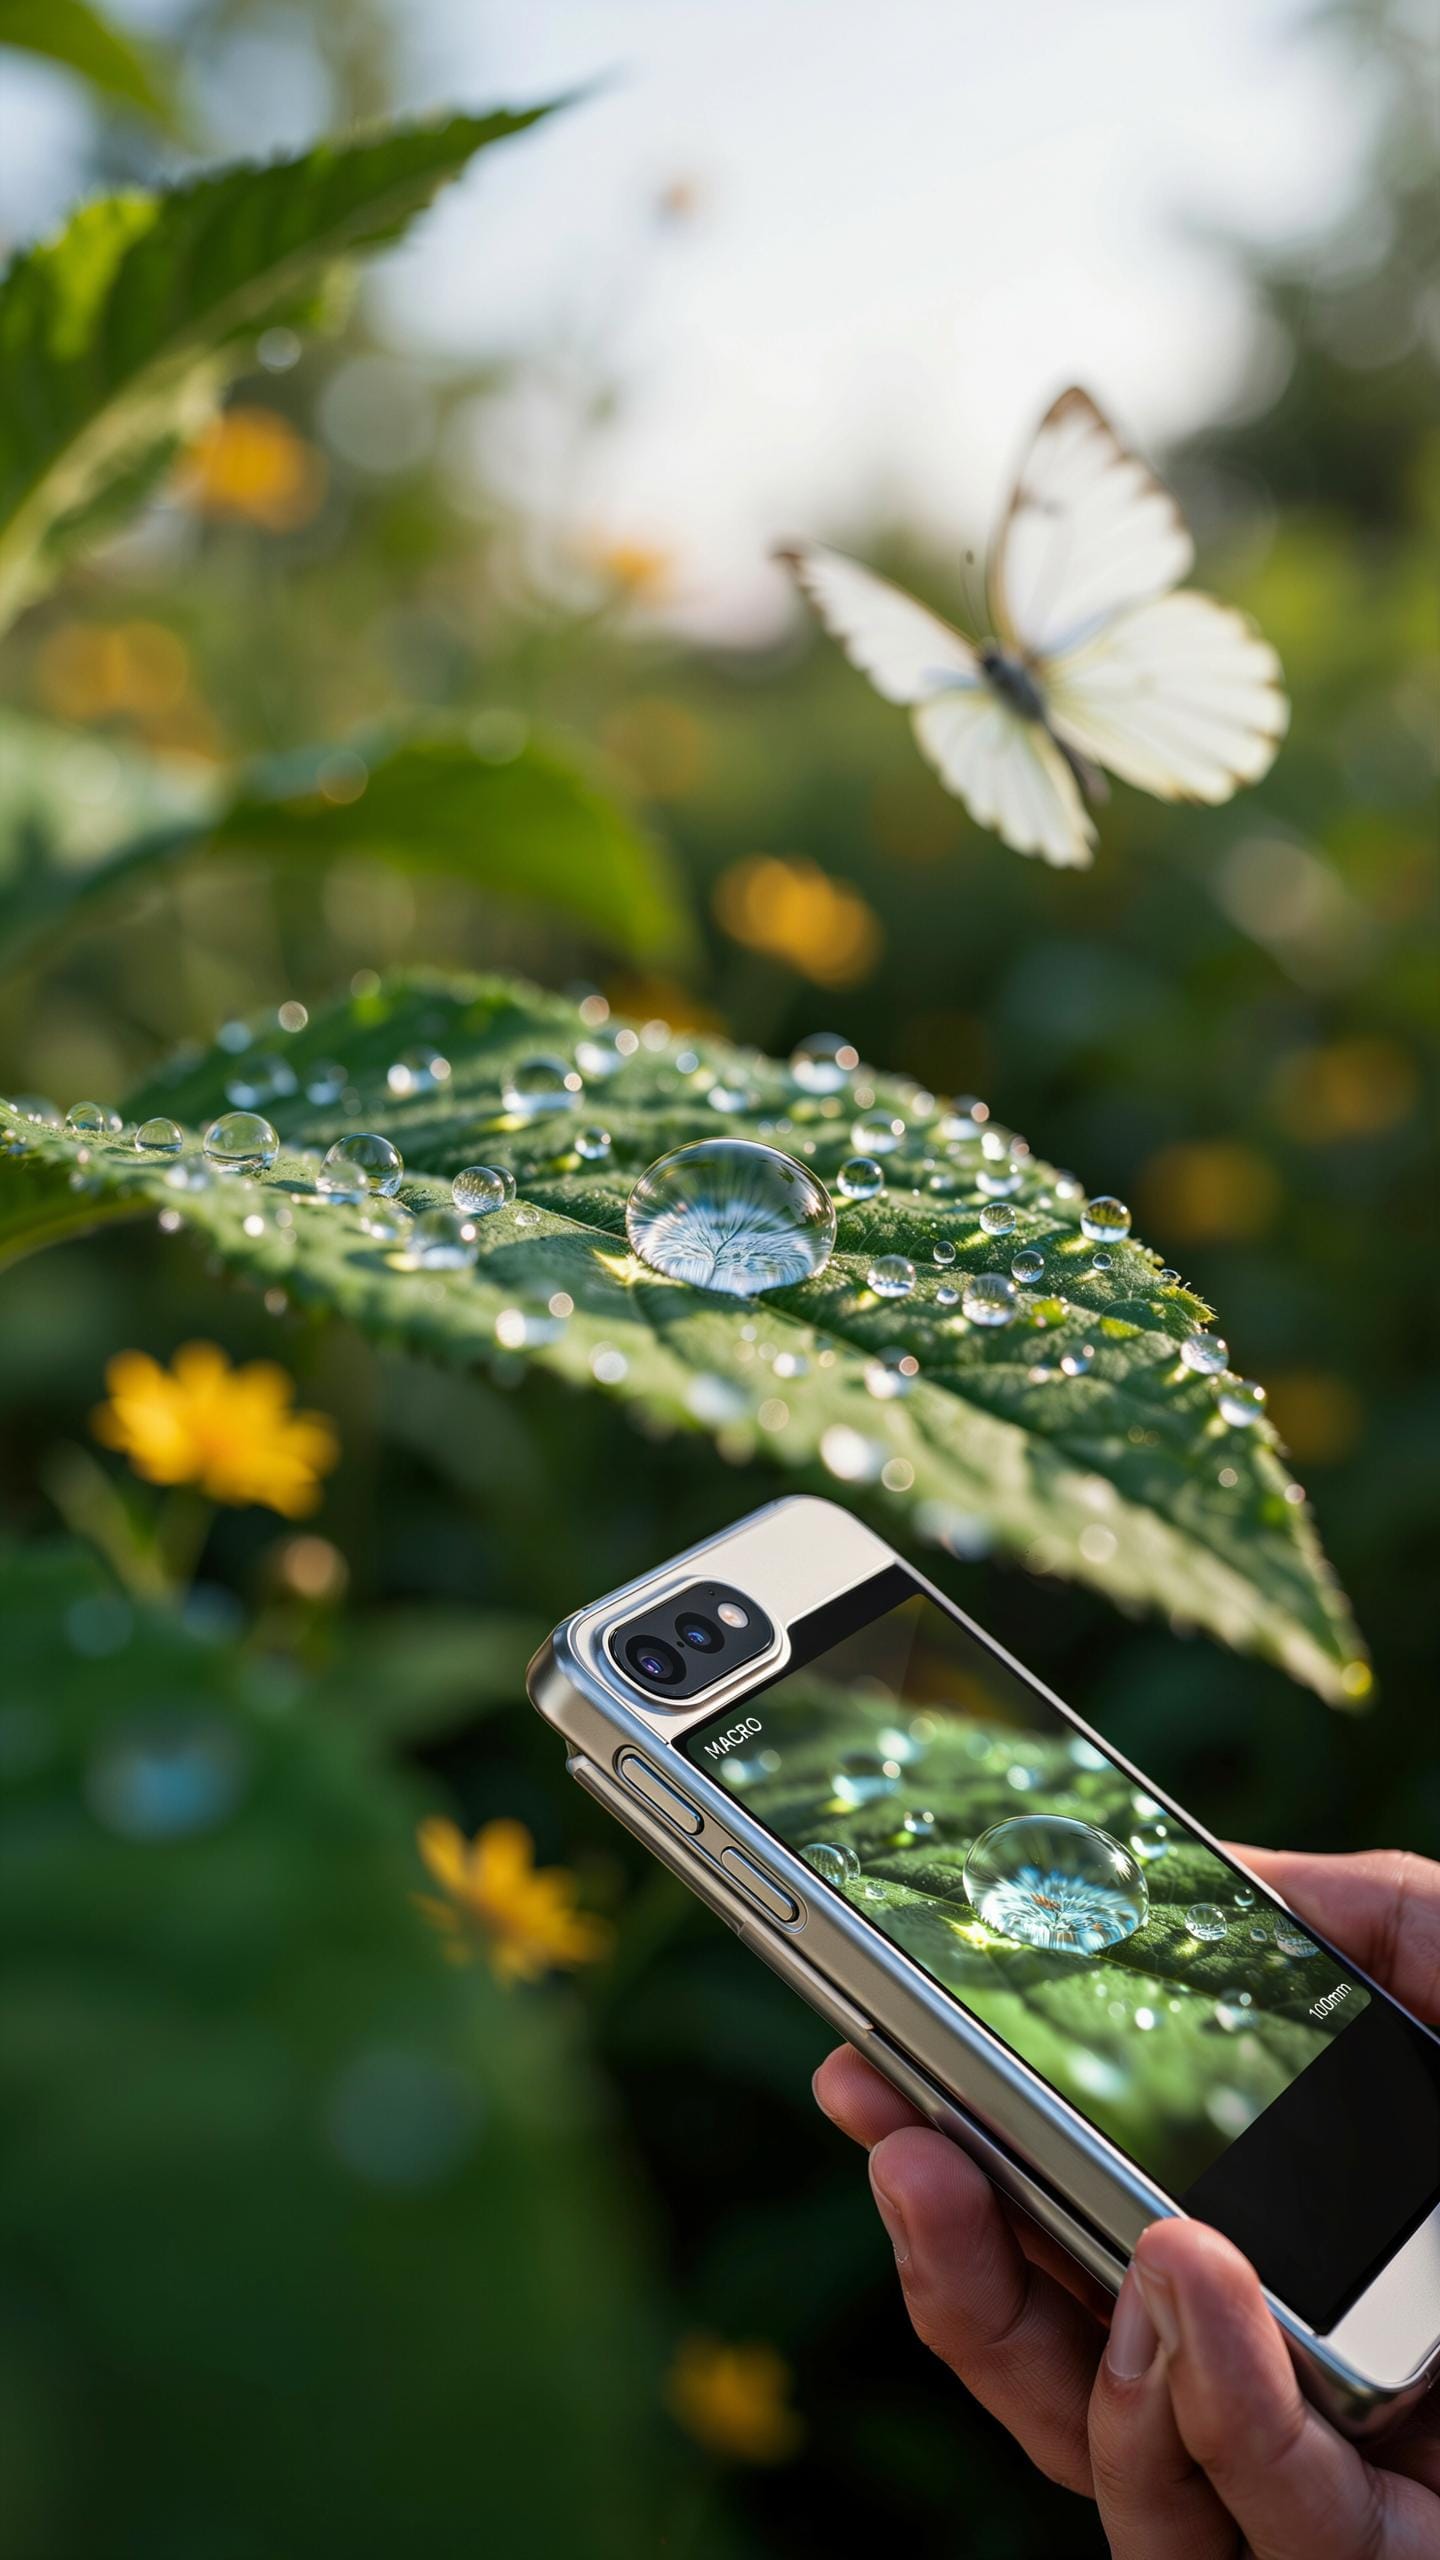
Innovations In Mobile Macro Lens Technology
Manufacturers are pushing optical performance by integrating multi-element lens designs into compact attachments. Current models use aspherical elements to reduce aberrations and improve edge sharpness. Computational photography integration allows phones to combine multiple exposures for enhanced detail and dynamic range in macro shots. Glass quality and coatings continue to improve, reducing flare and increasing light transmission through the optical chain.
Future developments will likely focus on autofocus mechanisms tailored specifically for macro distances. Telephoto sensors on newer iPhone models enable cropped macro shots with less distortion than wide-angle alternatives. Enhanced stabilization systems address the magnification of hand tremor at high magnifications. Integration with AI processing will enable real-time focus stacking and depth mapping within native camera apps.
The Growing Community Of IPhone Macro Photographers
Online platforms like Instagram, Reddit, and dedicated photography forums host thousands of users sharing macro work captured with iPhone attachments. Communities on subreddits such as r/macro and r/iPhonePhotography provide peer feedback and technical troubleshooting. These spaces facilitate knowledge exchange about attachment compatibility, lighting techniques, and post-processing workflows specific to mobile macro work.
Manufacturers and third-party developers actively engage with these communities to gather feedback for product iteration. Educational content creators produce tutorials targeting macro attachment users, covering topics like depth of field management and backlighting strategies. Collaborative challenges and monthly themes encourage experimentation and skill development among participants. Resource sharing remains the primary value driver keeping these communities active and functional.
Frequently Asked Questions

What exactly is a macro lens attachment for iPhone, and how does it work?
A macro lens attachment for iPhone is a small, specialized lens that clips onto your phone’s existing camera. It magnifies tiny details that are invisible to the naked eye, allowing you to capture intricate textures and patterns in stunning close-up. It transforms your iPhone into a powerful tool for exploring the miniature world around you.
How do I get the best focus and sharpest images when using a macro lens attachment for iPhone?
To achieve optimal focus with your macro lens attachment for iPhone, ensure good lighting – natural light is often best. Get very close to your subject, then gently move your phone slightly back and forth until the image appears sharp. You can also tap on the screen to manually set the focus point before taking the shot.
Are there affordable macro lens attachment options for iPhones, or are they generally expensive?
Absolutely! You’ll find a wide range of affordable macro lens attachment options for iPhones, with many starting under $20-$30. While professional-grade kits exist, many budget-friendly choices offer excellent performance for beginners and casual users looking to explore macro photography without a significant investment.



