
Why A USB Microphone Is Essential For Your Streaming Setup
The Impact Of Audio Quality On Viewer Engagement
Poor audio drives viewers away faster than poor video. Viewers tolerate grainy video but abandon streams with muffled, distorted, or inconsistent sound. Your microphone directly controls whether audiences stay or leave. Audio quality determines if people hear your message clearly or struggle through background noise and inconsistency. Streamers who invest in decent microphones see higher viewer retention and chat engagement.
Professional streamers know that audio quality impacts monetization and growth. Platforms prioritize streams with clean audio in recommendations. Sponsors avoid channels with subpar sound. Viewers are more likely to follow, subscribe, and donate when they hear you clearly. A USB microphone solves this problem without requiring expensive audio interfaces or cables. It connects directly to your computer and works immediately.
Benefits Of USB Microphones For Beginners
USB microphones eliminate setup complexity. You plug them in, select them as your input device, and start streaming. No audio interface, no XLR cables, no phantom power adjustments. Beginners skip the learning curve and focus on content instead of equipment troubleshooting. This simplicity means you launch faster and iterate quicker on what matters.
USB microphones cost far less than traditional audio setups. You get studio-quality sound without spending hundreds on an interface and cables. Most budget USB microphones deliver clear, broadcast-ready audio for streaming. They mount easily on stands and position correctly for consistent recording. For streamers starting out, a USB microphone removes financial and technical barriers to entry.
Key Features To Look For In A Budget Usb Microphone
Polar Patterns And Their Importance For Streaming
Polar patterns determine how a microphone captures sound from different directions. Cardioid patterns pick up sound primarily from the front while rejecting noise from the rear and sides. For streaming, cardioid is the standard choice because it isolates your voice and minimizes background noise from your room, fans, or keyboard clicks behind you.
Omnidirectional patterns capture sound equally from all directions, making them poor for streaming in untreated spaces. Figure-eight patterns pick up front and rear while rejecting sides, useful for two-person podcasts but impractical for solo streamers. Budget USB microphones almost always feature cardioid patterns because this design directly serves the streaming use case.
Frequency Response And Sample Rates Explained
Frequency response measures which sound frequencies a microphone captures, typically shown as a range like 20Hz to 20kHz. For streaming, you need 50Hz to 16kHz minimum to cover human speech clearly. Budget microphones often have narrower ranges than premium models, but adequate response for voice streaming costs far less than chasing studio-grade specs you won’t use.
Sample rate determines how many times per second the microphone records audio, measured in kilohertz. USB microphones operate at 48kHz or 96kHz, with 48kHz being the streaming standard used by Twitch, YouTube, and Discord. Higher sample rates don’t improve stream quality because streaming platforms downsample to 48kHz anyway, so budget models at 48kHz deliver identical results to expensive alternatives.
Top Affordable USB Microphone Options For Streaming Setup
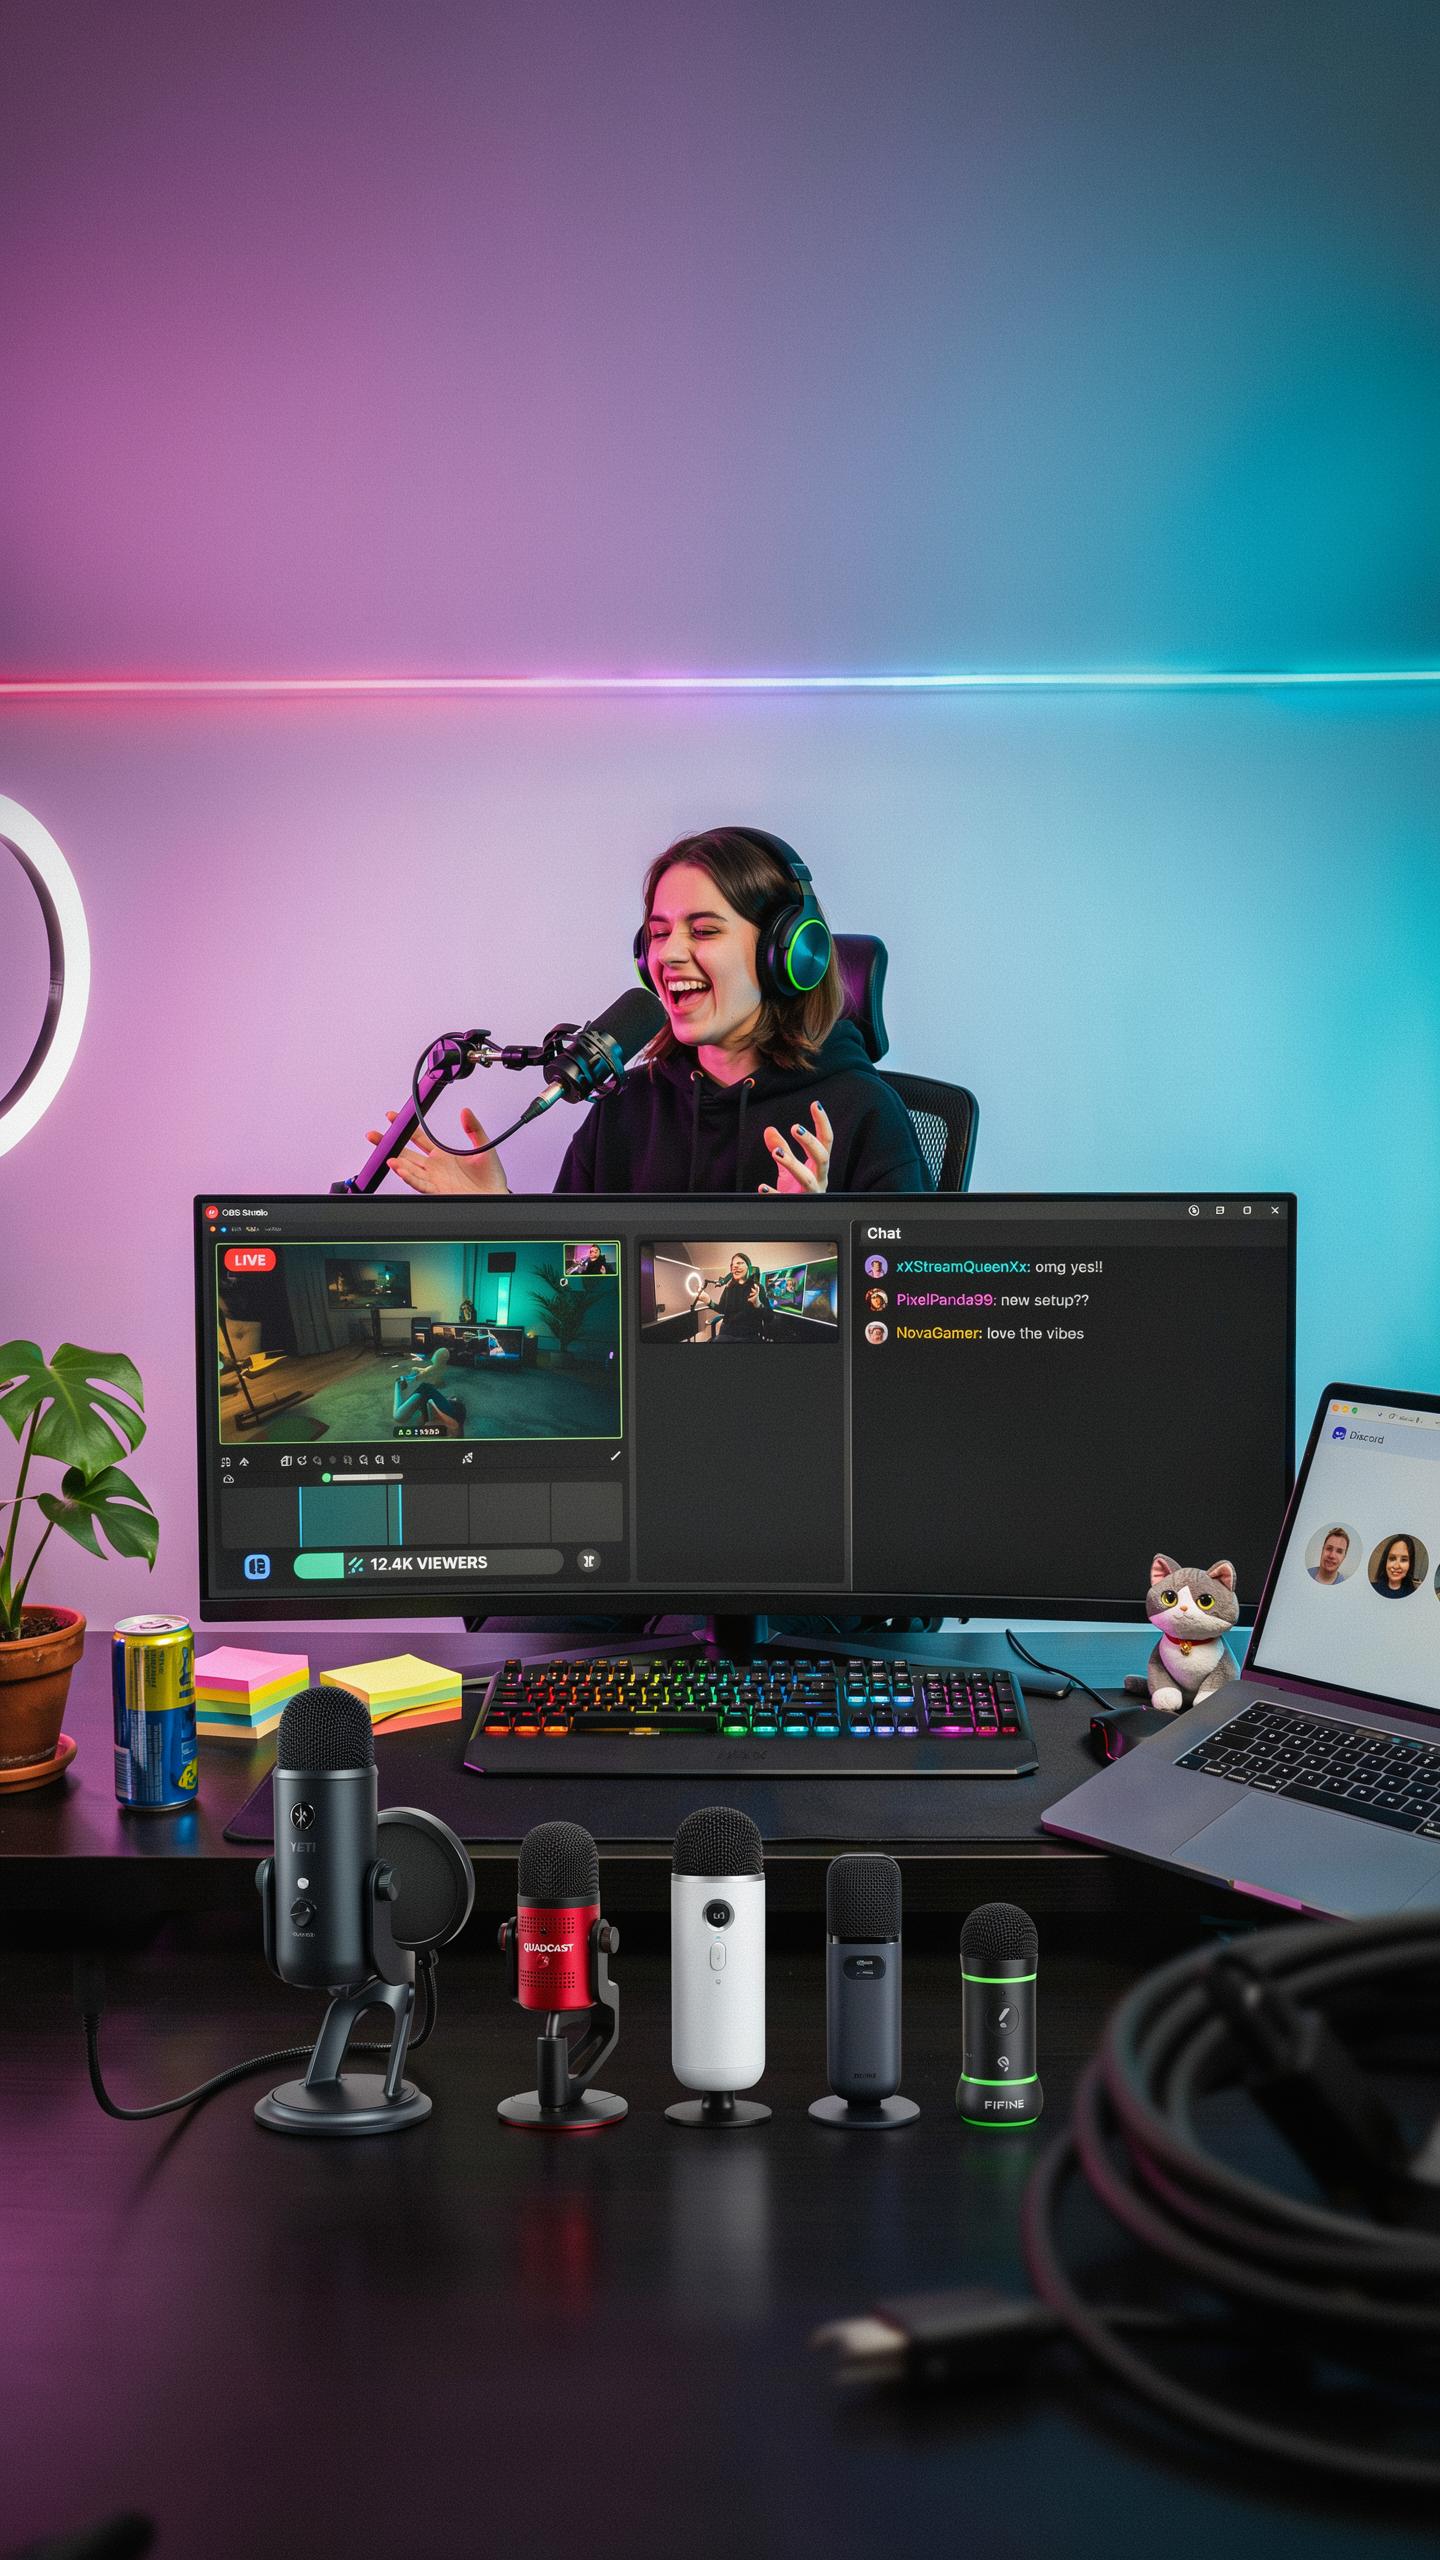
Comparing Popular Budget Friendly Models For A Gaming Microphone Aesthetic
The budget USB microphone market separates into two functional categories: condensers and dynamic models. Condensers capture more detail and ambient noise. Dynamics reject background sound effectively. Gaming streamers typically choose dynamics for cleaner audio in noisy environments. Budget models under $75 use plastic construction instead of metal. This reduces cost without compromising core microphone function. Condenser options dominate the sub-$75 market because they cost less to manufacture than dynamic alternatives.
Gaming microphone aesthetics evolved from studio equipment design into consumer-focused styling around 2015. RGB lighting became standard on gaming models as manufacturers differentiated budget products. Matte black finishes and angular designs replaced traditional cylindrical shapes. Most budget models now feature pop filters built into the housing. Desktop mounting arms come included on many options. These design choices serve function, not decoration, by improving positioning flexibility and reducing unwanted plosives during speech.
Reviews Of Microphones Under 75 Dollars
The Audio Technica AT2020USB Plus delivers cardioid condensing performance at approximately $99, placing it slightly above budget but worth noting for quality comparison. The Blue Microphones Yeti Nano operates at around $60 and offers multiple pickup patterns. The Razer Seiren Mini costs roughly $50 and targets streamers specifically. The HyperX SoloCast positions itself around $60 with dynamic capsule technology. Each model trades different specifications to hit price targets.

Performance under $75 requires accepting tradeoffs in frequency range, build durability, or software features. Most budget models lack onboard controls beyond mute buttons. Recording directly to USB eliminates need for external audio interfaces, simplifying setup. Microphones in this range produce acceptable output for streaming platforms that compress audio heavily anyway. Warranty periods typically run one to two years on budget options. Audio quality differences between models at this price point matter less than microphone placement and room treatment.
Setting Up Your USB Microphone For Optimal Performance
Connecting To Your PC Console For Game Streaming
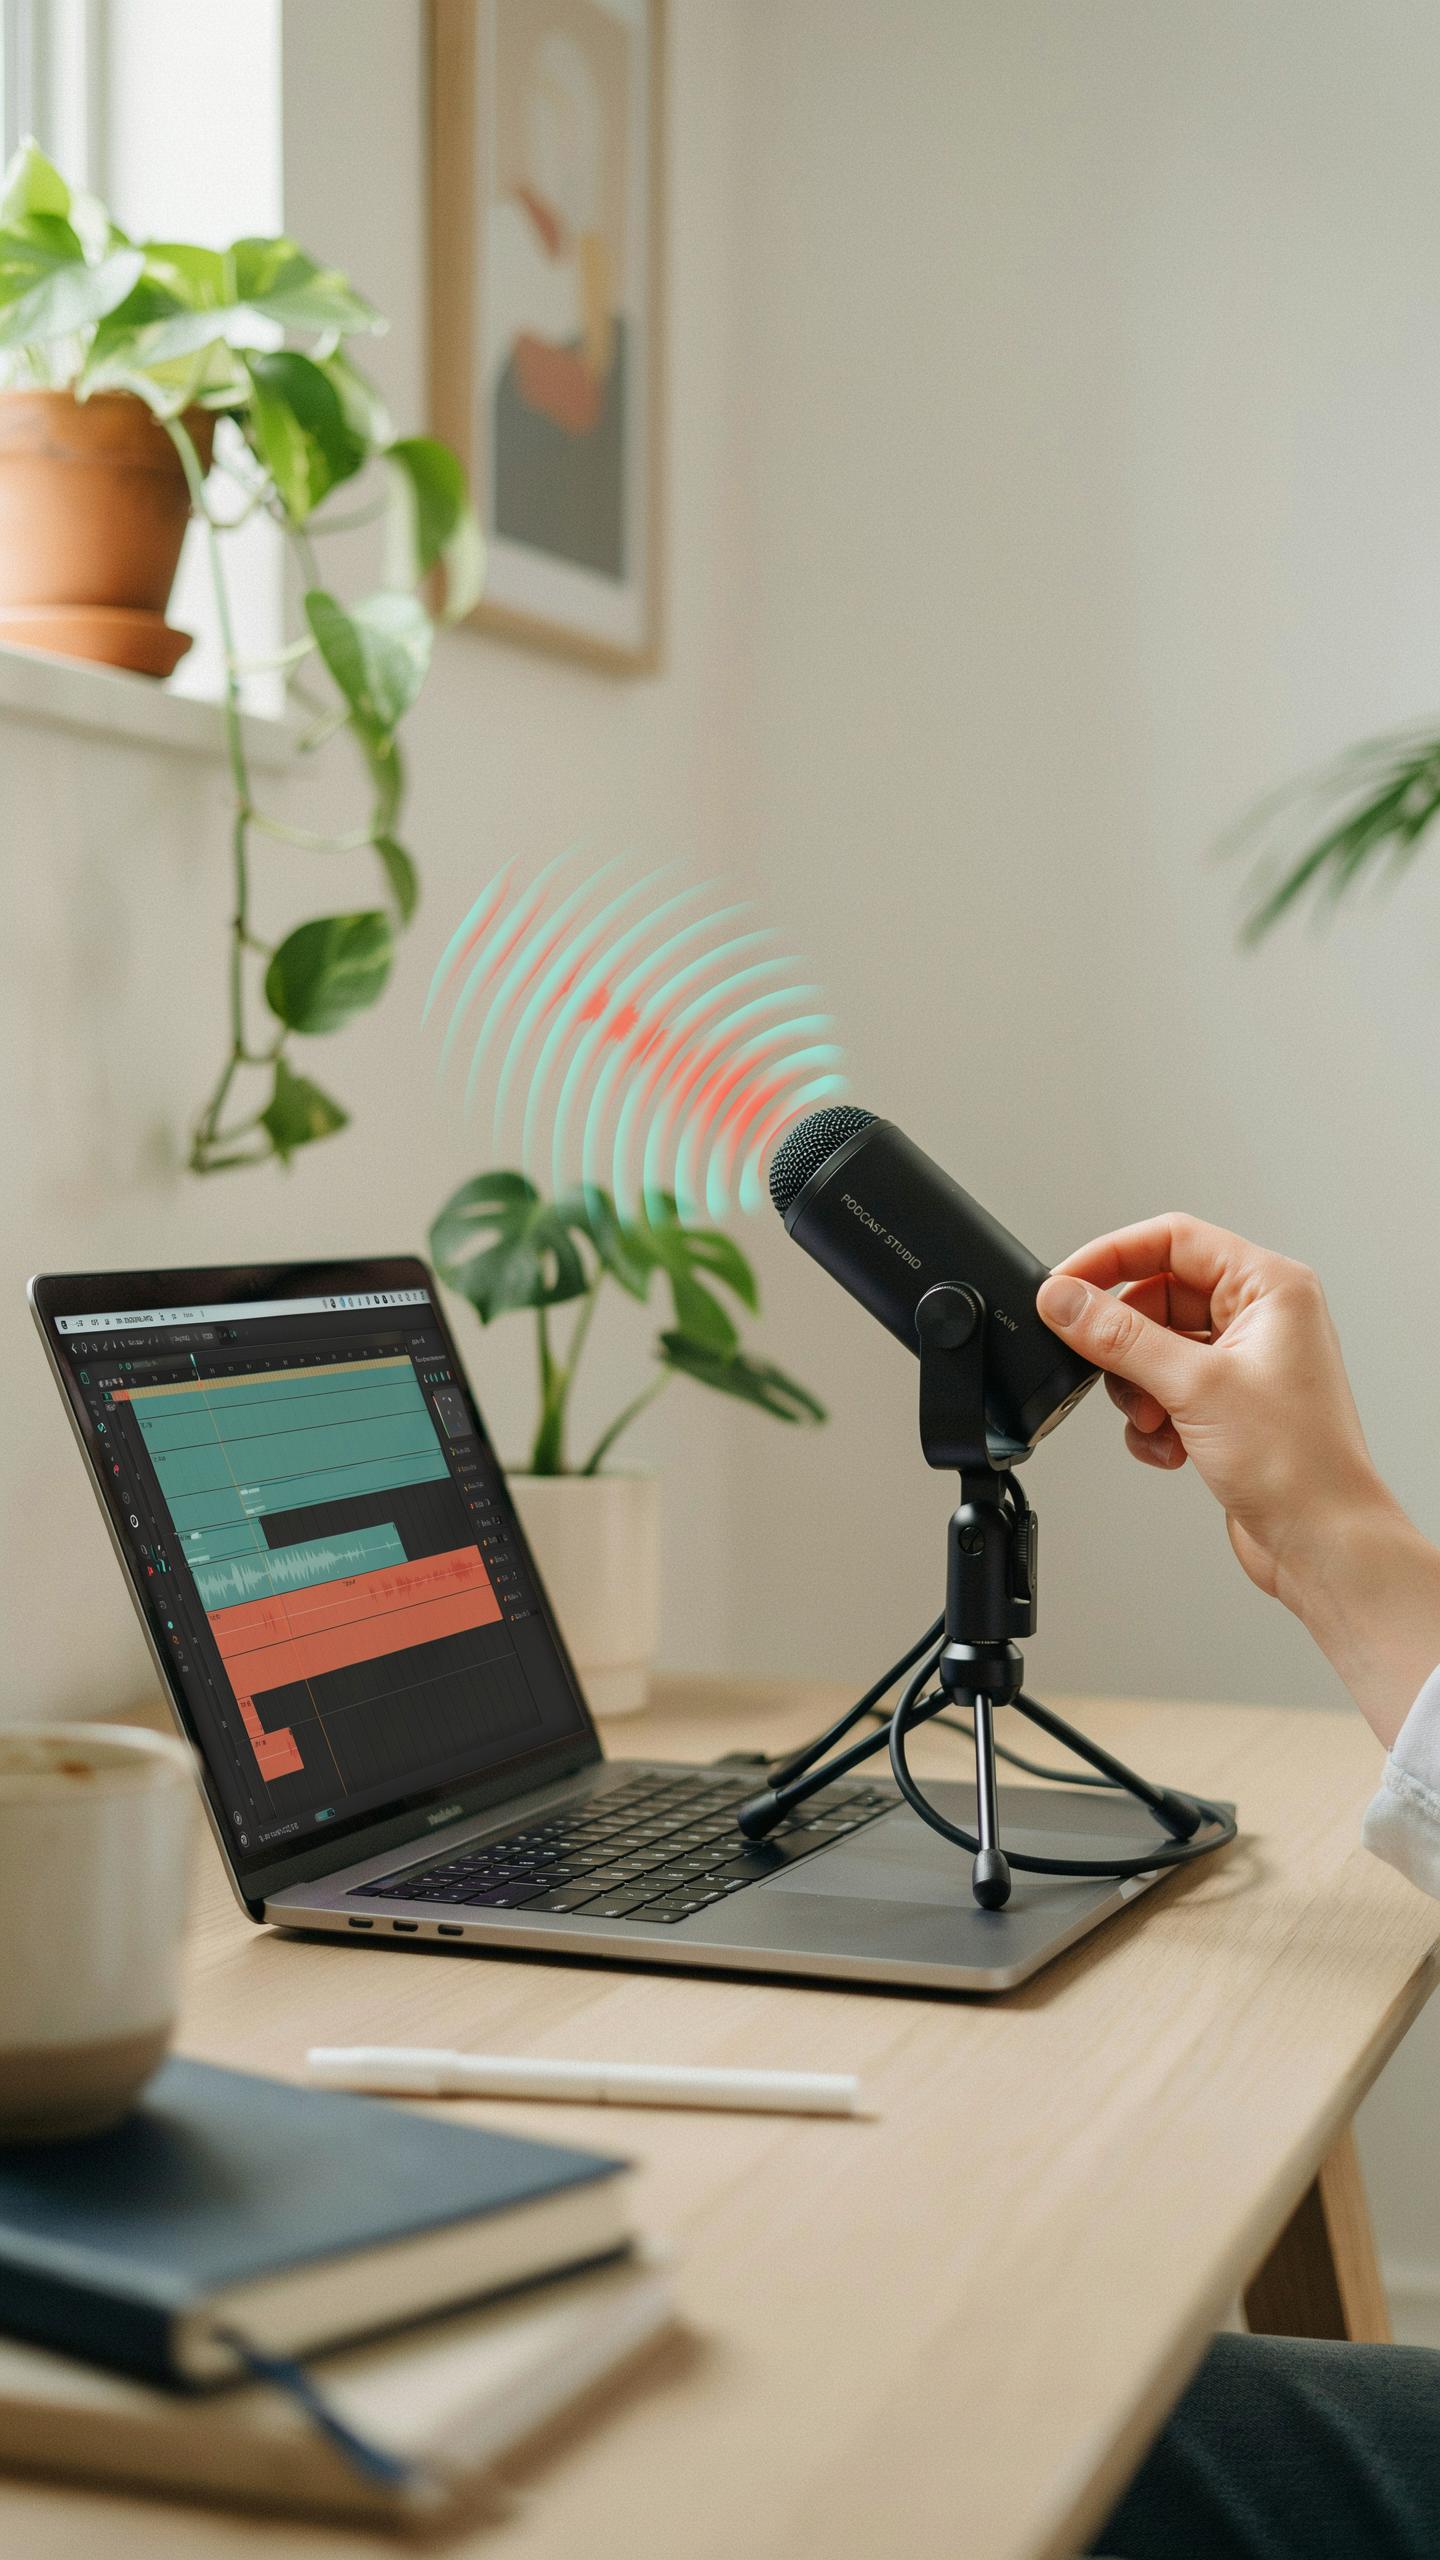
Connect your USB microphone directly to an available USB port on your PC or gaming console. Most USB microphones use USB Type-A connectors, though some newer models may use USB Type-C. Windows and macOS recognize USB audio devices automatically without requiring driver installation in most cases. Plug the microphone in, wait three to five seconds for system recognition, then verify detection in your audio settings.
After physical connection, open your streaming software and select the USB microphone as your input device. Navigate to audio settings within OBS, Streamlabs, or your platform of choice. Set the microphone input level to around 70 to 80 percent to prevent clipping while maintaining headroom. Test your audio by speaking at normal volume and monitoring the input meters to confirm signal detection before going live.
Basic Software Configuration For Clear Audio
Access your operating system audio settings and confirm the USB microphone appears as your default recording device. Right-click the speaker icon in your system tray on Windows or navigate to System Preferences on macOS. Adjust microphone input levels to avoid distortion. Set the volume slider between 50 and 75 percent initially, then fine-tune based on actual streaming performance.
Within your streaming software, apply a noise gate to filter out background hum or computer fan noise below your speaking threshold. Enable compression if available to even out volume spikes during gameplay or intense moments. Start with conservative settings: gate threshold around 35 decibels, compression ratio 4:1. Disable any automatic gain control that may cause audio pumping or sudden volume changes mid-stream.
Acoustic Treatment For A Clearer Streaming Setup Sound
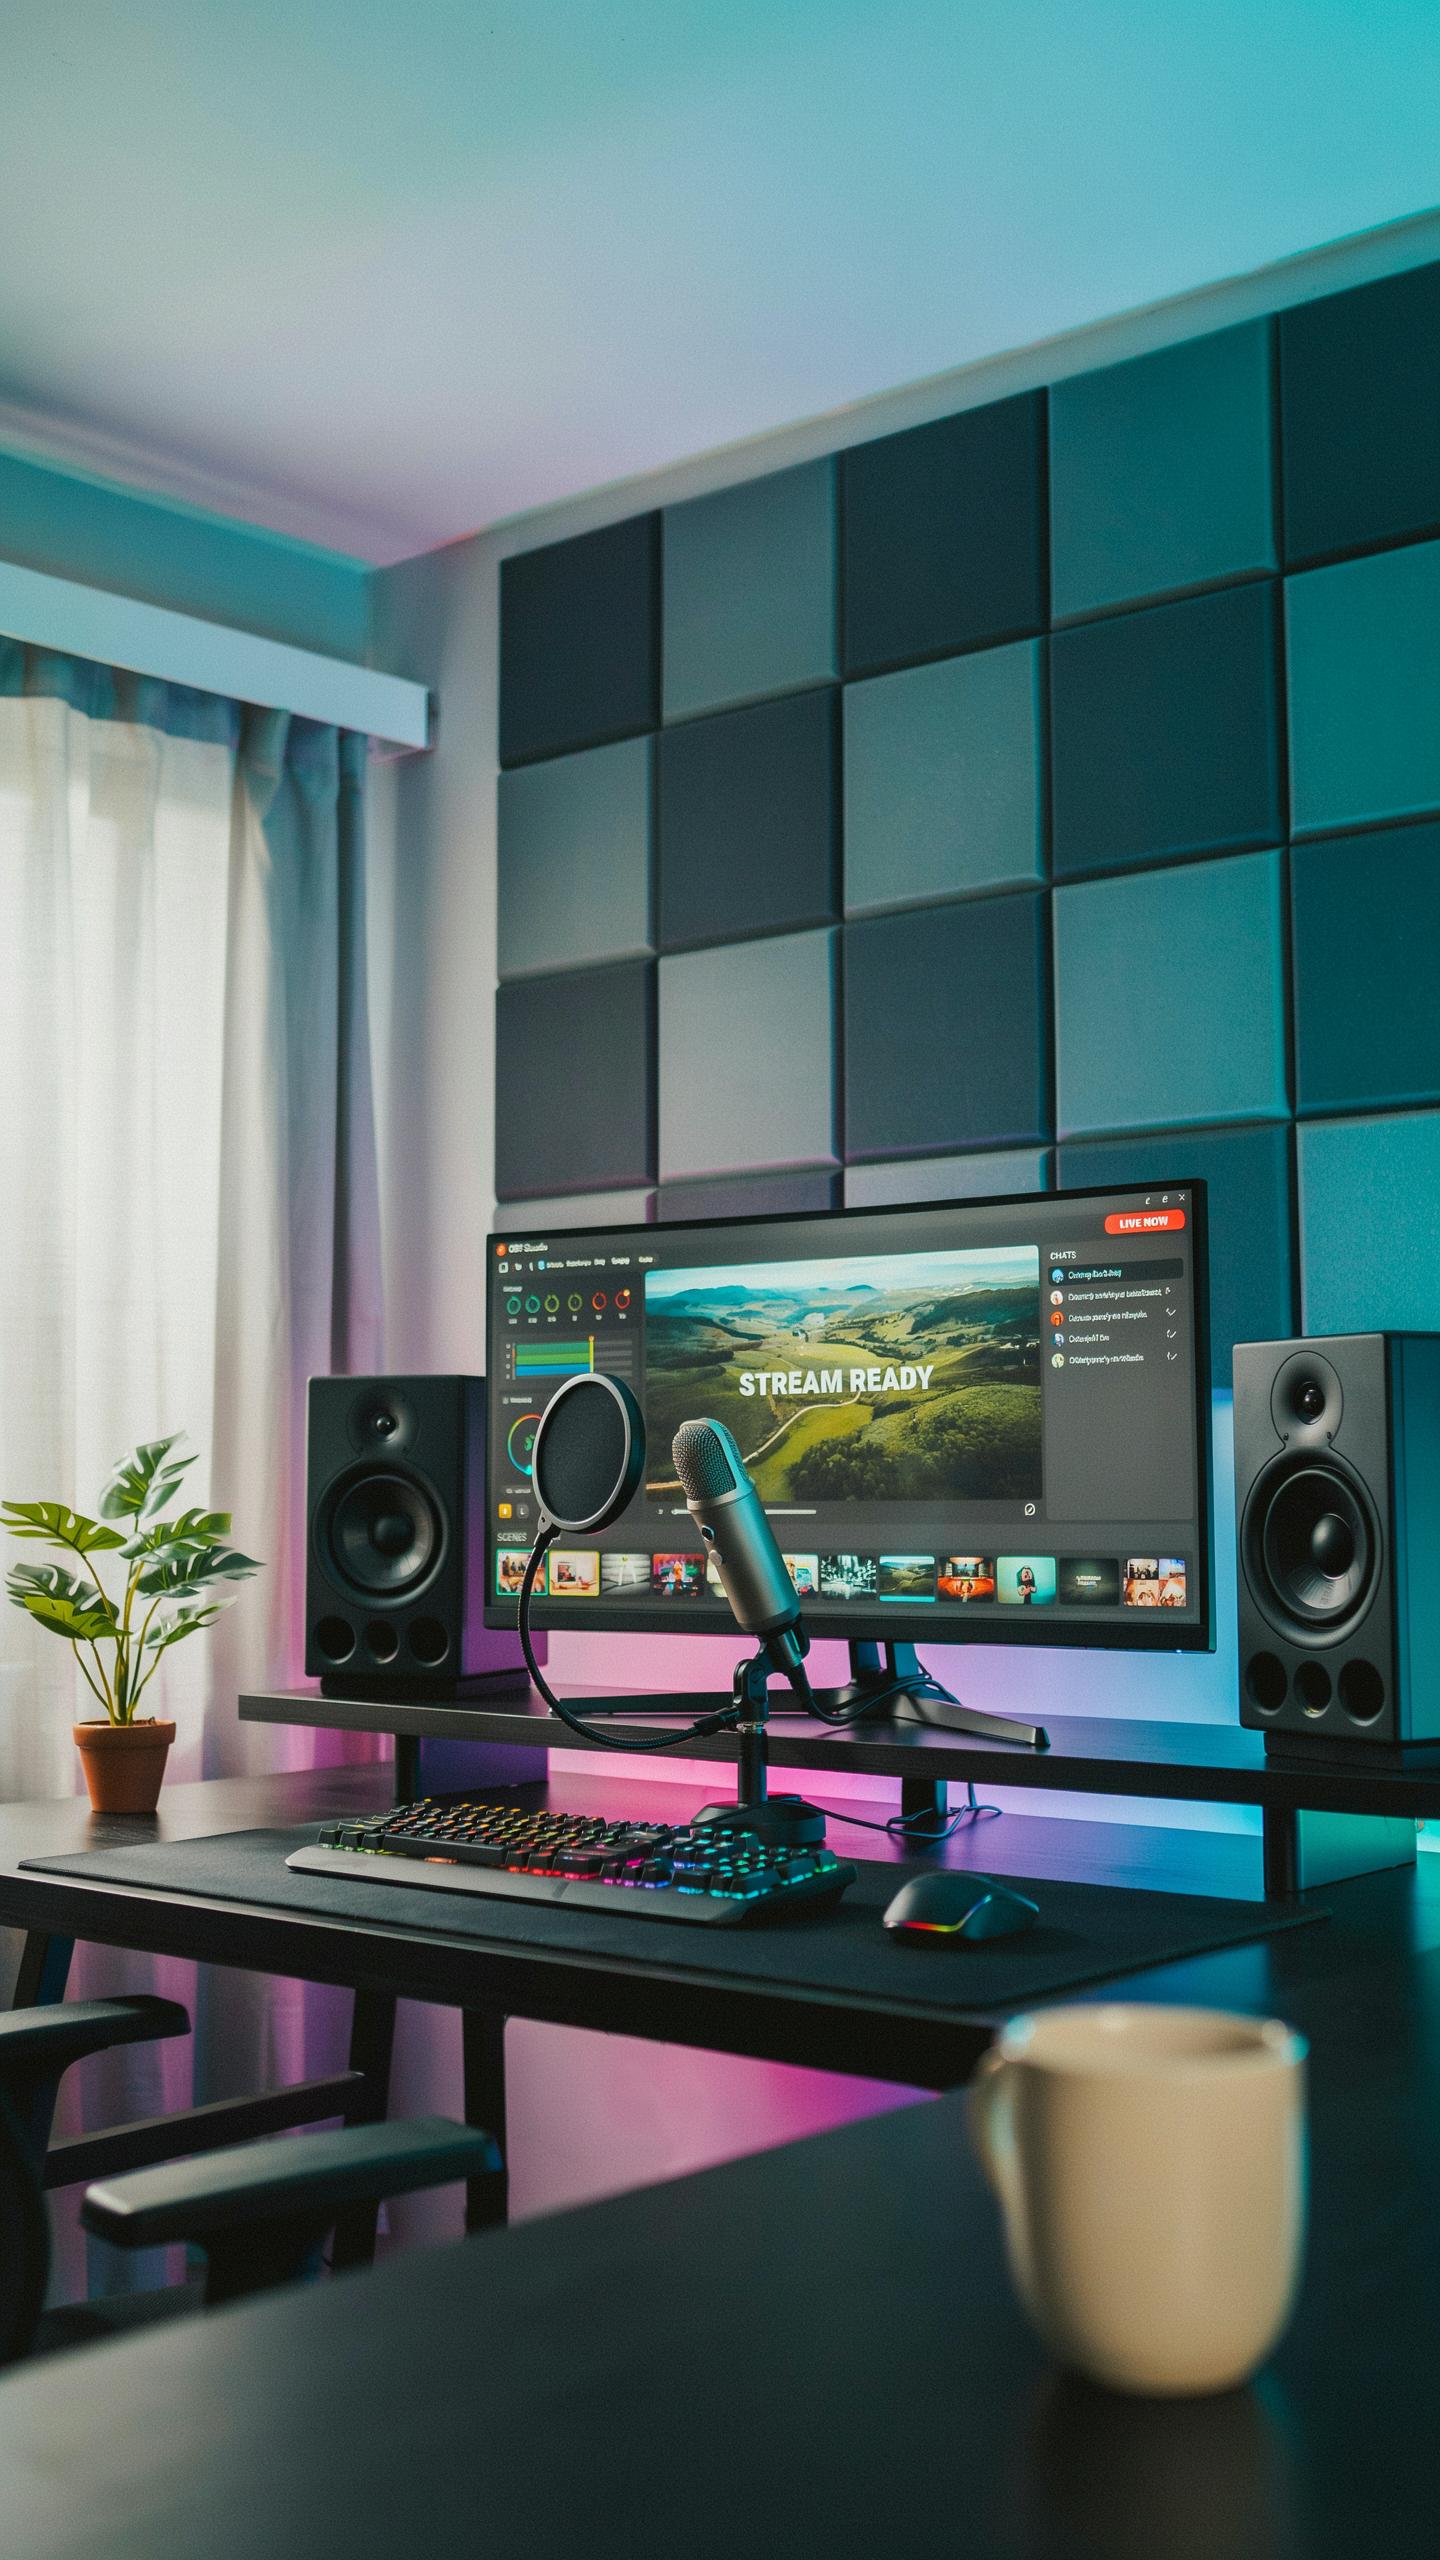
Budget Friendly Room Treatment Solutions
Hard surfaces bounce sound around your room and create echo. Your USB microphone picks up these reflections, degrading audio quality. Treat problem areas without spending hundreds. Identify where sound bounces by clapping in your streaming space. Listen for the echo and focus treatment there first.
Foam panels cost between 20 and 60 dollars for basic packs. Install them on walls behind and beside your microphone. Blankets and thick curtains absorb sound effectively and cost nothing if you already own them. Hang them on walls or drape them over frames. Bass traps in corners handle low frequency rumble that USB mics struggle with.
Minimizing Background Noise In Your Youtube Setup
Identify your noise sources before treating them. Computer fans, keyboard clicks, chair squeaks, and room HVAC systems create problems. Turn off devices you don’t need during streams. Move your computer away from your microphone position. These steps cost nothing and reduce noise immediately.
Foam underneath your chair stops vibrations from transferring to your desk and microphone. Weatherstripping around doors blocks hallway noise. Cable management keeps cords from scraping against surfaces. Position your USB microphone to reject side and rear noise while capturing your voice clearly. These tactical fixes work with your microphone’s polar pattern instead of against it.
Microphone Placement Techniques For Youtubers And Streamers
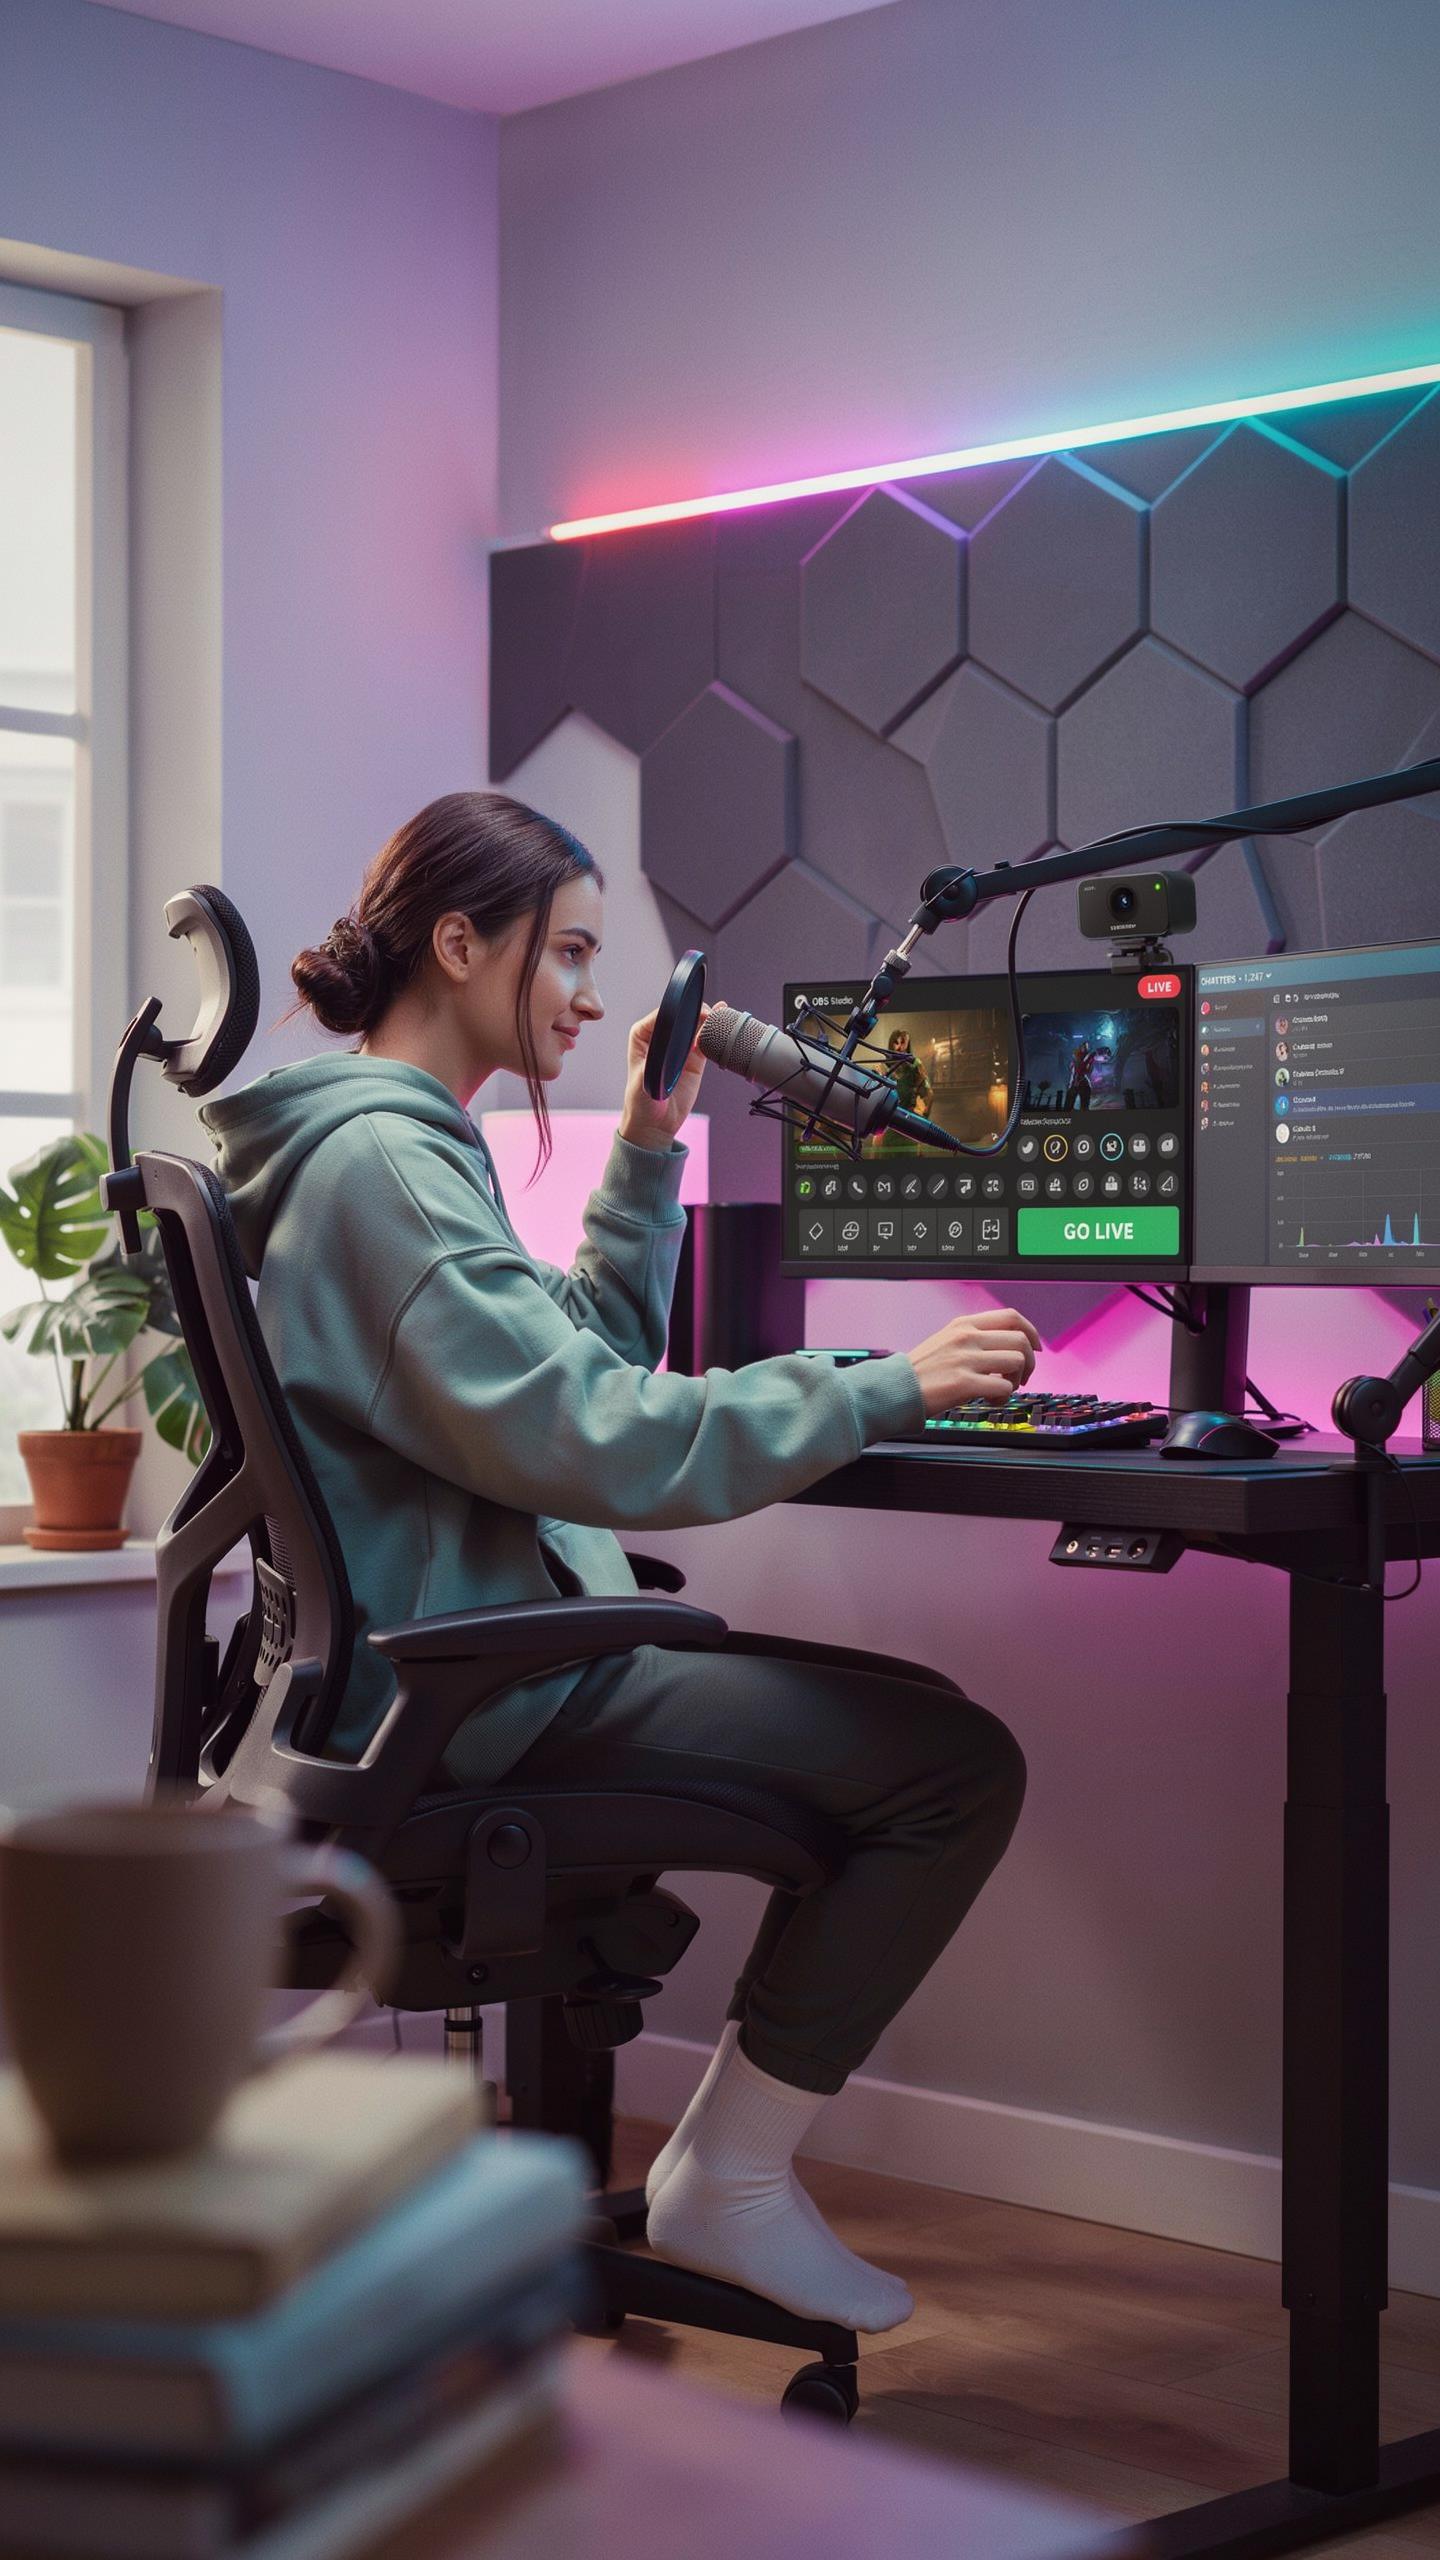
Optimal Distance And Angle For Speech Clarity
Position your USB microphone between 6 and 12 inches from your mouth. This distance prevents audio clipping from loud peaks while capturing enough volume for clear dialogue. Closer placement risks distortion. Farther placement requires higher gain settings, which amplifies background noise and reduces signal quality.
Angle the microphone at 45 degrees off-axis rather than pointing it directly at your mouth. This technique reduces plosives like “p” and “b” sounds that cause harsh spikes in audio. Keep the microphone at mouth level or slightly above. Avoid positioning it below your chin, as this captures more chest resonance and room reflections.
Using Pop Filters And Shock Mounts Effectively
A pop filter sits between your mouth and the microphone, catching bursts of air from plosive consonants. Position it about 2 inches in front of the mic. The filter spreads and disperses air pressure rather than letting it hit the capsule directly. This simple addition eliminates post-production work to remove plosive distortion.
Shock mounts isolate your USB microphone from vibrations traveling through the desk or stand. They use elastic materials to suspend the microphone and absorb vibrations from typing, mouse clicks, and movement. Mount the shock mount on a boom arm or stand, not directly on your desk surface. This combination stops handling noise and environment rumble from contaminating your audio stream.
Improving Your Audio With Software For Your USB Microphone
Introduction To OBS Studio Audio Filters
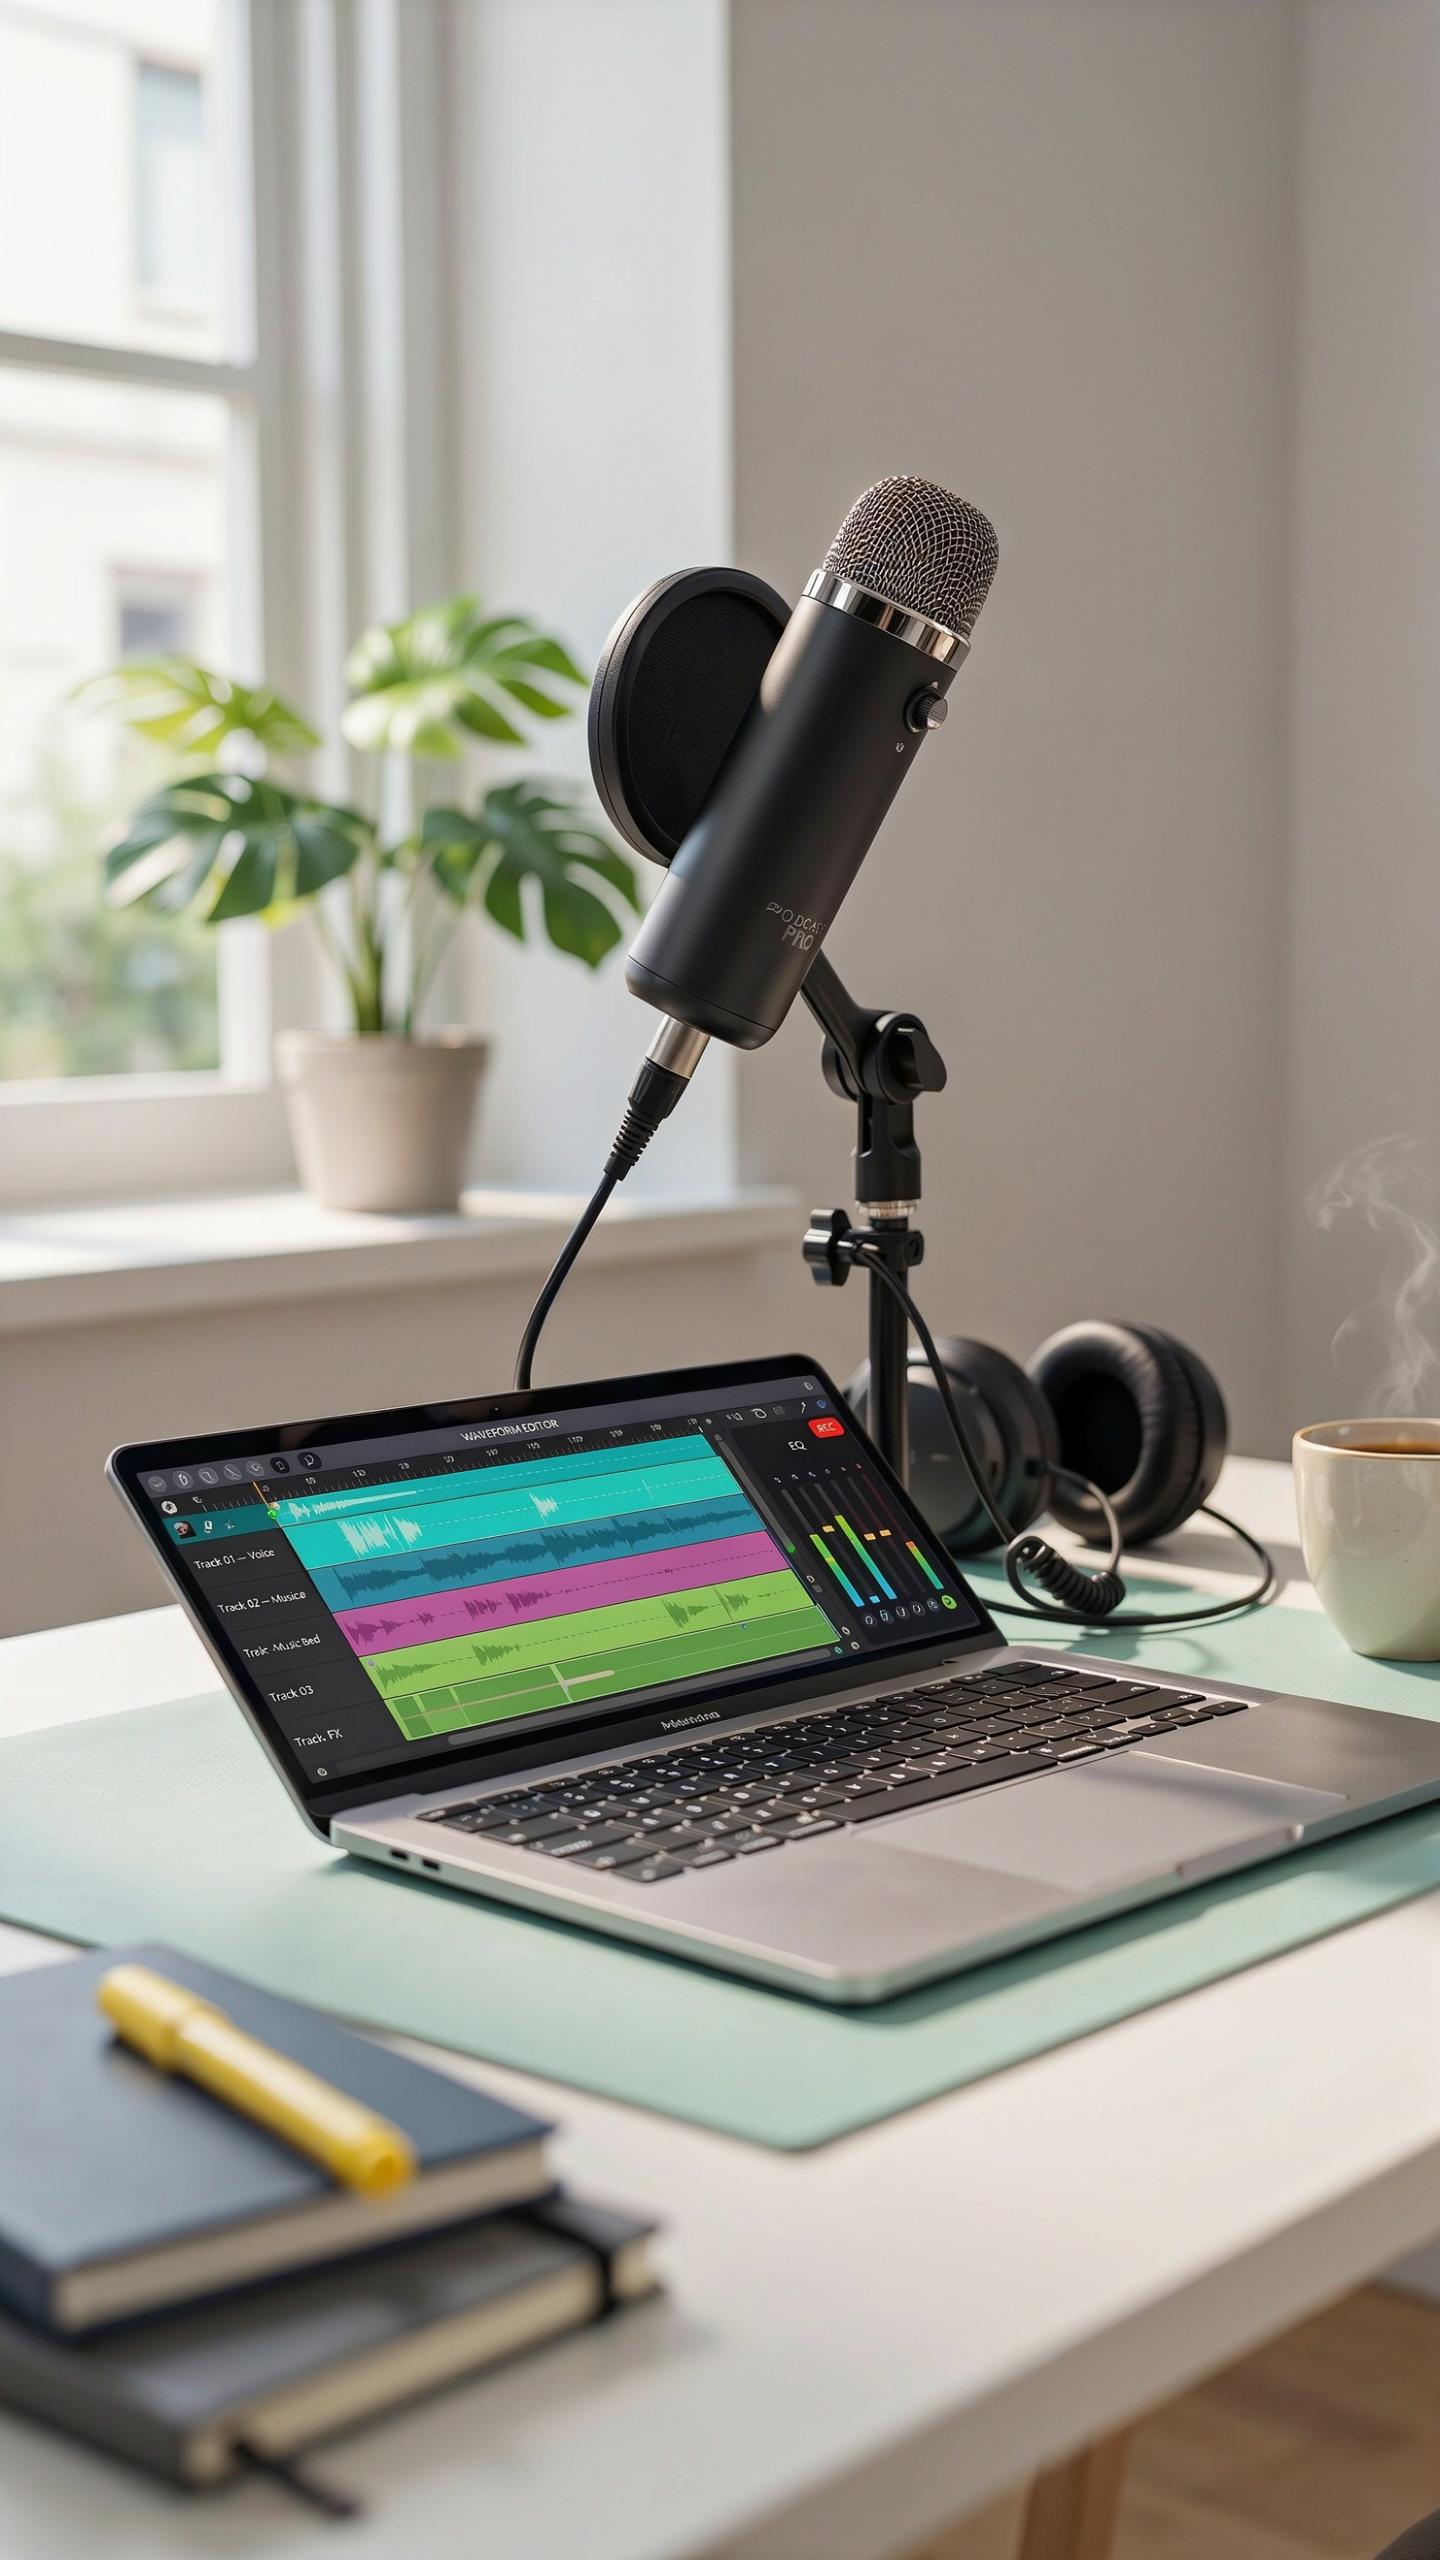
OBS Studio handles audio routing and filtering for free. The software lets you apply effects directly to your USB microphone input without affecting other system audio. You access these tools through the audio mixer panel. OBS Studio runs on Windows, Mac, and Linux. This cross-platform support matters because your streaming setup stays consistent across devices.
OBS Studio’s filter system works in real time. You add filters to your microphone track, and they process audio before it reaches your stream. The software ships with six core filters built in. You can stack multiple filters on one audio source. This layering approach lets you tackle different audio problems simultaneously without needing external software.
Basic Equalization And Noise Gates For A Gaming Microphone
Equalization shapes your frequency response. The EQ filter in OBS Studio lets you boost or cut specific frequency ranges. Most USB microphones sound thin or boxy out of the box. A basic EQ cut around 100-200 Hz removes muddiness. Boosting 2-4 kHz adds presence and clarity to your voice.
Noise gates stop background noise when you aren’t talking. Set the gate threshold just below your speaking volume. When sound drops below that level, the gate mutes your microphone input. This prevents keyboard clicks, fan noise, or room ambience from reaching viewers. Most streamers find gates more useful than noise suppression filters for gaming setups.
Maintaining Your USB Microphone And Streaming Setup For Longevity
Cleaning And Storage Best Practices
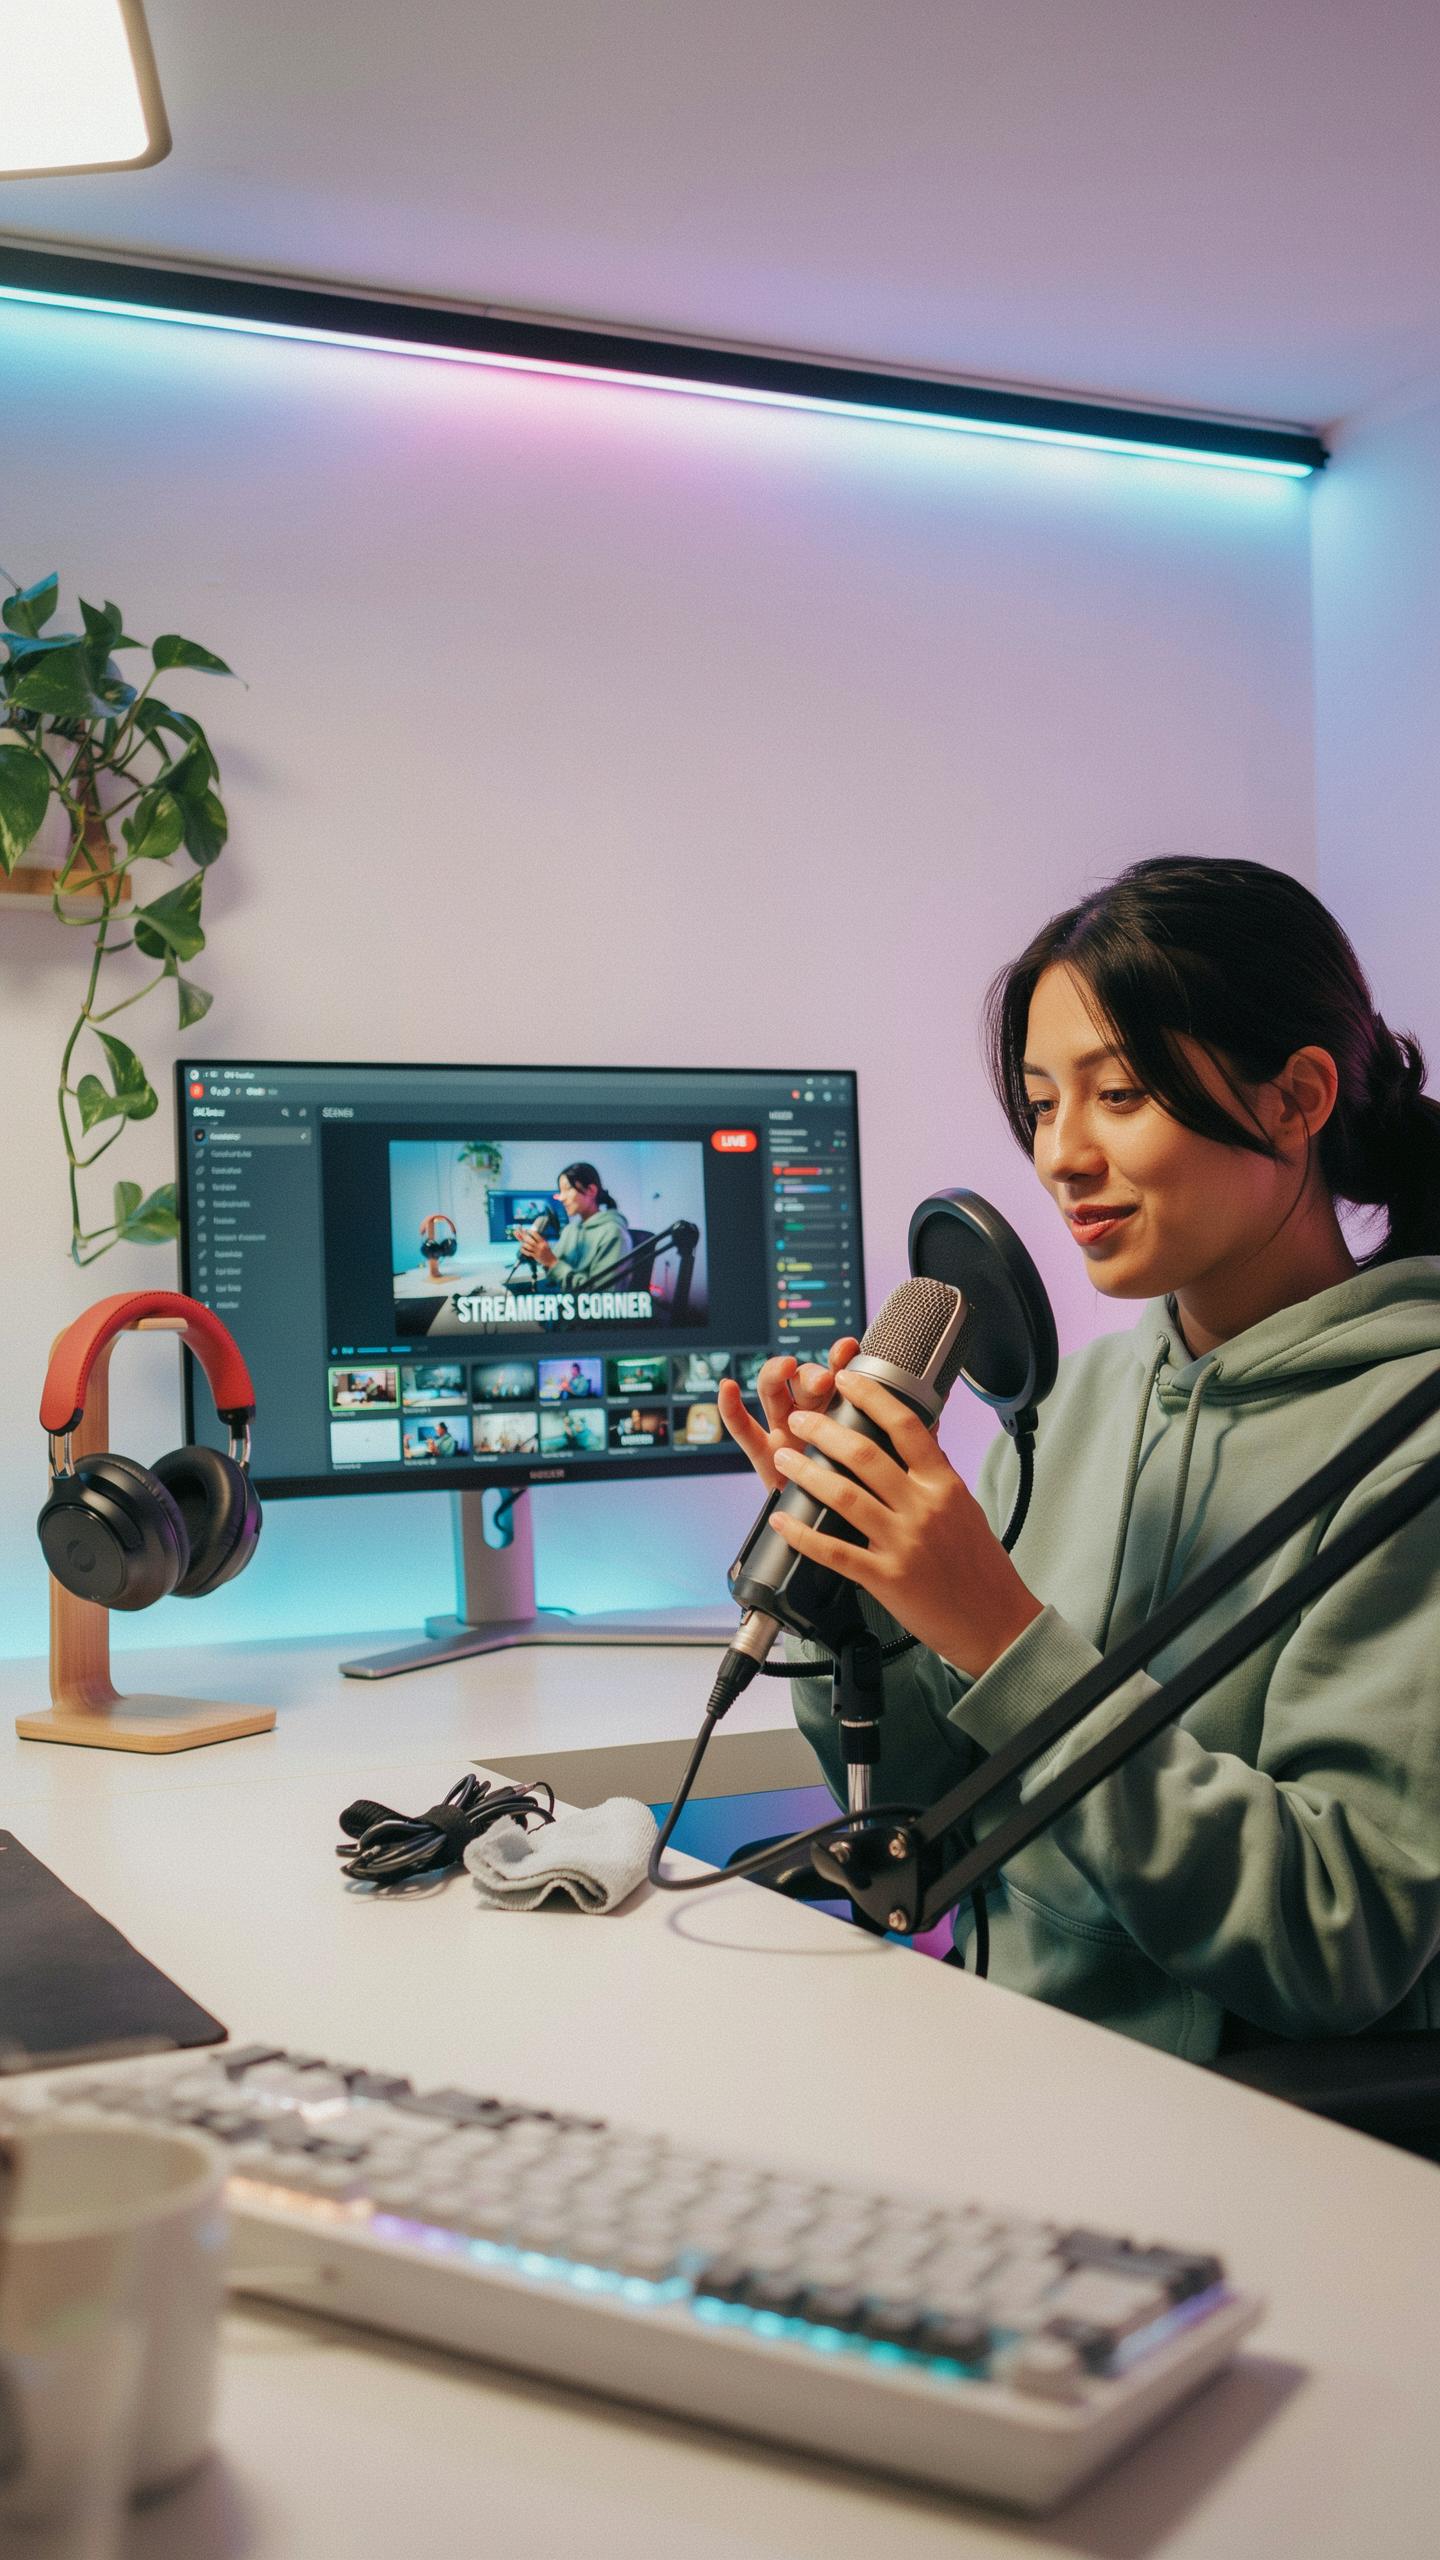
Dust accumulates on microphone capsules and degrades audio quality over time. Use a soft brush or compressed air to clean the grille monthly. Never use liquids on active components. Store your microphone in a dry environment away from direct sunlight and temperature swings. USB cables degrade when bent repeatedly, so coil them loosely and secure them without kinks.
The pop filter traps moisture and particles that would otherwise reach the capsule. Clean it weekly with a dry cloth or replace the foam regularly. Keep your microphone in its original case or a padded bag when not streaming. Temperature fluctuations cause condensation inside the unit, which corrodes internal circuits. Consistent room conditions preserve electronics far longer than neglect followed by desperate fixes.
Troubleshooting Common Audio Issues
Low input levels stem from three sources: incorrect gain settings, cable connection issues, or hardware problems. Check your streaming software’s audio input settings first. Verify the USB cable connects fully to both the microphone and computer. If levels remain low, adjust the microphone’s onboard gain dial to maximum, then boost software levels incrementally.
Crackling or popping sounds indicate either buffer problems or driver conflicts. Reduce your sample rate in audio settings from 48 kHz to 44.1 kHz if you experience drops. Update your USB audio drivers through your computer’s device manager or the microphone manufacturer’s website. If noise persists after these steps, test the microphone on a different USB port or computer to isolate whether the problem is hardware or software related.
Upgrading Your Gaming Setup When To Consider A New Usb Microphone
Signs You Need An Upgrade For Your Youtube Setup
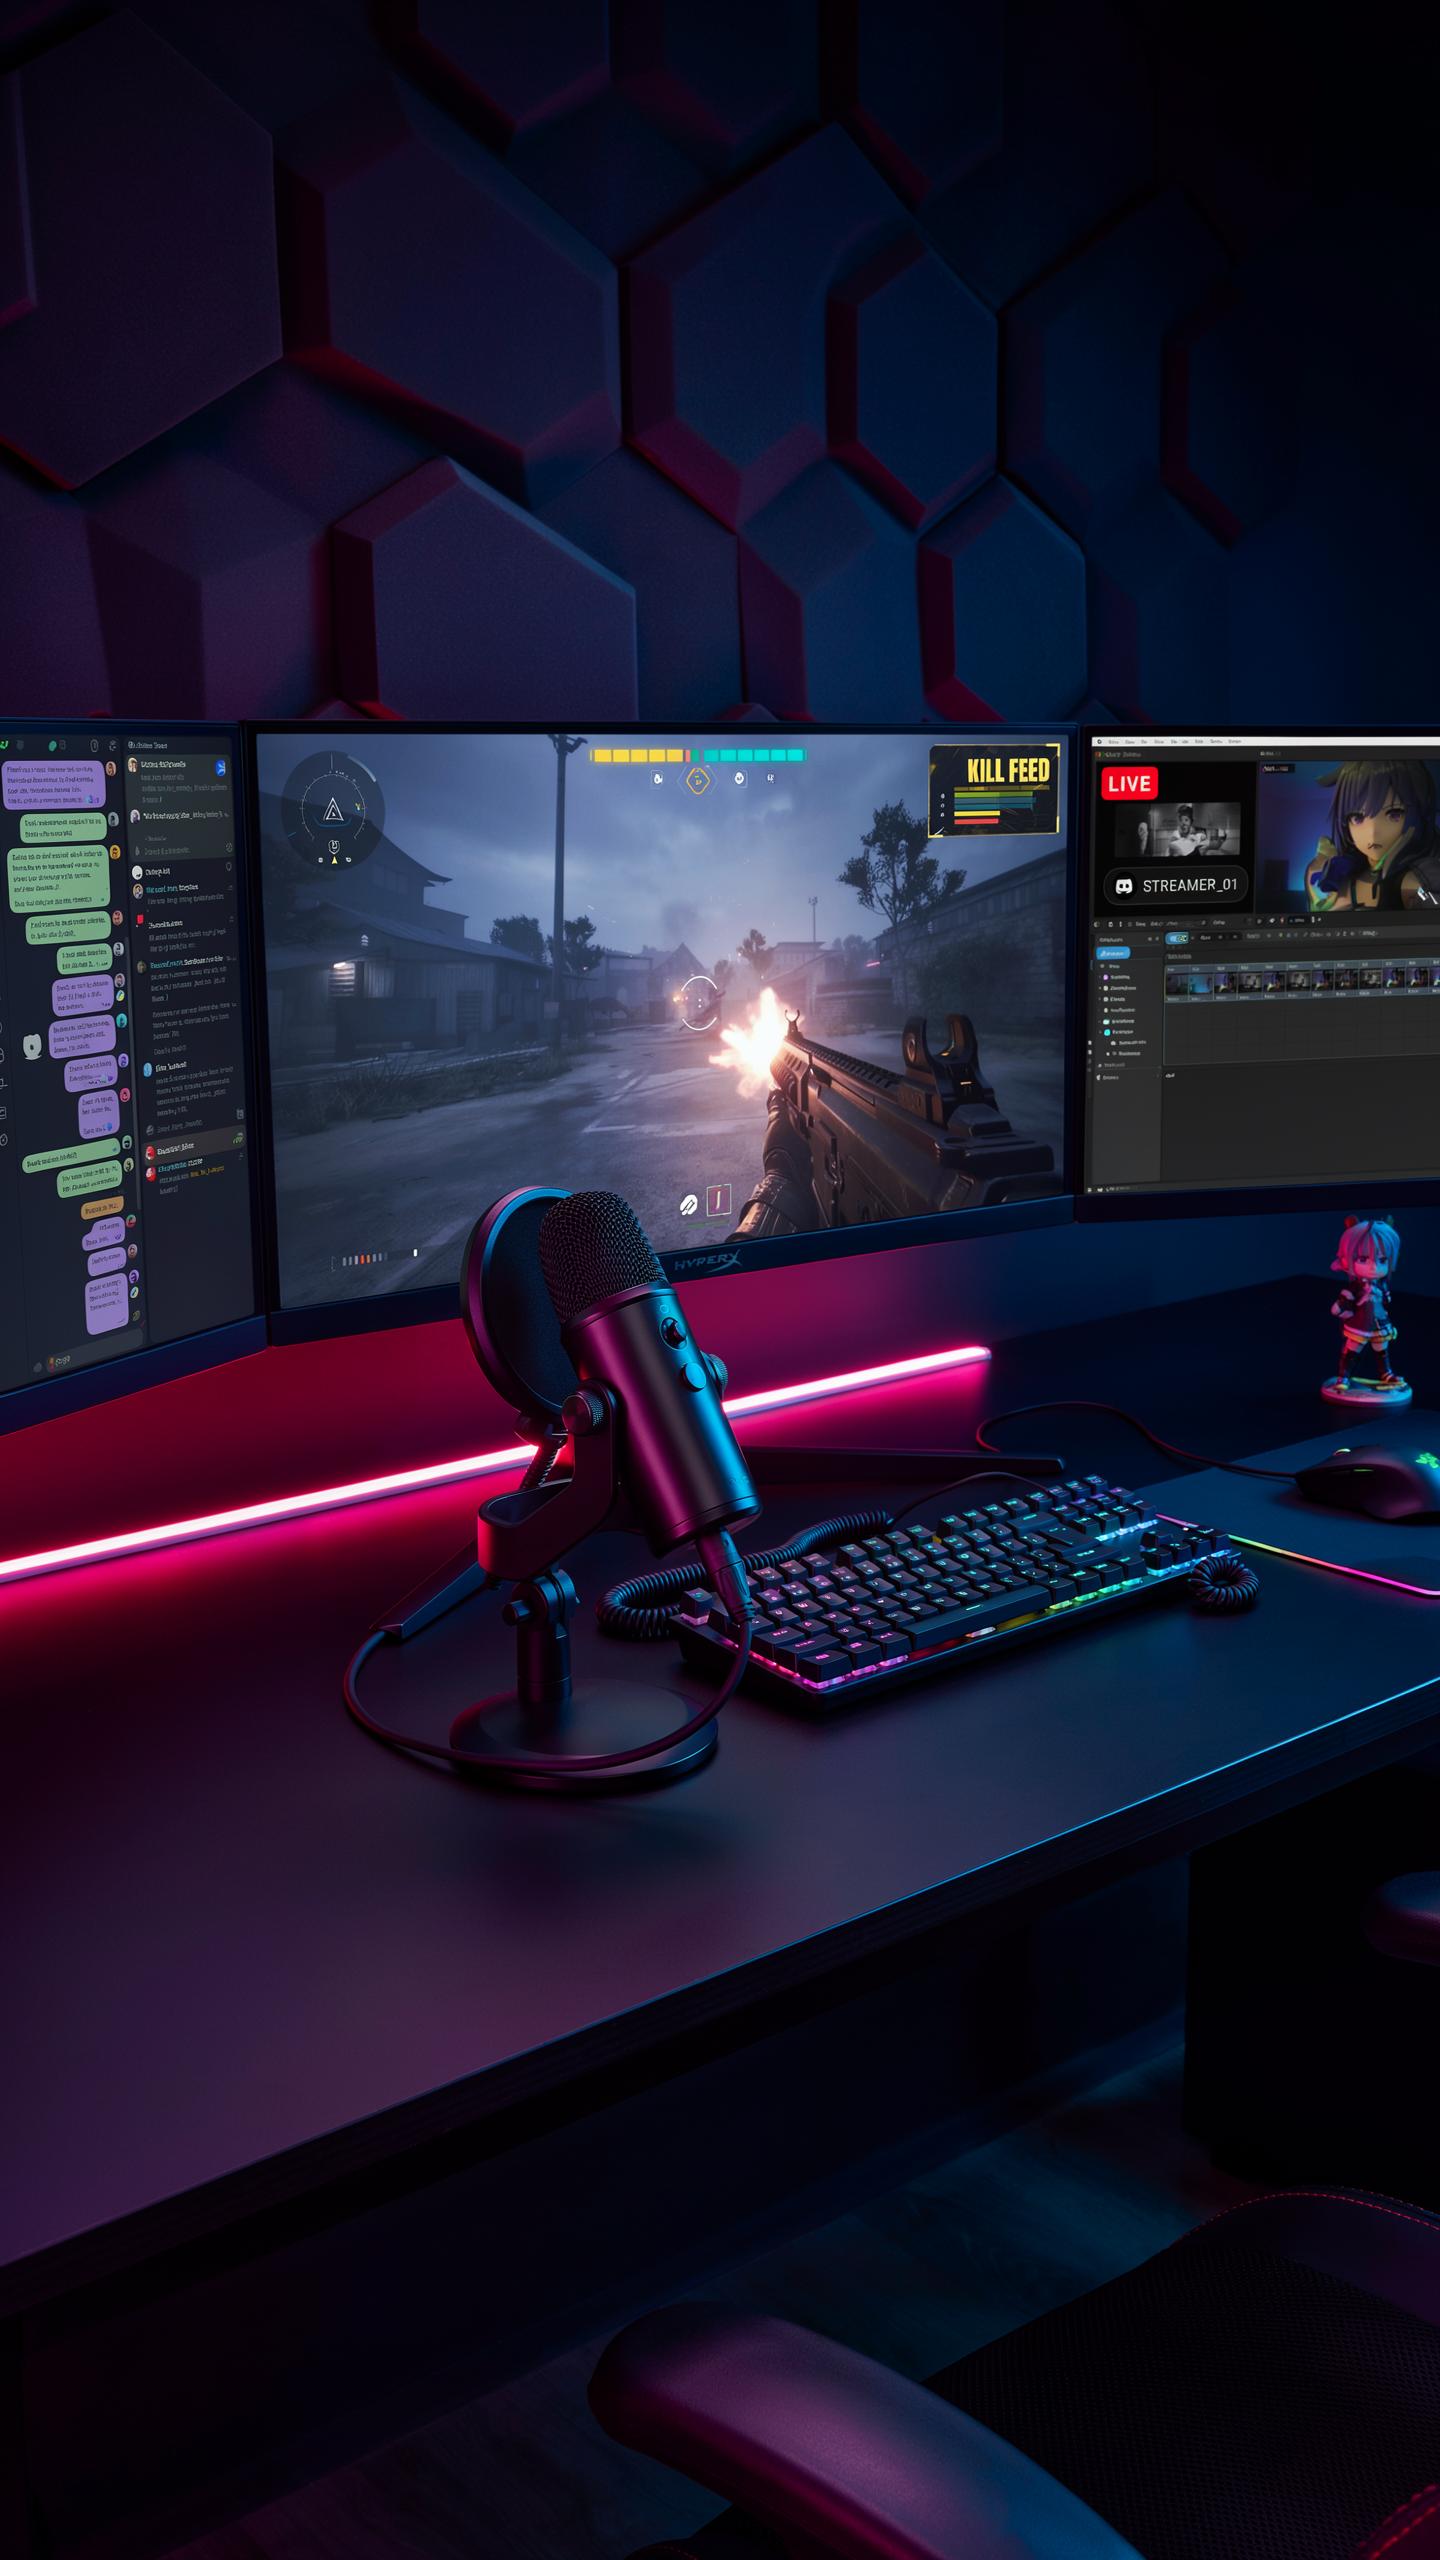
Your current microphone needs replacement when audio quality directly impacts viewer retention. Common problems include inconsistent levels, background noise that editing can’t fix, and frequency response that makes your voice sound thin or boomy. YouTube audiences abandon streams with poor audio faster than poor video. If you’re getting comments about sound quality or you notice your mic clips during normal speaking volume, an upgrade is overdue.
Technical degradation happens gradually. Your microphone’s USB connector may develop connection issues causing dropouts. The capsule itself can wear out after extended use, producing muffled or distorted output. Budget microphones like entry-level Fifine models typically last 1-2 years with daily streaming before noticeable quality loss occurs. Track your audio performance monthly to catch decline early and plan your upgrade accordingly.
Remember those early days of recording voices, when every hum and crackle told a story? Now, with a simple USB microphone, your unique voice can find its digital home, effortlessly reaching out and connecting, just like we always dreamed.
Exploring Advanced Features And Brands Beyond Fifine Microphone Setup
Moving beyond budget Fifine models introduces professional-grade options with tangible performance differences. Audio Technica AT2020USB, Rode NT1-Signature Series, and Shure MV7 deliver superior capsule design and build quality. These brands use better components like larger diaphragms and improved shock mounts that reduce handling noise. The investment ranges from $150 to $300, which yields noticeably clearer recordings and better frequency response suitable for serious content creators.
Advanced features justify higher prices through practical benefits. Cardioid patterns tighten to reduce room noise effectively. On-board gain control gives you real-time adjustment without fumbling with software. Some models include headphone monitoring for zero-latency audio feedback during recording. Metal construction outlasts plastic builds by years. These upgrades matter when your audience size justifies the expense and when audio quality directly influences sponsorship opportunities or channel growth.
Essential Accessories For Your Usb Microphone Streaming Setup
Microphone Stands And Boom Arms
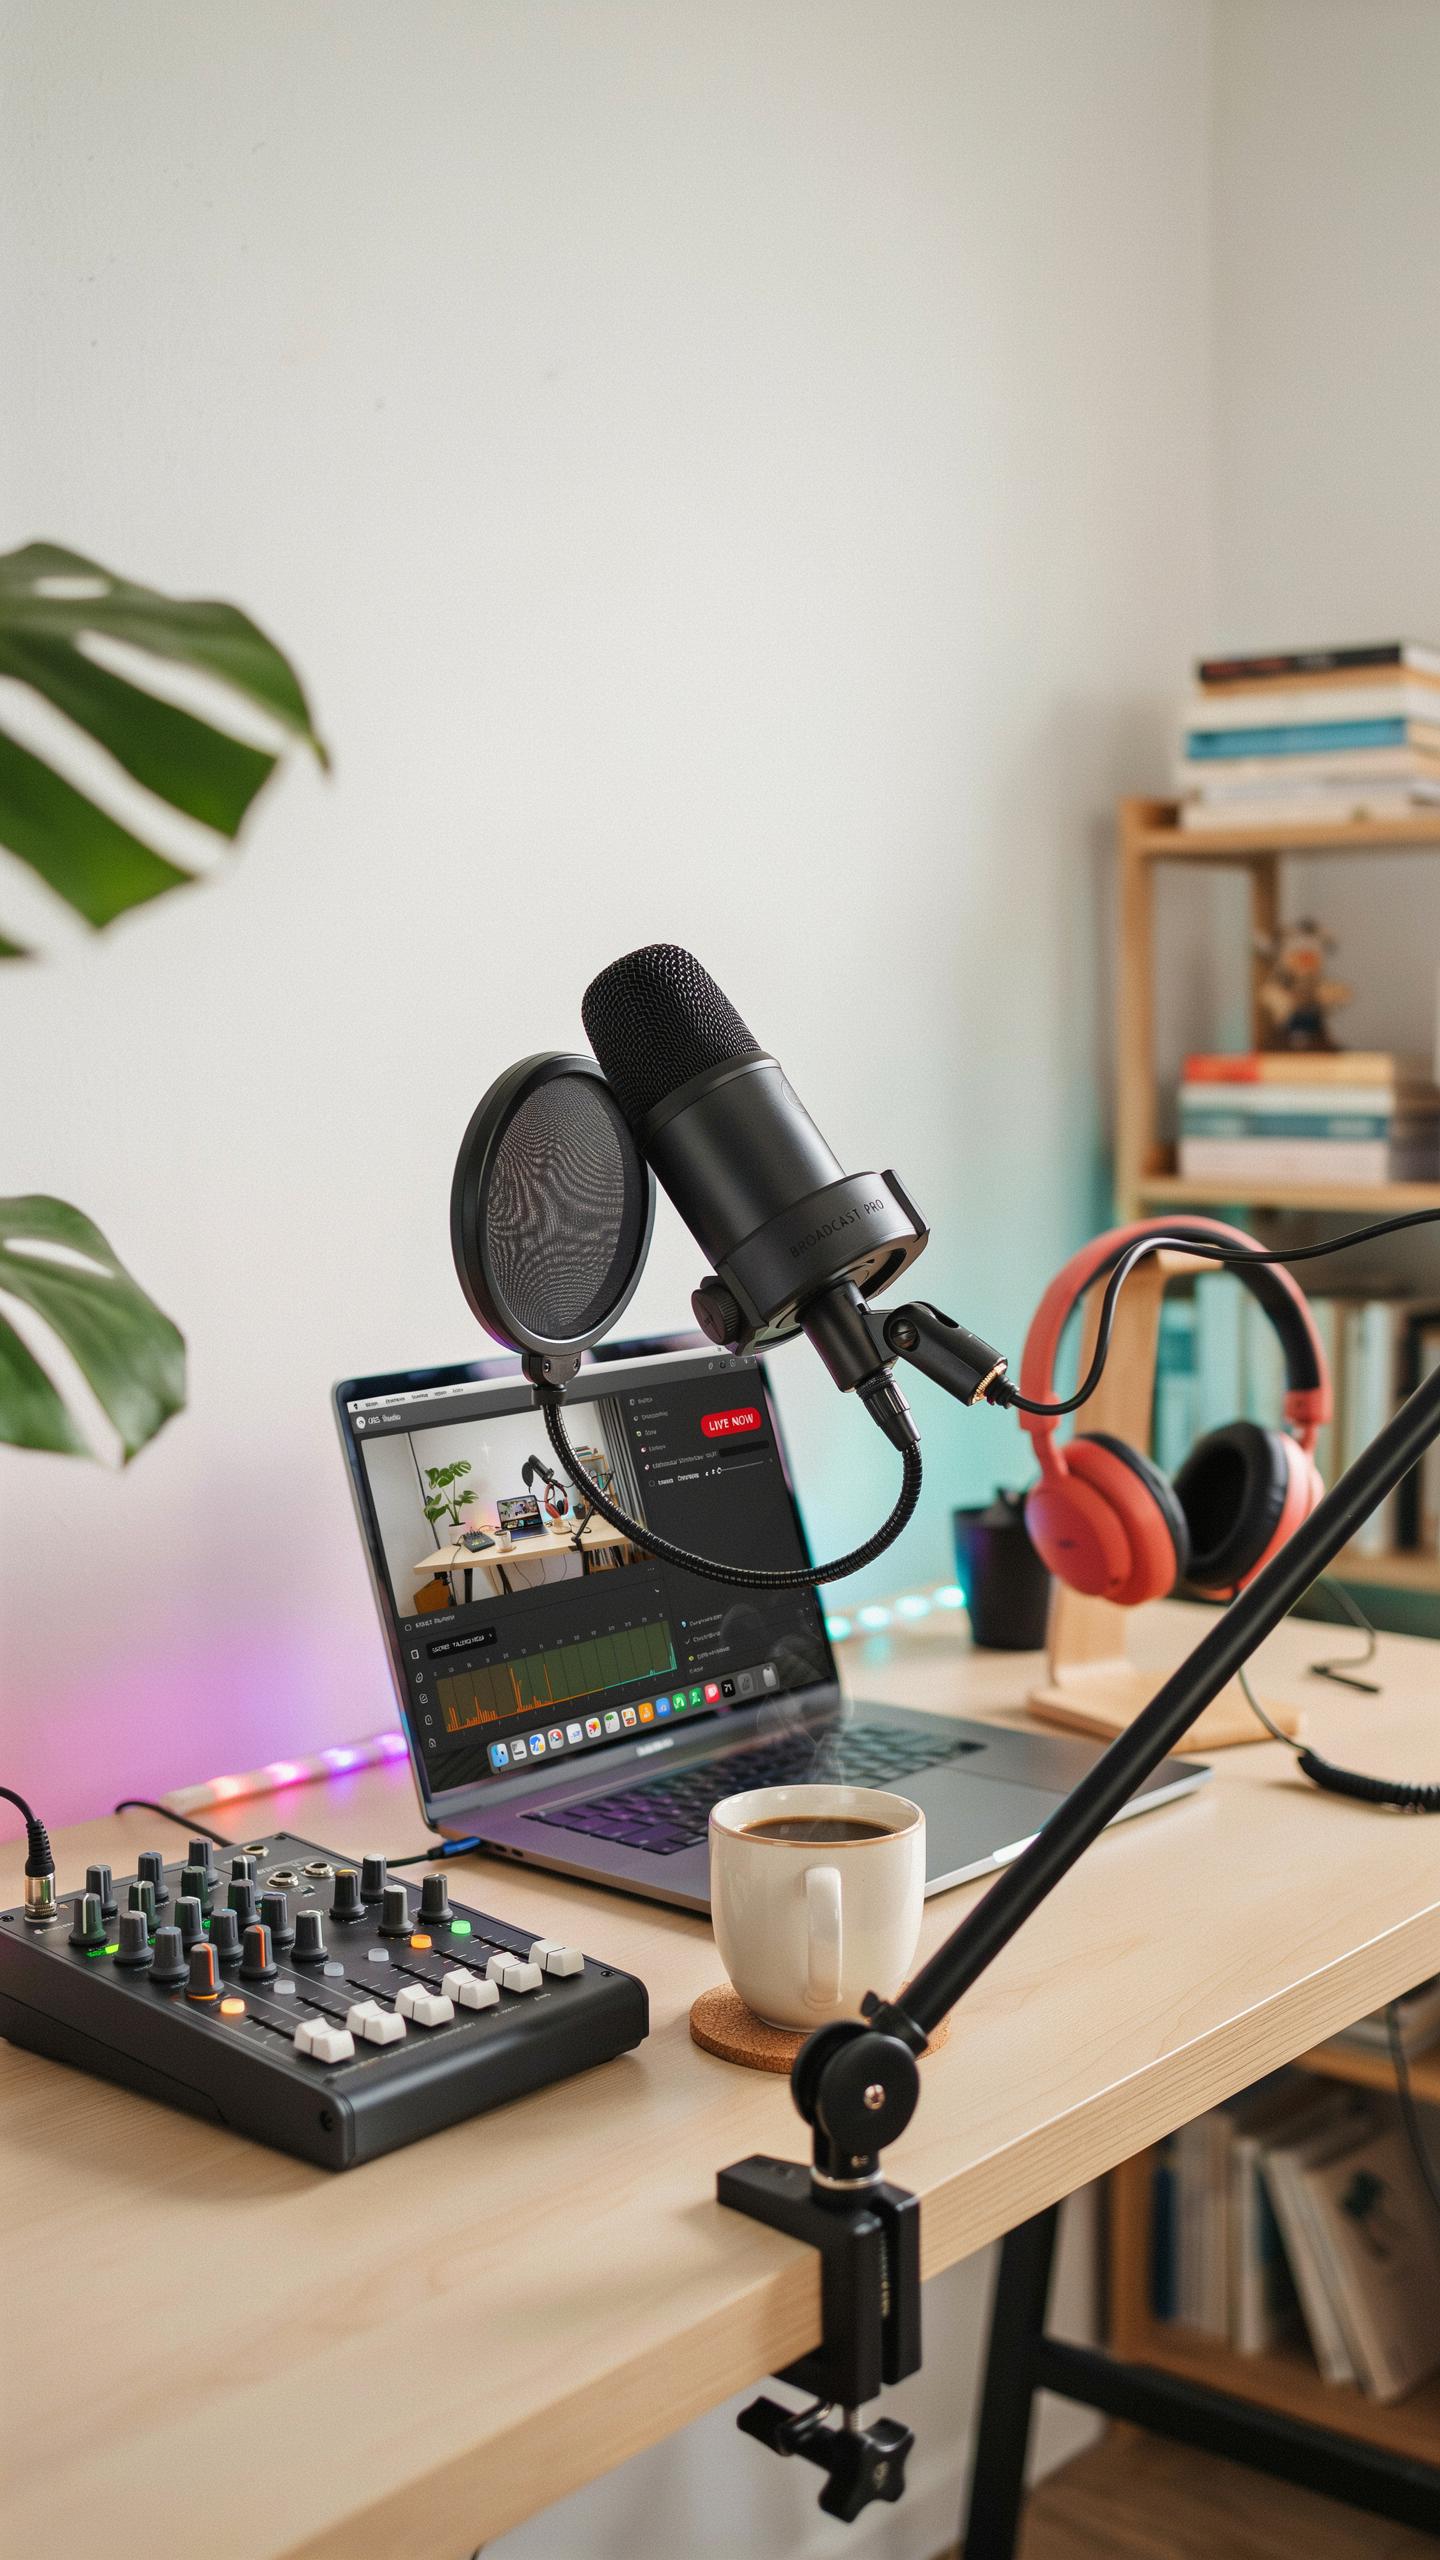
A microphone stand keeps your USB mic at mouth level and off your desk surface. This positioning reduces handling noise and vibration that travels into your recording. Desktop stands work for stationary setups. Boom arms offer flexibility because you can reposition the mic without moving your entire desk. Both prevent you from cupping the mic with your hands, which degrades audio quality and creates unwanted reflections.
Boom arms mount to your desk via a clamp and extend over your workspace. They free up desk real estate and let you move the mic in and out of your face quickly. A stand adapter converts your USB mic’s threading to fit standard mic clips. Ensure whatever you choose supports your microphone’s weight without sagging over time. Budget options from reputable brands hold up for years if you avoid cheap plastic hinges.
Headphones And Monitoring Your Audio For Your Gaming Setup
Monitoring your audio in real time tells you if your levels are off before you go live. Cheap headphones won’t reveal audio problems that viewers will hear immediately. Use closed back headphones to isolate the sound and prevent feedback loops in your stream. Over ear models provide better seal than earbuds, which matters for catching subtle issues like buzzing or clipping.
- Wired USB headphones: Connect directly to your computer for zero latency monitoring. No battery drain and no wireless interference during your stream.
- Stereo monitoring headphones: Reveal left and right channel imbalances that mono headphones miss. Essential for catching audio positioning issues in your broadcast.
- 40mm driver or larger: Bigger drivers reproduce a wider frequency range. You catch rumble, hiss, and mid range problems that smaller drivers mask.
- Impedance 32 ohms or lower: Lower impedance drives from your computer’s audio jack without an amplifier. Ensures consistent volume across different USB audio interfaces.
- Detachable cables: Replace worn cables instead of buying new headphones. Prevents audio dropouts from loose connectors during long streaming sessions.
Integrate headphones into your pre stream checklist every session. Switch on your stream software, play test audio, and listen for distortion or dropout. If your monitoring headphones reveal problems, fix them before going live. This habit catches 90 percent of audio issues that would otherwise embarrass you on air.
Frequently Asked Questions

What’s the biggest benefit of choosing a USB microphone for my streaming setup as a beginner?
The main advantage of a USB microphone for streaming setup is its simplicity. It’s essentially plug-and-play, eliminating the need for complex audio interfaces or mixers. You connect it directly to your computer via USB, install any required drivers, and you’re ready to stream with clear audio in minutes, which makes it ideal for beginners who don’t want to learn audio routing before they start.
Is a USB microphone good enough for streaming, or do I need an XLR setup?
For most beginner and intermediate streamers, a quality USB microphone delivers more than enough clarity and won’t be the limiting factor in your stream’s audio quality. XLR microphones paired with an audio interface offer more flexibility and slightly better sound, but they also add cost and complexity. Start with USB, and only move to XLR once you’ve outgrown its features or want finer control over gain staging.
What accessories do I need alongside my USB microphone for streaming?
A boom arm keeps the mic positioned close to your mouth without cluttering your desk, and a pop filter reduces harsh plosive sounds on words with hard p and b sounds. A shock mount helps isolate the mic from desk vibrations and keyboard noise. These three accessories are inexpensive but make a noticeable difference in recording quality compared to using the mic on its included desktop stand alone.



