
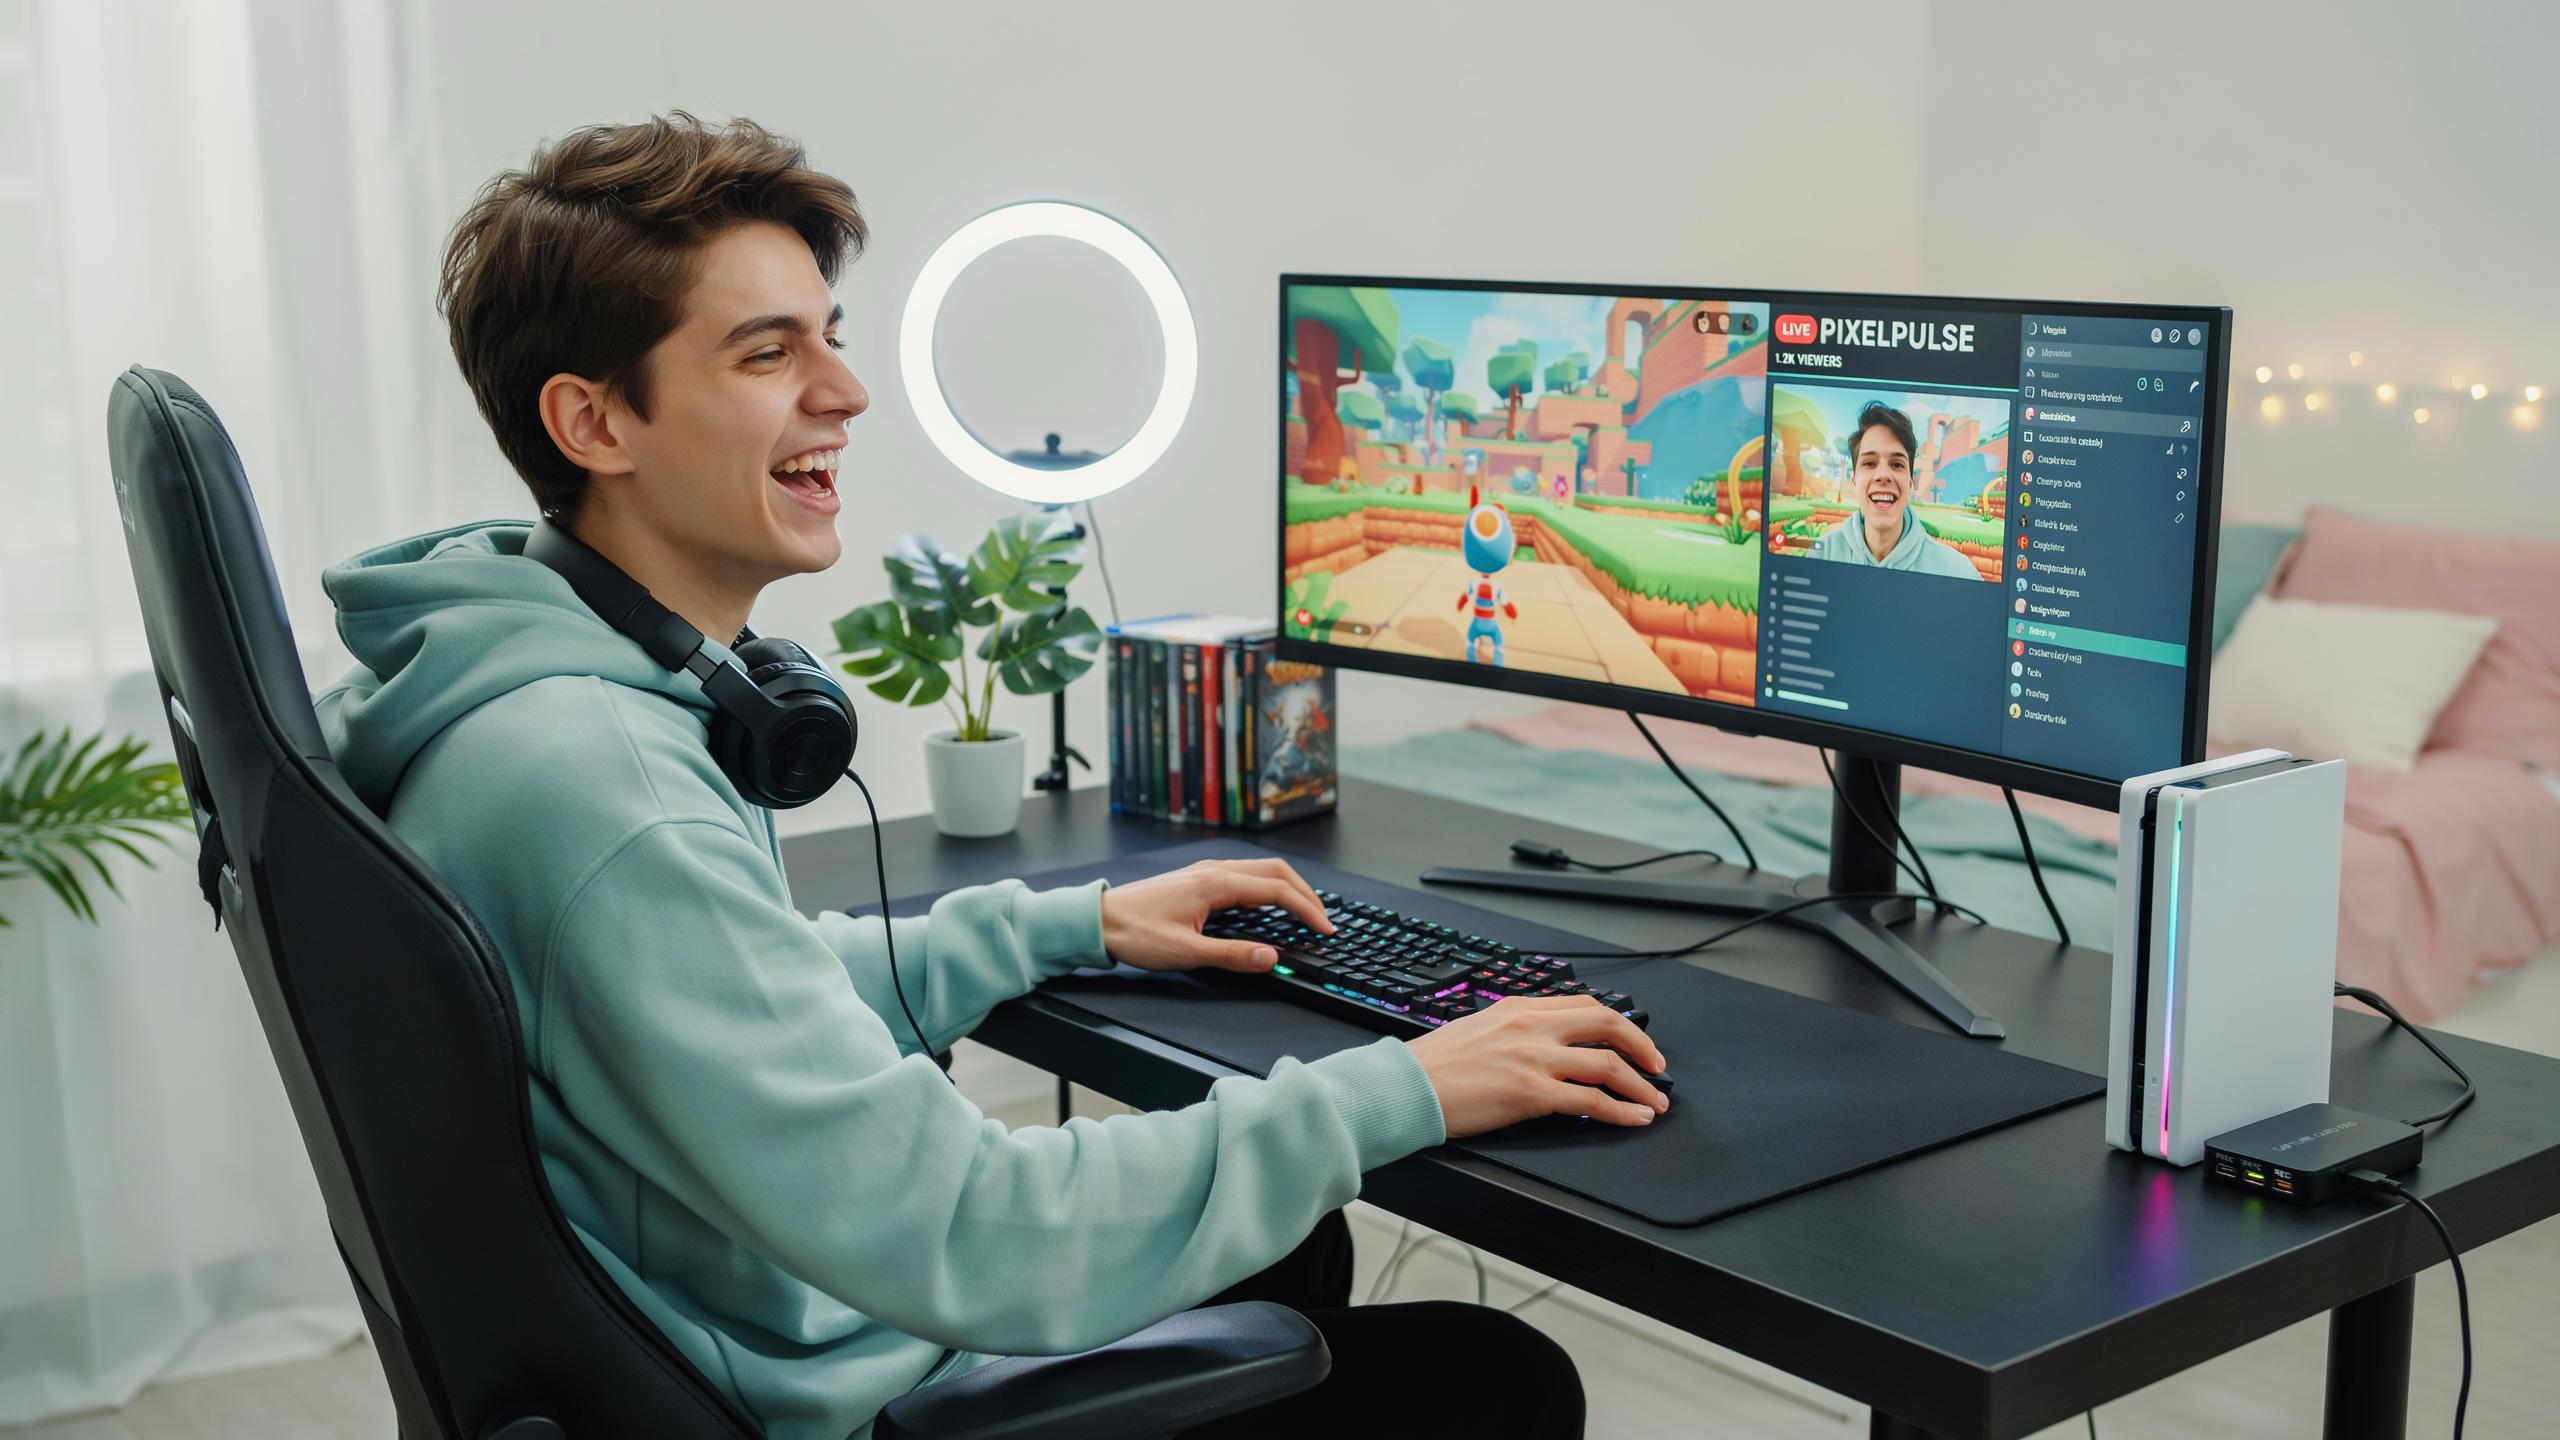
Understanding The Streaming Capture Card For Console Gaming
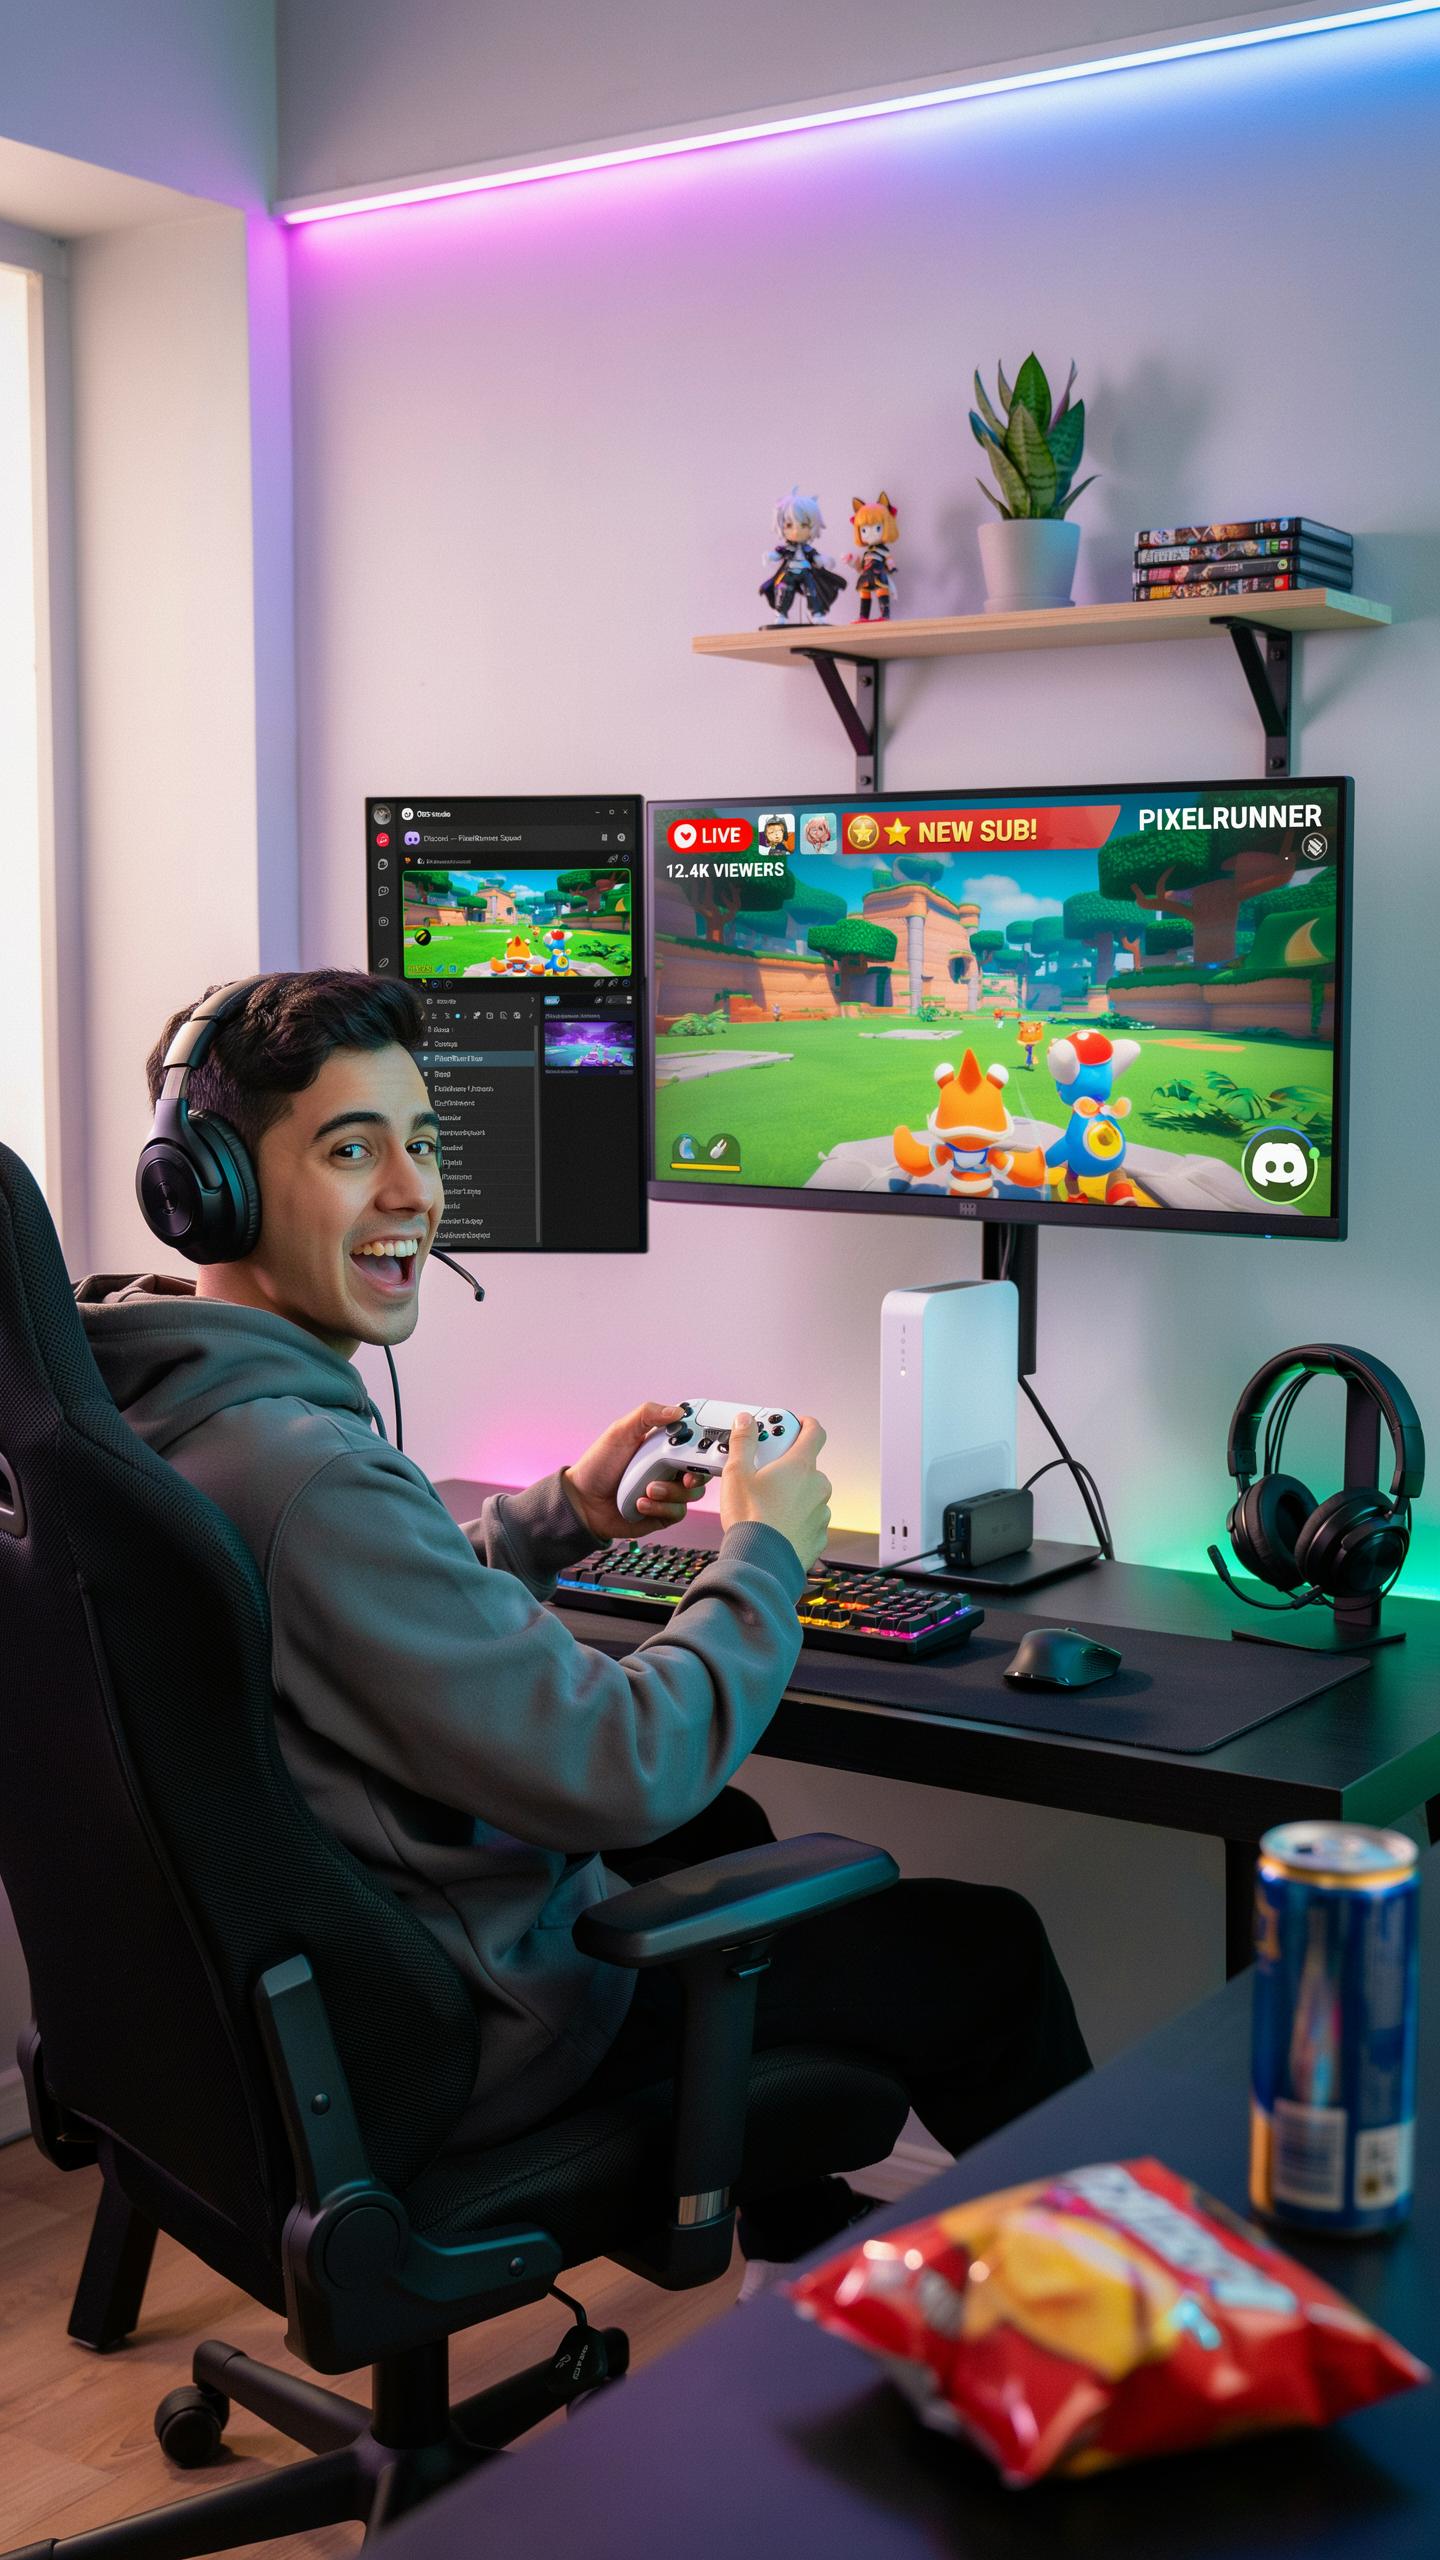
What It Is
A streaming capture card is hardware that records or streams video and audio directly from your console to a computer or streaming platform. It connects between your console and display, intercepting the signal without degrading your gaming experience. The card processes this data and sends it to streaming software or records it as a file. Modern capture cards handle resolutions up to 4K and frame rates up to 240fps depending on the model.
Capture cards exist in two formats: external USB devices and internal PCIe cards. External cards connect via USB 3.0 or Thunderbolt and work with any computer. Internal cards install directly into a PC’s motherboard slot and deliver lower latency. Your choice depends on whether you want portability or maximum performance. Most beginners start with external USB cards because they require no PC modifications.
Why You Need A Video Capture Card For Game Streaming
Without a capture card, you cannot stream console gameplay to Twitch, YouTube, or other platforms. Your console outputs video to your TV or monitor only. A capture card bridges this gap by converting console output into a format your streaming software can broadcast. This separation also eliminates the need for expensive dual-PC setups many streamers used before affordable capture cards existed.
A capture card also protects your gaming performance. Streaming software running on your console drains system resources and causes frame drops during gameplay. A capture card offloads this work to your computer, keeping your console focused entirely on the game. You maintain smooth gameplay while your PC handles encoding and broadcasting. This setup makes streaming accessible without sacrificing the quality of your actual gaming experience.
Types Of Capture Cards And Their Compatibility
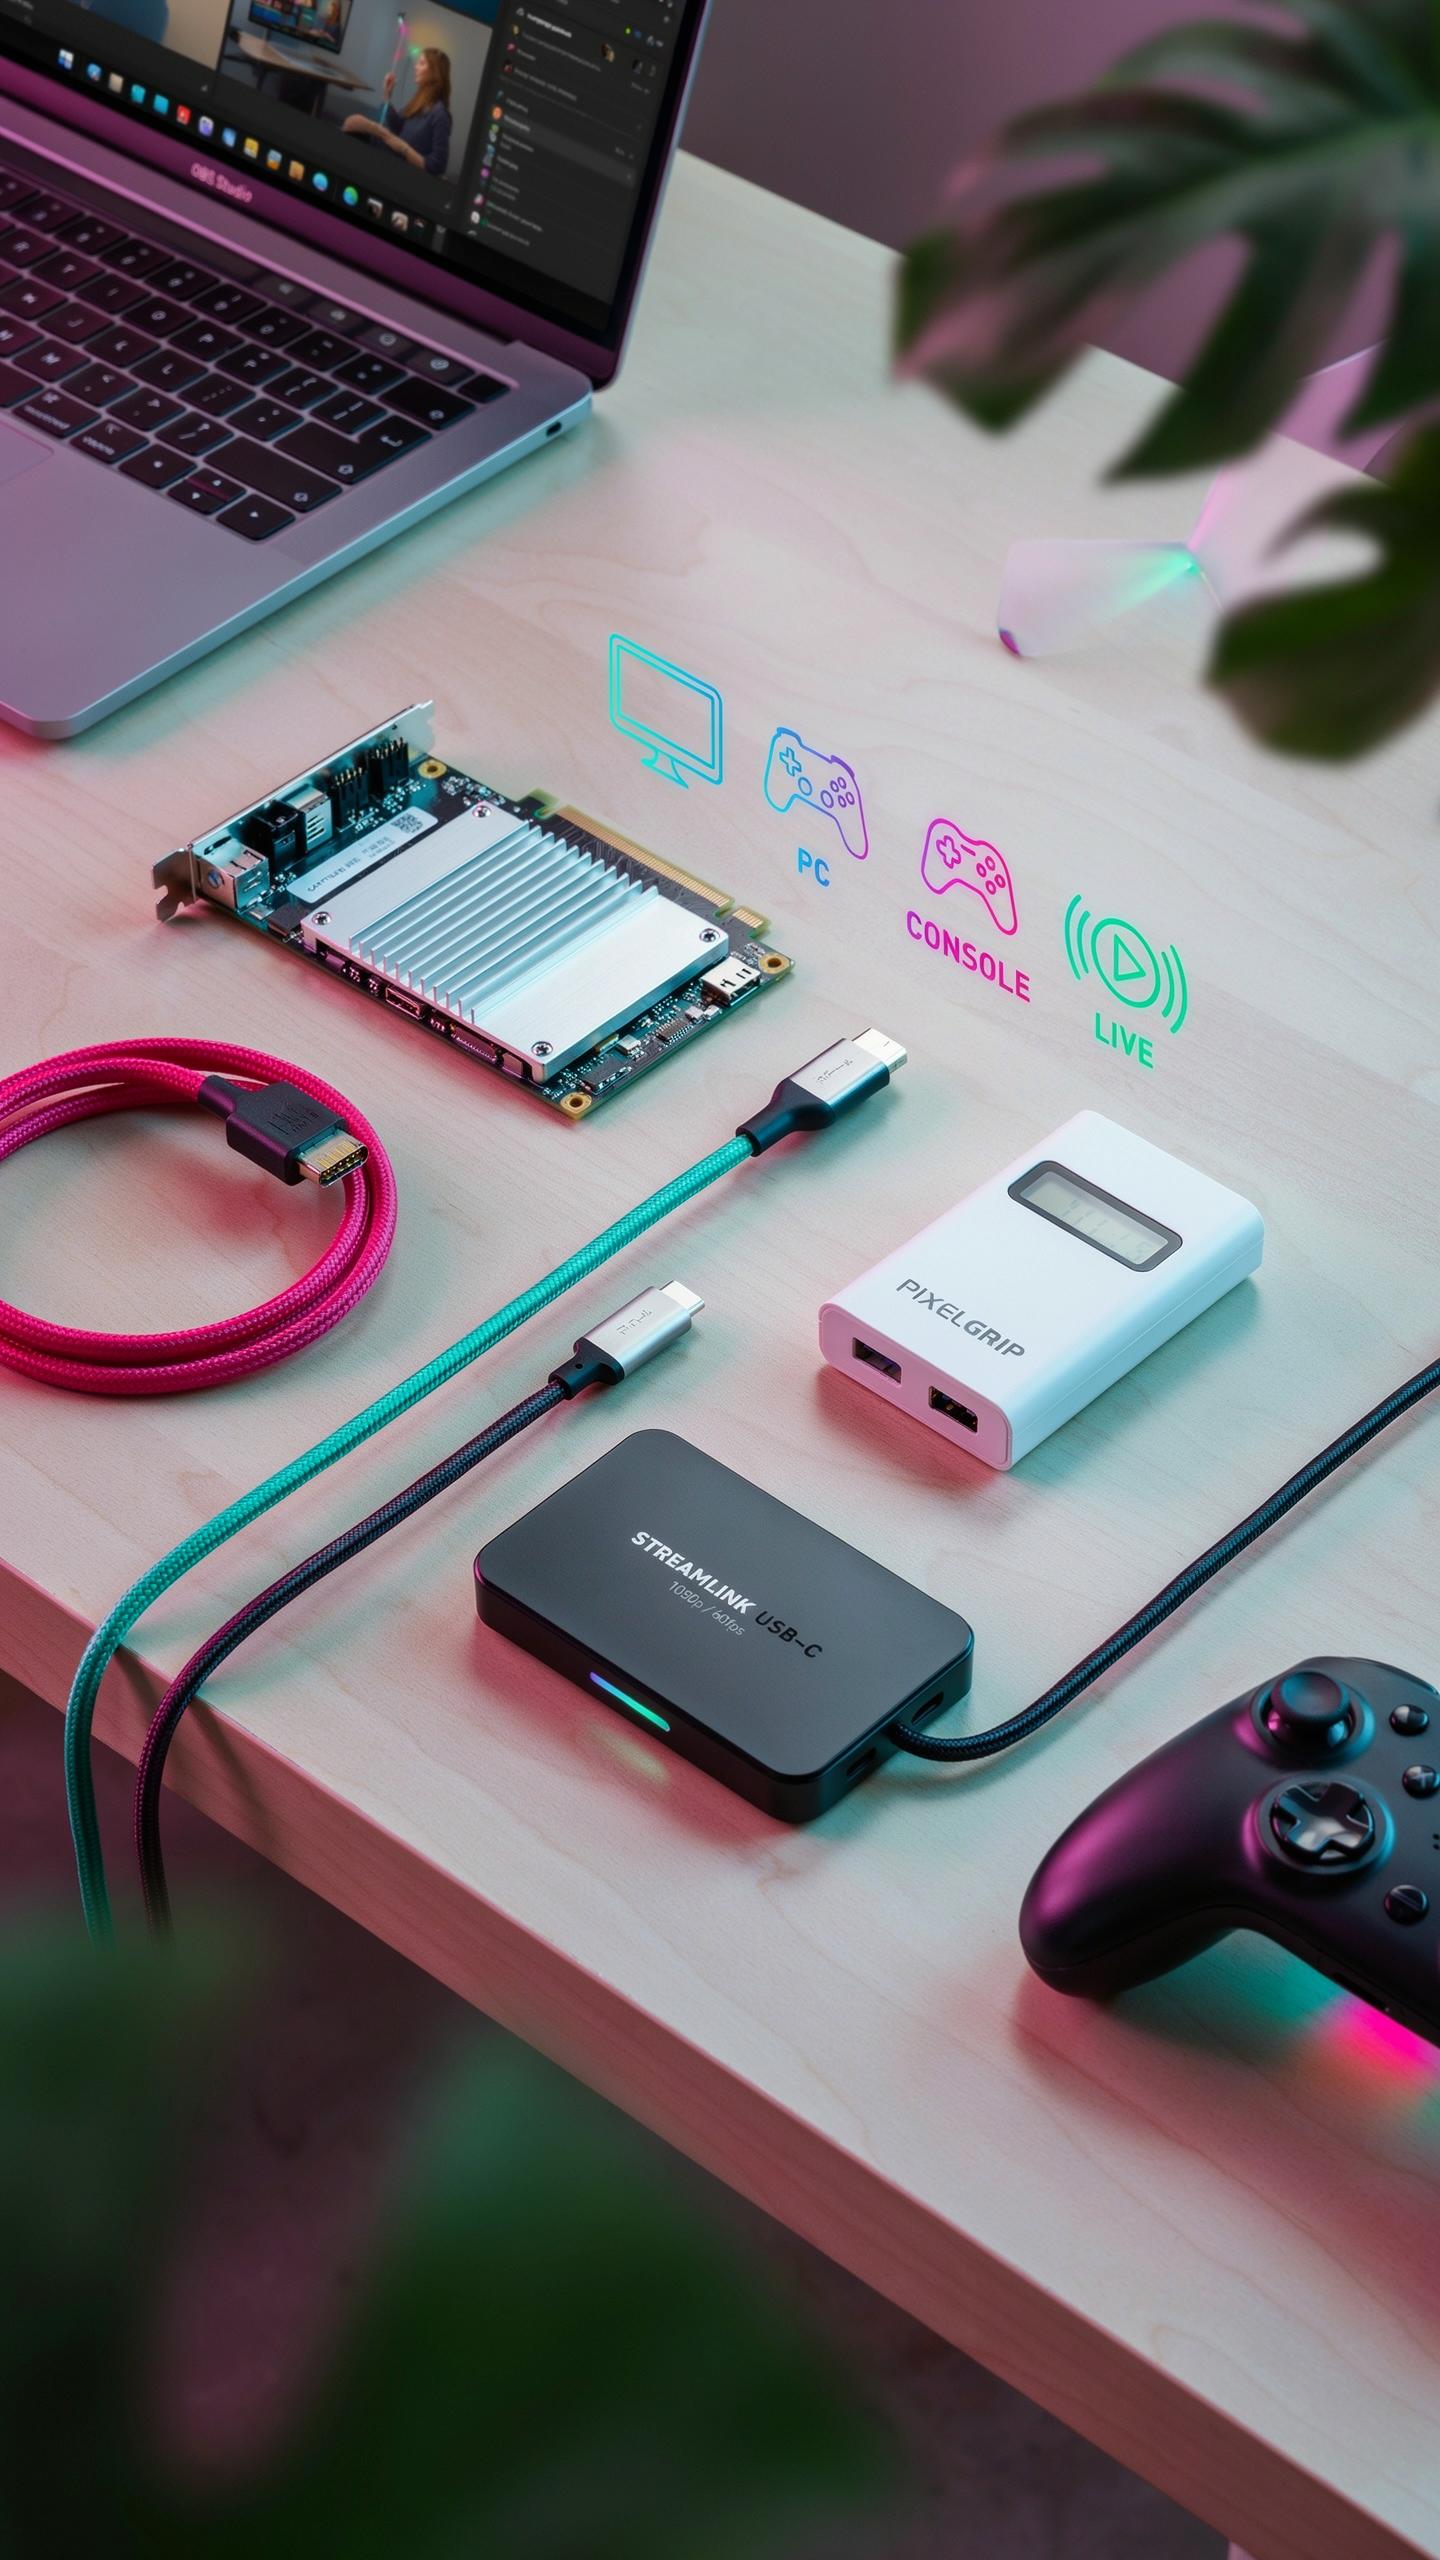
External Vs Internal Capture Cards For PC Setup
External capture cards connect to your PC via USB or Thunderbolt. They sit outside your computer and handle video encoding independently. This setup works for any PC regardless of internal hardware specs. External cards cost more but offer portability and don’t demand system resources from your processor.
Internal capture cards install directly into your PC’s PCIe slot. They require compatible motherboards with available slots. Internal cards offload encoding to dedicated hardware, freeing up your CPU for streaming software and other tasks. Setup is permanent, so you commit to one location.
Remember that golden age of gaming, where every epic moment felt like a story waiting to be shared? A capture card lets you relive and broadcast those cherished memories, one pixel at a time.
Ensuring Compatibility With Your Game Console
Xbox Series X and S, PlayStation 5, and Nintendo Switch all work with standard HDMI capture cards. Each console outputs video through HDMI, making compatibility straightforward for most modern capture devices. Older consoles like PlayStation 3 and Xbox 360 require composite or component-to-HDMI converters first. Check your console’s output specifications before purchasing any capture card.
Capture card resolution and frame rate support must match your console’s output capabilities. PlayStation 5 and Xbox Series X output up to 4K at 60fps, but most capture cards max out at 1080p or 1440p at 60fps. Nintendo Switch outputs only 1080p maximum. Choose a capture card that supports the resolution and frame rate your console actually produces, not inflated specs that don’t apply to console gaming.
Essential Connections Audio Video Cables
HDMI Basics
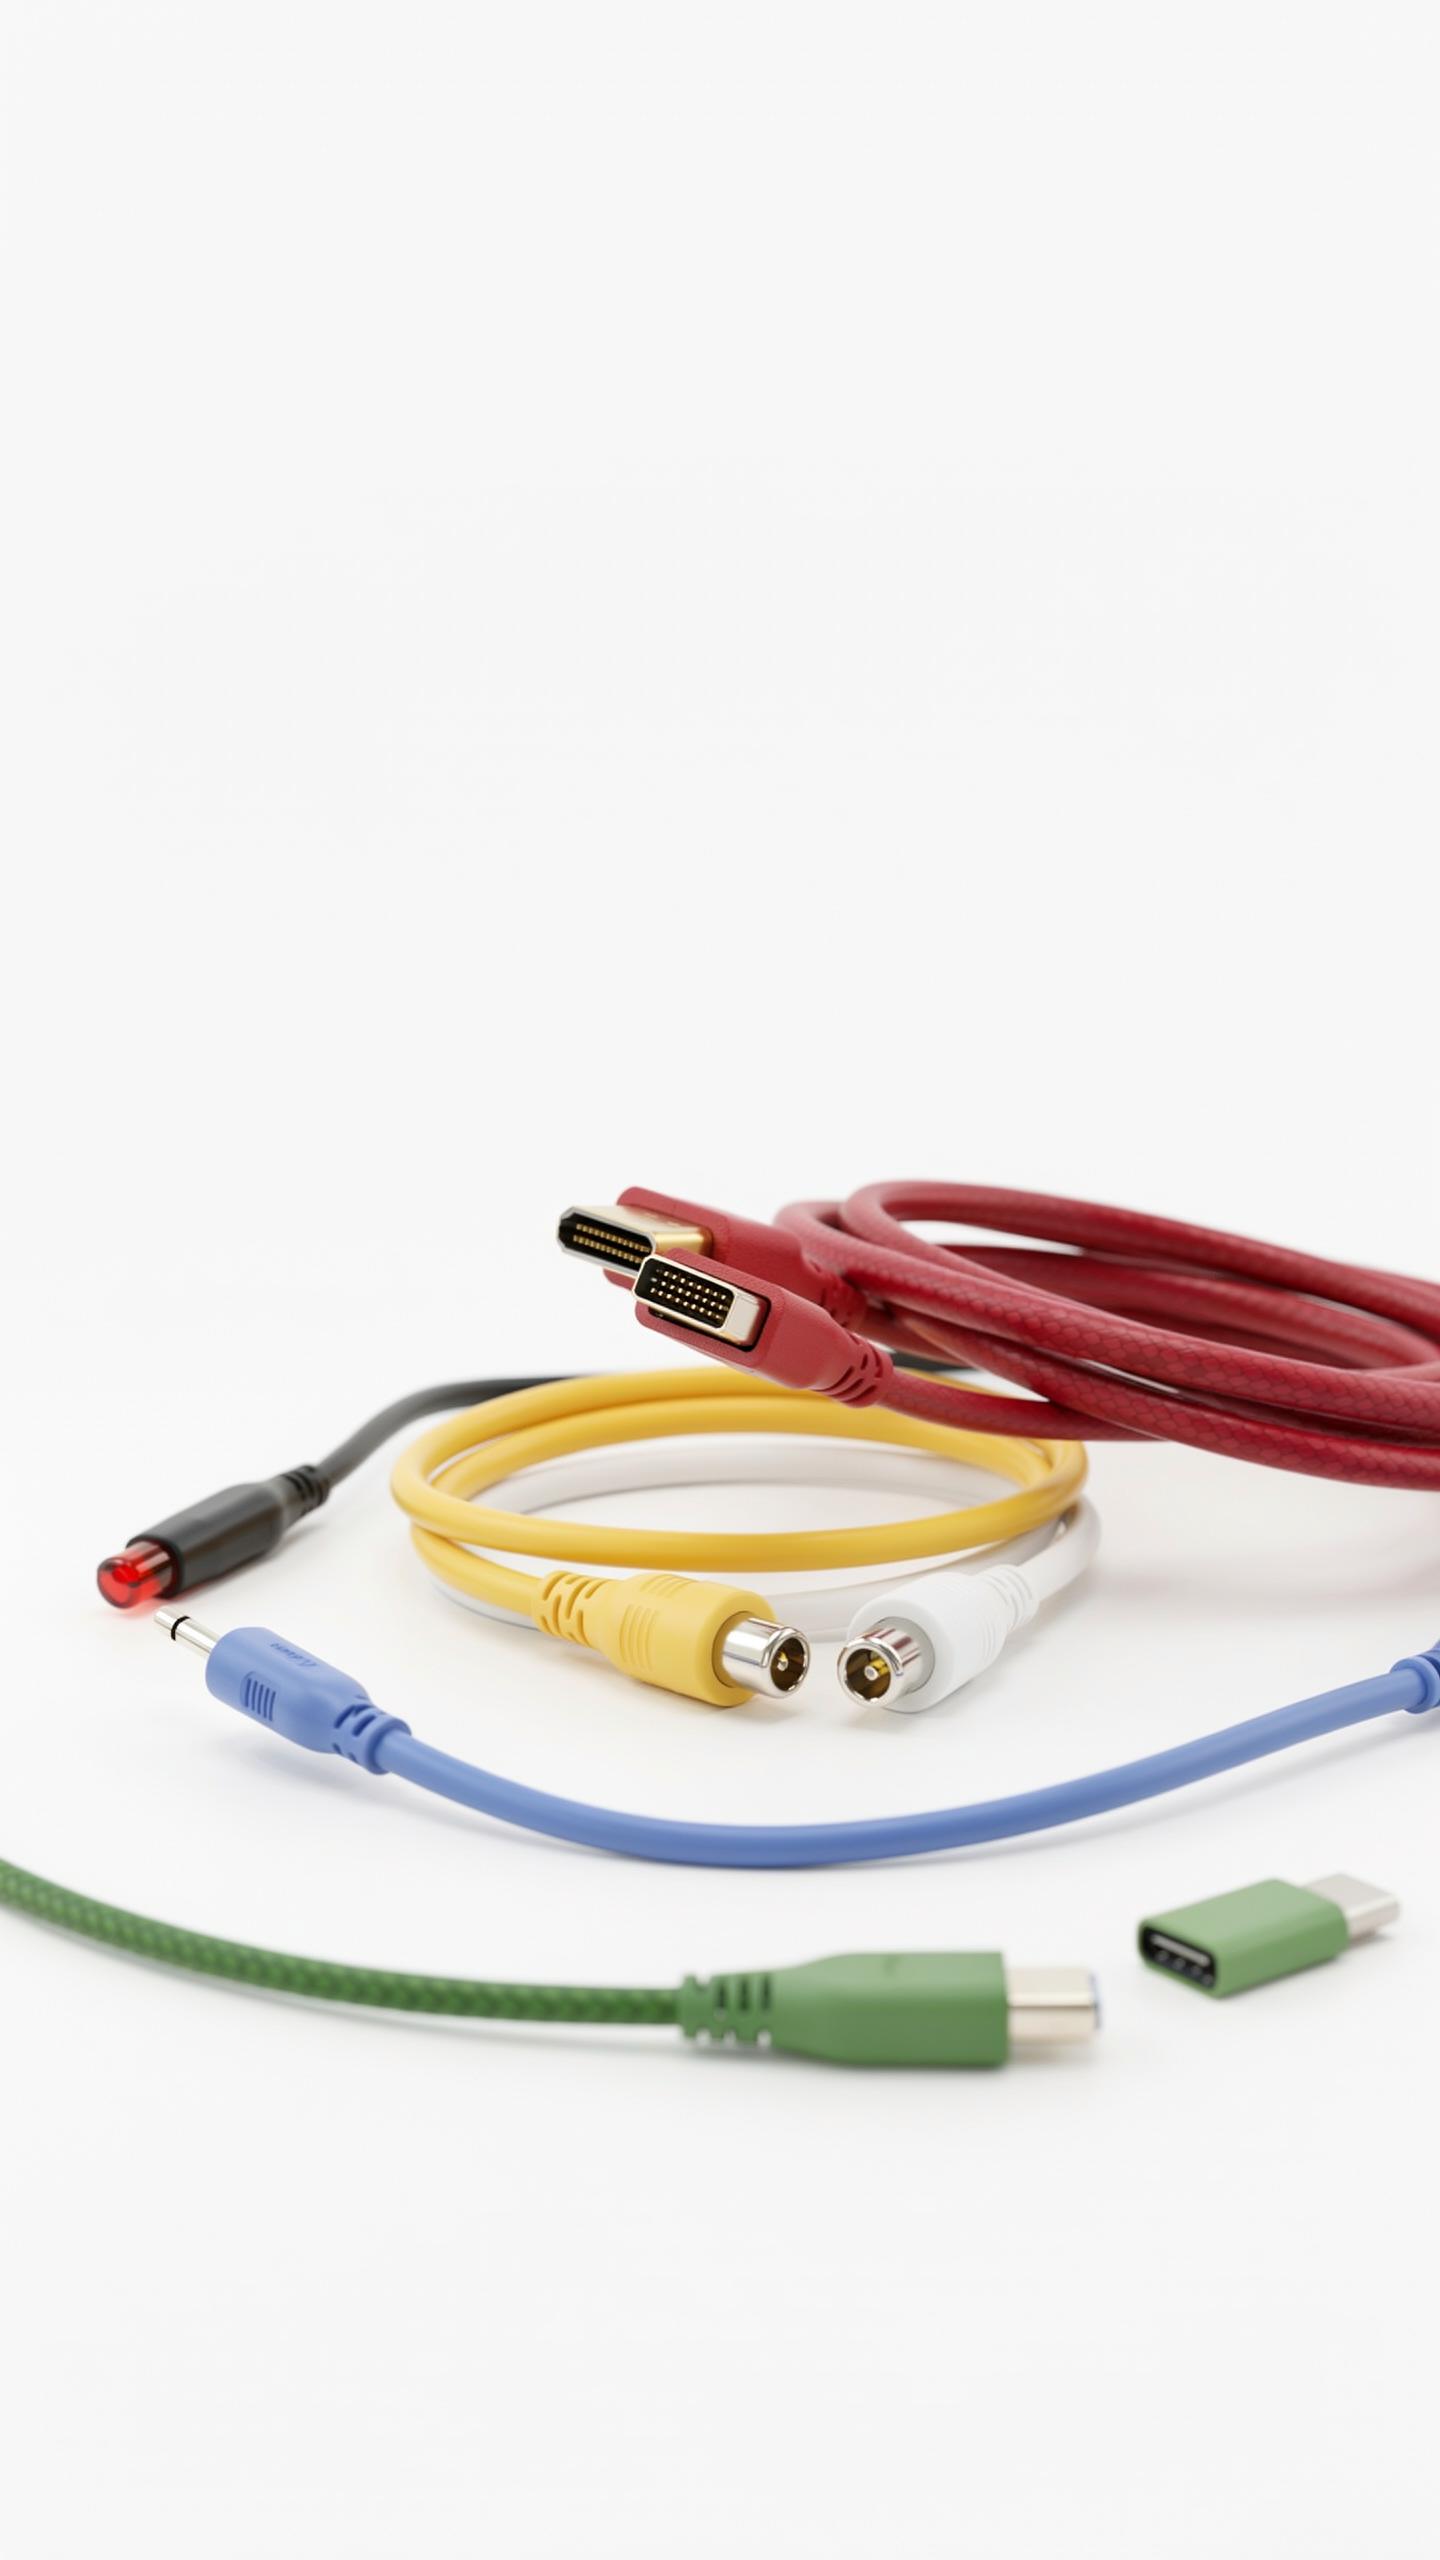
HDMI carries both video and audio signals through a single cable. This matters because your capture card needs video input from your console to record gameplay. Most modern consoles—PlayStation 5, Xbox Series X, and Nintendo Switch docked mode—output through HDMI. You need an HDMI cable running from your console to your capture card’s input port.
HDMI versions affect bandwidth capacity. HDMI 2.0 supports 4K at 60Hz, which covers current console gaming needs. HDMI 2.1 handles higher frame rates and resolutions but costs more. For console streaming at 1080p or 1440p, HDMI 2.0 cables work fine. Buy certified cables from reputable manufacturers to avoid signal degradation and connection drops.
Audio Considerations
Game audio routes to your capture card through HDMI or a separate 3.5mm connection. Most capture cards extract audio from the HDMI signal automatically. You monitor this audio through your capture software to check levels before streaming. Clean audio requires proper levels—too quiet and viewers can’t hear, too loud and it distorts.

Some capture cards include audio mixing options. You can blend game audio with microphone input directly on the device. This prevents audio sync issues that occur when mixing sources in software. Test your audio setup before going live by doing a short recording and reviewing playback.
Setting Up Your Capture Card With A PC Or Mac
Software Installation
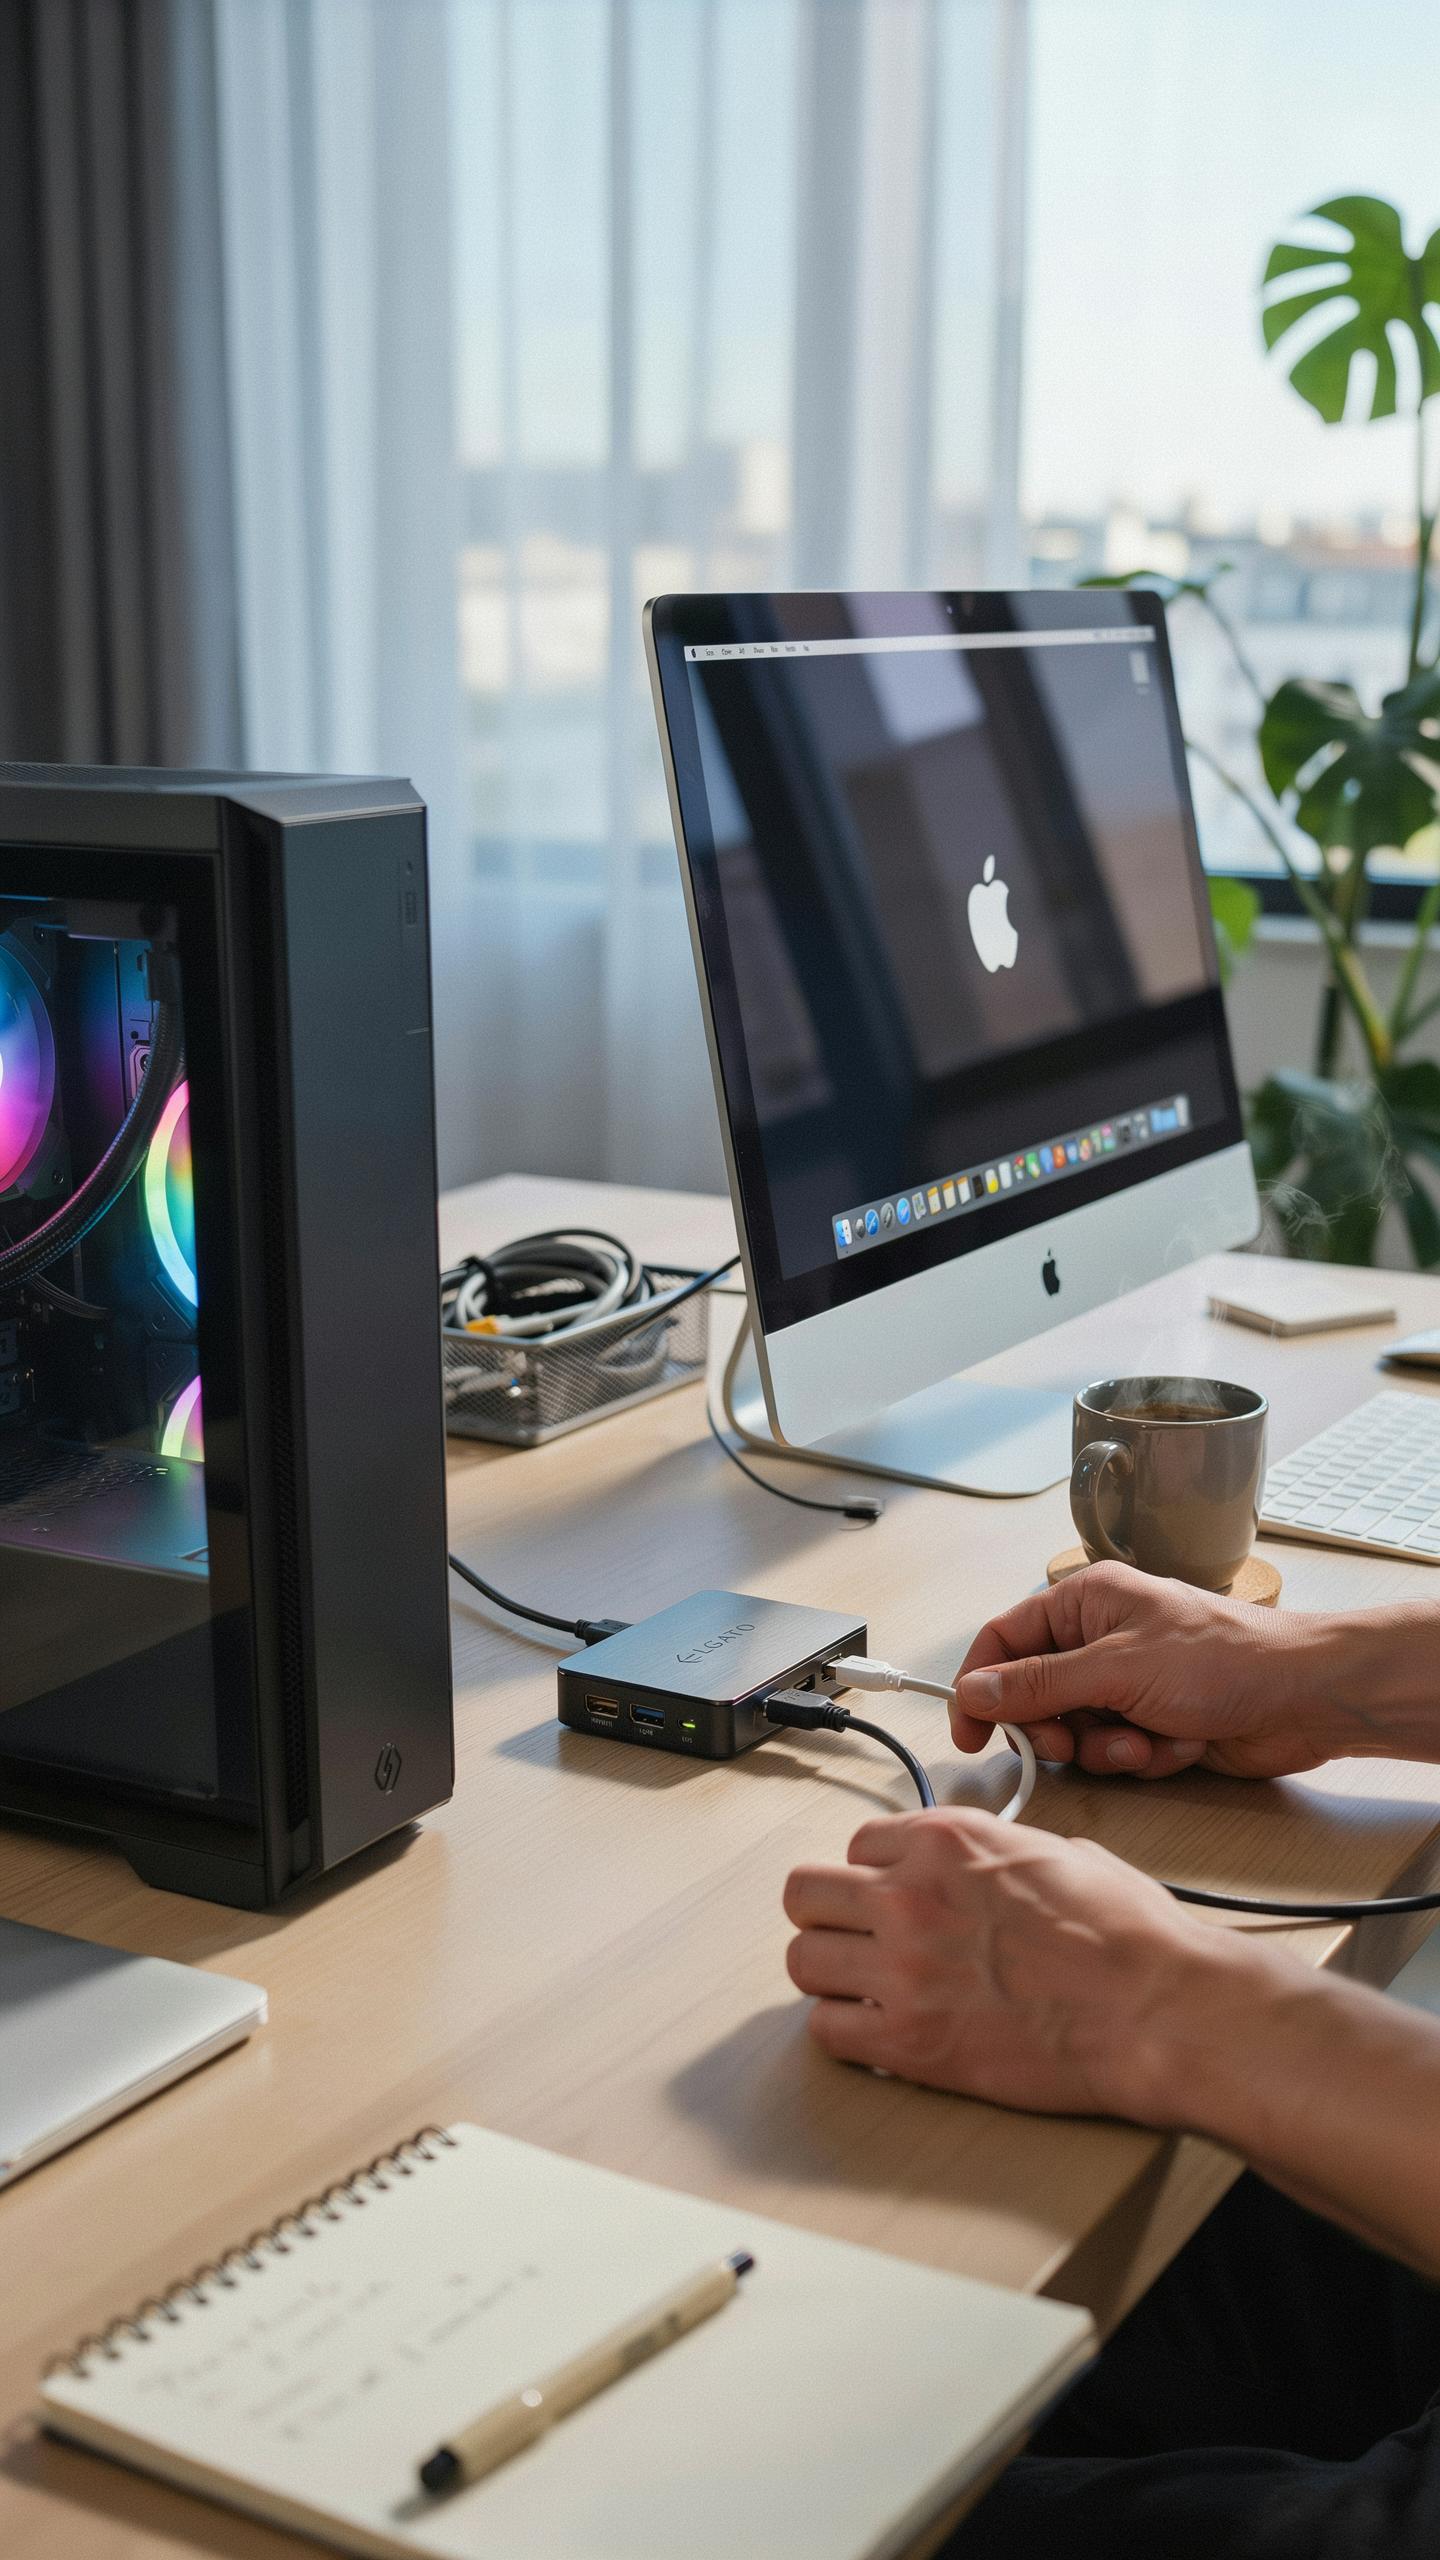
Your capture card requires drivers and software to function. Download these directly from the manufacturer’s website, not third-party sources. Use the version that matches your operating system, whether Windows, macOS, or Linux. Install drivers first, then the capture software. Restart your computer after installation completes. This ensures your system recognizes the hardware and loads all necessary components correctly.
The capture software becomes your control hub for recording and streaming. It communicates directly with your capture card’s hardware. Most manufacturers provide their own software, though some support third-party options like OBS Studio or Streamlabs. Check your capture card’s documentation for compatibility. Installing updates when available prevents crashes and fixes performance issues.
Initial Configuration
Connect your console to the capture card’s HDMI input before launching the software. Power on your console and open the capture software on your PC or Mac. The software should detect your capture card automatically. Select your capture card from the input menu if prompted. Adjust resolution and frame rate settings to match your console’s output. Test recording by capturing 30 seconds of gameplay footage to verify everything works.
Check audio levels before your first serious stream or recording. Most capture cards accept audio through HDMI or dedicated audio inputs. Route your console’s audio through the capture card, then configure audio settings in the software. Listen through headphones to confirm clean audio without distortion. Run a full test stream at your target settings to catch configuration errors before going live.
Optimizing Your Game Streaming Quality
Resolution Frame Rate
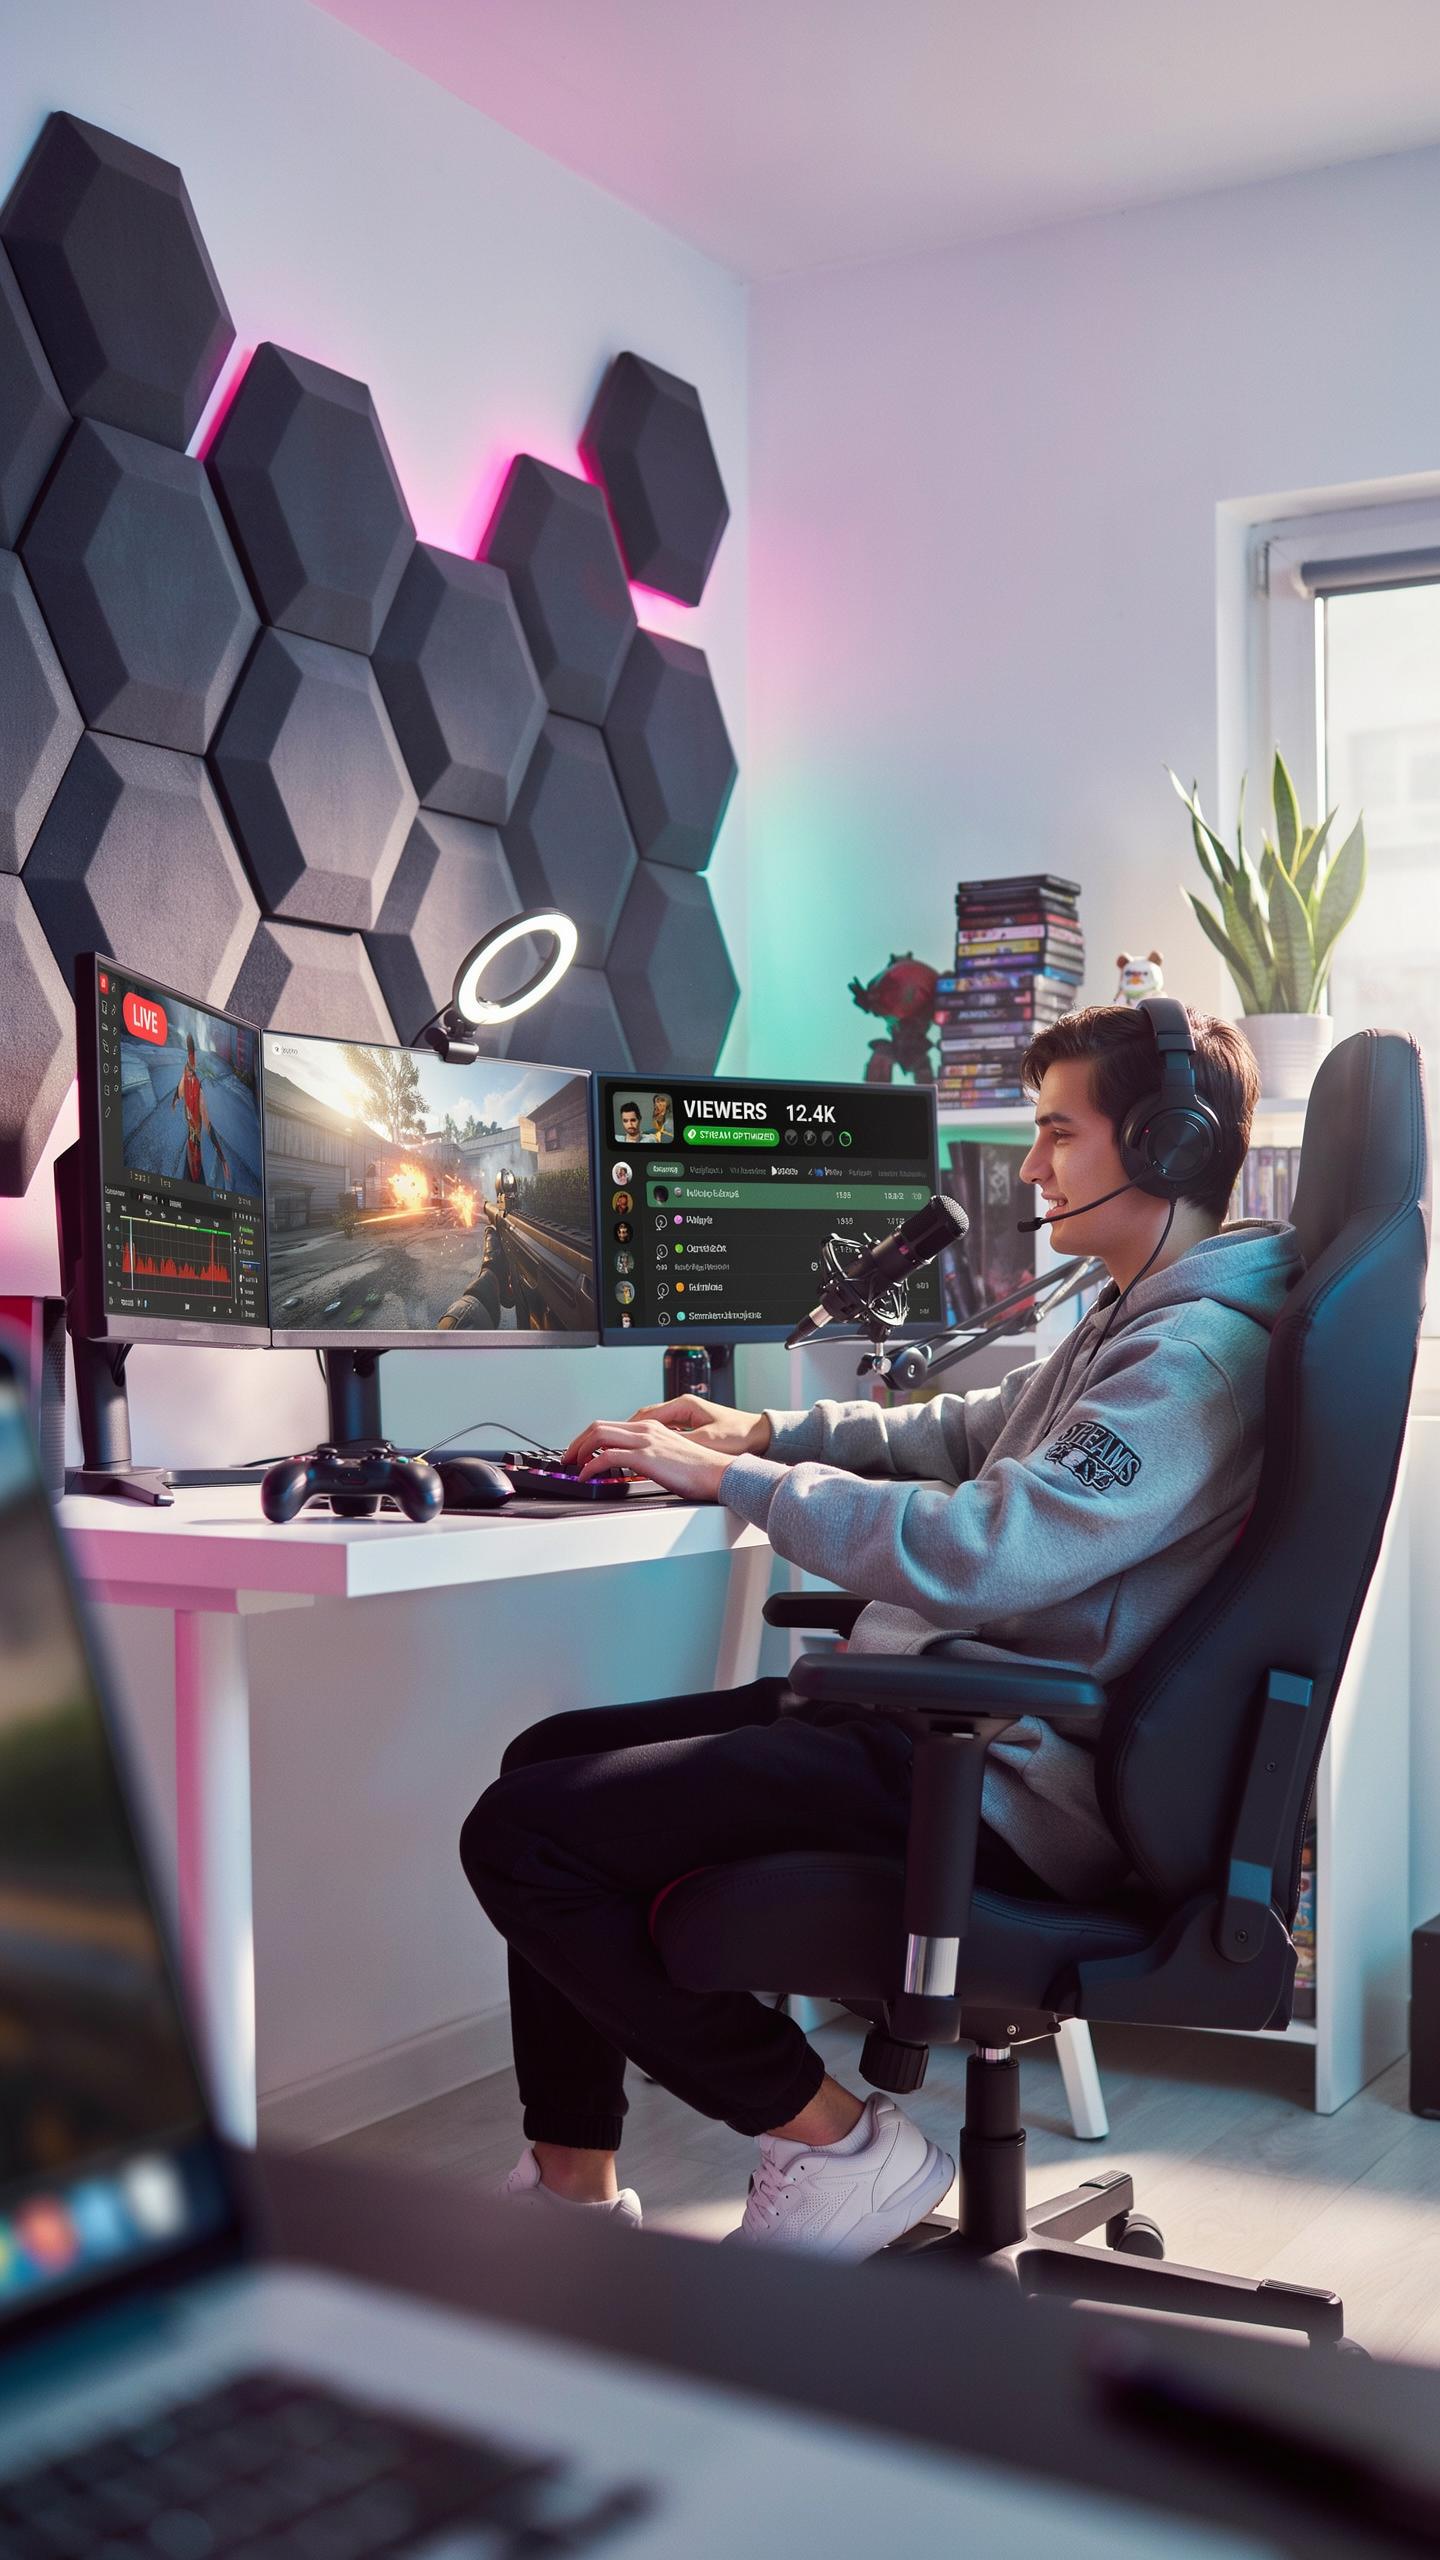
Your capture card captures video at specific resolutions and frame rates. These two settings directly impact file size, upload demands, and viewer experience. Standard console gaming uses 1080p at 60fps or 4K at 60fps depending on your hardware. Higher resolution demands more bandwidth. Higher frame rates demand more processing power. You must choose based on your internet upload speed and encoder capacity, not what sounds best.
Most streamers balance 1080p at 60fps as the sweet spot. This resolution delivers sharp visuals without excessive bitrate requirements. Console games rarely exceed 60fps output anyway. If your upload speed tops 15 Mbps, 1080p at 60fps works. If you only have 8 Mbps available, drop to 720p at 60fps instead. Match your settings to your actual network capability, not your aspirations.
Bitrate Settings
Bitrate measures how much data flows per second during your stream. Higher bitrate produces clearer video but requires faster internet. The relationship is direct: more bitrate equals better quality until your encoder or network hits its limit. Most capture cards handle bitrate encoding, but your streaming platform sets maximum acceptable bitrate. Twitch allows 8 Mbps maximum for standard streamers. YouTube allows higher rates but requires faster upload speeds to perform reliably.
Calculate your bitrate requirement based on resolution and frame rate. Aim for 6000 to 8000 kbps for 1080p at 60fps. Use 3500 to 5000 kbps for 720p at 60fps. Start at the lower end and increase only if you see quality problems. Test your stream settings with a friend watching remotely before going live. Poor upload speeds will cause drops and buffering regardless of your encoder settings.
Beyond The Basics Advanced Streaming Features
Passthrough Advantages
Passthrough eliminates the lag between your console and monitor. Your capture card processes the video signal while simultaneously sending it directly to your display. This means you see your game in real time without the delay that comes from routing everything through your PC first. Passthrough is not a luxury feature. It is a requirement for competitive gaming where milliseconds matter.
Most modern capture cards support passthrough at 4K resolution and high refresh rates. You connect your console to the capture card’s HDMI input, then connect the card’s output directly to your monitor. Your PC receives the same video stream for encoding and broadcasting. This setup preserves your gaming performance while capturing clean footage for your audience. Without passthrough, input lag becomes a deal breaker for serious streamers.
Multi Platform Streaming
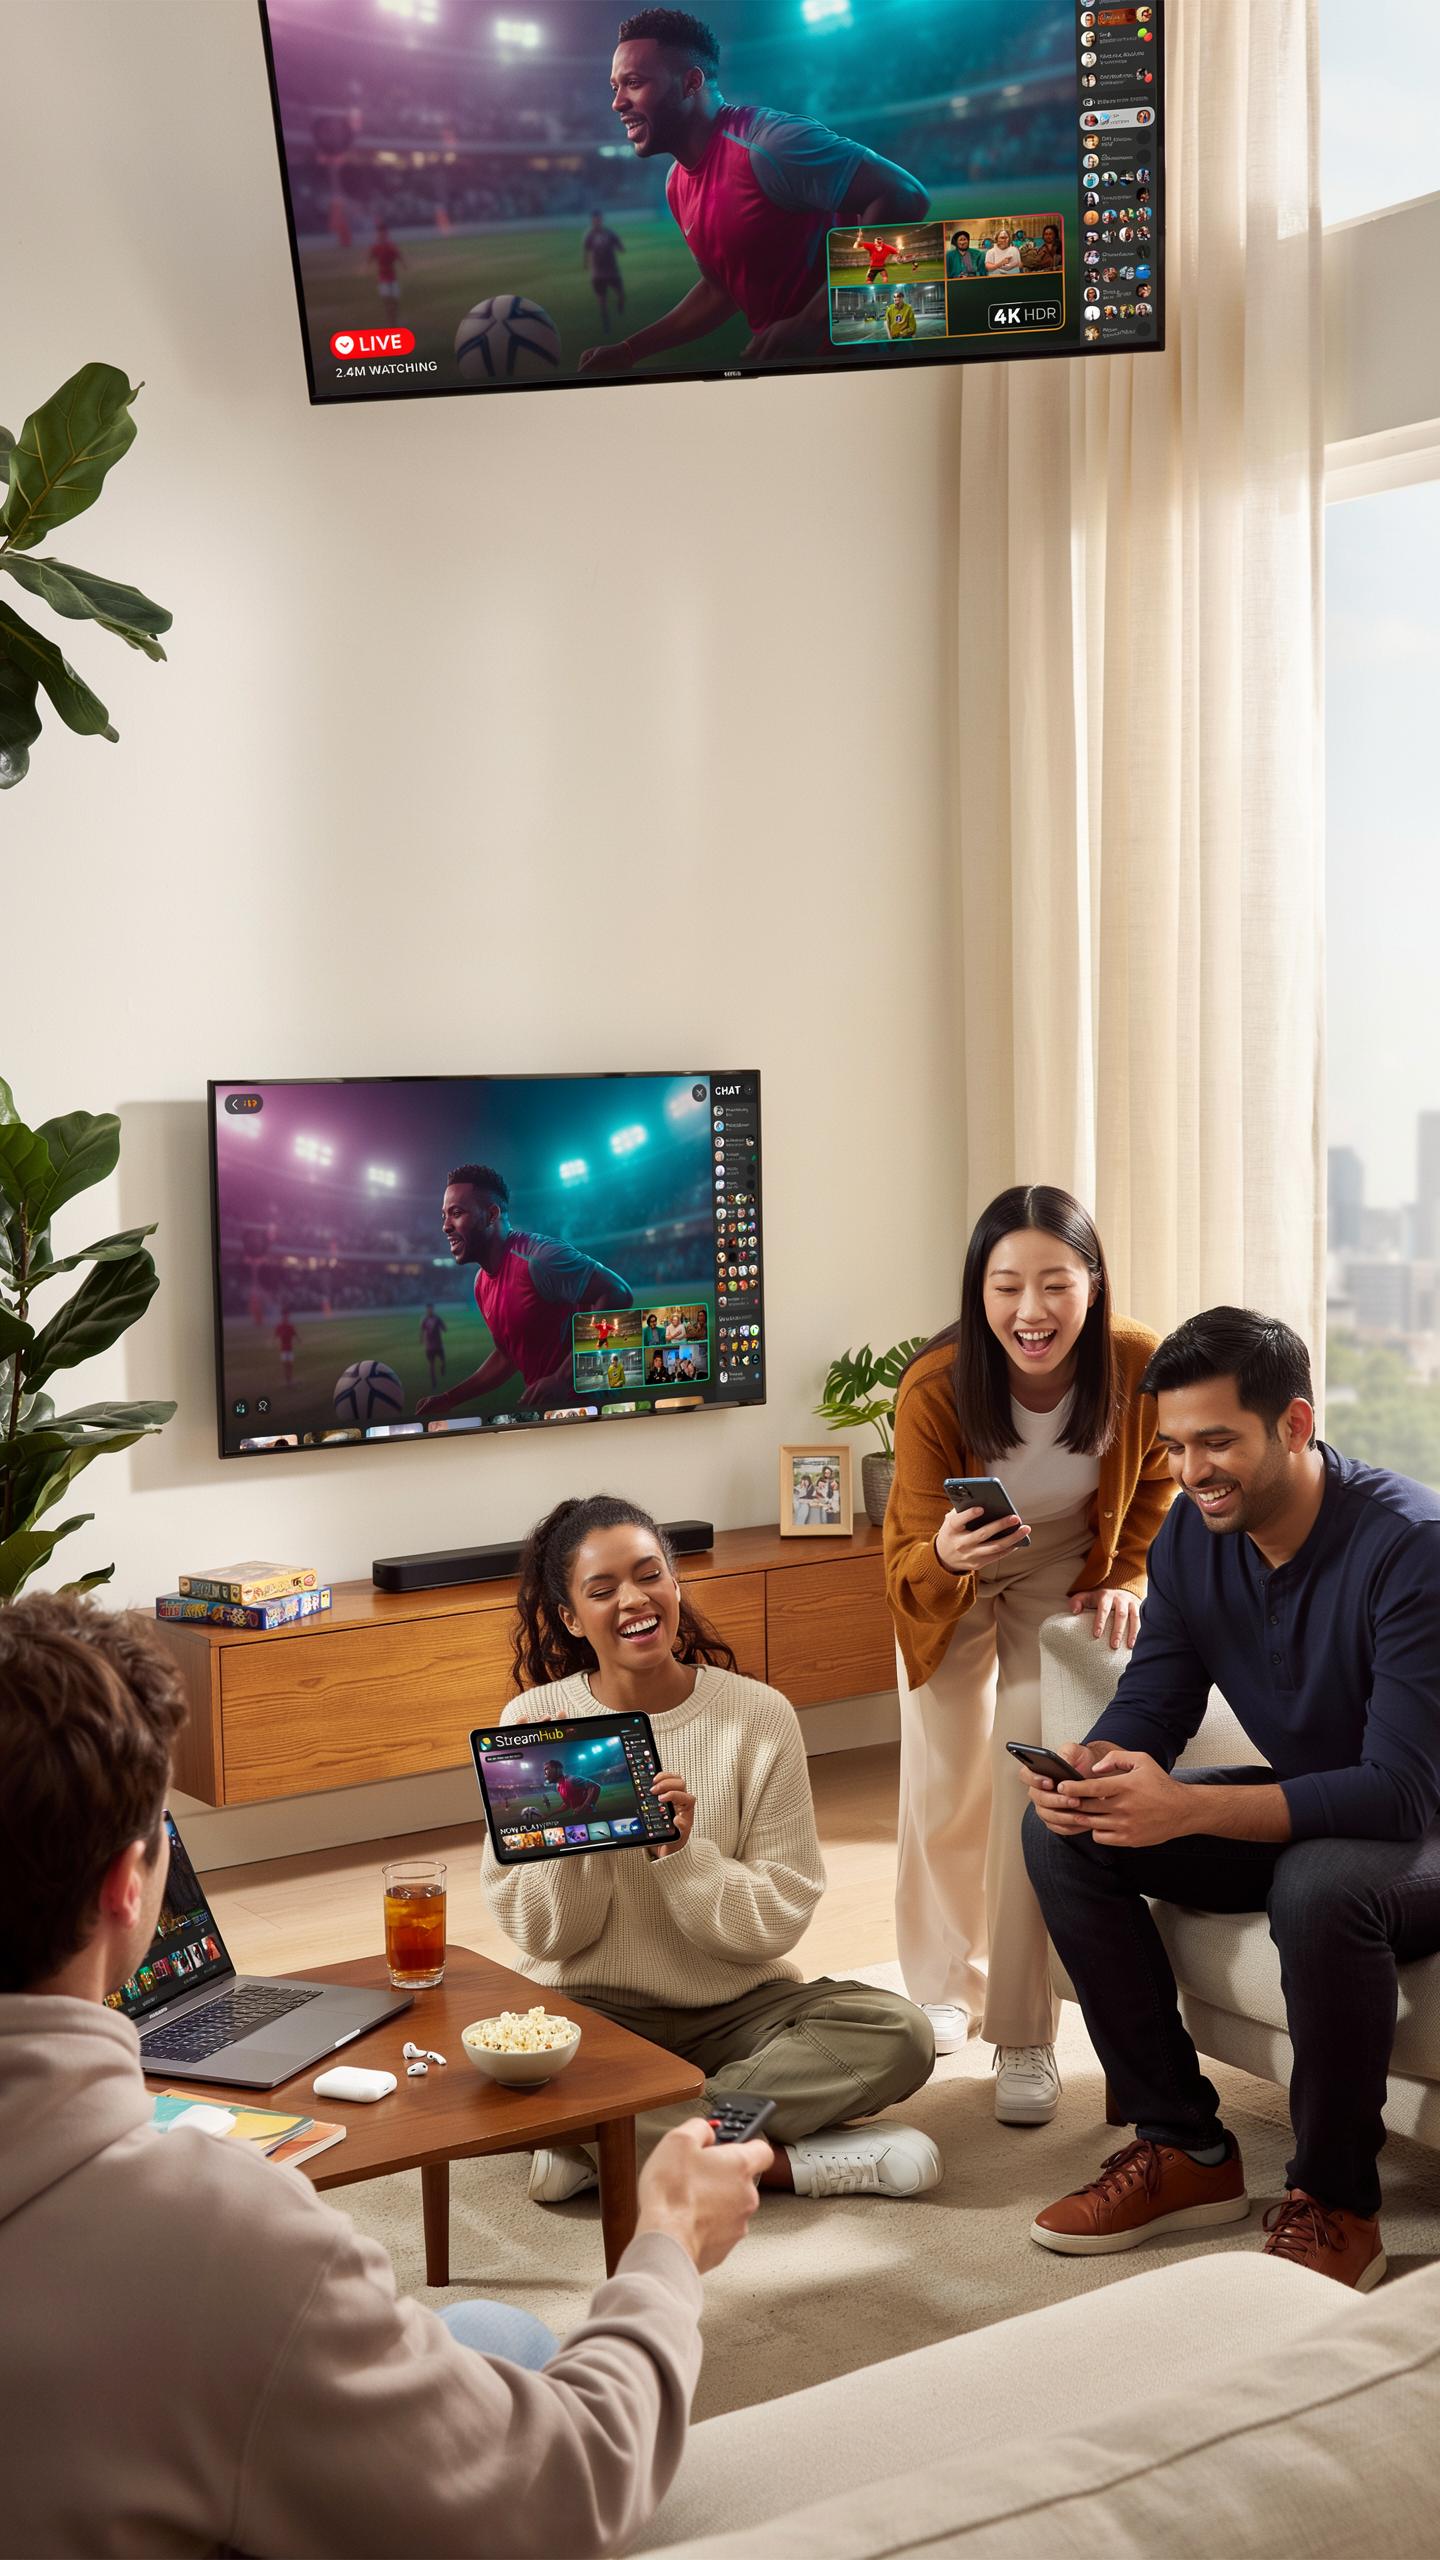
Streaming to Twitch, YouTube, and other platforms simultaneously requires specific software and hardware planning. Your capture card sends raw video to your PC, then software like OBS or Streamlabs handles the distribution. These programs split your output to multiple destinations in real time. This approach demands sufficient PC processing power and upload bandwidth to handle multiple streams without quality drops.
Most capture cards work with RTMP protocols that third party software uses for multi platform distribution. You configure each platform’s stream key and settings within your broadcasting software. The capture card itself does not choose platforms. Your PC software makes that decision and manages the technical routing. Bandwidth remains your actual constraint, not the capture hardware.
Troubleshooting Common Capture Card Issues
No Signal HDCP
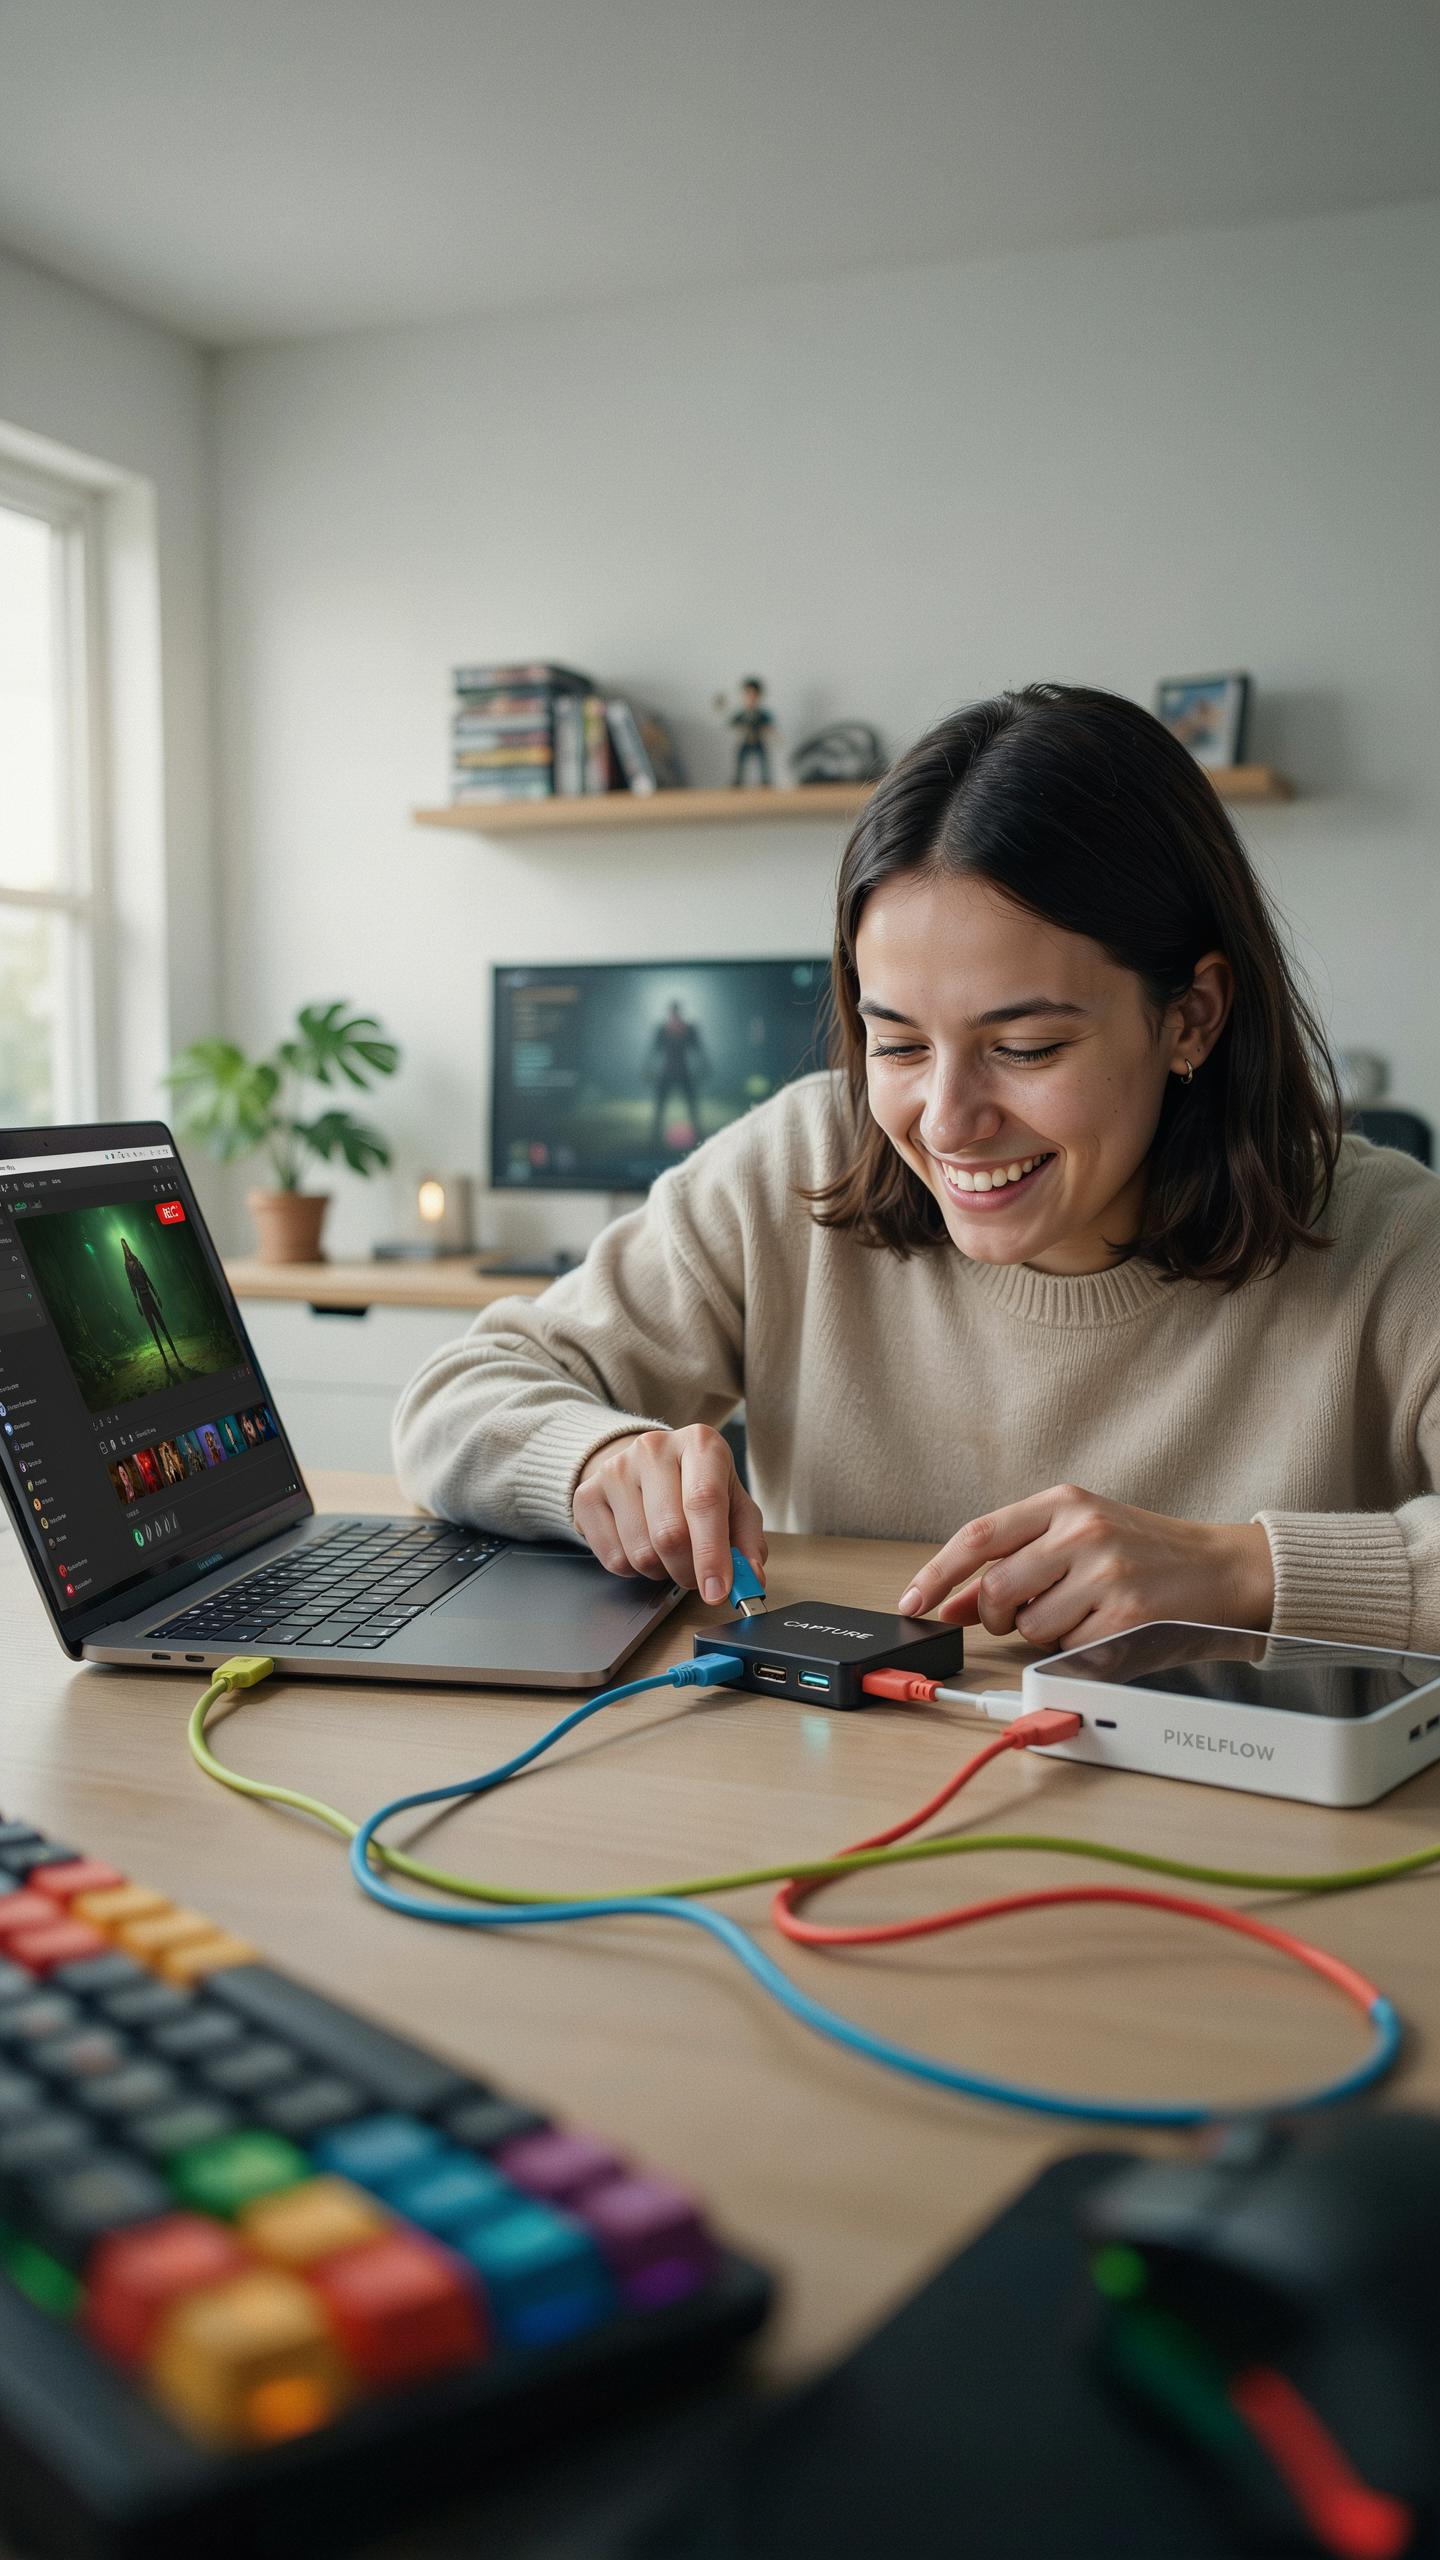
Your console outputs HDCP protection by default on most modern systems. Capture cards cannot read encrypted signals directly. You must disable HDCP on your console’s video output settings, not on the capture card itself. Check your console’s display or video settings menu and turn HDCP off completely.
If disabling HDCP doesn’t work, verify your HDMI cable connects directly from console to capture card input, not to a TV or receiver first. A splitter or passthrough device between console and capture card sometimes causes signal loss. Test with a different HDMI cable rated for your console’s resolution. Move the cable away from power sources and other interference.
Audio Video Sync
Audio sync problems occur when your capture software records sound at a different speed than video frames. Open your capture software’s audio settings and check the buffer delay option. Most software lets you manually offset audio by milliseconds to match video. Adjust in small increments until they lock.
If manual offset doesn’t fix it, switch USB cables if your capture card uses USB connection. A loose or low-power USB port creates data transmission delays that separate audio and video. Try a different USB port on your computer, preferably USB 3.0 or higher. Disable other USB devices temporarily to test if they compete for bandwidth and cause sync issues.
Enhancing Your Streaming Setup Accessories Tips
Essential Accessories
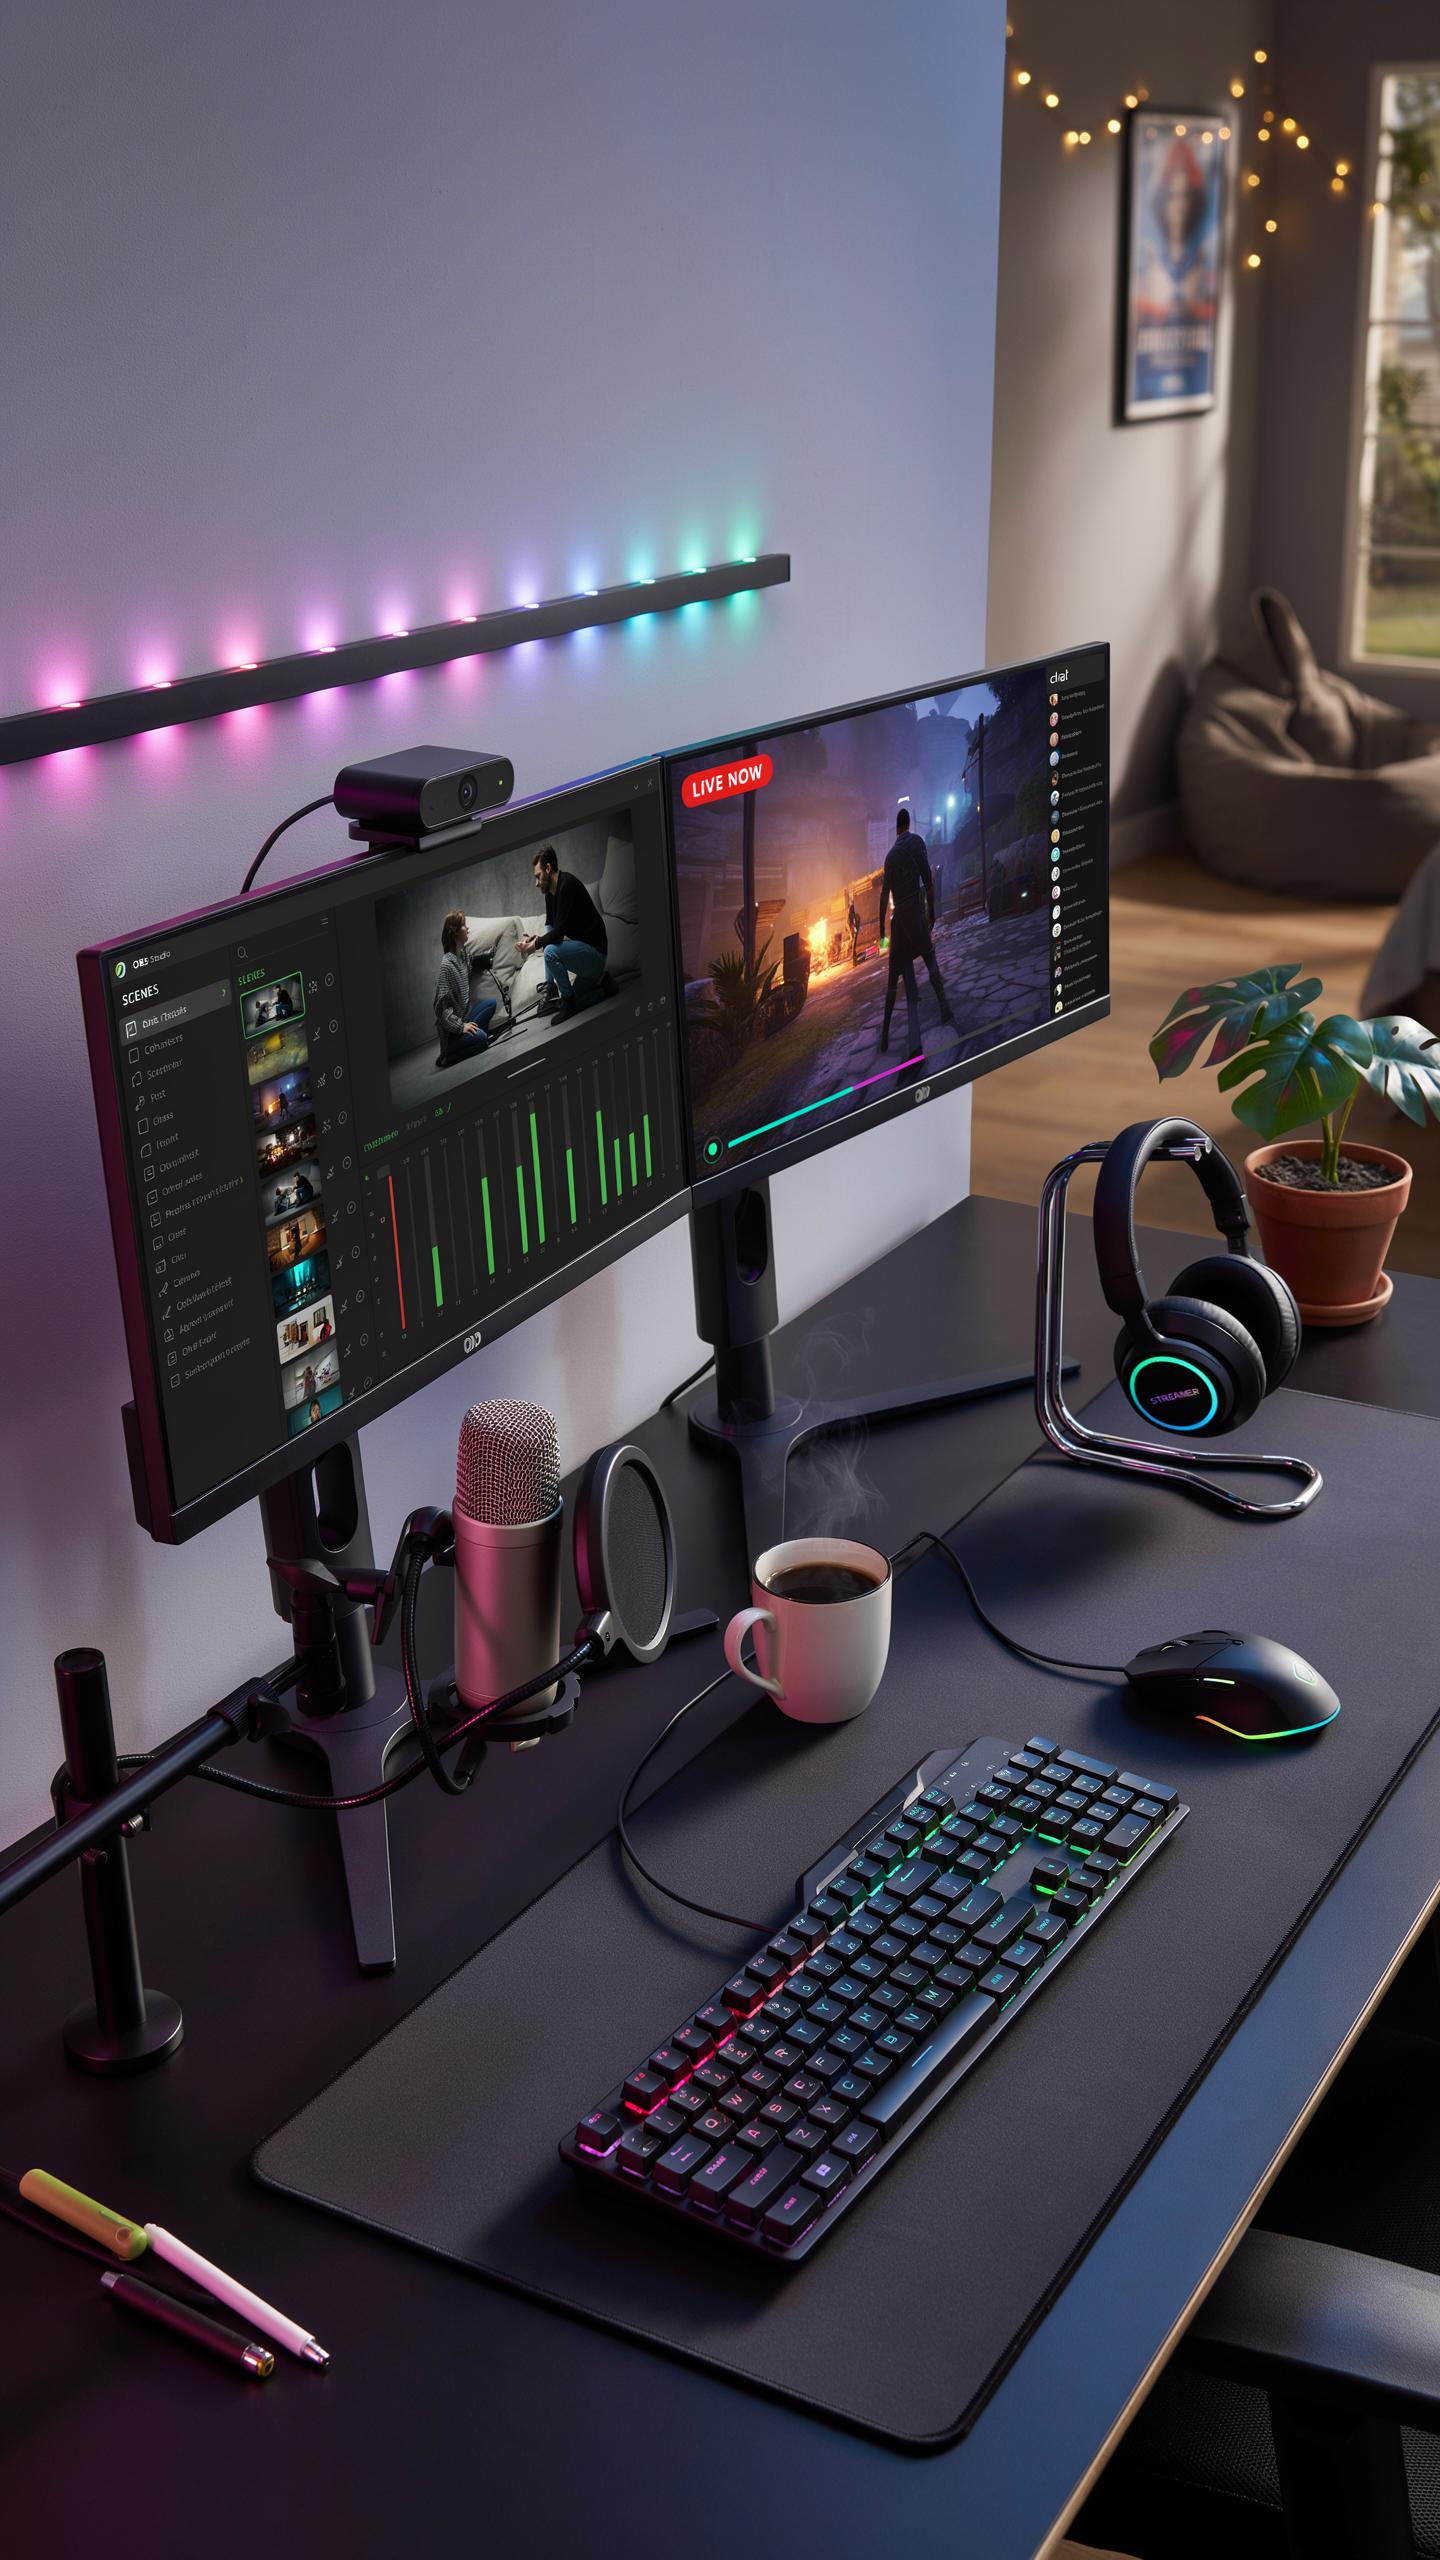
A solid streaming setup requires gear beyond your capture card. Your peripherals directly impact stream quality, viewer retention, and your ability to handle technical issues on the fly. Invest in the right tools to eliminate common problems before they tank your broadcast.
- External SSD or HDD: Store recordings locally without taxing your system’s main drive. USB 3.0 or Thunderbolt connections prevent bottlenecks. Capacity depends on your bitrate and session length, but 1TB minimum handles most scenarios.
- HDMI cables rated for 4K: Cheap cables introduce signal degradation and intermittent disconnects. Use certified cables that match your resolution output. Avoid coiled cables near power sources to prevent interference.
- USB hub with individual power: Daisy-chaining devices creates voltage drops. A powered hub isolates each connection and prevents USB conflicts that crash capture software mid-stream.
- iPad or tablet for chat monitoring: Position a secondary device to watch your chat stream in real time. This lets you read comments without minimizing your game or streaming software on your primary monitor.
- Ethernet cable for wired connection: WiFi introduces latency and packet loss during peak hours. Run Ethernet directly to your streaming PC or console. Speed matters less than stability for reliable uploads.
Accessories multiply your stream’s reliability and professionalism. Each piece addresses a specific failure point in your workflow. Skip cheap alternatives that fail mid-broadcast and force you offline.
Best Practices
Your capture card is only as effective as your entire system’s architecture. Most streaming failures stem from missed configuration steps, not hardware limits. Execute these practices consistently to maintain consistent broadcast quality.
Keep your capture software, drivers, and streaming platform updated without exception. Outdated drivers cause dropped frames and audio sync issues. Enable automatic updates where possible, but test updates on non-broadcast days before relying on them live.
Position your capture card in the fastest available PCIe slot on your motherboard. Check your motherboard manual to identify which slot provides full bandwidth. Slots nearest the CPU deliver more stable data throughput than slots near the rear I/O.
Monitor your CPU and GPU usage during test streams before going live. Aim to keep encoding below 80% of your system’s capacity. Leave headroom for unexpected spikes that occur during gameplay or chat activity.
Use wired connections exclusively for both your console and streaming PC. Eliminate variables that create latency, frame drops, or audio desync. Wireless introduces unpredictable interference that destroys stream consistency.
Test your entire workflow during off-peak hours before your actual broadcast window. Run a dummy stream to YouTube or Twitch with friends watching. Catch and fix issues while you still have time to troubleshoot.
Frequently Asked Questions

What exactly is a streaming capture card and why do I need one for console gaming?
A streaming capture card is a device that records or streams gameplay from your console to your computer. You need one because consoles typically don’t have built-in capabilities to directly send high-quality video to streaming platforms or recording software, making a dedicated streaming capture card for console gaming essential for sharing your experiences.
How do I connect a capture card to my console and computer for streaming?
Connecting is straightforward! Plug your console’s HDMI output into the capture card’s “HDMI In” port. Then, connect the capture card’s “HDMI Out” to your TV or monitor. Finally, connect the capture card to your computer via USB. Your computer will then recognize the device, ready for your streaming software.
Are there affordable streaming capture card options available for beginners, or do I need to spend a lot?
Absolutely! You don’t need to break the bank to get started. Many entry-level streaming capture card models offer excellent performance for their price, often ranging from $50-$150. These are perfect for beginners looking to experiment with streaming console games without a significant upfront investment.



