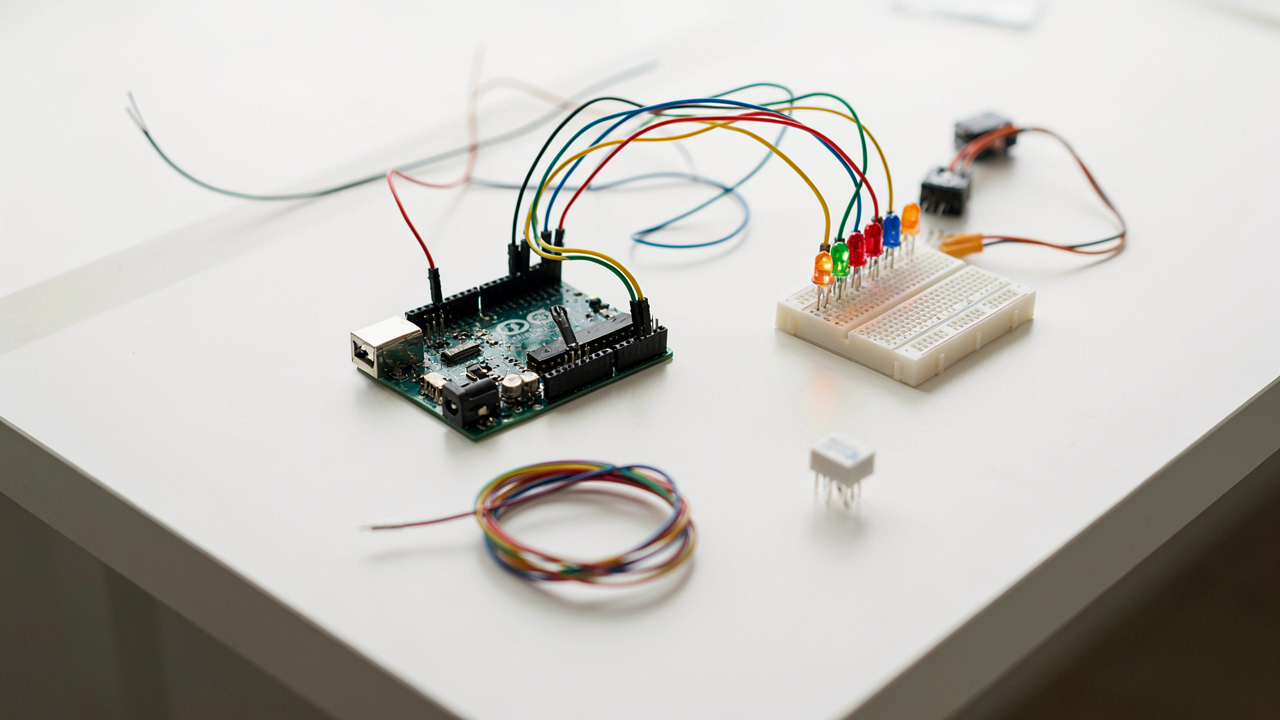
The Arduino Illusion: Why Tutorials Get It Wrong
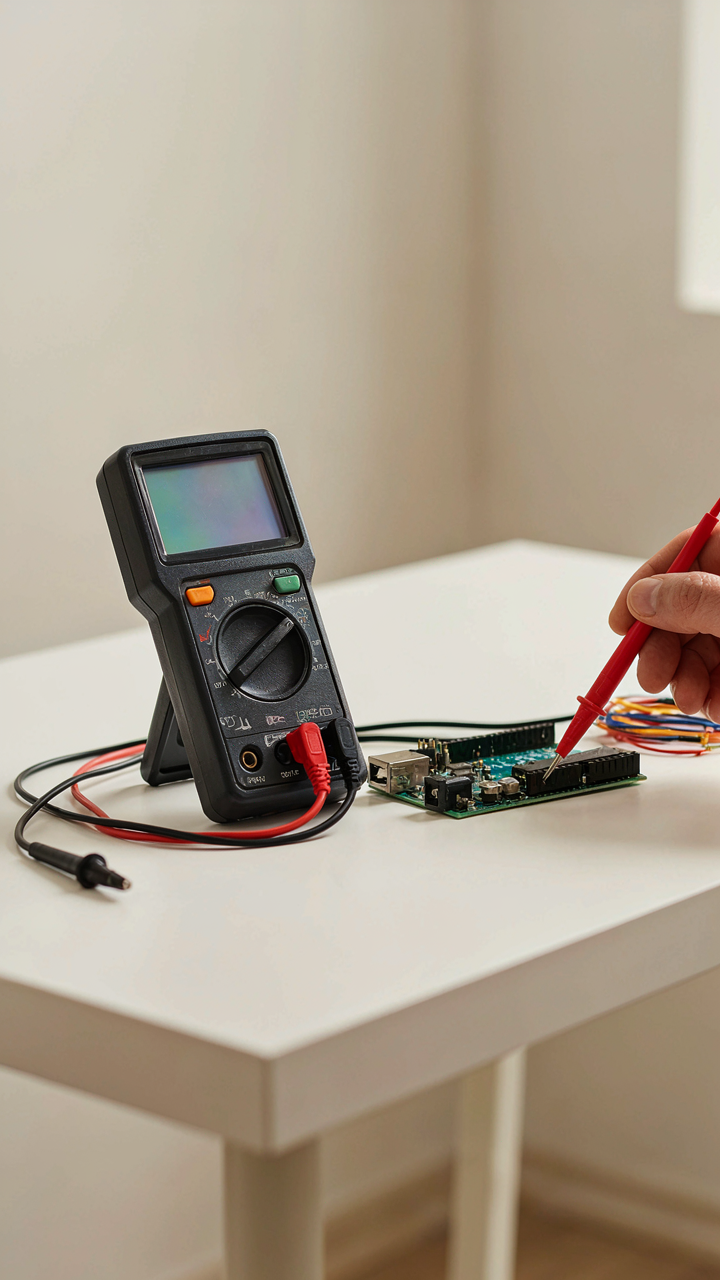
Tutorials Teach Symptom Recognition
You want to feel competent fast, so tutorials sell you pattern matching instead of mechanism. Most beginner guides dump code and circuits without explaining why current flows, why pins need voltage thresholds, or how a microcontroller actually decides to do something. You memorize the shape of a blink sketch without touching the actual layer where decisions happen: electrical potential and logic states. This creates the illusion of understanding while building no foundation.
The real mechanism is simpler than tutorials pretend. An Arduino pin becomes HIGH or LOW based on voltage. That’s it. When you set a pin HIGH, you’re sending roughly 5 volts to that leg of the chip. When you set it LOW, you’re sending ground (0 volts). Everything else flows from this electrical reality. Sensors measure voltage. Actuators respond to voltage. Code is just your instruction for when to apply voltage and when to remove it. Stop thinking about code as magic. Think of it as a voltage scheduler.
What Actually Matters In Practice
The leap from blinking an LED to building something functional requires one critical reframe: stop treating components like props and start treating them as electrical loads that demand specific conditions. An LED doesn’t care about your code elegance. It cares about current draw and voltage direction. A sensor doesn’t execute your loop. It outputs a voltage that your code reads. Real projects fail because builders ignore the electrical contract between component and board, not because their if-else logic is sloppy.
Move from “Hello World” to constraint-based thinking. Ask what you’re actually trying to measure or control in the physical world, then work backward to the electrical requirement. Need to detect motion? A PIR sensor outputs HIGH when movement is detected, LOW when idle. Need to dim a light? PWM (Pulse Width Modulation) rapidly switches a pin on and off to simulate voltage reduction. Each application reveals a specific electrical pattern. Learning those patterns beats learning infinite tutorial variations. Your first real project should measure something real, not blink an LED in a new color.
The Core Loop: Not Just An Uno Board

Read, Think, Act
You want to feel like you understand how microcontrollers work so you can stop feeling like a fraud when someone asks what your Arduino actually does. Here’s what’s really happening: your board runs the same three-step cycle thousands of times per second, and that cycle is borrowed directly from control systems engineering. Input, process, output is the feedback loop that governs everything from factory automation to your project.

The Arduino reads a sensor or button, runs your code against that data, then controls an output like an LED or motor. That’s the entire mechanism. Your setup function runs once at power-on. Your loop function executes repeatedly until power dies. Inside loop, you digitalWrite to set pins high or low, analogRead to measure voltage from 0 to 1023, and digitalWrite to respond. Nothing else matters at this stage.
When Your Uno Becomes Dead Weight
The Uno works until it doesn’t, and most builders waste months before admitting it. You need a different microcontroller when your project demands more processing power, more I/O pins, lower power consumption, or faster clock speed than the Uno provides. The Uno runs at 16 megahertz with 14 digital pins and 6 analog pins. That limit is real.
The Arduino Nano fits the same code in a smaller form factor. The Arduino Mega gives you 54 digital pins and 16 analog inputs for parallel sensor networks. The Arduino MKR boards run at 48 megahertz and handle WiFi natively. The ESP32 runs at 240 megahertz with dual cores and costs less than a Uno. Identify your constraint first, then choose the board that removes it, not the one that looks cool.
The Kinetic Energy Protocol For Arduino Programming

Force And Momentum In Code Execution
You want this section to feel like you’ve unlocked a secret that separates builders from tinkerers. Here’s the reality: there is no secret. Physics borrowed the term “impulse” to describe force applied over time, and Arduino code execution works the same way. Your program doesn’t run once. It loops. The momentum of that loop—how fast it cycles and what it does each cycle—determines whether your circuit responds or sleeps.

The Arduino runs your code in a loop, typically 60 to 10,000 times per second depending on your clock speed and code complexity. Each cycle is a discrete pulse of execution. If your code takes 100 milliseconds to run one loop, you get 10 cycles per second. If it takes 1 millisecond, you get 1,000. The faster the cycle, the more responsive your sensor reads and your outputs react. This is momentum: consistent, repeated force applied to the system. Neglect it and your Arduino feels sluggish. Control it and it performs.
Cycle Speed Determines Real World Response
Most tutorials tell you to add delays and hope things work. That’s incomplete. Delays create dead time where your Arduino ignores the world. Instead, build loops that execute fast and check conditions inside them. A 16 MHz Arduino can run simple code millions of times before a sensor even blinks. The mechanism is simple: shorter loops mean more chances to read input, process logic, and update output in the time it takes an external event to happen.
The practical move is to measure your loop speed with micros() and millis(), then remove anything that stalls execution. Keep your loop under 10 milliseconds if you’re reading sensors in real time. Offload heavy calculations to interrupts or break them across multiple cycles. Every millisecond you save compounds across thousands of loop iterations, turning a laggy system into one that actually feels alive.
Sensors Aren’t Magic: The Data Driven Advantage
How Physical Reality Becomes Numbers
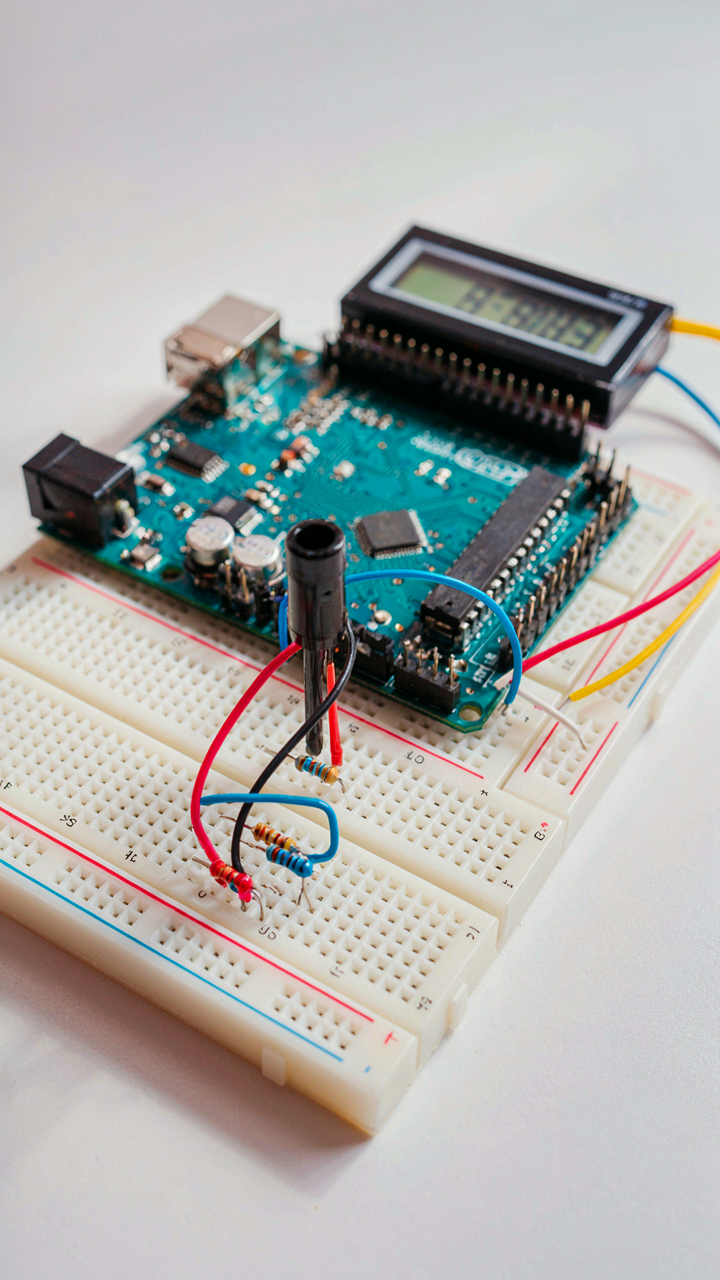
You want sensors to work because you’re tired of guessing what’s happening in your project. Here’s the mechanism: a sensor is a transducer. In physics, transduction means converting energy from one form to another. An Arduino sensor converts physical phenomena—light, temperature, motion, pressure—into electrical voltage that the microcontroller can read as a number between 0 and 1023.

The Arduino’s analog input pins don’t understand heat or light. They understand voltage. A temperature sensor outputs varying voltage based on how hot it is. The microcontroller’s analog-to-digital converter samples that voltage 1024 times across a range and assigns it a digital value. You read that value in code. No magic. Just physics.
Match The Signal To The Task
Most beginner advice says “pick a sensor that measures what you need.” That’s incomplete. You need to match the sensor’s output range to what the Arduino can actually measure. A typical analog sensor outputs between 0 and 5 volts. The Arduino reads this as 0 to 1023. If your sensor only outputs 0 to 2 volts, you’re wasting resolution and losing precision in the lower half of your measurement range.
Before selecting a sensor, check its datasheet for output voltage, response time, and accuracy specifications. A DHT22 temperature sensor reads temperature and humidity but has a one-second response time—too slow if you need fast feedback. A thermistor responds instantly but requires careful calibration. Select based on what your project demands, not what’s cheapest or most popular. The calibration step happens in code after you’ve confirmed the sensor outputs clean, predictable data.
Powering Up: Beyond USB For Robust Electronics Projects
Why Your Power Source Fails Before Your Code Does
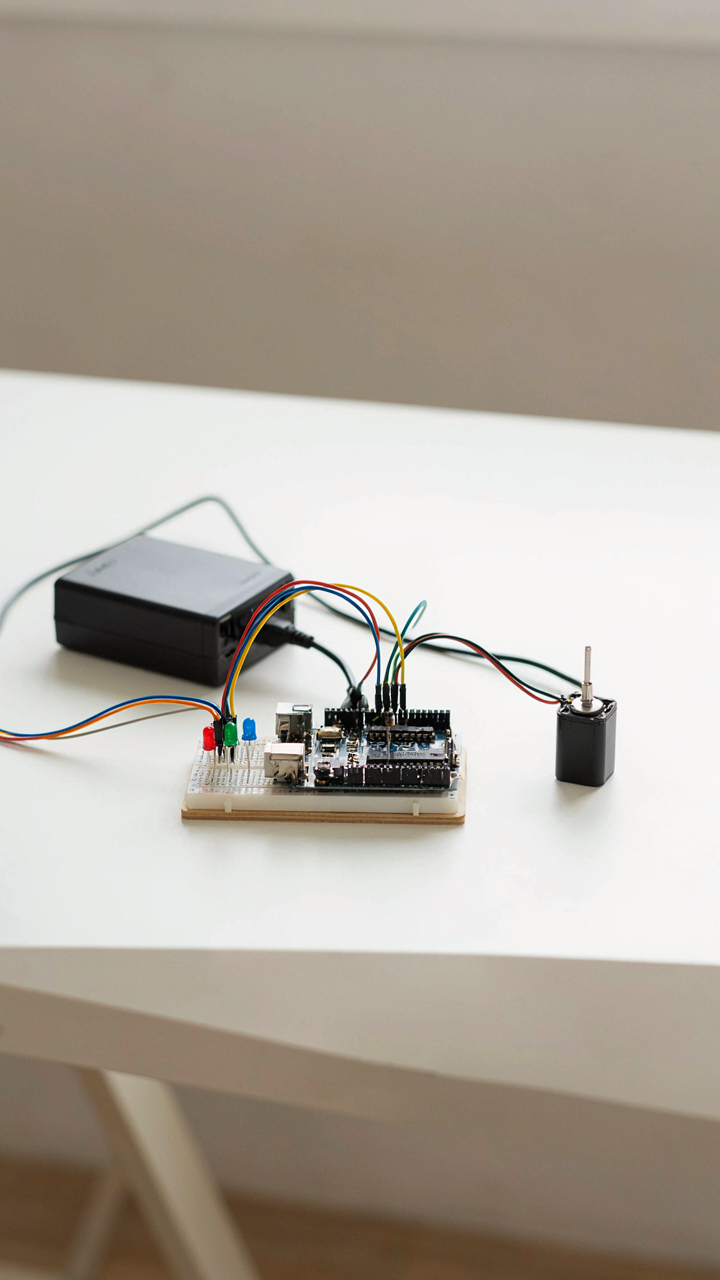
You want your Arduino project to work reliably so you can ship it and move on. The real reason most hobby projects die in the field is not bad code or faulty sensors—it’s unstable power. Think of power delivery like supply chain logistics: voltage ripple is inventory volatility. Fluctuating current creates noise that corrupts sensor readings and crashes your microcontroller without warning. USB power works for breadboard tinkering but collapses under real-world load. Most builders ignore this until their project mysteriously fails after three days of operation.

The mechanism is straightforward. Your Arduino’s voltage regulator can only do so much. When current demand spikes (a motor spinning up, an LED brightening, a radio transmitting), the voltage dips below the 5V threshold your chip expects. Noise couples into analog readings. Digital signals glitch. The microcontroller resets. You get erratic behavior that makes debugging impossible because the problem only appears under load, never on the bench with USB power. Stable power delivery means choosing the right source, adding the right filtering, and measuring what actually arrives at your board.
Matching Power Needs To Your Circuit Reality
Don’t guess your power budget. Calculate it. The common mistake is adding up all component ratings and calling that your requirement. Wrong. You need the sum of peak current draws, not rated maximums, because devices don’t always run at full specification. A servo draws 500mA when moving, 10mA at rest. An LED draws its rated current only when fully lit. A motor’s draw depends on load torque, not just nameplate specs.
Start by listing every powered component and its actual operating current in your specific circuit. Measure with a multimeter in series if you’re uncertain. Add them up with a 20 percent safety margin. That’s your minimum power supply capacity. For example: Arduino Uno uses 50mA, a servo uses 500mA peak, three LEDs use 60mA total. Your peak demand is roughly 610mA, so a 1A supply gives comfortable headroom. Size your supply first, then add filtering capacitors at the Arduino power pins to absorb current spikes and suppress noise.
The Ecosystem Trap: When To Go Custom

Libraries Save Time Until They Don’t
You want the shortcut because you’re afraid your code won’t work, so you grab whatever library exists first. The real mechanism here mirrors supply chain economics: dependency creates fragility. A library abstracts away the underlying protocol, but that abstraction collapses the moment the library stops being maintained, conflicts with another dependency, or does 90 percent of what you need instead of 100 percent.

Start with existing libraries for standard tasks like LCD displays, temperature sensors, or motor control. The Arduino community built these well. But read the source code before you use it. You need to know what abstraction you’re actually trading for. If a library does exactly what your spec demands, use it. If you find yourself fighting the library’s assumptions, build it yourself. The swap point happens faster than you think.
Jump To Native C When Arduino Becomes The Bottleneck
The common advice says learn Arduino first, then move to C later. That’s incomplete. Arduino is C, wrapped in a framework that handles timers and interrupts for you. You should move to native C the moment you need precise timing, low memory footprint, or access to microcontroller features the Arduino abstraction hides. This isn’t a graduation ceremony. It’s a recognition that your problem demands different tools.
When you write directly to registers and interrupt vectors, you gain control over exactly when your code runs and how much memory it consumes. The Arduino IDE becomes a liability here because it applies settings you didn’t choose and can’t see. Migrate to Atmel Studio or PlatformIO when you’re optimizing for response time under 10 microseconds, managing multiple interrupts, or running on chips with under 2KB of RAM. Your build environment should match your requirements, not the other way around.
Debugging: The Art Of Brutal Honesty

Start With Signal, Not Guessing
You want debugging to feel like detective work because that validates the time you’ve wasted before asking for help. It’s not. Debugging is signal tracing, borrowed from electrical engineering: you find where the signal enters clean and where it exits corrupt, then isolate the component in between. Your Arduino runs code. Code produces output. Output either matches expectation or it doesn’t. That’s the entire system.

Most people skip the obvious step: they don’t verify their assumptions about what the hardware is actually doing. You assume the sensor reads. You assume the pin voltage is correct. You assume the serial monitor shows what you sent. Start here instead. Plug in your multimeter. Check the voltage at the pin. Watch the serial output byte by byte. Verify one thing at a time before moving forward.
- Serial Monitor Output: Print variable values at each stage of your code to see where data changes unexpectedly or stops flowing entirely. Use Serial.print() to trace execution.
- Multimeter Voltage Check: Measure actual voltage at input and output pins to confirm the hardware delivers what your code expects. Sensors often fail silently.
- LED Indicator Test: Attach an LED to a pin and toggle it at key points in your code. If the LED doesn’t blink when expected, your code never reached that line.
- USB Connection Reset: Unplug the Arduino completely for 10 seconds, then reconnect. Many upload failures and communication hangs clear with a full power cycle.
- Isolate Variables: Test one component or code block alone before integrating it with others. A faulty sensor ruins everything downstream if you test the whole system at once.
The goal is binary clarity: does the signal exist or not? If it exists, is it the right value? If it’s the right value, why isn’t your code responding? Follow this chain methodically and the fault surface within minutes. Bounce between code and hardware without this structure and you’ll debug for hours.
Where Code Breaks And Hardware Fails
The common advice says “check your connections first.” That’s incomplete. Your connections might be physically fine but electrically wrong. A loose wire looks seated. A corroded pin conducts poorly. A shorted ground wire produces mysterious resets. Meanwhile, your code might be rock solid. You need to know which domain actually contains the fault before you waste time rewriting working logic.
Code faults cluster in three categories: wrong pin assignment, incorrect logic flow, and timing conflicts. Hardware faults cluster in four: power delivery failure, sensor malfunction, connection degradation, and component damage. Check pin assignments in your code against your wiring diagram first. If Serial.println(digitalRead(pin)) returns unexpected values, the fault is physical. If the serial output never appears, check USB cable, drivers, and board selection in the IDE. Restart your IDE and reflash the board before you assume the code is broken. Most “mysterious” failures are the IDE caching bad state or the computer not recognizing the board after a crash.
From Beginner Arduino Electronics Tutorial To Practical Systems
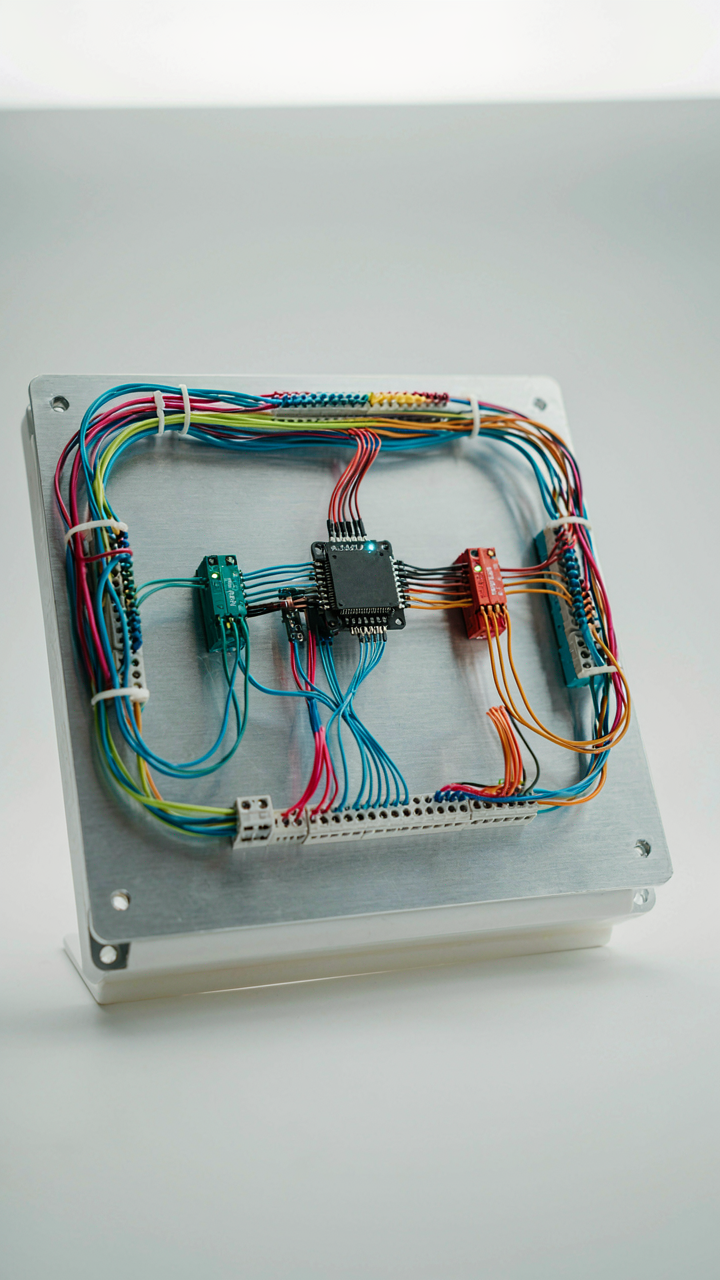
When Your Uno Stops Being Enough
You want to know this because you’re afraid your hobby project won’t scale, that you’ll hit a wall and have wasted time learning something that doesn’t matter. The real mechanism is this: Arduino Uno projects fail at scale not because the platform is weak, but because you’ve been treating it like a finished product instead of a component. An Uno is a development board, not a production unit. The jump to industrial systems requires you to stop prototyping and start engineering.

When you move from breadboard to factory floor, you’re adopting constraints from systems design, the field that governs how components interact within larger wholes. The Arduino’s role shifts from “the brain” to “one input node.” You’ll need to think about signal integrity, power distribution, and failure modes differently. A single Uno running one sketch becomes multiple microcontrollers communicating via standardized protocols. You stop asking “Can this work?” and start asking “Will this work when the power flickers, when vibration hits, when someone plugs it in wrong?”
Connecting Arduino To Existing Network Infrastructure
Industrial systems don’t exist in isolation. Your Arduino must speak the language of the network it enters, whether that’s Modbus, CANbus, or standard Ethernet. Most tutorials skip this entirely and keep Arduino projects hermetically sealed. Wrong approach. A factory environment already has decades of equipment communicating through established protocols. Your Arduino either integrates cleanly or it becomes technical debt.
The practical shift: you move from serial communication over USB to either wired fieldbus protocols or networked gateways. CANbus works for automotive and manufacturing because it’s designed for harsh environments and multiple nodes. Modbus TCP layers onto Ethernet for legacy compatibility. An Arduino Uno can’t run these natively without a shield or external module, which is the actual decision point. You pick the protocol your system uses, add the necessary hardware interface, and write the communication layer before you write your application logic. That order matters because it forces you to understand constraints before optimizing.
The Real Obstacle Isn’t The Board; It’s Your Willingness To Move Past Glorified Light Switches

Most people buy an Arduino and blink an LED. Then they stop. They convince themselves they’re “not technical enough” or wait for the perfect project. The truth is simpler and darker: they won’t push past the beginner phase because it requires actual problem solving instead of following tutorials. Pick a real problem in your life today. Something annoying. Something small. Build a solution with your Arduino, even if it’s messy. The skill isn’t in the board. It’s in your refusal to stay comfortable.