
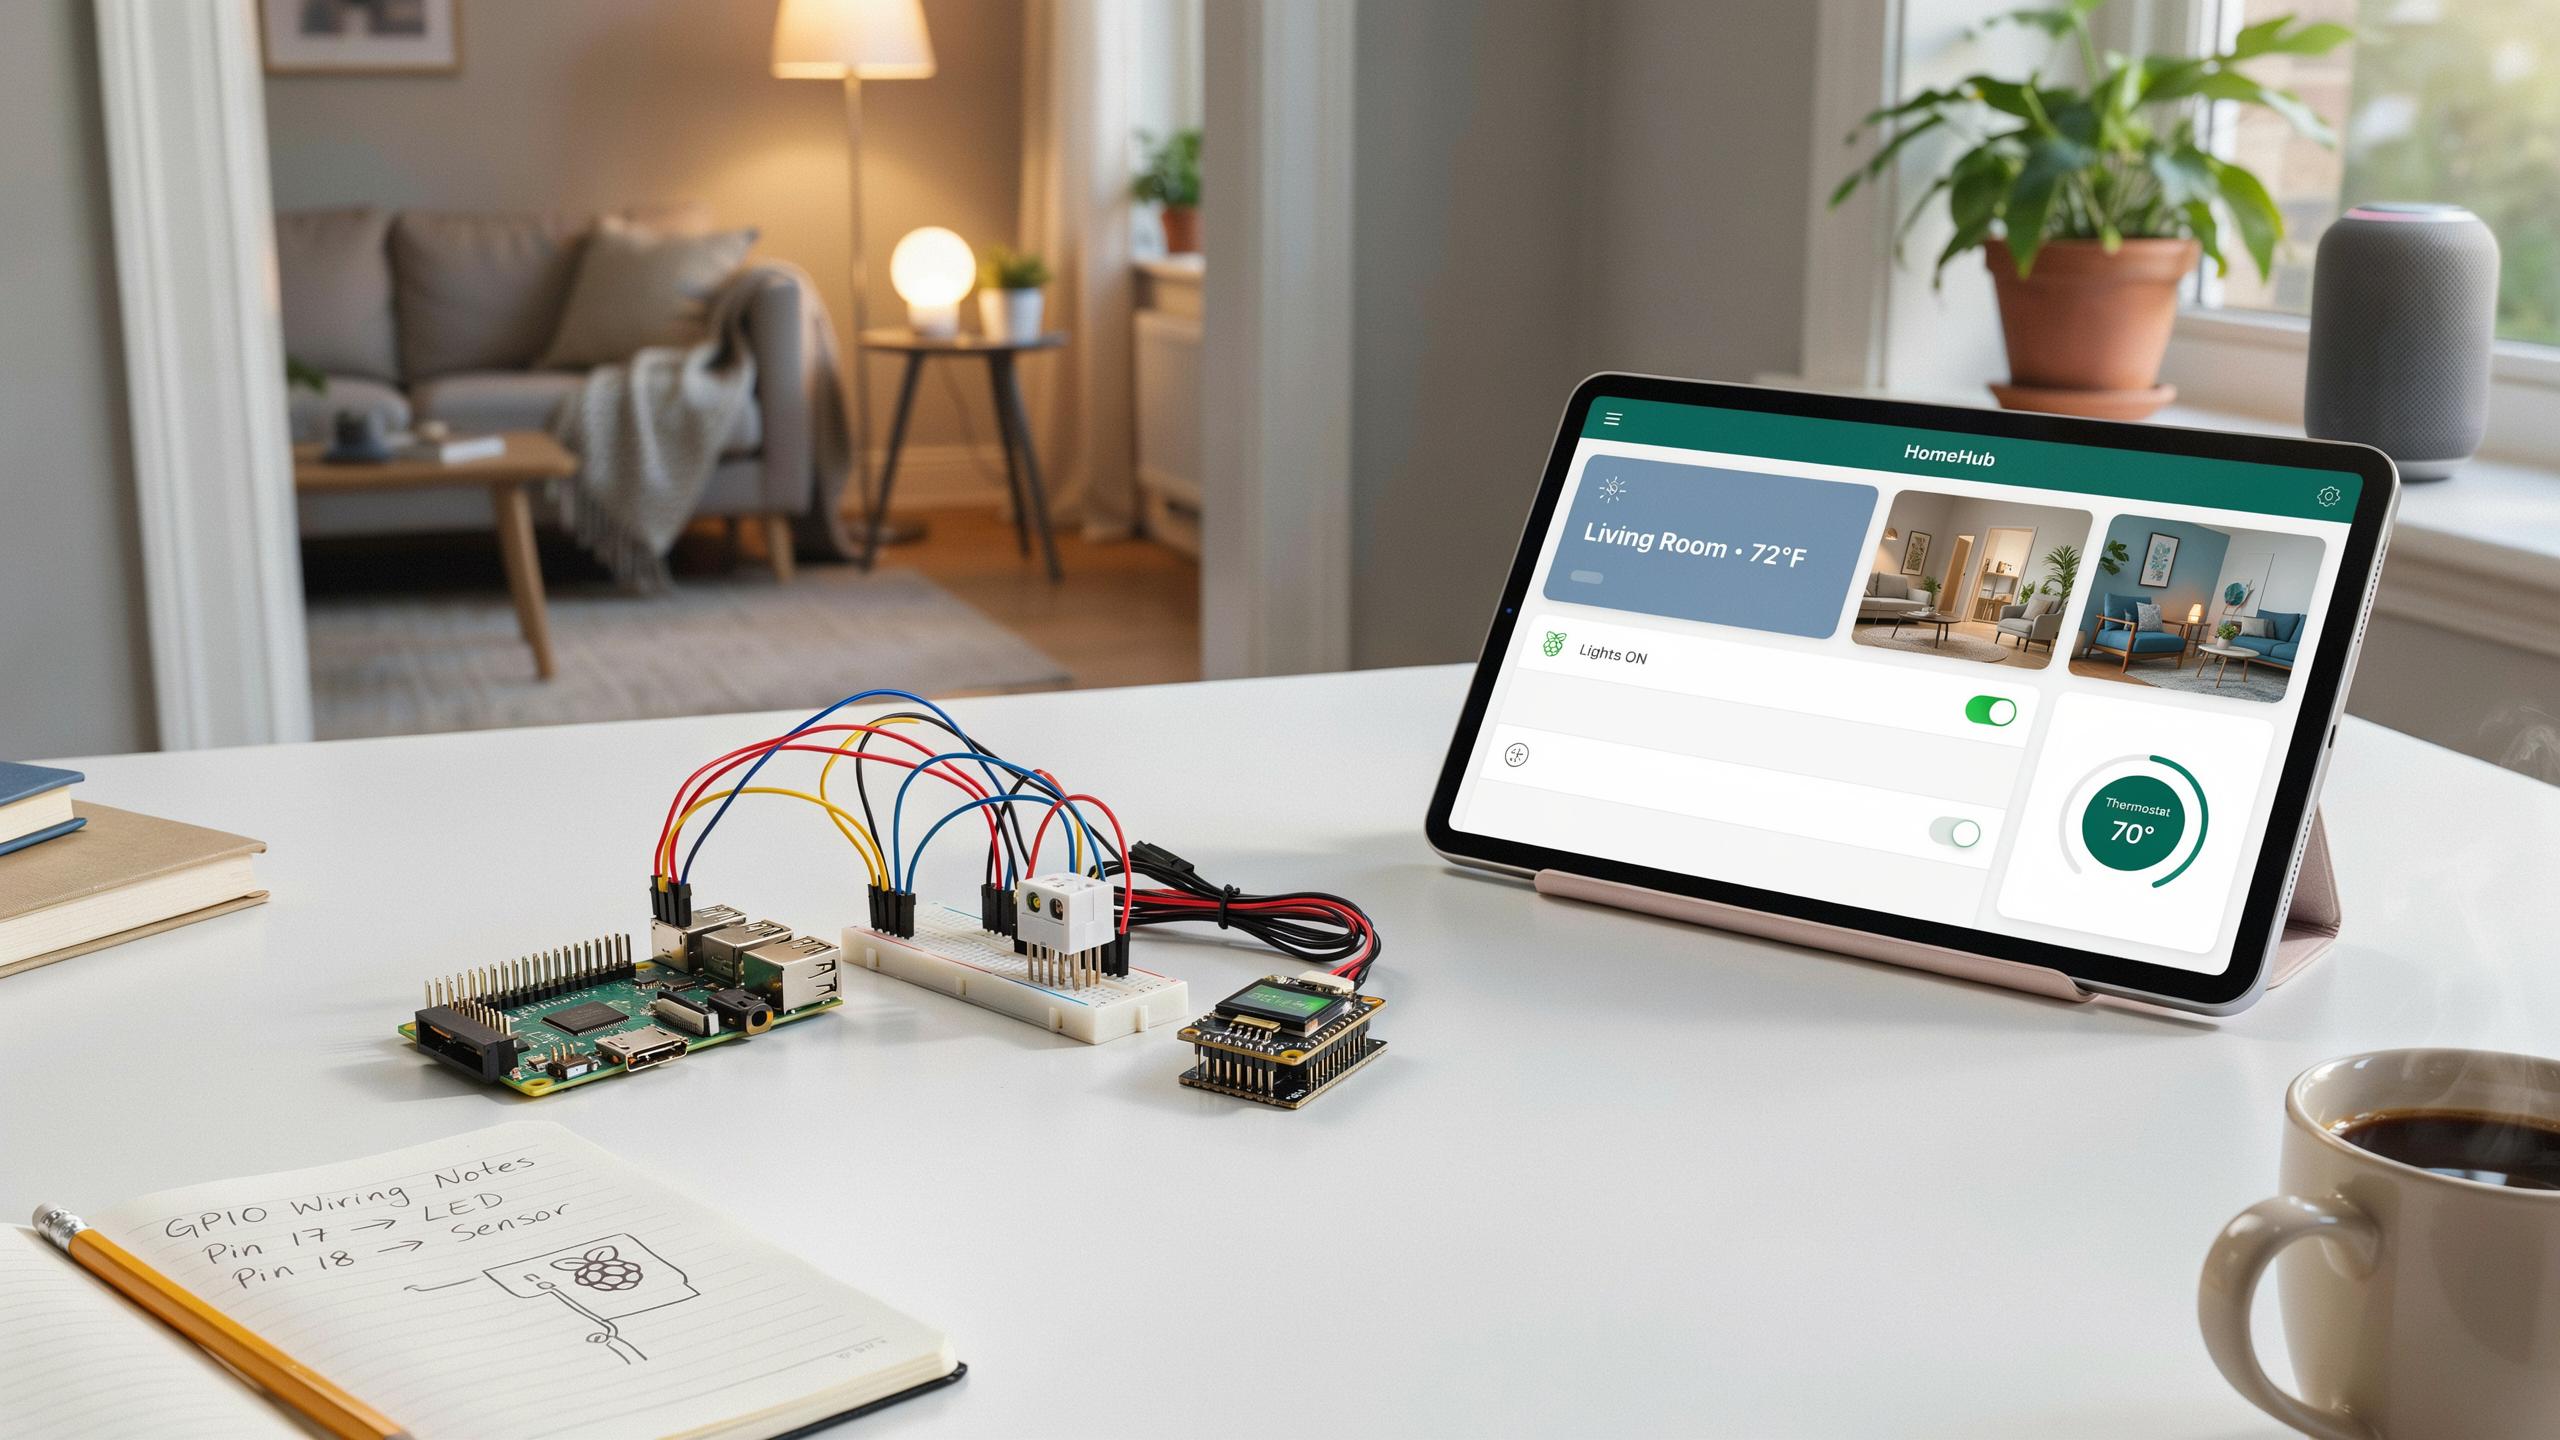
Understanding The Why Behind Your DIY Smart Home Hub Project
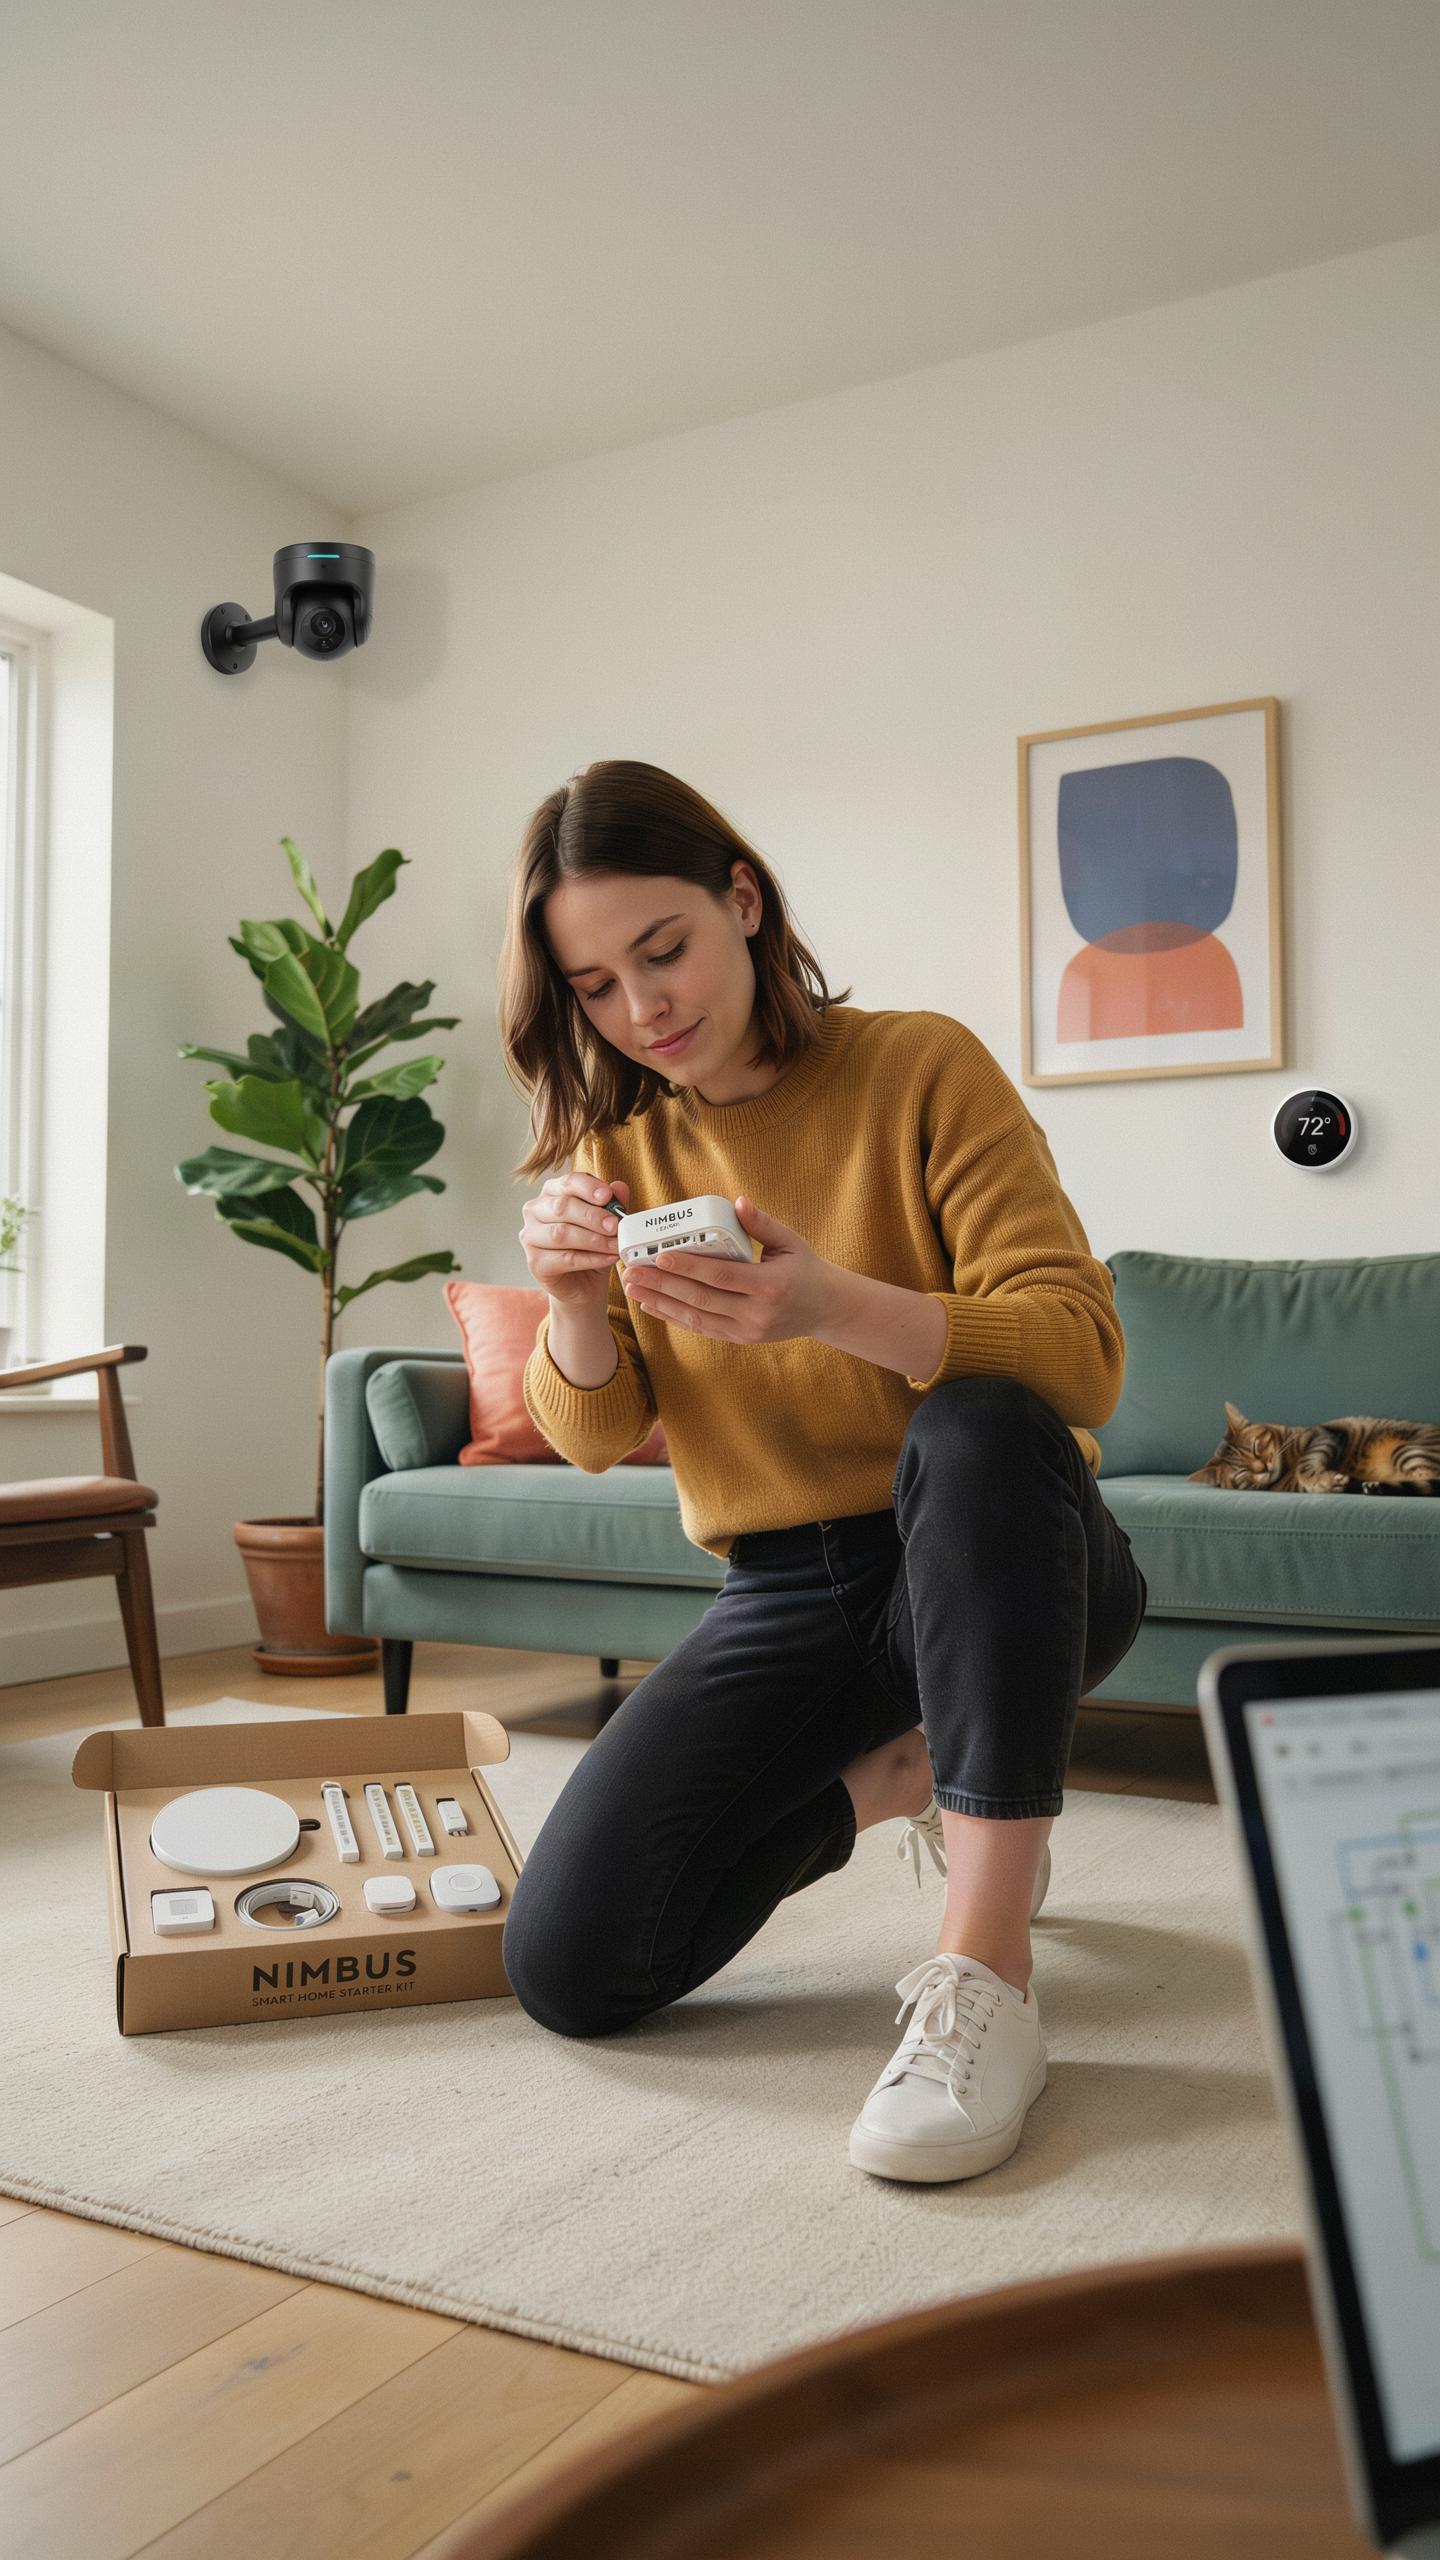
Exploring The Benefits Of A Personalized Home Automation System
A DIY smart home hub gives you control over your devices from a single point. You eliminate vendor lock-in and reduce dependency on cloud services you don’t own. Your system runs on your terms, responding only to commands you authorize. This approach delivers genuine autonomy that commercial systems cannot match.
Reliability improves when you manage infrastructure directly. You stop waiting for manufacturer updates or dealing with service outages that affect entire platforms. Response times drop because commands process locally instead of routing through distant servers. You gain insight into exactly how your home operates and why devices behave as they do.
Cost Effectiveness And Customization: Beyond Off The Shelf Solutions
Commercial smart home hubs charge recurring subscription fees and lock you into proprietary ecosystems. A DIY hub uses open source software and affordable hardware that costs between 50 to 200 dollars upfront. You pay once for hardware and nothing for software ongoing. This model scales cost efficiently as you add more devices.
Customization flexibility distinguishes DIY systems from boxed solutions. You choose specific hardware components that match your exact requirements instead of accepting pre packaged bundles. You integrate devices from multiple manufacturers without restrictions. You modify automation rules, interfaces, and workflows without waiting for vendor permission or feature releases.

Essential Components For Your DIY Smart Home Hub
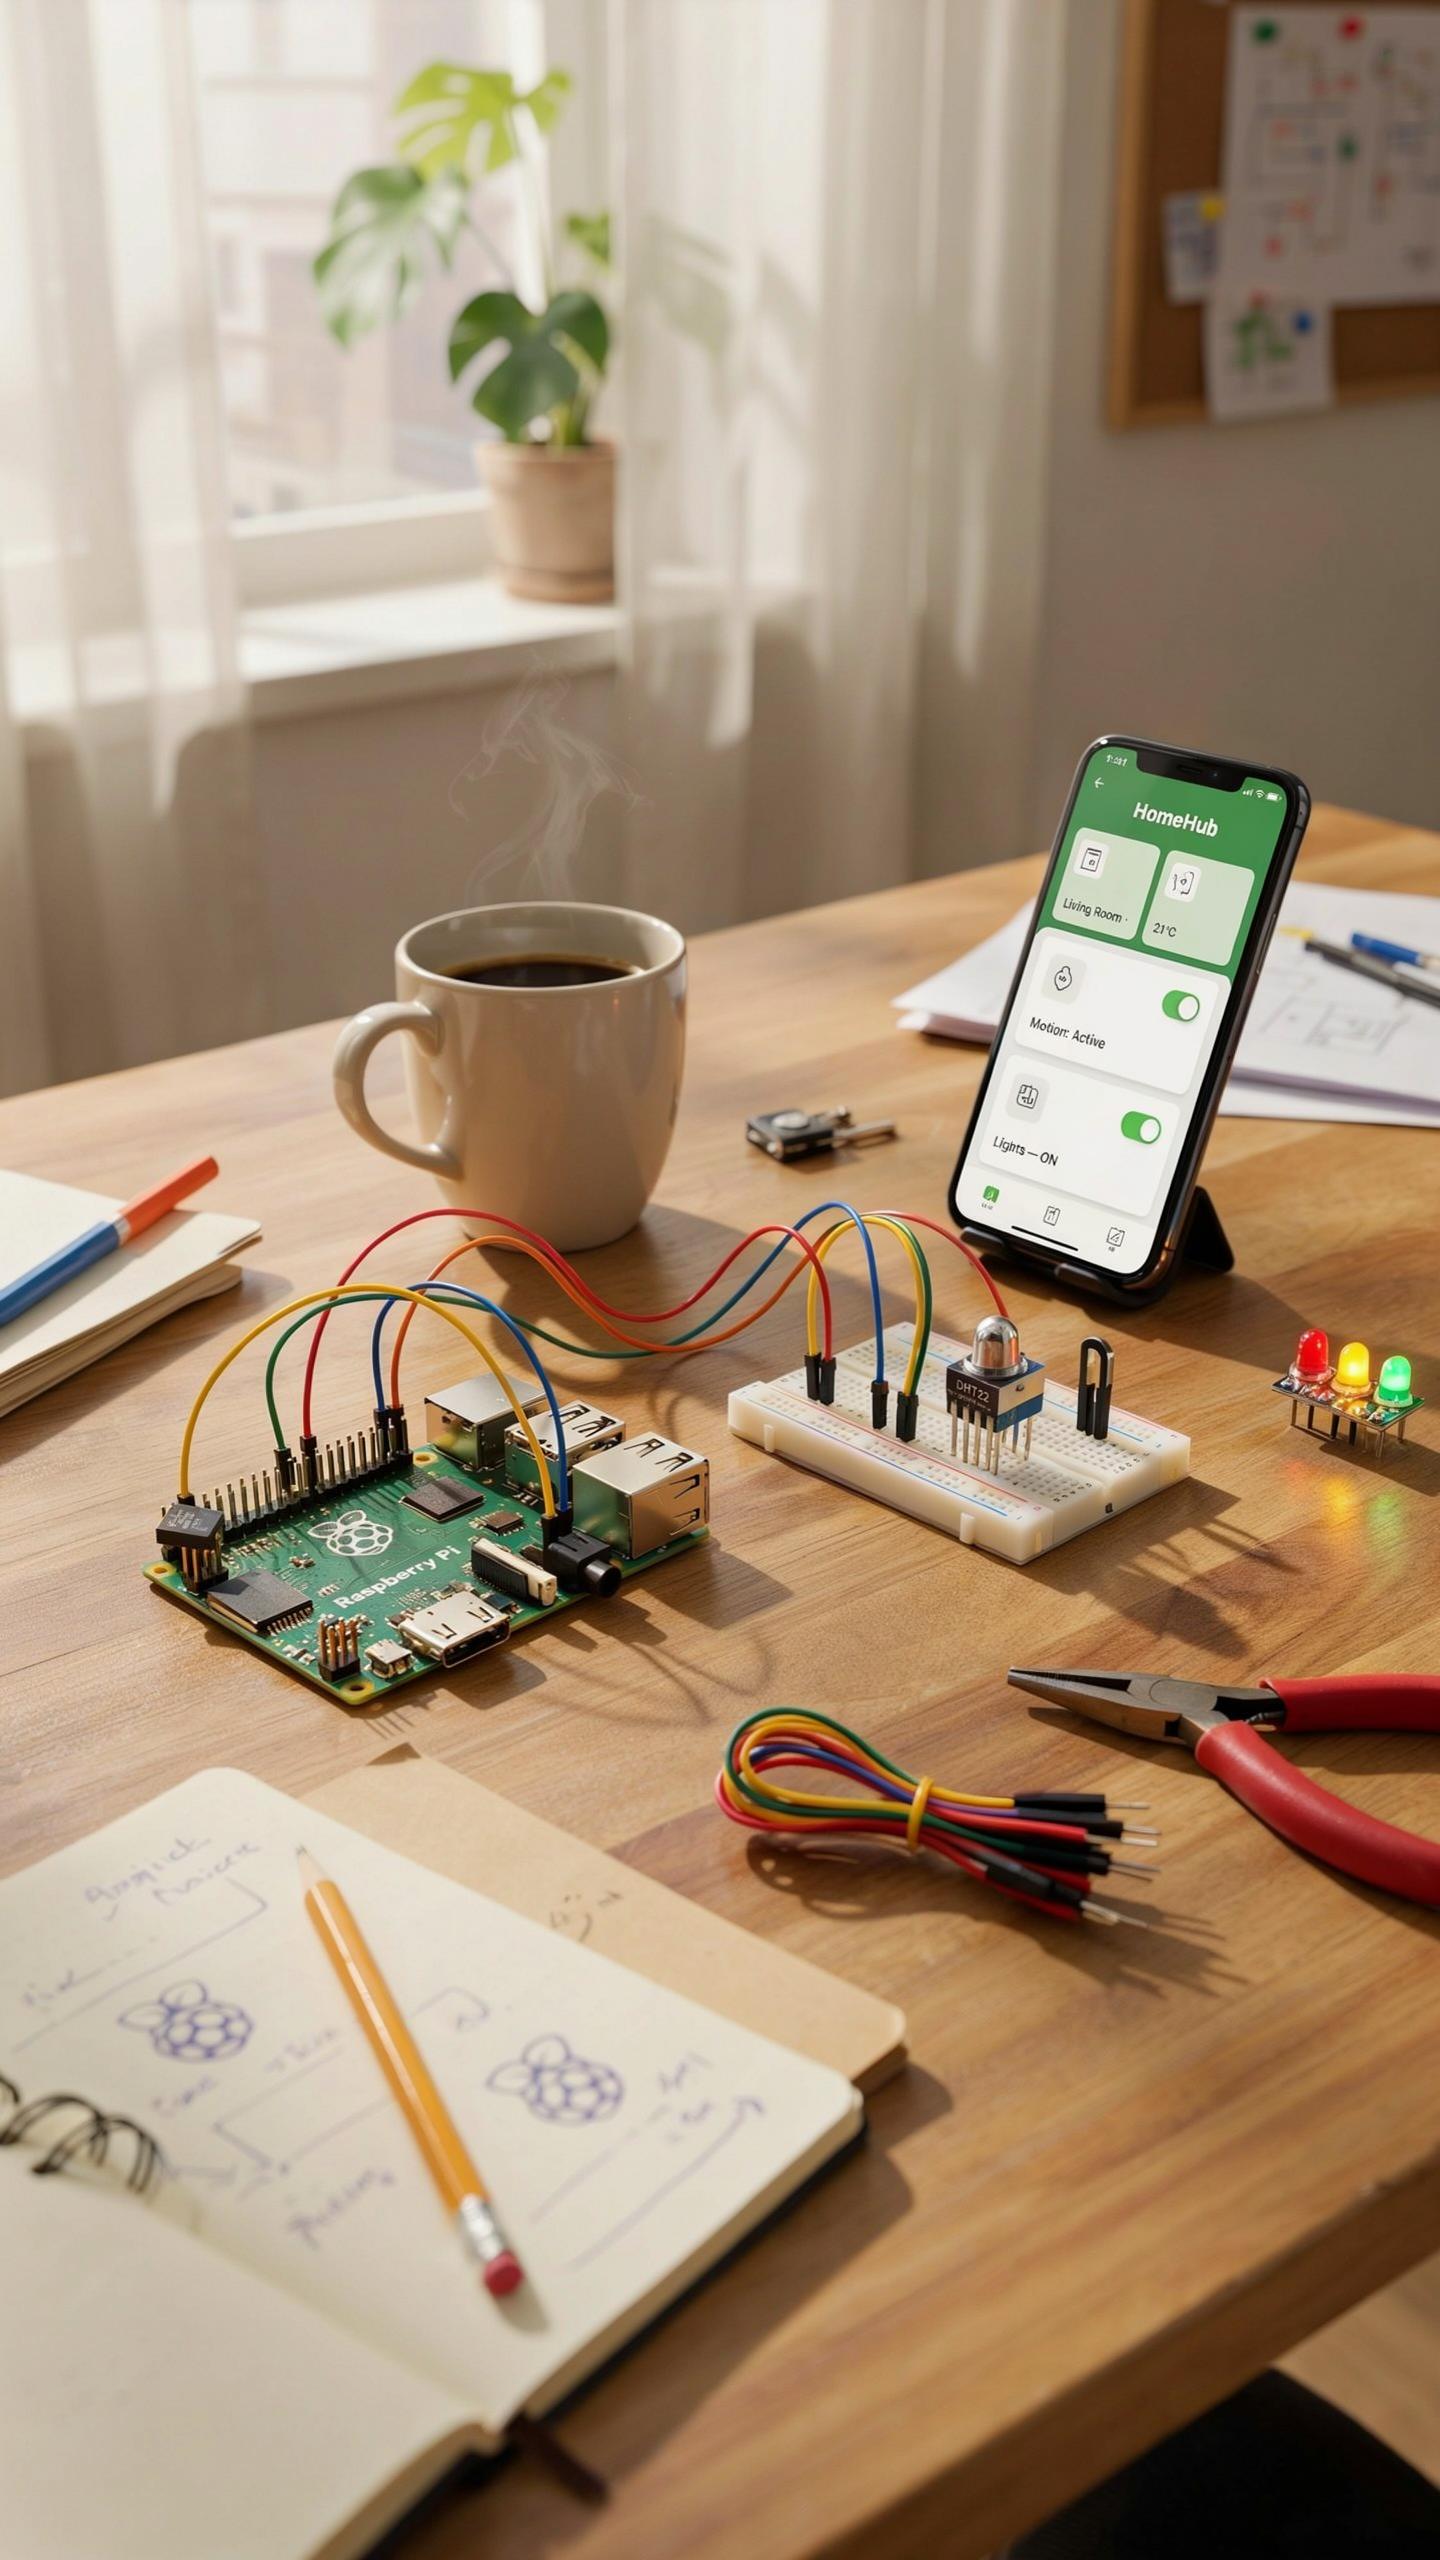
Choosing The Right Microcontroller Raspberry Pi Vs Arduino For Smart Home Automation
Raspberry Pi runs a full Linux operating system. This means you get multitasking, file storage, and networking built in. Arduino runs firmware only. You write code that executes on a loop with no OS. For a smart home hub, Raspberry Pi handles complex tasks like running a local server, managing multiple device connections, and storing data. Arduino works better for single-purpose sensors or devices.
Pick Raspberry Pi if you want a central hub that controls many devices at once. Pick Arduino if you need a small controller for one specific task like reading a temperature sensor. Raspberry Pi costs more upfront but handles hub responsibilities easier. Arduino costs less but requires more coding expertise to network multiple devices. Most beginner hub projects use Raspberry Pi because the learning curve is lower for managing multiple connected devices simultaneously.
Connectivity Options Wi Fi Zigbee Z Wave And Bluetooth In Your Smart Home Design
Wi-Fi connects directly to your existing router. Every device needs its own Wi-Fi credential. This drains bandwidth on busy networks. Zigbee uses mesh networking where devices relay signals to each other. Z-Wave operates on a different frequency band than Wi-Fi, reducing interference. Bluetooth works for short-range connections only. Your hub needs appropriate radios to support each protocol.

A practical hub includes Wi-Fi as standard since most homes have it. Add Zigbee or Z-Wave support through USB adapters if you want legacy device compatibility. Bluetooth handles personal devices like phones and wearables. Wi-Fi offers speed but consumes more power. Zigbee and Z-Wave use less power but require more setup. Select protocols based on which devices you already own or plan to purchase.
Software Setup Bringing Your DIY Smart Home Hub Project To Life
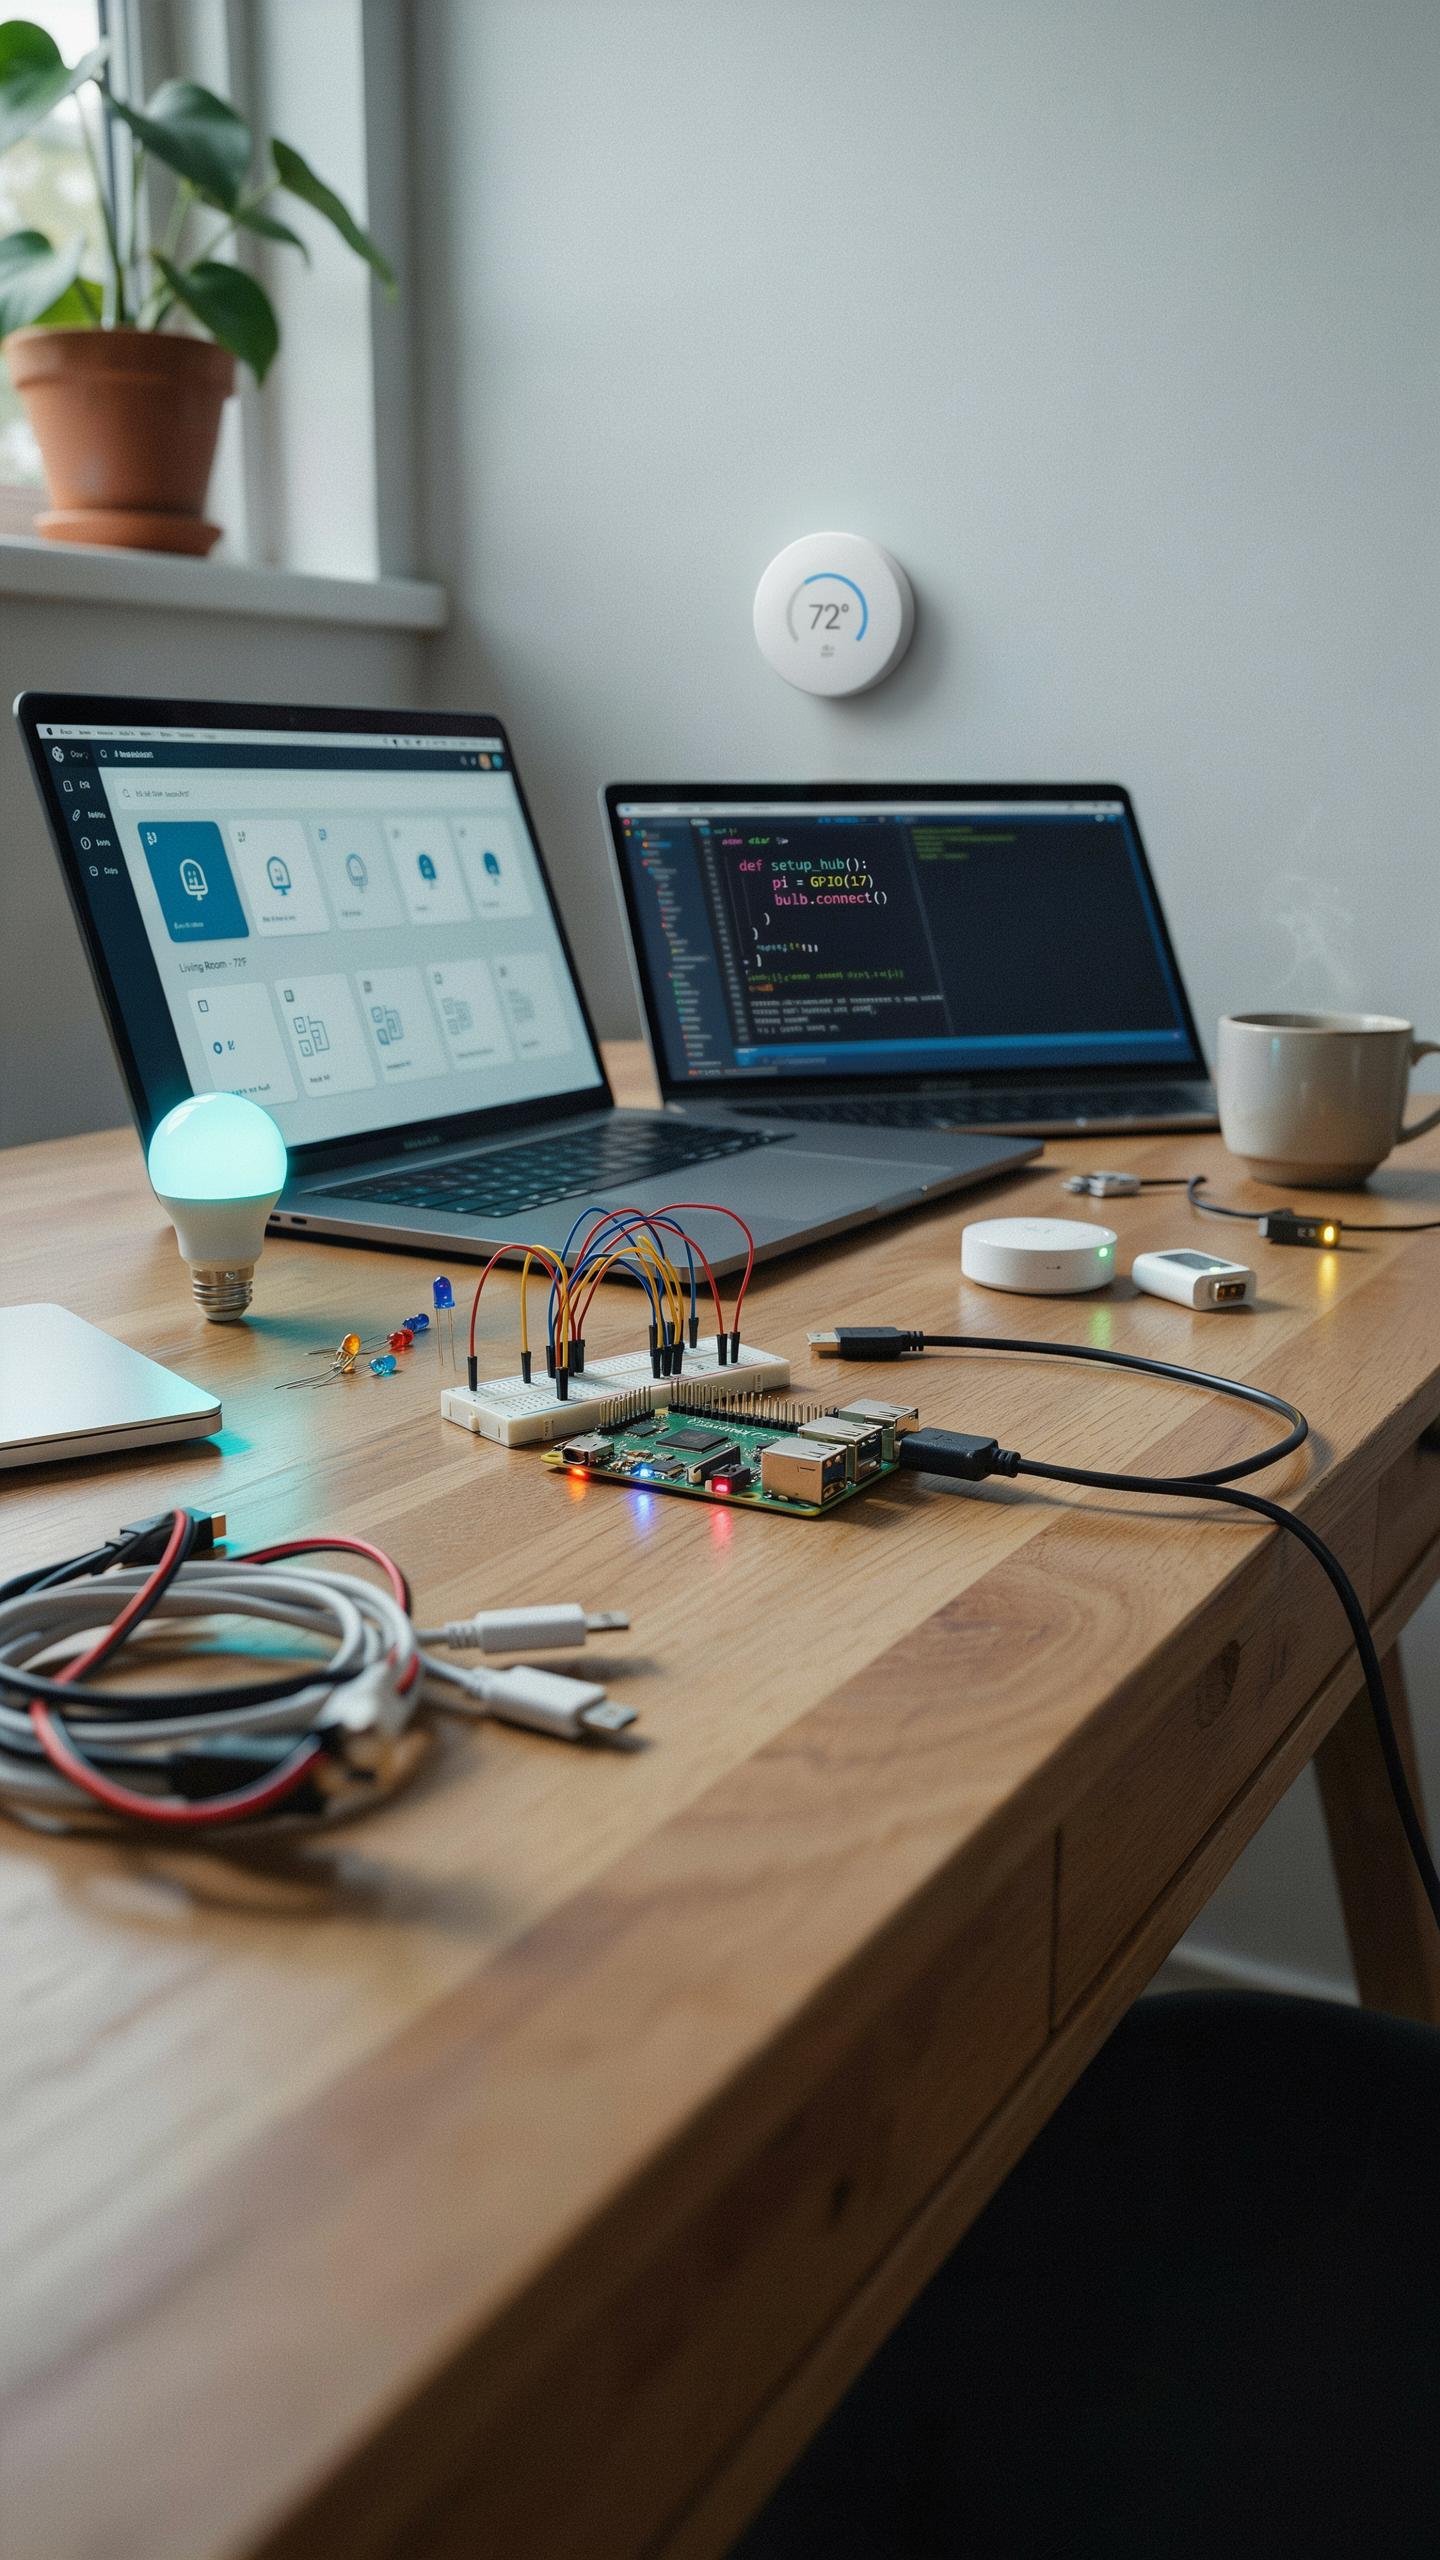
Operating Systems And Smart Home Platforms: OpenHAB, Home Assistant, And Domoticz
You need an operating system and platform software to control your hardware. Home Assistant runs on Linux, Windows, and Raspberry Pi systems. It uses a YAML configuration format and supports hundreds of device integrations. OpenHAB operates on Java and offers a rule-based automation engine. Domoticz requires less processing power and works well on older hardware.
Each platform handles device communication differently. Home Assistant excels at user interface design and mobile app support. OpenHAB provides deeper customization through its rule engine and scripting capabilities. Domoticz prioritizes lightweight performance over feature richness. Your choice depends on hardware constraints and how much control you want over automation logic.
The simplest, most beautiful things are often the most profound, and building your own smart home hub is a gentle reminder of the magic waiting to be discovered with your own two hands.
Basic Configuration And User Interface For Simple Home Automation Setup
Configuration starts with connecting your hardware to your chosen platform. Most systems use web interfaces for setup, reducing the need for command line work. You define devices, assign them to rooms, and create automations through the interface. Testing each connection prevents problems later when integrating multiple devices.

User interfaces vary across platforms but serve the same core function. Home Assistant displays real time device status and allows direct control from dashboards. You can customize dashboards to show only relevant information for your needs. Starting simple with basic on off controls helps you learn before building complex automations.
Integrating Smart Devices Expanding Your Home Tech Ecosystem
Connecting Lights, Sensors, And Appliances To Your Hub
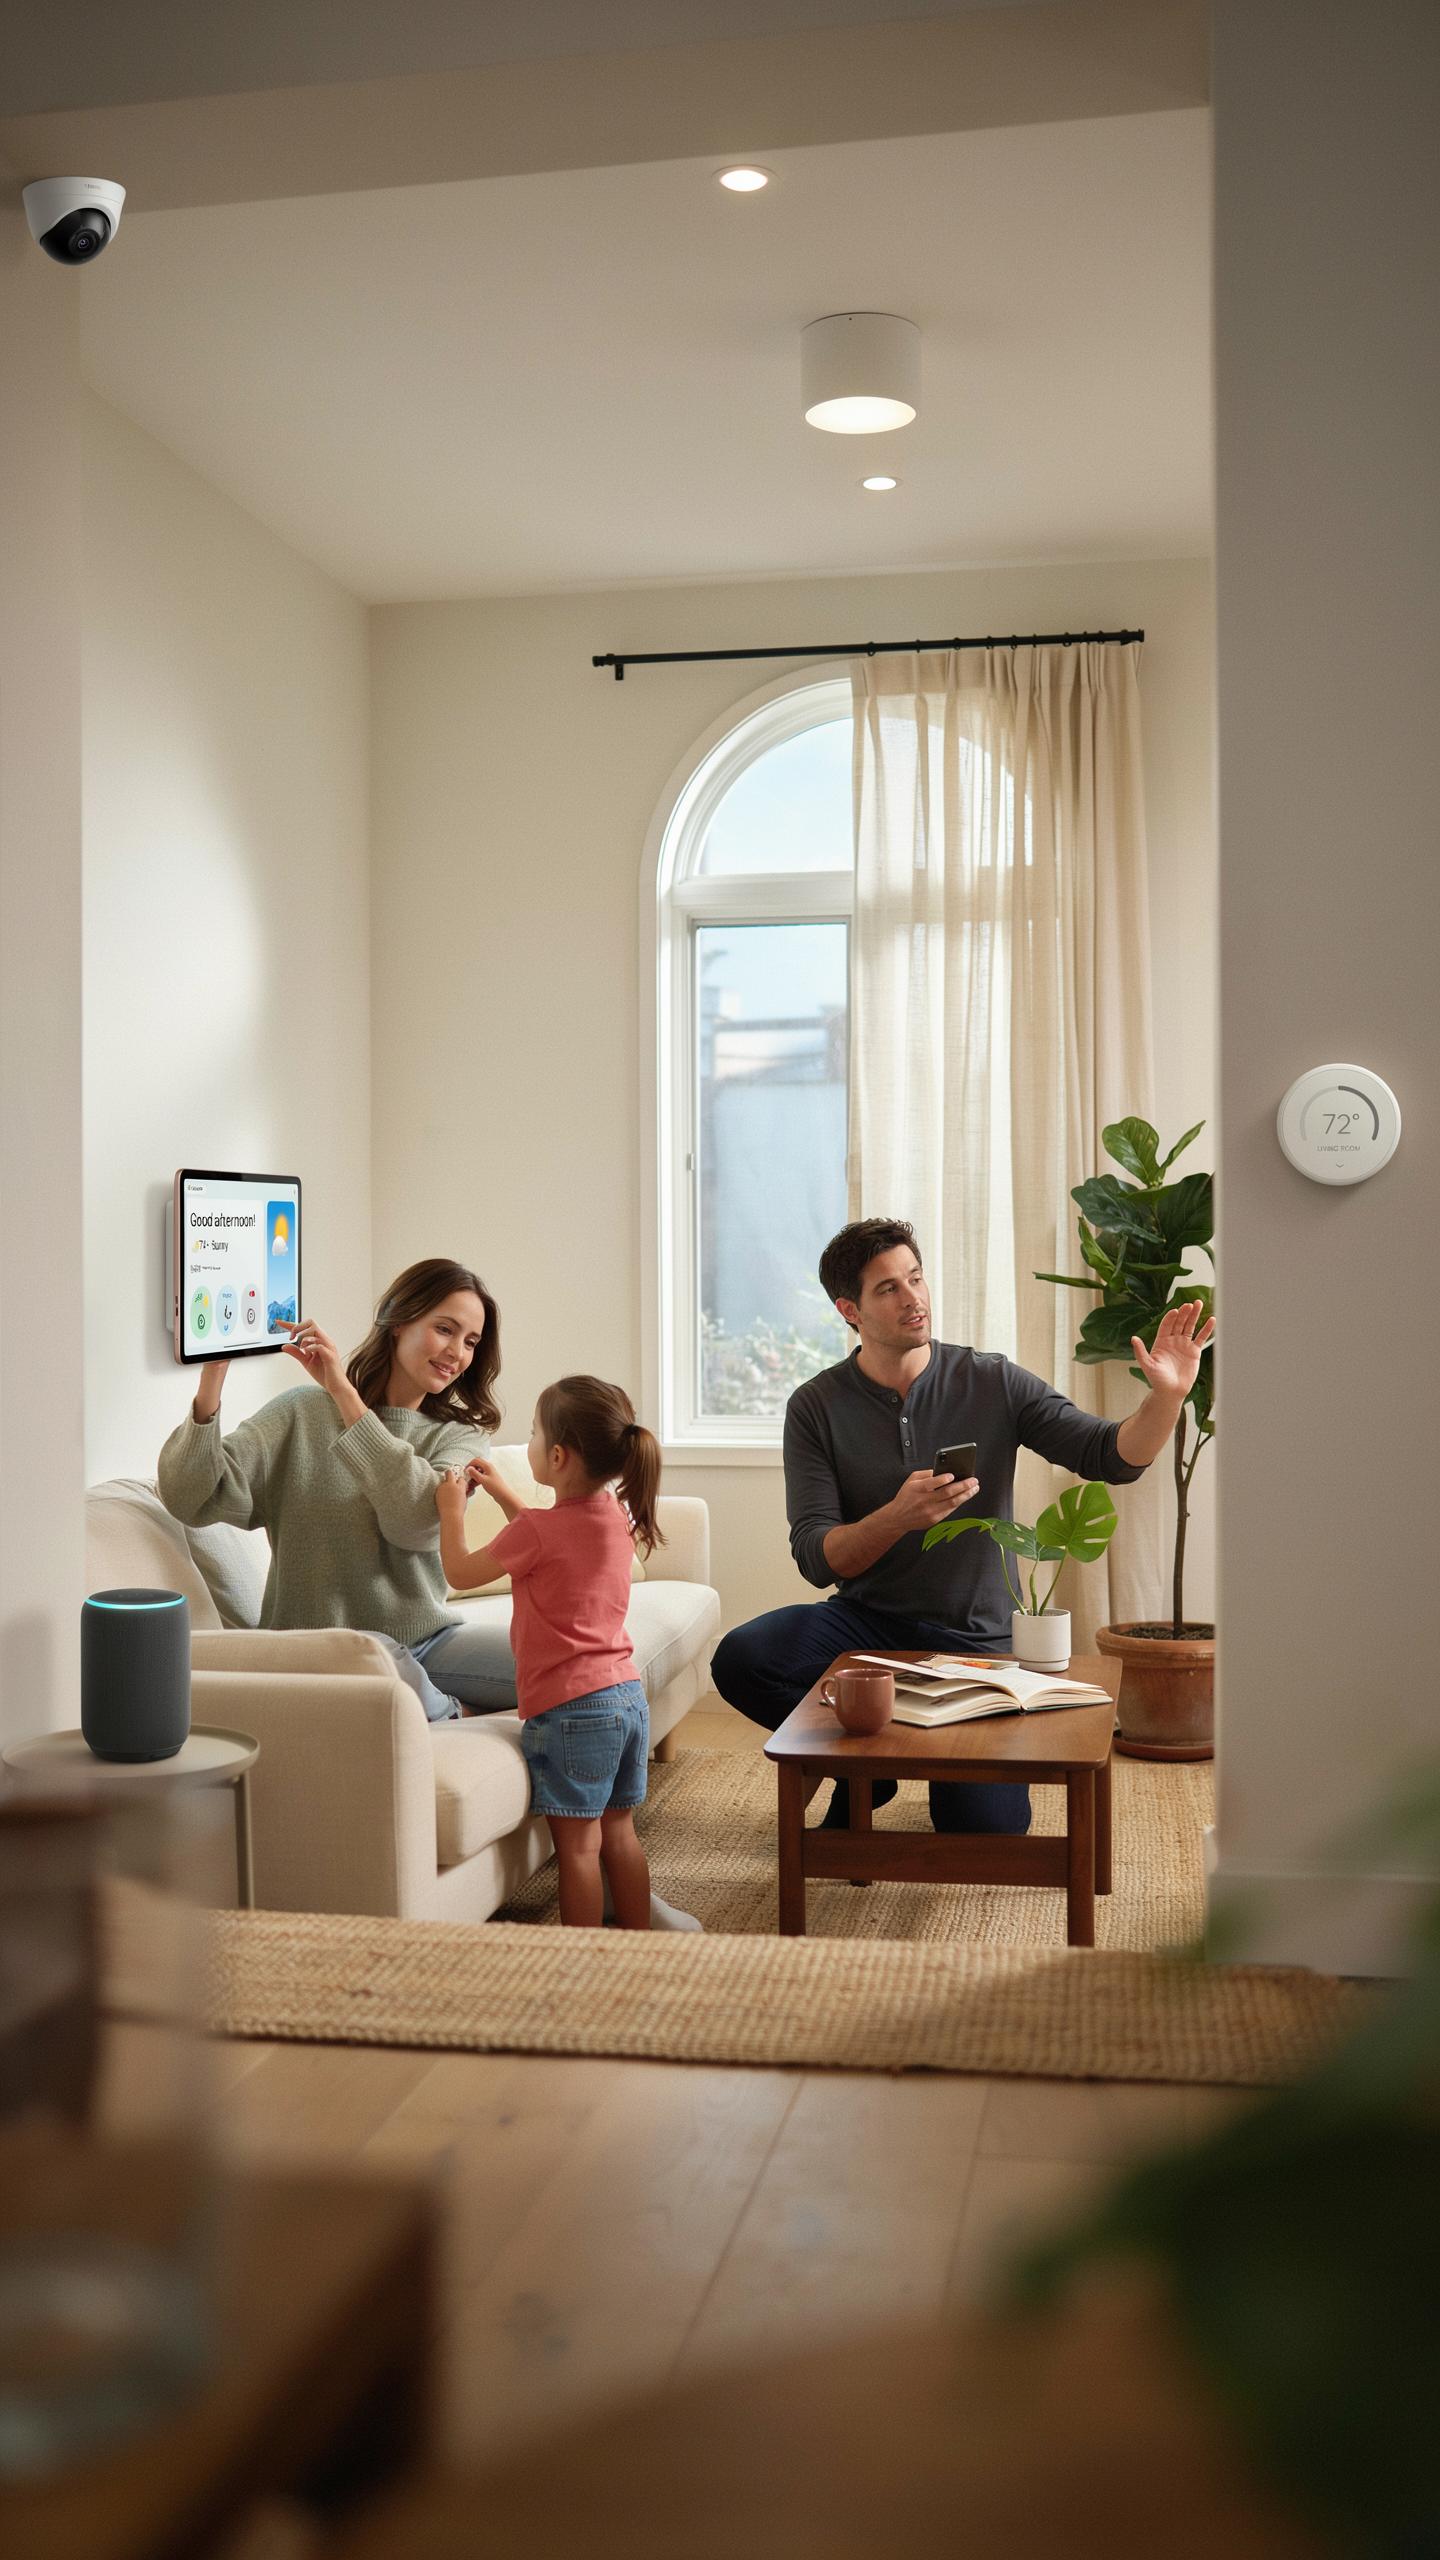
Your hub communicates with smart devices through wireless protocols. The most common protocols are WiFi, Zigbee, and Z-Wave. WiFi devices connect directly to your network and your hub. Zigbee and Z-Wave devices form a mesh network, extending range through multiple devices. Check your hub’s documentation to see which protocols it supports before purchasing devices.
Start by installing the device manufacturer’s app on your phone. Add each device to its native app first, following setup instructions carefully. Once the device is online and working, access your hub’s app or interface. Most hubs have an add device or pairing mode. Activate pairing mode on your hub, then trigger pairing on the physical device by pressing a button or following the app instructions.
Troubleshooting Common Device Integration Issues
Devices fail to connect for three main reasons: incompatible protocol, network issues, or incorrect credentials. Verify the device uses a protocol your hub supports. Check that your WiFi signal reaches the device location. Confirm you entered the correct password and network name. Power cycle both the device and hub by unplugging them for thirty seconds.
If a device connects but stops responding, check the device’s power source and battery level. Verify the hub still has internet connectivity by testing another connected device. Move the device closer to the hub to rule out range problems. Restart the hub’s software through its settings menu. If the device still fails, remove it from the hub, perform a factory reset on the device, and attempt pairing again.
Automating Your Home Smart Home Convenience Tips And Scenarios

Creating Custom Routines And Triggers For Enhanced Living
Custom routines combine multiple devices into single commands. You define conditions that trigger automation sequences automatically. Your hub executes these routines without manual intervention. Routines save time by eliminating repetitive control steps. Triggers respond to schedules, device states, or user actions. Build routines around your actual daily patterns and needs.
Most hubs support time-based triggers that activate routines at specific hours. Geofencing triggers automations when you leave or enter your home location. Sensor triggers fire when motion, temperature, or door states change. Combine multiple triggers to create complex conditional logic. Test each routine in isolation before linking them together. Document your routines so you remember what each one does.
Energy Saving Automations And Security Enhancements
Energy saving automations reduce consumption by controlling heating, cooling, and lighting automatically. Schedule thermostats to lower temperatures during sleep and work hours. Automate lights to turn off in unoccupied rooms using motion sensors. Program water heaters and appliances to run during off-peak hours. Monitor energy usage through your hub’s reporting features. Track monthly consumption changes after implementing automations.

Security automations protect your home by coordinating locks, cameras, and alarms. Lock all doors automatically when you leave home or at bedtime. Unlock entry doors when you arrive and motion is detected. Set cameras to record when motion triggers while you are away. Integrate smart locks with door sensors to log access times. Test security automations regularly to ensure devices respond correctly under all conditions.
Advanced DIY Home Automation Switch Projects And Smart Home Ideas
Implementing Voice Control And AI Assistants With Your DIY Hub
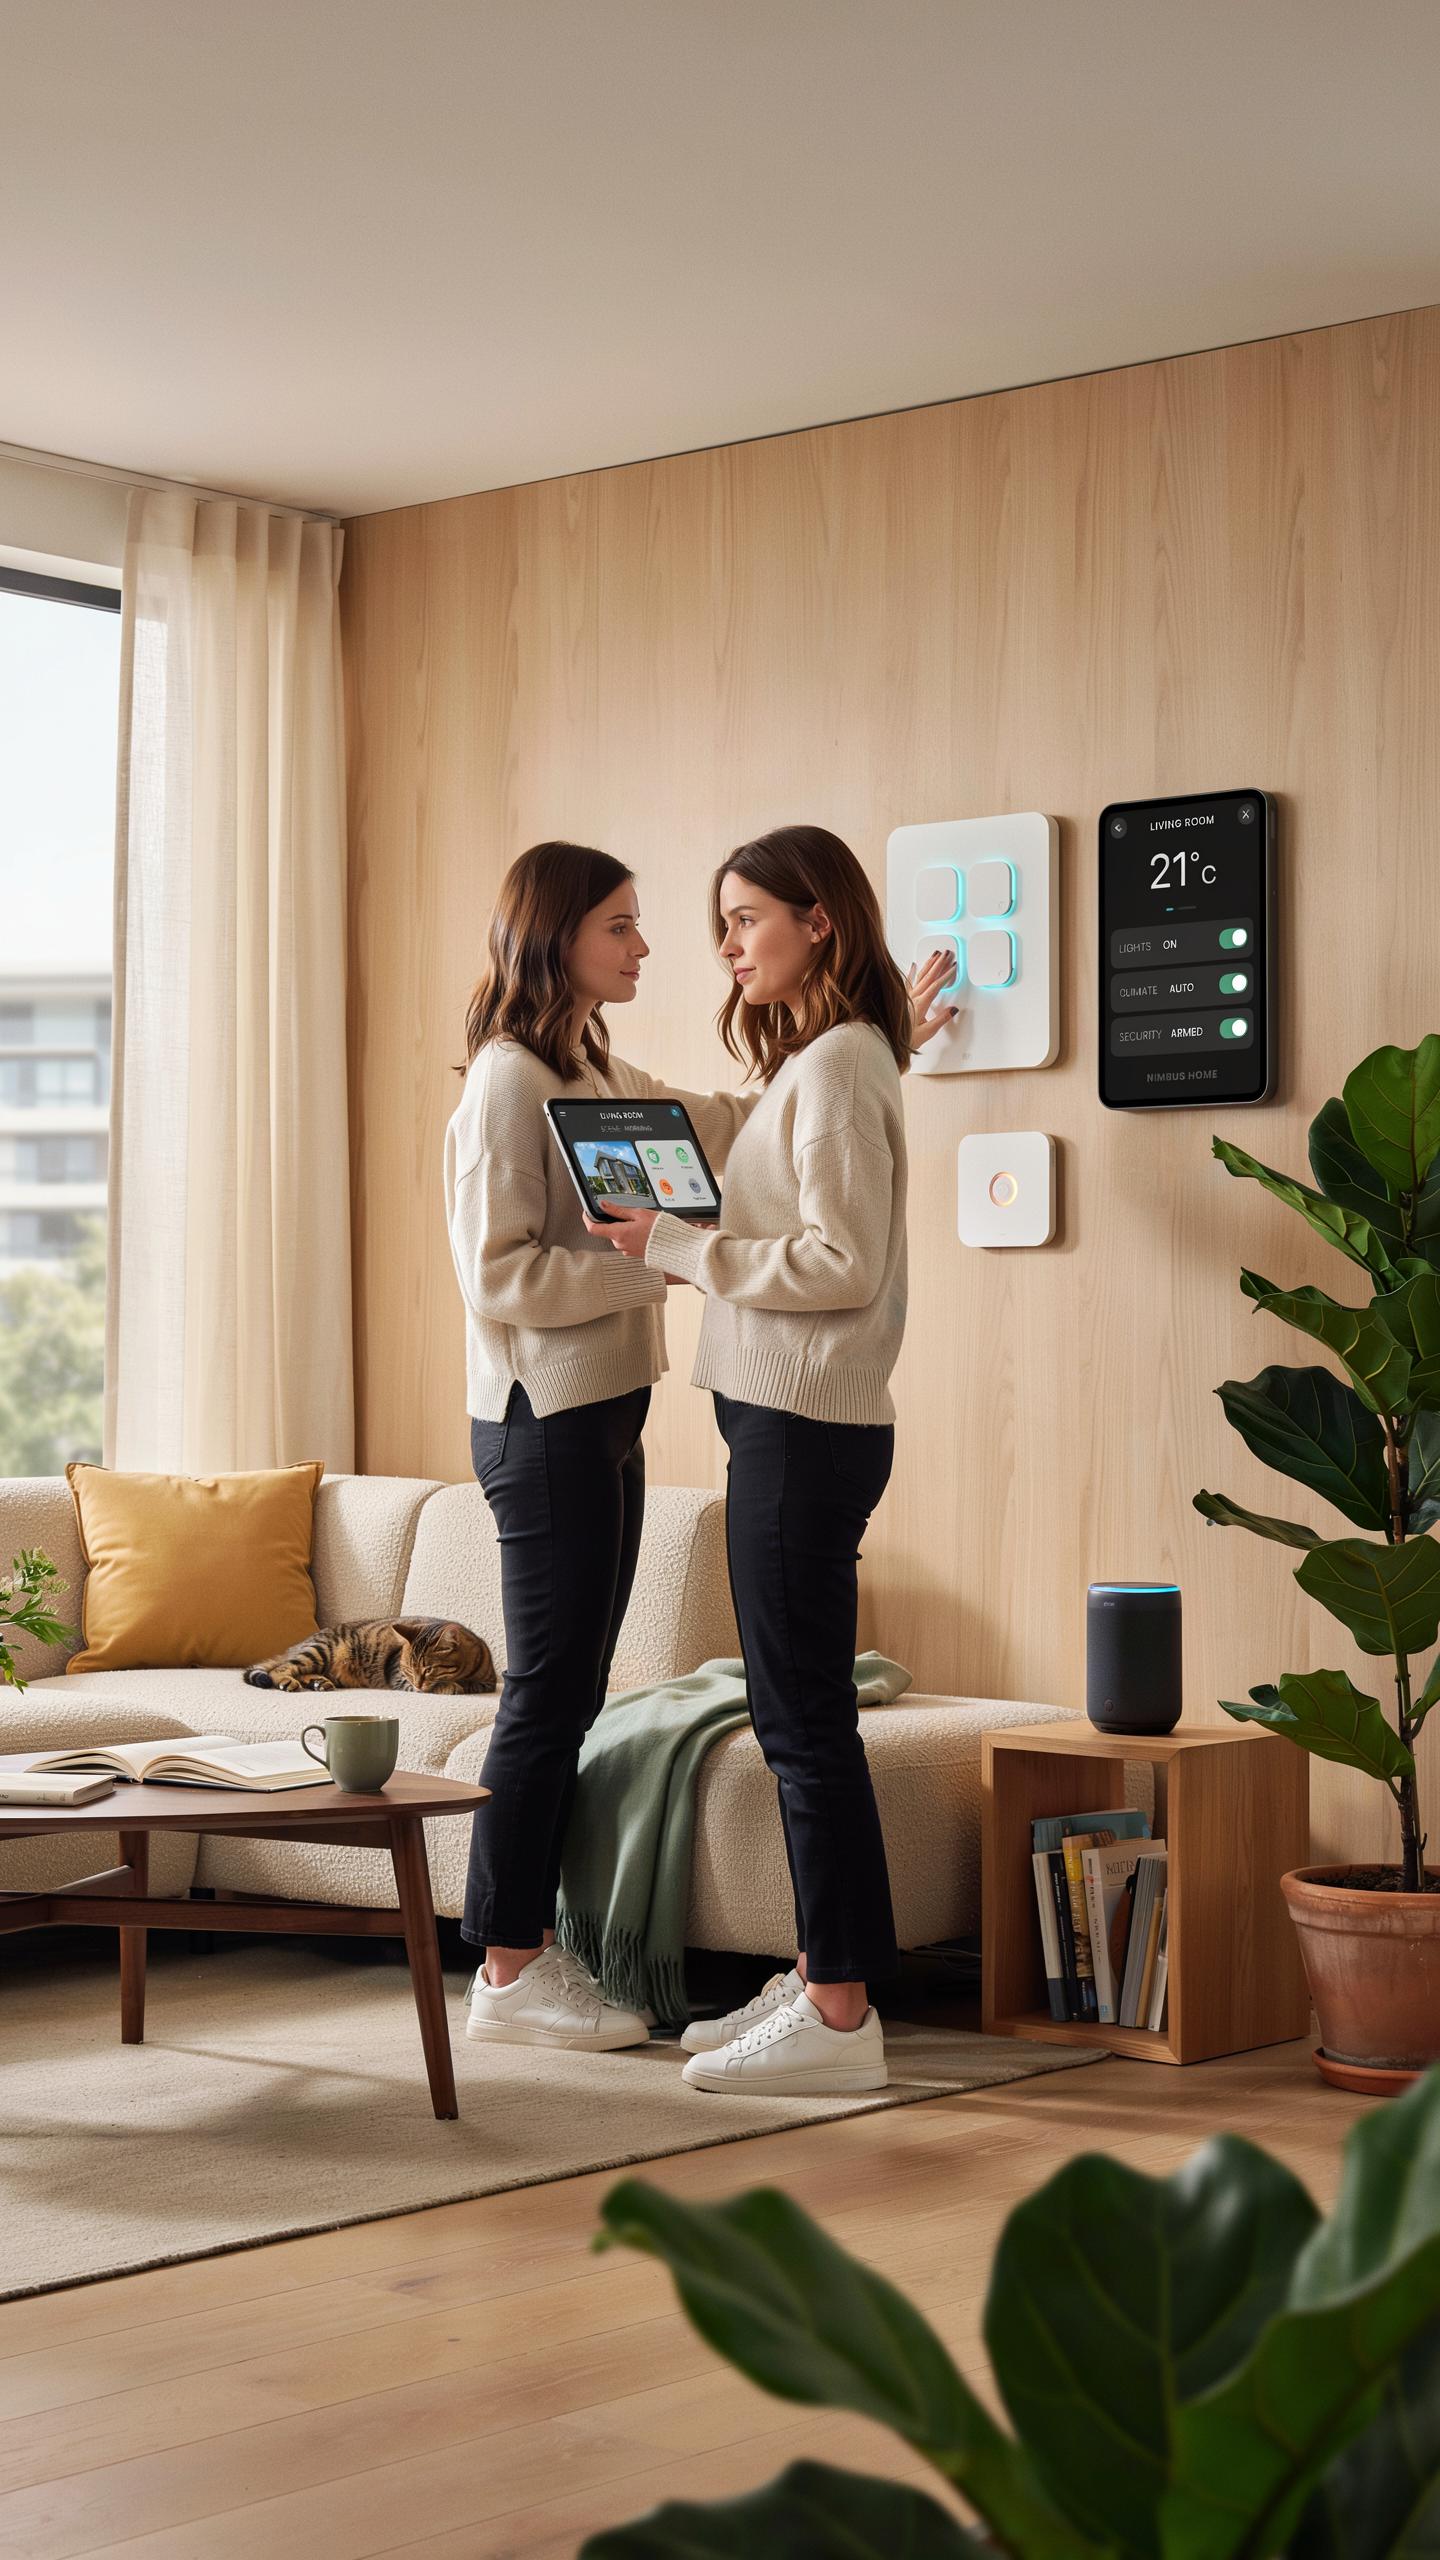
Voice control integration requires choosing between open source platforms and proprietary ecosystems. Home Assistant, OpenHAB, and Rhasspy run locally on your hub hardware without cloud dependency. These platforms connect to voice engines through MQTT protocols or REST APIs. Setup demands configuring wake words, training recognition models, and mapping voice commands to automation routines. Most builders use Raspberry Pi or x86 processors with USB microphone arrays for reliable voice capture.
Integration with commercial AI assistants like Google Assistant or Alexa happens through bridge software that translates commands to your hub’s native language. Local-only setups avoid sending audio to corporate servers but require more configuration work. You define command structures, train models, and handle edge cases manually. Performance depends directly on your hardware specs and microphone quality. Testing voice recognition across different room acoustics reveals where your setup fails.
Building A DIY Smart Home Switch For Custom Control
DIY smart switches replace standard wall switches with relay modules controlled by your hub. Hardware consists of 24VAC relays, solid state relays for LED loads, or electronic switches depending on current draw. Wiring follows standard electrical practice with the relay acting as an electronically controlled replacement for manual switch operation. Your hub sends signals via GPIO pins, Zigbee, or Z-Wave to trigger the relay states.

Building custom switches gives you control over switching speed, dimming behavior, and multi-state operations impossible with commercial products. You program logic that chains actions like dimming lights before turning them off or delaying switches for safety. The switch itself becomes an endpoint reporting its state back to your hub in real time. This feedback loop enables reliable automation and status displays on your control interfaces.
Security And Privacy In Your Smart Home Automation Journey

Securing Your Network And Devices In A DIY Smart Home System
Your network is the foundation. Change default passwords on your hub and every connected device immediately. Use strong, unique passwords with a mix of uppercase, lowercase, numbers, and symbols. Enable WPA3 encryption on your WiFi router if available, or WPA2 as a minimum standard. Disable WPS on your router entirely. Segment your smart home devices onto a separate network from computers and phones when possible using a guest network or VLAN.
Firmware updates matter because manufacturers patch security vulnerabilities regularly. Enable automatic updates on your hub and devices or check manually each month. Run your hub behind your router’s firewall. Disable UPnP on your router unless absolutely required by a specific device. Use a firewall to block unnecessary inbound traffic. Keep your hub and all devices updated with the latest available firmware versions before connecting them to your network.
Understanding Data Privacy And Local Vs Cloud Based Solutions
Local processing keeps data on your hub without sending information to external servers. This approach reduces exposure to cloud breaches and third-party data collection. Open source hub software like Home Assistant or OpenHAB gives you full transparency on how data moves through your system. Cloud-based solutions offer convenience but require trusting the manufacturer with your household data and automation patterns.

Review privacy policies for any cloud services your hub connects to. Understand what data these services collect, store, and share. Some manufacturers sell anonymized usage data to third parties. Others retain logs longer than necessary. Choose solutions that align with your privacy requirements. Local-first hubs eliminate this problem entirely but require more technical management on your part.
Troubleshooting And Maintenance For Your Smart Home Technology
Diagnosing And Fixing Common Smart Home Hub Problems
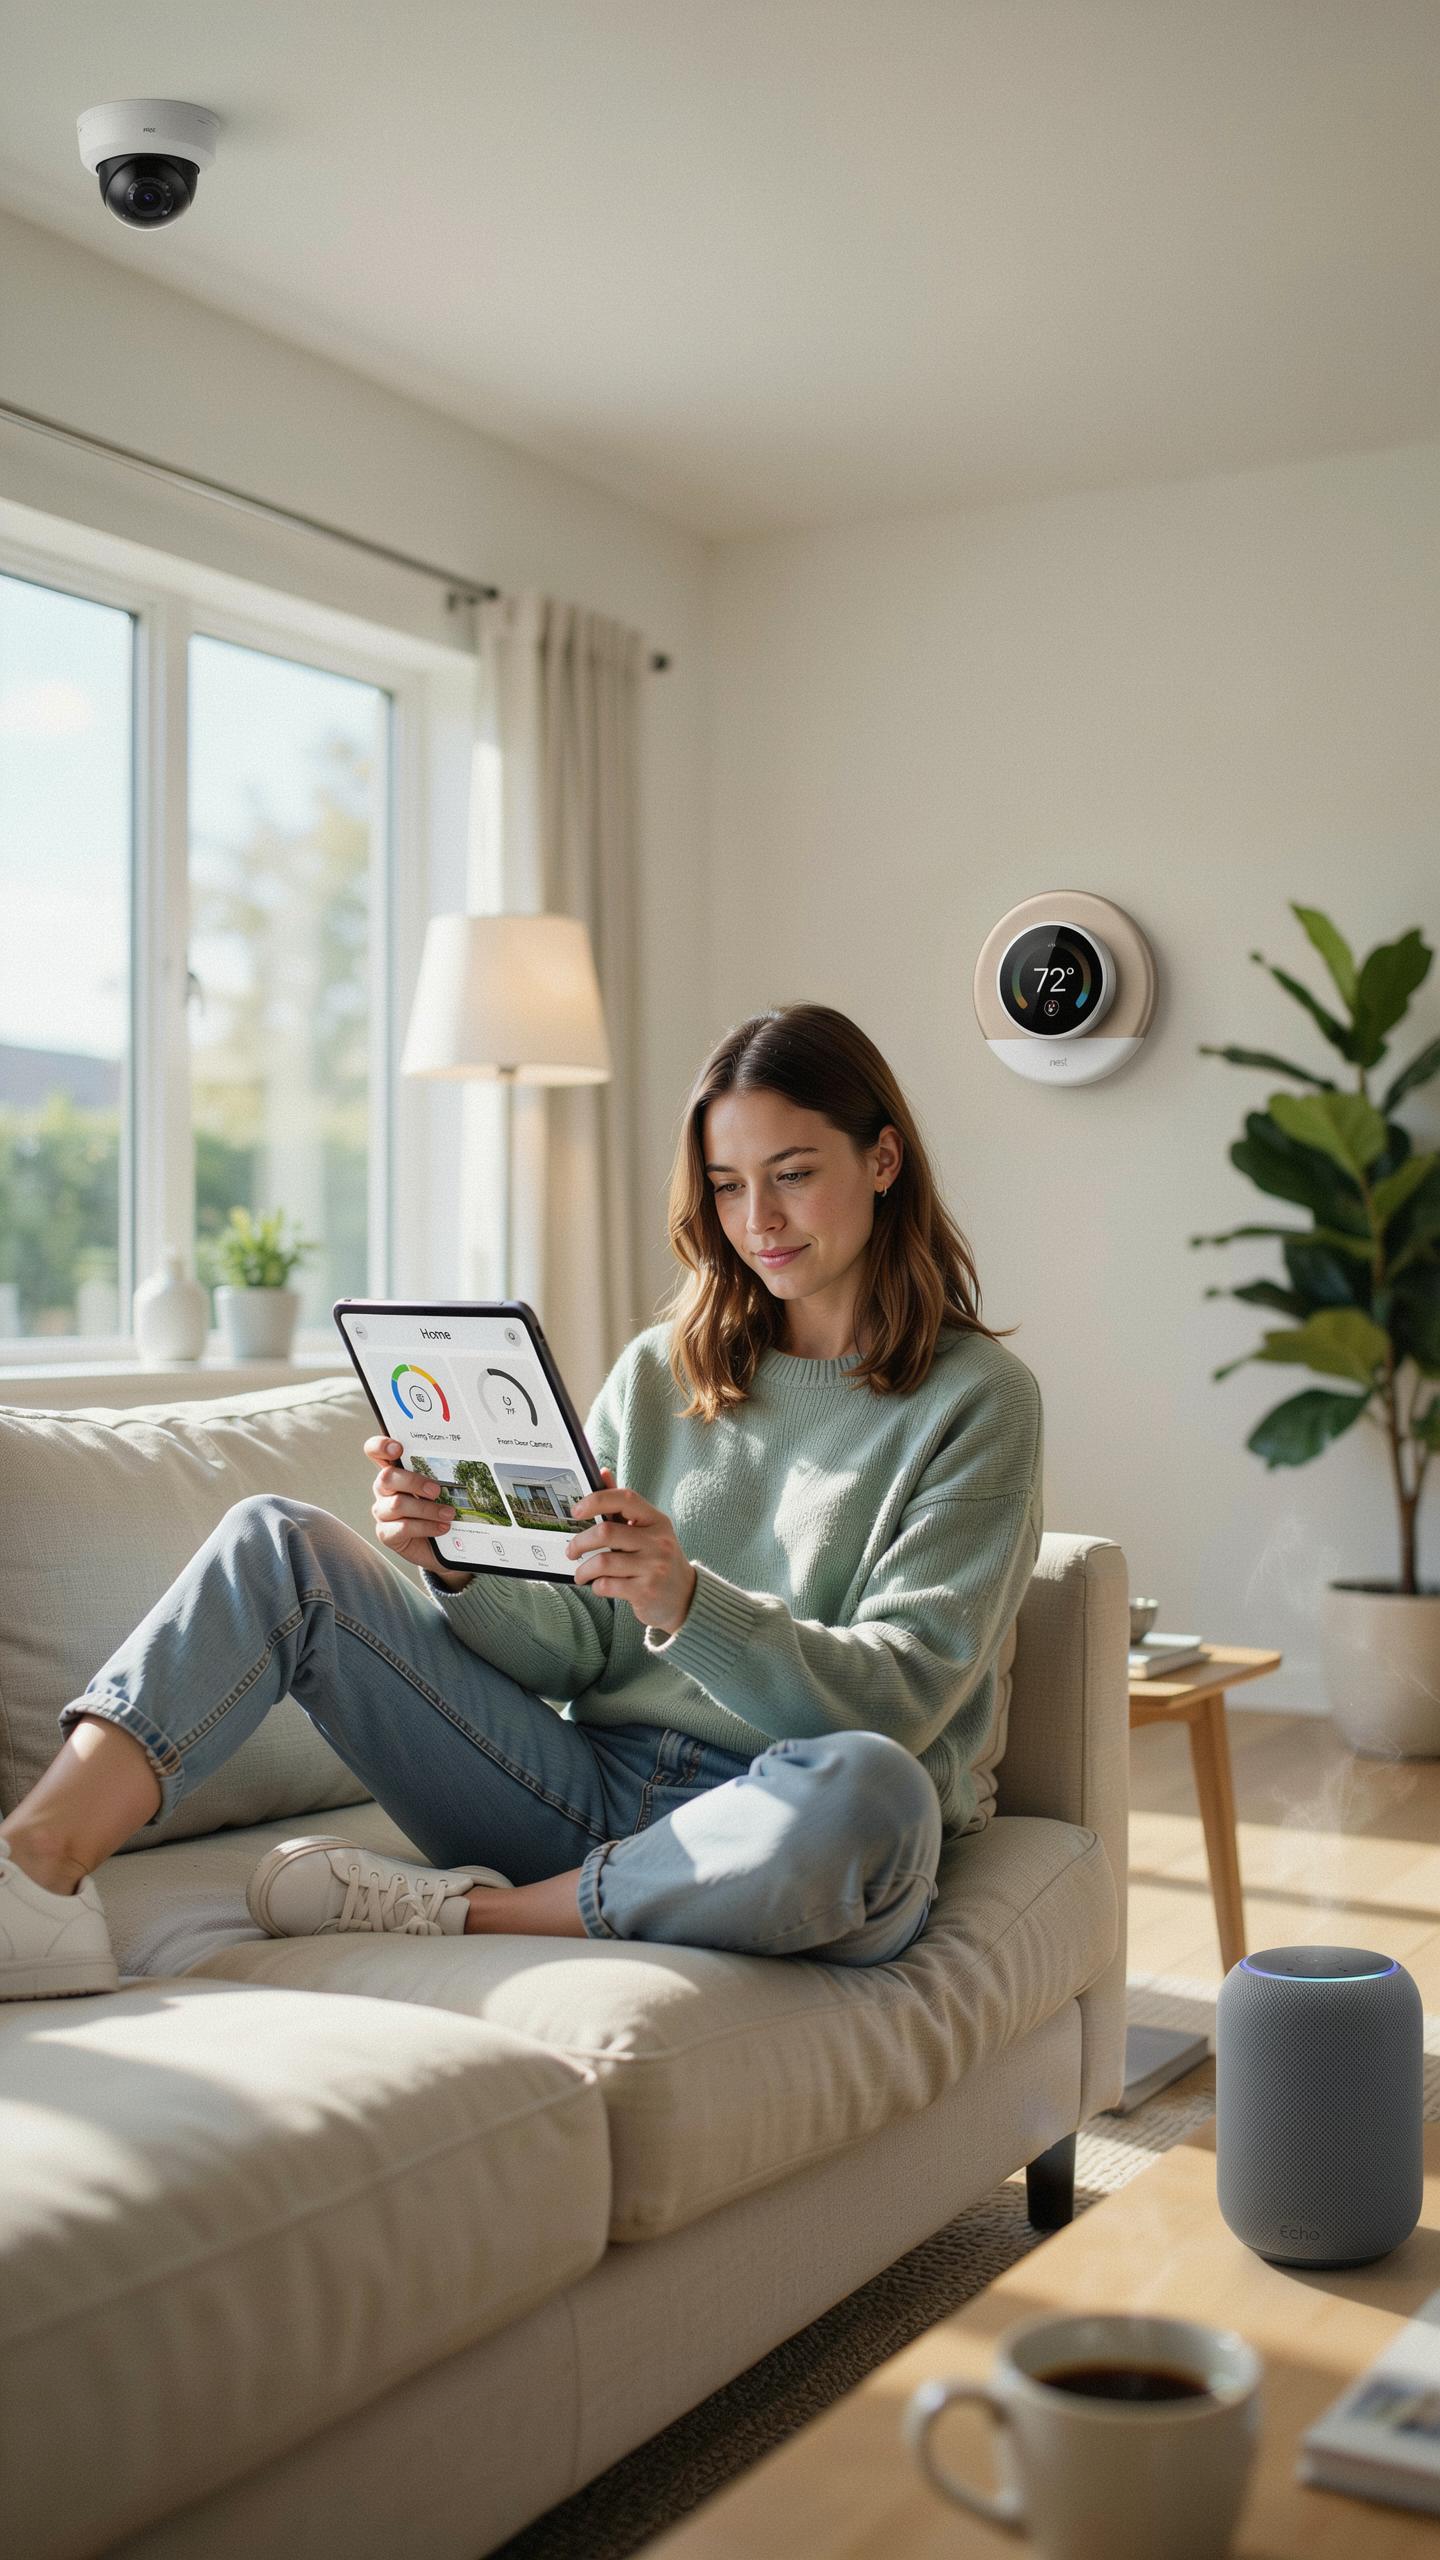
Your hub loses connection when devices flood it with requests. This happens because the radio frequency band gets congested or the processor hits its limits. Reduce the device count per hub or move the hub to a central location. Check your Wi-Fi router logs for dropped connections. Restart both the hub and router to clear temporary glitches. These steps solve most connectivity issues without requiring replacements.
Device commands execute slowly or fail entirely when your hub runs outdated firmware. The hub’s processor struggles to handle new device protocols without updates. Check the manufacturer’s app for available firmware versions and install them immediately. Keep your network bandwidth clear by minimizing background downloads. Test one device at a time after updates to identify which device causes delays. This approach isolates problems quickly.
Regular Updates And Best Practices For System Longevity
Install firmware updates within one week of release because manufacturers fix security vulnerabilities and compatibility issues with new devices. Delaying updates creates security gaps that hackers exploit. Set your hub to auto-update if the manufacturer offers this feature. Test critical automations after each update to catch breakage early. Document which devices work smoothly to establish a baseline for troubleshooting.

Reboot your hub monthly to clear memory leaks and temporary files. This practice prevents the gradual slowdown that happens over weeks of continuous operation. Remove unused devices from your hub to reduce processing load. Check network cables for loose connections every three months. Replace Ethernet cables if they show physical damage. These maintenance tasks take minutes but extend your hub’s functional lifespan significantly.
The Future Of Your DIY Smart Home Design
Emerging Technologies And Trends In Home Automation
Matter protocol is reshaping device compatibility. Released in 2022, Matter eliminates the fragmentation that plagued smart home adoption. Instead of proprietary ecosystems, devices now communicate through a unified standard. This shifts your DIY hub from managing multiple protocols to running one coherent network. Adoption accelerates as manufacturers phase in Matter support across product lines.
AI integration is moving beyond voice assistants. Machine learning now powers predictive automation, energy optimization, and anomaly detection. Your hub can learn occupancy patterns and adjust heating, lighting, and security without manual rules. Processing happens locally on capable hubs rather than cloud servers, reducing latency and privacy concerns. This capability becomes standard on new hub platforms over the next two to three years.
Scaling Your Smart Home Adding More Devices And Features
Network capacity determines your scaling ceiling. Most DIY hubs handle 50 to 150 devices before performance drops. Mesh networking extends range and increases device count by creating relay points. Upgrading to dual-band or Wi-Fi 6 routers prevents bandwidth bottlenecks. Calculate your needs now: count devices, project future additions, then choose infrastructure accordingly.
Hub CPU and storage limits demand attention as you expand. Automation rules, device histories, and local dashboards consume resources rapidly. Start with a hub offering upgrade paths. Single-board computers like Raspberry Pi work initially but require migration planning. Professional hubs like Hubitat or Home Assistant dedicated boxes scale better long-term. Budget for hardware replacement every three to four years as your system grows.
Frequently Asked Questions

What exactly is a DIY smart home hub and why would I want one?
A DIY smart home hub is a central control system you build yourself to manage all your smart devices. It offers tailored control and enhanced privacy compared to off-the-shelf options, often saving money. Building a DIY smart home hub project allows for ultimate customization to fit your unique home and lifestyle needs.
What are the foundational components I need to start my DIY smart home hub project?
To begin your DIY smart home hub project, you’ll typically need a small computer like a Raspberry Pi, an operating system (like Home Assistant OS), and appropriate wireless communication protocols (like Zigbee or Z-Wave USB sticks) to connect your various smart devices. Internet connectivity is also essential.
Can I build a DIY smart home hub on a tight budget, or is it an expensive endeavor?
Absolutely! Building a DIY smart home hub can be very budget-friendly. Components like a Raspberry Pi are affordable, and many open-source software solutions are free. You can start small, integrating devices you already own, and expand your system gradually as your budget allows, making it accessible to many.



