
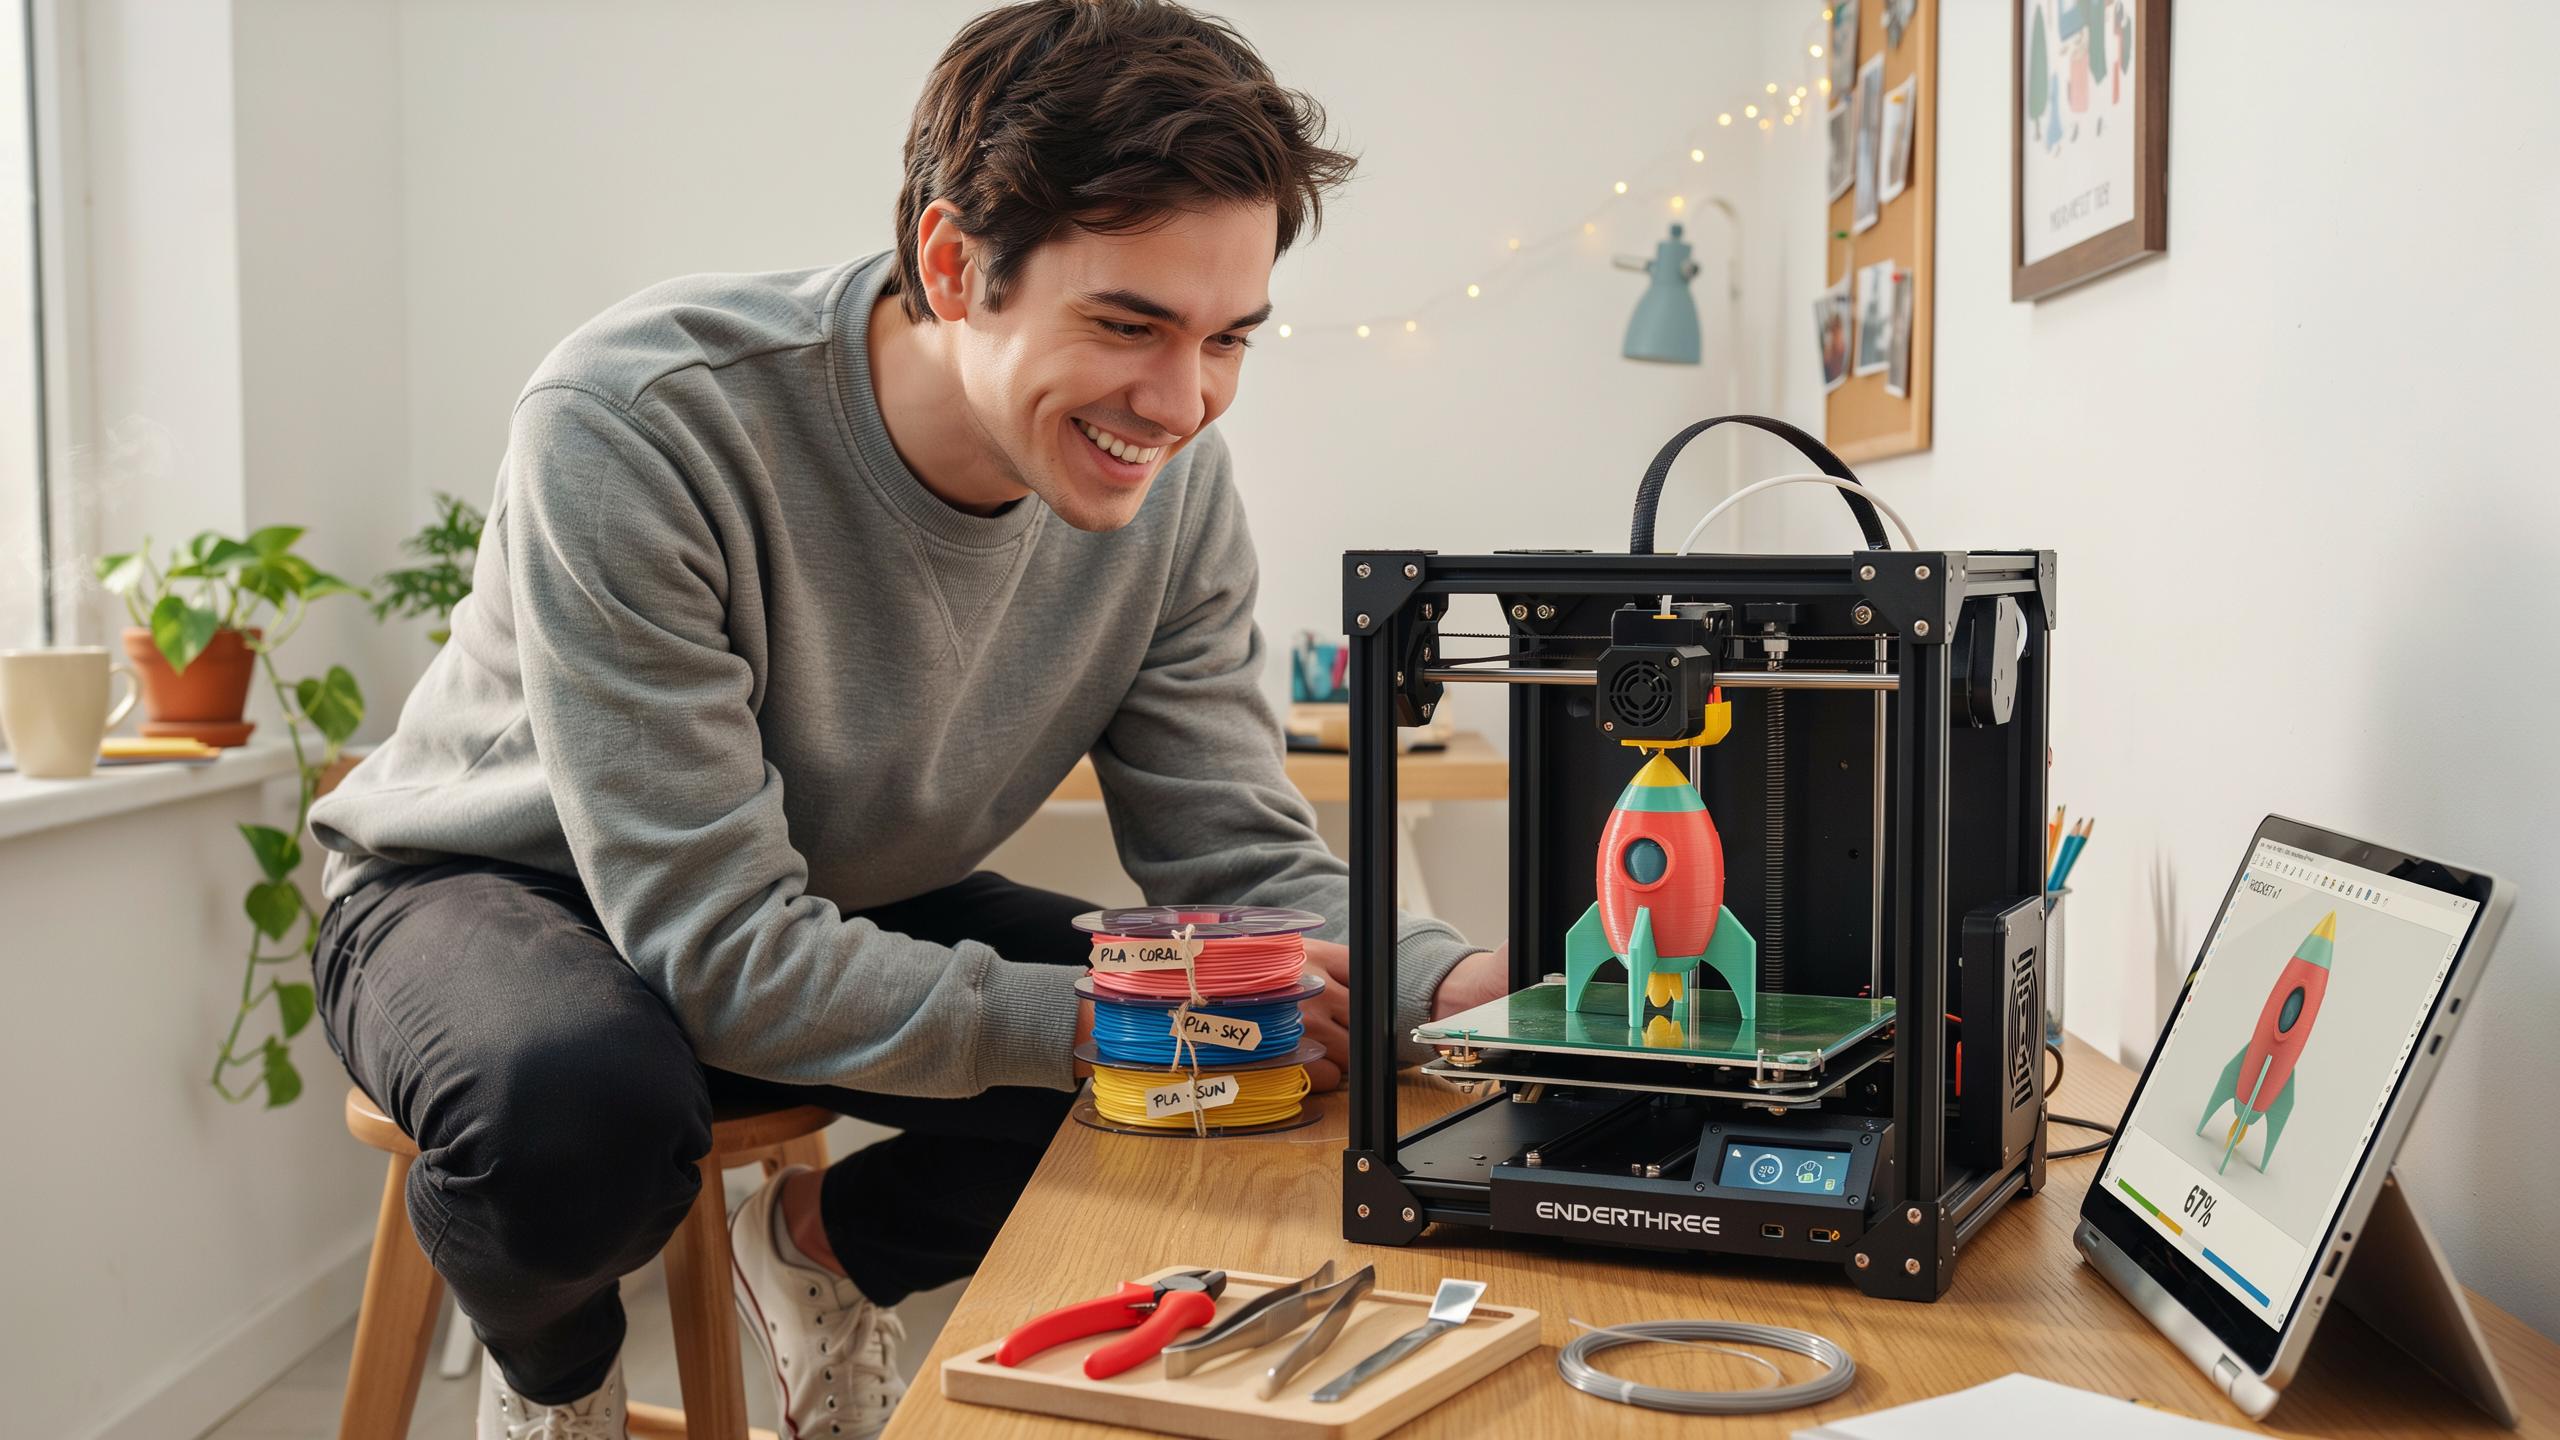
Understanding Your First 3D Printer
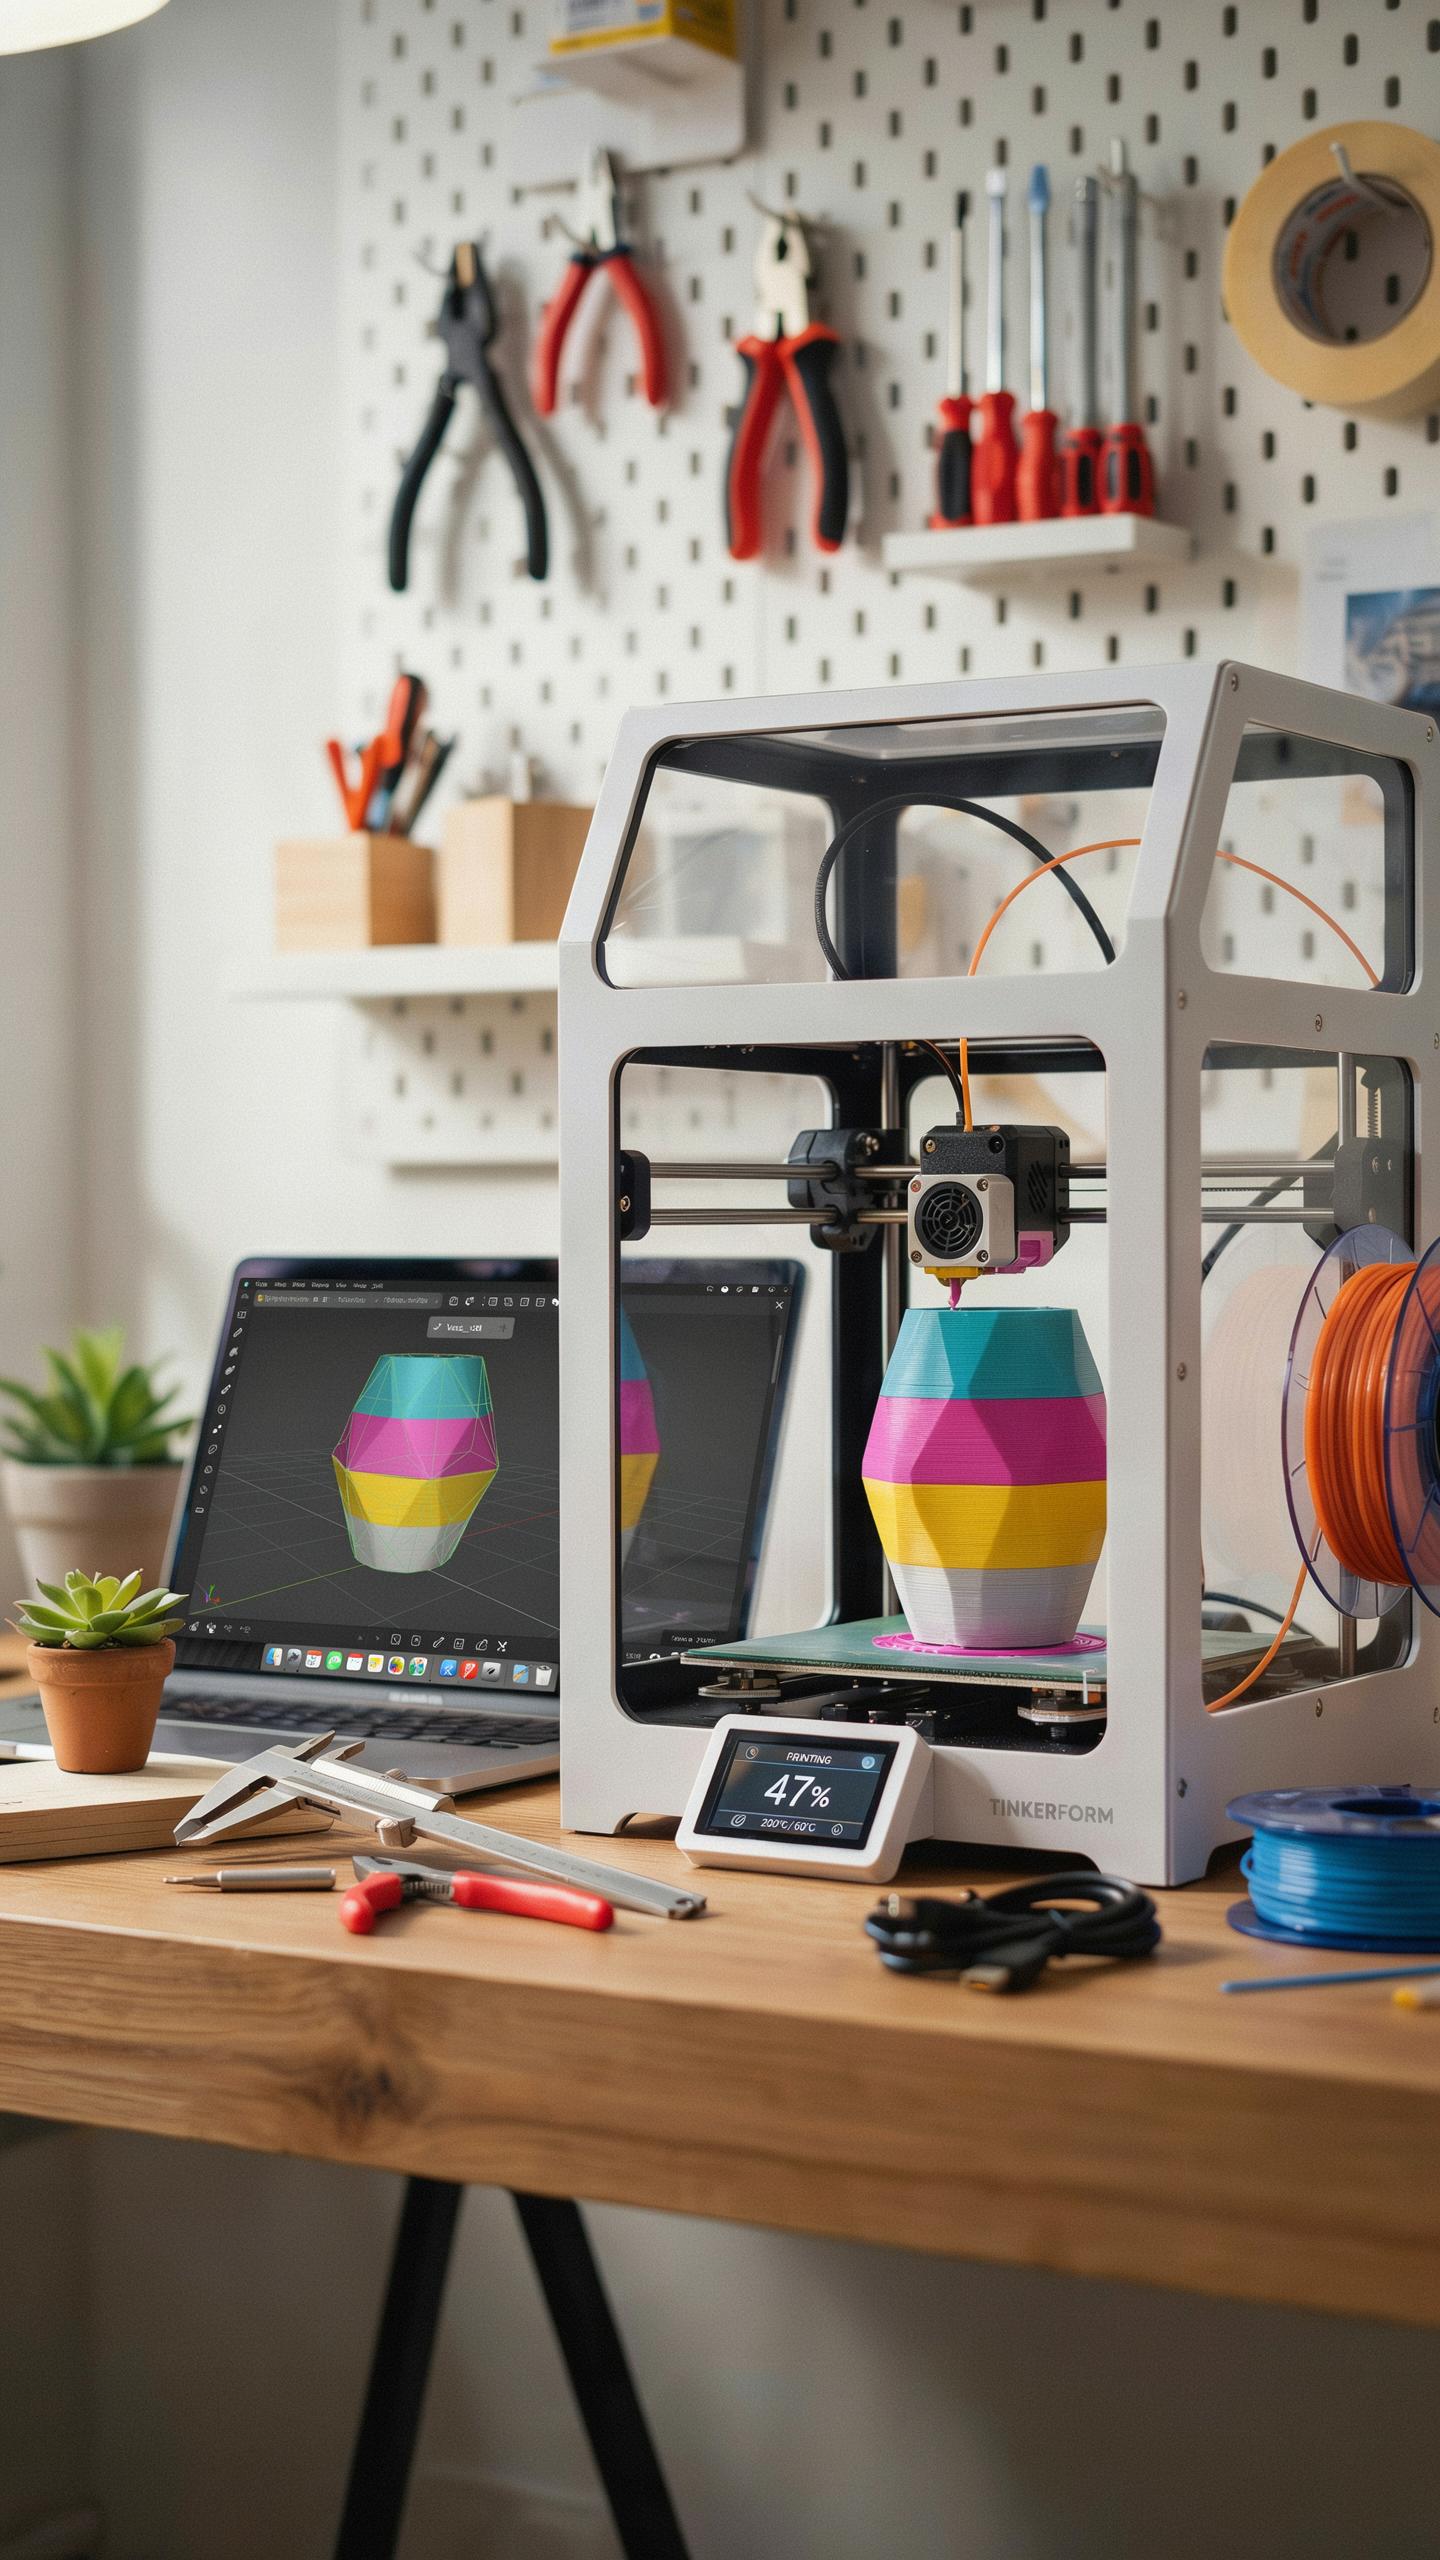
1 1 What Is A 3D Printer And How Does It Work For Beginners?
A 3D printer builds physical objects by stacking material layer upon layer. You provide a digital file, the printer reads it, and deposits material in precise patterns. The machine repeats this process hundreds or thousands of times until your object exists. Most beginner printers use either plastic filament or resin as their material source.
The printer moves a nozzle or laser across a platform, depositing or curing material exactly where the digital design specifies. Think of it as automated sculpting with mathematical precision. The entire process happens without human intervention once you start the print. Time varies from minutes for small objects to many hours for larger projects.
1 2 Key Components Of A Beginner Friendly 3D Printer
Every beginner printer contains a heated bed that holds your object while it builds. The nozzle or print head deposits material in controlled amounts. A motor system moves these parts with accuracy. The control board communicates the design file to all moving parts and manages temperatures throughout the print.
The power supply delivers consistent energy to maintain stable heat and movement. Cooling fans prevent the nozzle from overheating and help material set properly. A display screen lets you monitor progress and adjust settings. These components work together as a system, so weakness in any single part affects your final result.
Choosing The Best 3D Printer For Beginner Hobbyists
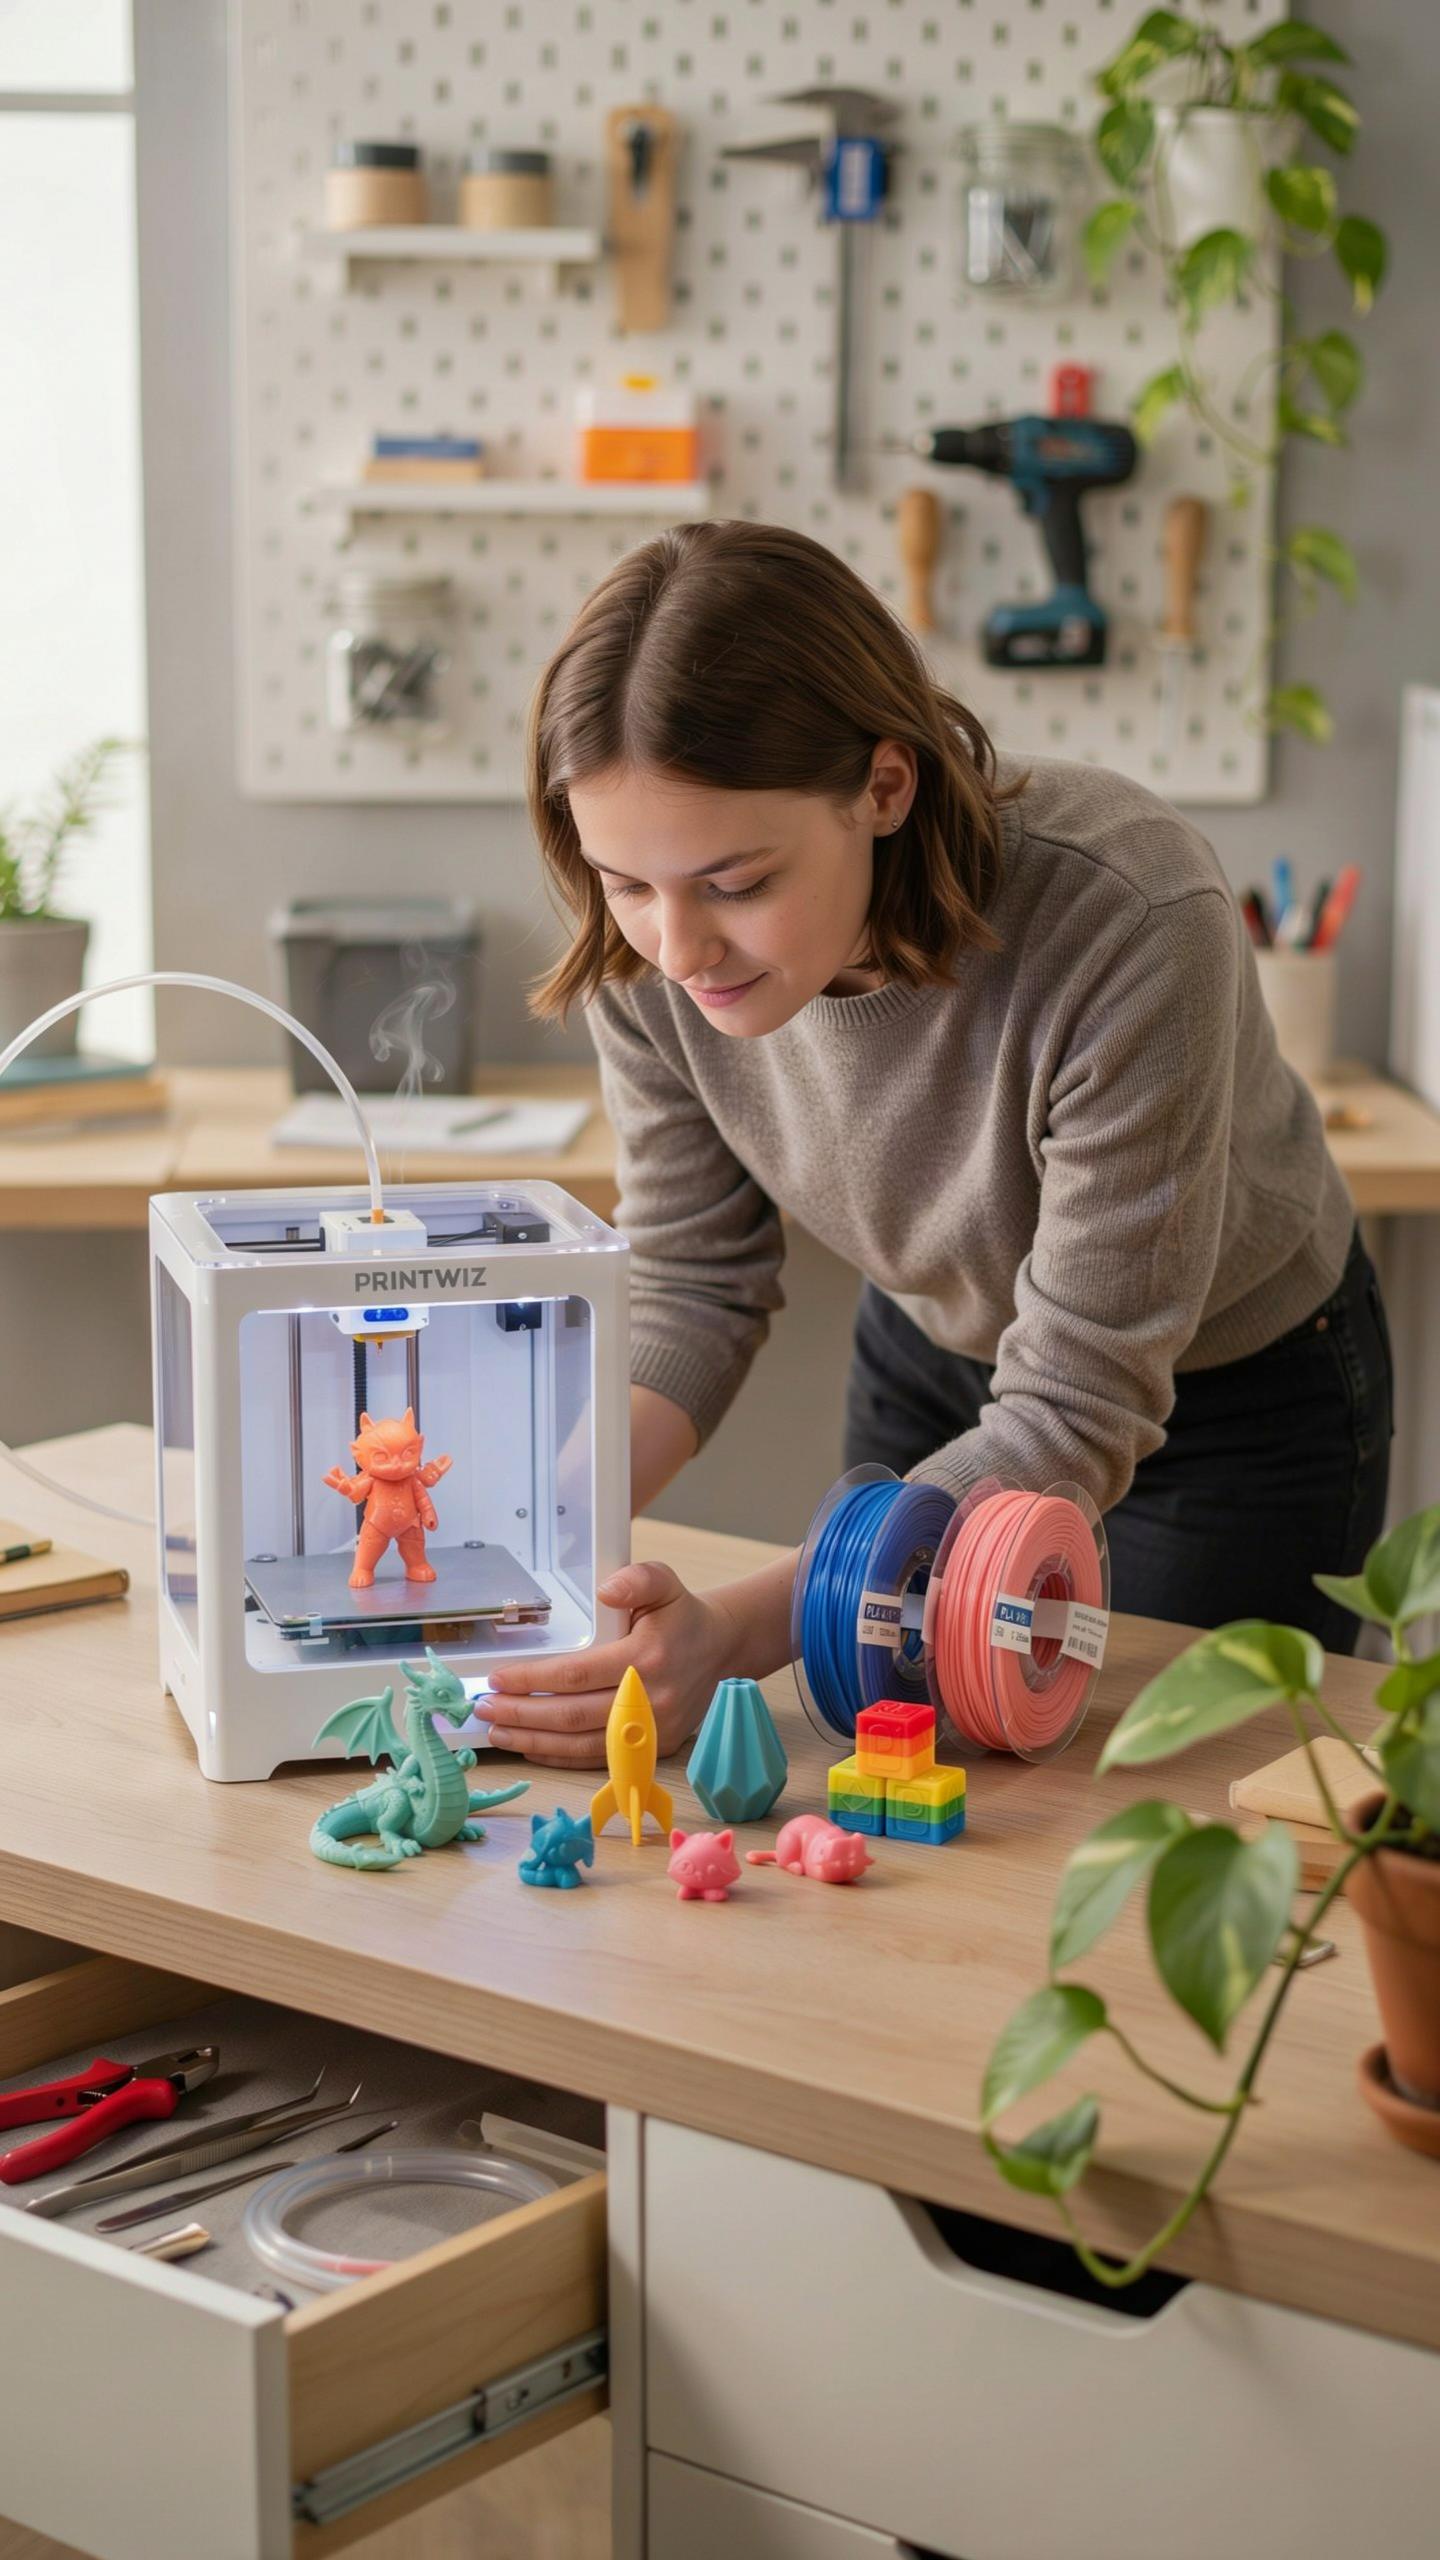
2 1 Factors To Consider Price Ease Of Use And Features
Budget determines your entry point. FDM printers range from $200 to $500 for genuine beginner models. Resin printers start around $300 but require ventilation and safety precautions. Your budget also affects material costs and replacement parts availability over time.
Ease of use separates hobbyists from frustrated buyers. Machines with automatic bed leveling save hours of troubleshooting. Intuitive software matters more than feature count. Look for printers with established user communities that provide support when problems arise.
2 2 Top Recommended 3D Printers For Newcomers
The Creality Ender 3 V2 dominates the beginner market. It costs under $250, uses standard materials, and benefits from massive community support. Thousands of online guides and replacement parts exist. Setup takes one to two hours with no special tools required.
The Prusa i3 MK3S costs roughly $750 but excels in reliability and print quality. It includes automatic bed leveling and a built-in camera for remote monitoring. The higher price delivers fewer failed prints and less troubleshooting time. Choose this if budget allows and you want faster results from day one.
Getting Started With 3D Printing Initial Setup
3 1 Unboxing And Assembling Your New 3D Printer
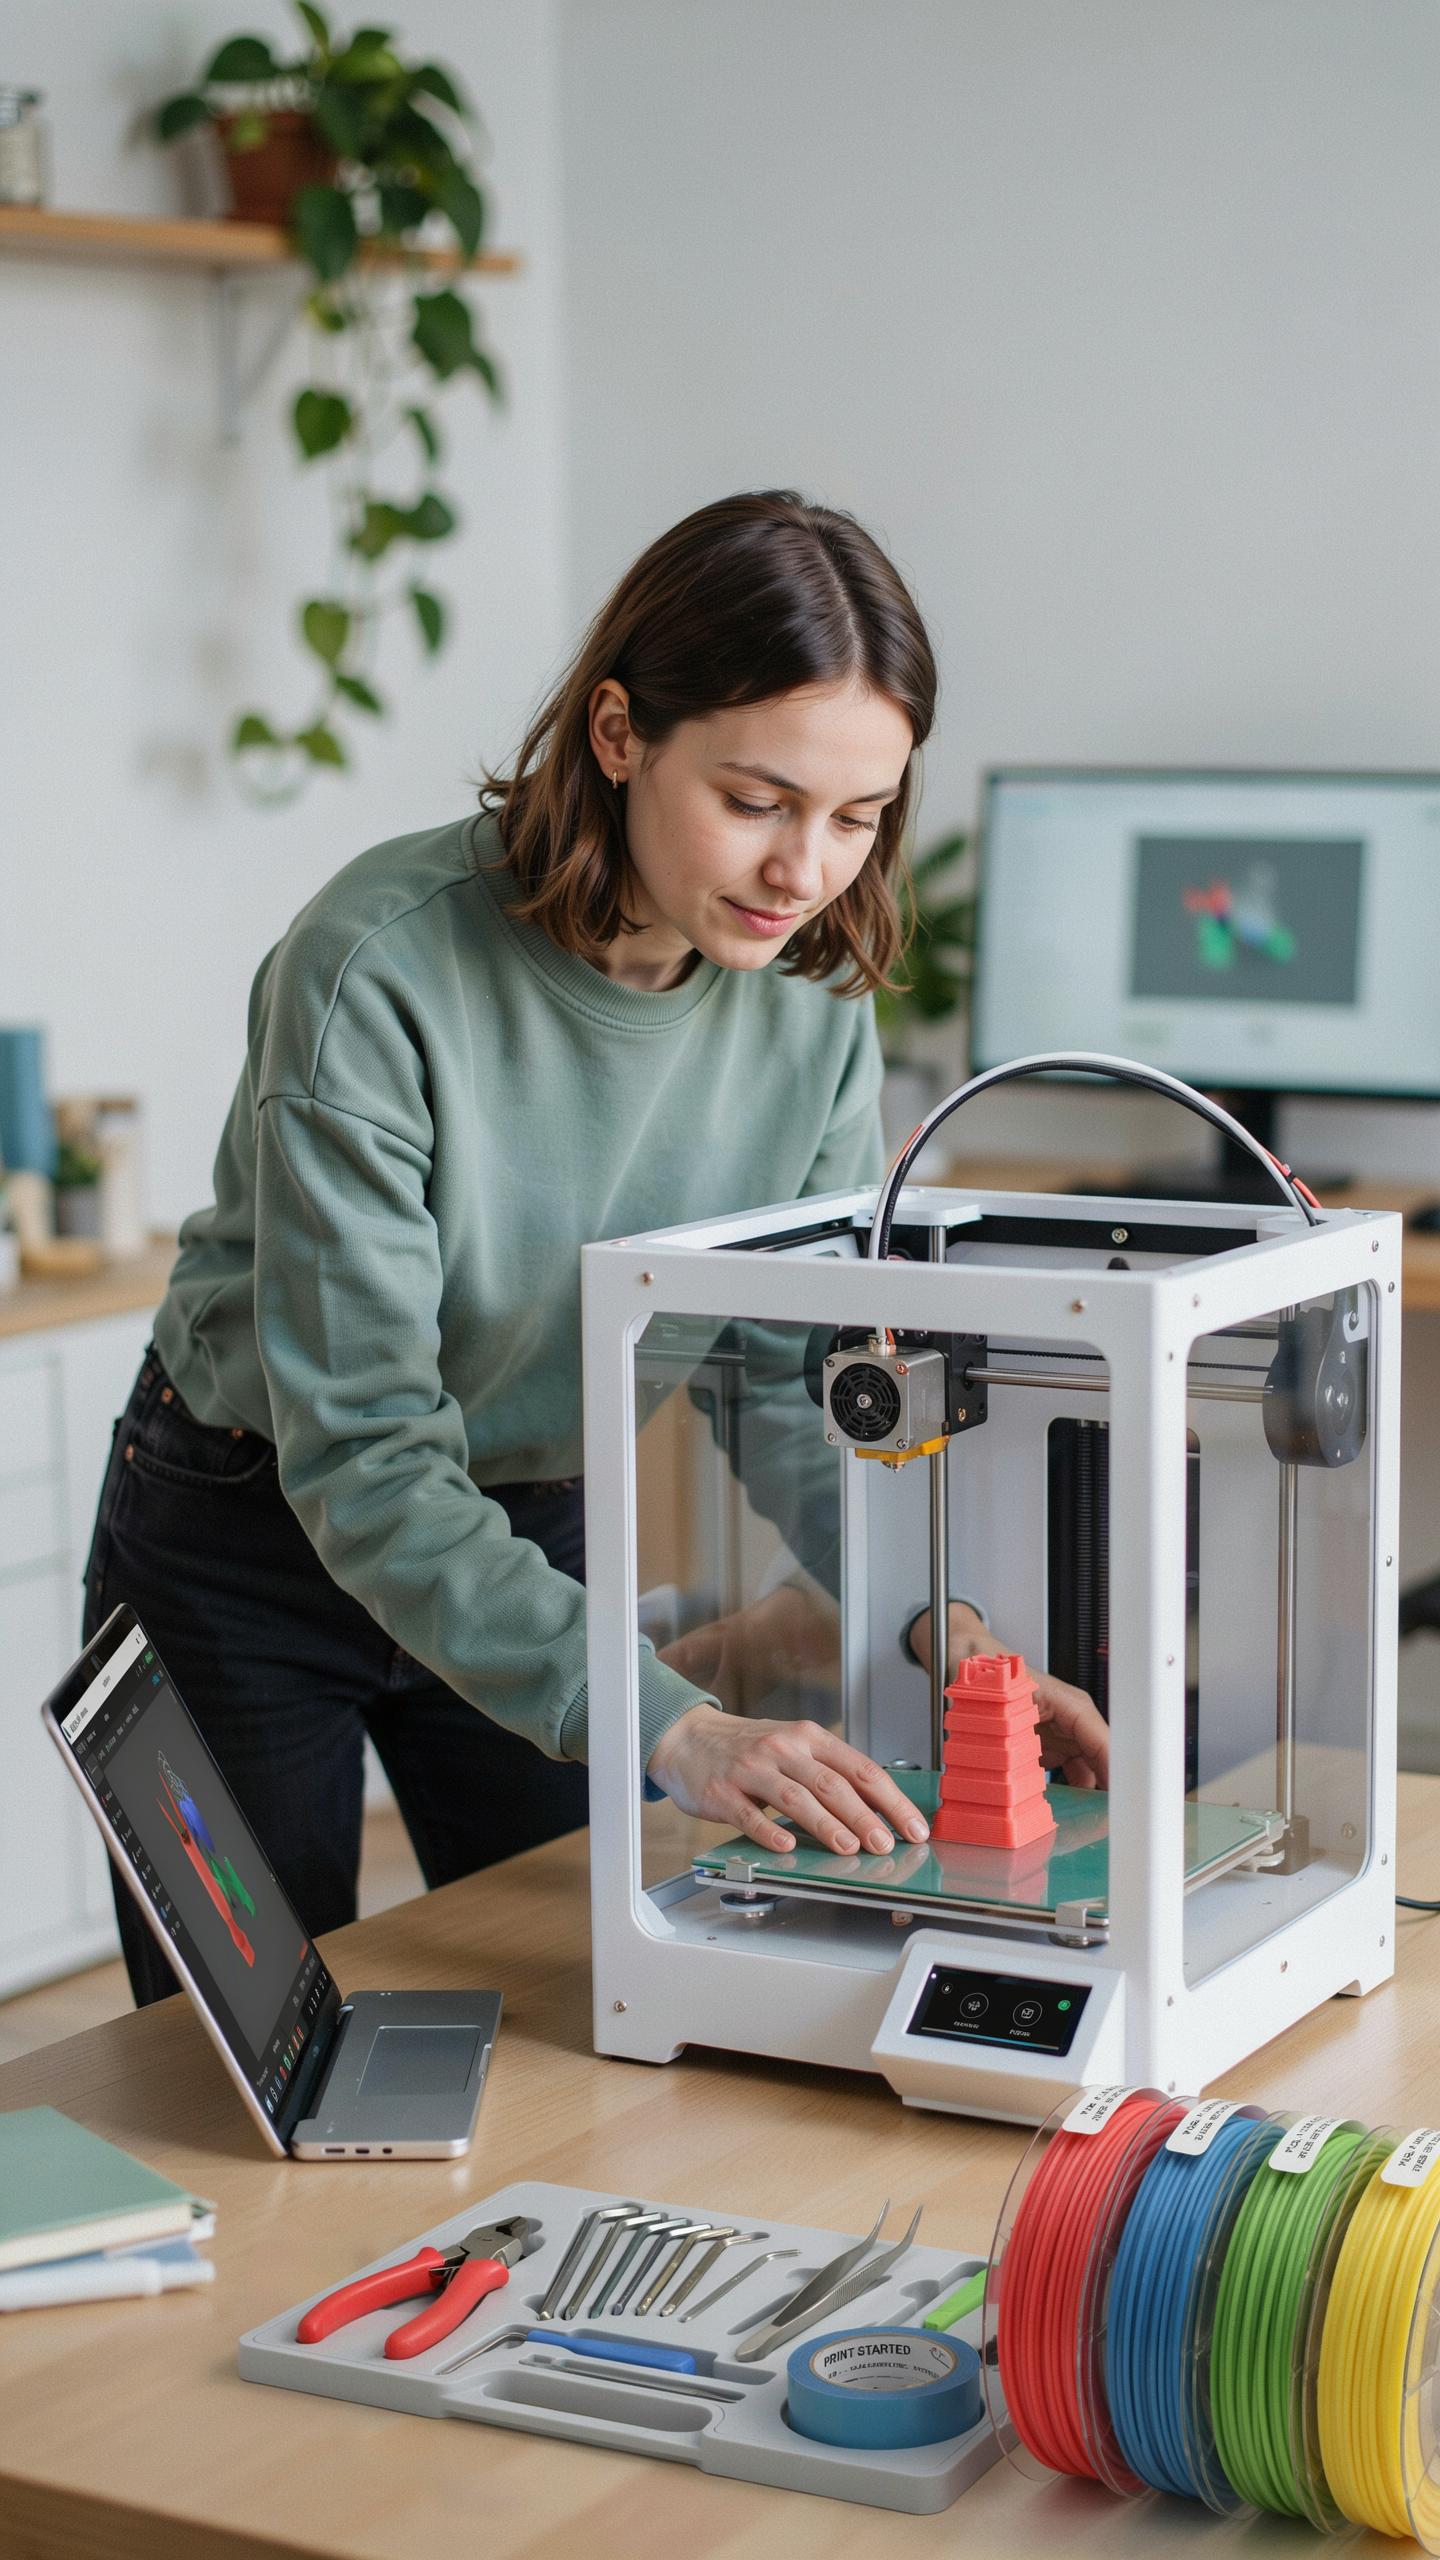
Most consumer 3D printers arrive partially assembled. You’ll need to attach the build plate, install the extruder assembly, and connect the power supply. Check the manufacturer’s manual for your specific model because assembly steps vary significantly between printer types. Verify all components match the parts list before starting. Missing or damaged parts mean delays you should catch immediately.
Assembly typically takes one to three hours for beginner-friendly printers. Work on a clean, flat surface to prevent losing small bolts and connectors. Install components in the order specified by the manual, not your own sequence. Tighten fasteners firmly but don’t over-torque them, which strips threads and damages plastic parts. Test all moving components by hand before powering on the printer.
3 2 Calibrating Your 3D Printer For Optimal Performance
Calibration determines print quality and success rate. Start by leveling the build plate, which means adjusting its distance from the nozzle so it’s perfectly parallel. Most printers require you to move the nozzle to different points and slide paper underneath until it catches slightly. This paper test gives you the correct gap. Skip this step and your prints fail or stick permanently.
After leveling, run the printer’s built-in calibration routine if available. Load the included filament and print a calibration object from the manufacturer. Examine the results for signs of under extrusion, over extrusion, or warping. Adjust nozzle temperature and bed temperature based on what you see. Document your final settings because you’ll reference them for every print.
Software Essentials For Beginner 3D Printing
4 1 Introduction To Slicer Software And Its Importance
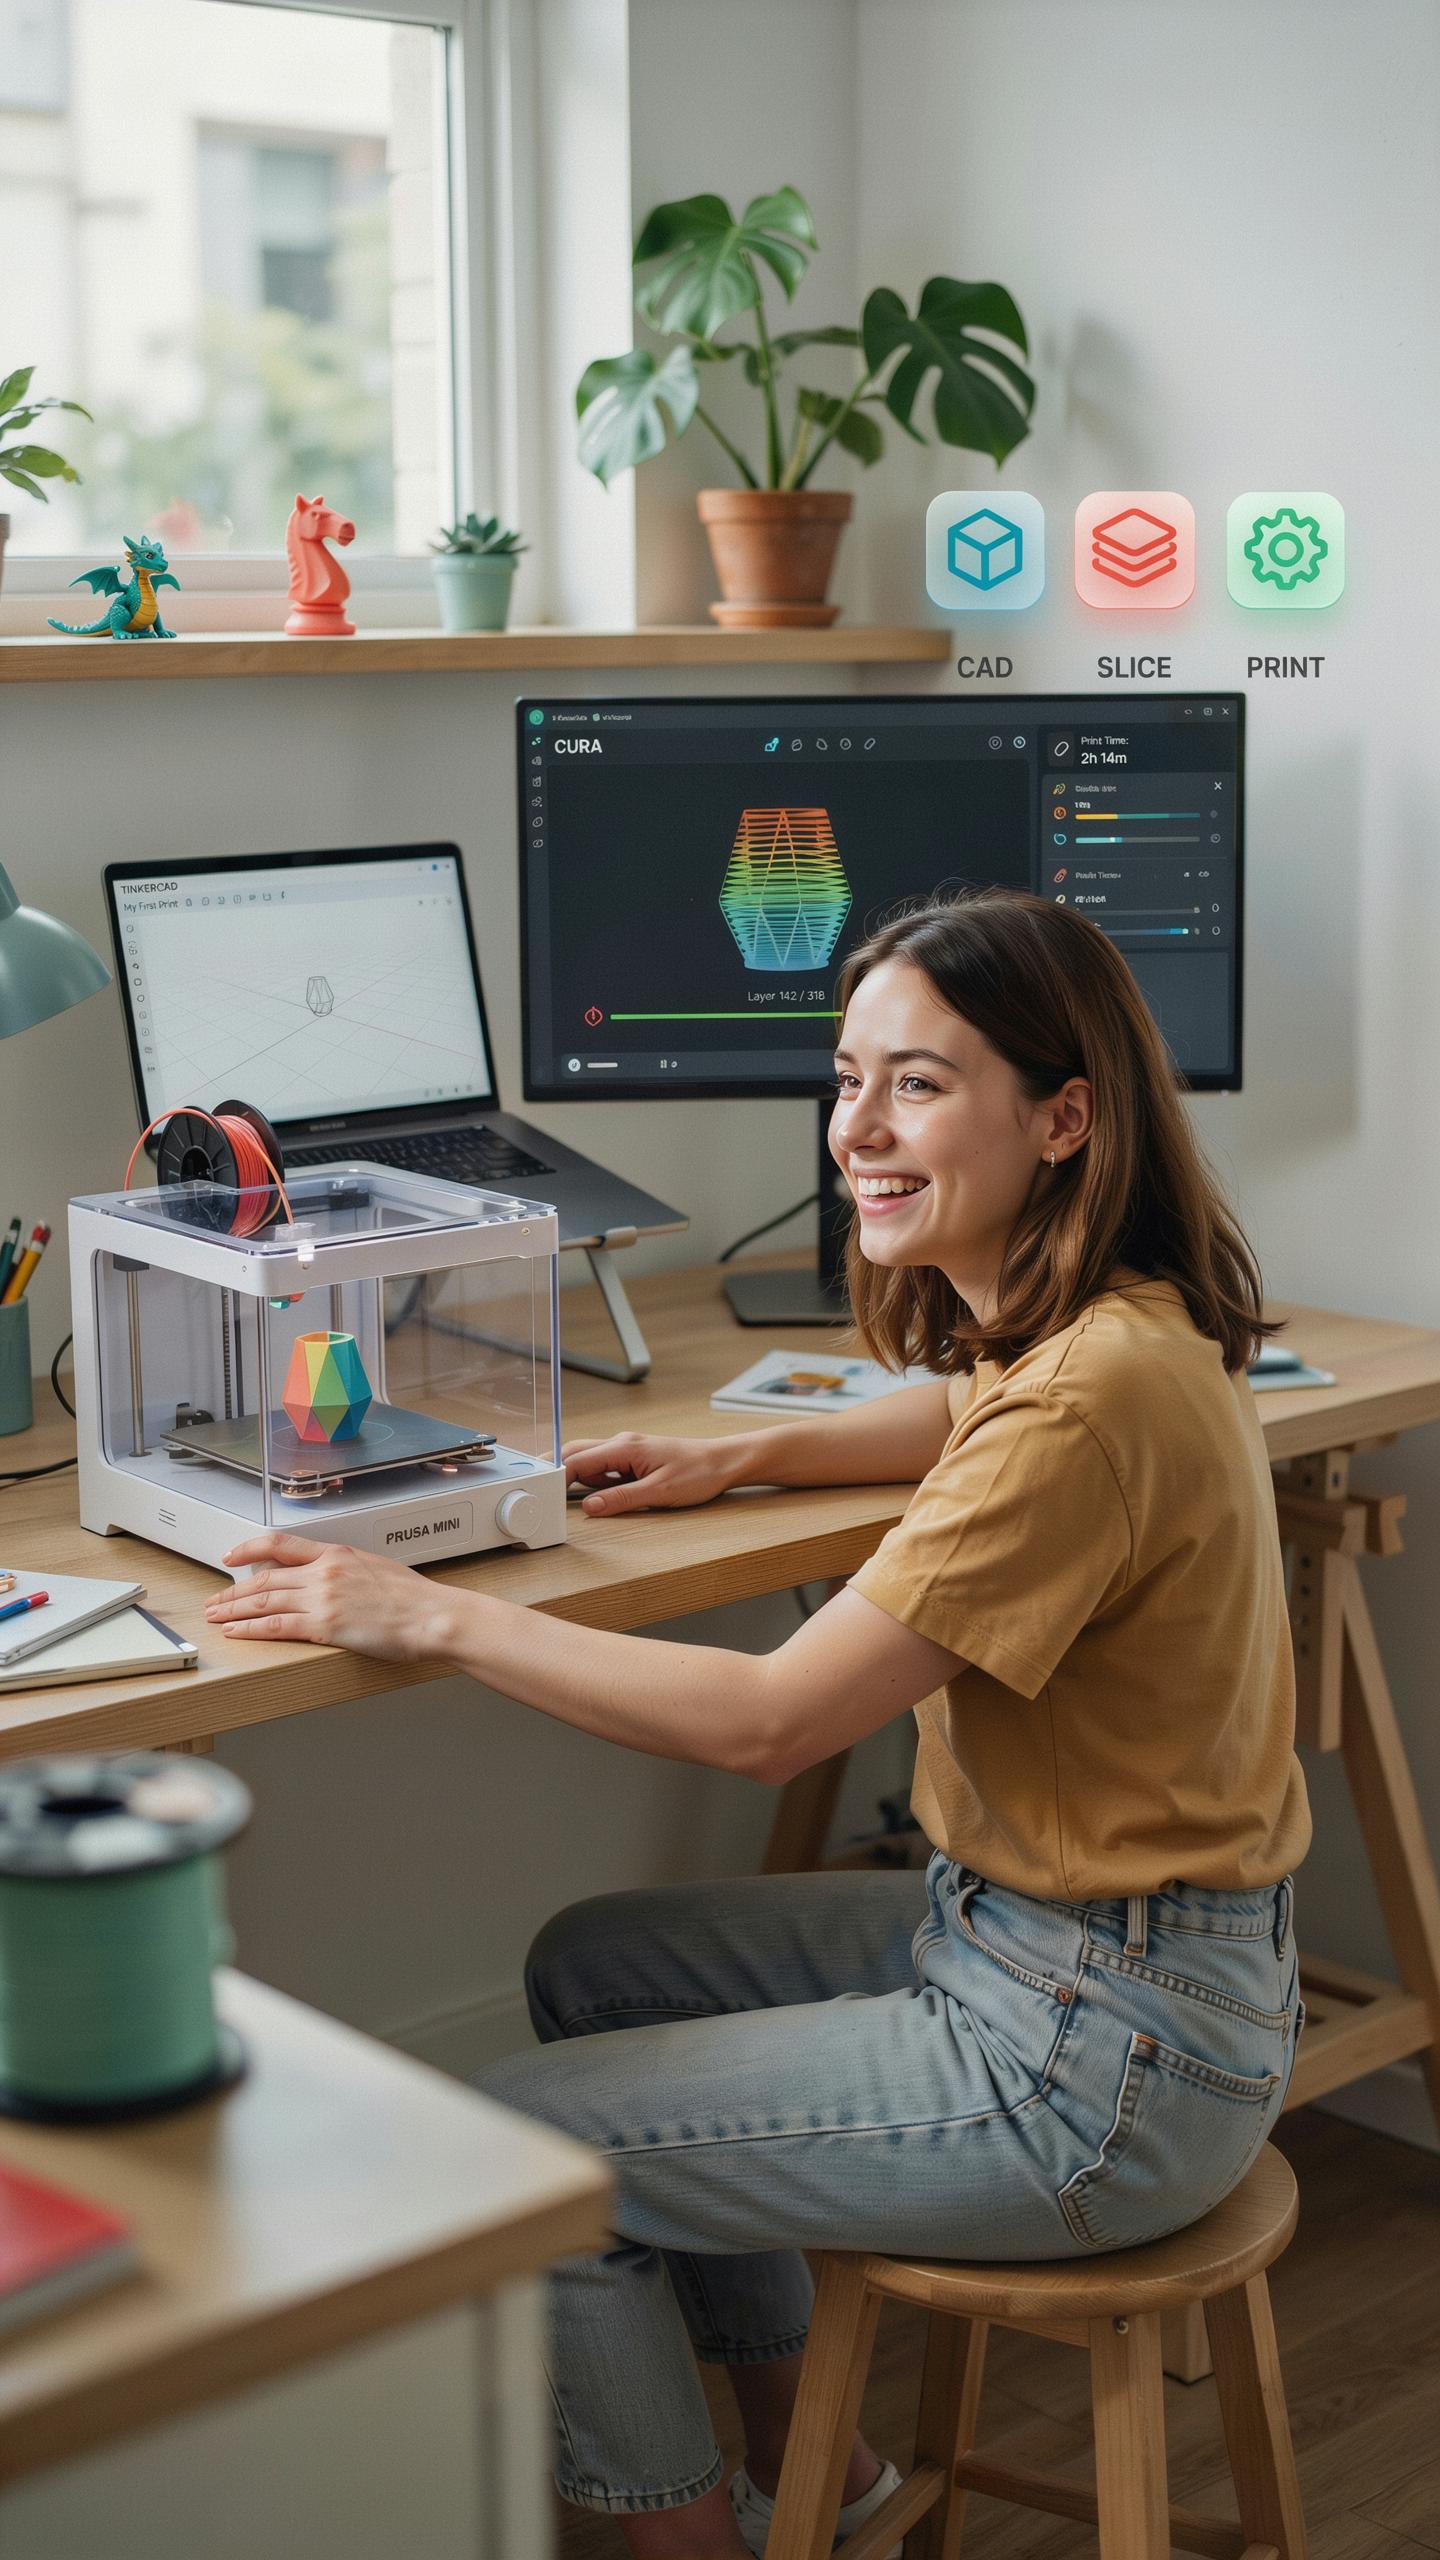
Slicer software converts 3D models into machine instructions. Your printer cannot understand STL or OBJ files directly. The slicer reads your design, slices it into thin layers, and generates G-code that tells the printer where to move. Without slicing software, you have no path from digital file to physical object. This step determines print quality, speed, and success rate.
Most beginner printers ship with software recommendations. Cura, PrusaSlicer, and SuperSlicer work with most FDM machines. These tools let you adjust layer height, infill density, nozzle temperature, and print speed. Learning your slicer’s core functions takes one to two hours. You must master this before attempting your first print.
4 2 Finding And Preparing Your First 3D Printer Designs
Thingiverse and Printables host millions of free models. These platforms let you filter by printer type and difficulty level. Download files in STL format only. Avoid designs marked as failed or requiring supports you cannot remove. Start with simple objects: calibration cubes, desk organizers, and small tools.
Before printing, open your file in the slicer and run a quality check. Look for broken geometry, internal walls, or floating parts. The slicer flags problems you must fix in CAD software first. Set your print settings to manufacturer defaults, then print. Your first three prints establish baseline performance and reveal machine quirks.
Your First Print A Step By Step Guide To 3D Printer Projects
5 1 Preparing Your Filament And Loading It Correctly
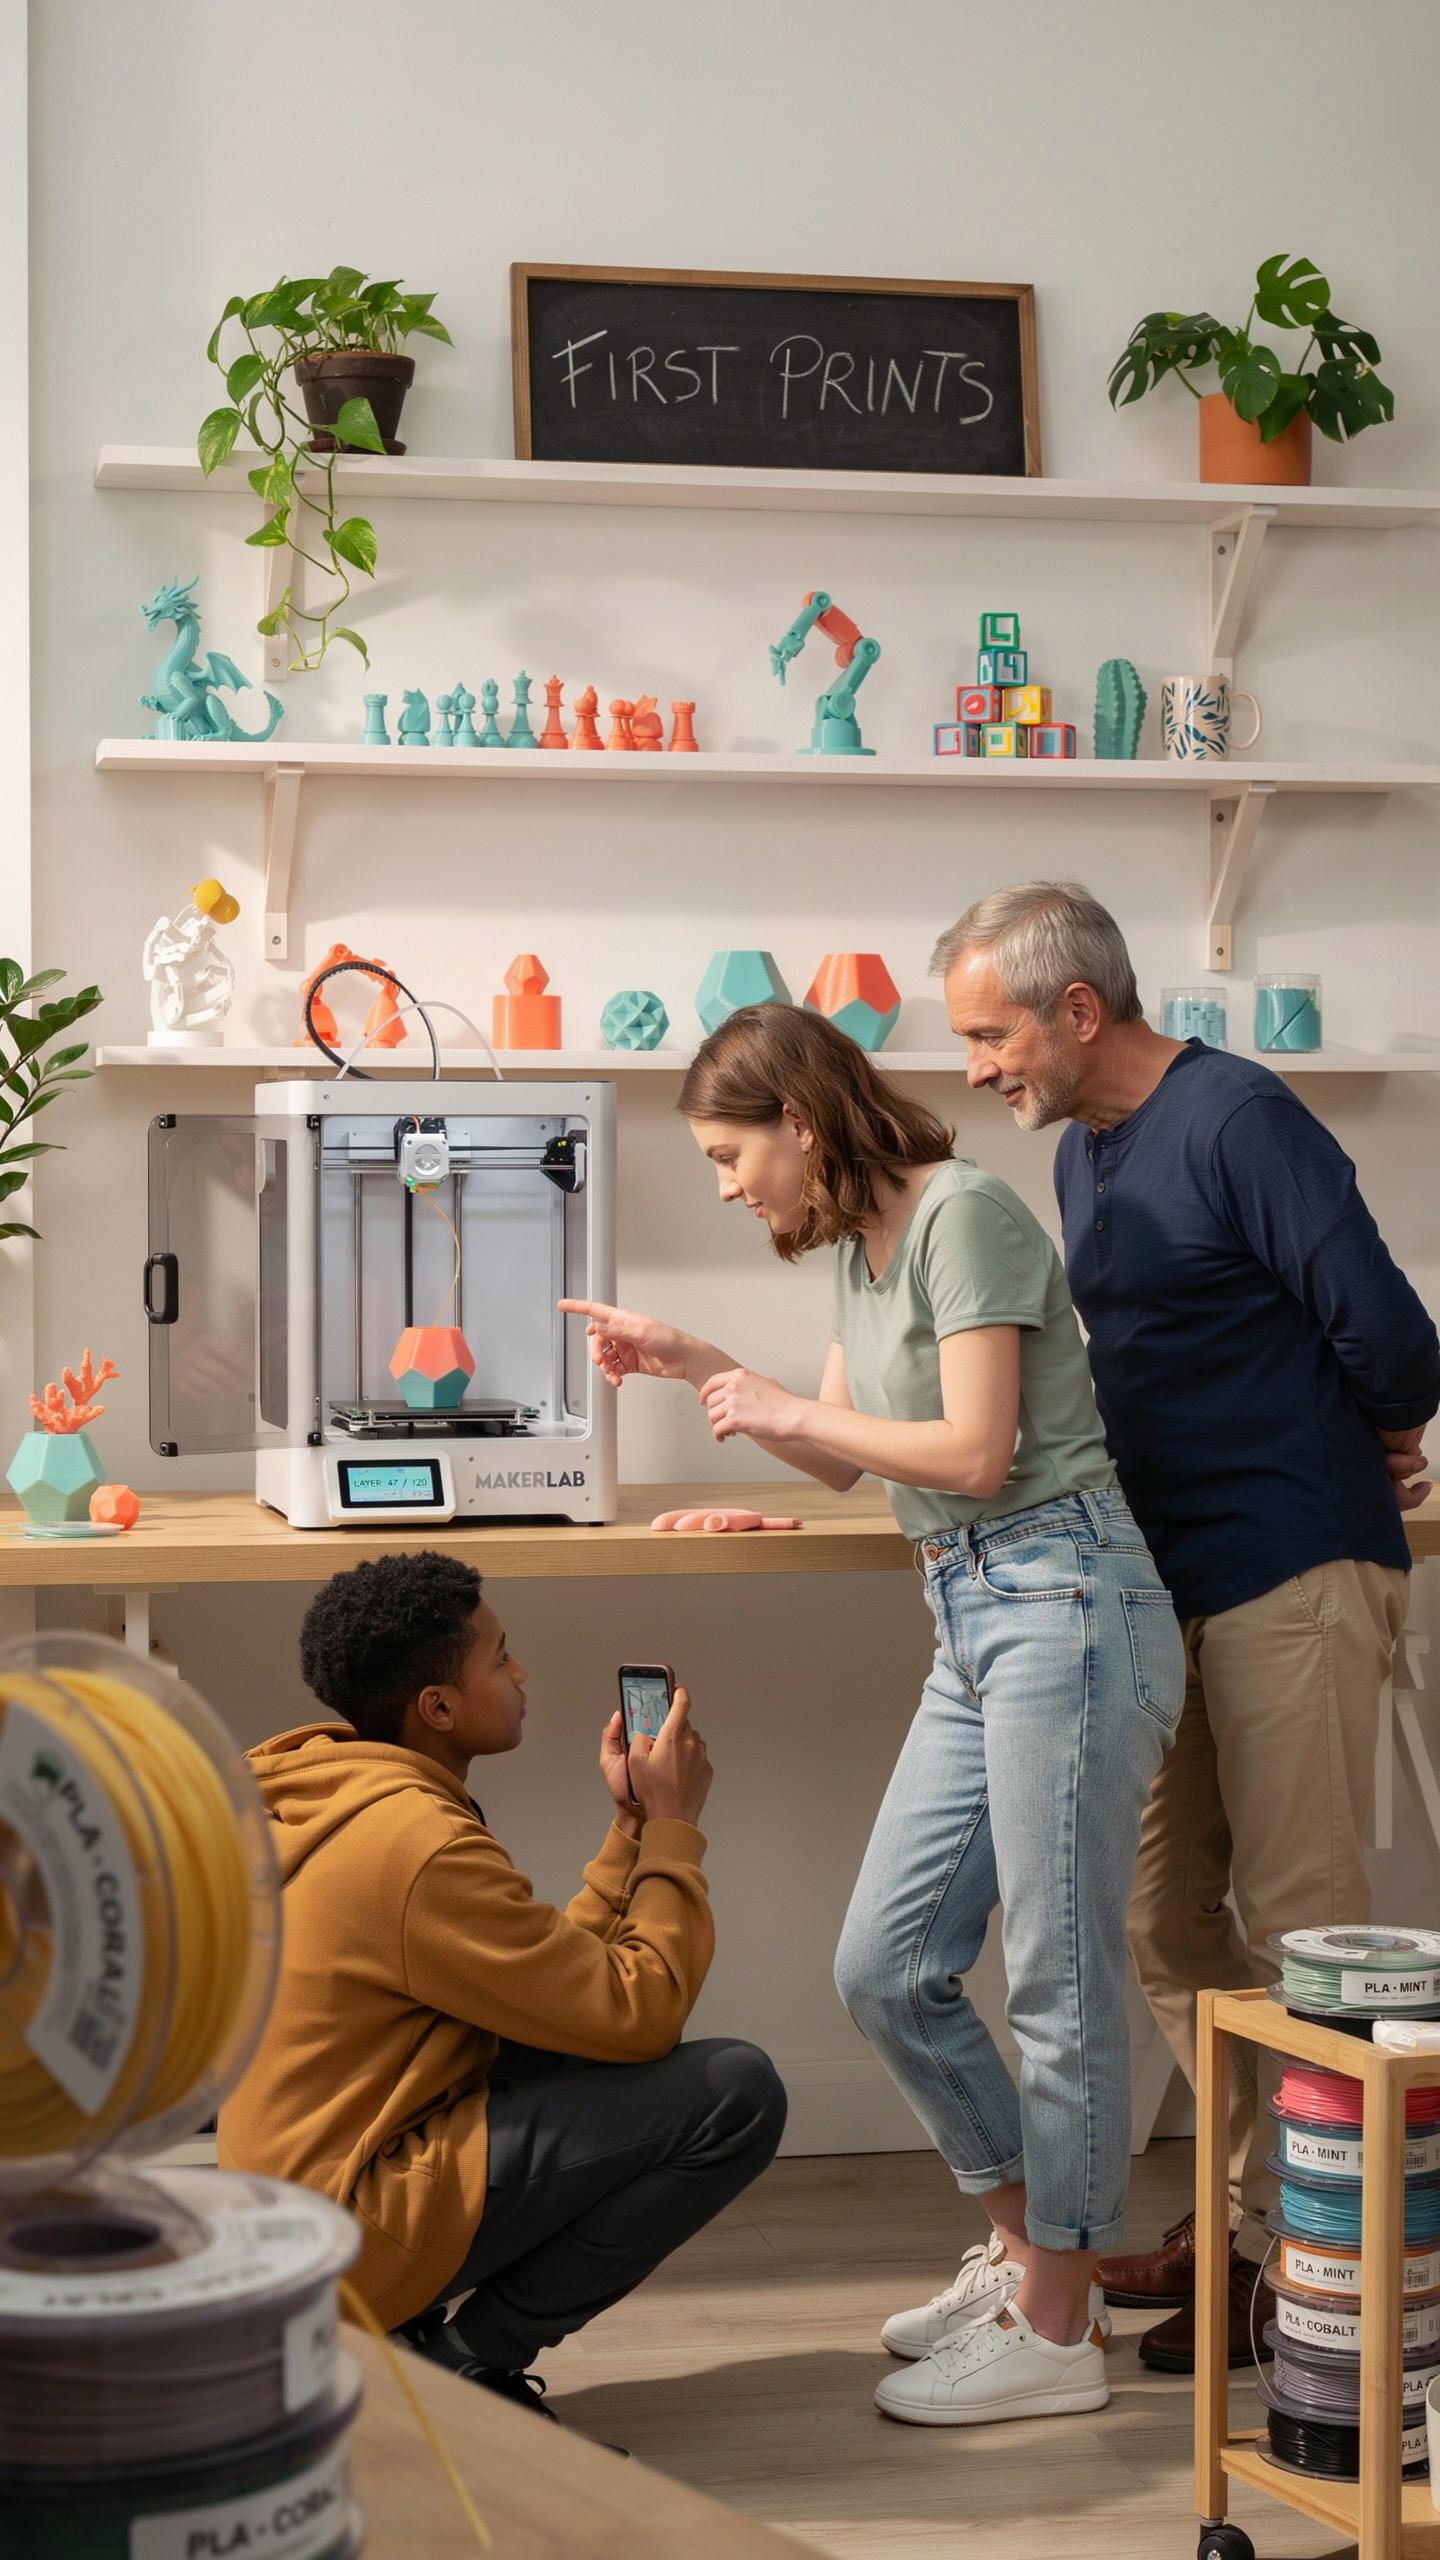
Store filament in a dry environment before use. Moisture degrades most common filaments like PLA and ABS, causing poor print quality and nozzle clogs. Keep spools in sealed containers with desiccant packets. Check your filament diameter matches your printer specs, typically 1.75mm or 2.85mm. Weigh the spool to confirm material hasn’t degraded or been partially used.
Load filament by heating the nozzle to the material’s required temperature. Most PLA needs 200-210°C, while ABS requires 230-250°C. Cut the filament tip at a sharp angle for easier insertion. Feed it through the extruder until plastic extrudes from the nozzle. This confirms the path is clear and material flows properly. Retract and prepare for your print job.
5 2 Monitoring Your Print And Troubleshooting Common Issues
Watch the first layer closely during the initial minutes. Poor bed adhesion causes prints to fail immediately. If plastic doesn’t stick, stop the print and adjust bed leveling. Check that the nozzle sits 0.1mm above the bed surface. Clean the bed with isopropyl alcohol to remove oils and residue that block adhesion.
Mid print problems require quick assessment. If the nozzle clogs, material stops extruding and creates gaps in layers. Pause the print and heat the nozzle to extrusion temperature. Remove debris manually or perform a cold pull by pulling hardened filament through the heated nozzle. Warping occurs when prints cool unevenly. Ensure your print bed stays at recommended temperatures and your room temperature stays consistent.
Essential Beginner 3D Printer Projects And Maintenance
6 1 Simple And Fun 3 D Printer Projects To Start With
Start with prints that teach you how your machine behaves. Benchy, a small boat model, reveals how your printer handles overhangs and curved surfaces. It takes two hours and uses minimal filament. Print it first to dial in your settings before tackling bigger projects.
- Benchy: A test boat that exposes printing flaws in overhangs, bridges, and curves. Standard for calibration across all printer types and communities.
- Lithophane: A flat panel that reveals hidden images when backlit. Tests print quality at thin wall sections and teaches light transmission principles.
- Cable Organizers: Practical desk clips and cable holders that solve real problems. Quick prints that build confidence in functional design work.
- Plant Pots With Drainage: Planters designed specifically for 3D printing with drainage holes. Combines aesthetics with utility and teaches wall thickness importance.
- Dice And Game Tokens: Small geometric objects that test detail and surface finish. Fast prints that demonstrate how precision affects appearance.
These projects move from diagnostic work to practical output. You’ll learn how layer height, nozzle temperature, and print speed affect results. Each project teaches a specific skill you’ll use repeatedly.
6 2 Basic Maintenance Tips For Your 3D Printer
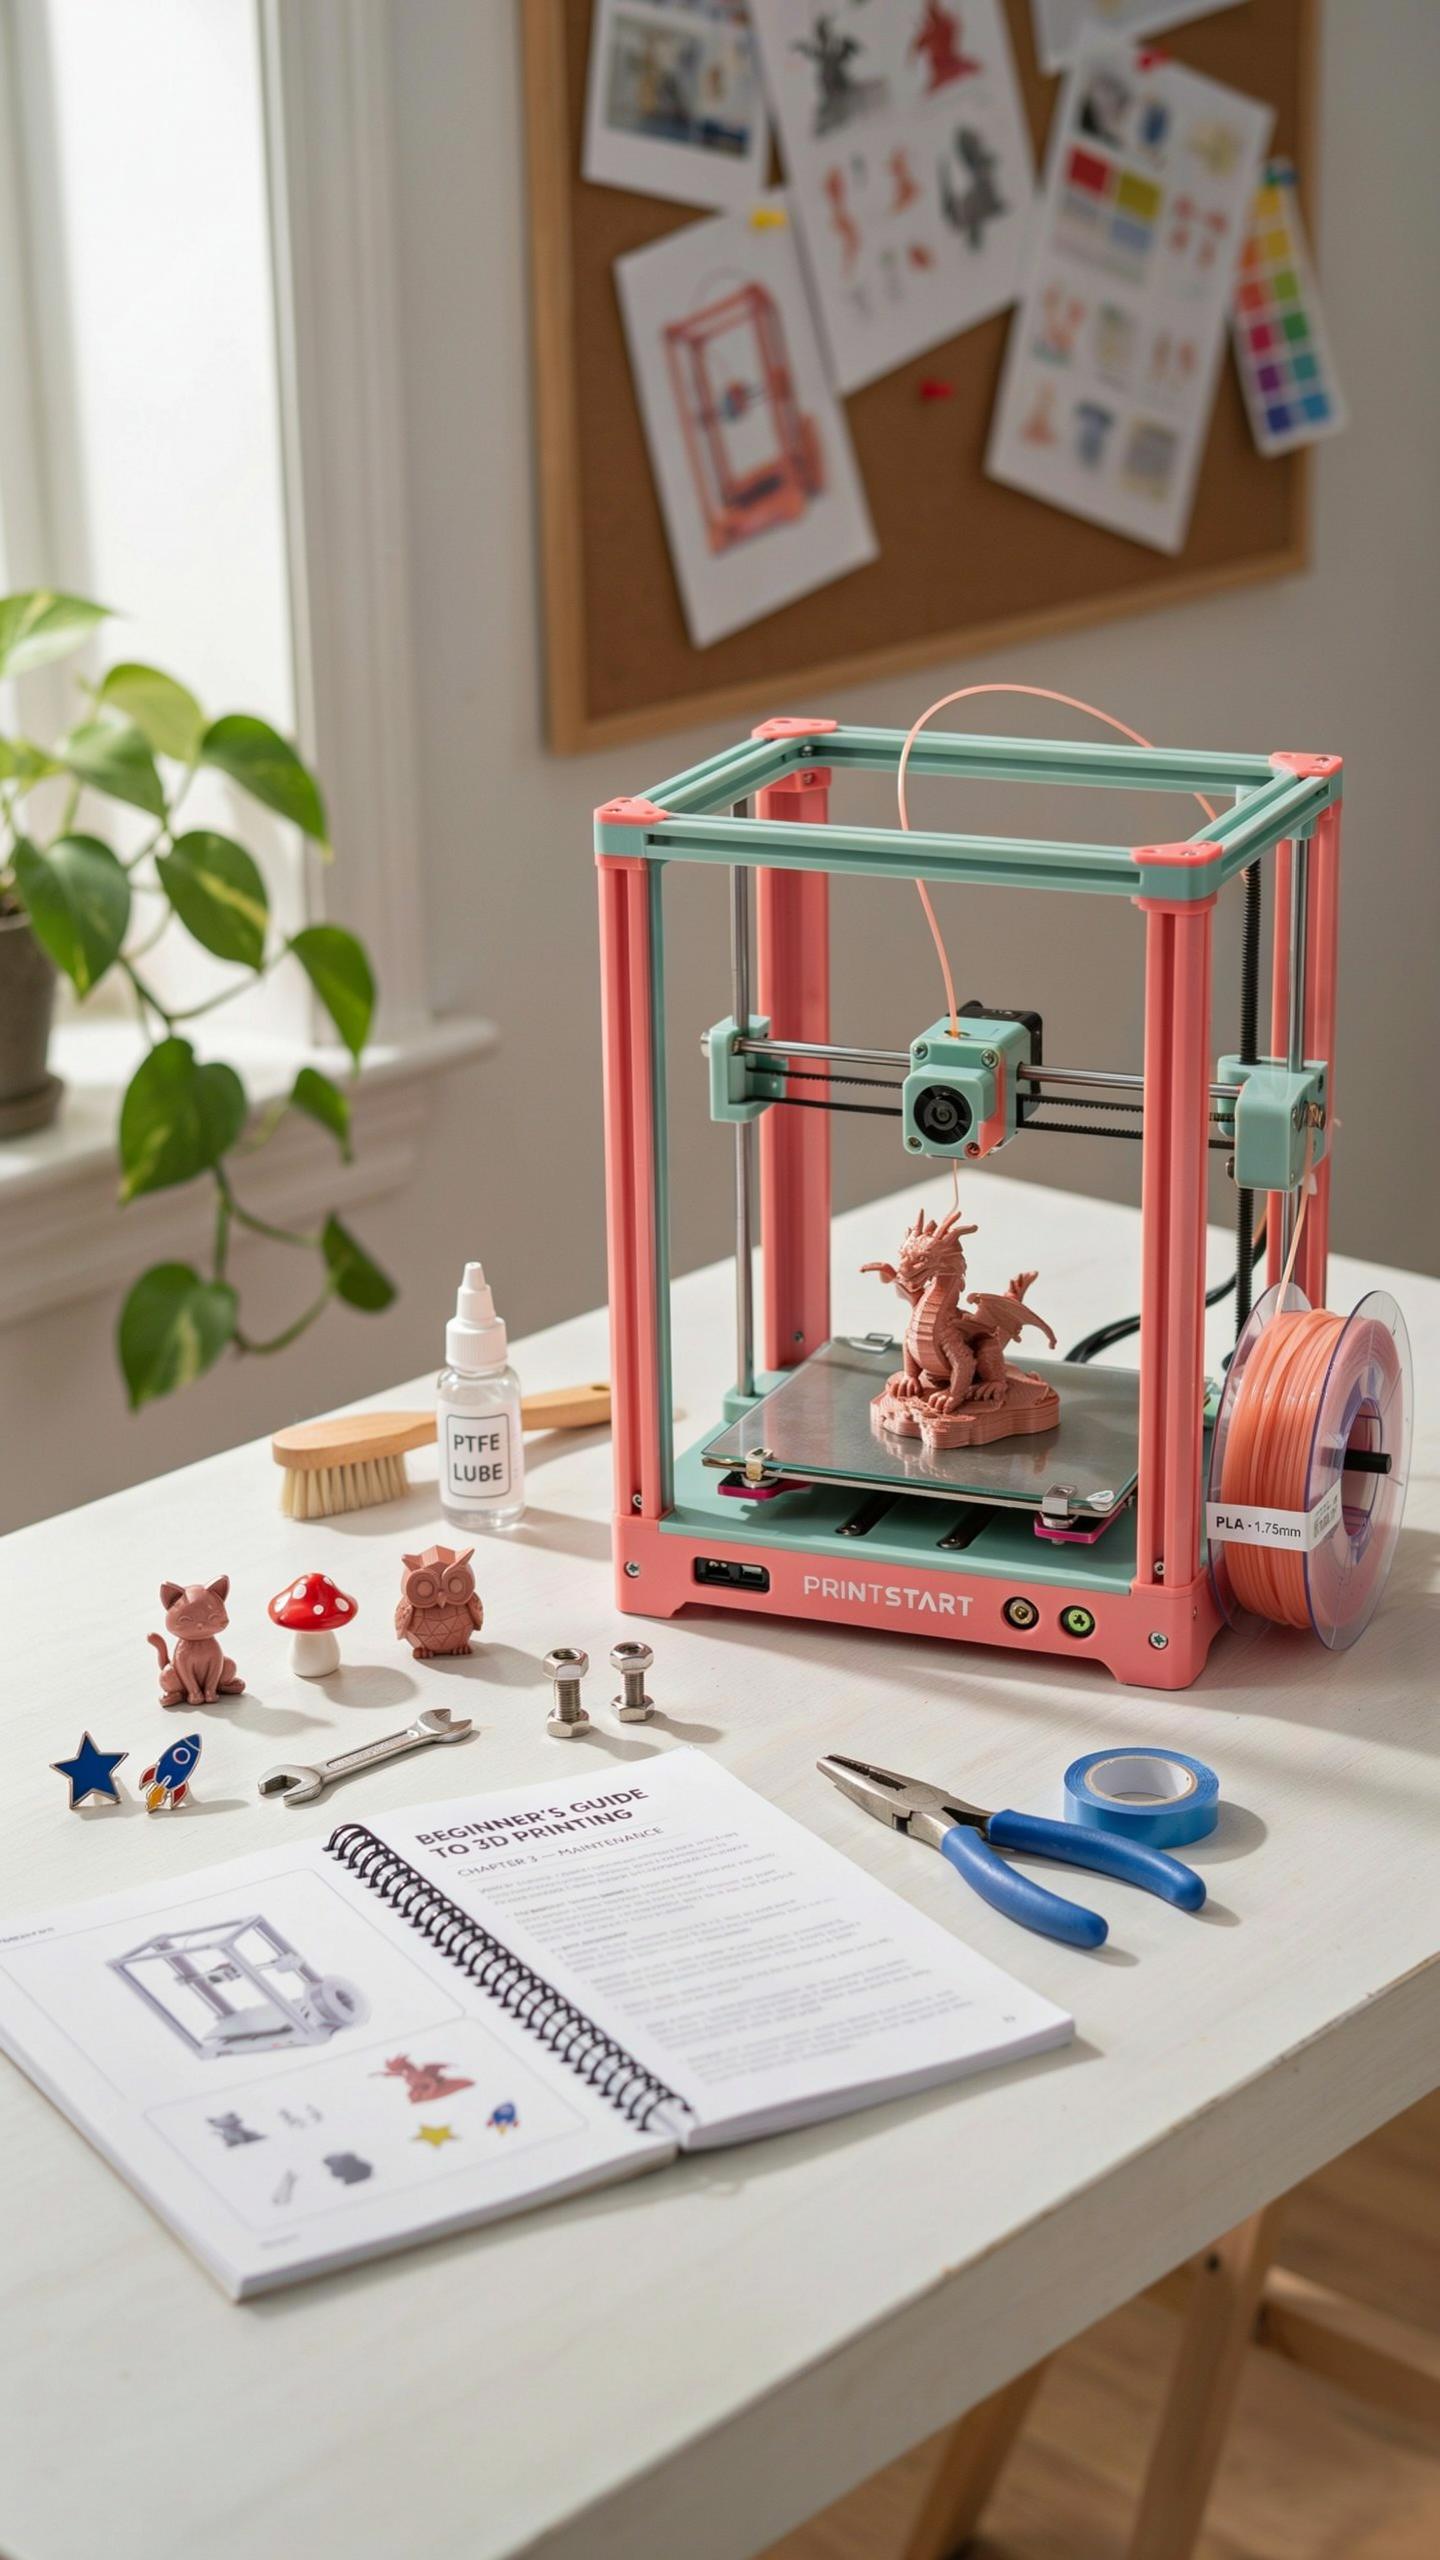
Clean your nozzle every ten to fifteen print hours. Residual plastic hardens and clogs the tip, killing print quality. Use a brass brush or specialized cleaning needle when the nozzle cools to room temperature. Never use steel wire, which scratches the nozzle surface and causes plastic adhesion issues.

Check your build plate regularly for warping. A warped plate causes first layer failures across different areas. Use a feeler gauge to measure gaps between the nozzle and plate. Replace the plate if warping exceeds manufacturer tolerances. Store your printer in a dry environment to prevent moisture absorption in filament and electronic components.
Common Challenges And Solutions In Beginner 3D Printing
7 1 Addressing Print Adhesion Issues And Warping
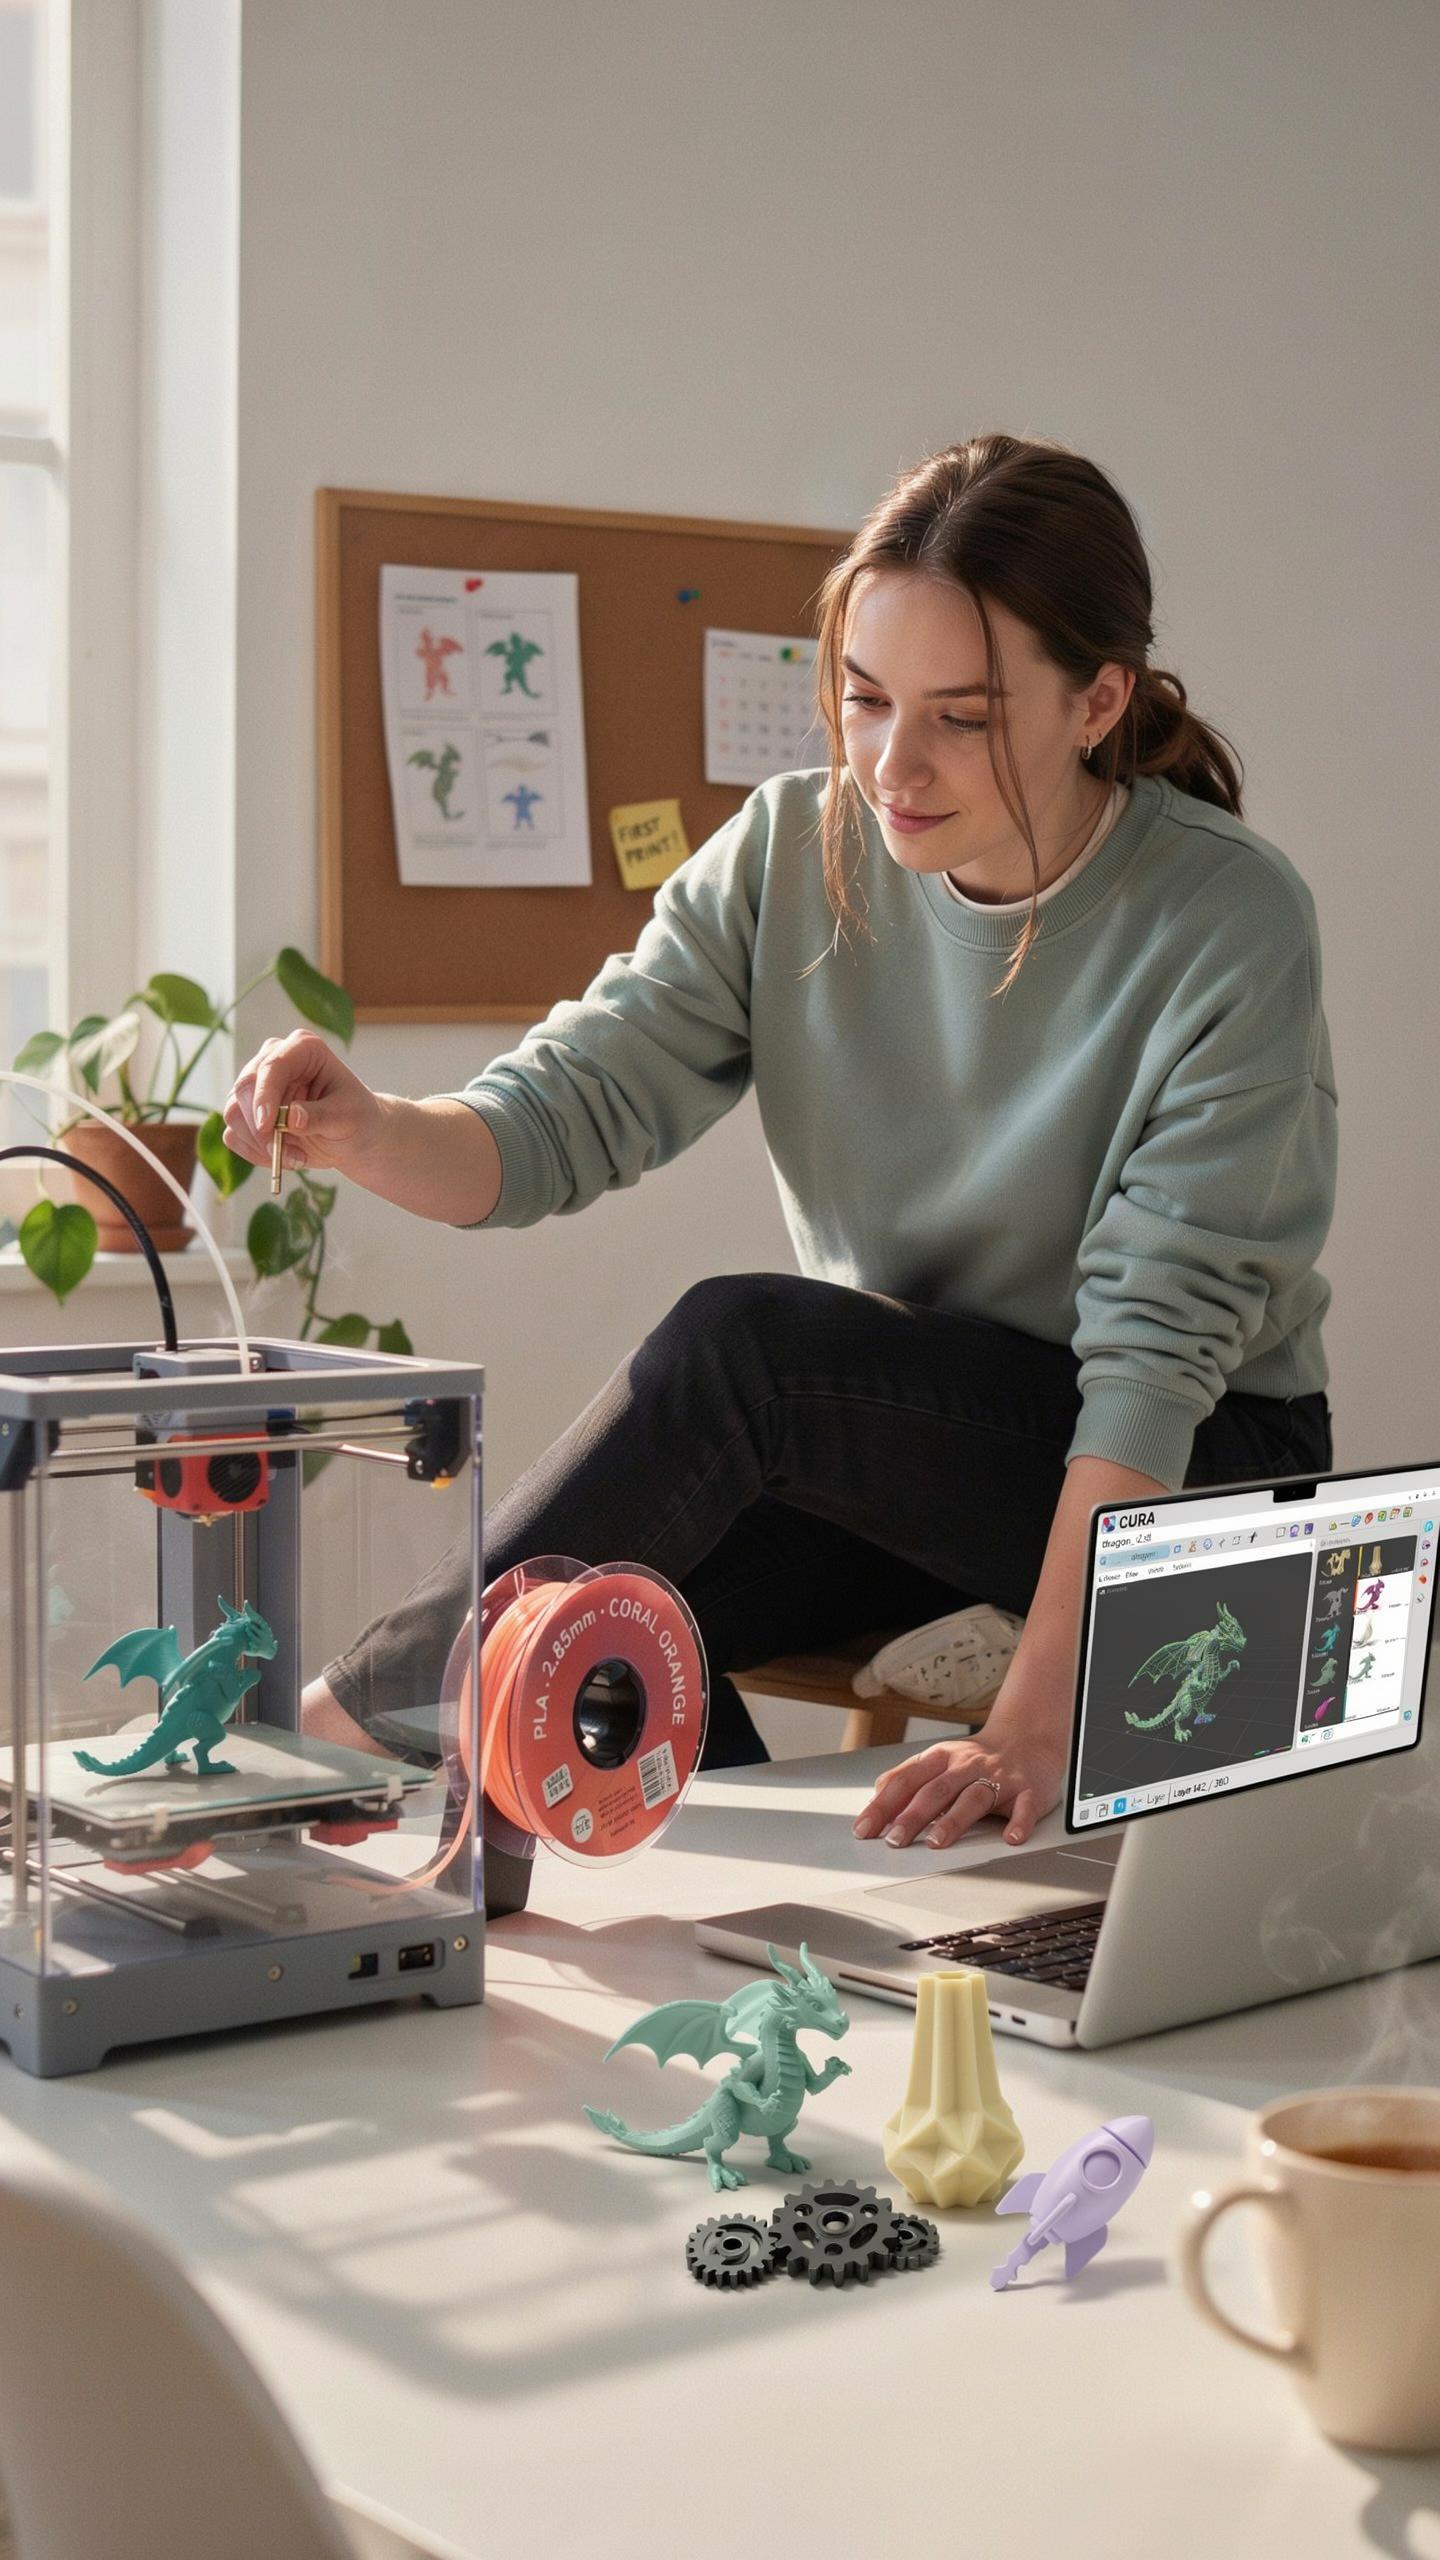
Print adhesion fails when the first layer does not stick to the bed. The plastic cools and shrinks as it hardens, pulling away from the surface. This causes corners to lift and prints to fail mid-job. Bed temperature, nozzle height, and surface cleanliness directly control adhesion success.
Start by leveling your nozzle to the correct height. Most printers need the nozzle 0.1 to 0.2 millimeters from the bed. Use a piece of paper as a gauge during leveling. Check all four corners and the center. Clean the bed with isopropyl alcohol before every print to remove oils and dust.
7 2 Dealing With Clogged Nozzles And Filament Jams
A clogged nozzle stops plastic flow instantly. Material hardens inside the nozzle opening when the printer sits unused or when temperature drops during a print failure. The blockage prevents fresh filament from extruding. You must clear the jam or replace the nozzle to resume printing.
Heat the nozzle to normal printing temperature, then attempt to extrude filament manually using your printer’s menu. Push new material through to flush out debris. If this fails, remove the nozzle and soak it in acetone or use a small drill bit to clear the hole from the inside. Nozzles cost five to ten dollars, making replacement faster than troubleshooting persistent clogs.
Upgrading Your 3D Printing Skills And Tools
8 1 Exploring Advanced Filament Types And Their Uses
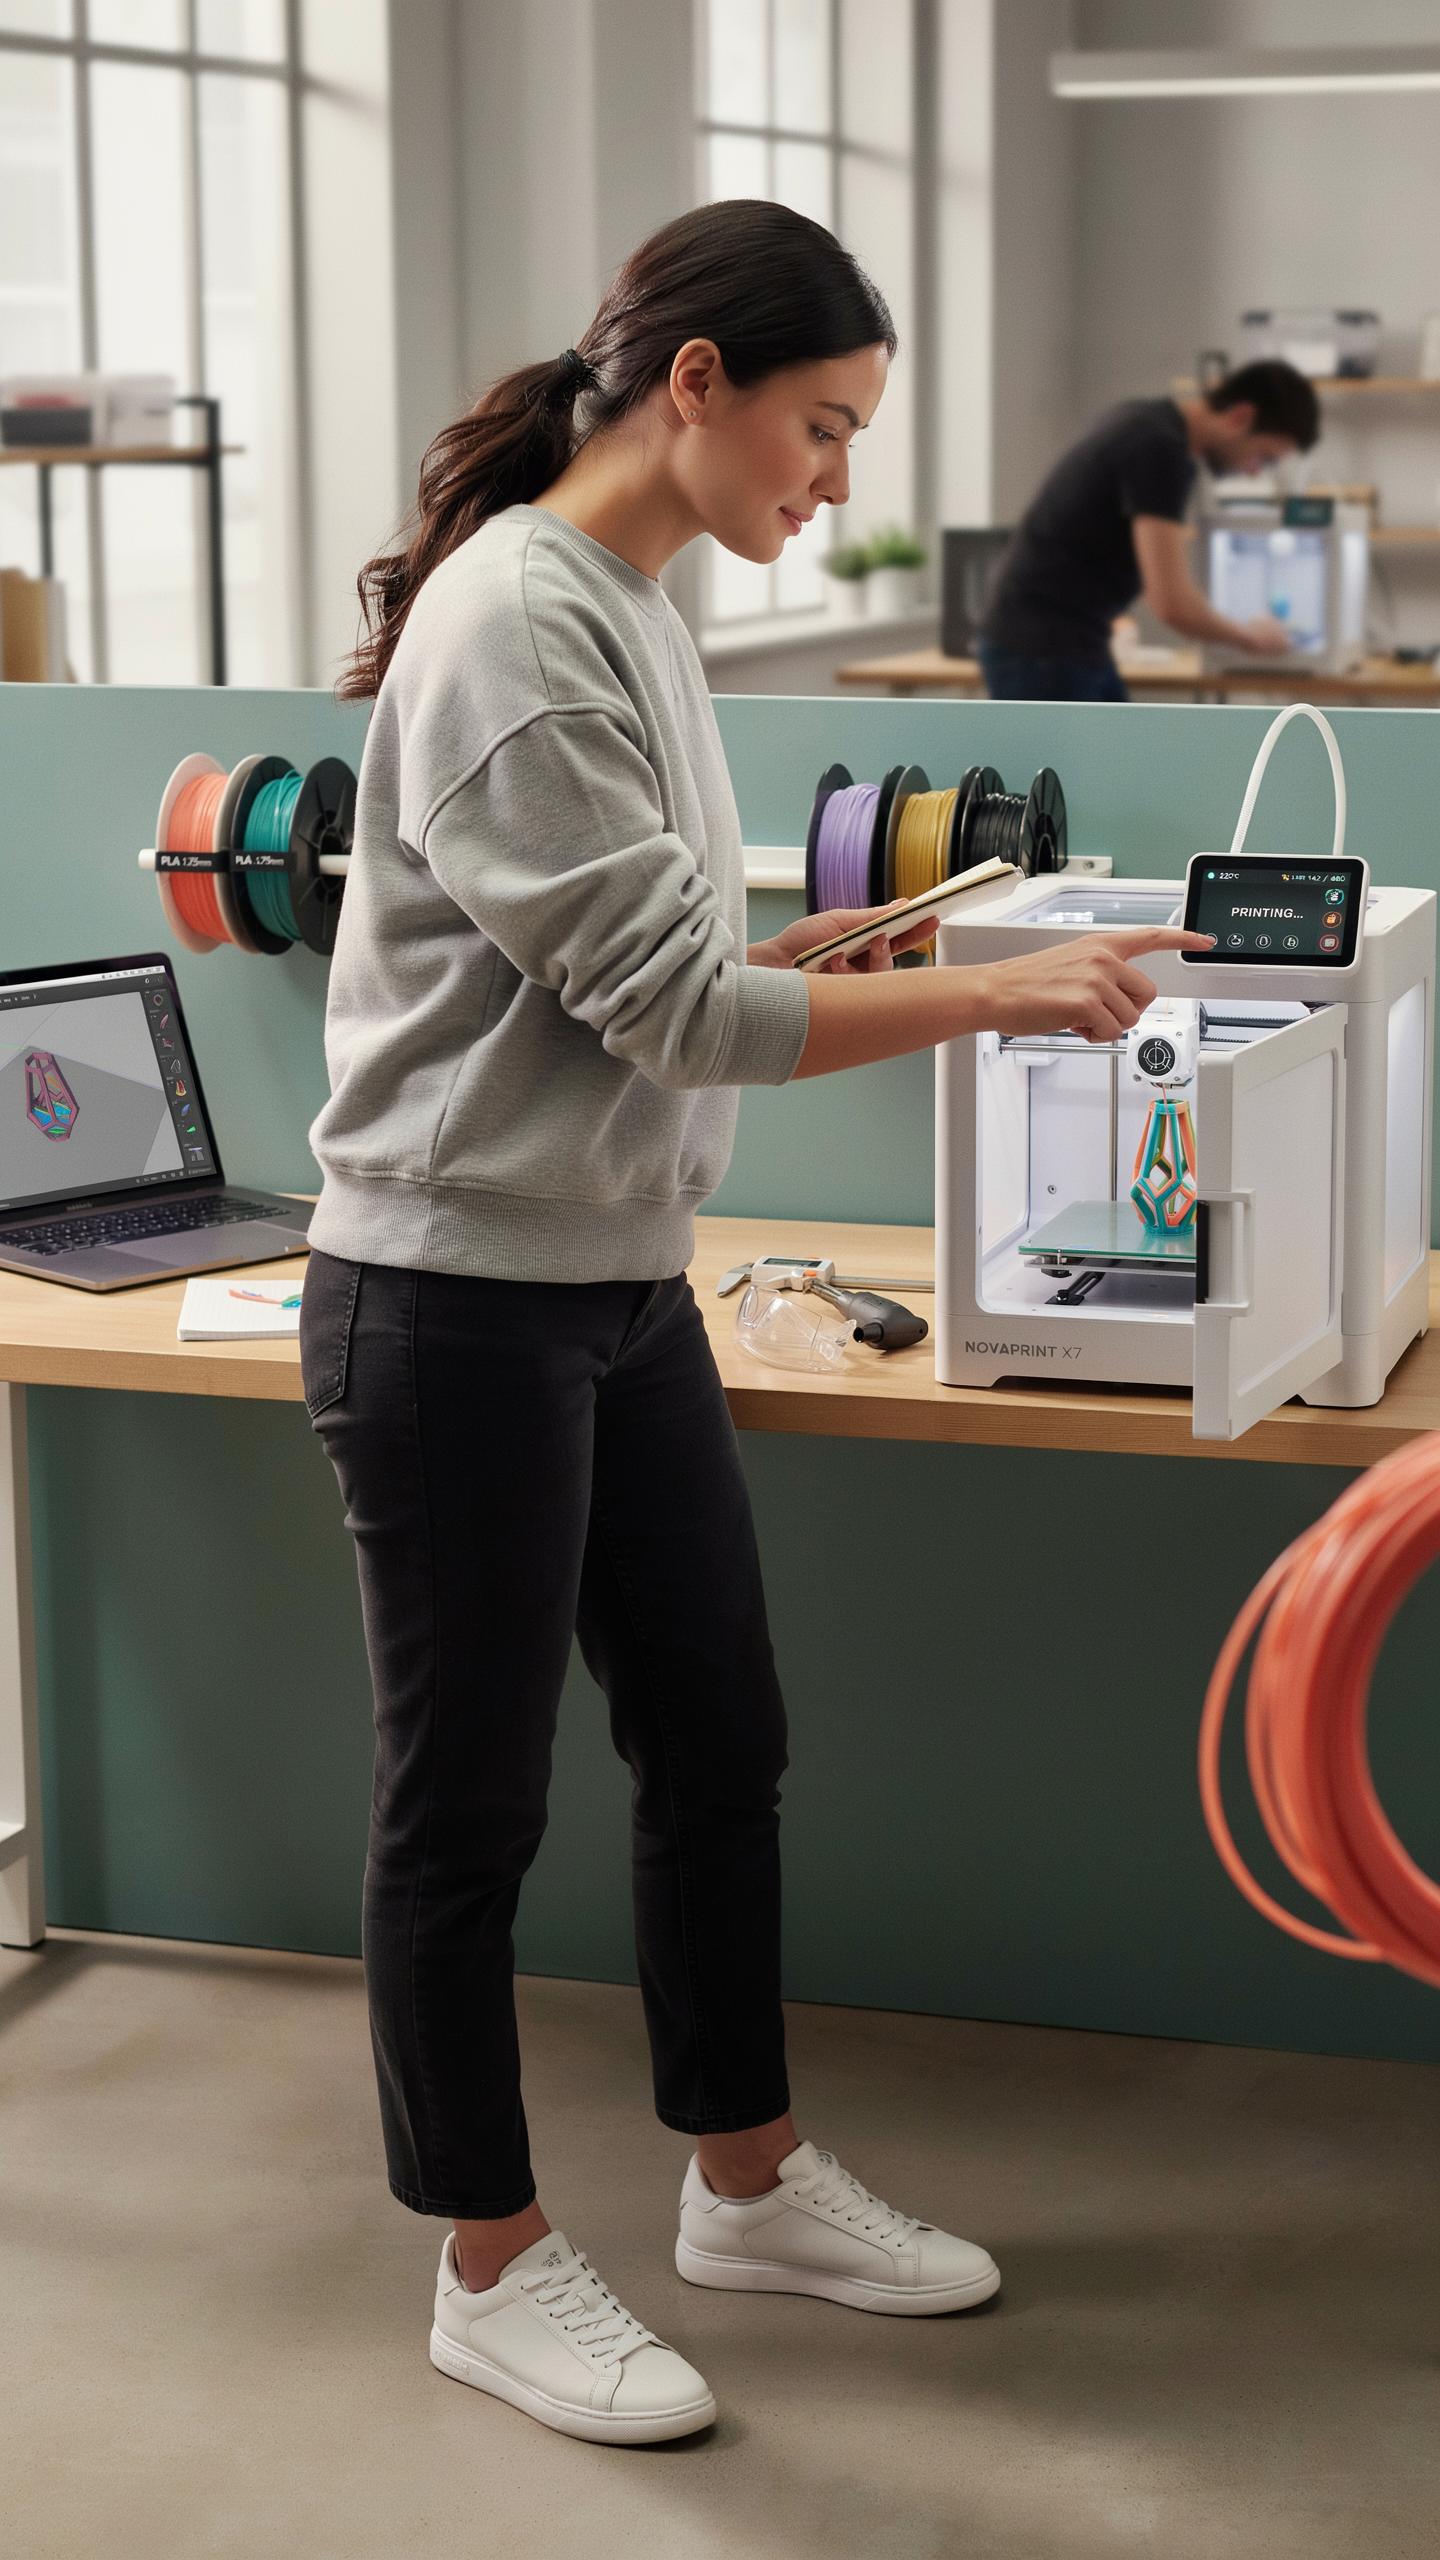
Once you master standard PLA and AABS, you encounter specialized materials that solve specific problems. PETG offers better layer adhesion and durability than PLA while remaining easier to print than ABS. Nylon provides flexibility and impact resistance for functional parts. TPU creates rubber-like prints for grips and seals. Each material requires different temperature settings, print speeds, and cooling strategies. Jumping to advanced filaments without understanding these variables wastes material and time.
Test new filaments on small calibration prints before committing to full projects. Read the manufacturer specifications carefully. Temperature ranges, bed adhesion methods, and nozzle requirements vary significantly between materials. Start with one new filament type per month to avoid compounding variables. Document what works so you build reliable processes. This methodical approach prevents the common beginner mistake of switching materials randomly and blaming printer failures.
Remember that first small object, emerging layer by layer? It’s not just plastic; it’s the genesis of countless creations yet to be imagined.
8 2 When To Consider Upgrading Your 3D Printers
Upgrade your printer when current limitations block your projects, not out of boredom or specs. If print bed size restricts your designs, a larger machine makes sense. If dimensional accuracy becomes critical and your printer can’t deliver it, invest in a better model. If print speed matters for your workflow, a faster printer justifies the cost. Budget constraints force priorities. Identify which limitation actually costs you time and money before spending thousands on new equipment.
The entry-level printer gets you printing. The second printer addresses a specific gap you discovered through actual use. Maybe you need a resin printer for detailed miniatures while keeping your FDM printer for functional parts. Maybe you need a larger bed for production work. Your upgrade path emerges from real project experience, not marketing hype or online forums. This approach ensures your investment directly improves output rather than collecting dust.
The Future Of 3D Printing For Hobbyists
9 1 Emerging Trends In Consumer 3D Printing Technology
Resin printers dominate beginner purchases now. They offer better detail than FDM machines at lower entry prices. Manufacturers have simplified resin handling to reduce toxic exposure concerns. Expect continued improvement in build platform reliability and faster cure times as the market matures.
Material innovation accelerates the hobbyist market forward. Standard PLA remains dominant, but PETG adoption grows for functional parts. TPU and flexible filaments now print reliably on budget machines. Resin formulations shift toward lower odor and easier cleanup, removing barriers that kept beginners away.
9 2 Joining A Community Of 3D Printer Projects Enthusiasts
Online communities provide immediate troubleshooting when prints fail. Reddit communities like r/3Dprinting have thousands of active members who answer technical questions within hours. Discord servers organized by printer model connect you with users running identical equipment. Direct access to experienced hobbyists compresses your learning curve significantly.
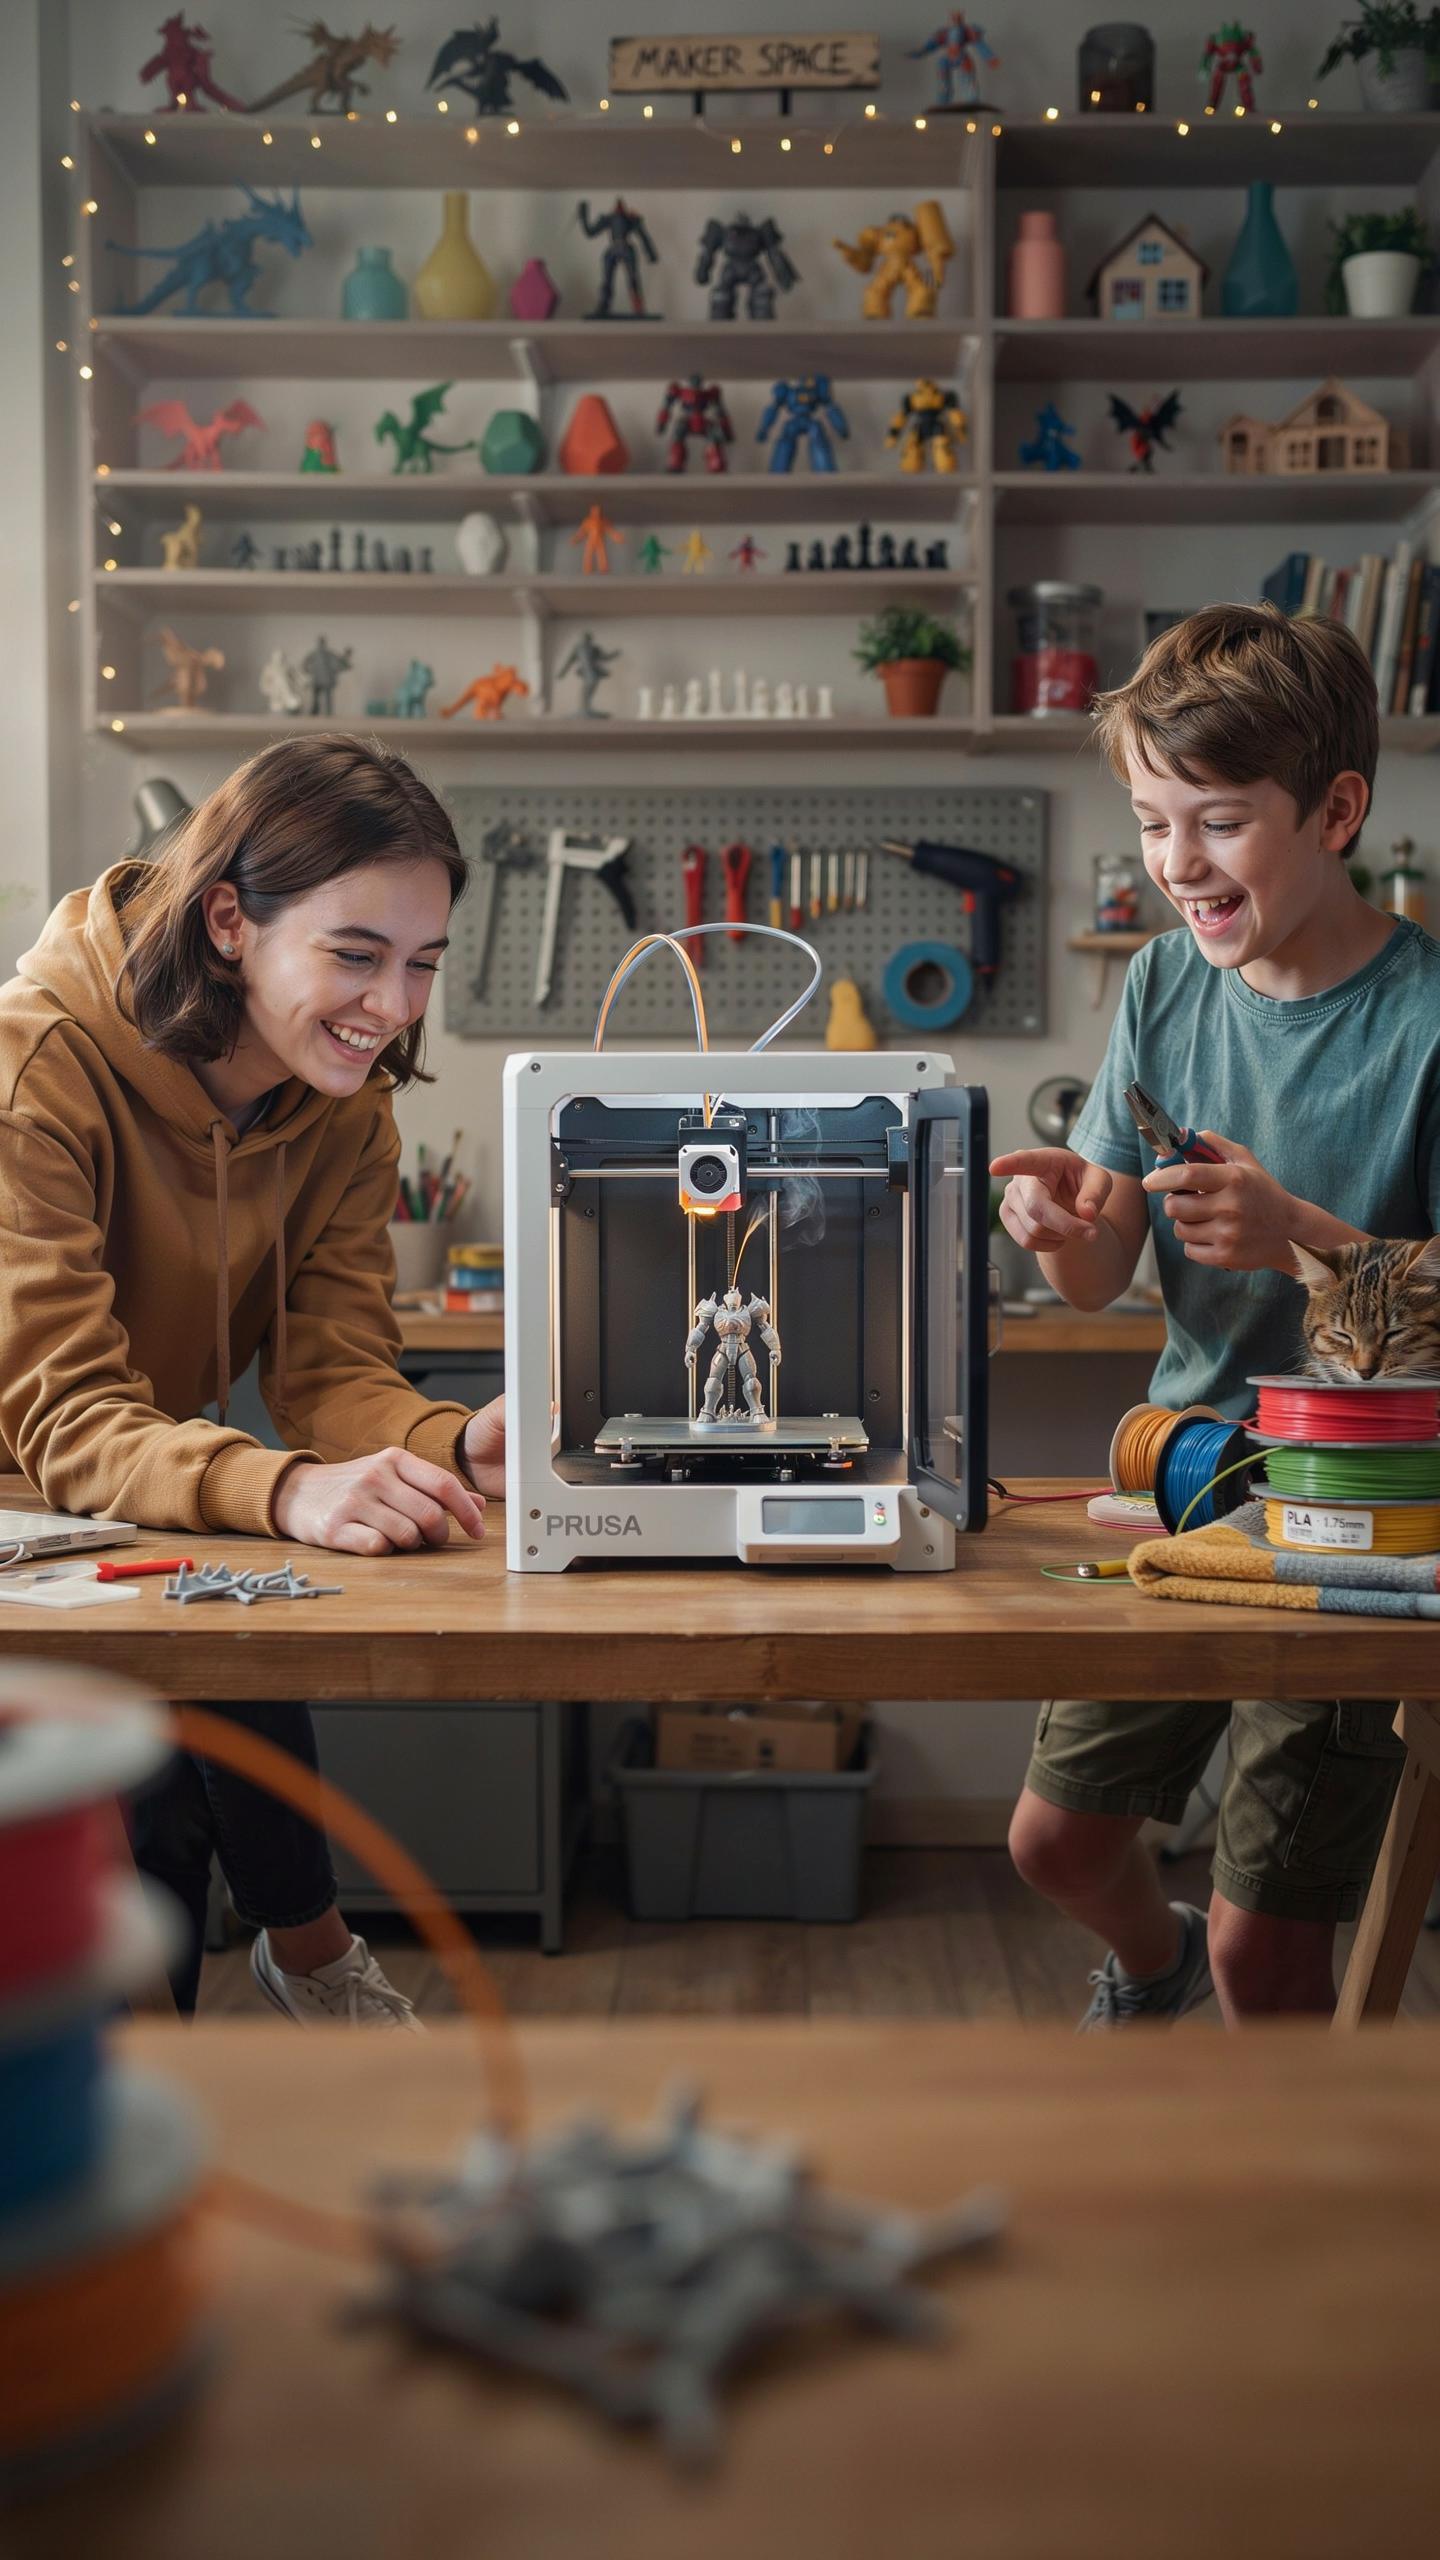
Local makerspaces offer hands-on mentorship and equipment access without ownership costs. Most communities welcome beginners and provide training on their machines. You network with designers, engineers, and enthusiasts who share project files and design feedback. Monthly meetups create accountability partners for completing projects and testing new techniques together.
Maximizing Your Learning Journey In Beginner 3D Printing Projects
10 1 Online Resources And Tutorials For Continuous Learning
YouTube channels dedicated to 3D printing provide free, real-world demonstrations of printer setup, troubleshooting, and print failures. Channels like Maker’s Muse and CNC Kitchen document actual problems and solutions rather than theoretical concepts. Reddit communities like r/3Dprinting offer peer feedback on your specific printer model and material choices. Discord servers connect you with active printers who answer questions in real time.
Official manufacturer documentation exists for every popular beginner printer. Prusa, Creality, and Anycubic maintain detailed knowledge bases covering firmware updates, bed leveling procedures, and maintenance schedules. Thingiverse and Printables host millions of tested designs with user comments explaining which settings actually work. These resources eliminate guesswork and compress your learning curve significantly.
10 2 Showcasing Your Beginner 3d Printing Projects
Social media platforms like Instagram and TikTok let you document your print progression and build an audience around your work. Hashtags like #3dprintingcommunity and #3dprintedminiatures connect you to people facing identical challenges. Time-lapse videos of successful prints demonstrate your printer’s capabilities to potential collaborators or buyers.
Local maker spaces and community centers often host 3D printing exhibitions where you display finished projects. These venues give you face-to-face feedback from experienced printers and access to their troubleshooting knowledge. Portfolio websites and Etsy shops become viable once you produce consistent, quality prints. Sharing failures alongside successes builds credibility and positions you as someone learning systematically rather than chasing perfection immediately.
Frequently Asked Questions
What’s the best type of 3D printer for beginner hobbyists to start with?
For a 3d printer for beginner hobbyists, a Fused Deposition Modeling (FDM) printer is generally recommended. They are user-friendly, affordable, and use widely available PLA filament that’s forgiving for first-time prints. Resin printers offer finer detail but involve messier post-processing with chemicals, making FDM the more practical starting point for most beginners.
What filament type should I start with as a beginner?
PLA (polylactic acid) is the best starting filament for beginners because it’s easy to print with, requires no heated enclosure, and produces minimal odor and warping. It prints at lower temperatures than materials like ABS or PETG, which reduces the learning curve around calibration. Once you’re comfortable with PLA, you can experiment with tougher materials as your projects demand more durability.
How much maintenance does a beginner 3D printer require?
Regular maintenance includes cleaning the print bed between uses, periodically lubricating the rails, and checking that the nozzle isn’t clogged before starting a new print. Bed leveling is the most common adjustment beginners need to learn, and most modern printers include an assisted or automatic leveling feature to simplify this. Budget about 15-20 minutes of upkeep every few prints to keep things running smoothly.



