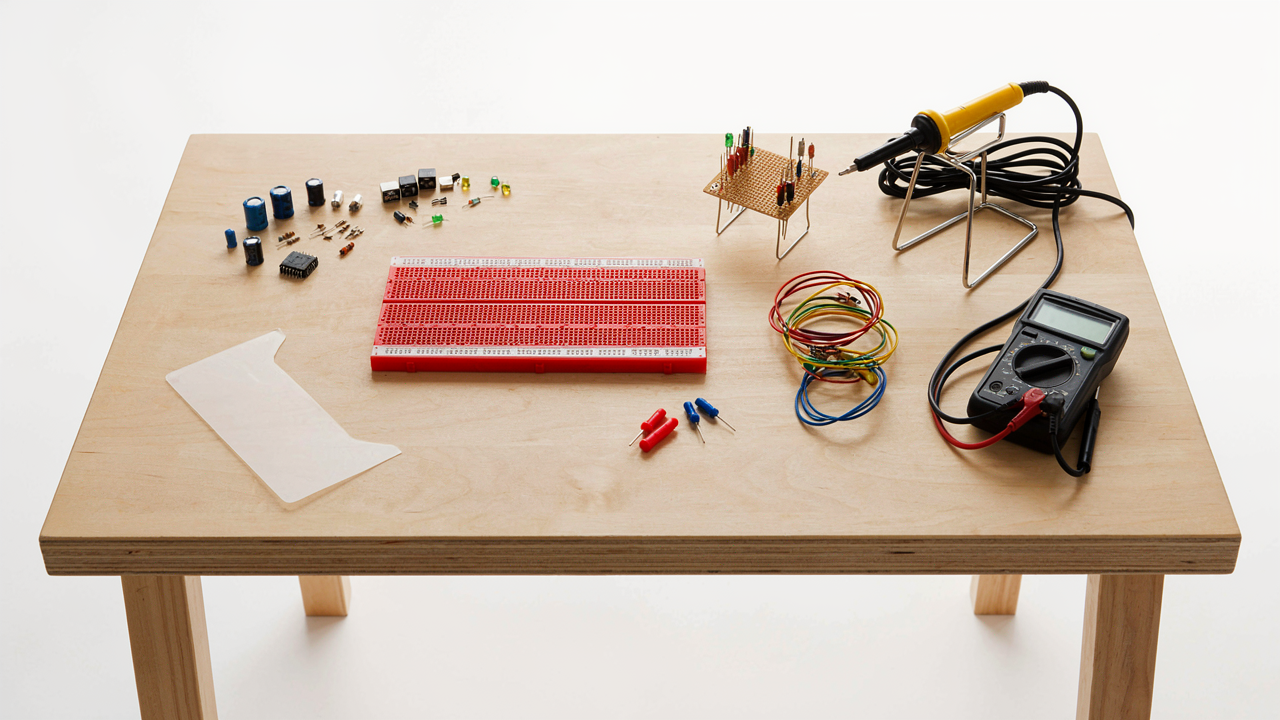
The Illusion Of Flexibility: Why Breadboards Breed Bad Habits
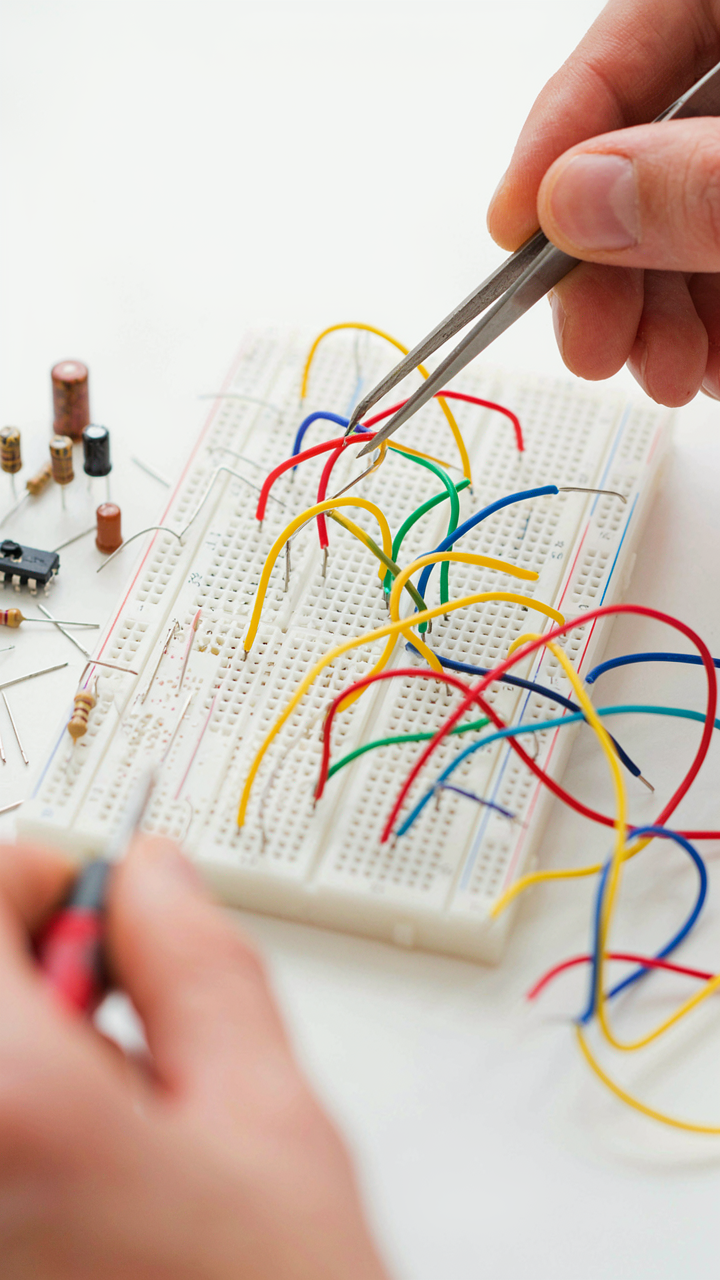
Design Complacency Disguised As Speed
You want breadboards because you think iteration speed equals learning speed. It doesn’t. The real mechanism at work is what economists call moral hazard: when the cost of failure drops to zero, you stop thinking about whether failure matters. Breadboards let you patch problems instead of solving them, so your brain never develops the discipline to anticipate signal integrity issues, power distribution bottlenecks, or component placement logic before you build.
The breadboard’s no-commitment environment trains you to treat design as trial and error rather than intentional architecture. You rewire the same circuit five times because you can, not because each iteration taught you something. Perfboard forces you to commit early, which means you either plan the layout correctly or you spend two hours desoldering. That friction is the teacher. Remove it and you stay perpetually novice.
When Temporary Becomes Permanent Failure
The common advice says breadboards are for prototyping and perfboard is for builds that matter. Wrong framing. The issue is that breadboard connections degrade under real use conditions in ways you won’t see during lab testing. Vibration loosens ties in contact springs. Temperature swings create micro-movements that compound over weeks. A circuit that works flawlessly on the bench fails intermittently in the field because you never built it to survive mechanical stress.
Breadboards hide this entirely. You validate a design under ideal conditions, then transfer it to perfboard assuming the design was the problem, not the medium. You end up chasing ghosts and blaming components when the real culprit was never testing the actual failure modes of your connection method. Solder joints on perfboard are predictable. Breadboard contacts are not. Build on perfboard from the start if reliability matters at all.
Perfboard As A Design Crucible: Forcing Precision

Solder Joints Don’t Forgive Mistakes
You want perfboard to feel like breadboard’s more mature cousin. It isn’t. The real reason you care about this section is you’re afraid you’ll mess up the permanent connection and waste parts. Here’s what actually happens: breadboard lets you hide sloppy component placement because the springs give you slack. Perfboard exposes it immediately. Every solder joint you make on perfboard is permanent. A cold joint, a bridge, a misaligned lead—all of it stays there. Your circuit either works or it doesn’t, with no reset button.

The mechanism is mechanical specificity. Breadboard uses friction and spring tension as a buffer between poor planning and function. Perfboard uses solder as a rigid lock. Once that joint cools, you’ve committed to the geometry you created. This forces you to think in advance. You can’t nudge a component 2mm left after soldering because the copper pad won’t let you. The unforgiving nature of a solder joint is the entire point of using perfboard—it closes the gap between intention and execution.
Planning Becomes Non Negotiable
The common advice here is “just sketch it out first.” That’s incomplete. What actually matters is constraint-based design, borrowed from engineering and manufacturing. In manufacturing, constraints force efficiency. On perfboard, the constraint is this: you cannot move anything once soldered. This changes how you compute your layout before you touch the iron.
Pre-computation means measuring. Measure your component leads. Calculate trace runs between pads. Account for solder blob clearance. Mark your perfboard with pencil before drilling or soldering anything. This step separates builders who waste boards from builders who execute cleanly. The protocol is simple: sketch the circuit on paper with actual measurements, transfer it to the perfboard with a pencil mark at each connection point, then verify the layout matches your schematic before soldering the first joint. Only then do you commit.
The “Electronic Circuit Diagram And Breadboard” Deception

Why Visual Breadboard Layouts Mislead
You want to believe the breadboard layout in the tutorial matches reality so you don’t have to think harder than the person who wrote it. Here’s the mechanism: breadboards are abstraction tools, not accurate representations of what happens electrically. The visual grid falsely implies that proximity equals electrical safety and that all connections are equivalent. They aren’t. A breadboard layout works because of its internal bus strips, not because jumper placement looks neat on your screen.

The real problem surfaces when you scale complexity. Tutorial breadboards show 5 to 10 components with color-coded wires arranged for photography. Your actual circuit has 30 components, noise coupling paths, and ground return loops the flat grid hides completely. You’re training your brain to trust spatial arrangement instead of tracing actual current paths. This habit breaks immediately on perfboard, where you must understand the circuit or it fails.
Schematic To Physical: Bridging The Mental Gap
A schematic is a contract between the designer and the builder. It states what connects to what, nothing more. A breadboard layout is a suggestion about where to put things. Most builders treat the schematic as decoration and the breadboard photo as law, which inverts the relationship. The schematic contains the actual rules. The breadboard is just one possible arrangement that happened to work for someone else’s test.
Start here: rebuild the schematic on perfboard without referencing the breadboard layout at all. Trace each net from the schematic directly onto your board. Write the component references next to each hole. You’ll catch design errors that visual breadboard followers miss completely. This isn’t theory. Your ground plane placement, your signal routing, and your power distribution all emerge from understanding the schematic first, not from copying a grid photo.
The Solderless Breadboard Setup Fallacy: Premature Optimization
When Easy Actually Means Fragile
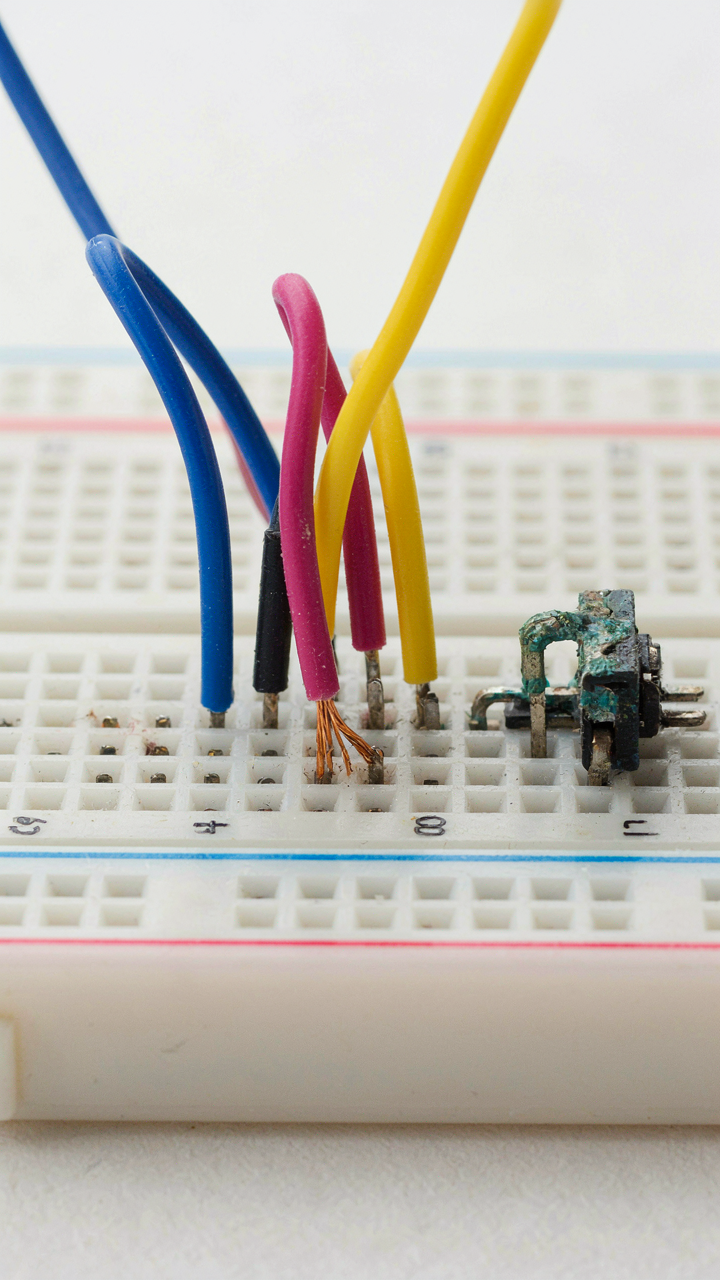
You want breadboards because they feel like progress without commitment. Here’s the mechanism: breadboards trade permanence for speed, and that trade collapses the moment you need your circuit to survive contact with reality. Loose wires vibrate. Component legs bend. Connections corrode. You’re not building a circuit—you’re building a timer that counts down to failure.

The breadboard promises zero soldering skill required. That’s true. It also promises zero mechanical reliability. Every connection relies on spring tension inside a plastic socket. Those springs weaken. Dust accumulates. Temperature swings expand and contract metal at different rates. After two weeks of bench testing, your “working prototype” becomes a collection of phantom failures that waste hours debugging something that was never broken.
Beyond Simple Breadboard Circuit Diagram Limits
Breadboard wiring teaches you to think in isolated subcircuits, not systems. You draw nice diagrams showing perfect signal paths. You build it on the breadboard. Then you hit constraints nobody mentions: power distribution bottlenecks, ground loops from messy return paths, coupling between nearby high-speed signals. These problems don’t exist in your circuit diagram. They’re born from breadboard topology.
Perfboard forces you to route traces intentionally. You see where current flows. You notice when grounds split. You route signals to minimize loop area. The physical layout discipline translates into working designs that survive the transition from prototype to deployment. Start with perfboard for anything more complex than an LED blink. You’ll learn faster and ship something that actually holds together.
The Build Fidelity Spectrum: From Concept To Production

Iteration Speed Over Perfect Planning
You want to believe planning saves time. It doesn’t. The real cost isn’t the plan—it’s the gap between what you think will work and what actually does when current flows through it. Software teams learned this decades ago with agile methodology: ship fast, test against reality, adjust based on data. Hardware builds operate on the same principle. Breadboard lets you compress the feedback loop from weeks to hours. You’re not building a prototype. You’re running experiments that inform the next decision.

Perfboard demands commitment before you’ve earned the right to commit. You’ve solder-traced permanent connections into a layout before you’ve validated whether that layout solves the problem. The moment you desolder a trace, you’ve wasted labor and risked component damage. Breadboard kills this friction entirely. The mechanism is simple: reversibility lowers the cost of being wrong, which accelerates learning velocity. When learning velocity increases, the total build time decreases even though individual iterations feel slower on the surface.
When To Freeze The Design
The moment you move from breadboard to perfboard is the moment you stop learning cheaply. Not because perfboard is worse—because it’s commitment. You’re signaling that you’ve completed the experimental phase and entered production validation. Most builders miss this distinction and treat perfboard as a faster version of breadboard. It isn’t. It’s a different stage with different economics.
The reversibility line separates two worlds. On the breadboard side, you pull components and rewire. On the perfboard side, you desolder or scrap the board. The transition point arrives when three conditions align: the circuit topology doesn’t change across five consecutive test sessions, the component selection has survived stress testing at operating limits, and you’ve documented every connection. Before that threshold, perfboard is waste. After it, breadboard is waste. Know which side you’re on before you reach for the soldering iron.
Breadboard Layout Vs. Intentional Design

From Haphazard Placement To Optimized Routing
You’re really asking whether your layout matters, and the answer embarrasses most hobbyists: it matters more than your component choices. Breadboards train you to ignore routing because the internal matrix handles it for you. Perfboard forces you to make every connection explicit. This is the core mechanism. On a breadboard, you can place a resistor anywhere in a row and current finds the path. On perfboard, you decide the path before you solder. One teaches passivity. The other teaches ownership of the signal flow.

The difference compounds with circuit complexity. Simple LED circuits hide bad routing on breadboards. Audio amplifiers, oscillators, and anything with feedback expose it immediately through noise or instability. Perfboard demands you think about trace length, component spacing, and return paths before drilling holes. This constraint eliminates a category of problems that breadboard users chase for weeks. Intentional design on perfboard isn’t perfectionism. It’s prevention.
Signal Integrity And The Physics Of Proximity
Electromagnetism doesn’t care what board you’re using—it follows Maxwell’s equations regardless. Think of signal integrity like military strategy: concentration of force. Long breadboard jumpers act as unintended antennas and inductors. They radiate noise and couple interference into neighboring traces. Perfboard lets you run traces close to ground planes and keep signal paths short, which is the winning move in this domain.
A breadboard’s loose jumpers create loop areas that radiate electromagnetic energy. Perfboard’s fixed traces can be routed to minimize these loops from the start. The practical step: on perfboard, route your signal, then immediately return it to ground on the nearest trace, not across the board. This closes the loop fast and kills radiation. Breadboard users can’t optimize this without major rework. The board format itself determines whether you have control or you don’t.
The Economic Principle Of Sunk Costs In Prototyping

Spending Early Saves Rework Later
You want to believe breadboard prototyping is “free” because you reuse the components. That’s denial. The real cost isn’t the parts—it’s the time you waste debugging a design that’s held together by friction and hope. Economics calls this sunk cost fallacy, and it operates here like this: breadboards seduce you into treating the prototype phase as separate from the build phase. They’re not. Every hour you save by avoiding soldering during prototyping costs you three hours in redesign when your breadboard connections fail mid-project.

Perfboard forces honest thinking upfront. You commit to a layout. You plan signal paths. You account for power distribution before you touch iron. This isn’t busywork—it’s the difference between a design that survives contact with reality and one that collapses under its own assumptions. The prototype on breadboard feels productive. The permanent build on perfboard is productive. Choose which one matters to your actual deadline.
Permanence Changes How You Design
A breadboard connection is temporary by design—that’s its stated virtue and its hidden trap. Temporary connections breed temporary thinking. You’ll route wires inefficiently, accept crosstalk you’d otherwise eliminate, and ignore grounding planes because “it works fine right now.” Perfboard eliminates this trap because the traces stay. Once soldered, your routing mistakes become permanent architecture.
This forces discipline into the prototype phase itself. You think about impedance matching because you know you won’t rewire it. You run power and ground properly because you can’t hand-wave it later. The constraint isn’t punishment—it’s a design tool. Perfboard builds are harder to modify, yes. That’s exactly why you get the modification right before you build. The mechanism is simple: permanence creates accountability, and accountability produces better circuit design.
Beyond Hobby: Professional Electronics Circuit Approaches
When Breadboards Stop Working
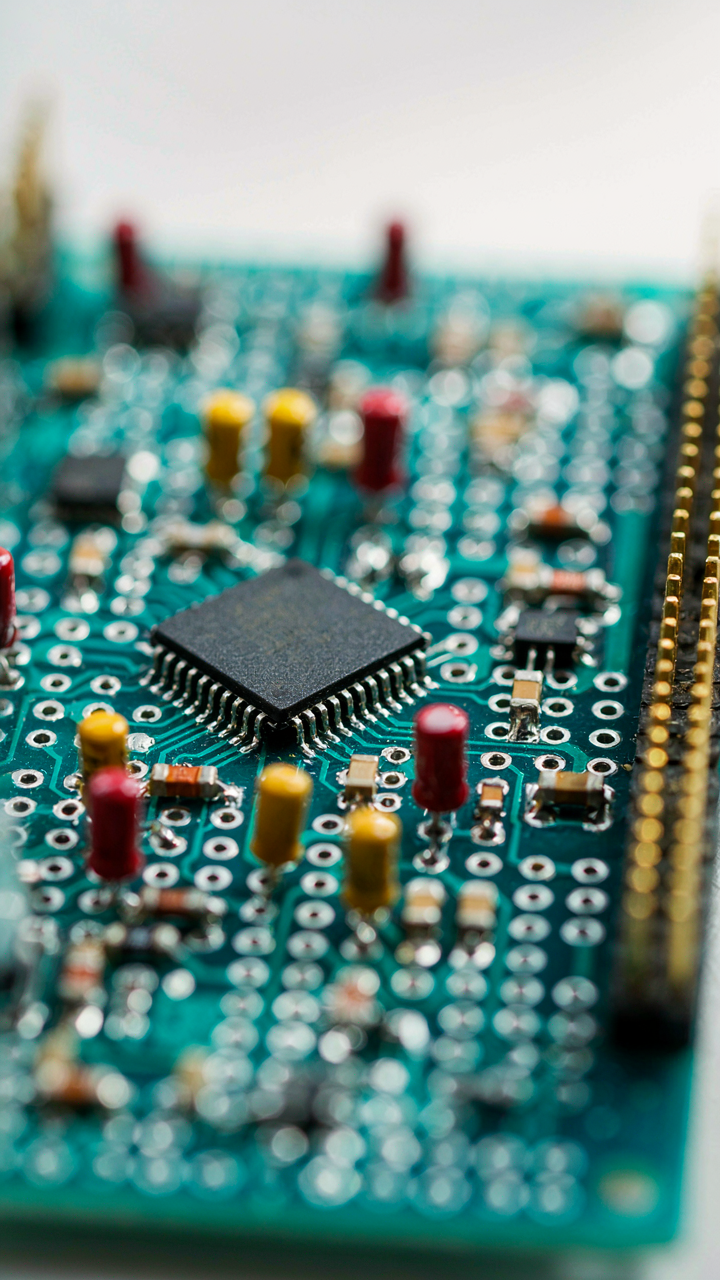
You want to believe breadboards scale because admitting they don’t means your prototype workflow is already obsolete. They don’t. The mechanism is contact resistance. Breadboard sockets use spring clips that degrade with insertion cycles and temperature swings. After 50-100 insertions per hole, contact resistance climbs unpredictably. In production environments, this kills repeatability. You can’t ship a device that behaves differently on Tuesday than Monday because your prototype’s connections drifted.

Breadboards also create parasitic capacitance between adjacent rows that becomes measurable above 10 MHz. The bus strips lack true ground planes. Signal integrity tanks on anything faster than basic logic gates. Professional circuits demand either soldered connections or high-reliability connectors with documented contact resistance specs. Breadboards provide neither. The instant your design moves past proof of concept, breadboards become technical debt you’re paying interest on.
The Real Cost Of Perfboard Commitment
The common advice says perfboard is more work. That’s incomplete. Perfboard forces you to make permanent layout decisions before you’ve finished thinking. This isn’t a weakness—it’s the mechanism that separates viable designs from fragile ones. You can’t route traces blindly on perfboard like you route on a breadboard. You commit to physical paths. Component placement matters immediately. This friction is the point.
The trade-off is real: perfboard kills iteration speed but enforces design rigor. You solve layout problems during building, not after deployment. You catch thermal issues when you’re hand-soldering, not when your customer’s device fails in the field. Experienced builders use perfboard as a forcing function, not a limitation. They sketch the layout twice, commit once, and rarely rework it. That discipline is what makes the difference between hobbyist builds and circuits that actually survive contact with reality.
The “Breadboard Schematic” For Advanced Troubleshooting

Where Errors Hide Differently
You want to know this because you’re tired of guessing whether your circuit actually works or whether you just built it wrong. The mechanism is simple: breadboards and perfboards fail at different points in the debugging chain because their physical construction forces errors to surface in opposite ways.

Think of debugging like signal processing. A breadboard is a lossy medium that introduces noise you can see immediately. Loose connections, oxidized contacts, and intermittent shorts reveal themselves fast because the circuit stops working or acts unstable. You get feedback within seconds. Perfboard forces you into the permanent commitment—solder bridges hide until power flows, cold joints mask themselves under load, and layout mistakes become structural problems. The error is the same. The visibility is not.
Building Real Circuits That Stay Built
The common advice here is backwards: “prototype on breadboard, then move to perfboard.” That’s the path most people take. What actually works is understanding that breadboard catches schematic errors while perfboard catches design errors. You need both phases, but for different reasons.
Breadboard testing validates that your circuit logic works in theory. You’re checking if components connect correctly and if the signal path behaves as expected. Perfboard building forces you to think about trace routing, component placement, thermal management, and mechanical stress. You move to perfboard not when the breadboard “works,” but when you’ve stopped finding schematic mistakes and need to stress-test the design against real-world constraints. Start perfboard work by building a physical schematic diagram on paper first, mapping every trace and solder joint to a specific function. This removes the gap between “it works on breadboard” and “it works in production.”
Your Fear Of Permanence Is The Real Circuit Killer. Build Like A Sculptor, Not A Painter

Most builders choose breadboard because soldering feels permanent. It isn’t. You’re confusing commitment with irreversibility. Perfboard forces you to think before you build, which kills half your bad ideas before they waste your time. Pick perfboard today. Solder one simple circuit. You’ll realize soldering isn’t the enemy, indecision is. Builders who commit build faster than tinkerers who never commit.