
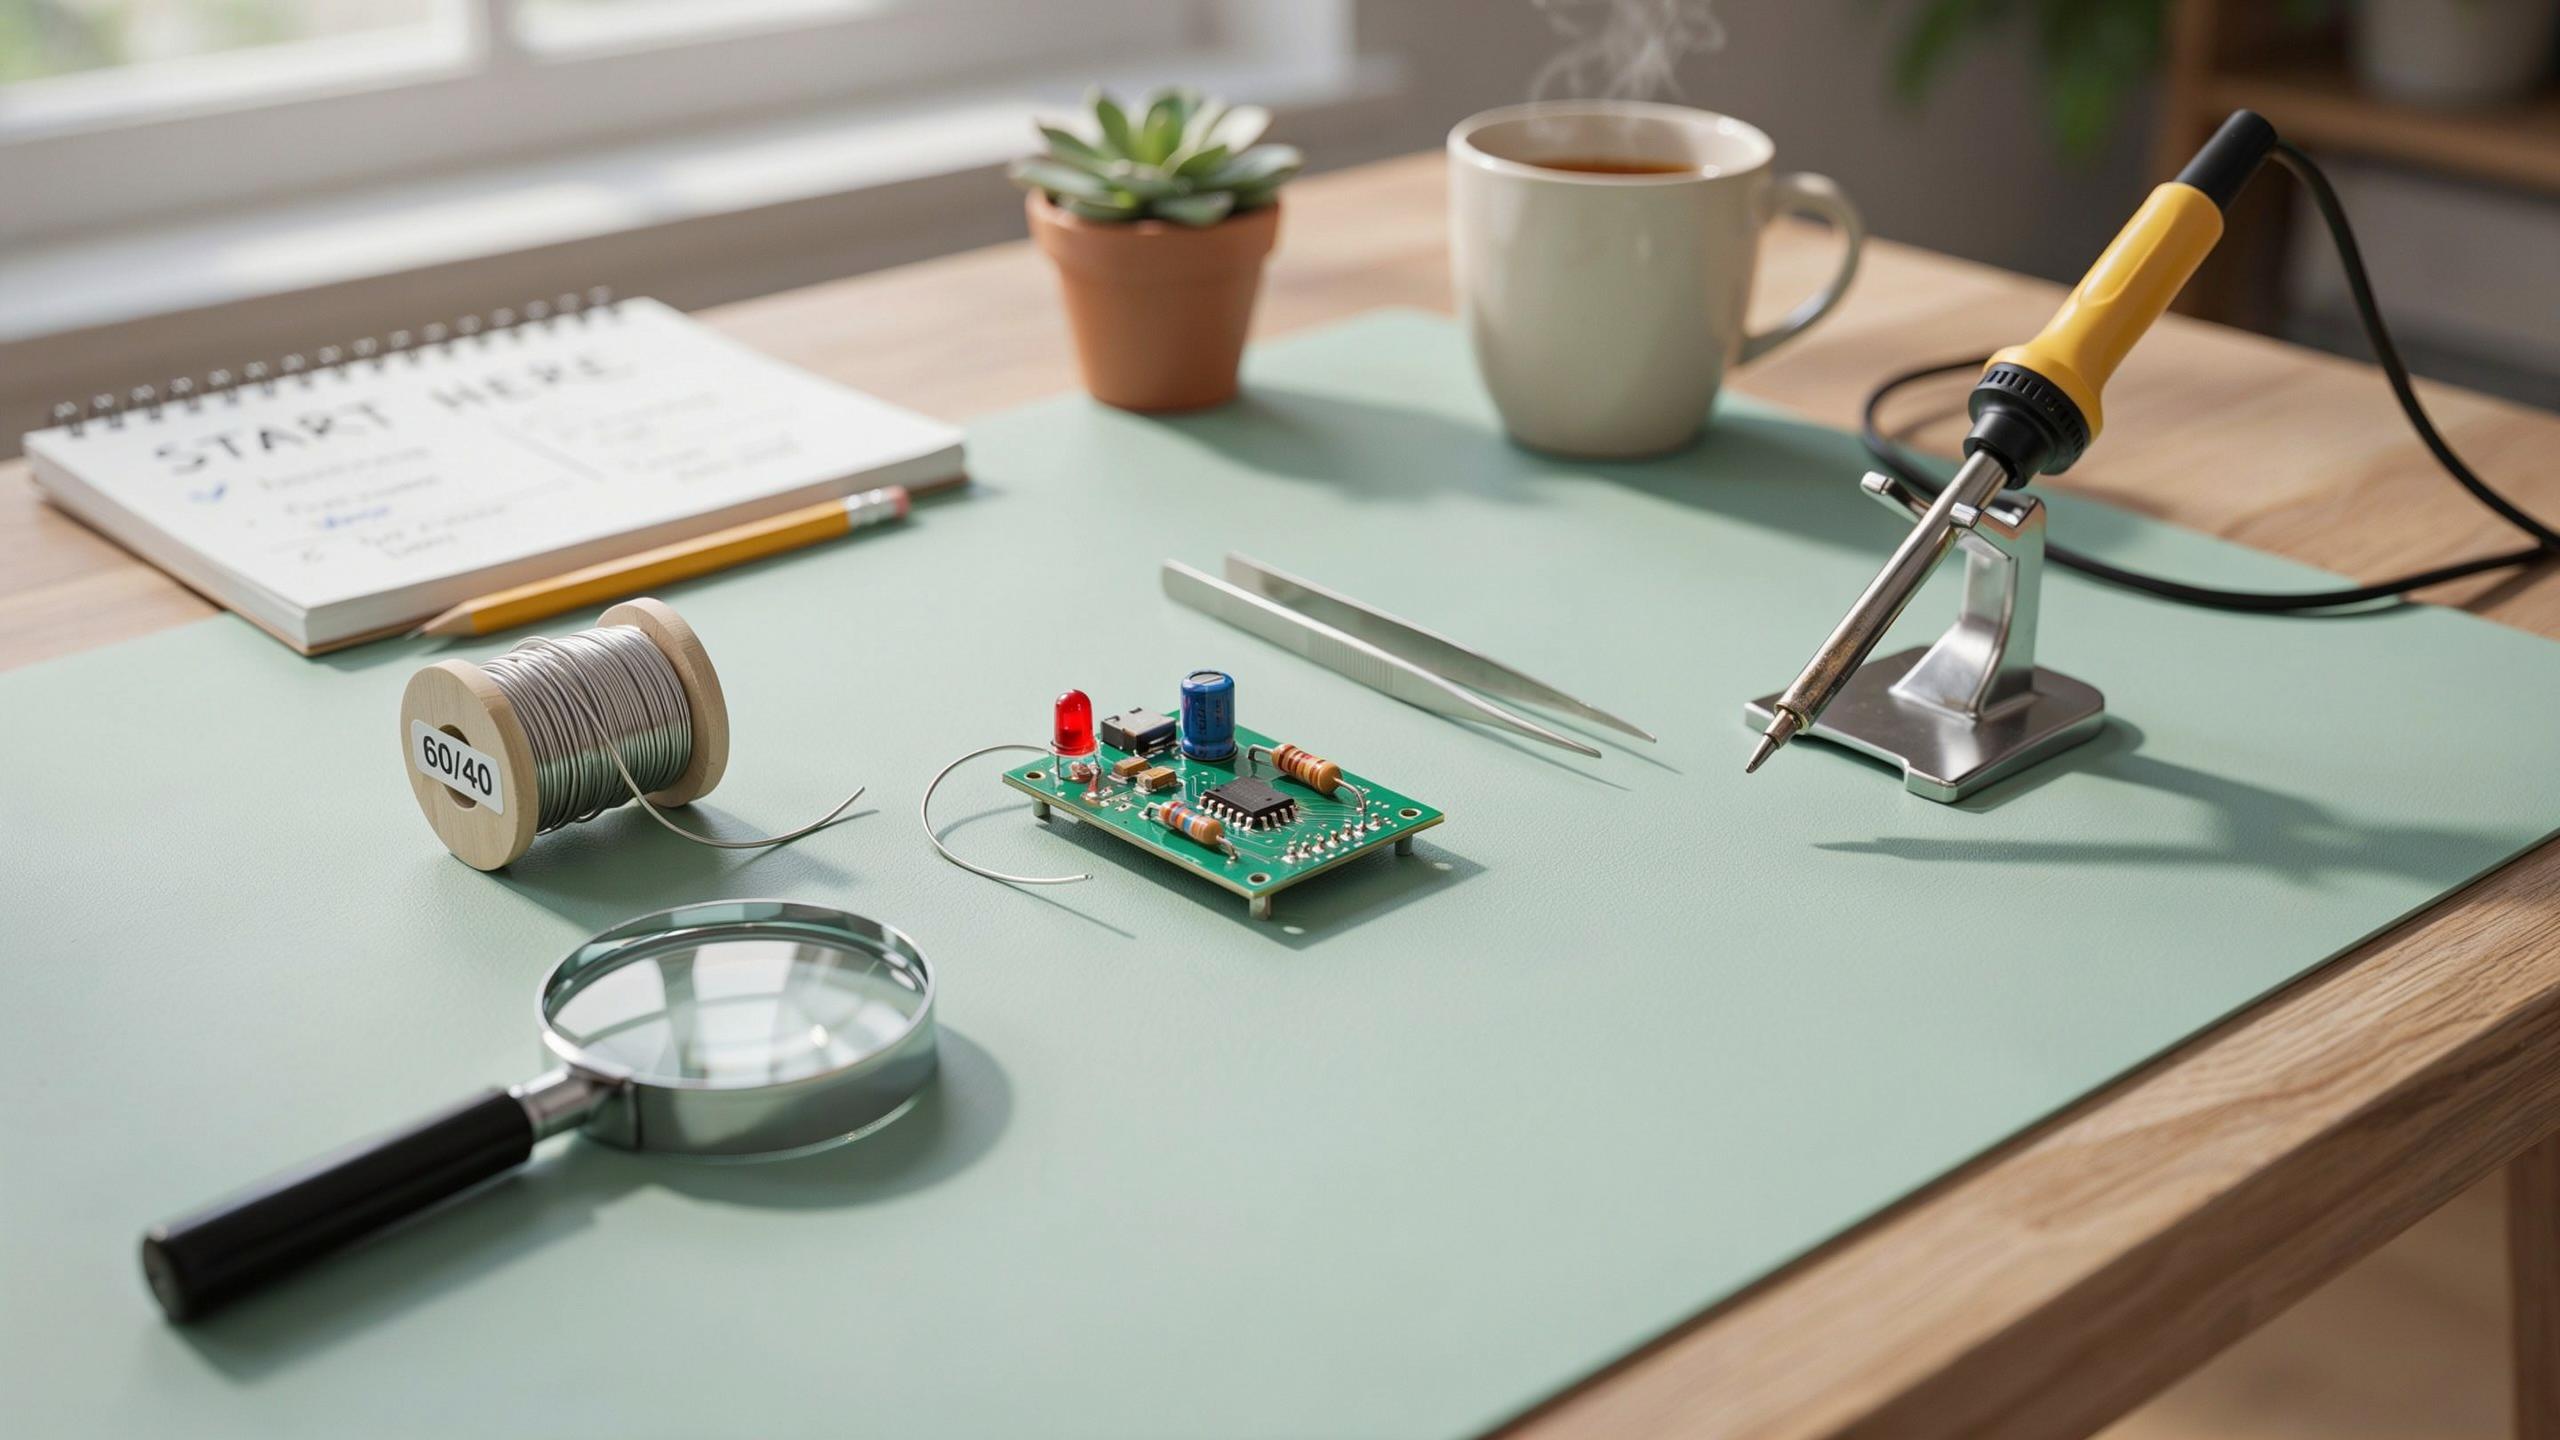
What Is Soldering And Why Is It Essential For Electronics Projects
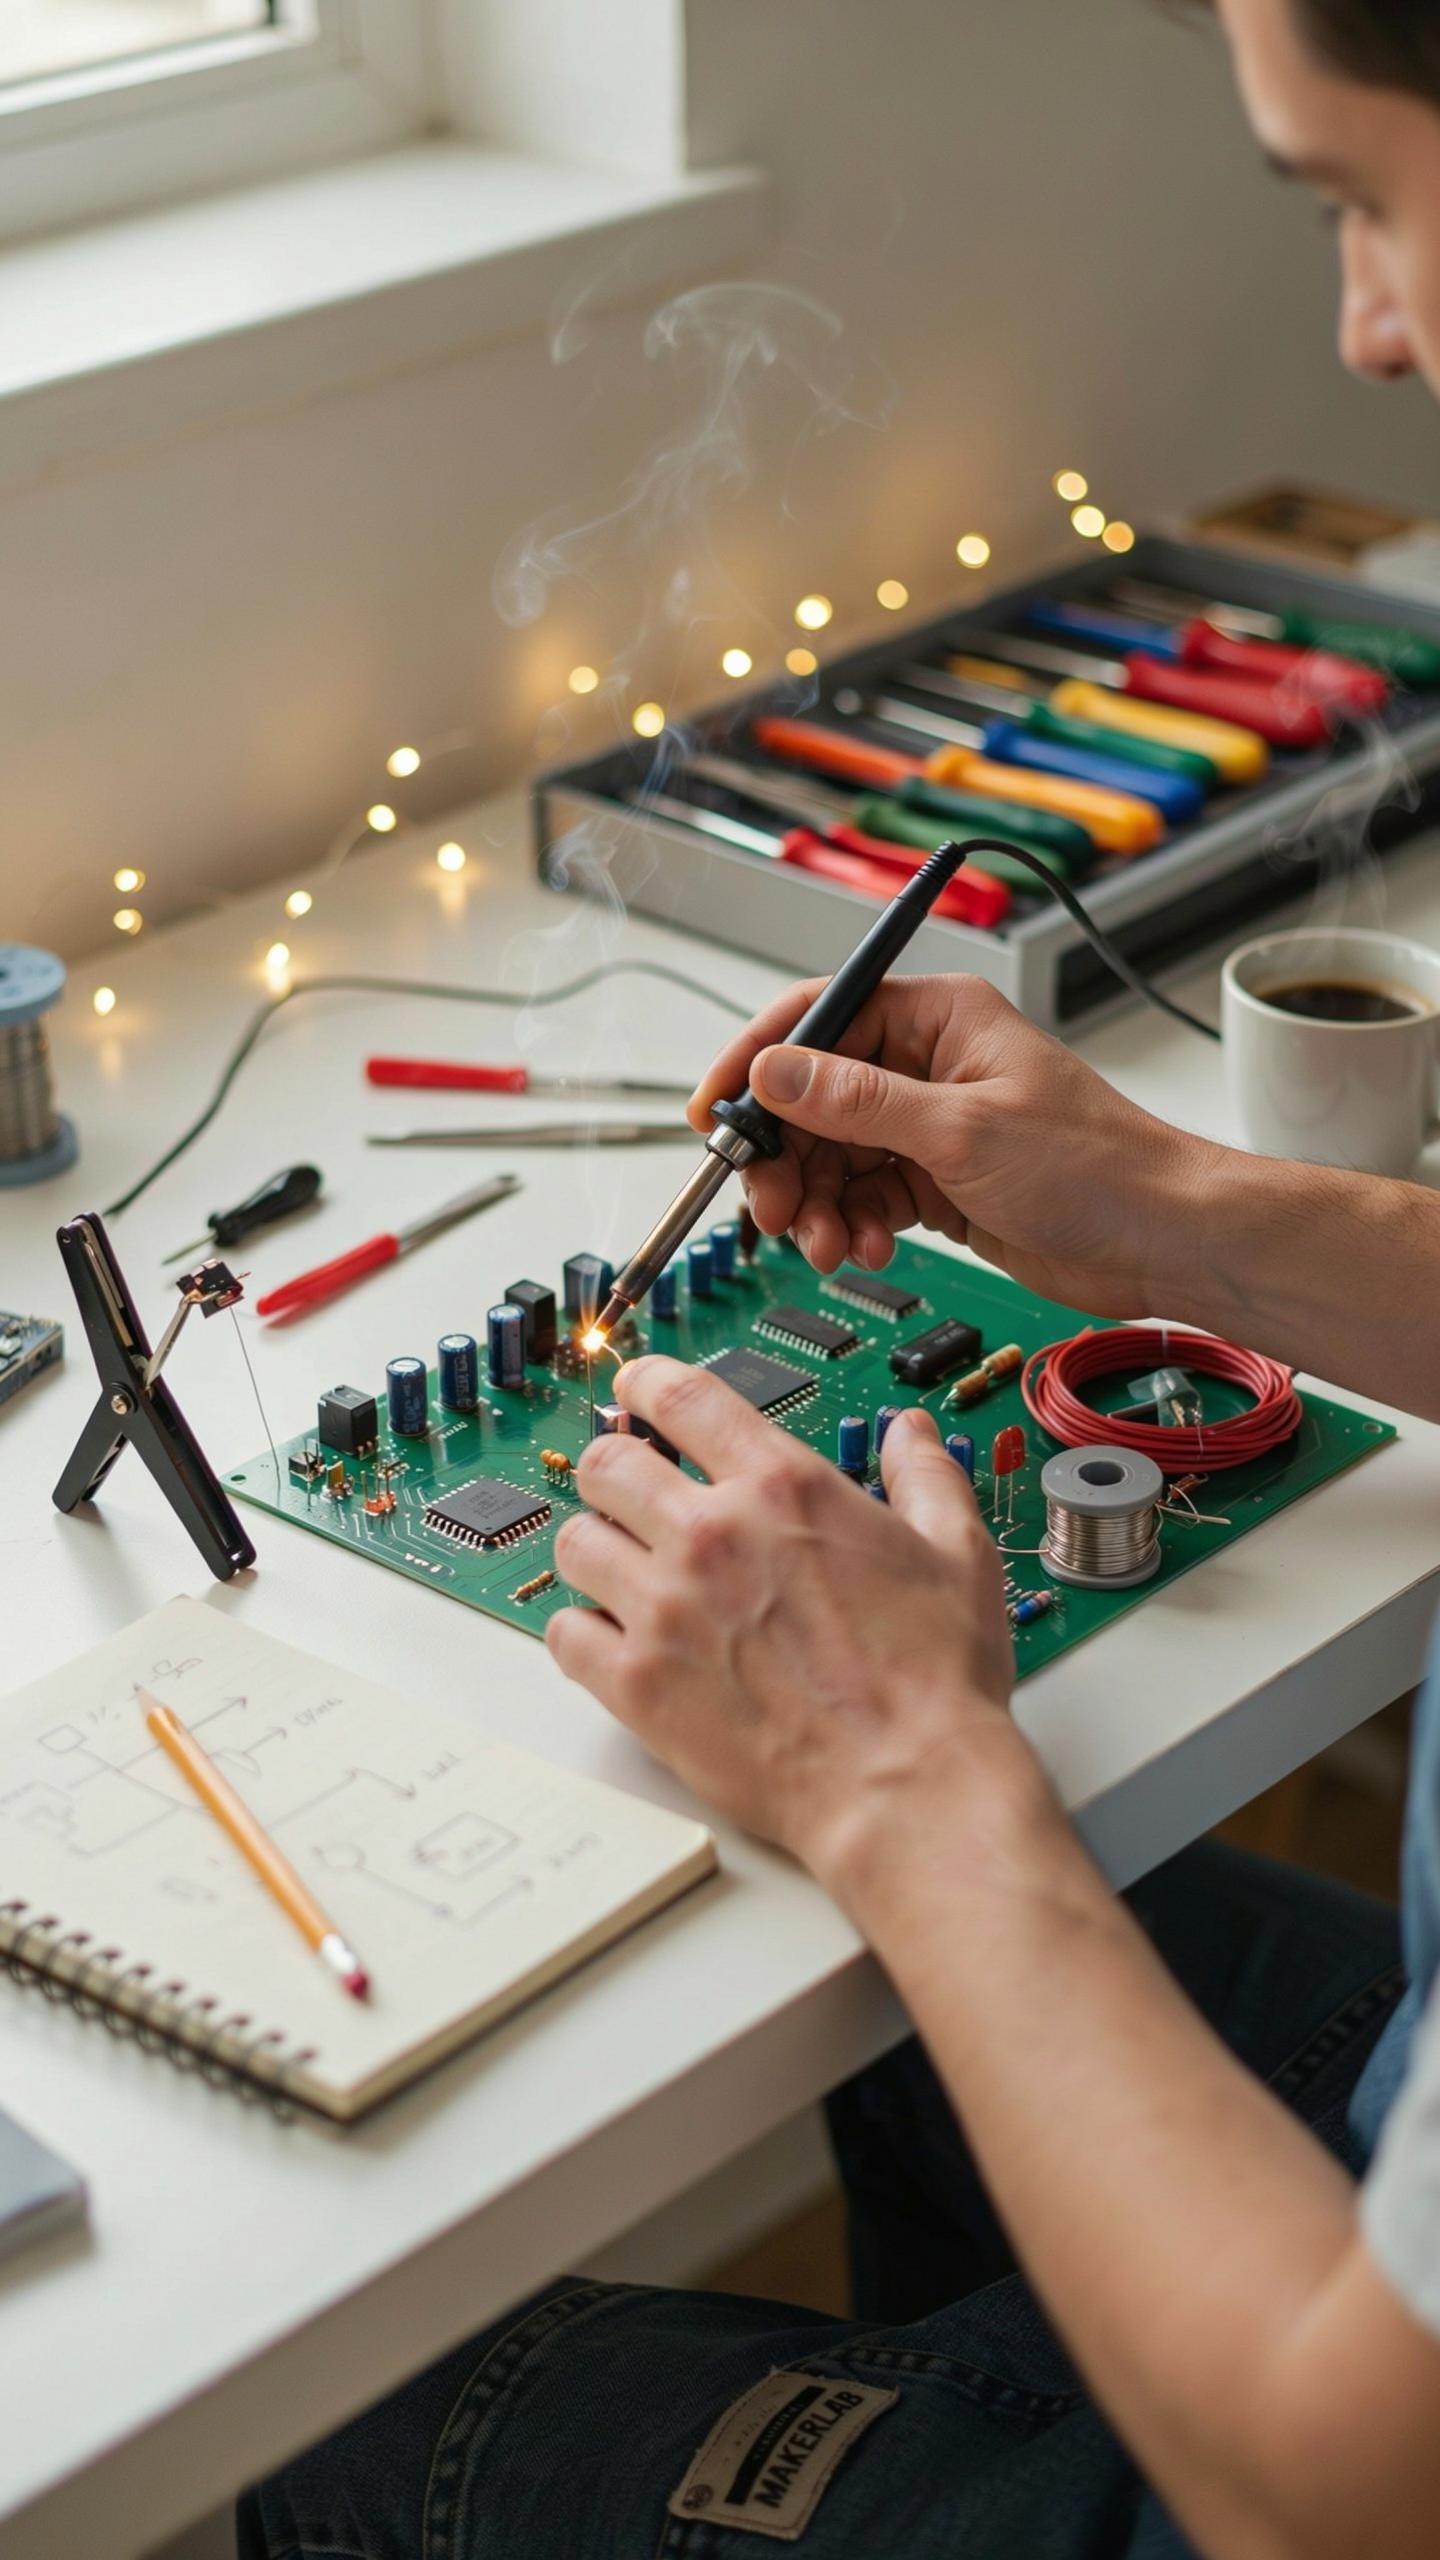
Understanding The Basics Of Soldering
Soldering joins two or more metal parts by melting solder, a filler metal with a low melting point, into the joint. The solder flows into gaps between components and hardens as it cools, creating both an electrical and mechanical bond. The base materials stay solid throughout this process, protecting sensitive components from heat damage.
Solder typically contains tin and lead or tin and other metals depending on the application. The flux in solder removes oxidation from metal surfaces, allowing the solder to wet properly and bond effectively. Without flux, solder cannot form reliable connections and will ball up on the surface instead of flowing into joints.
The Importance Of Good Solder Joints In DIY Electronics
Bad solder joints cause intermittent connections, signal degradation, and circuit failures. A cold joint forms when solder cools too quickly and lacks proper metal fusion, creating high electrical resistance. This resistance generates heat and causes components to malfunction or fail entirely during operation.
Quality solder joints provide stable electrical pathways and mechanical strength that withstand vibration and temperature changes. Proper technique ensures solder fully wets the connection, creating a shiny cone shape around the joint. Reliable joints mean your circuits work consistently and last longer, reducing troubleshooting time and component replacement costs.

Choosing The Right Beginner Soldering Kit
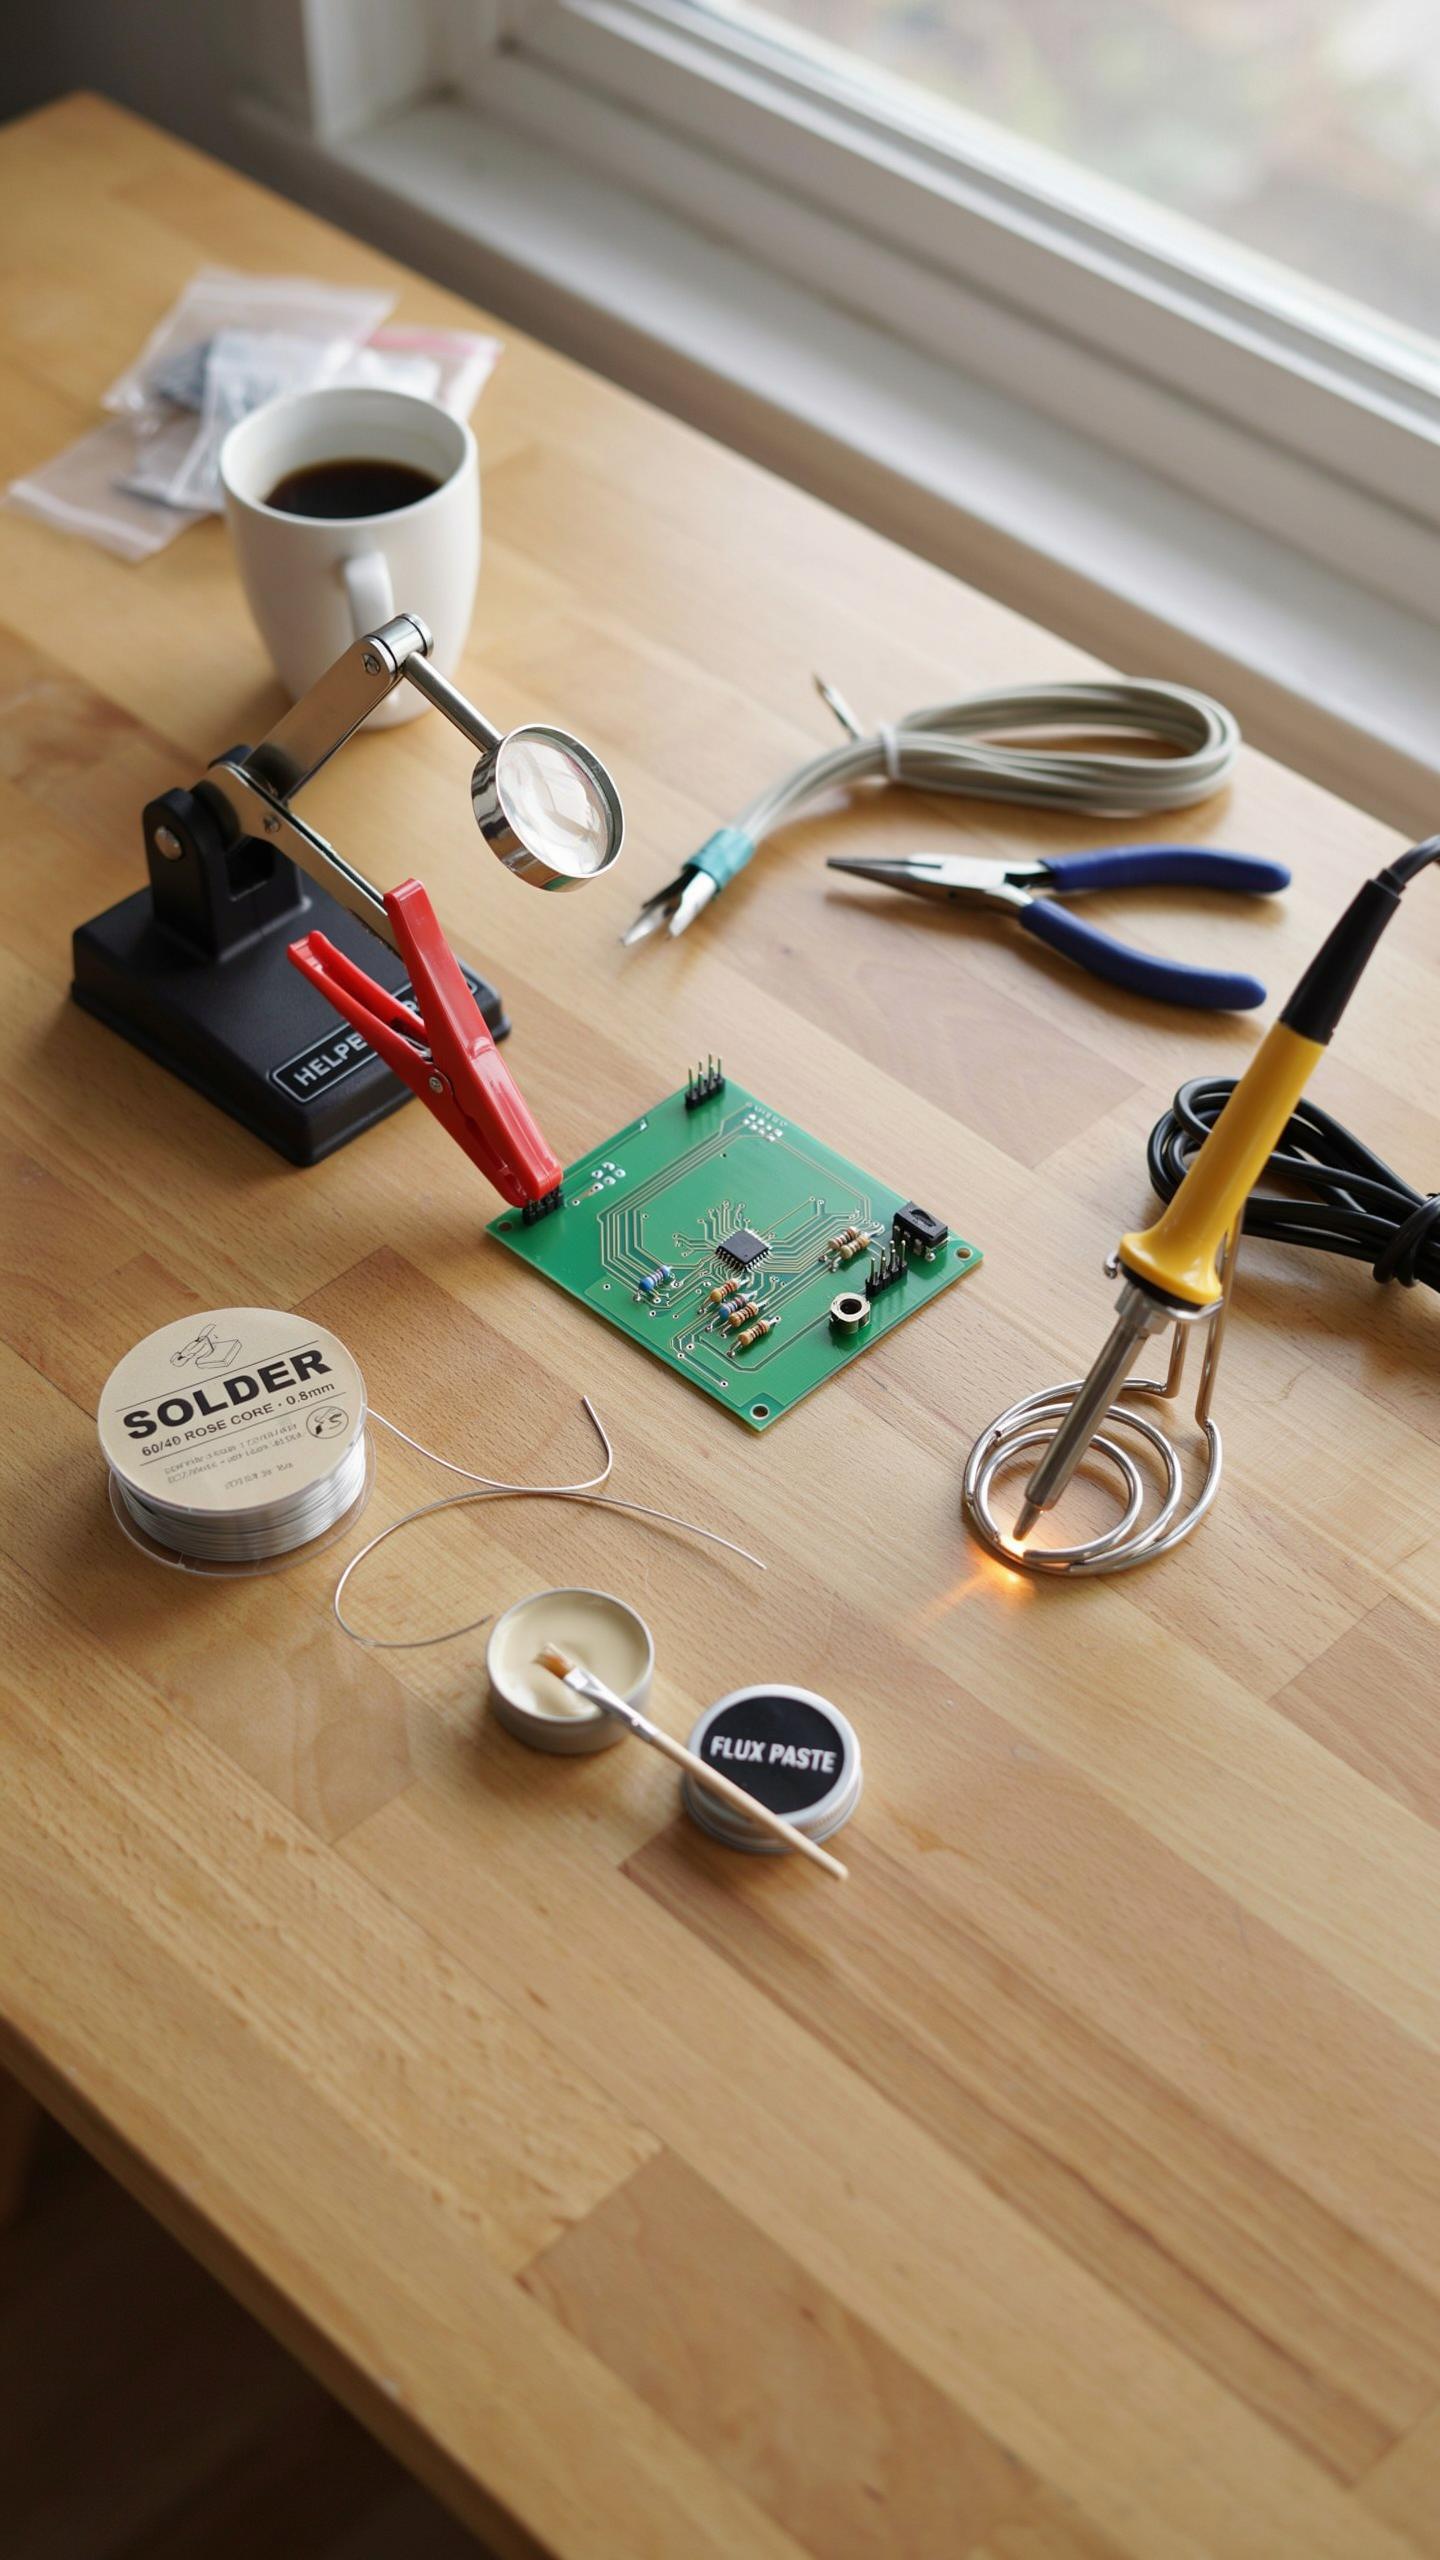
Key Components Of A Starter Soldering Kit
A functional beginner soldering kit contains core tools you need to start working on electronics projects. The soldering iron is the foundation. You also need solder wire, flux, a stand to hold the iron safely, and tips in different sizes. Most kits throw in a desoldering tool for fixing mistakes. Safety glasses and helping hands round out the package.
These components work together to handle basic circuit board work. The stand prevents burns and keeps your workspace organized. Flux cleans oxidation off joints and improves solder flow. Different tip sizes let you work on various component sizes. A desoldering tool lets you remove bad joints without destroying the board. This combination covers entry level repairs and simple projects.
What To Look For: Wattage, Temperature Control, And Accessories
Adjustable temperature control matters because different components need different heat levels. Microcontrollers and sensitive parts fail under too much heat. A 30W to 60W iron handles most beginner work without overkill. Temperature control lets you dial in exactly what you need for each job.

The variety of tips included determines what projects you can tackle. Conical tips work well for precision work on small components. Chisel tips handle larger joints faster. Your kit should include at least three different tip sizes. Quality accessories like a brass wire cleaner and wet sponge make cleanup easier. Check that the stand feels stable and the iron heats up in under sixty seconds.
Understanding Your Soldering Iron And Soldering Iron Tips
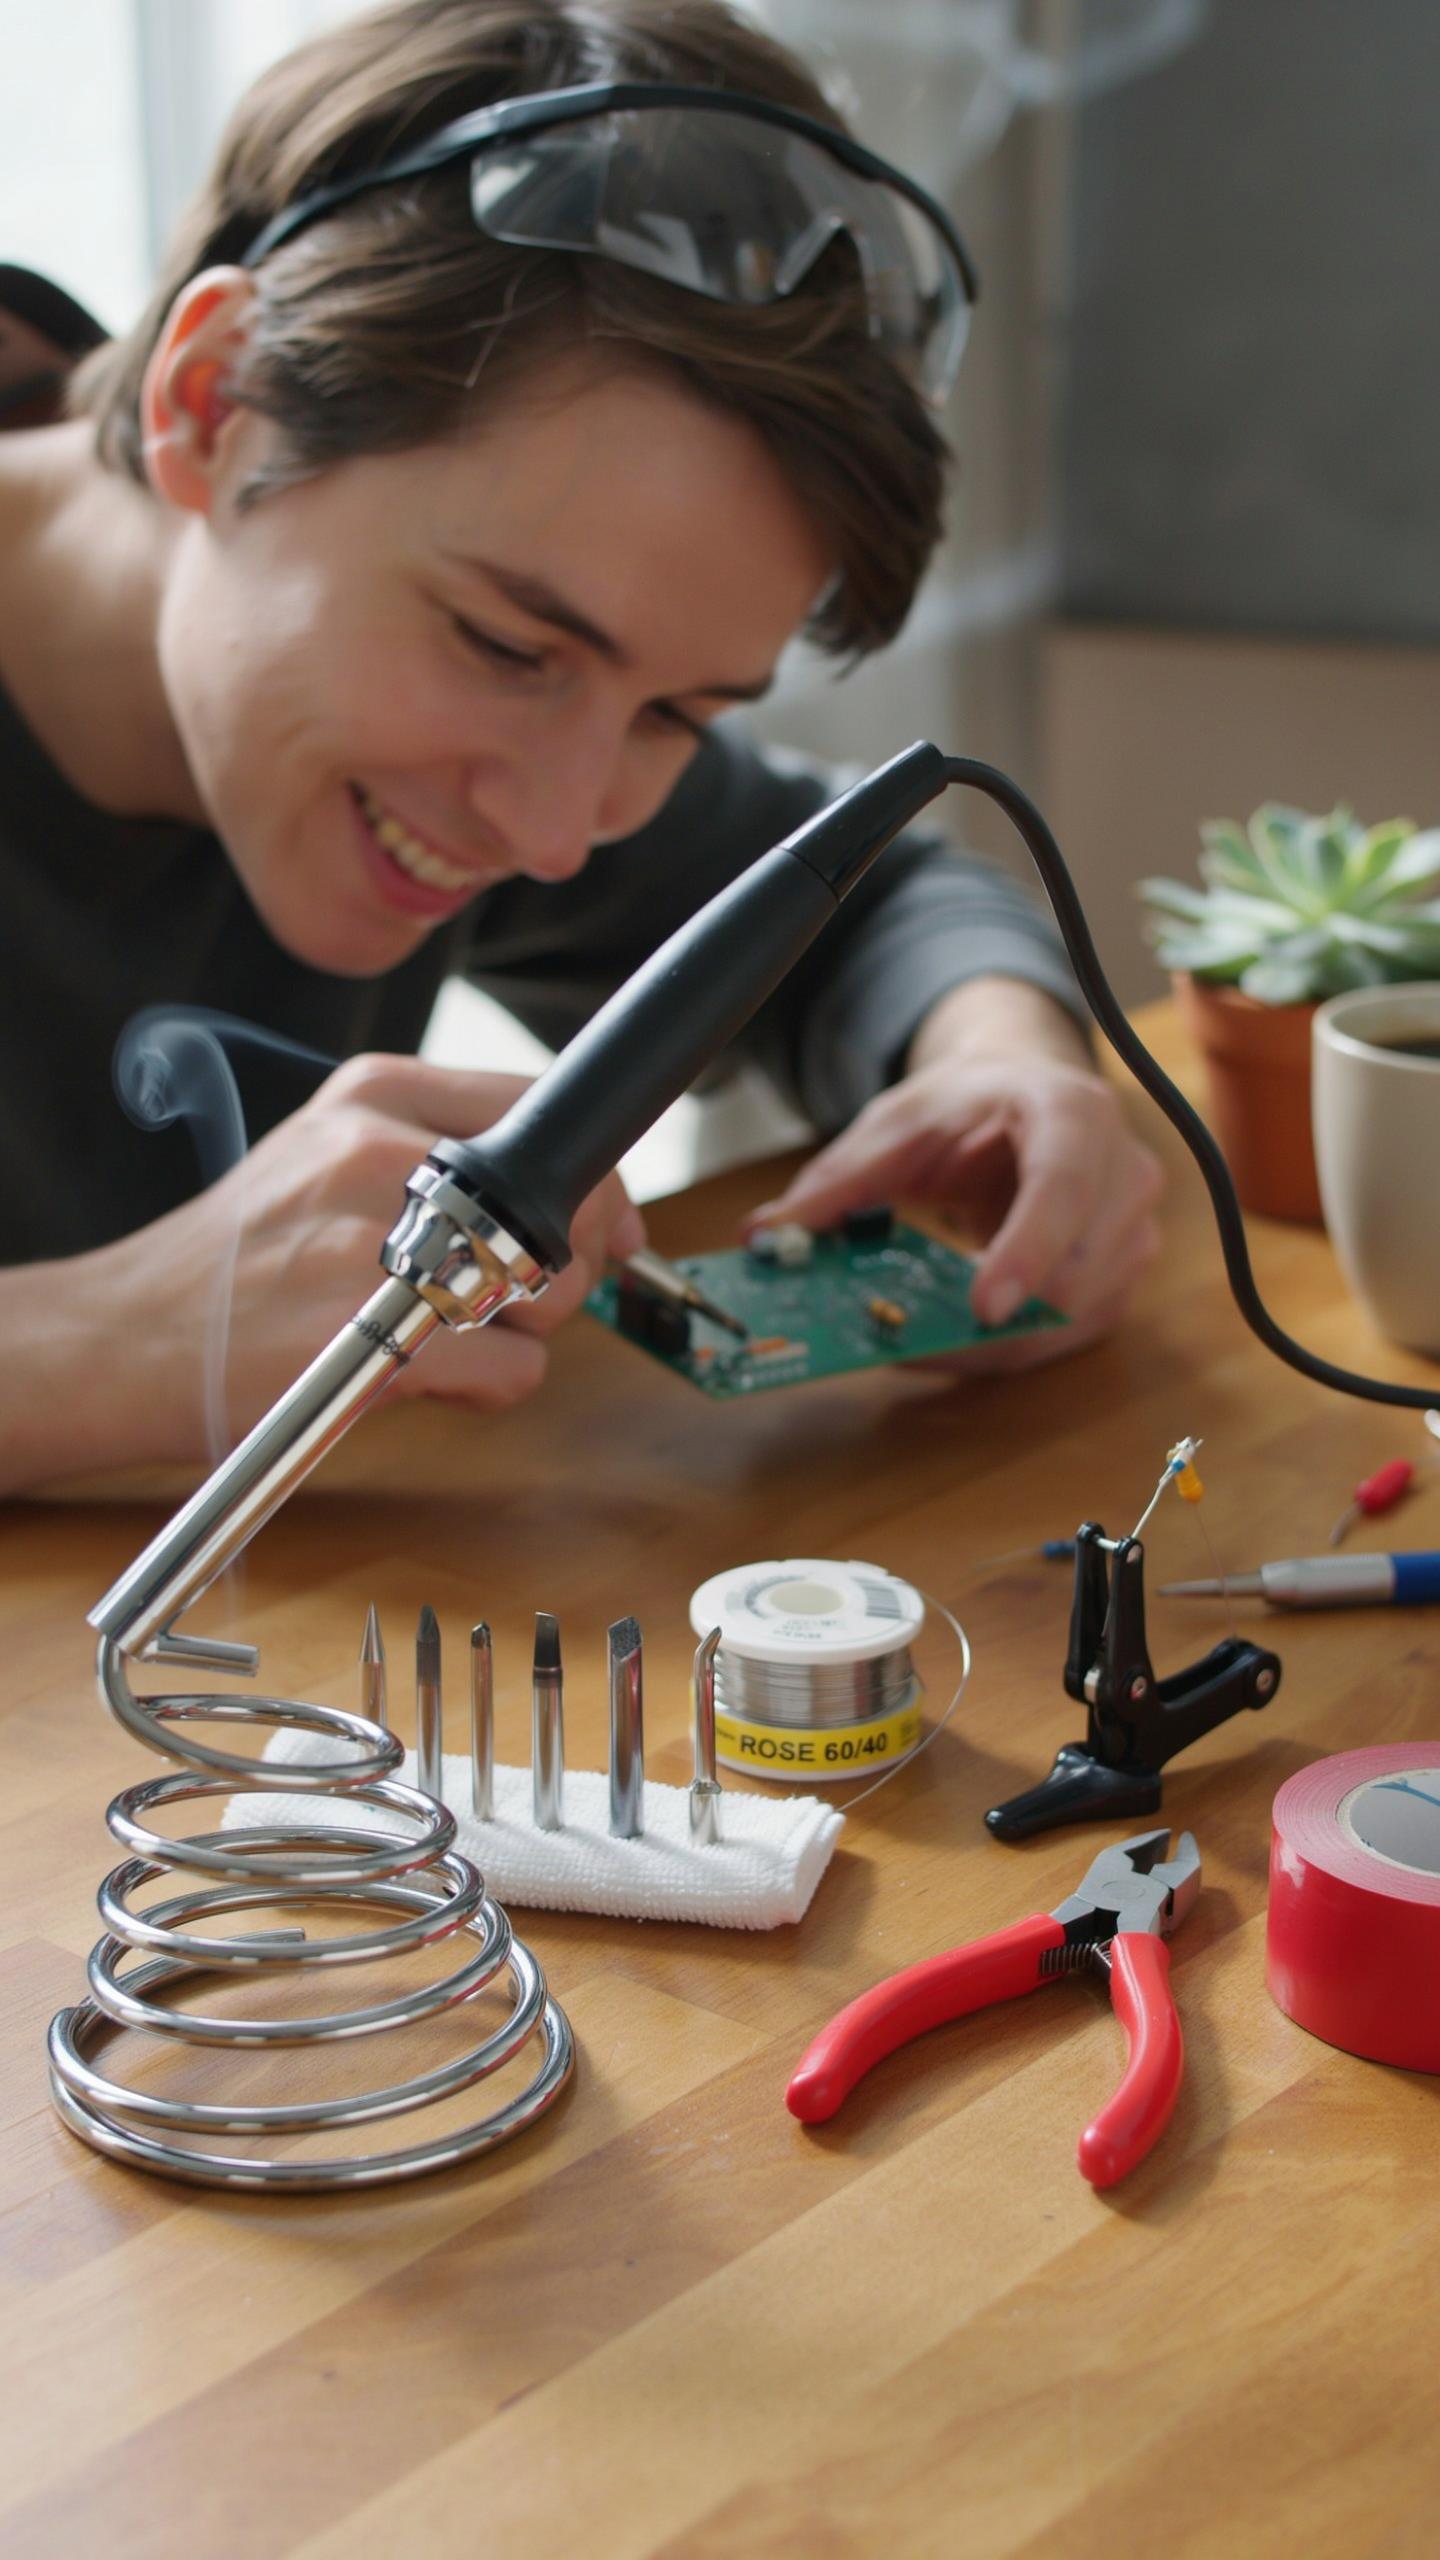
Types Of Soldering Irons: Pencil Vs. Soldering Station
Pencil-style soldering irons deliver heat through a thin, pen-like handle. They cost between 15 and 40 dollars and work for occasional projects. These irons heat up in seconds and suit hobbyists who solder infrequently. However, they lack temperature control and cool down quickly when removing from joints.
Soldering stations provide regulated heat output, typically ranging from 200 to 450 degrees Celsius. They maintain consistent temperatures throughout your work session and heat recovery is faster between joints. Stations run between 60 and 200 dollars depending on features. For anyone tackling regular electronics projects, the precision and reliability justify the investment.
Selecting And Maintaining Soldering Iron Tips For Various Tasks
Soldering iron tips transfer heat directly to your work, making tip selection critical. Chisel tips work well for general component soldering and larger pads. Conical tips excel at fine detail work and reaching tight spaces between components. Bevel tips handle both general and detailed tasks effectively. Each tip shape impacts heat transfer efficiency and your ability to complete specific joints cleanly.

Keep tips clean by wiping them on a wet sponge or brass wire cleaner between joints. Tinning your tip by applying fresh solder creates a bridge for heat transfer to components. This practice prevents oxidation and extends tip life significantly. Replace tips when they become pitted or solder no longer adheres to the surface. Regular maintenance prevents cold solder joints and frustrating rework.
Essential Soldering Tools Beyond The Iron
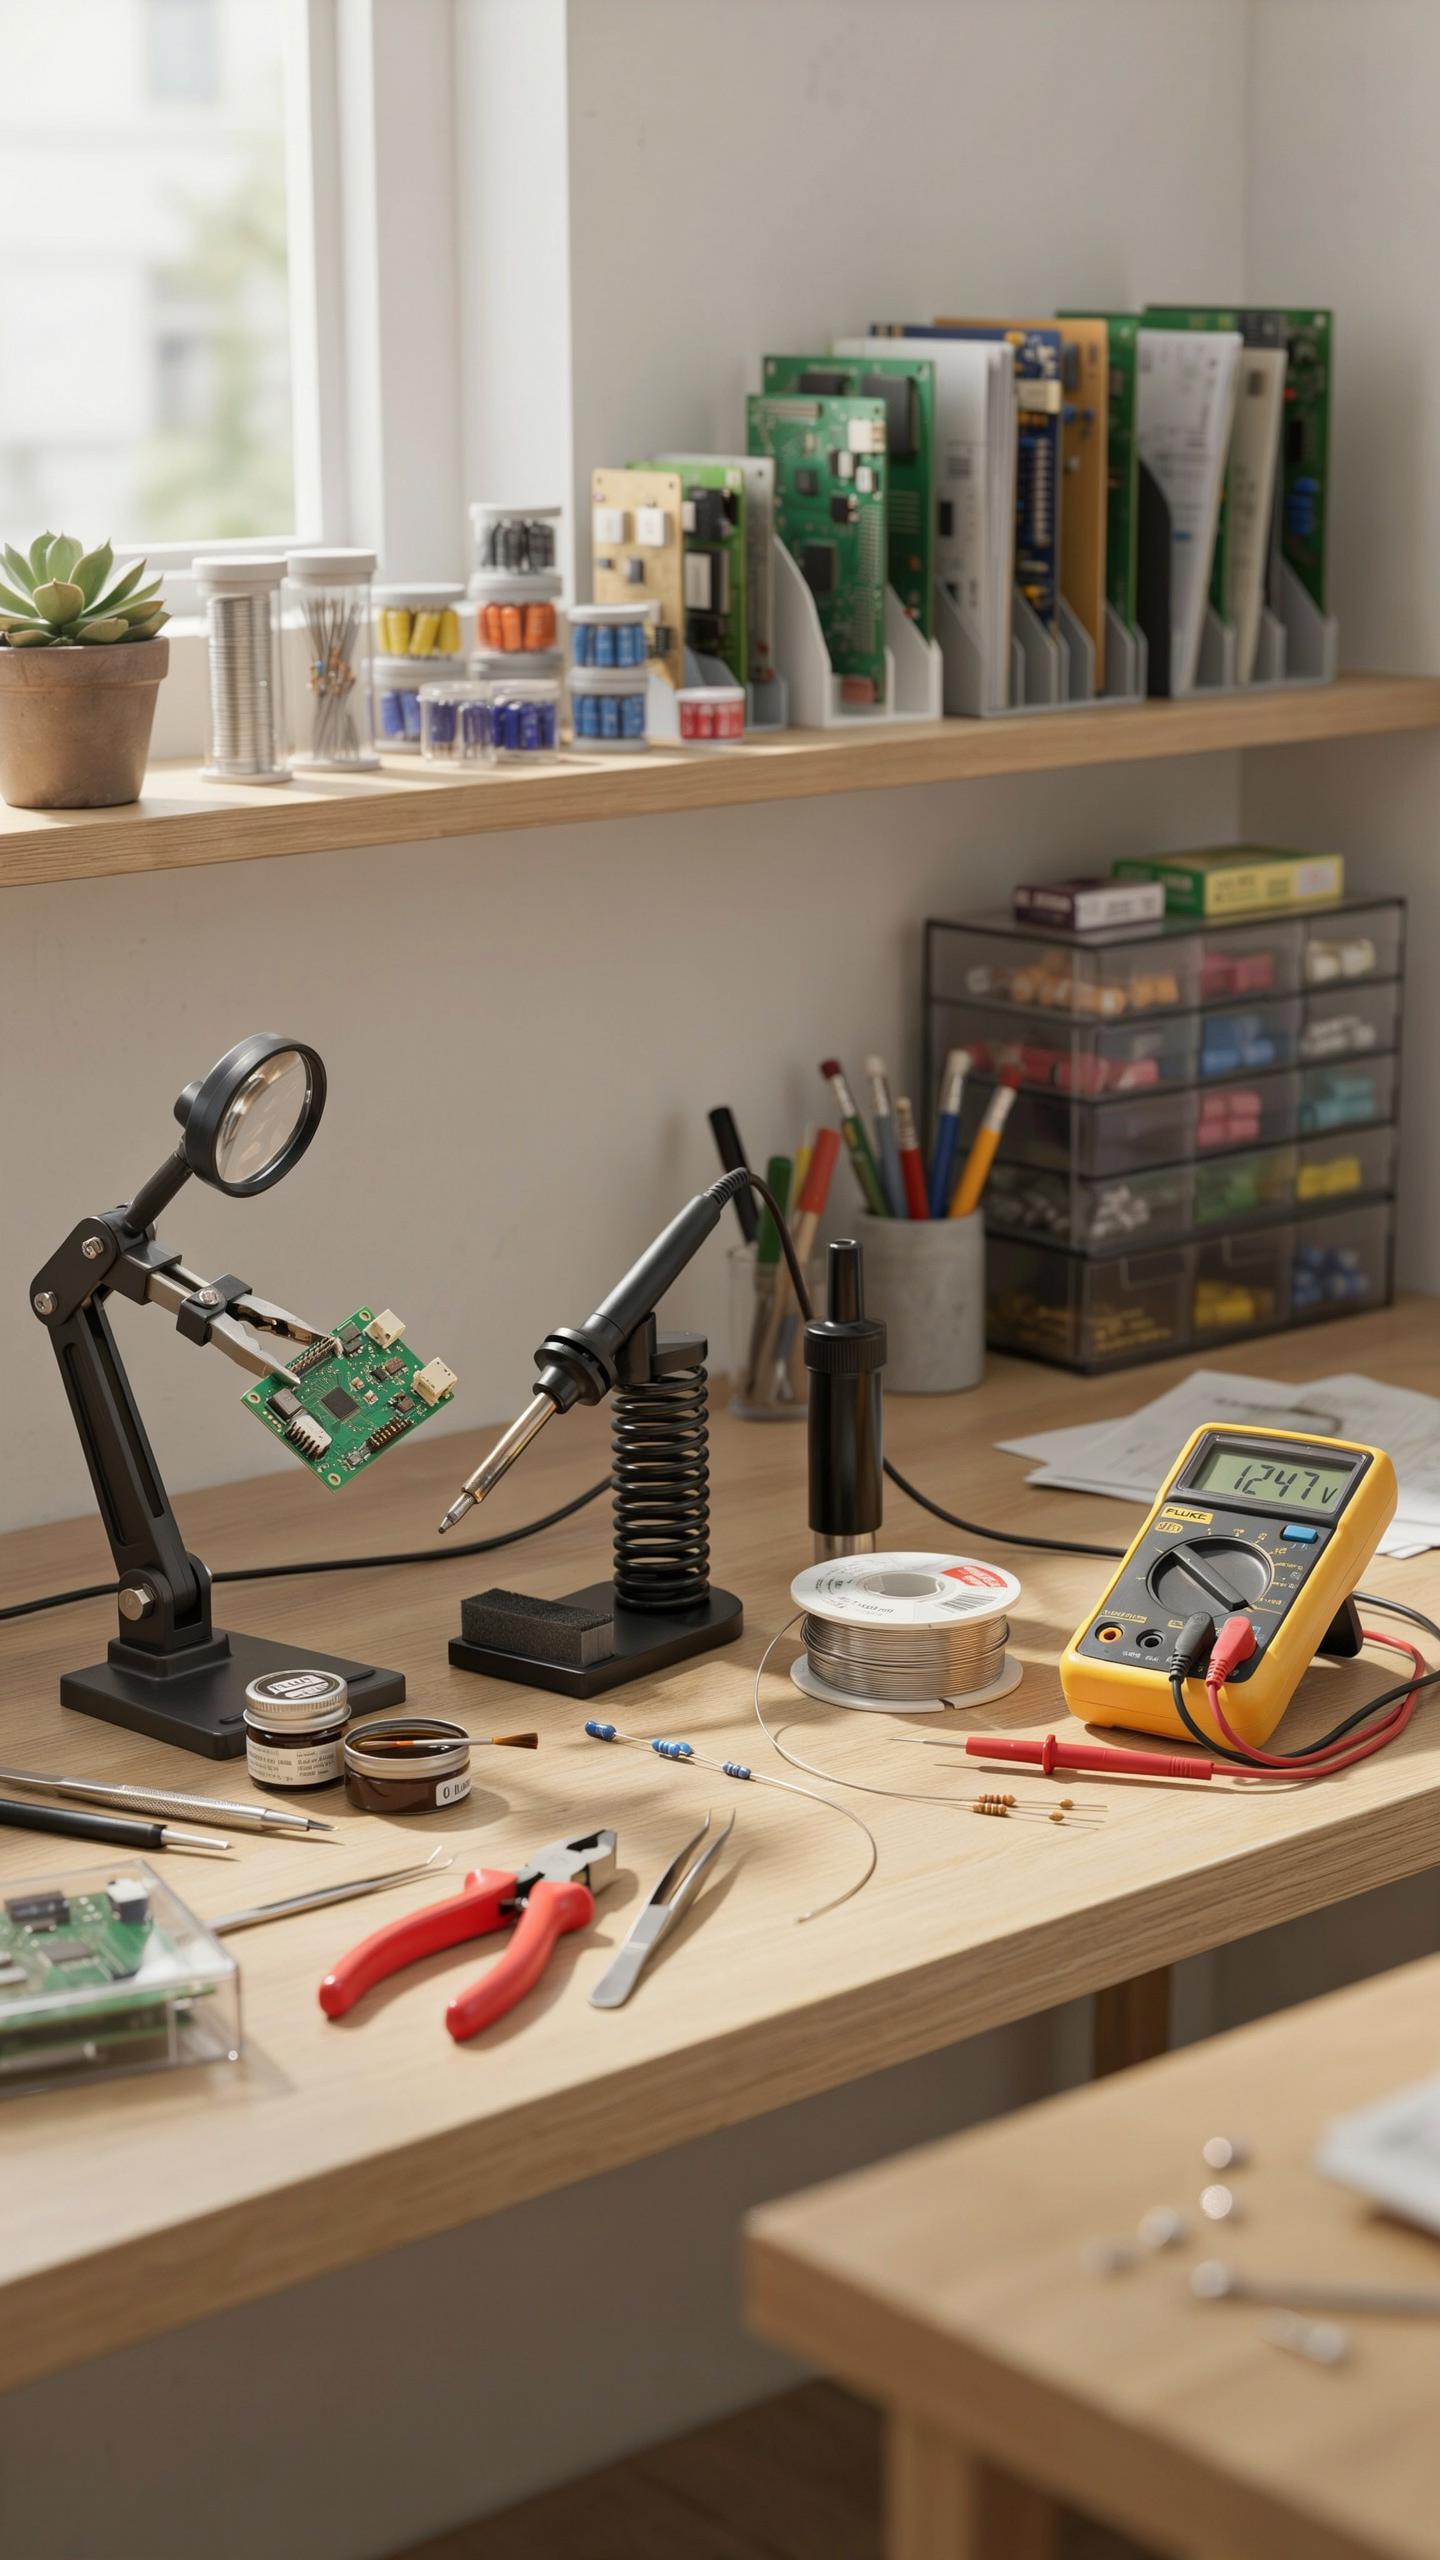
Solder Wire Types Diameters And Flux Core
Solder wire is metal alloy. Traditional solder contains tin and lead in specific ratios. Lead-free solder uses tin, silver, and copper instead. Lead-free exists because of environmental regulations and health concerns, not performance superiority. Lead-based solder melts at lower temperatures and flows easier. Lead-free requires higher heat and more skill. Choose based on your project requirements and local regulations.
Solder diameter matters. Thicker wire like 1.6mm works for larger joints and components. Thinner wire like 0.8mm suits small circuit board work and delicate connections. Most beginner kits include 1mm or 1.2mm diameter. Flux core inside the wire burns off during heating and cleans the joint. This flux prevents oxidation and helps solder bond to metal surfaces properly.
Flux Desoldering Tools And Helping Hands For Clean And Easy Work
Flux is a chemical compound that removes oxidation from metal surfaces. It lets solder flow smoothly and creates stronger bonds. Liquid flux applies easily to joints needing extra cleaning power. Solder wire already contains flux core, but additional flux handles stubborn joints. Keep flux away from skin and eyes. Wash hands after use.
Desoldering tools remove mistakes and repair failed joints. Solder wick absorbs melted solder when you heat it. Solder pumps use spring pressure to extract solder quickly. Helping hands are clamps with alligator clips and often include magnifying glass. These hold components steady while freeing both your hands for iron and solder. Helping hands transform difficult small work into manageable tasks.
Safety First Important Precautions When Using Soldering Tools
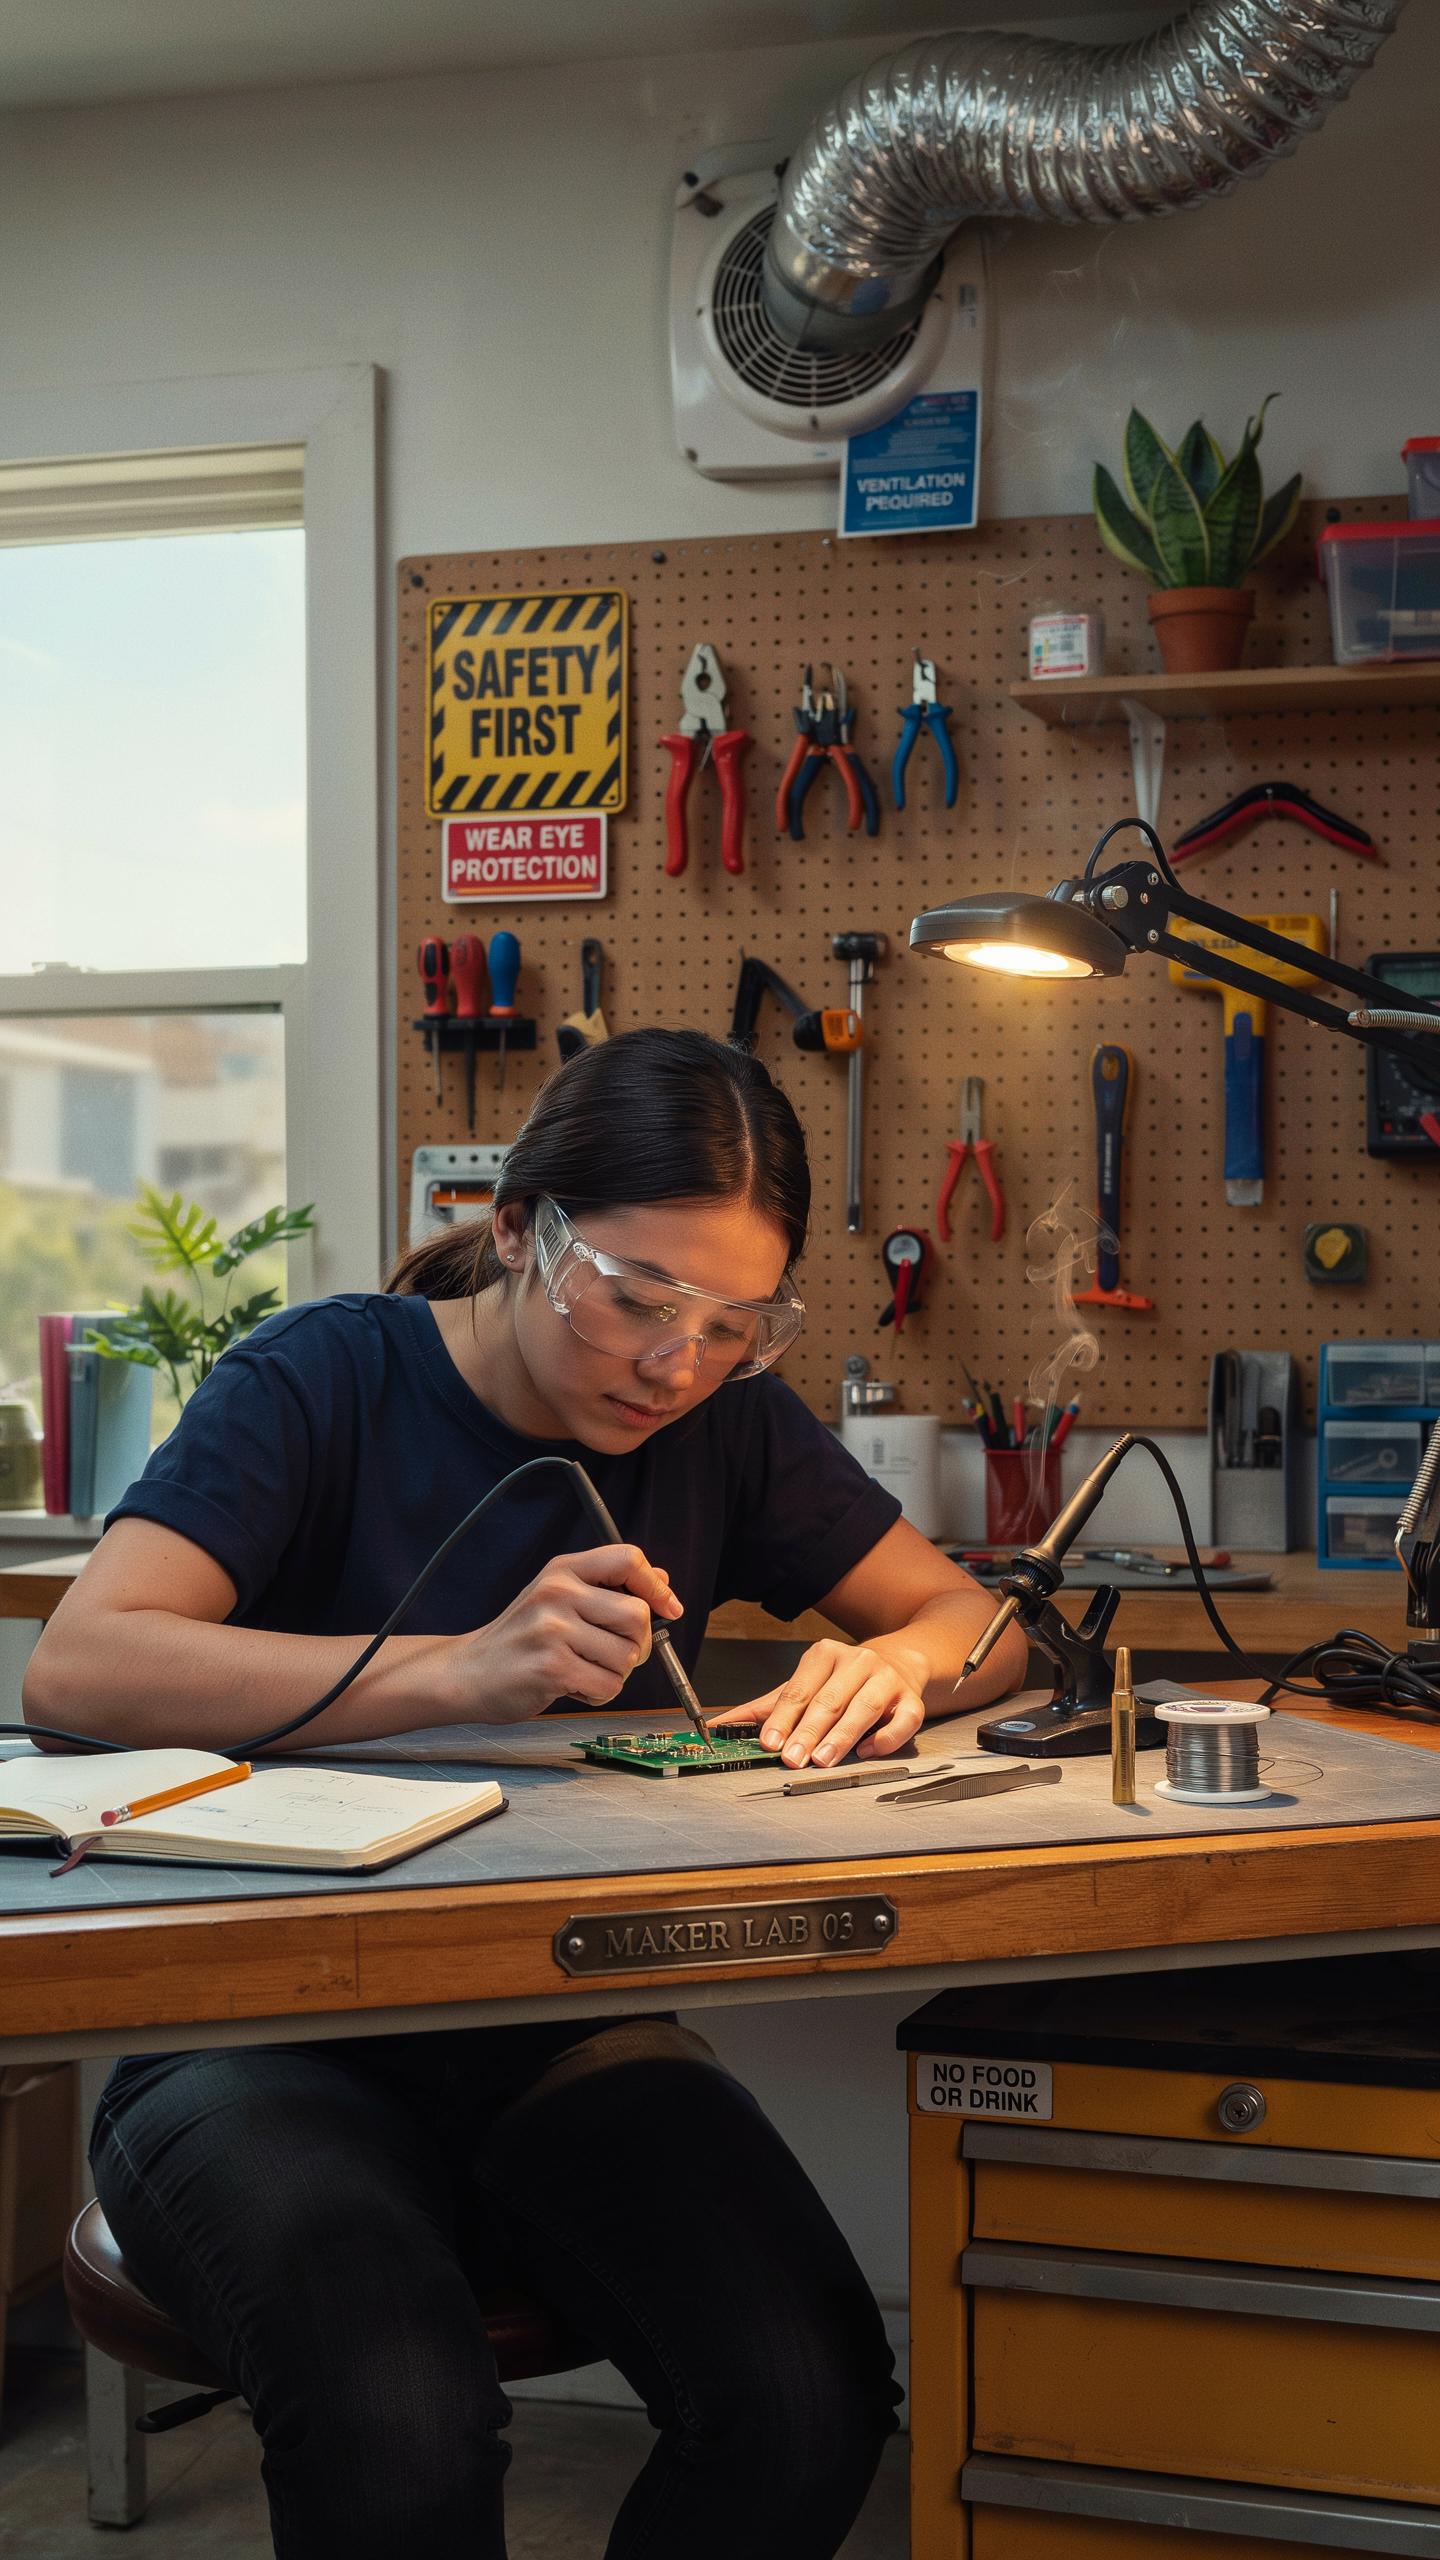
Ventilation And Eye Protection
Solder fumes contain flux residue and metal particles that damage your respiratory system over time. Work in spaces with open windows, fans, or extraction systems. Leaded solder poses greater risk than lead-free alternatives, so ventilation matters even more with older solder types. Poor ventilation leads to headaches, nausea, and long-term lung irritation.
Safety glasses protect your eyes from two real threats: molten solder splashes and sharp component leads. Solder melts at temperatures between 190 and 250 degrees Celsius depending on the alloy. A single splash causes permanent eye damage. Wear impact-resistant glasses rated for heat exposure whenever you work.
Preventing Burns And Electrical Hazards
Soldering irons reach 350 to 450 degrees Celsius at the tip. Use a designated iron stand every single time you set the iron down. Never place it on your workbench, near papers, or on fabric. One accidental touch burns skin instantly. Keep the iron stand stable and positioned where you won’t knock it over.

Check your soldering iron for damaged cords, cracked handles, or faulty temperature controls before each session. Ground yourself to prevent static discharge if working on sensitive electronics. Avoid soldering near live circuits or powered boards. Wait for components to cool completely before touching them with bare hands.
Practicing Your Soldering Skills With Simple Electronics Projects
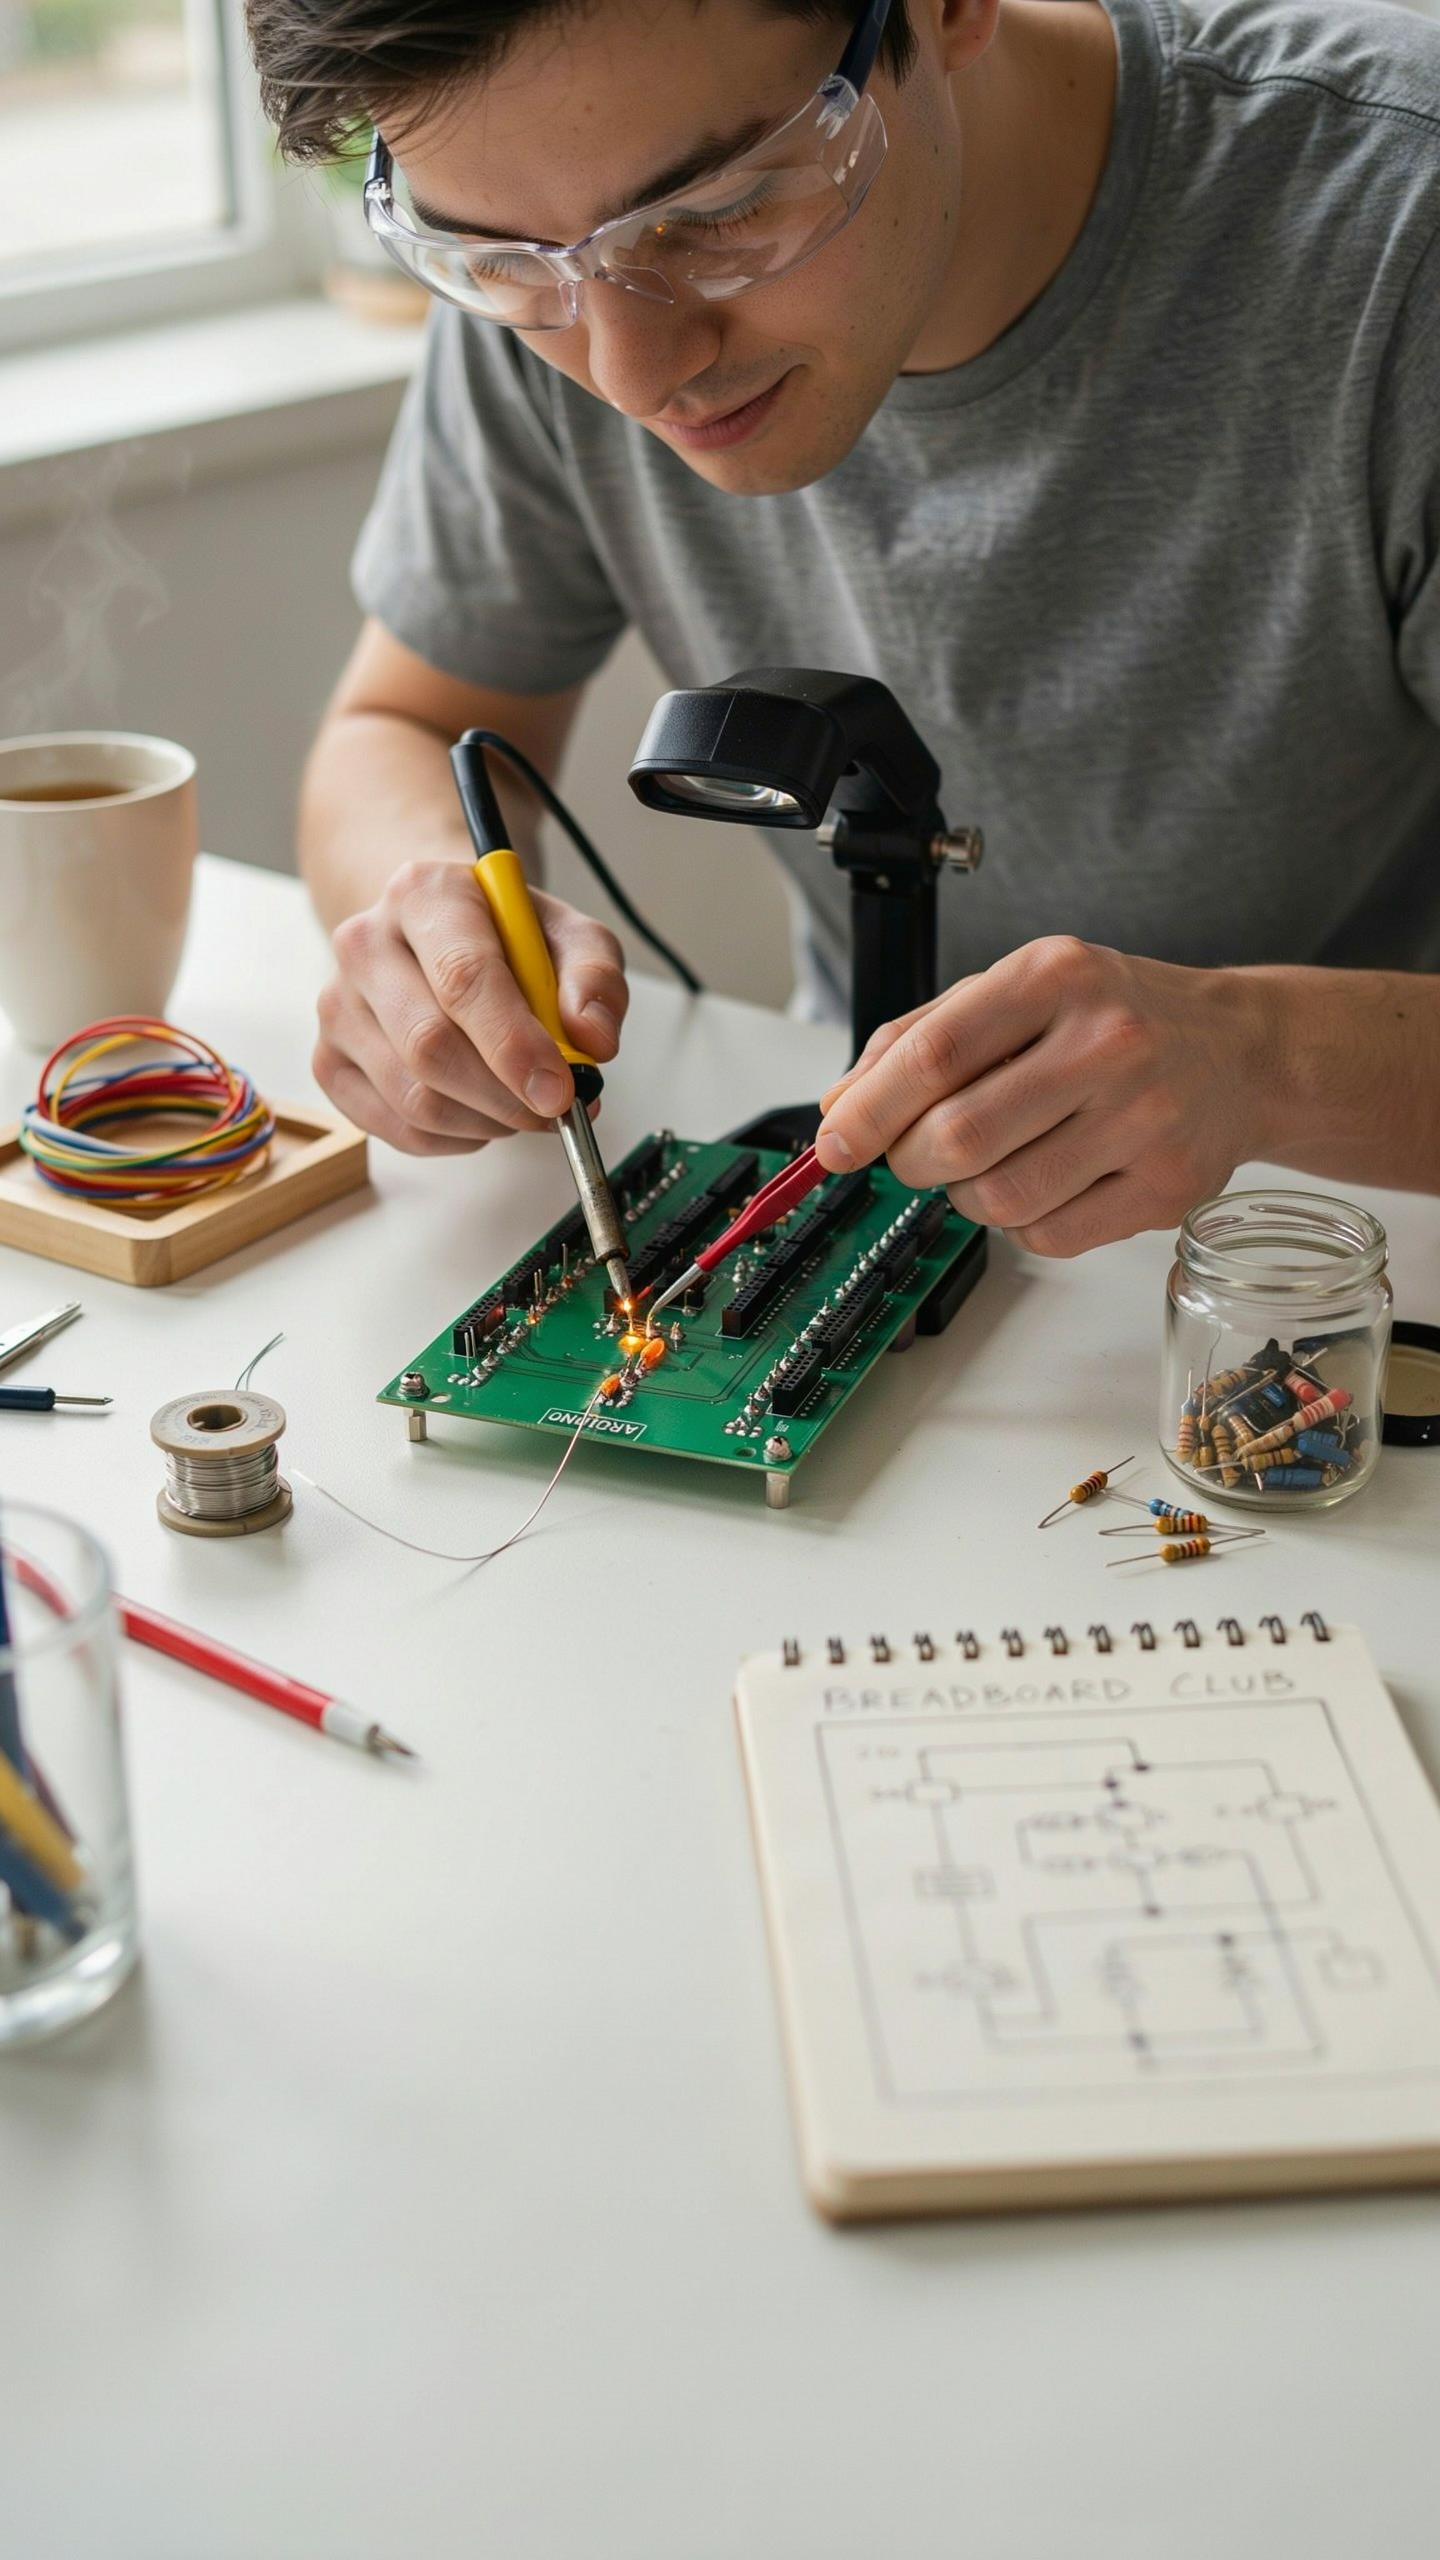
Starting With Basic Component Soldering Techniques
Start by soldering wires to connectors and attaching resistors and capacitors to perfboard. These tasks teach you tinning, heating joints properly, and applying solder correctly. Work on scrap material first. You will build muscle memory and confidence before tackling real projects.
Focus on joint quality, not speed. A good solder joint looks shiny and cone shaped. Bad joints appear dull or blobby. Practice makes your hand steady. You will develop a feel for how long to heat a joint and how much solder to use.
Recommended Foundational Projects For Beginners
LED blinking circuits teach you circuit basics and component placement. You control timing and brightness with simple code or passive components. These projects run on batteries and produce immediate visual feedback, which builds your confidence fast.

Simple audio amplifiers or small robot kits come next. They introduce more complex components and real world applications. You see your soldering directly impact performance. These projects take six to twenty hours and give you a working device to keep or gift.
Troubleshooting Common Soldering Issues
Identifying And Fixing Cold Joints And Solder Bridges
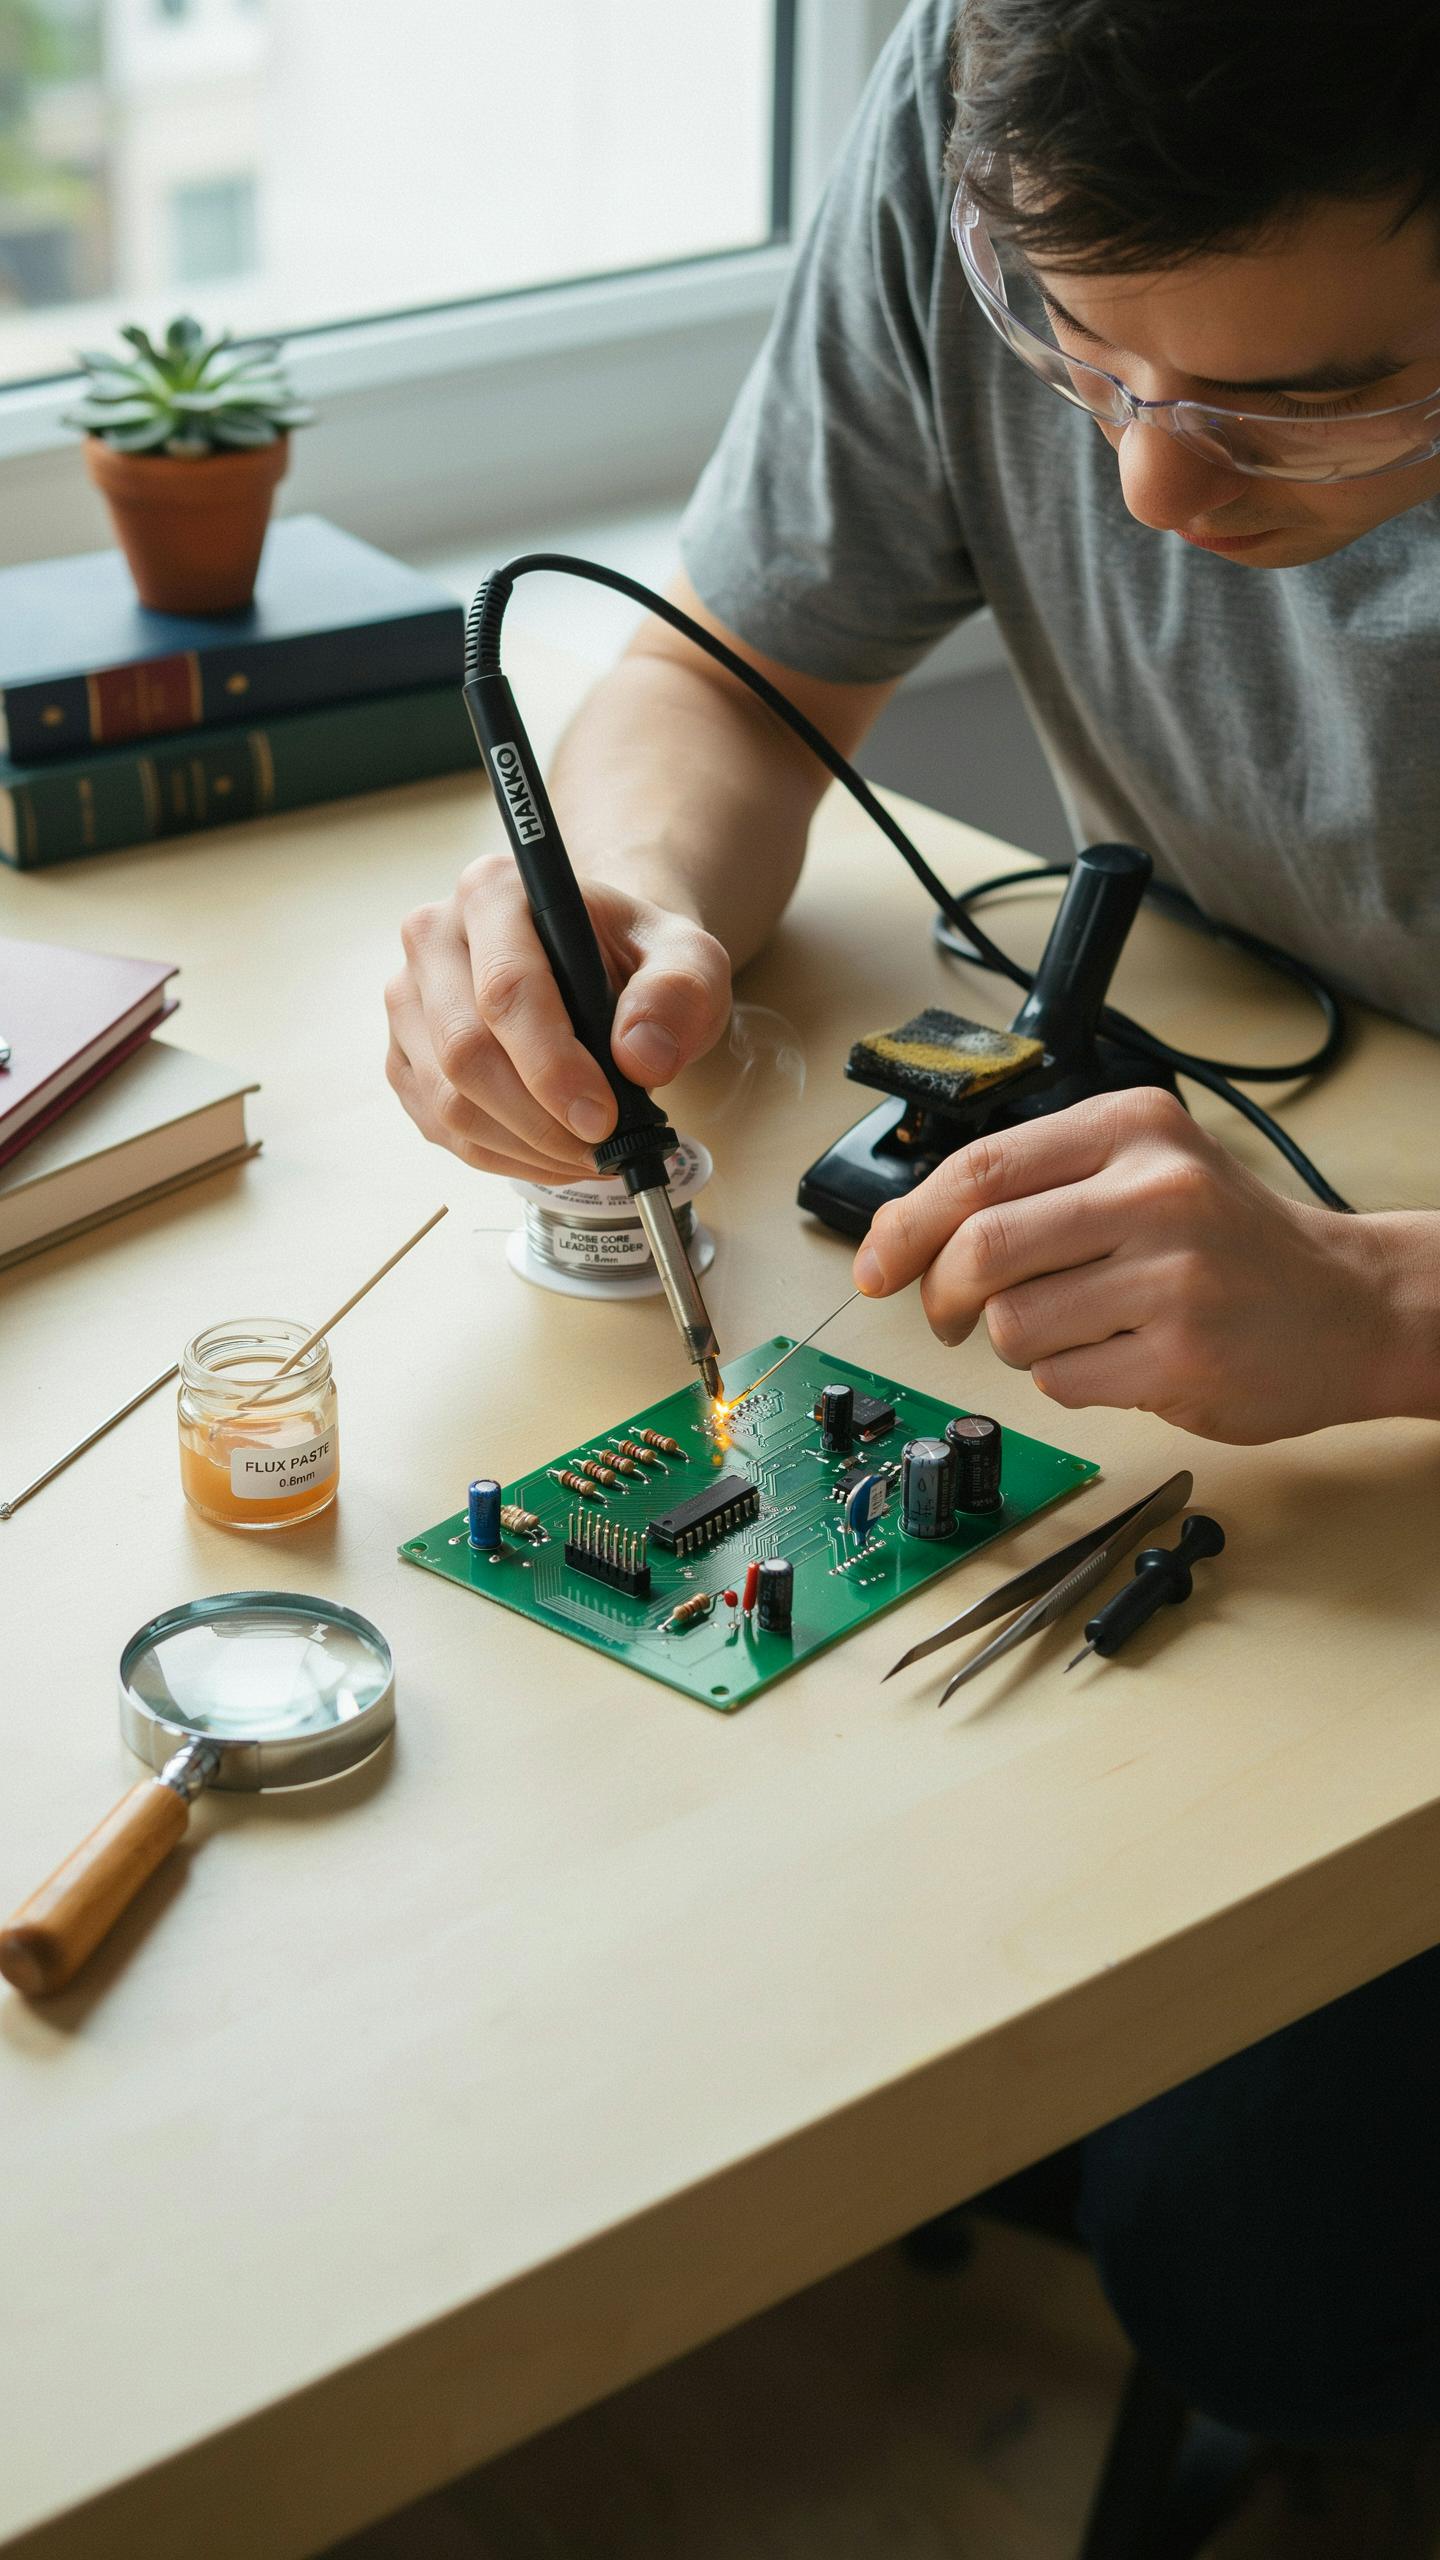
A cold joint looks dull, grainy, or cracked instead of shiny and smooth. This happens when you apply insufficient heat to melt the solder properly. The joint fails electrically and mechanically. Fix it by reheating the joint with your iron while adding a small amount of fresh solder. The new solder flows into the joint and creates a proper connection.
A solder bridge forms when excess solder connects two points that should remain separate. This causes shorts and component failures. Too much solder on the iron tip or holding the iron too long causes bridges. Remove the excess solder using a desoldering wick or pump. Apply the tool to the unwanted connection while heating it simultaneously until the solder transfers to the wick.
With a humble soldering iron in hand, the world of invention opens, much like the cherished creations we tinkered with as children, now within our grasp to build anew. Every connection made is a whisper of the future, born from the simple joy of shaping wires and dreams.
Tips For Clean And Efficient Desoldering
Position your desoldering wick or pump directly on the joint before applying heat from your iron. Heat the joint for two to three seconds, then activate the wick or pump to remove molten solder. The iron must reach at least 350 degrees Celsius to melt solder quickly. Rushing the process leaves residual solder behind and damages pads on circuit boards.

Desoldering requires steady hands and patience. Work slowly and let heat do the job rather than forcing the tool. If solder remains after the first attempt, repeat the process. Never yank the desoldering tool away while the joint is still hot, as this can tear solder pads. Practice on scrap boards before working on valuable components.
Upgrading Your Soldering Setup And Exploring Advanced Soldering Techniques
When To Consider A More Advanced Soldering Station
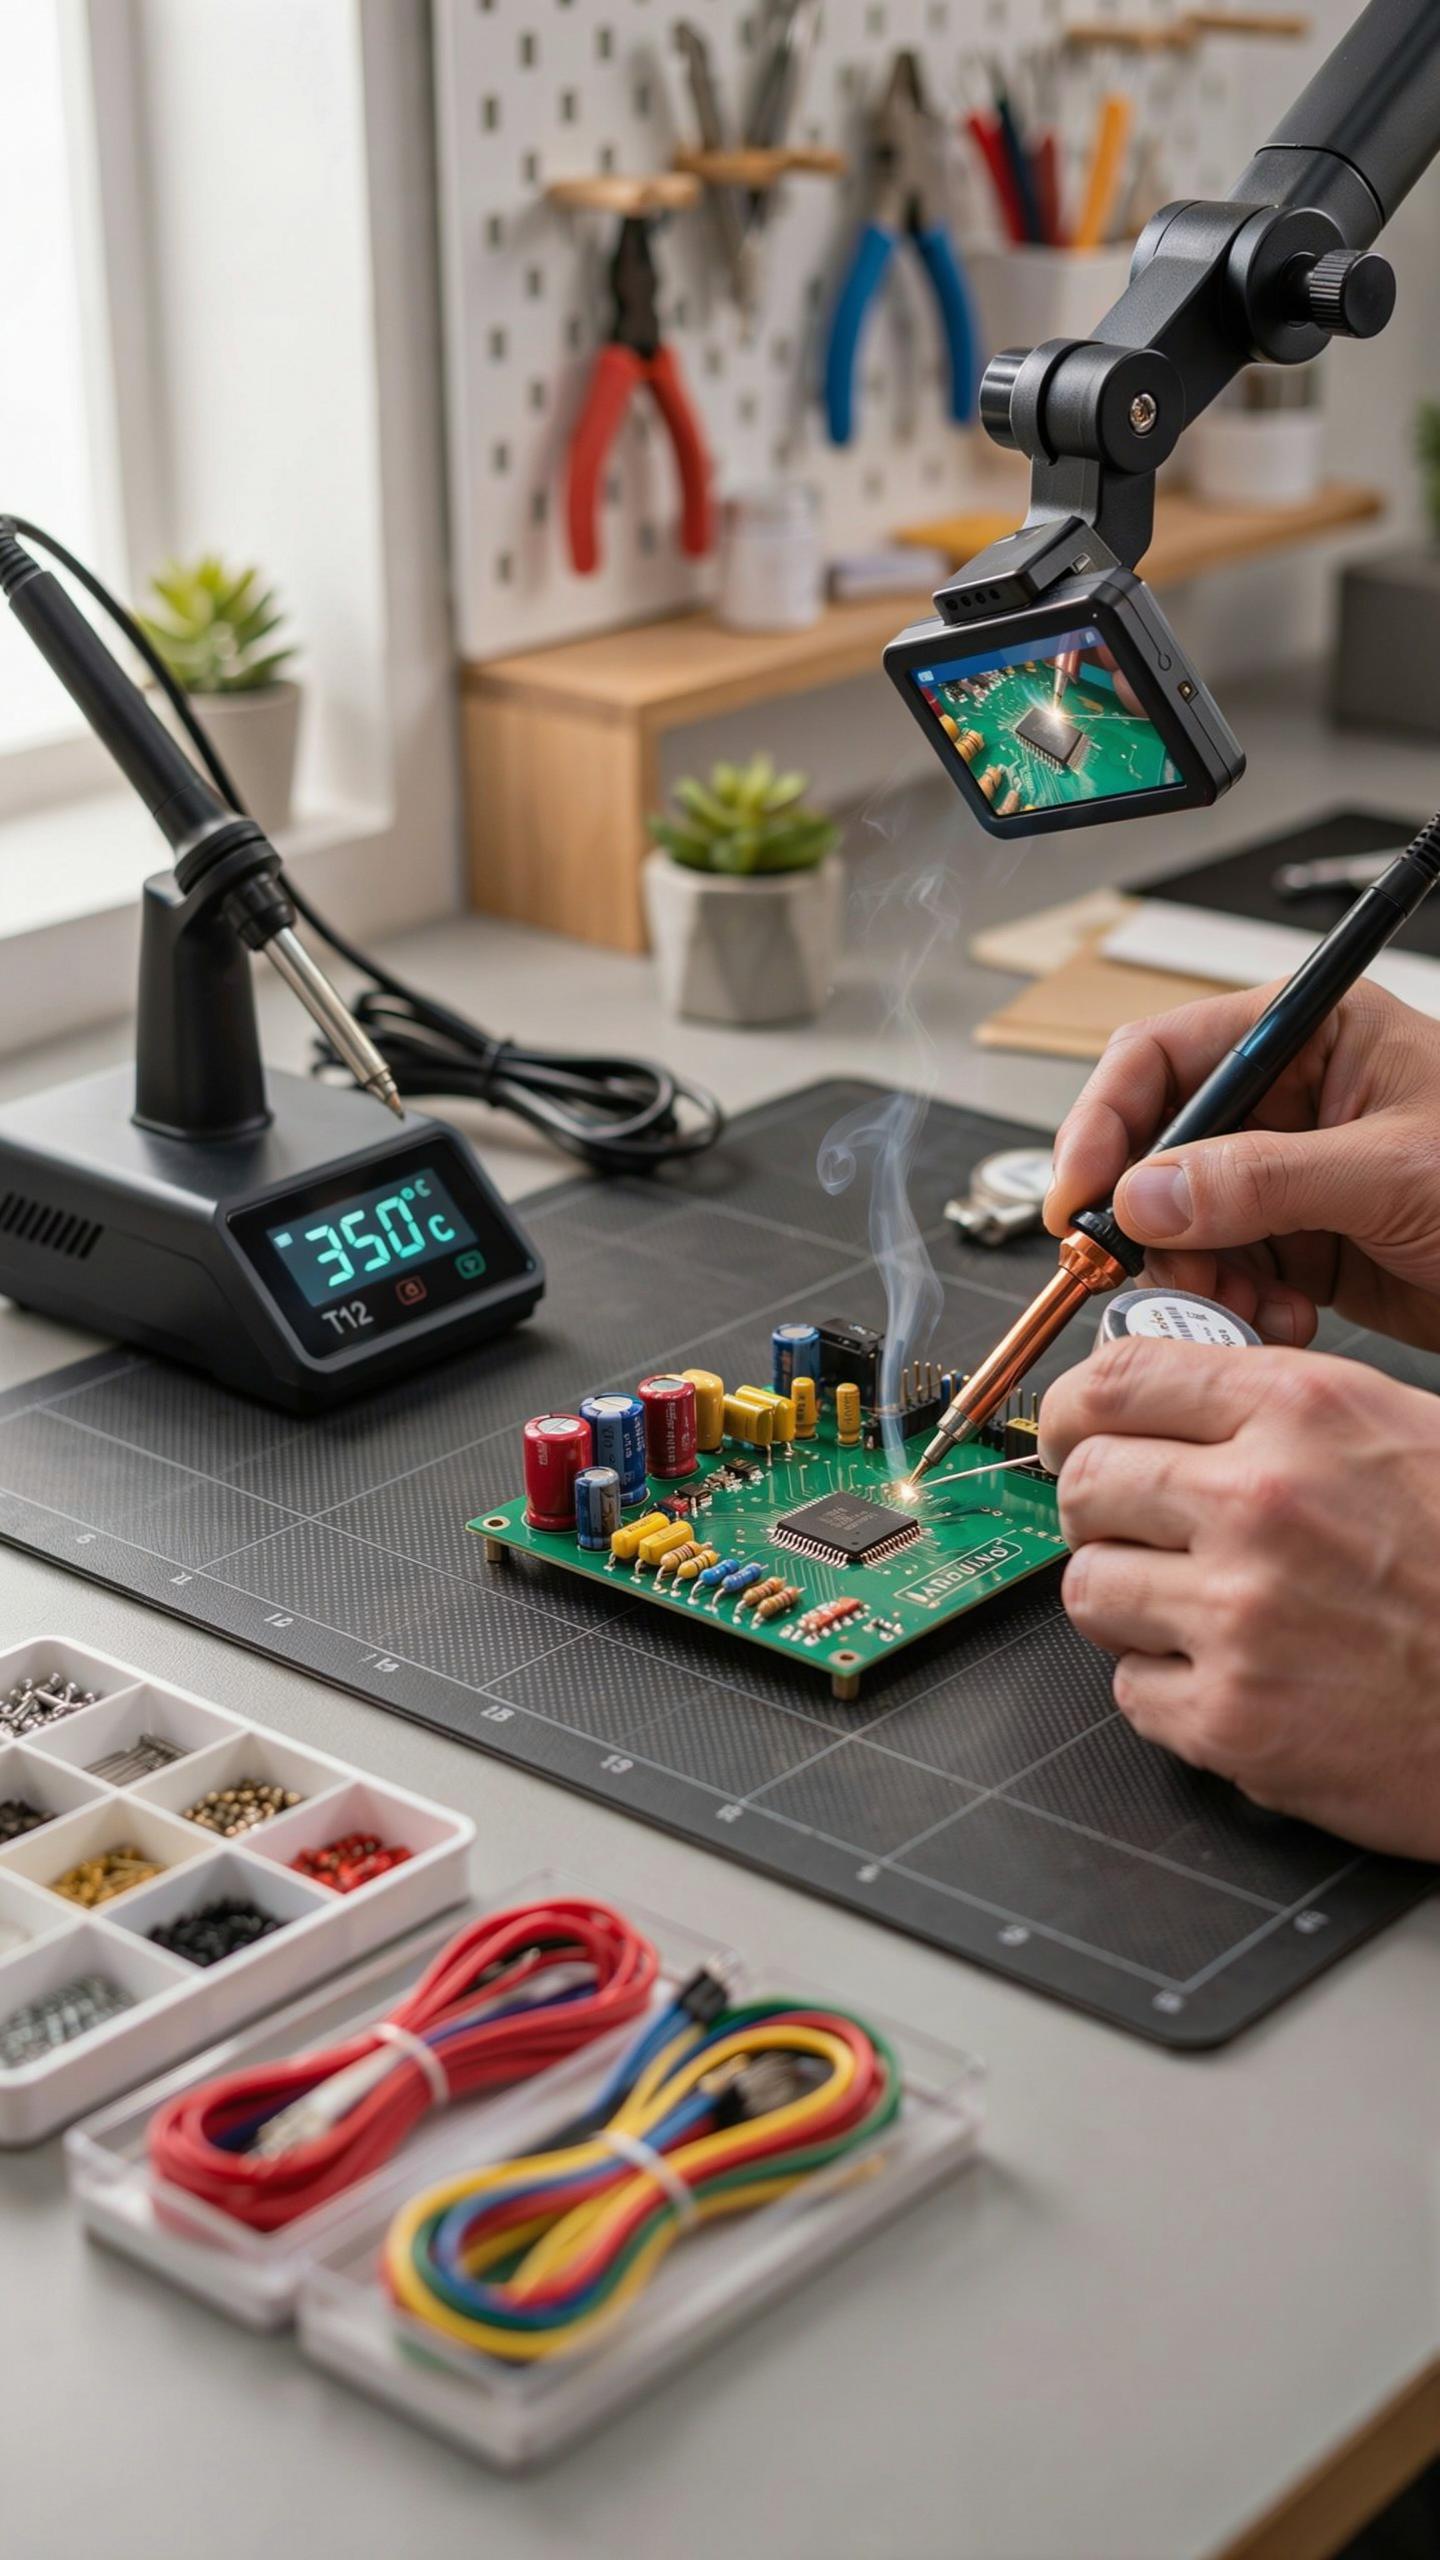
Your beginner kit serves a purpose, but it has limits. Once you consistently work on projects requiring tight tolerances, precise temperature control, or extended soldering sessions, upgrade. Advanced stations offer digital temperature displays, stable heat output, and faster tip response. These features reduce cold solder joints and component damage. You’ll work faster and produce cleaner results.
The jump from a basic iron to a quality station costs between 150 and 400 dollars. High wattage stations handle larger components and thick PCB traces without temperature drops. Quick-change tip systems save time switching between different work. Temperature stability prevents the guesswork that plagues budget irons. This investment pays dividends on complex projects.
Introduction To Surface Mount Device SMD Soldering
SMD components measure millimeters, not centimeters. Your standard 0.4-inch iron tip becomes too large. SMD soldering demands precision that beginner setups struggle to deliver. You need finer tips, steadier hands, and specialized equipment. The reward is access to modern electronics with smaller footprints and better performance. Start learning SMD techniques now while your fundamentals are solid.
- Manual Soldering With Fine Tip Irons: Use 0.015 to 0.025 inch tips designed for small pads. Requires steady hand control and magnification to see clearly. Best for prototyping and small production runs under 50 units.
- Hot Air Rework Stations: Direct heated air at components instead of a tip. Heats entire pads and components simultaneously. Essential for removing and replacing surface mount parts without damage.
- Solder Paste Application: Apply solder paste with a syringe or stencil before heating. Creates consistent solder volume across all pads. Pairs with reflow ovens or hot air stations for professional results.
- Reflow Oven Method: Heat entire boards in a controlled temperature profile. Requires solder paste and proper stenciling. Most cost-effective for production runs above 10 units.
- Microscope Magnification: Magnification from 10x to 40x reveals pad placement and solder quality. Reduces misalignment errors and cold joints. Transforms your workspace into a precision environment.

These techniques demand practice and equipment investment, but they unlock modern circuit design. Start with manual fine-tip soldering to build confidence, then explore hot air stations for component removal. SMD skills distinguish serious hobbyists from casual builders.
Maintaining Your Soldering Tools Cleaning And Care
Prolonging The Life Of Your Soldering Iron Tips And Other Tools
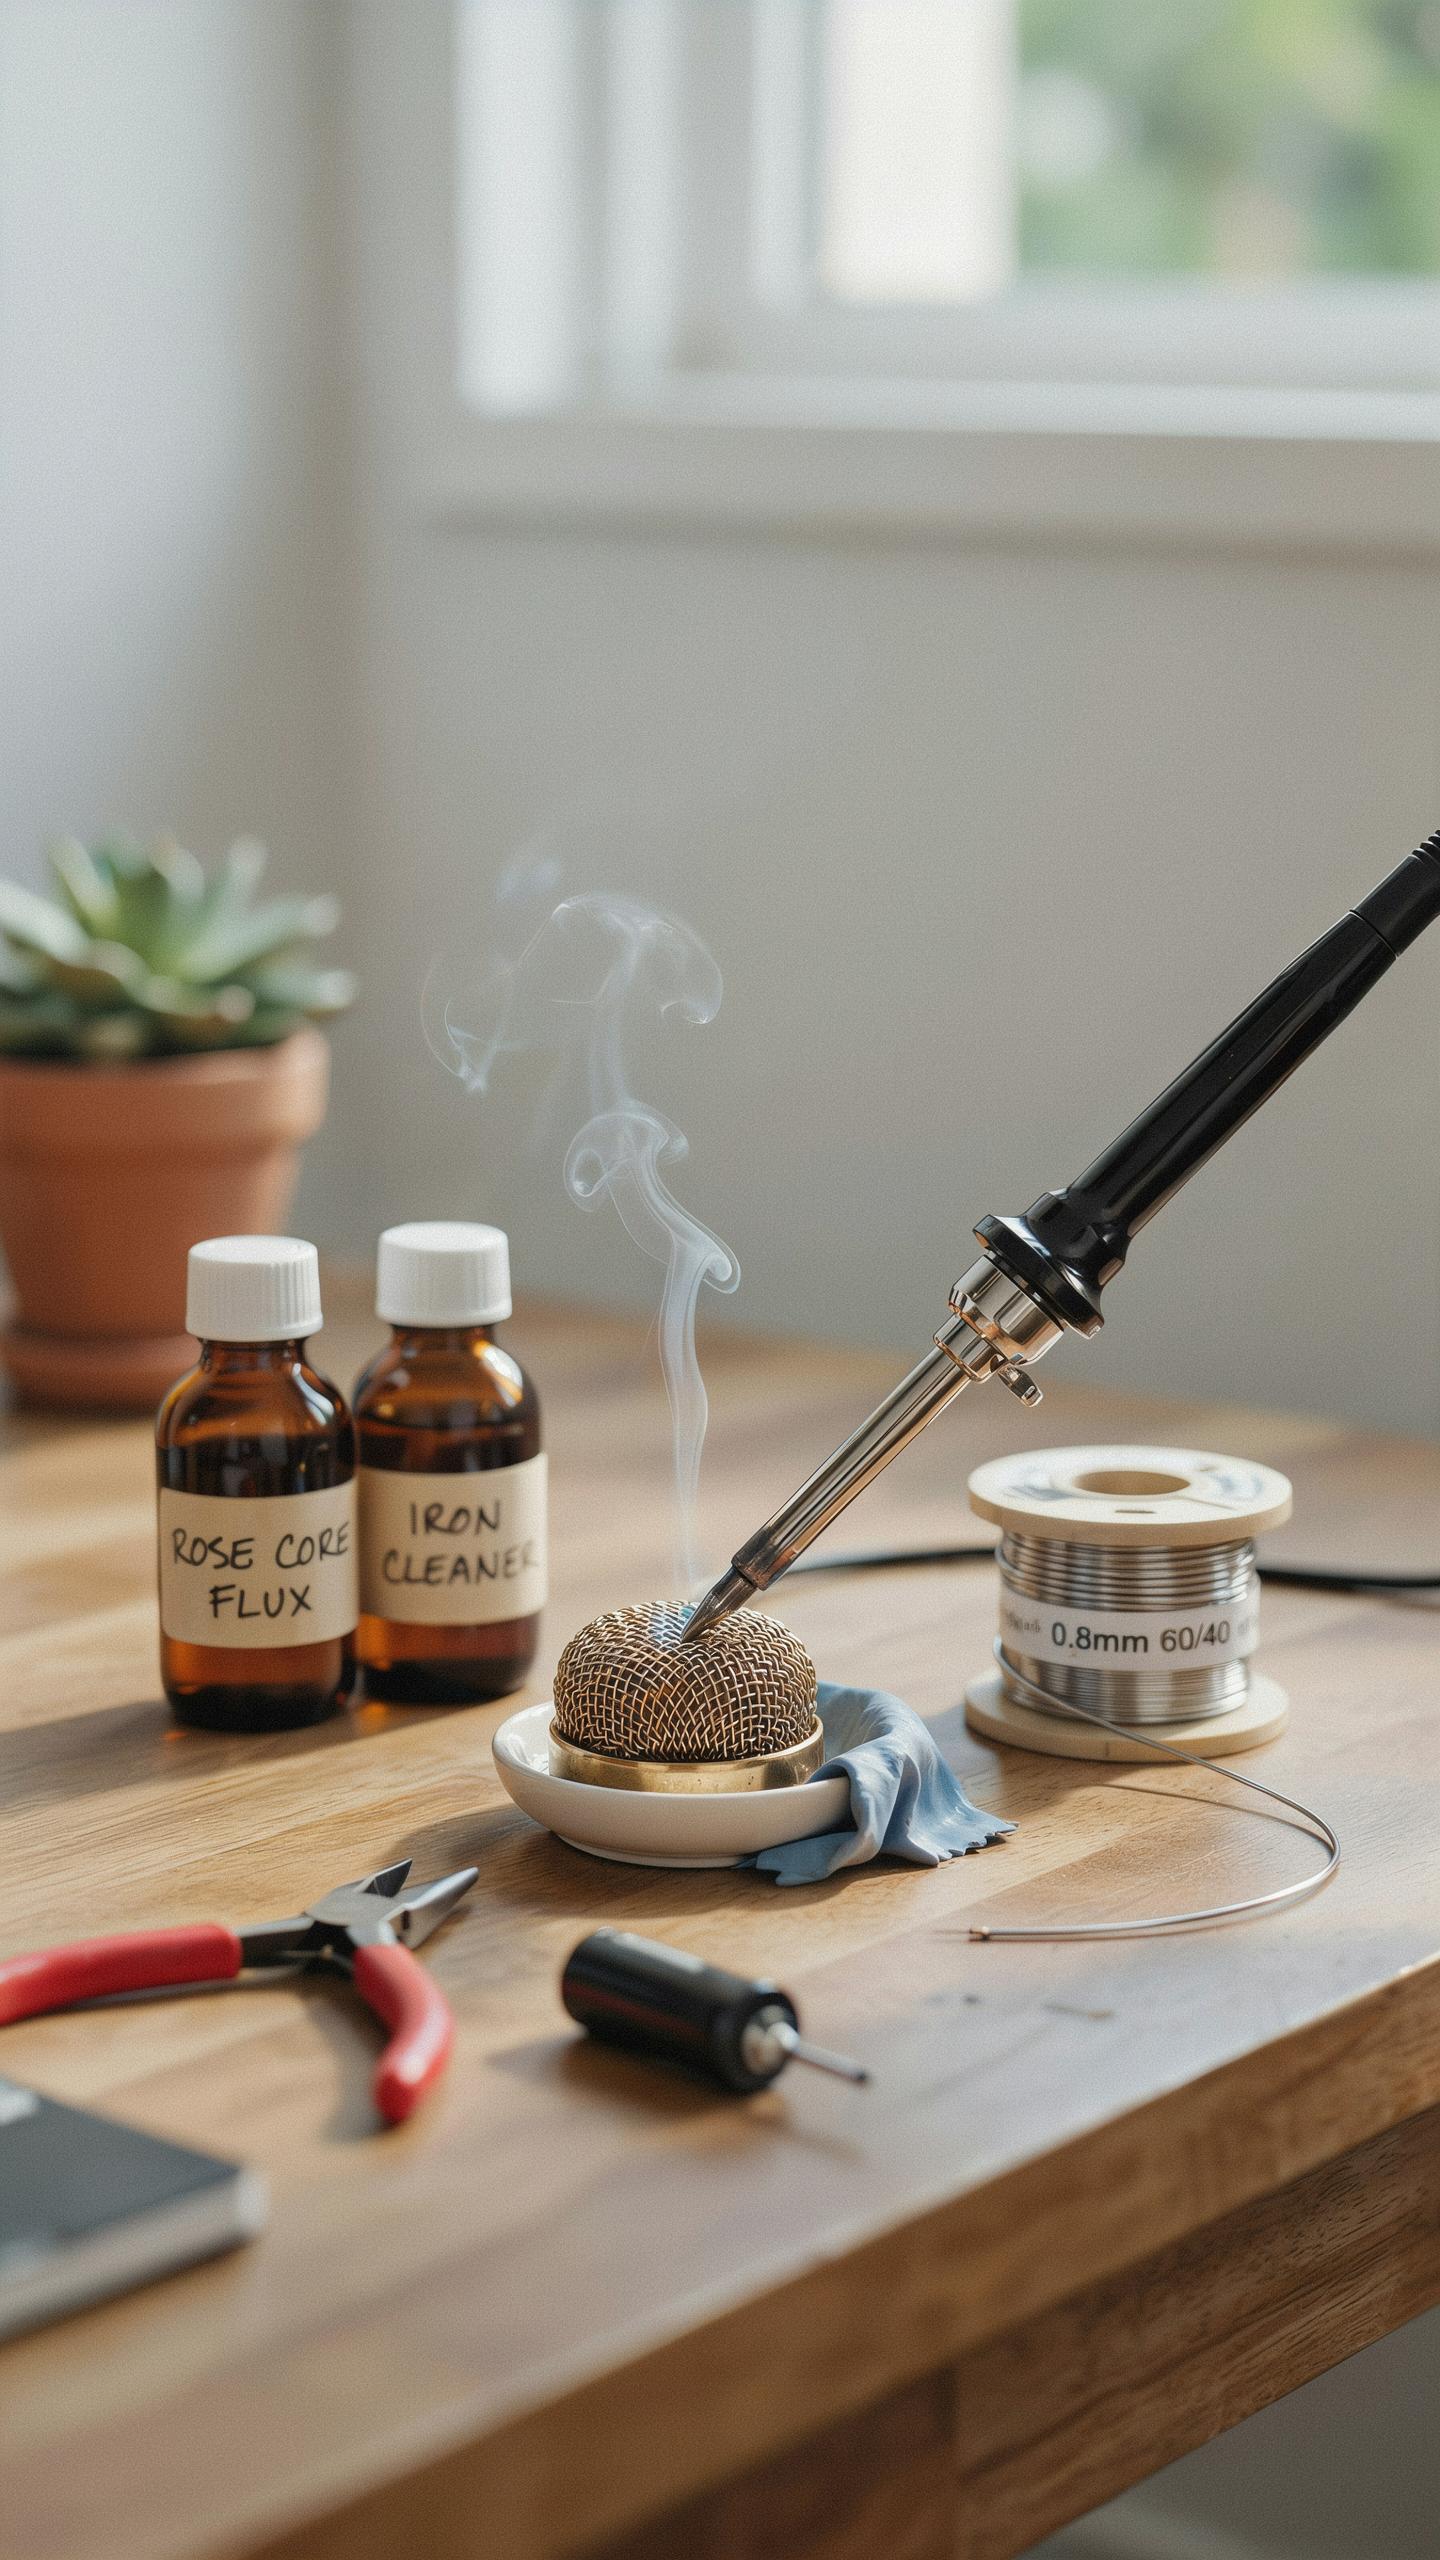
Clean your soldering iron tip immediately after each use. Wipe the heated tip on a damp sponge or brass wool to remove oxidation and old solder residue. This prevents tip degradation and maintains heat transfer efficiency. Brass wool outperforms sponges because it doesn’t cool the tip as rapidly.
Always tin your soldering iron tip before storage. Apply a fresh coat of solder to the tip’s surface to protect it from oxidation during downtime. This simple step prevents corrosion that damages the plating and reduces the tip’s functional lifespan. Keep helping hands, desoldering pumps, and other tools free of debris and dried solder buildup.
Proper Storage For Longevity And Performance
Store your soldering iron and complete tool kit in a dry environment away from moisture and temperature fluctuations. Humidity accelerates oxidation on metal components and corrodes electrical connections. Use a dedicated storage container or tool bag to organize everything in one location and protect tools from physical damage.
Organized storage directly improves your workflow efficiency for future electronics projects. You locate tools faster and prevent accidental damage during retrieval. Keeping your soldering station organized reduces project setup time and minimizes the risk of losing small components or damaging sensitive equipment during searches.
Frequently Asked Questions

What essential items should I look for in a beginner soldering kit for electronics?
A good beginner soldering kit for electronics typically includes a soldering iron with adjustable temperature, a stand, cleaning sponge/brass wool, lead-free solder, and safety glasses. Desoldering braid or a pump is also highly recommended to correct mistakes, making your initial projects much smoother and more enjoyable.
How do I safely and effectively use a soldering iron included in a beginner soldering kit?
Always wear safety glasses! To use it effectively, ensure your iron is heated to the correct temperature for your solder and briefly touch the tip to both the component and the pad. Feed the solder onto the joint, not directly onto the iron, allowing it to flow and form a shiny, cone-shaped connection. Practice on scrap pieces first.
Can I find an affordable yet reliable beginner soldering kit for electronics on a tight budget?
Absolutely! Many excellent beginner soldering kits are available for under $50. Focus on kits that offer a temperature-controlled iron from a reputable brand, even if it’s not the most powerful. Prioritize safety certifications and positive user reviews for a good balance of cost and quality that will last through your initial projects.



