
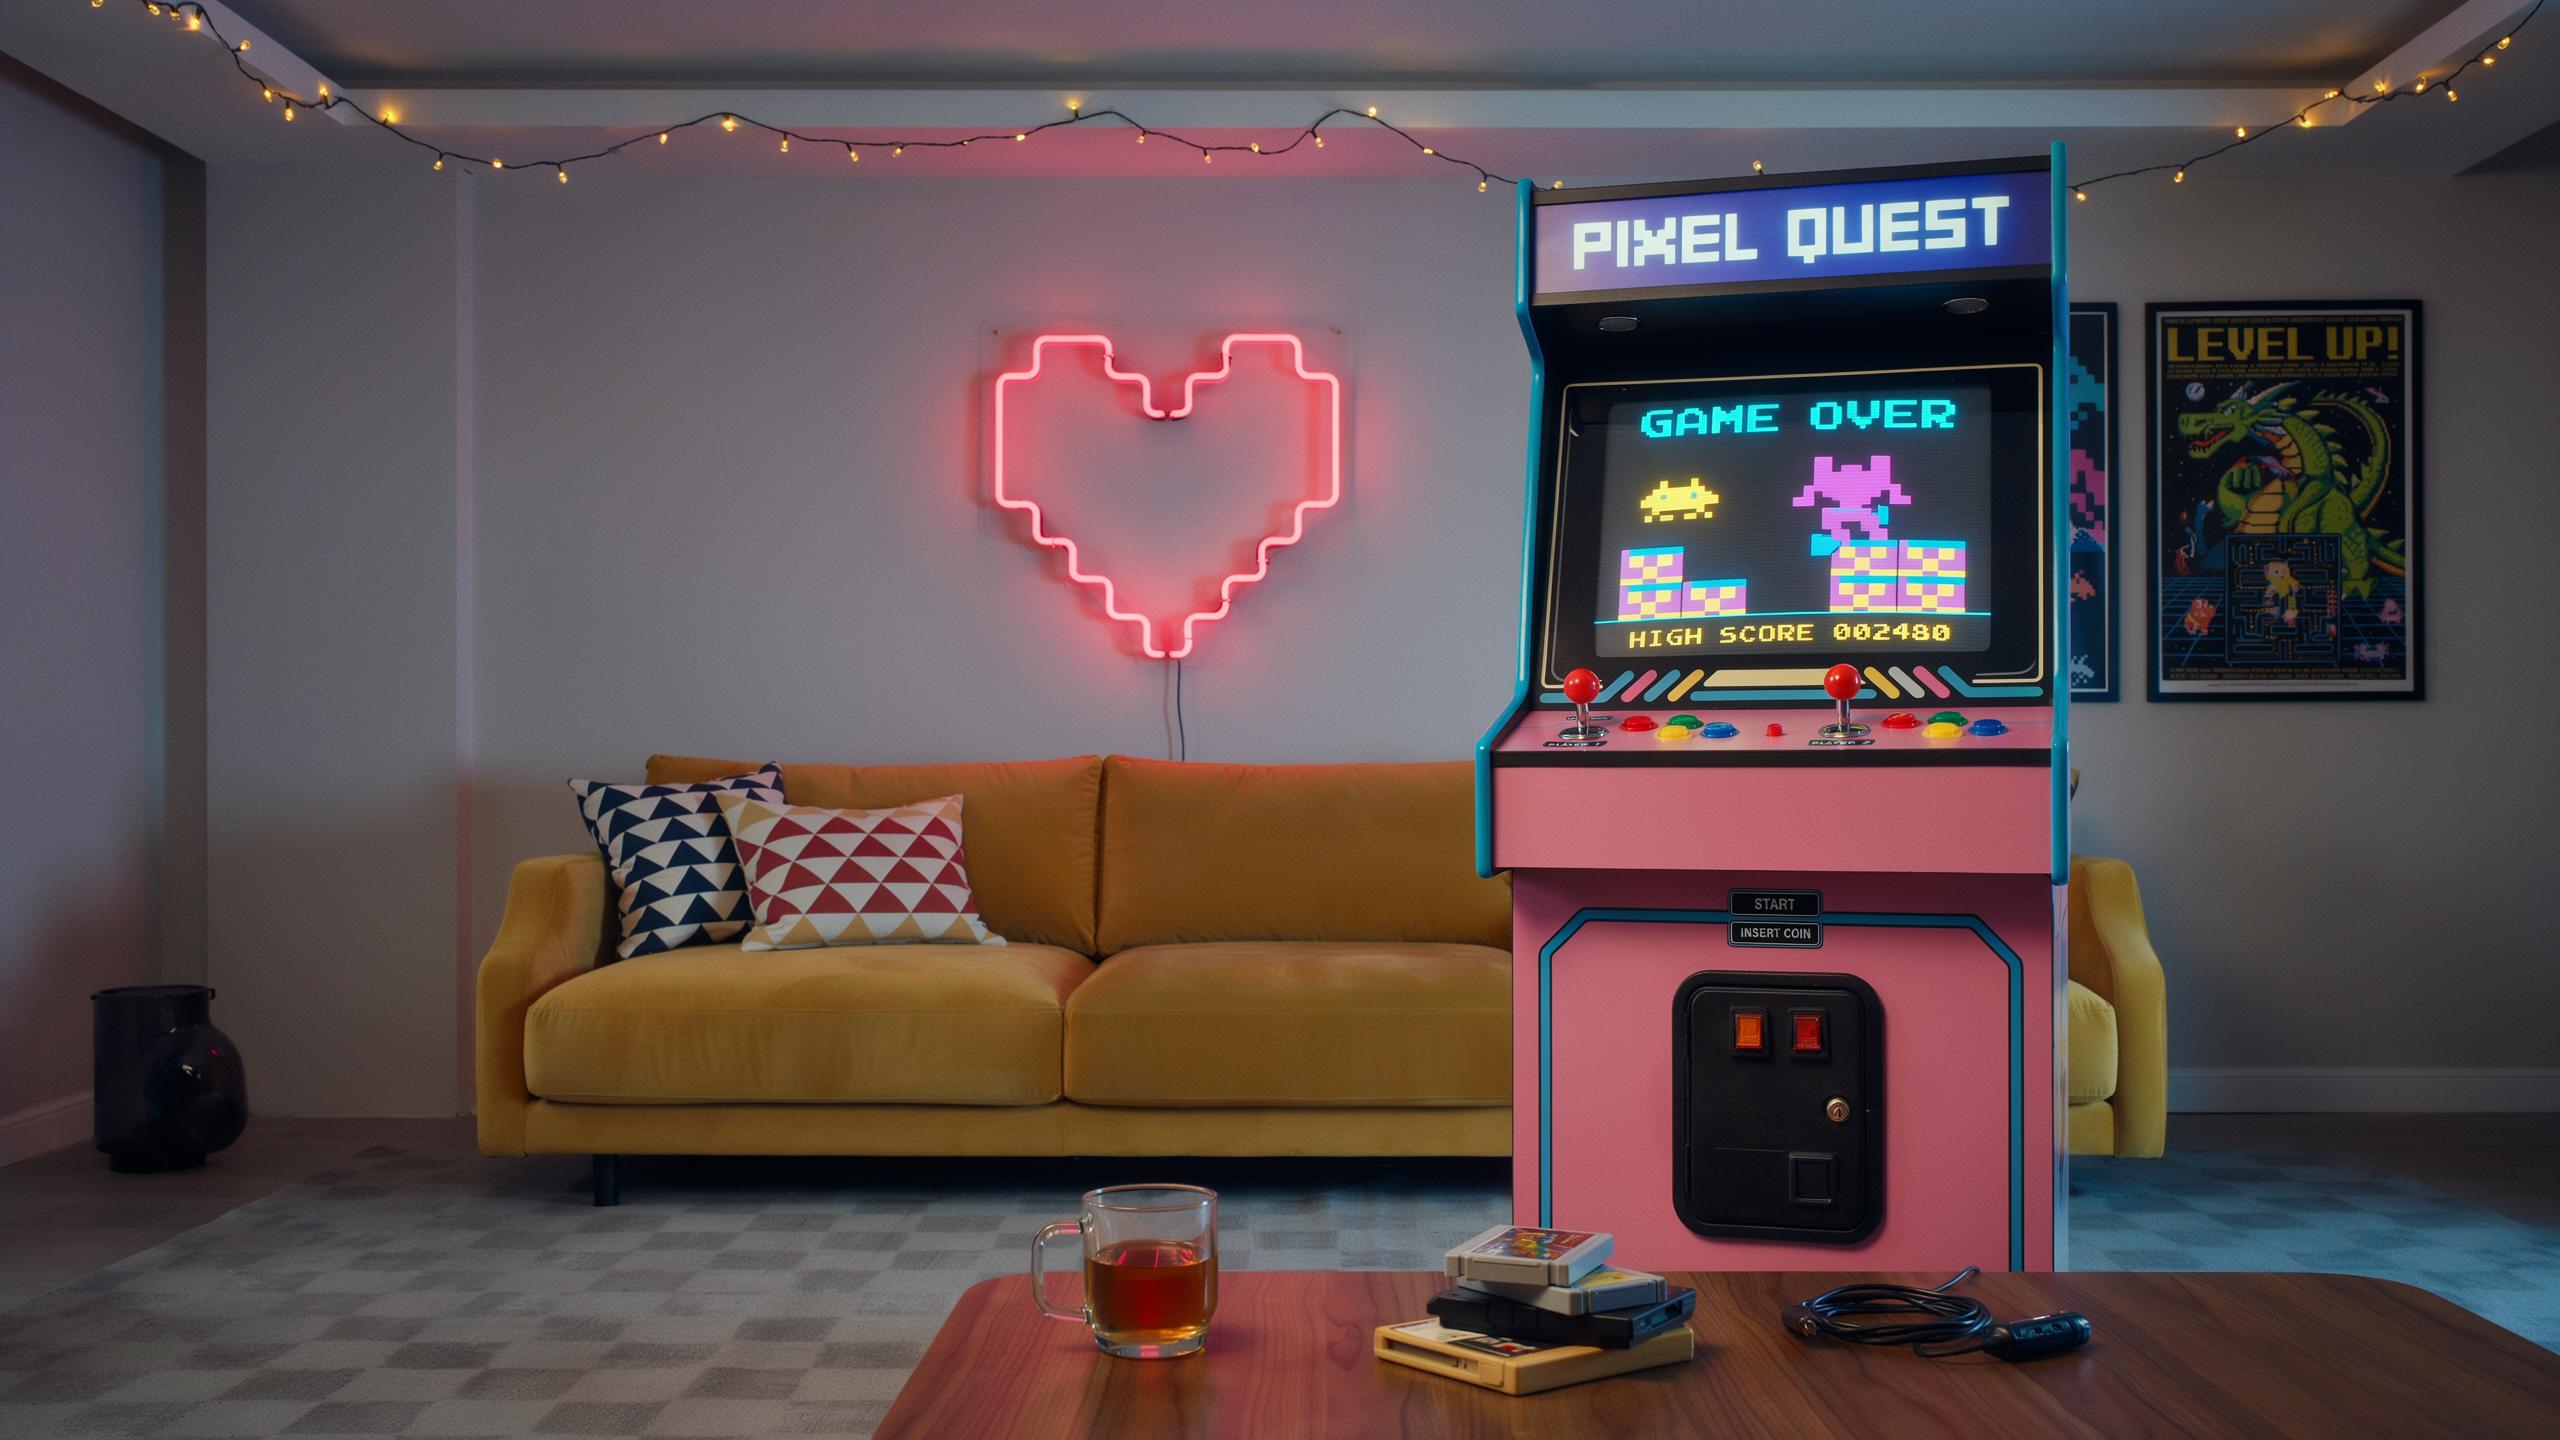
The Allure Of The Retro Mini Arcade
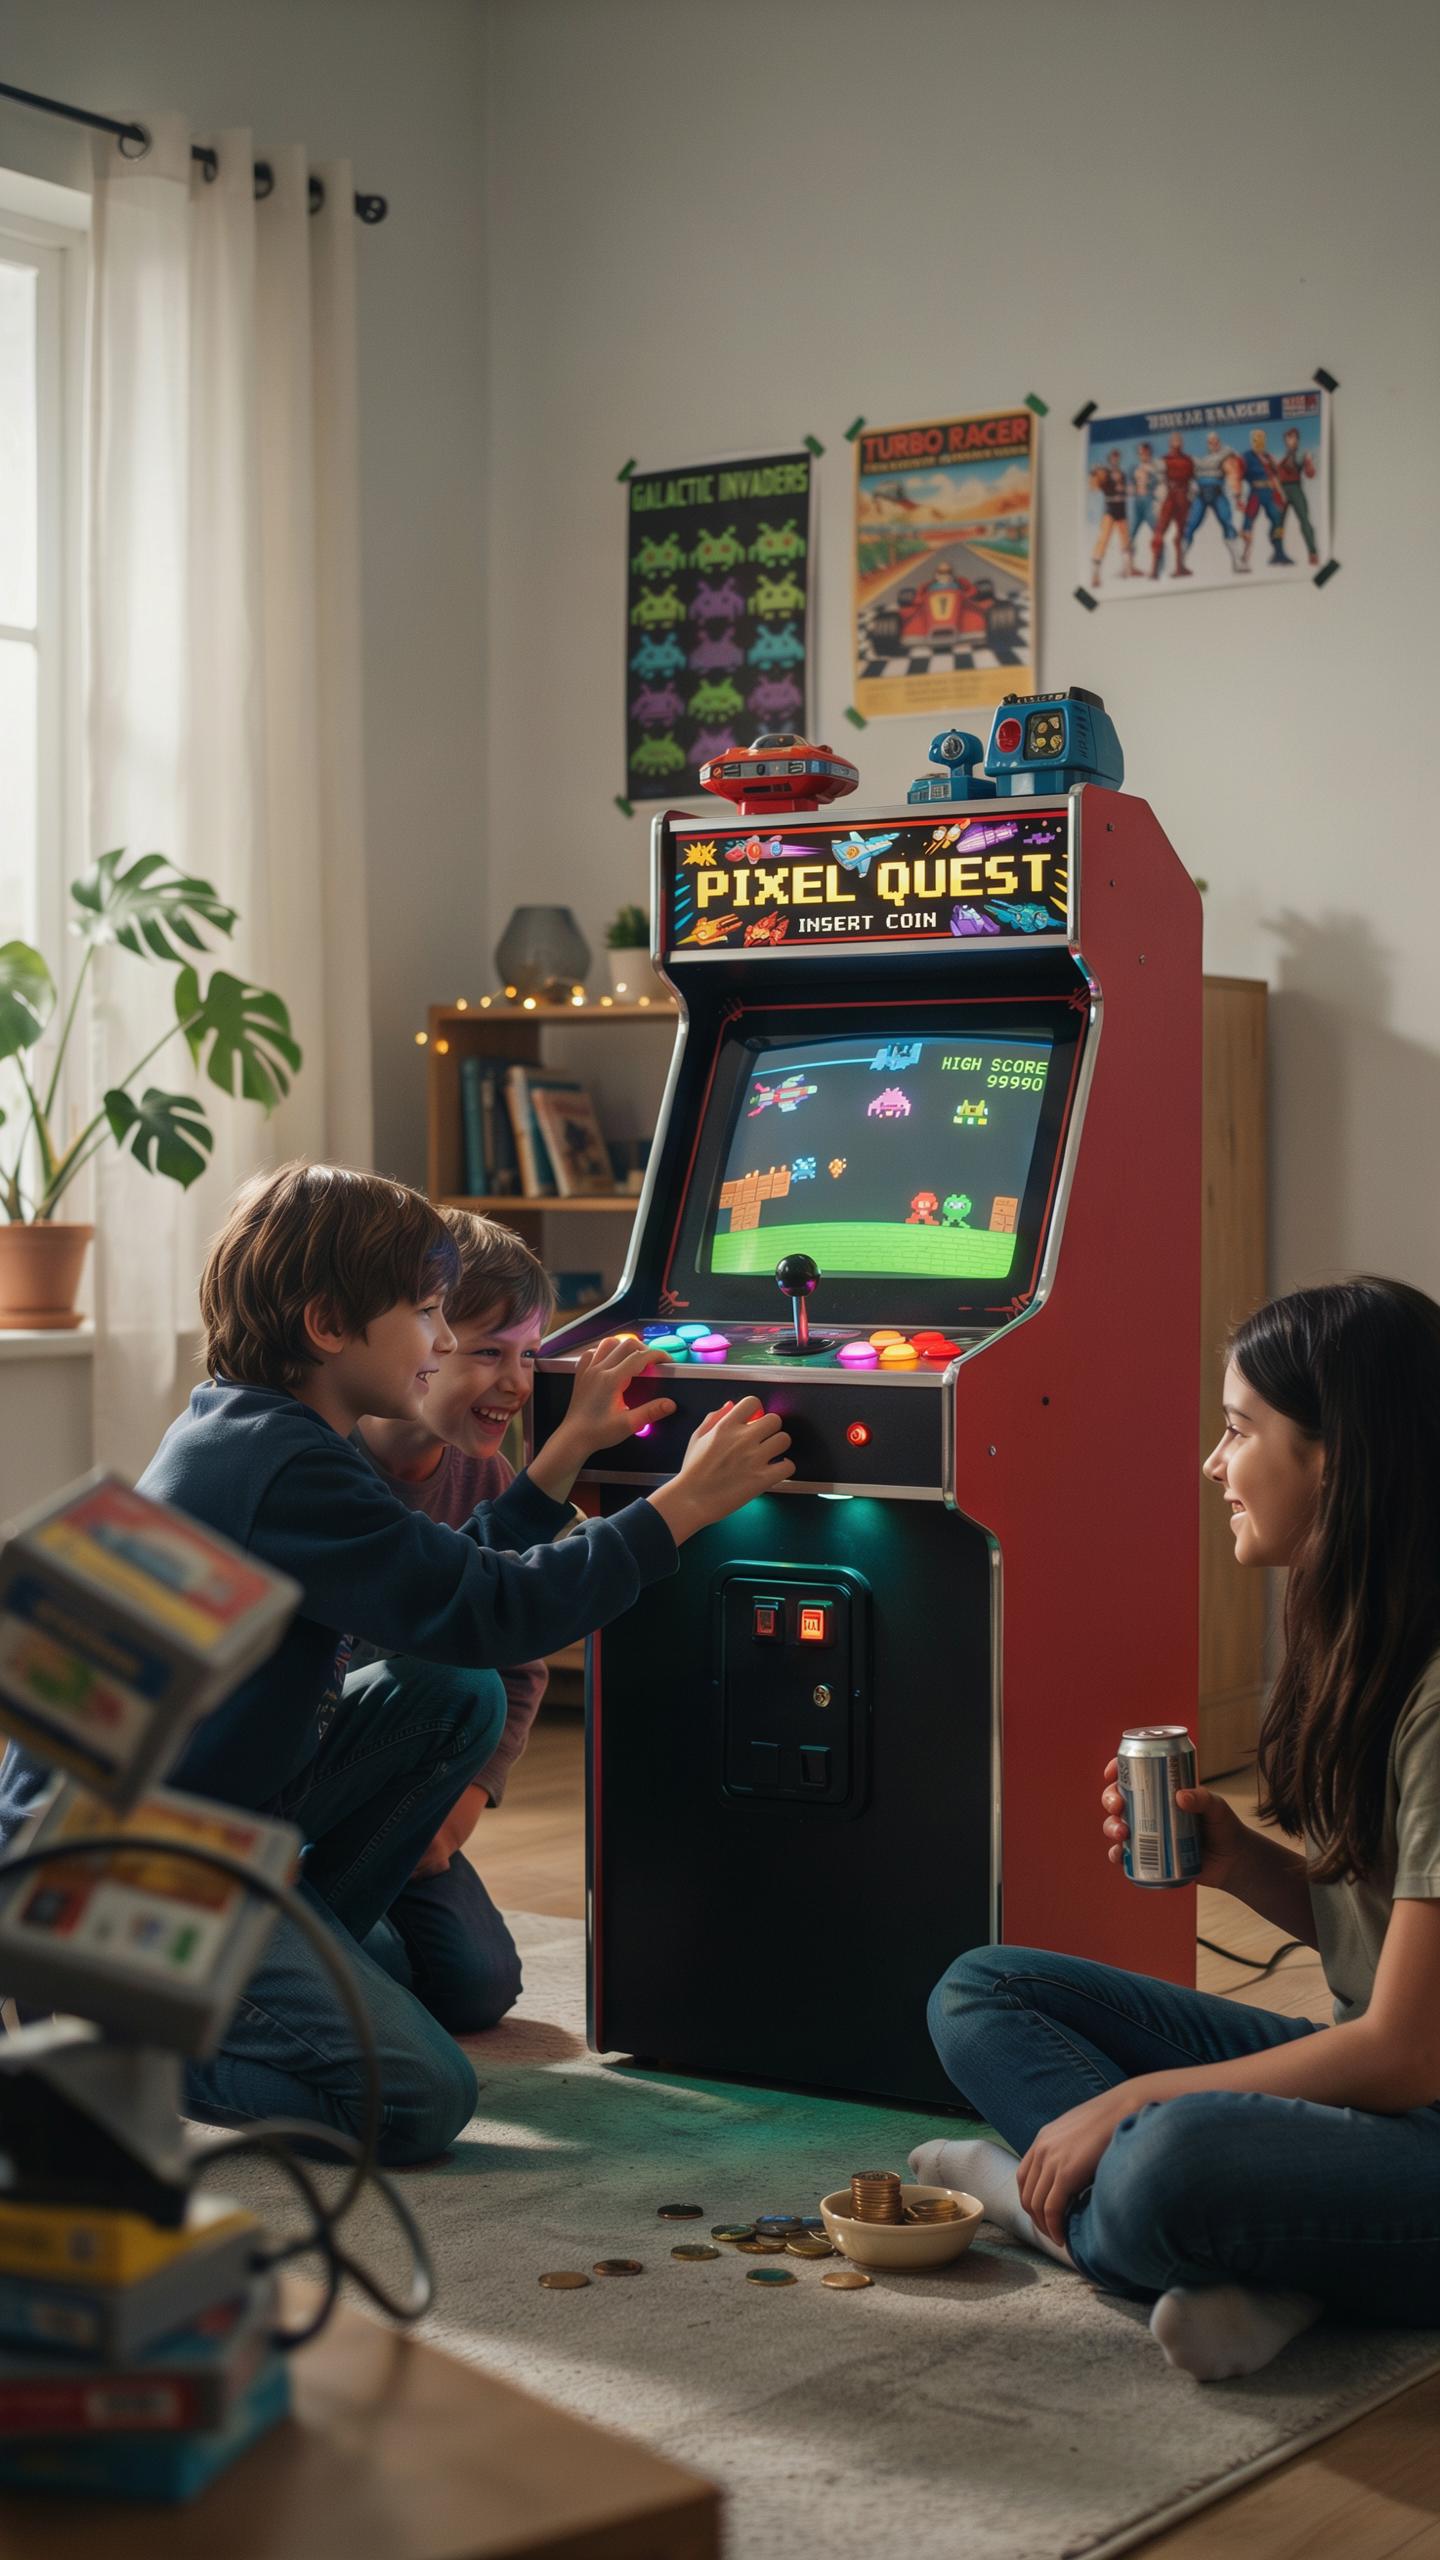
Nostalgia And Modern Gaming
Mini retro arcade machines tap into genuine demand from people who played original arcade cabinets in the 1980s and 1990s. These machines reproduce the exact games that defined those decades, delivering authentic gameplay rather than emulations or reimagined versions. Owners get the original mechanics, sprites, and sound design without modification. This satisfies a specific market segment willing to pay premium prices for factual recreations of classic titles.
Modern game rooms blend these compact units with contemporary design because retro arcade aesthetics complement minimalist and industrial décor trends. The machines occupy defined physical space without demanding visual integration or camouflage. They function as both functional gaming devices and design anchors. This dual purpose drives their popularity among homeowners who want entertainment equipment that works as intentional décor rather than taking up space apologetically.
Space Saving Entertainment
Compact arcade units range from 17 to 24 inches tall and 12 to 18 inches wide depending on the model. These dimensions fit corners, under desks, on shelves, or against walls in rooms as small as 100 square feet. A standard full-size arcade cabinet requires 27 to 32 inches of width and 48 to 60 inches of height, making it impractical for most residential spaces. Mini versions solve this constraint without sacrificing screen quality or control responsiveness.
Multiple mini units can stack vertically or arrange horizontally across limited wall space where a single full-size machine would dominate a room. They connect to existing furniture arrangements rather than forcing room reconfiguration. This flexibility matters for renters and homeowners with defined space budgets. The practical advantage translates directly to adoption rates in apartments, offices, and finished basements where floor space remains limited.

Choosing Your Retro Arcade Gaming Machine
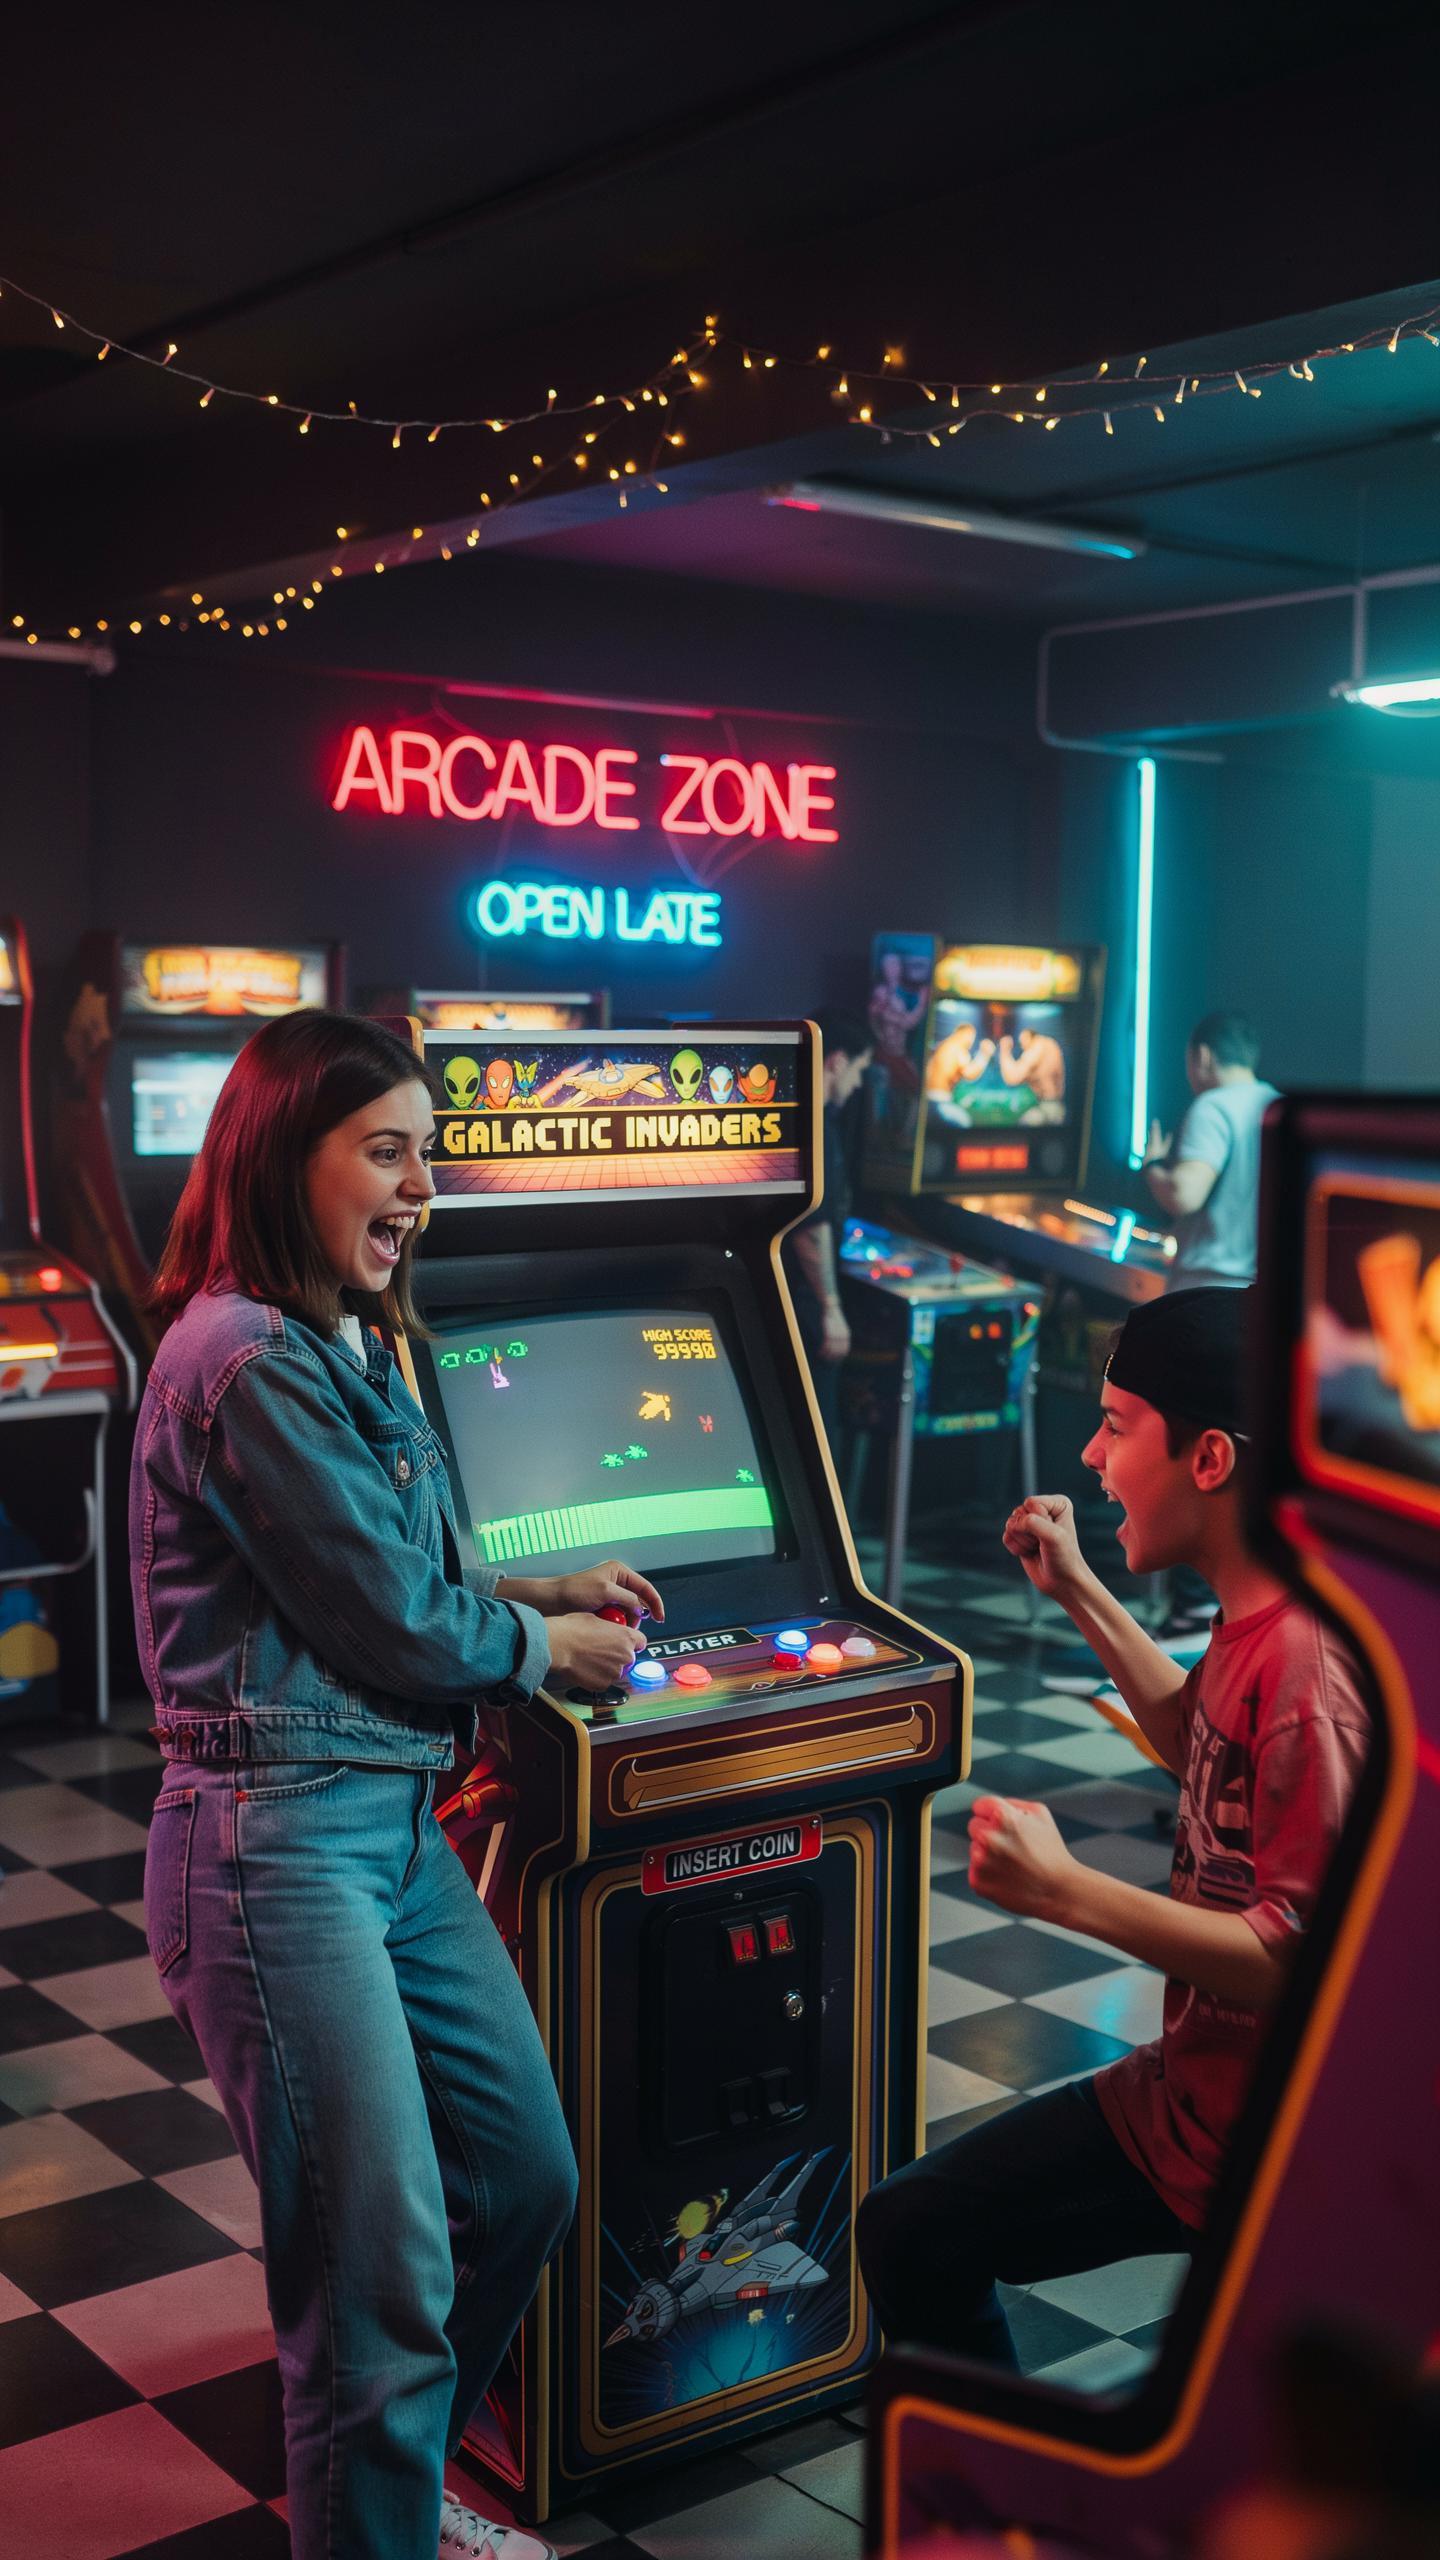
Pre Built Vs DIY Options
Pre-built machines arrive ready to play. You power them on and start gaming immediately. Manufacturers handle all technical setup, calibration, and quality control. You pay more upfront but gain convenience and warranty support. Most buyers choose pre-built machines because they eliminate troubleshooting and compatibility issues.
DIY arcade projects demand technical skill and time investment. You source components separately: cabinet, motherboard, controls, monitor, and emulation software. Building yourself costs less but requires electronics knowledge and problem-solving ability. The satisfaction of assembly appeals to enthusiasts who want customization control. DIY projects take weeks or months to complete.
Game Selection And Emulation
Mini arcade machines run emulation software that recreates classic games from the 1970s and 1980s. Popular titles include Pac-Man, Donkey Kong, Space Invaders, and Galaga. Most machines include 100 to 300 preloaded games. Emulators accurately reproduce the original hardware behavior, delivering authentic gameplay. Game libraries vary significantly between manufacturers and models.
Emulation technology uses software to replicate arcade hardware specifications. The emulator reads game ROM files and processes them through algorithms that mimic original processors and graphics chips. This approach preserves games that arcade cabinets no longer support. Quality varies based on emulator accuracy and your machine’s processing power. Better emulators reduce lag and visual glitches that compromise gameplay experience.

Curating A Unique Arcade Machine Collection
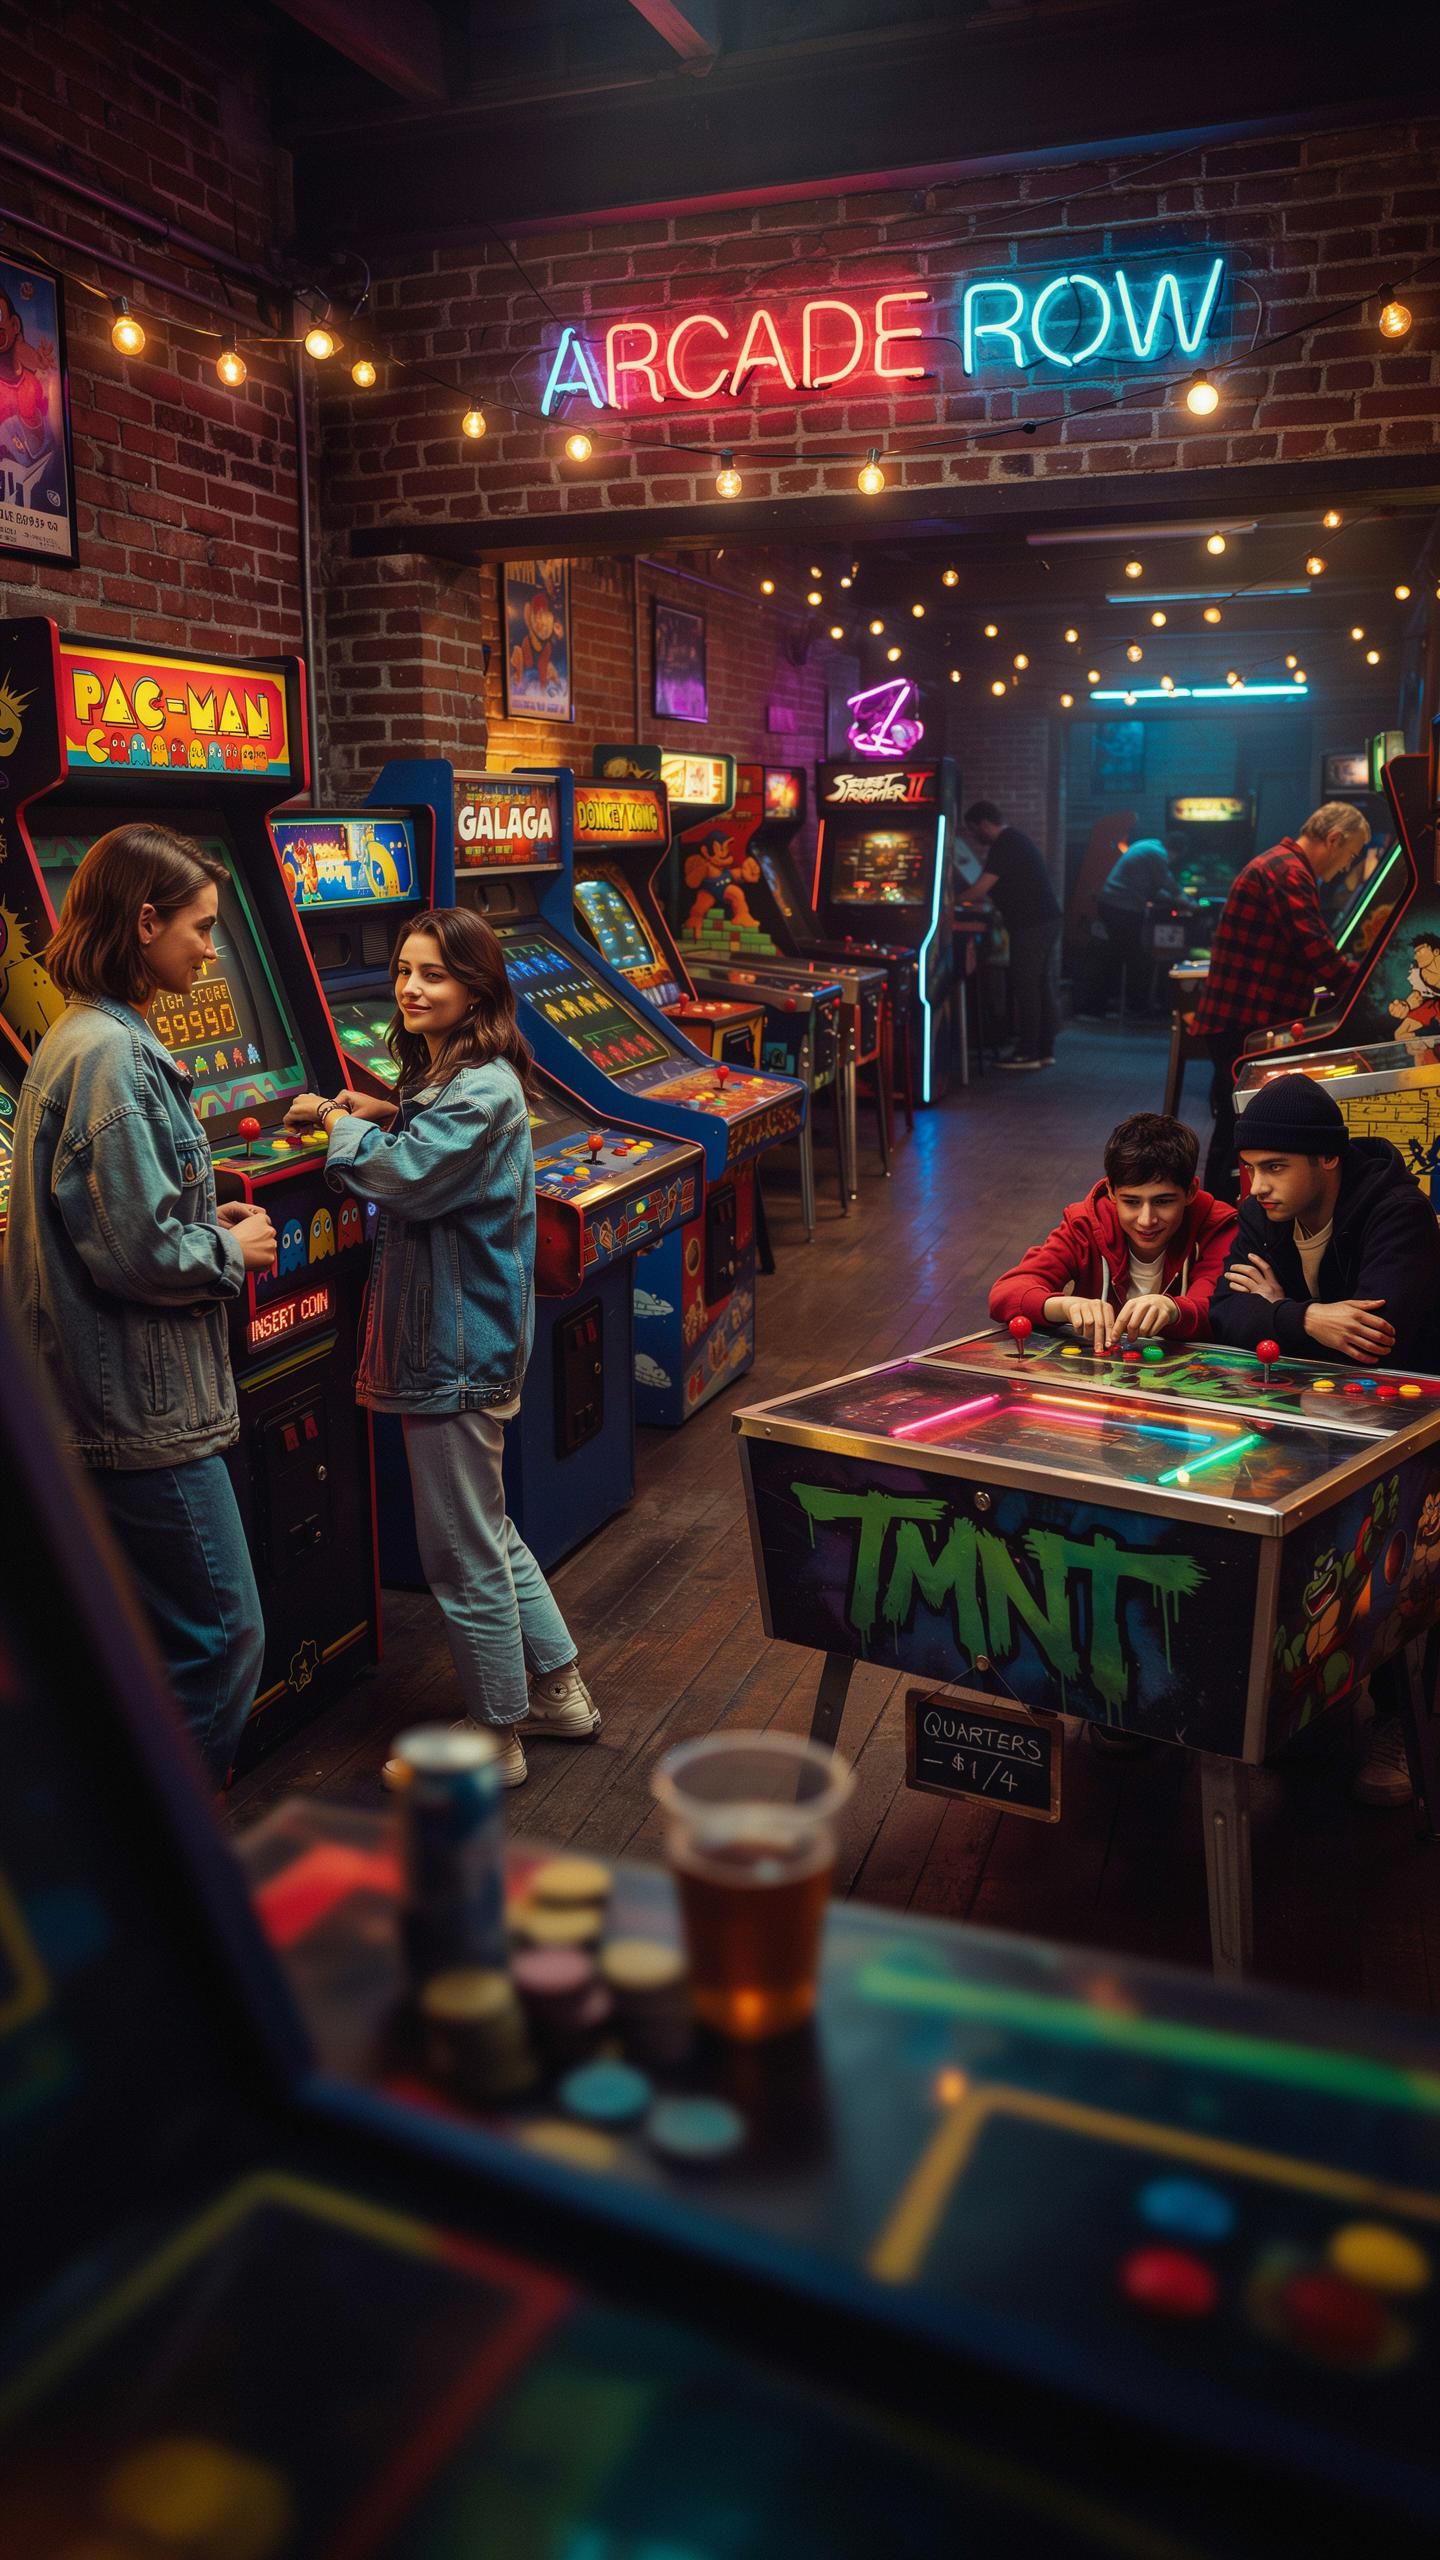
Beyond The Classics
Most collectors focus on the same ten games. That’s a mistake. You need variety across genres to maximize play time and appeal. Shooting games, maze games, beat-em-ups, and racing titles all serve different purposes. A solid collection includes at least one machine from each major arcade era: early 1980s, mid-1980s, and late 1980s releases. This ensures gameplay variety and prevents fatigue.
Genre diversity matters more than rarity. A room with five shooting games sits unused. A room with one shooter, one maze game, one racing title, and one beat-em-up gets daily rotation. Focus on games with different control schemes. Joystick-only games play differently than joystick-plus-button combinations. Steering wheel games add physical variety. Your collection should feel like different experiences, not repetition.
Step into your game room, where the glow of a mini retro arcade machine isn’t just light, it’s a doorway to cherished memories and countless new adventures waiting to be played.
Display And Aesthetics
Cabinet height and footprint determine your floor layout. Most mini arcade machines stand between 17 and 24 inches tall. Measure your space first. Arrange machines to create natural traffic flow. Place taller units toward room edges and shorter units toward the center. This prevents visual clutter and makes the space feel larger. Group related games together: racing games in one corner, shooting games in another.

Lighting transforms the visual impact. Position machines away from windows to reduce glare on screens. Use ambient lighting around the room, not directly on cabinets. Cabinet artwork fades under direct sunlight over time. Power cables and ventilation space matter. Leave at least three inches behind each machine for air circulation. Route cables along baseboards or use cable management sleeves. Clean screens weekly to maintain visibility and cabinet appearance.
Black Arcade Cabinet Design A Timeless Choice

The Versatility Of Black
Black cabinets work across game room styles because they don’t compete with decor. They pair with modern minimalist spaces, retro themed rooms, and traditional game rooms equally well. Black absorbs light rather than reflecting it, which reduces glare on screen displays. This practical benefit means better game visibility without adjusting brightness settings. The color also hides dust and fingerprints better than lighter finishes, lowering maintenance demands.
Black cabinetry became standard in arcade halls during the 1980s and 1990s because manufacturers standardized on this color for cost efficiency. Dark paint hides manufacturing imperfections and requires fewer coats than lighter colors. This manufacturing advantage persisted into the mini arcade market. Home buyers recognize black cabinets as authentic to classic arcade aesthetics, which drives consistent demand across consumer segments.
Customization And Personalization

Decals transform generic black cabinets into branded machines that reflect your game preferences. Quality vinyl decals adhere permanently to cabinet surfaces without damaging paint. Apply decals to side panels, marquee areas, and control panel surrounds. Professional-grade decals resist peeling and fading better than budget alternatives. You can source custom decals from specialty manufacturers or design original artwork through print services.
LED lighting strips change cabinet atmosphere and functionality simultaneously. Install lighting around the base, behind the control panel, or inside the cabinet interior if design permits. RGB lighting allows color adjustments that match your room’s mood or gaming session intensity. Standard LED installations draw minimal power and generate negligible heat. Proper installation requires basic electrical knowledge or professional assistance to avoid damaging internal components.
The Retro Nintendo Arcade Machine Phenomenon

Iconic Nintendo Titles
Nintendo games drive demand for mini arcade machines because they defined arcade culture in the 1980s. Donkey Kong launched in 1981 and became a commercial breakthrough for Nintendo. Pac-Man, though created by Namco, became synonymous with arcade gaming and appears in many Nintendo-focused mini machines. These titles carry recognition across generations. Players seek them out specifically by name when shopping for mini arcade cabinets.

The gameplay mechanics in these titles remain functional and engaging without requiring modern graphics or complexity. A mini arcade machine featuring Donkey Kong or Pac-Man sells based on nostalgia and proven entertainment value. Consumers understand what they get with these games. No learning curve exists for players who grew up with them. This predictability makes official Nintendo mini arcades with these titles reliable purchases for game rooms.
Official Vs Unofficial Releases
Nintendo released the official NES Classic Edition in 2016, featuring 30 games in a compact form factor. This sparked a market flood of unofficial mini arcade machines that copied the form but varied wildly in quality and legality. Official Nintendo products carry licensing agreements, warranty support, and guaranteed game authenticity. Unofficial builders operate in gray legal areas and often use ROM files without permission.
Consumers face real trade-offs when choosing between official and unofficial options. Official Nintendo mini arcades cost more but deliver legal certainty and manufacturer support. Unofficial machines sometimes offer more game titles or customization options at lower prices. However, purchasing unofficial products provides no consumer protection if the device fails. Game rooms built around official releases maintain long-term viability and value.
Embarking On A Retro Arcade Machine Build
Essential Components For Building

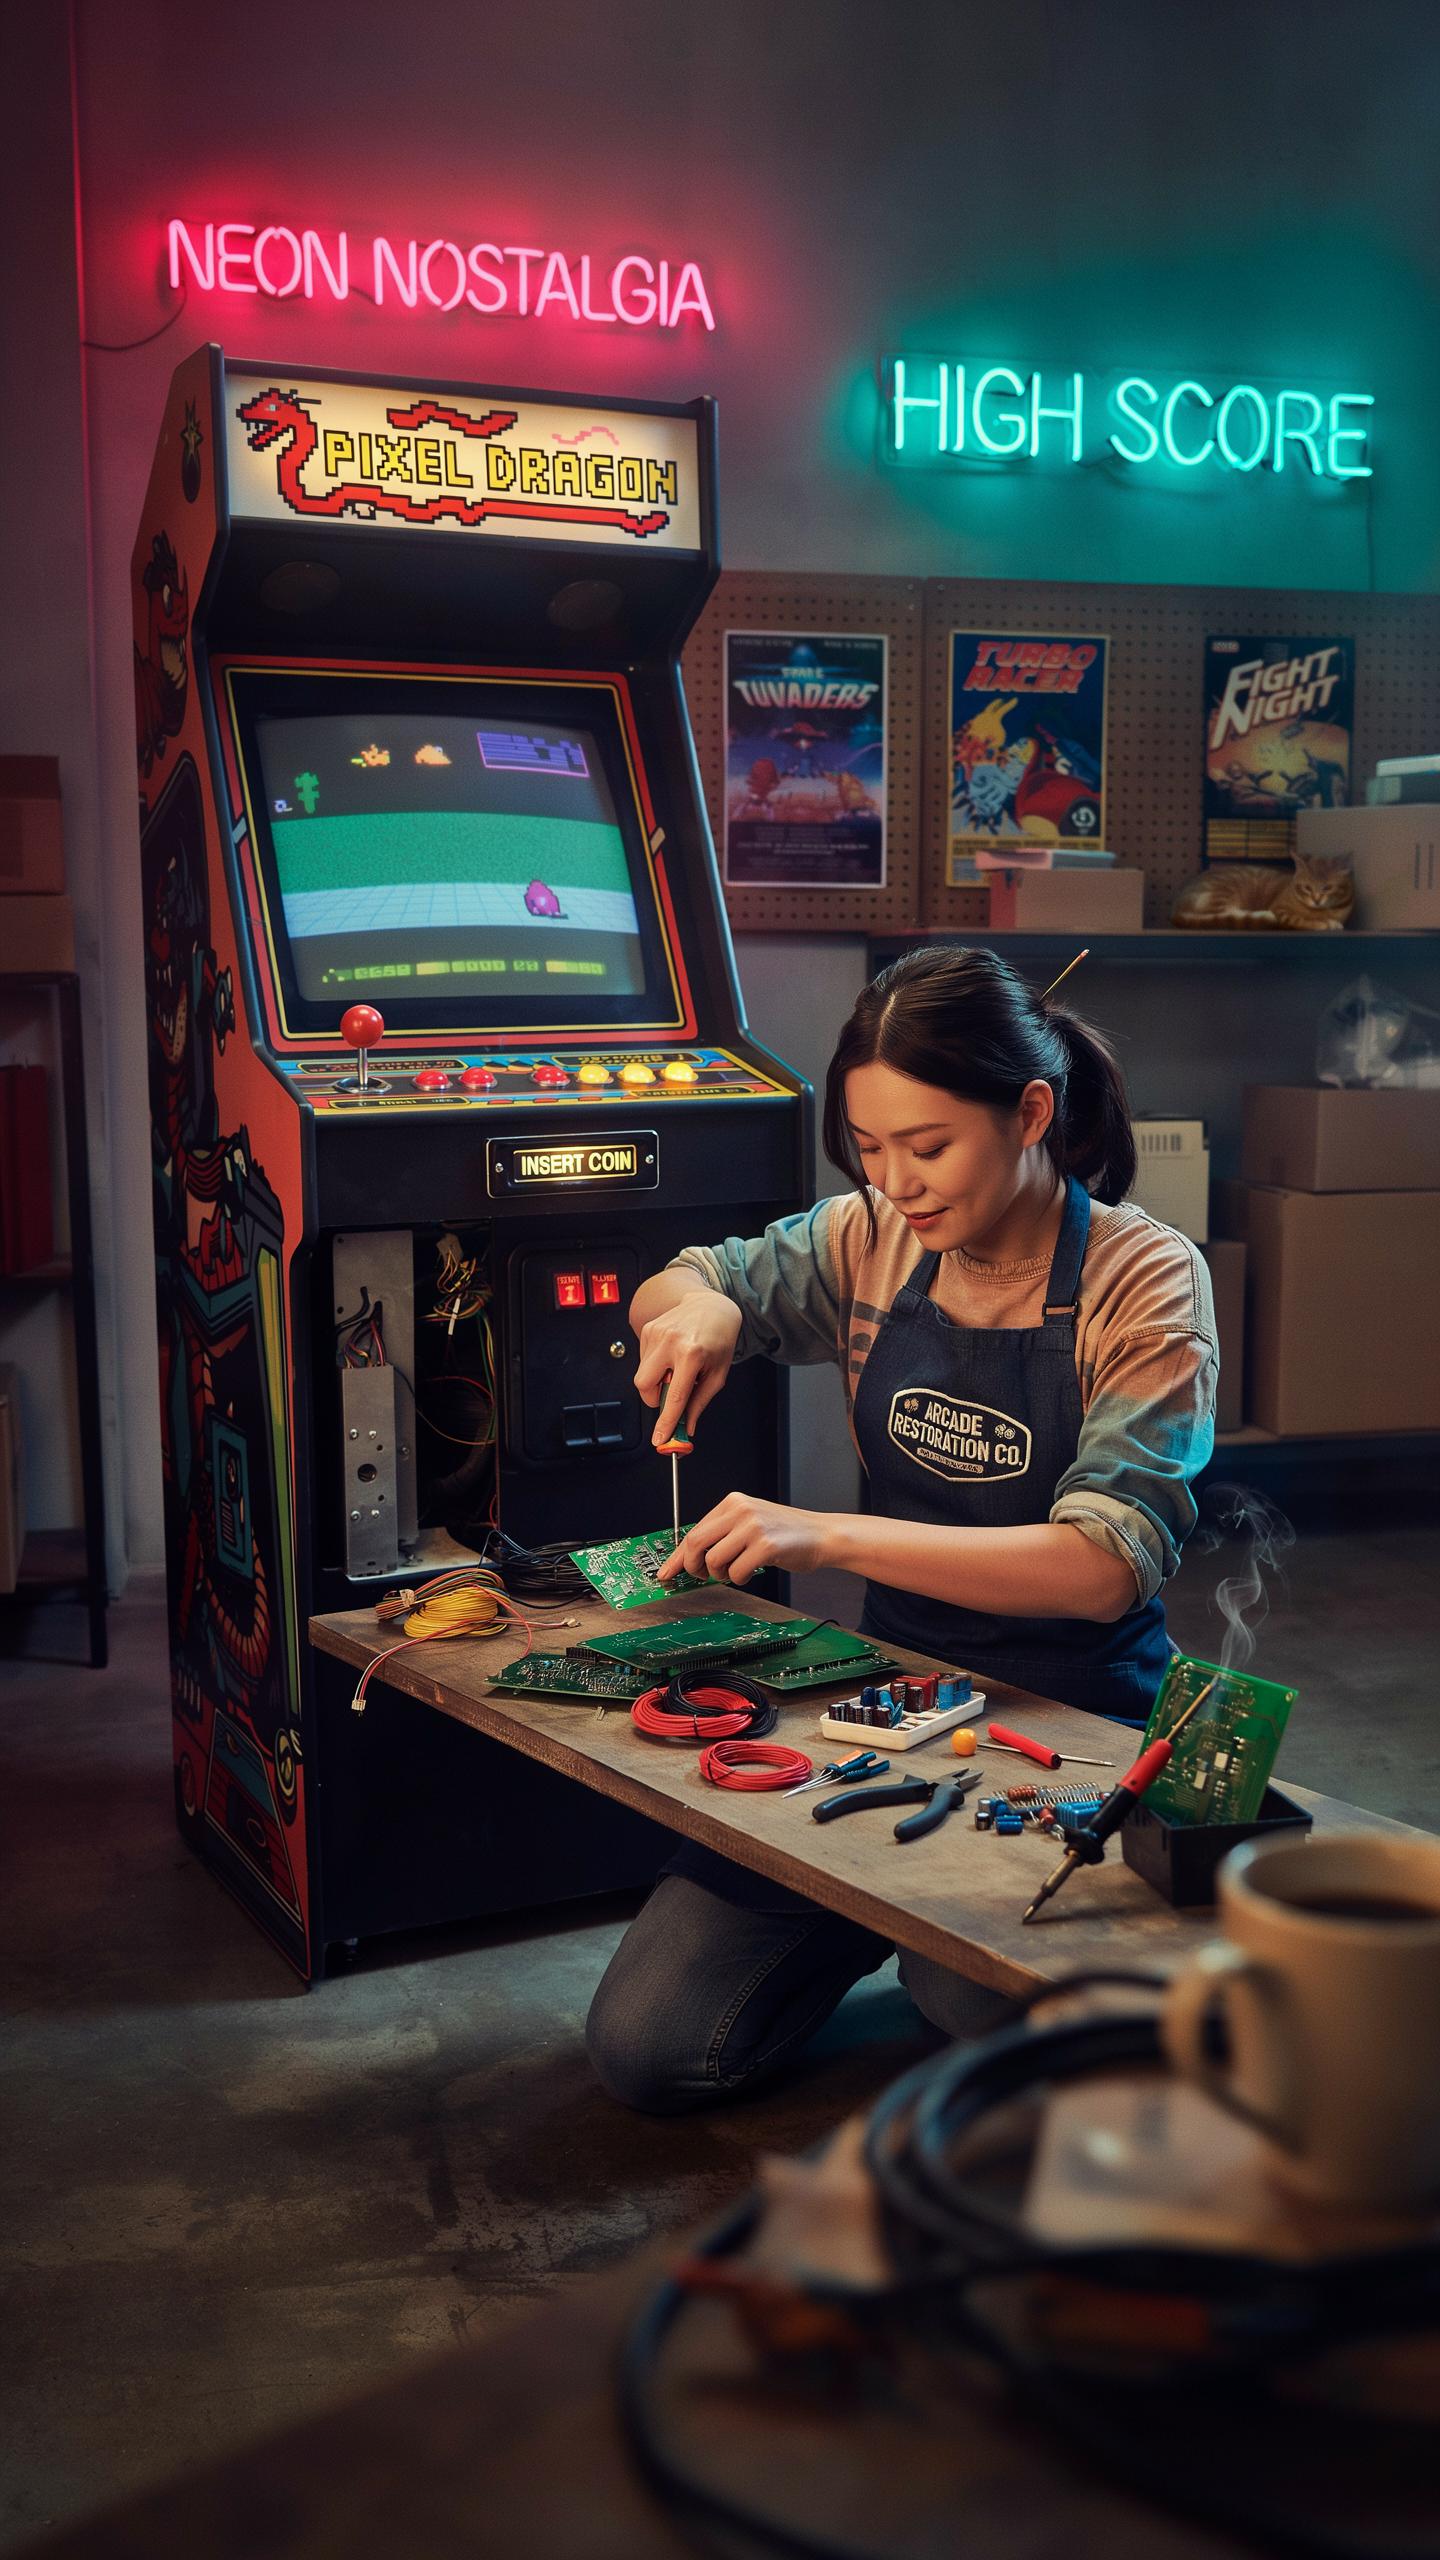
Building a DIY retro arcade machine requires specific hardware that works together. The Raspberry Pi serves as the brain of the operation, handling emulation and game execution. You need a display, control inputs, a power supply, and a cabinet or enclosure. These components work as a system, not independently. Skip this foundation and your machine won’t function.
- Raspberry Pi 4 or 5: The processor that runs emulators. Handles multiple arcade systems simultaneously without lag issues.
- Display Panel: 24 to 32 inch monitor or LCD screen. Determines image quality and authenticity of the arcade experience you create.
- Joystick and Buttons: Arcade-grade controls from manufacturers like Sanwa or IL. Direct replacement parts from original arcade cabinets ensure authentic gameplay feel.
- Power Supply: 500 to 750 watt unit rated for continuous load. Stabilizes power delivery to prevent crashes during extended gaming sessions.
- Cabinet or Enclosure: MDF or plywood construction houses all components. Protects hardware and provides mounting points for display and controls.
Your component choices directly impact performance and durability. Quality joysticks and buttons reduce maintenance. A reliable power supply prevents data corruption and hardware damage. The Raspberry Pi 4 handles NES, SNES, Genesis, and early arcade systems without problems. The Pi 5 adds capability for more demanding systems like Dreamcast and PlayStation One emulation.
Software And Emulation Setup
Install RetroPie or similar Linux based distributions on your Raspberry Pi. These operating systems come preloaded with emulators for dozens of arcade and console systems. Download the image file, write it to a microSD card using Balena Etcher, and boot your Pi. The setup process takes thirty minutes for users with technical experience. Configuration requires adjusting controller mappings and game directories.
Populating your machine with games means sourcing ROM files legally. You own the copyright to games you wrote or purchased directly from publishers. Many abandonware collections exist, but copyright status remains unclear in most jurisdictions. Game directories organize by system type: arcade, NES, SNES, Genesis. Proper organization prevents confusion and speeds up game selection during gameplay.
The Compact Appeal Of A Mini Arcade Cabinet
Optimizing For Small Spaces
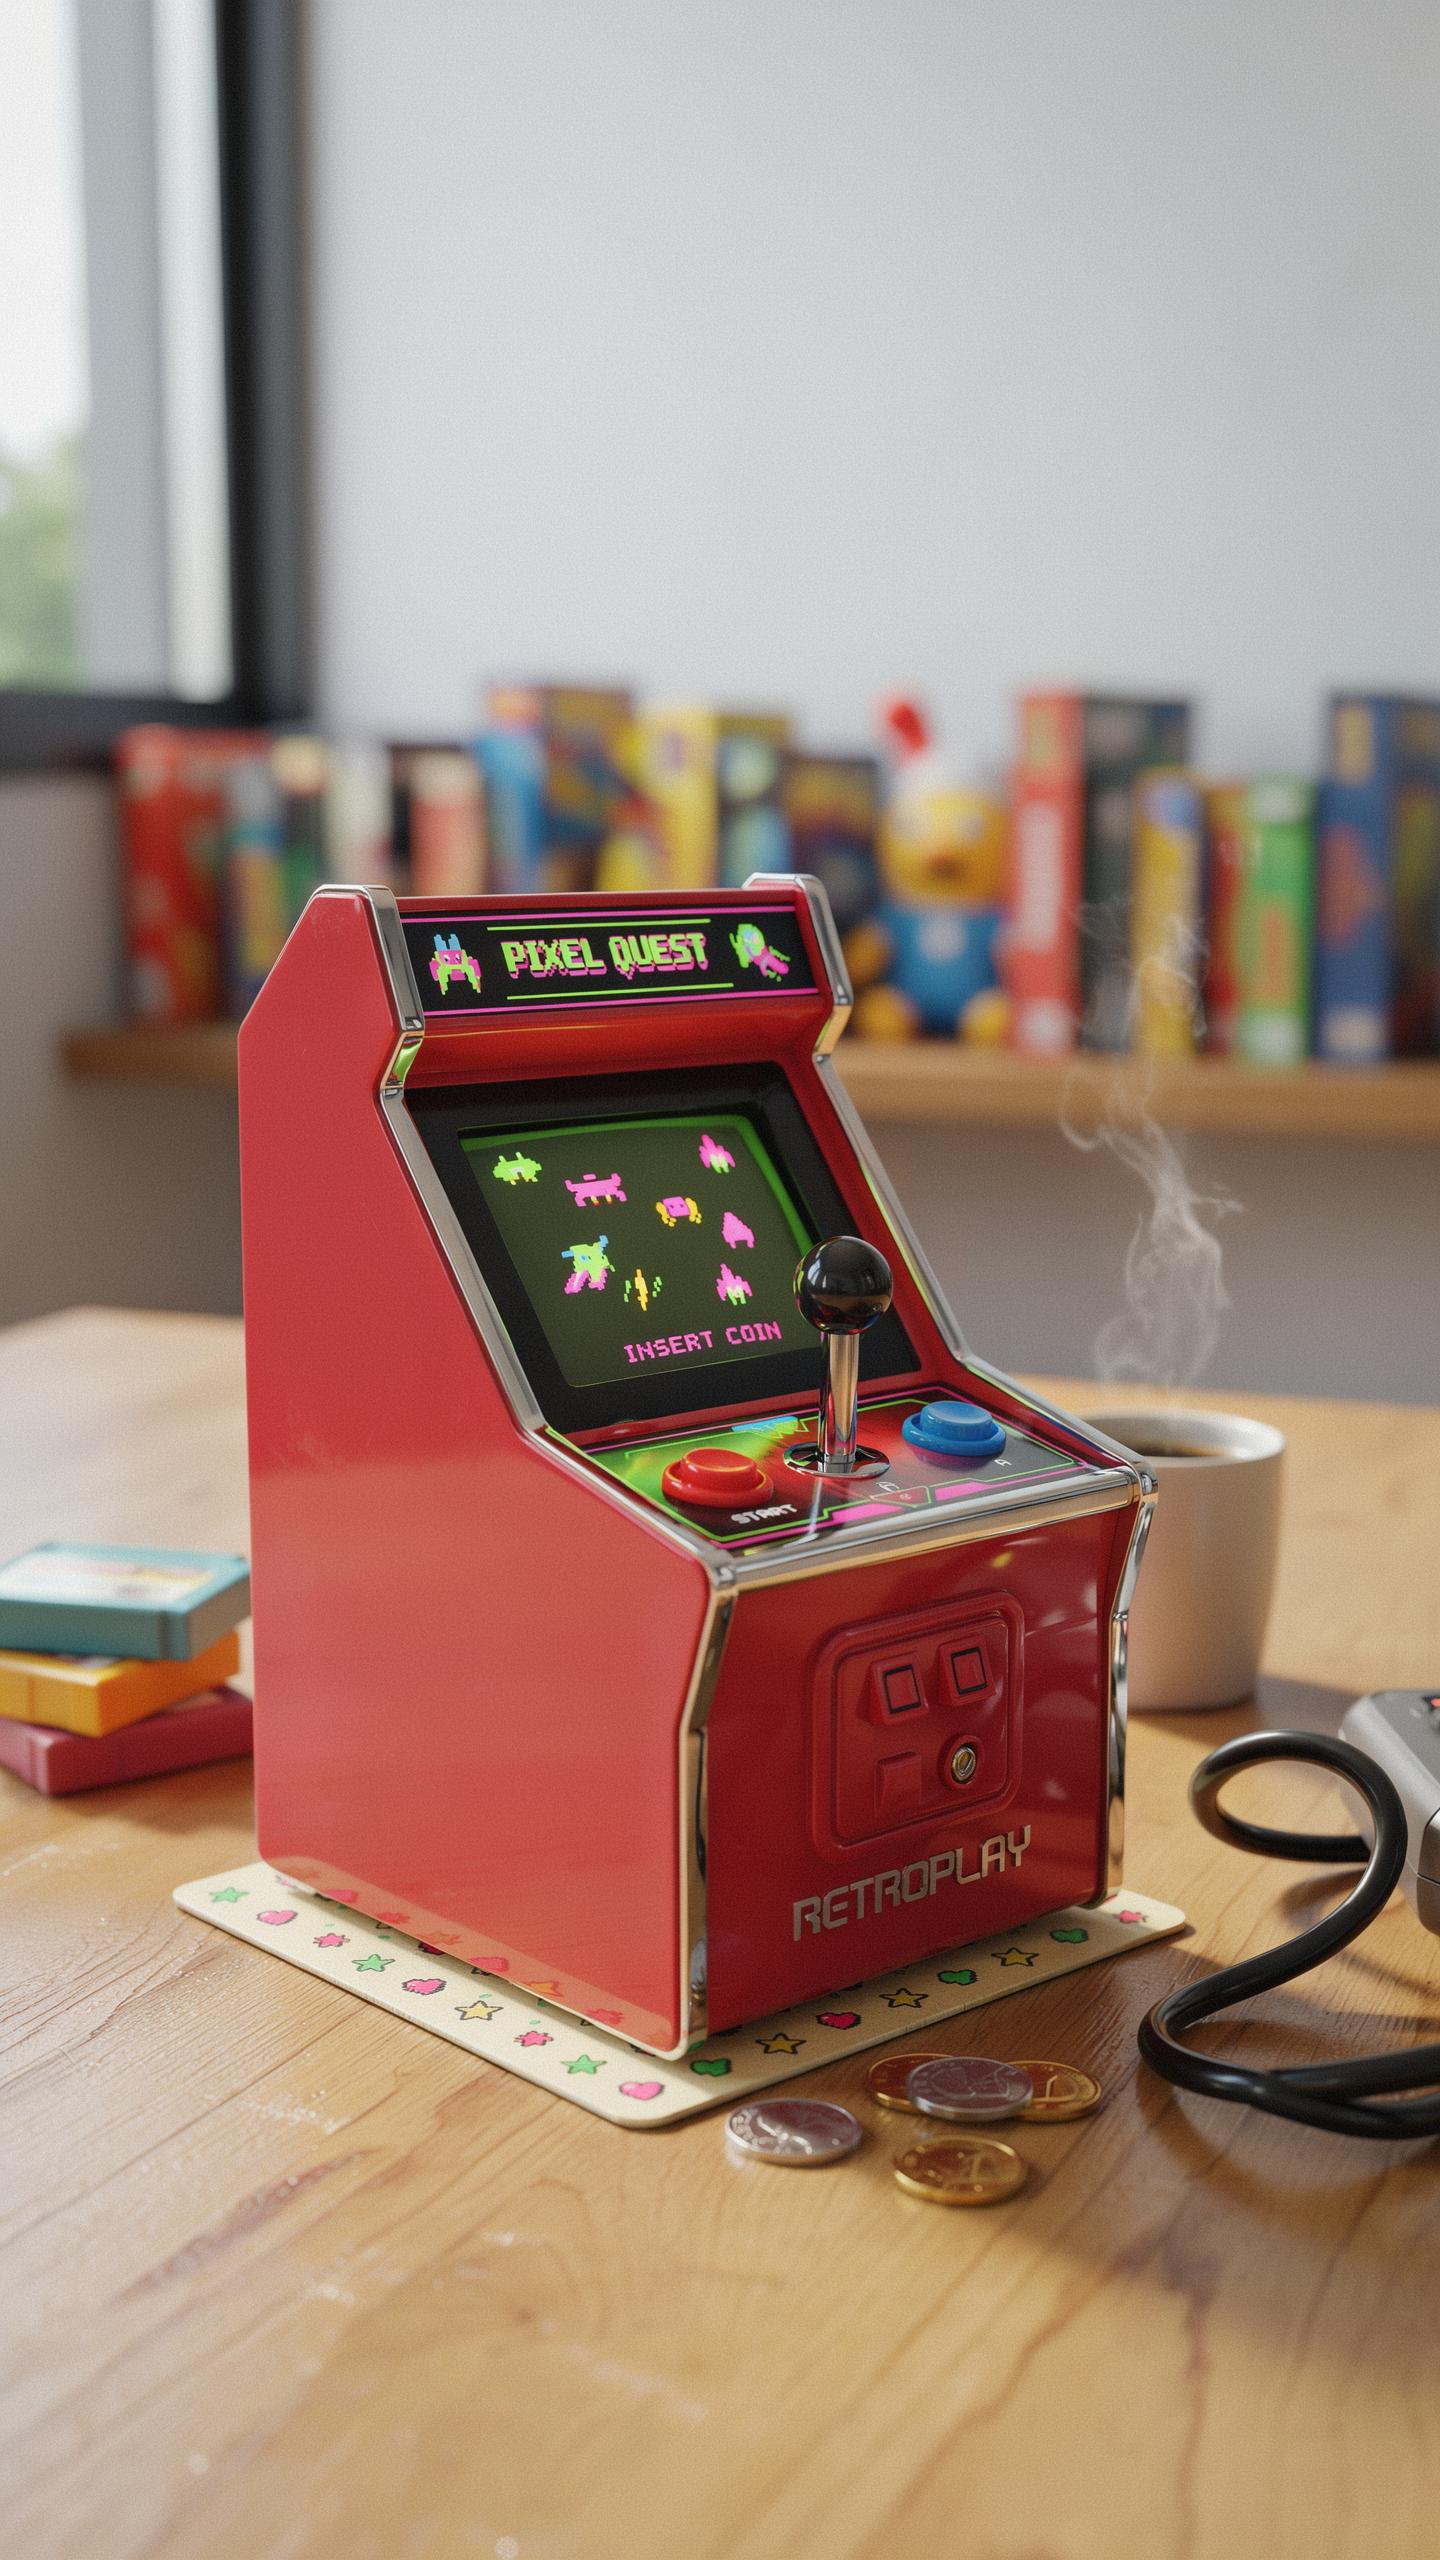
Mini arcade cabinets solve a real problem: most game rooms lack floor space for full-size machines. Standard arcade cabinets measure 27 inches wide and 67 inches tall. Mini versions shrink to 17-20 inches wide and 24-28 inches tall. You fit them on shelves, desks, or corner tables without sacrificing gameplay quality.
The screen size matters tactically. Most mini cabinets use 7-10 inch displays instead of the original 19-25 inch arcade monitors. Games remain playable because developers designed them for arcade hardware with lower resolution screens. You lose nothing functionally when you compress the physical footprint this way.
Portability And Convenience
Mini cabinets move easily between rooms or locations without tools or heavy lifting. A full-size arcade machine weighs 300-400 pounds and requires two people to relocate. Mini models weigh 15-30 pounds and fit through standard doorways. You reposition them for parties, rearrange your game room layout, or transport them to events without complications.
Connectivity matters for practical use. Most mini cabinets plug into standard wall outlets and connect to TVs via HDMI if you want a larger display experience. Some models use battery backup systems for temporary portability. Setup takes minutes rather than hours, making them suitable for rental situations or temporary installations where permanent fixtures don’t work.

Getting Started With A Diy Arcade Machine
Planning Your Project
Start by defining your cabinet dimensions and game library before sourcing parts. Measure your game room space to determine whether you want a full-size cabinet, compact bartop model, or mini upright design. Full-size cabinets run 5-6 feet tall and require dedicated floor space. Bartop models fit on tables and consume minimal room. Mini uprights split the difference. Document your measurements and sketch layouts to avoid costly mistakes during construction.
Next, decide which emulation platform matches your technical comfort level. MAME, RetroPie, and Arcade1Up represent different complexity tiers. MAME handles classic arcade games through PC-based systems. RetroPie runs on Raspberry Pi hardware and demands moderate Linux knowledge. Arcade1Up offers plug-and-play functionality but limits customization. Research game compatibility for your chosen platform before purchasing components or building your cabinet shell.
Assembly And Wiring Basics
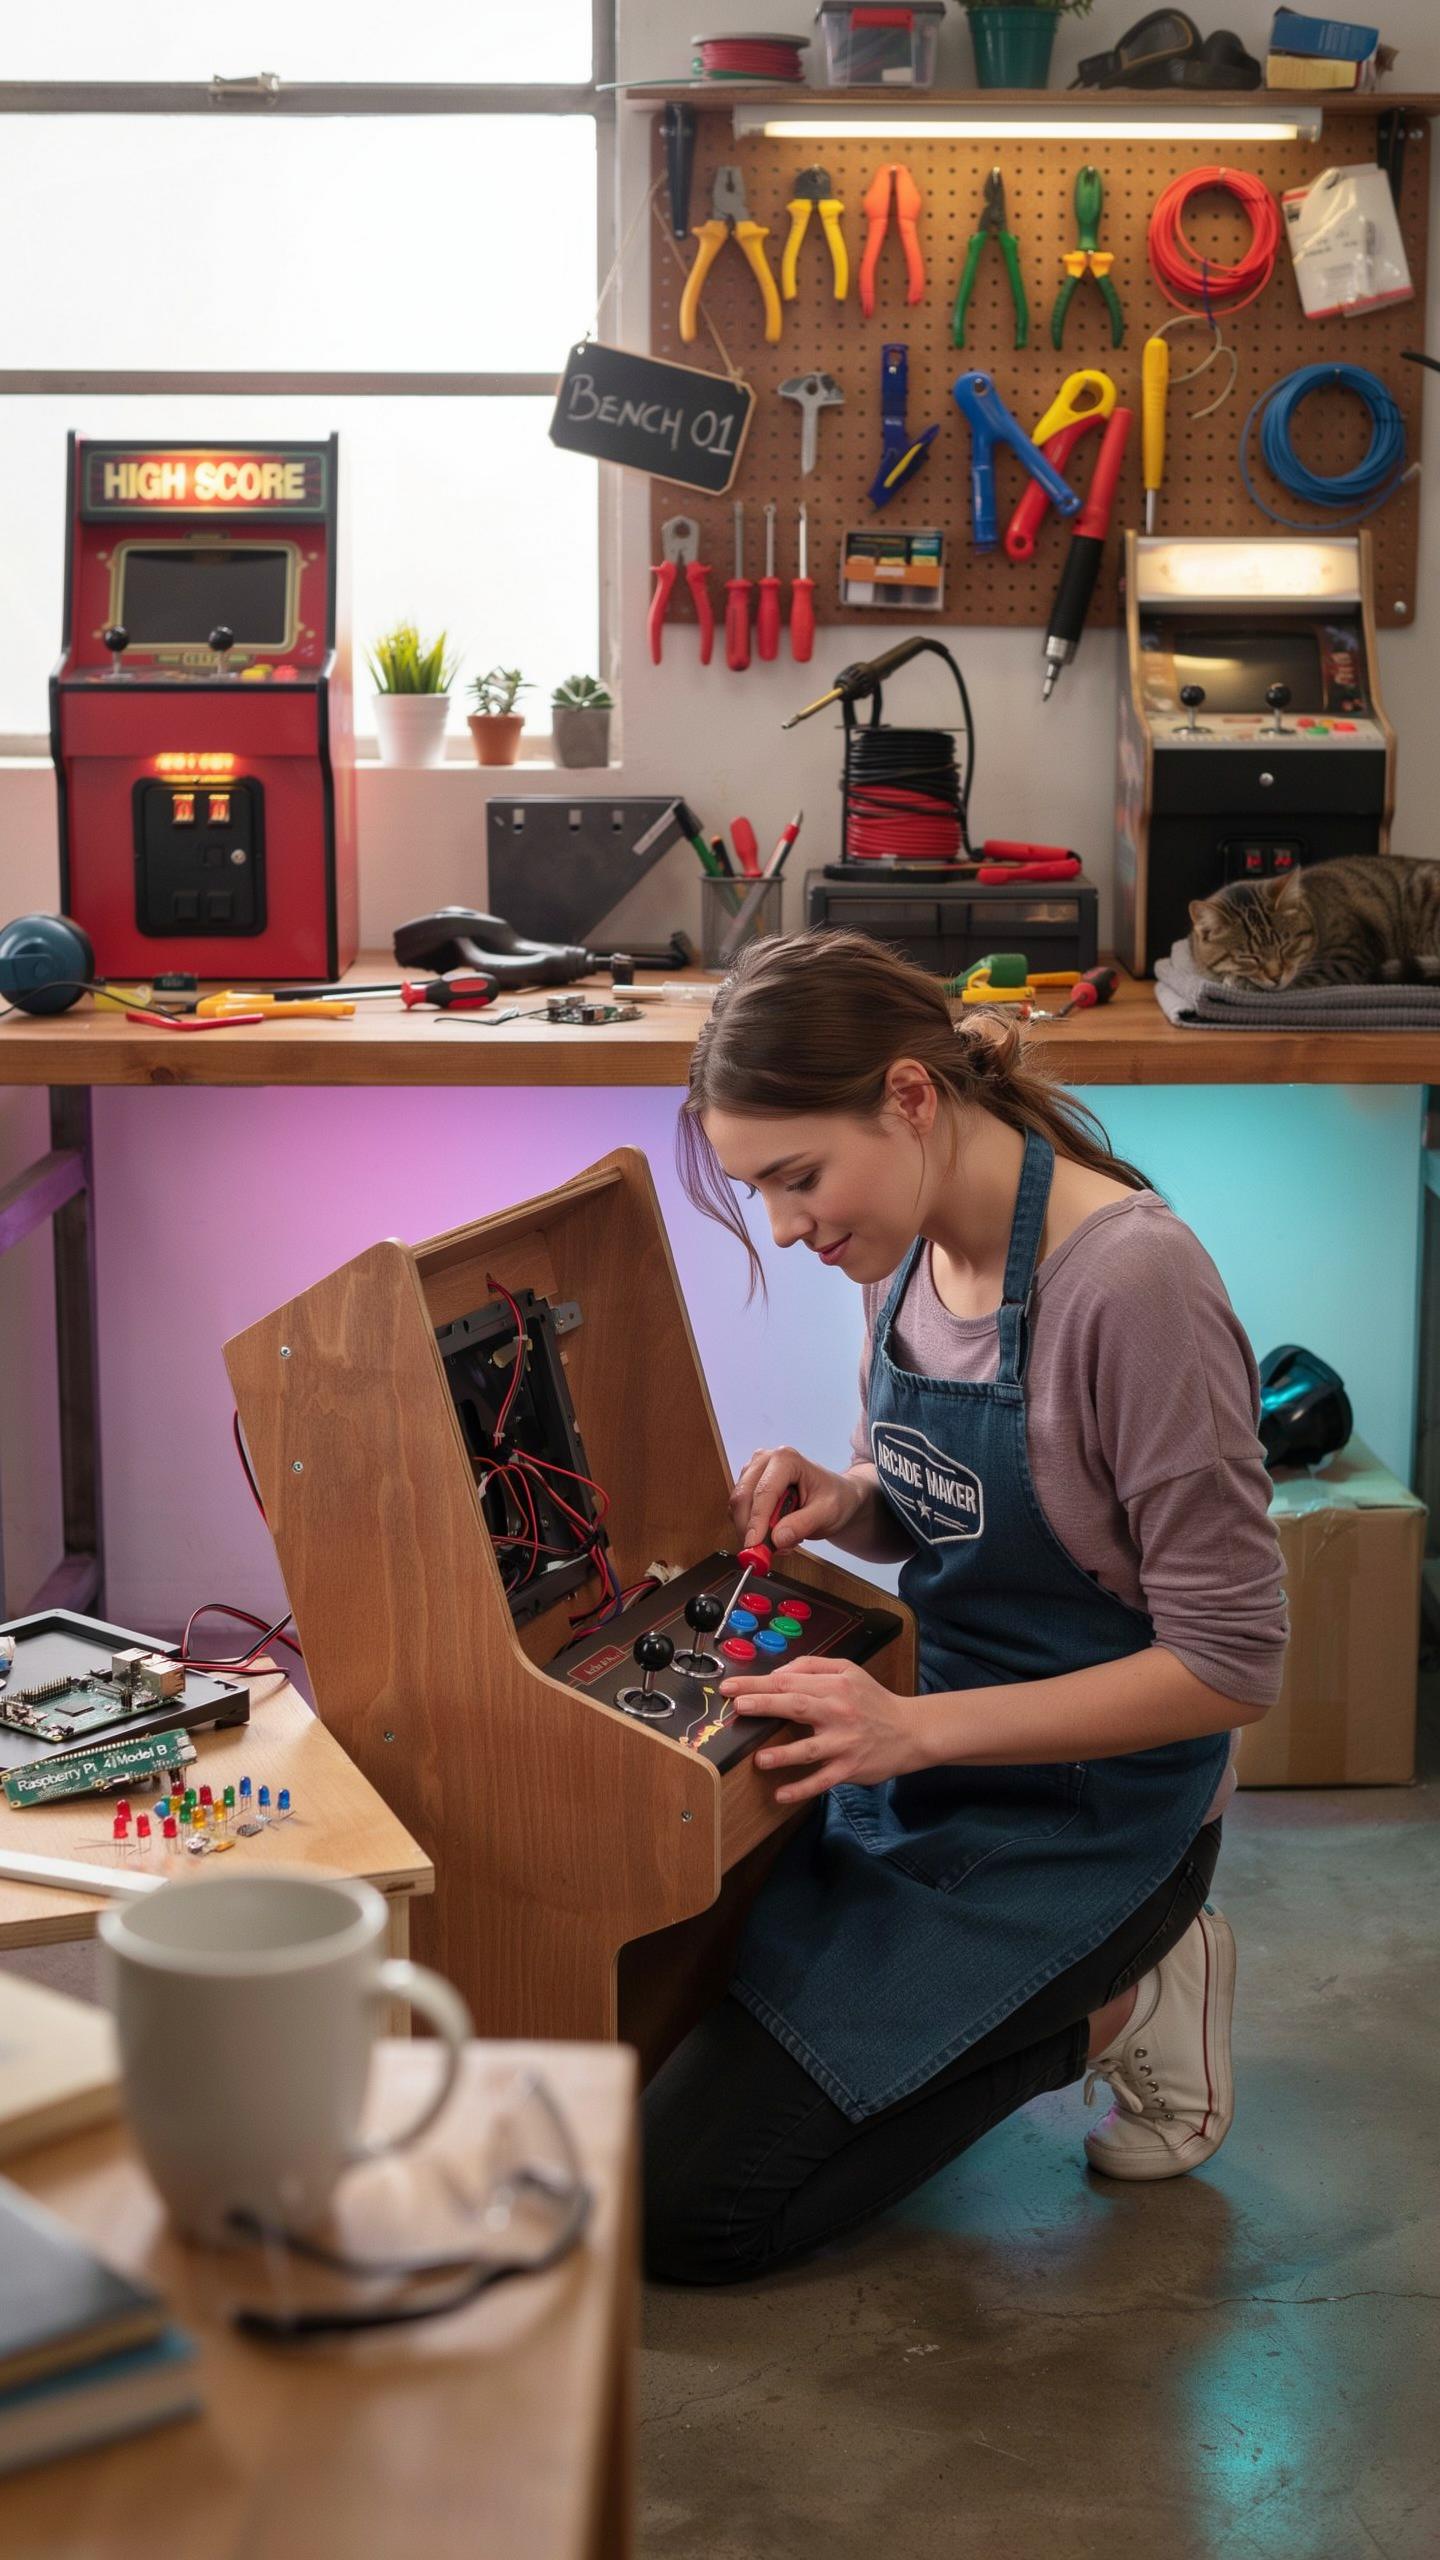
Cabinet construction begins with obtaining or building the shell from plywood or MDF. Pre-cut cabinet kits accelerate the process. Source or fabricate side panels, control panel overlay, and marquee frame. Reinforce joints with wood glue and screws. Install the monitor mount securely to prevent wobbling during gameplay. Sand all edges and apply finish to match your aesthetic preference and protect the wood from moisture and wear.
Wiring connects your monitor, control inputs, power distribution, and computing hardware into a functional system. Route power through a properly grounded surge protector. Connect arcade buttons and joystick to your controller interface or circuit board. Mount the monitor with safe cable management behind the control panel. Test all connections before final cabinet assembly. Poor wiring causes intermittent failures and creates safety hazards during long play sessions.
Crafting Your Own Diy Retro Arcade Machine
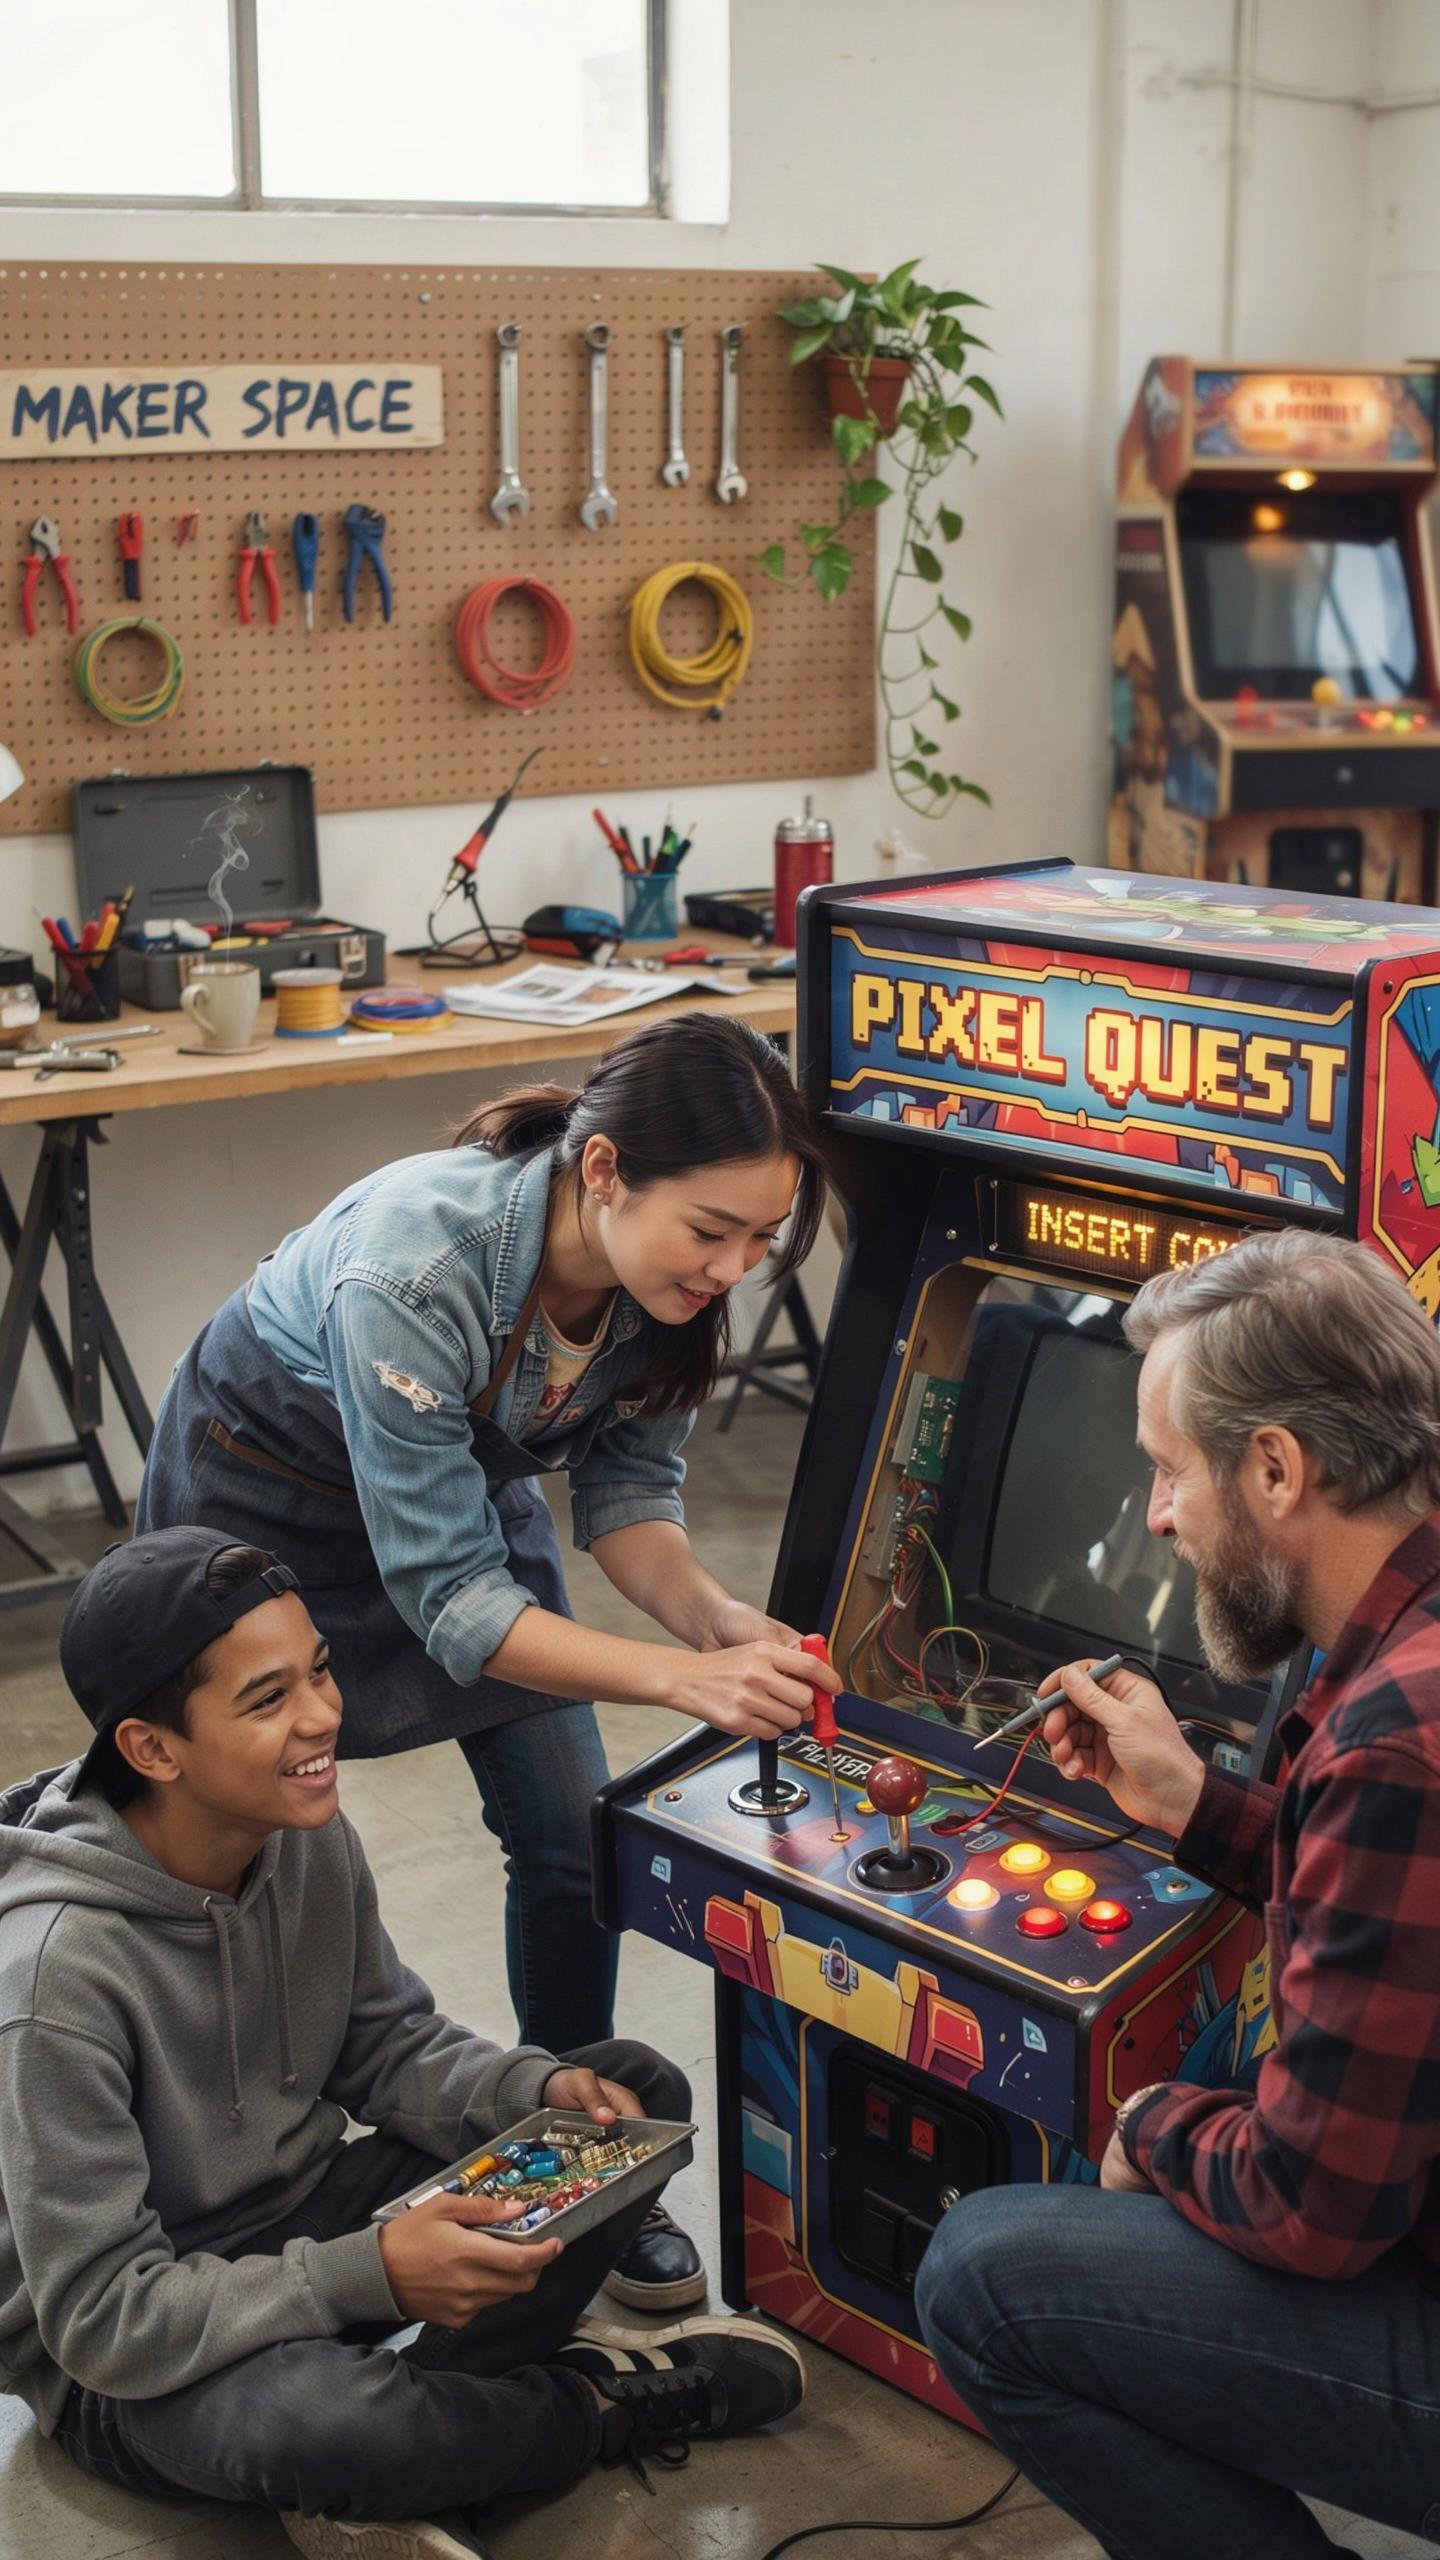
Cabinet Construction Techniques
Start with plywood as your base material. It’s affordable, stable, and machines easily. A typical mini cabinet uses 3/4-inch plywood for the frame and 1/2-inch for the sides. Cut the pieces to your target dimensions, then reinforce joints with wood glue and screws. Pocket holes create clean connections without visible fasteners. Sand all surfaces to 120-grit before assembly to prevent splinters and ensure smooth finish application.
Internal bracing matters more than most builders realize. Add cross bracing on the back panel to prevent racking under monitor weight. Use 2×2 lumber for vertical supports at each corner. Mount the monitor securely to prevent movement during gameplay. Route cables through drilled channels rather than across surfaces. Test structural integrity by applying downward pressure at the top before finalizing the build.
Finishing Touches And Artwork
Vinyl decals deliver professional results without complex painting. Source artwork from established arcade communities or commission custom designs that match your theme. Apply decals to clean, dry surfaces for proper adhesion. Laminate printed artwork under clear polycarbonate sheets for durability and protection against spills. This approach handles wear better than direct painting and allows easy removal if you change your design later.
Interior lighting transforms the cabinet’s appeal and functionality. LED strips behind the marquee create authentic glow. Install strip lighting around the base to highlight the game room floor. Use warm white LEDs for classic arcade atmosphere or RGB for customizable effects. Control lighting separately from the machine to adjust mood without restarting games. Wiring routes through the back panel keep the interior clean and organized.
Integrating Your Mini Arcade Into The Game Room
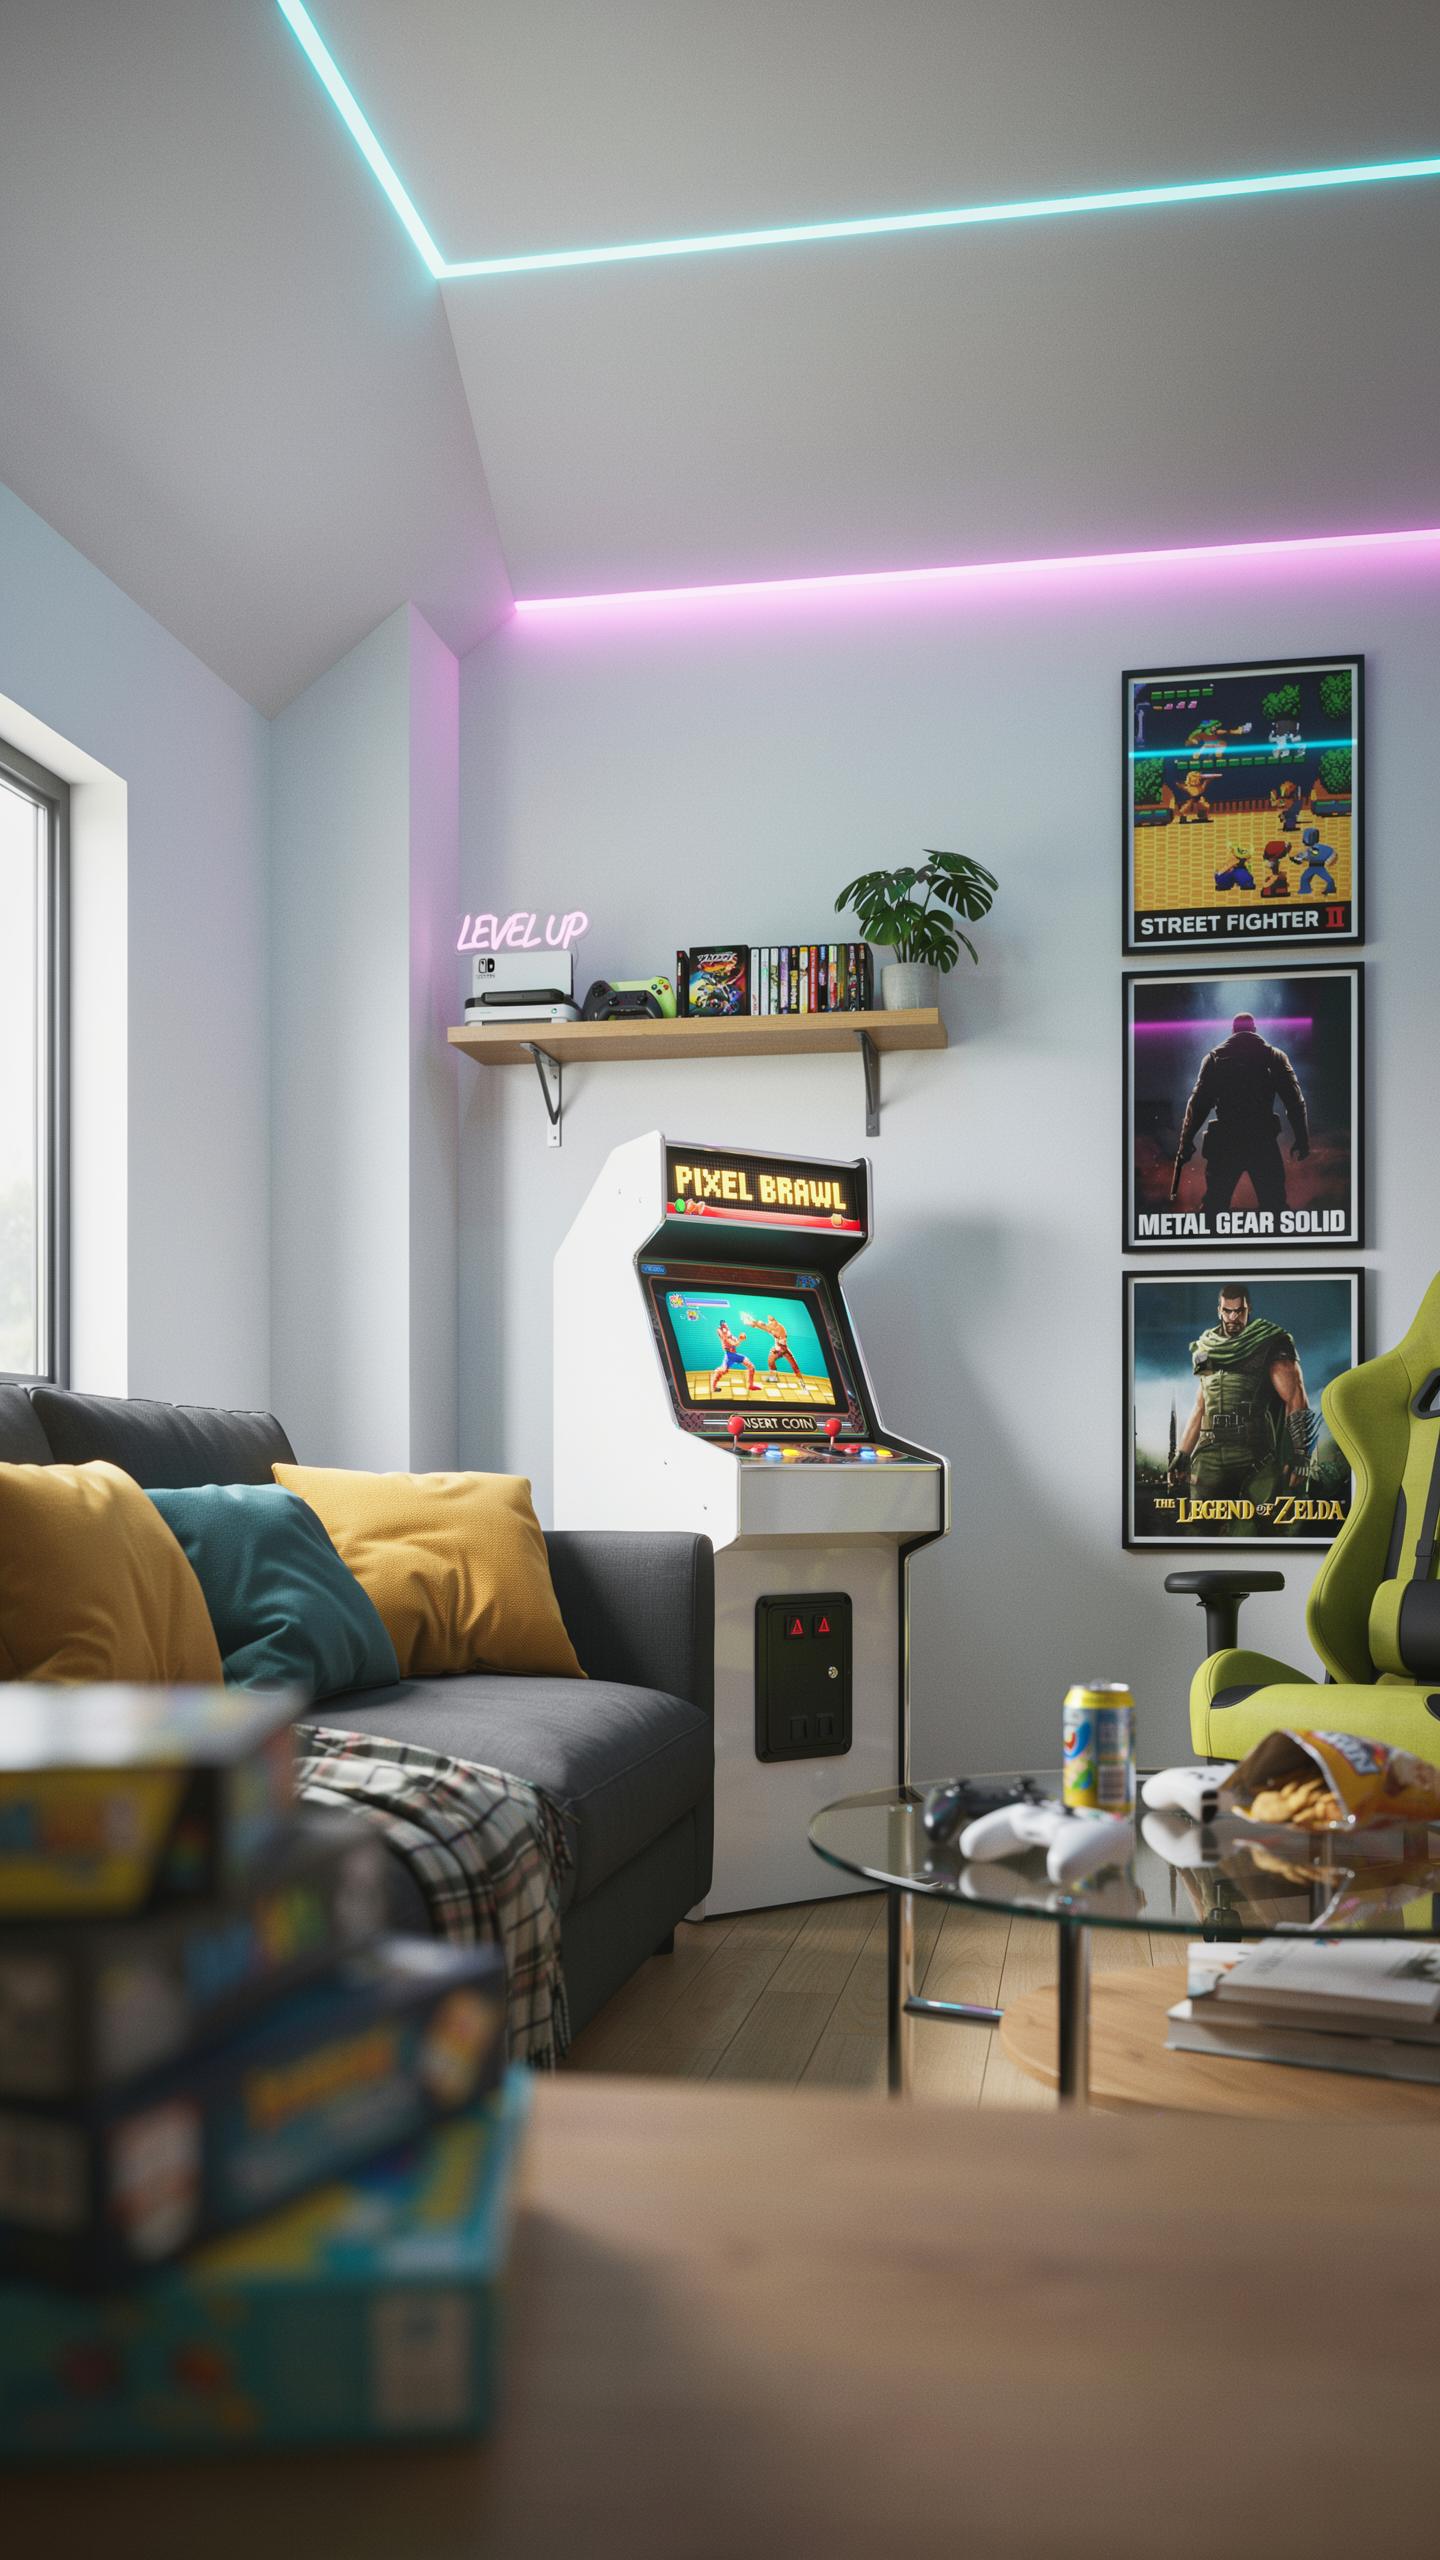
Placement And Ergonomics
Position your mini arcade at standing height with the screen at eye level. Most standard units measure 24 to 36 inches tall. Place it where players can stand comfortably without hunching or straining their necks. Ensure at least 12 to 18 inches of clearance on all sides for movement and airflow. Keep the machine away from direct sunlight to prevent screen glare and heat damage.
Locate your mini arcade near a power outlet to avoid running cables across walkways. Position it in a room corner or against a wall to maximize usable floor space. Test the joystick and button reach before finalizing placement. Players should access controls without leaning forward or extending their arms excessively. Verify that standing gameplay sessions remain comfortable after 30 to 60 minutes of continuous play.
Complementary Game Room Decor
Pair your mini arcade with period appropriate wall decor from the 1980s and 1990s arcade era. Use neon signage, vintage concert posters, or original arcade promotional artwork. Mount these items at eye level around the machine to create visual continuity. Avoid overcrowding the space, which diminishes the arcade machine as a focal point. Select decor that reflects the specific game franchises featured on your machine.
Add lighting that matches the arcade aesthetic without creating screen interference. LED strip lighting in neon colors enhances the retro atmosphere without generating excessive heat. Use flooring like black rubber mats or industrial tile beneath high traffic areas around the machine. Include seating options like bar stools or vintage gaming chairs nearby for spectators. These functional additions support extended social gameplay sessions while maintaining the authentic game room environment.
Frequently Asked Questions

What exactly is a mini retro arcade machine for game rooms?
A mini retro arcade machine for game rooms is a scaled-down version of classic arcade cabinets, designed to bring nostalgic gaming into your home. These compact units often feature multiple pre-loaded vintage games, authentic joysticks, and buttons, perfect for adding a touch of retro flair and endless entertainment to any game room or living space.
How do I choose the right games or features for my mini retro arcade machine?
Consider your favorite classic games and the types of experiences you want to relive. Many mini retro arcade machines come with diverse game libraries, so check the game list. Also, look for features like customizable controls, save states, and easy connectivity options to enhance your gaming experience in your game room.
Are mini retro arcade machines affordable, and where can I find them?
The affordability of a mini retro arcade machine for game rooms varies depending on features and brand. Basic models can be quite budget-friendly, while more advanced versions with extensive game libraries might cost more. You can find them at major online retailers, electronics stores, and specialty retro gaming shops.



