
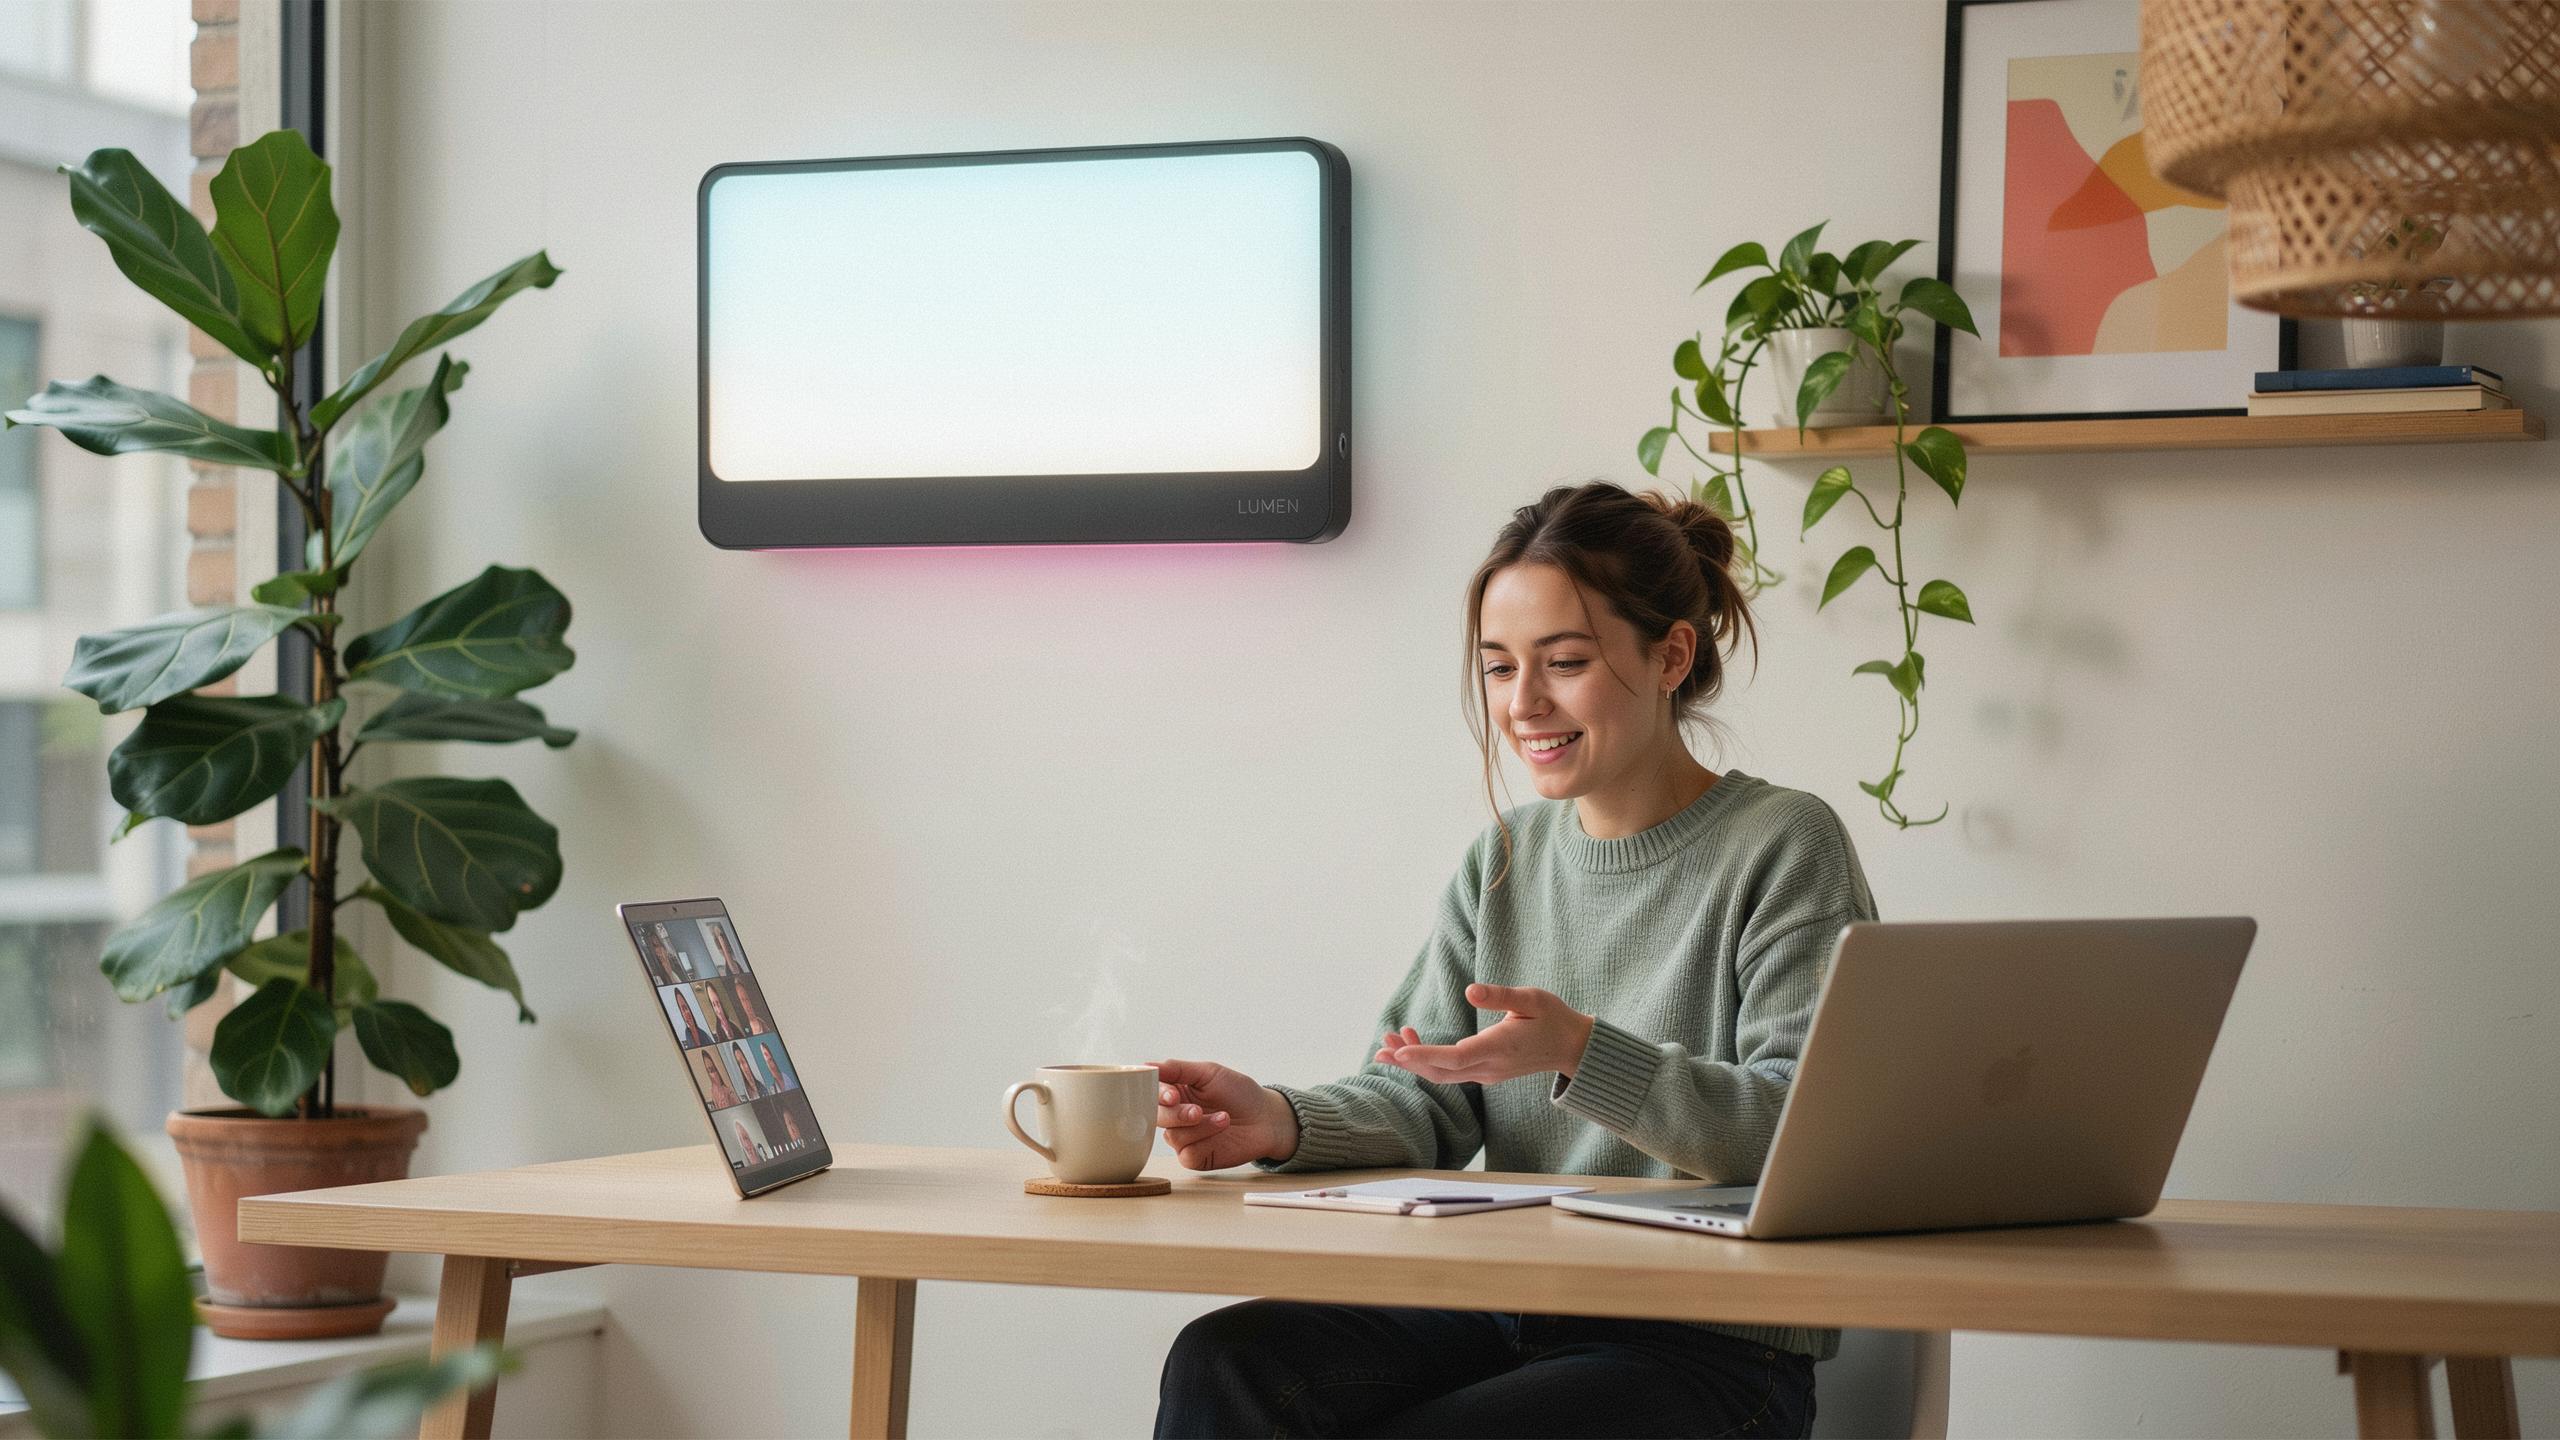
The Importance Of Video Lighting For Professionalism
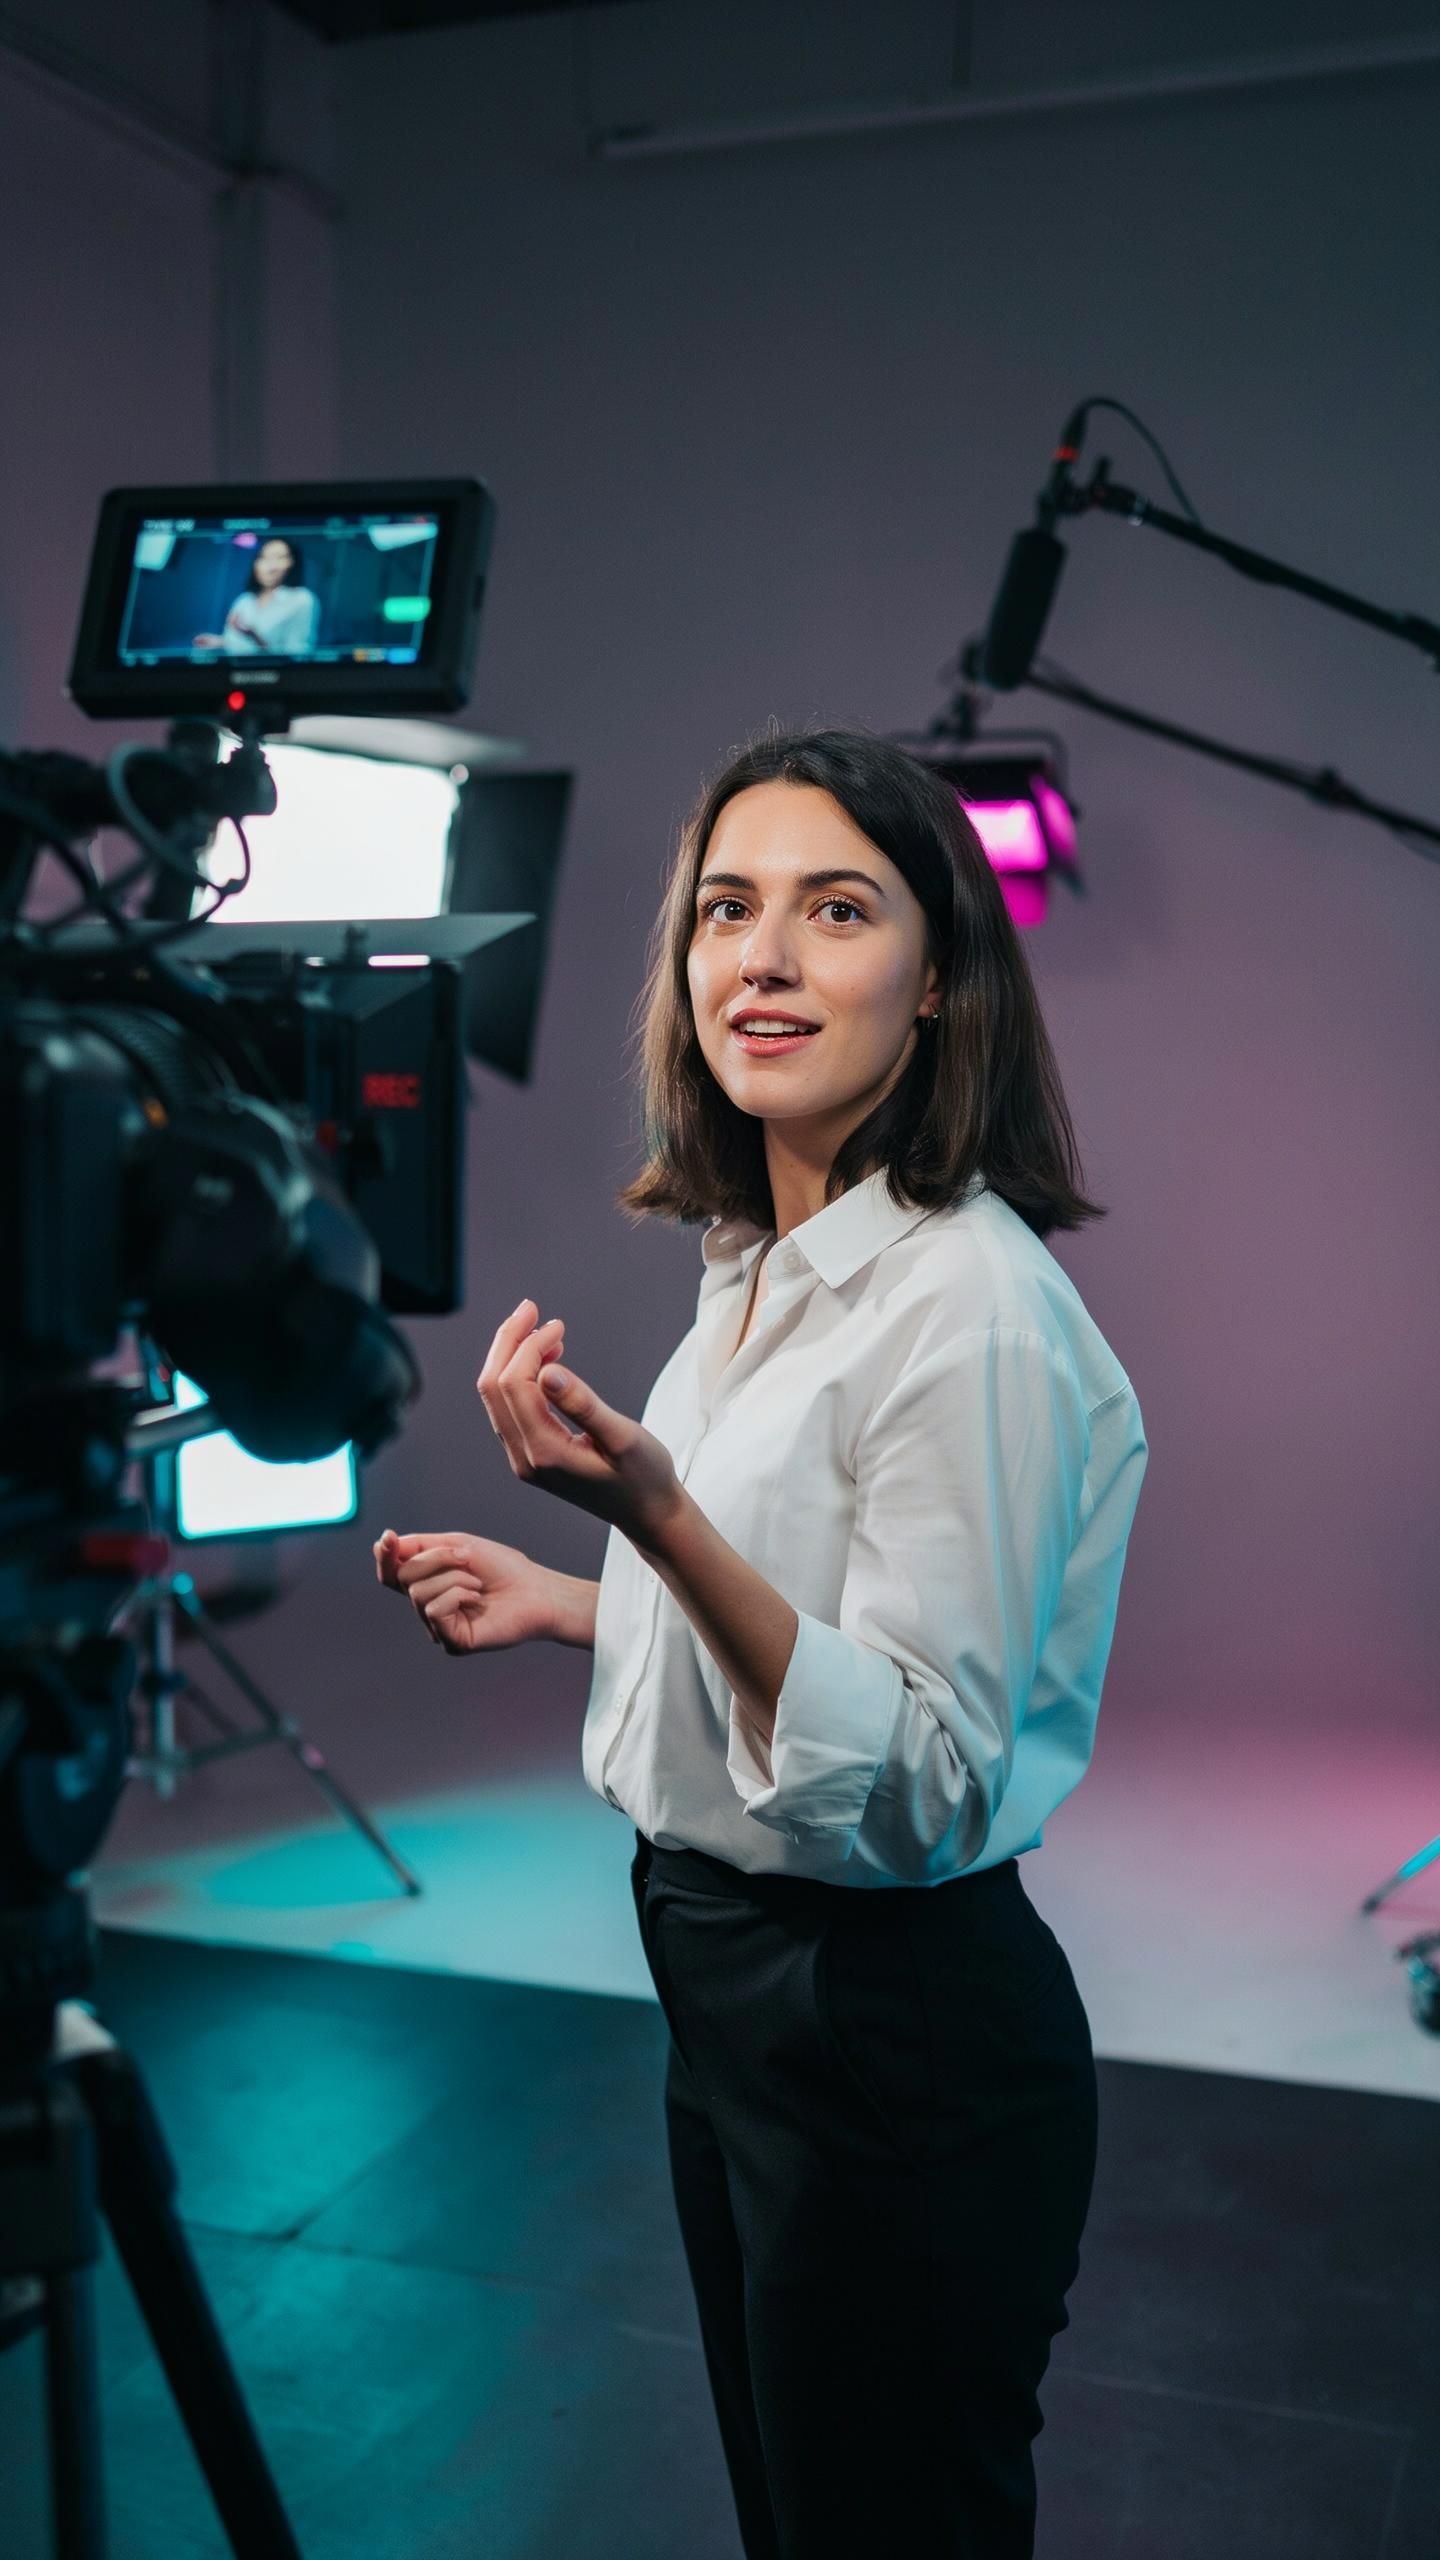
First Impressions In Video Conferencing
Video calls compress communication into a screen. The viewer forms judgments about you within seconds based on what they see. Poor lighting undermines credibility before you speak. Your face becomes the primary tool for building trust with colleagues, clients, and stakeholders. The camera captures everything. Inadequate lighting makes you look tired, unwell, or unprepared.
Good lighting signals professionalism and respect for the meeting. When your face appears clear and well-lit, viewers focus on your message instead of squinting at shadows. This removes friction from the interaction. Remote work demands intentional presentation because you lack the physical presence to compensate. LED light panels solve this problem directly by putting control in your hands.
How Good Lighting Impacts Perception
Lighting shapes how others perceive your competence and approachability. Harsh shadows under your eyes create negative associations. Proper illumination reveals facial expressions clearly, which strengthens connection and trust. Studies on face perception show that lighting quality directly affects judgment formation. Viewers make snap decisions about reliability based on visual clarity.
LED panels offer consistent, controllable light that flatters your appearance without fakery. The technology produces balanced color temperature that matches daylight or warm tones depending on your setup. This control matters because natural window light varies by time and weather. You cannot rely on it. A light panel gives you consistent results for every call, regardless of external conditions.
Understanding LED Panel Light Technology
What Makes LED Panels Ideal For Video Calls
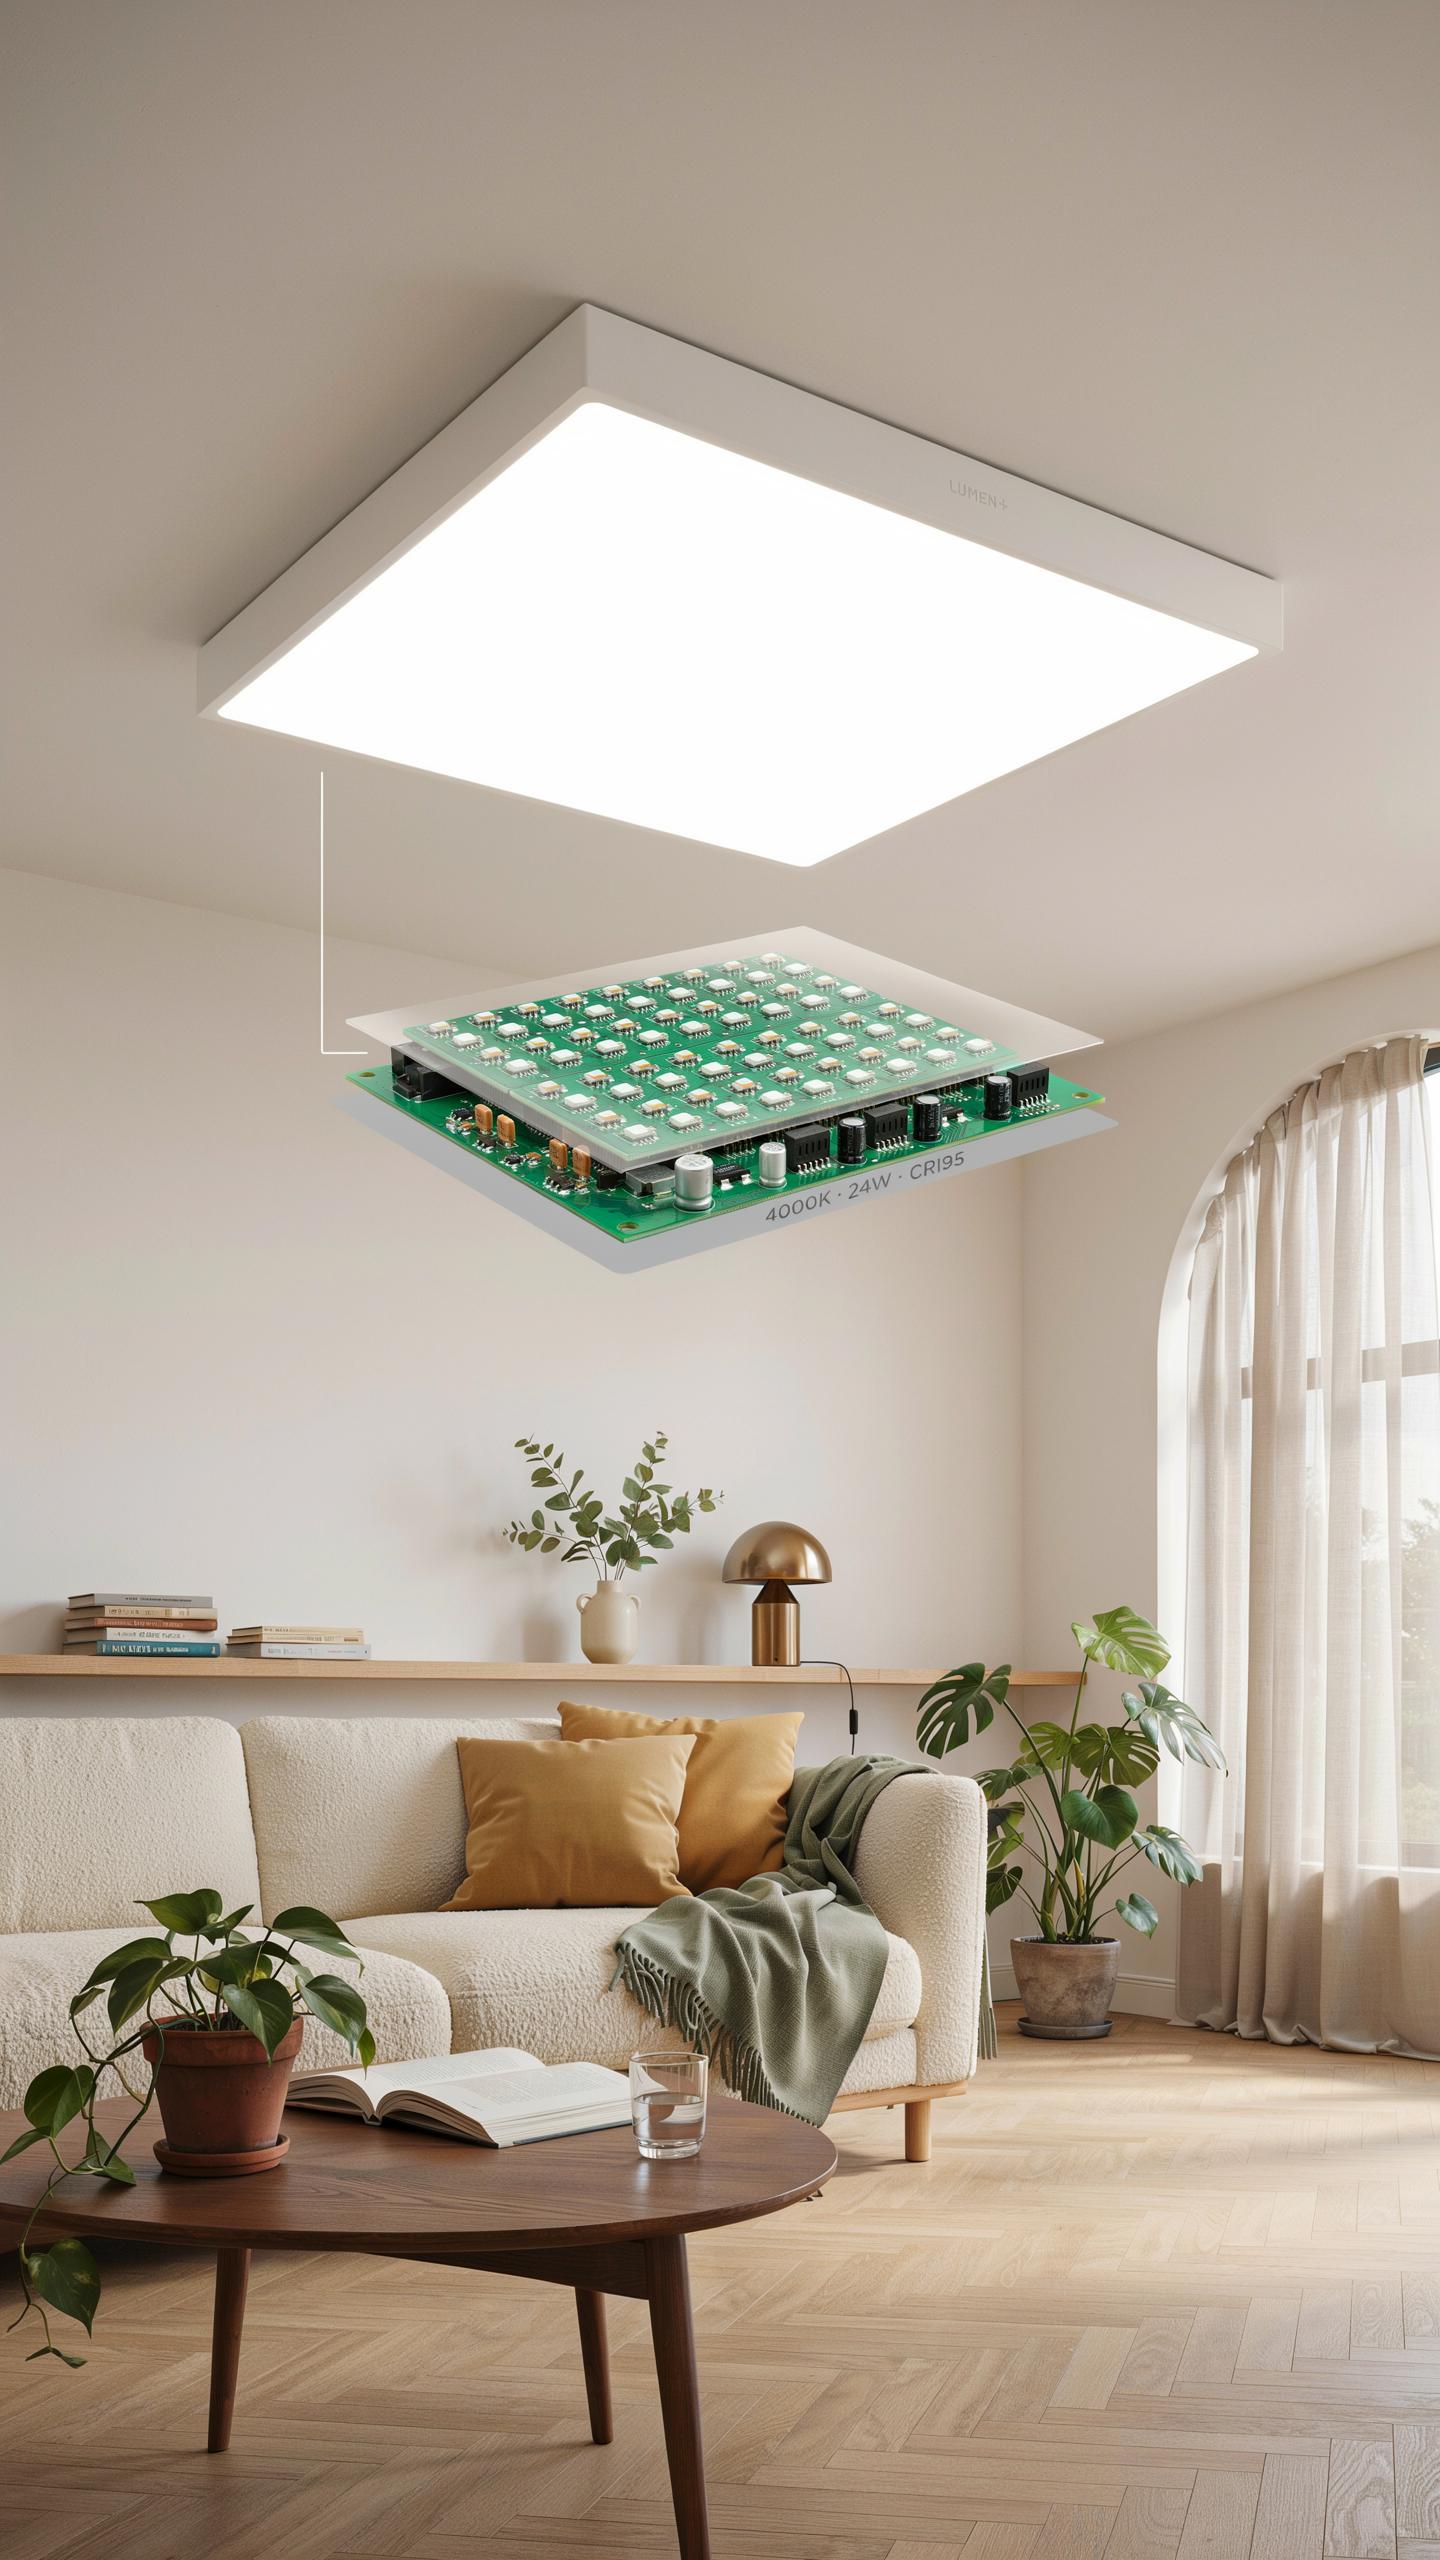
LED panels emit light across a broad spectrum that cameras capture accurately. Unlike incandescent bulbs, LEDs produce minimal heat and flicker. This stability matters because cameras are sensitive to light fluctuations. On video calls, inconsistent lighting makes your face appear unstable or poorly lit. LED panels solve this by delivering constant, predictable light output that cameras render cleanly.
Your camera interprets light in real time. When light flickers or shifts color, the camera struggles to adjust white balance and exposure. LED panels maintain color temperature throughout your call, preventing your face from appearing washed out or shadowy. This consistency is why professionals use LEDs instead of natural window light or traditional desk lamps for on-camera work.
That gentle glow from my video call’s light panel takes me back to the warm lamp by my grandma’s storytelling chair, bringing comfort to every connection.
Key Features Of Professional LED Panels
Professional LED panels let you adjust brightness without changing color temperature. This feature is critical because dimming traditional lights shifts their color tone. A quality LED panel maintains neutral color at any brightness level. You control output from 0 to 100 percent without losing color accuracy. This control prevents the common problem of appearing too bright or too dark on camera.
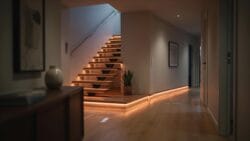
Color temperature adjustment separates professional panels from basic options. Panels let you shift between warm light (3200K) and cool light (5600K) to match your room or preference. Build quality matters too, panels should feel sturdy and sit stably on desks or stands. Mounting options differ by model, some use desk clamps while others stand independently. Battery operation versus AC power affects portability and setup convenience for your home office.
Setting Up Your Key Lighting For Zoom Calls
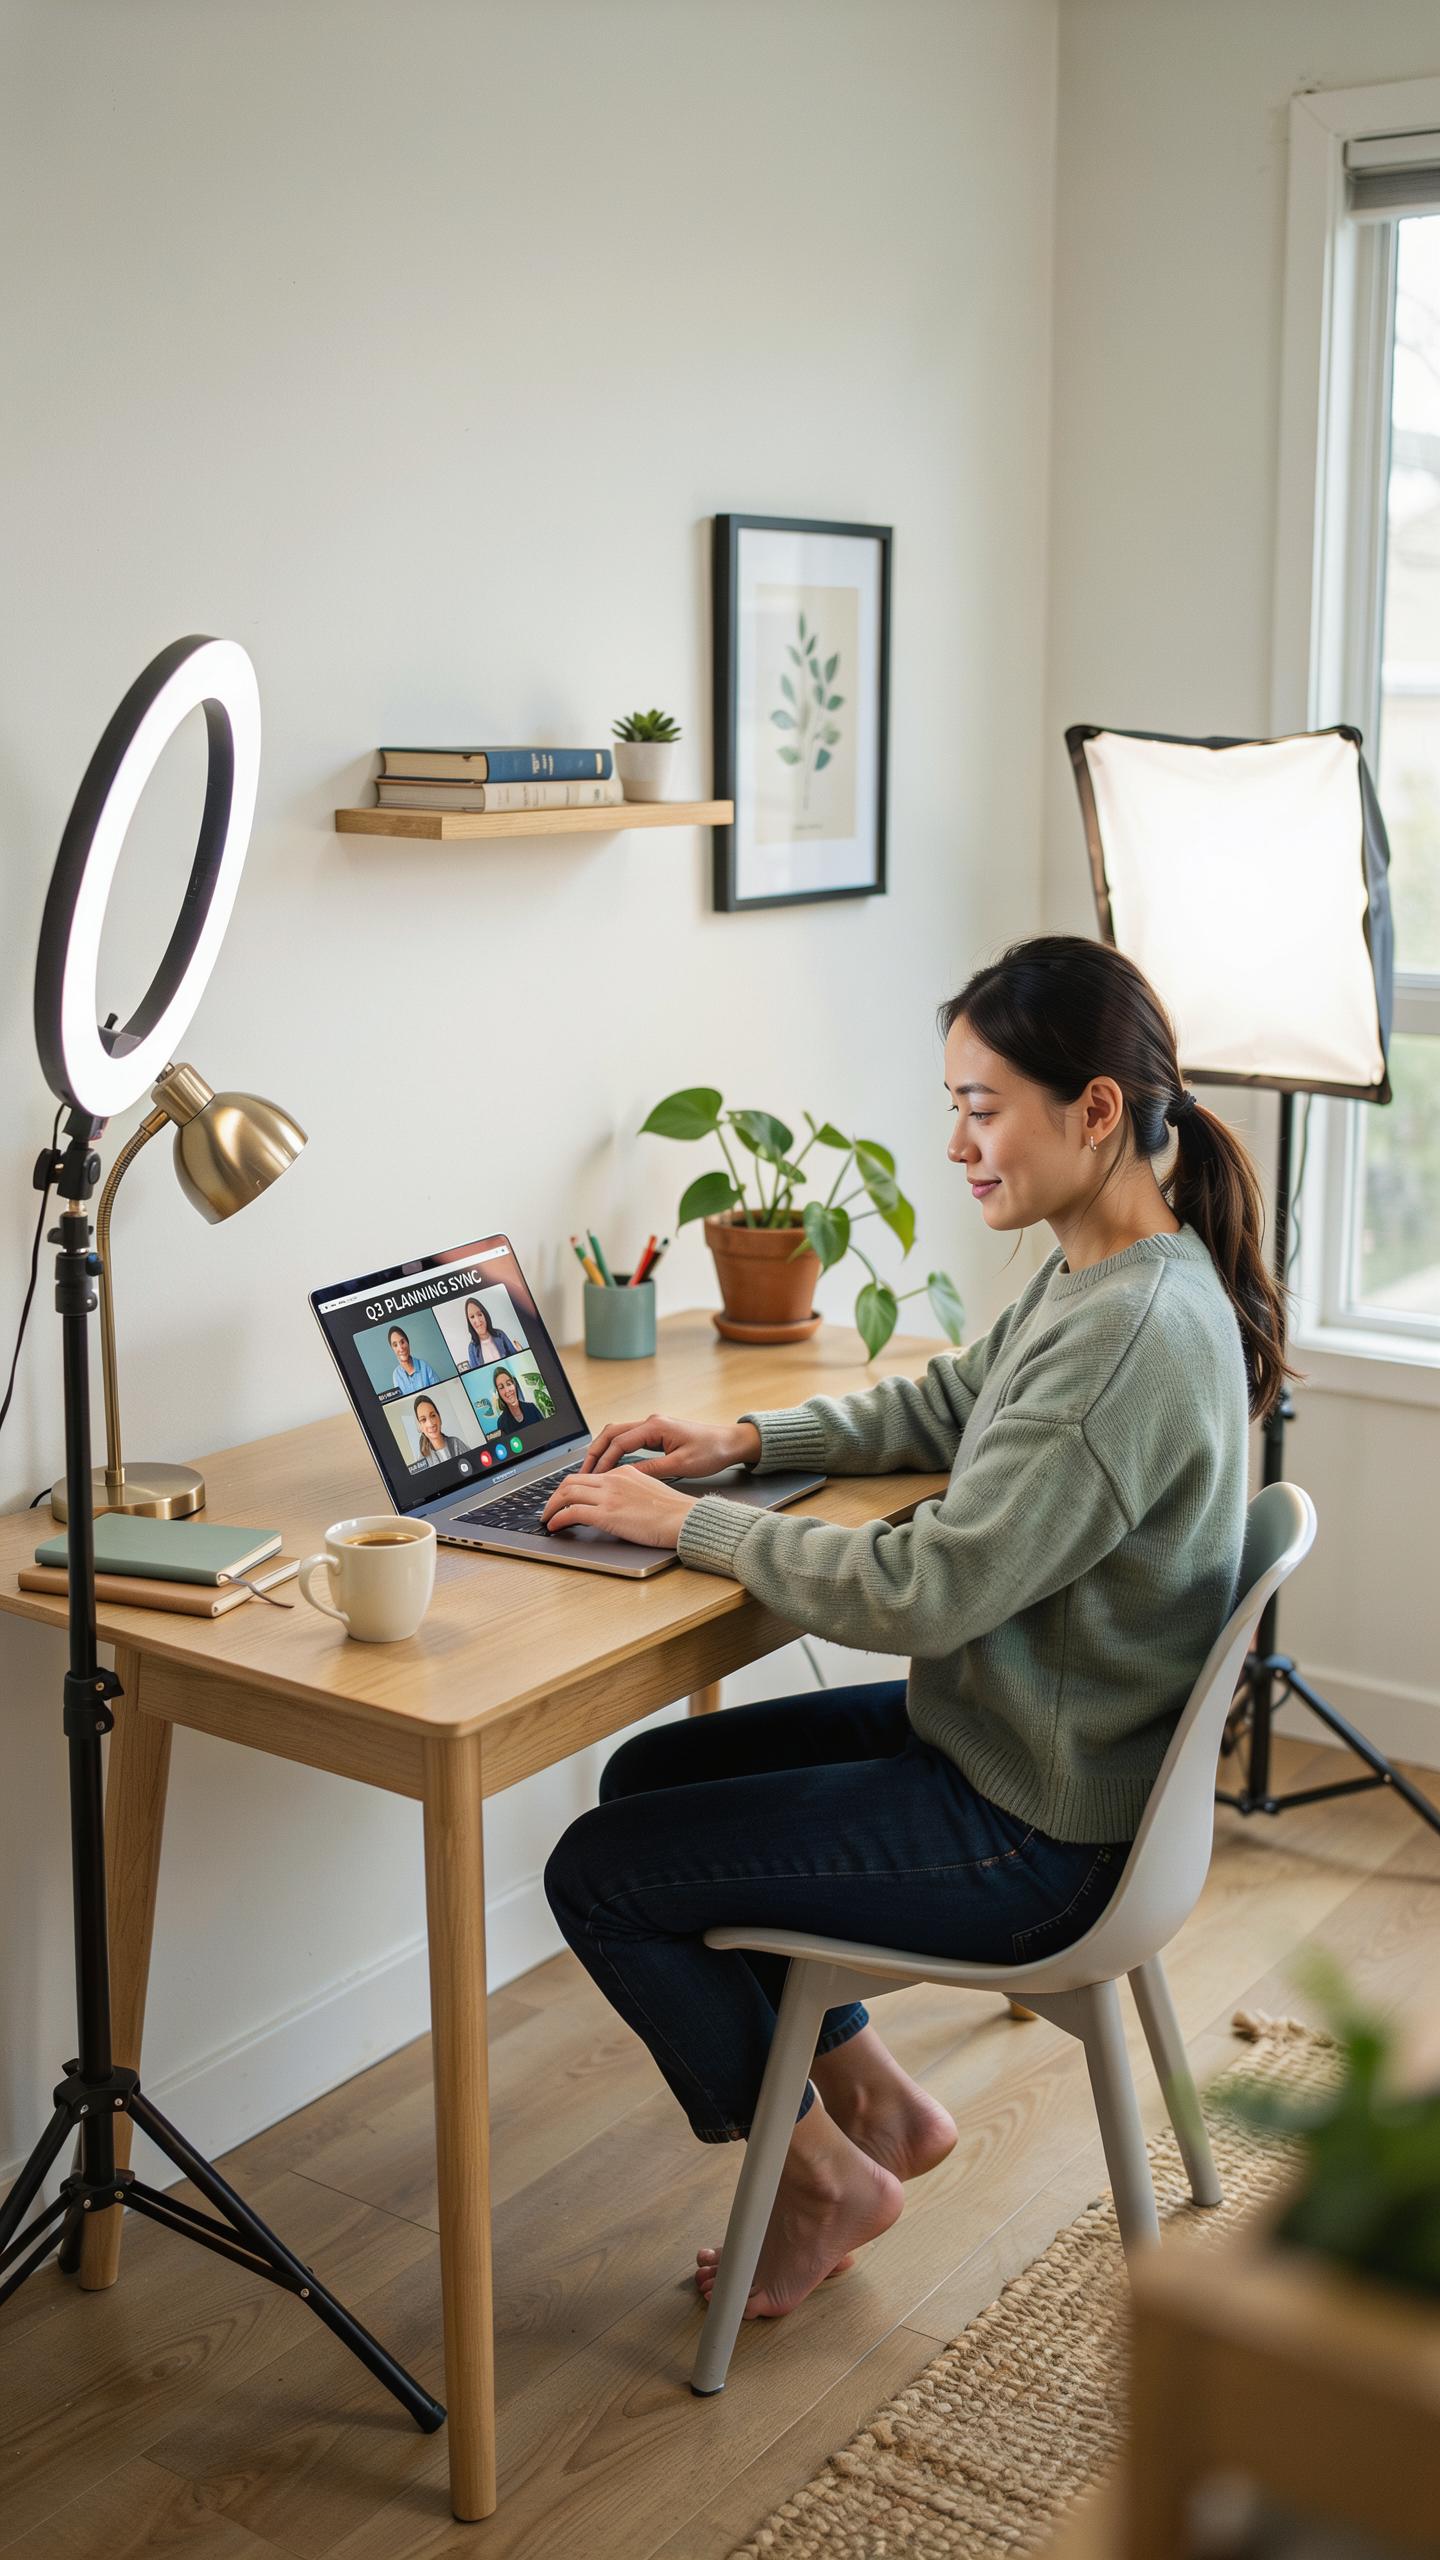
Optimal Placement For A Single LED Light Panel
Position your LED panel at a 45-degree angle, roughly 2-3 feet from your face and slightly above eye level. This angle prevents harsh shadows on your face while flattering your features on camera. The distance matters because panels too close create blown-out overexposure, while panels too far leave you underlit and grainy.
Place the panel to the side of your monitor, not directly behind it. Direct frontal lighting washes out depth and makes you look flat on video. Side placement creates dimension without creating unflattering shadows under your eyes or nose that viewers notice immediately during calls.
Techniques For Achieving Soft Even Illumination
Use a diffusion panel or diffuser cloth between the LED panel and your face to scatter light evenly. Direct LED light creates harsh spots and uneven skin tone on camera. Diffusion spreads the light across a larger area, eliminating hot spots while maintaining brightness levels your camera needs.
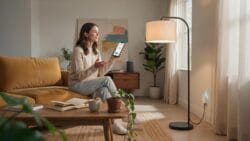
Adjust your panel’s color temperature to 5600K or 6500K to match daylight and camera sensors. Cooler temperatures prevent the yellow cast that makes you look tired or sick on video. If your room has window light, position your LED panel to complement natural light rather than fight it, creating balanced illumination across your face.
Choosing The Right Led Light Panel For Your Home Setup
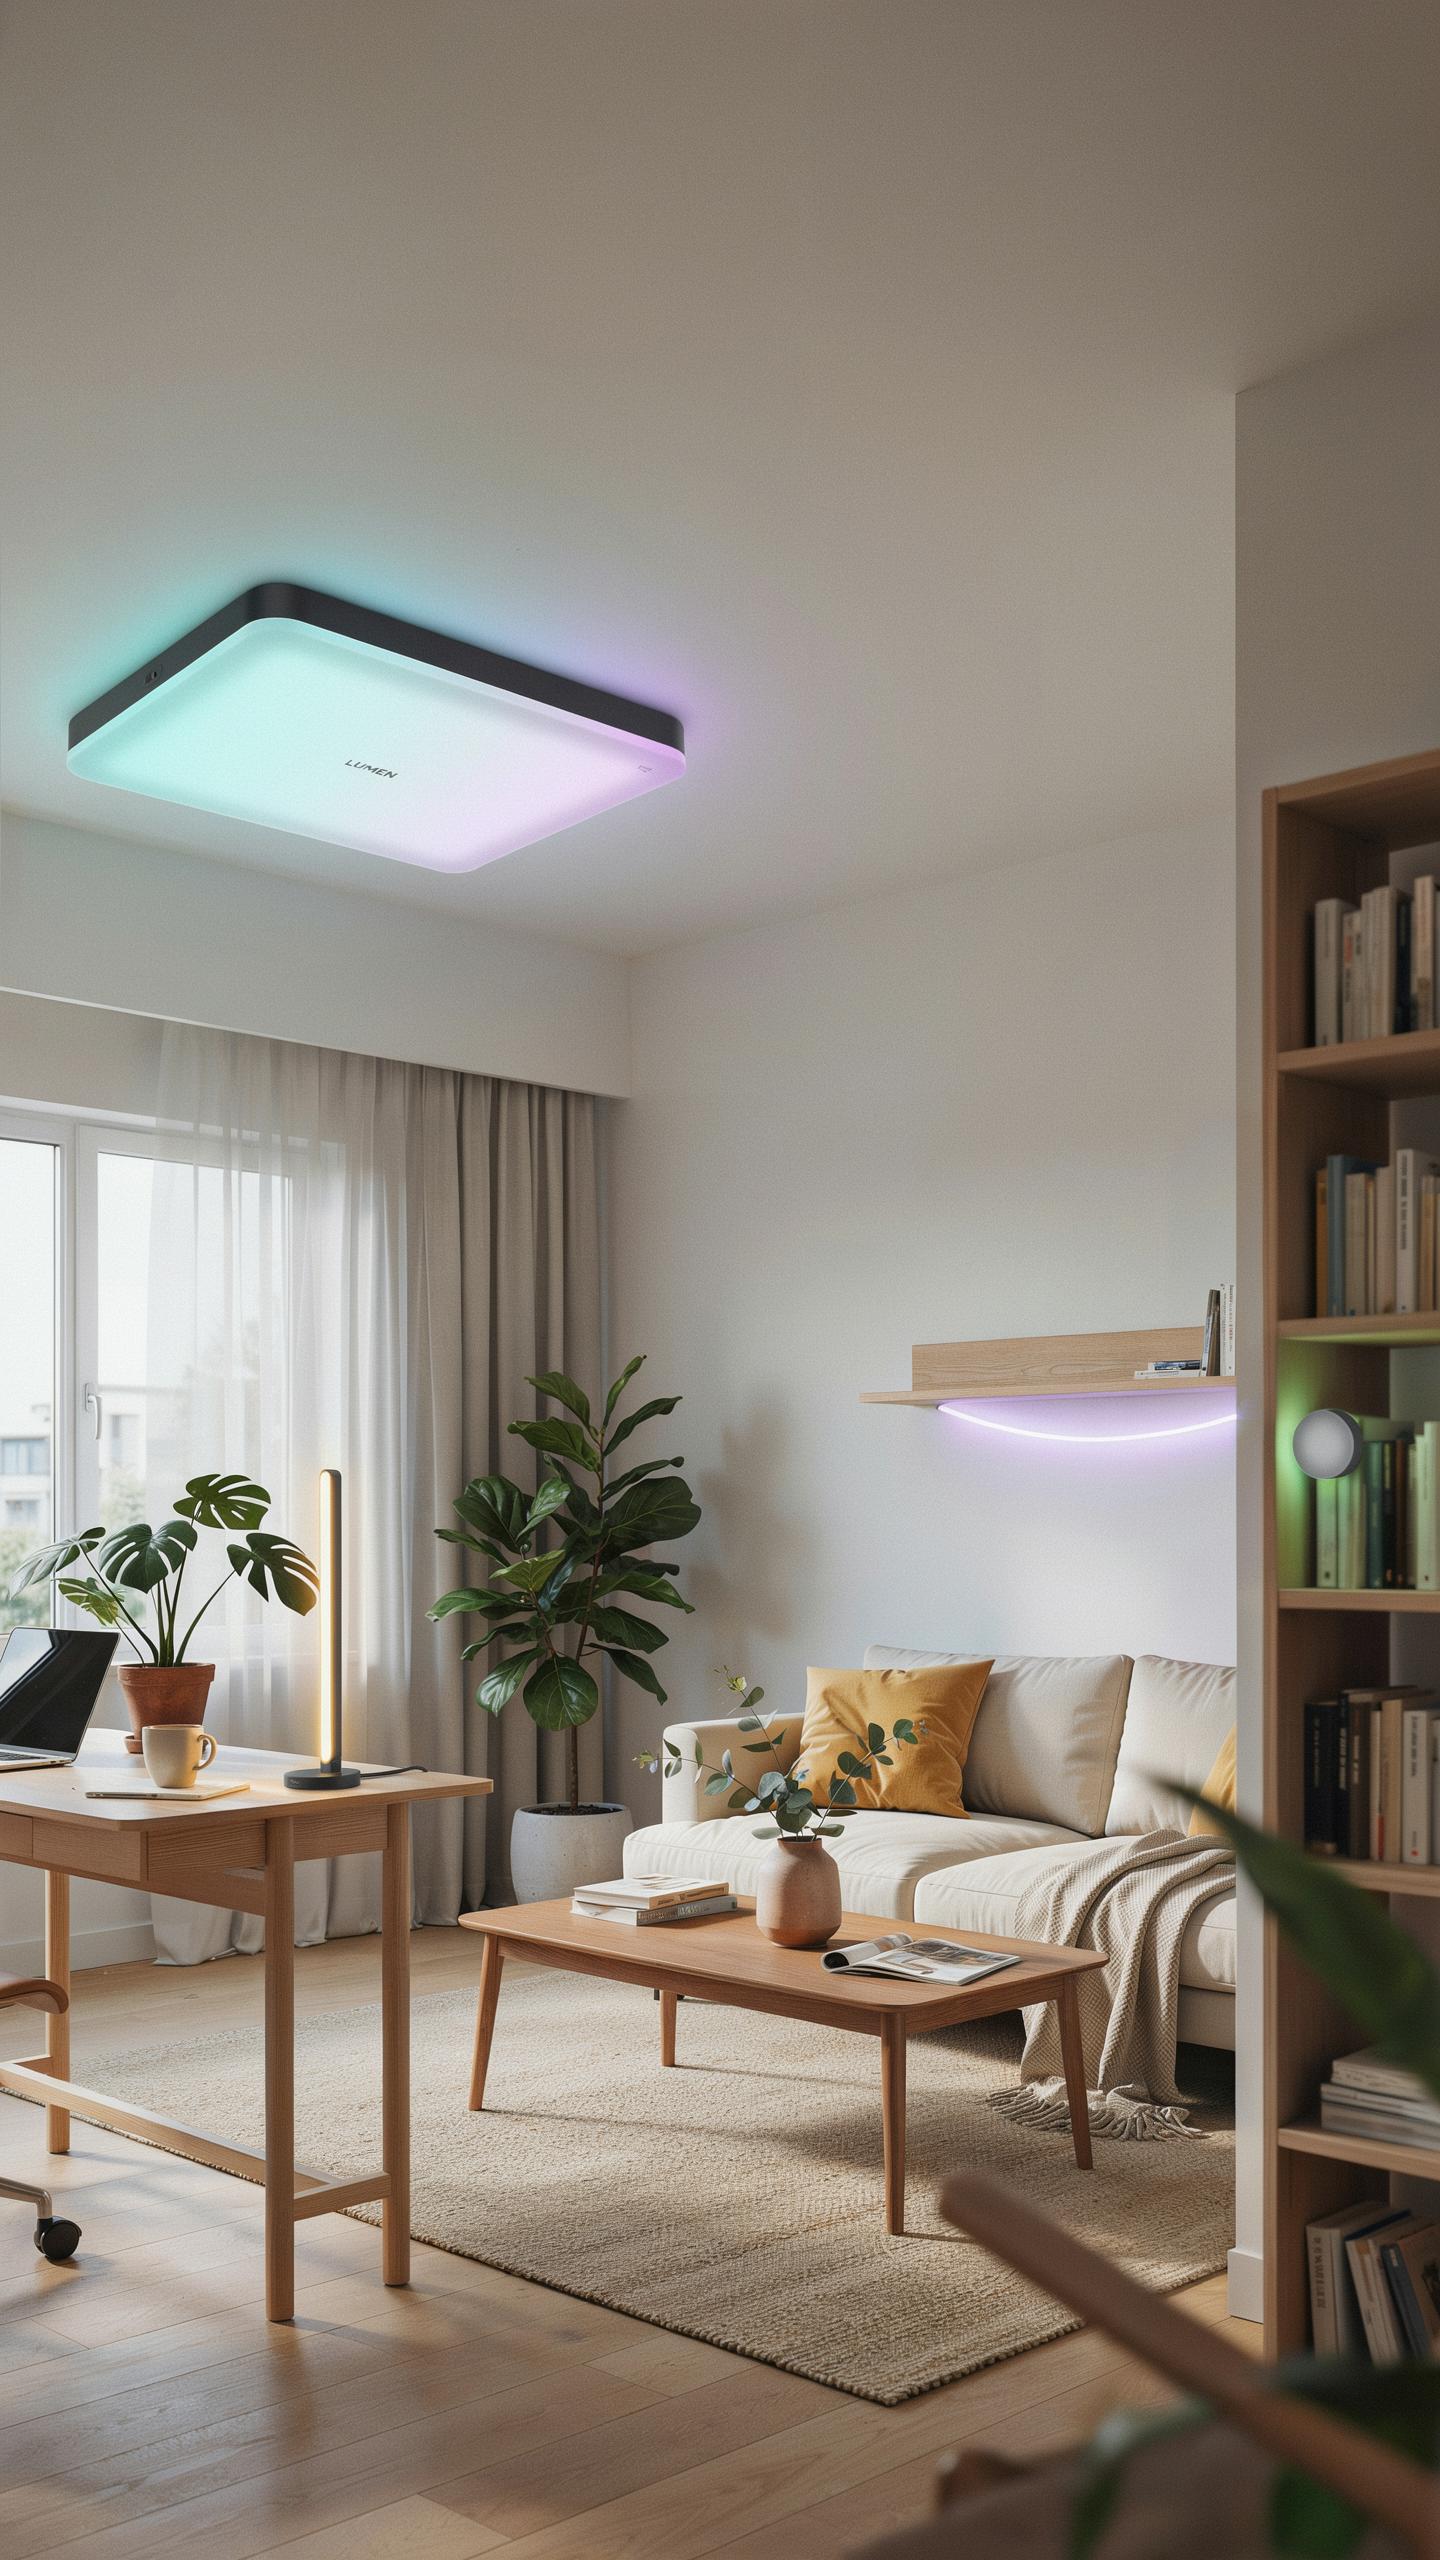
Considerations For Brightness And Color Temperature
Brightness matters because underlit faces read as unprofessional on video calls. Measure brightness in lumens or lux. Most home office setups need 500 to 1000 lux at face level. Too much brightness causes glare and washes out your features. Position panels at a 45-degree angle to avoid direct eye contact with the light source.
Color temperature determines how warm or cool your lighting appears. Measured in Kelvin, daylight ranges from 5600K to 6500K. Tungsten bulbs sit around 2700K and appear warm. For video calls, aim for 3200K to 5600K depending on your monitor. Cooler temperatures make skin tones appear more neutral on camera than warmer settings do.
Comparing Different Sizes And Power Options Of Light Panels
Panel size directly affects coverage area and light spread. Smaller 1×1 foot panels suit desk corners and tight spaces. Larger 2×2 foot panels illuminate entire face and shoulders evenly. Power consumption ranges from 15 watts for compact models to 150 watts for studio-grade panels. Higher wattage delivers more brightness but requires stronger electrical circuits in older homes.
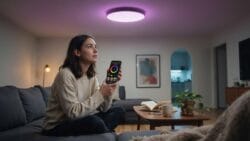
Dimming capability changes how you adjust output without replacing fixtures. Built-in dimmers let you reduce power draw and heat output. USB-powered panels offer portability but lack the brightness of AC-powered units. Battery options exist but drain quickly during extended calls. Match panel output to your room’s ambient light to prevent harsh shadows on your face.
Beyond The Basics Enhancing Your Video Conferencing With Multiple Led Panels
Using Fill Lights To Reduce Shadows
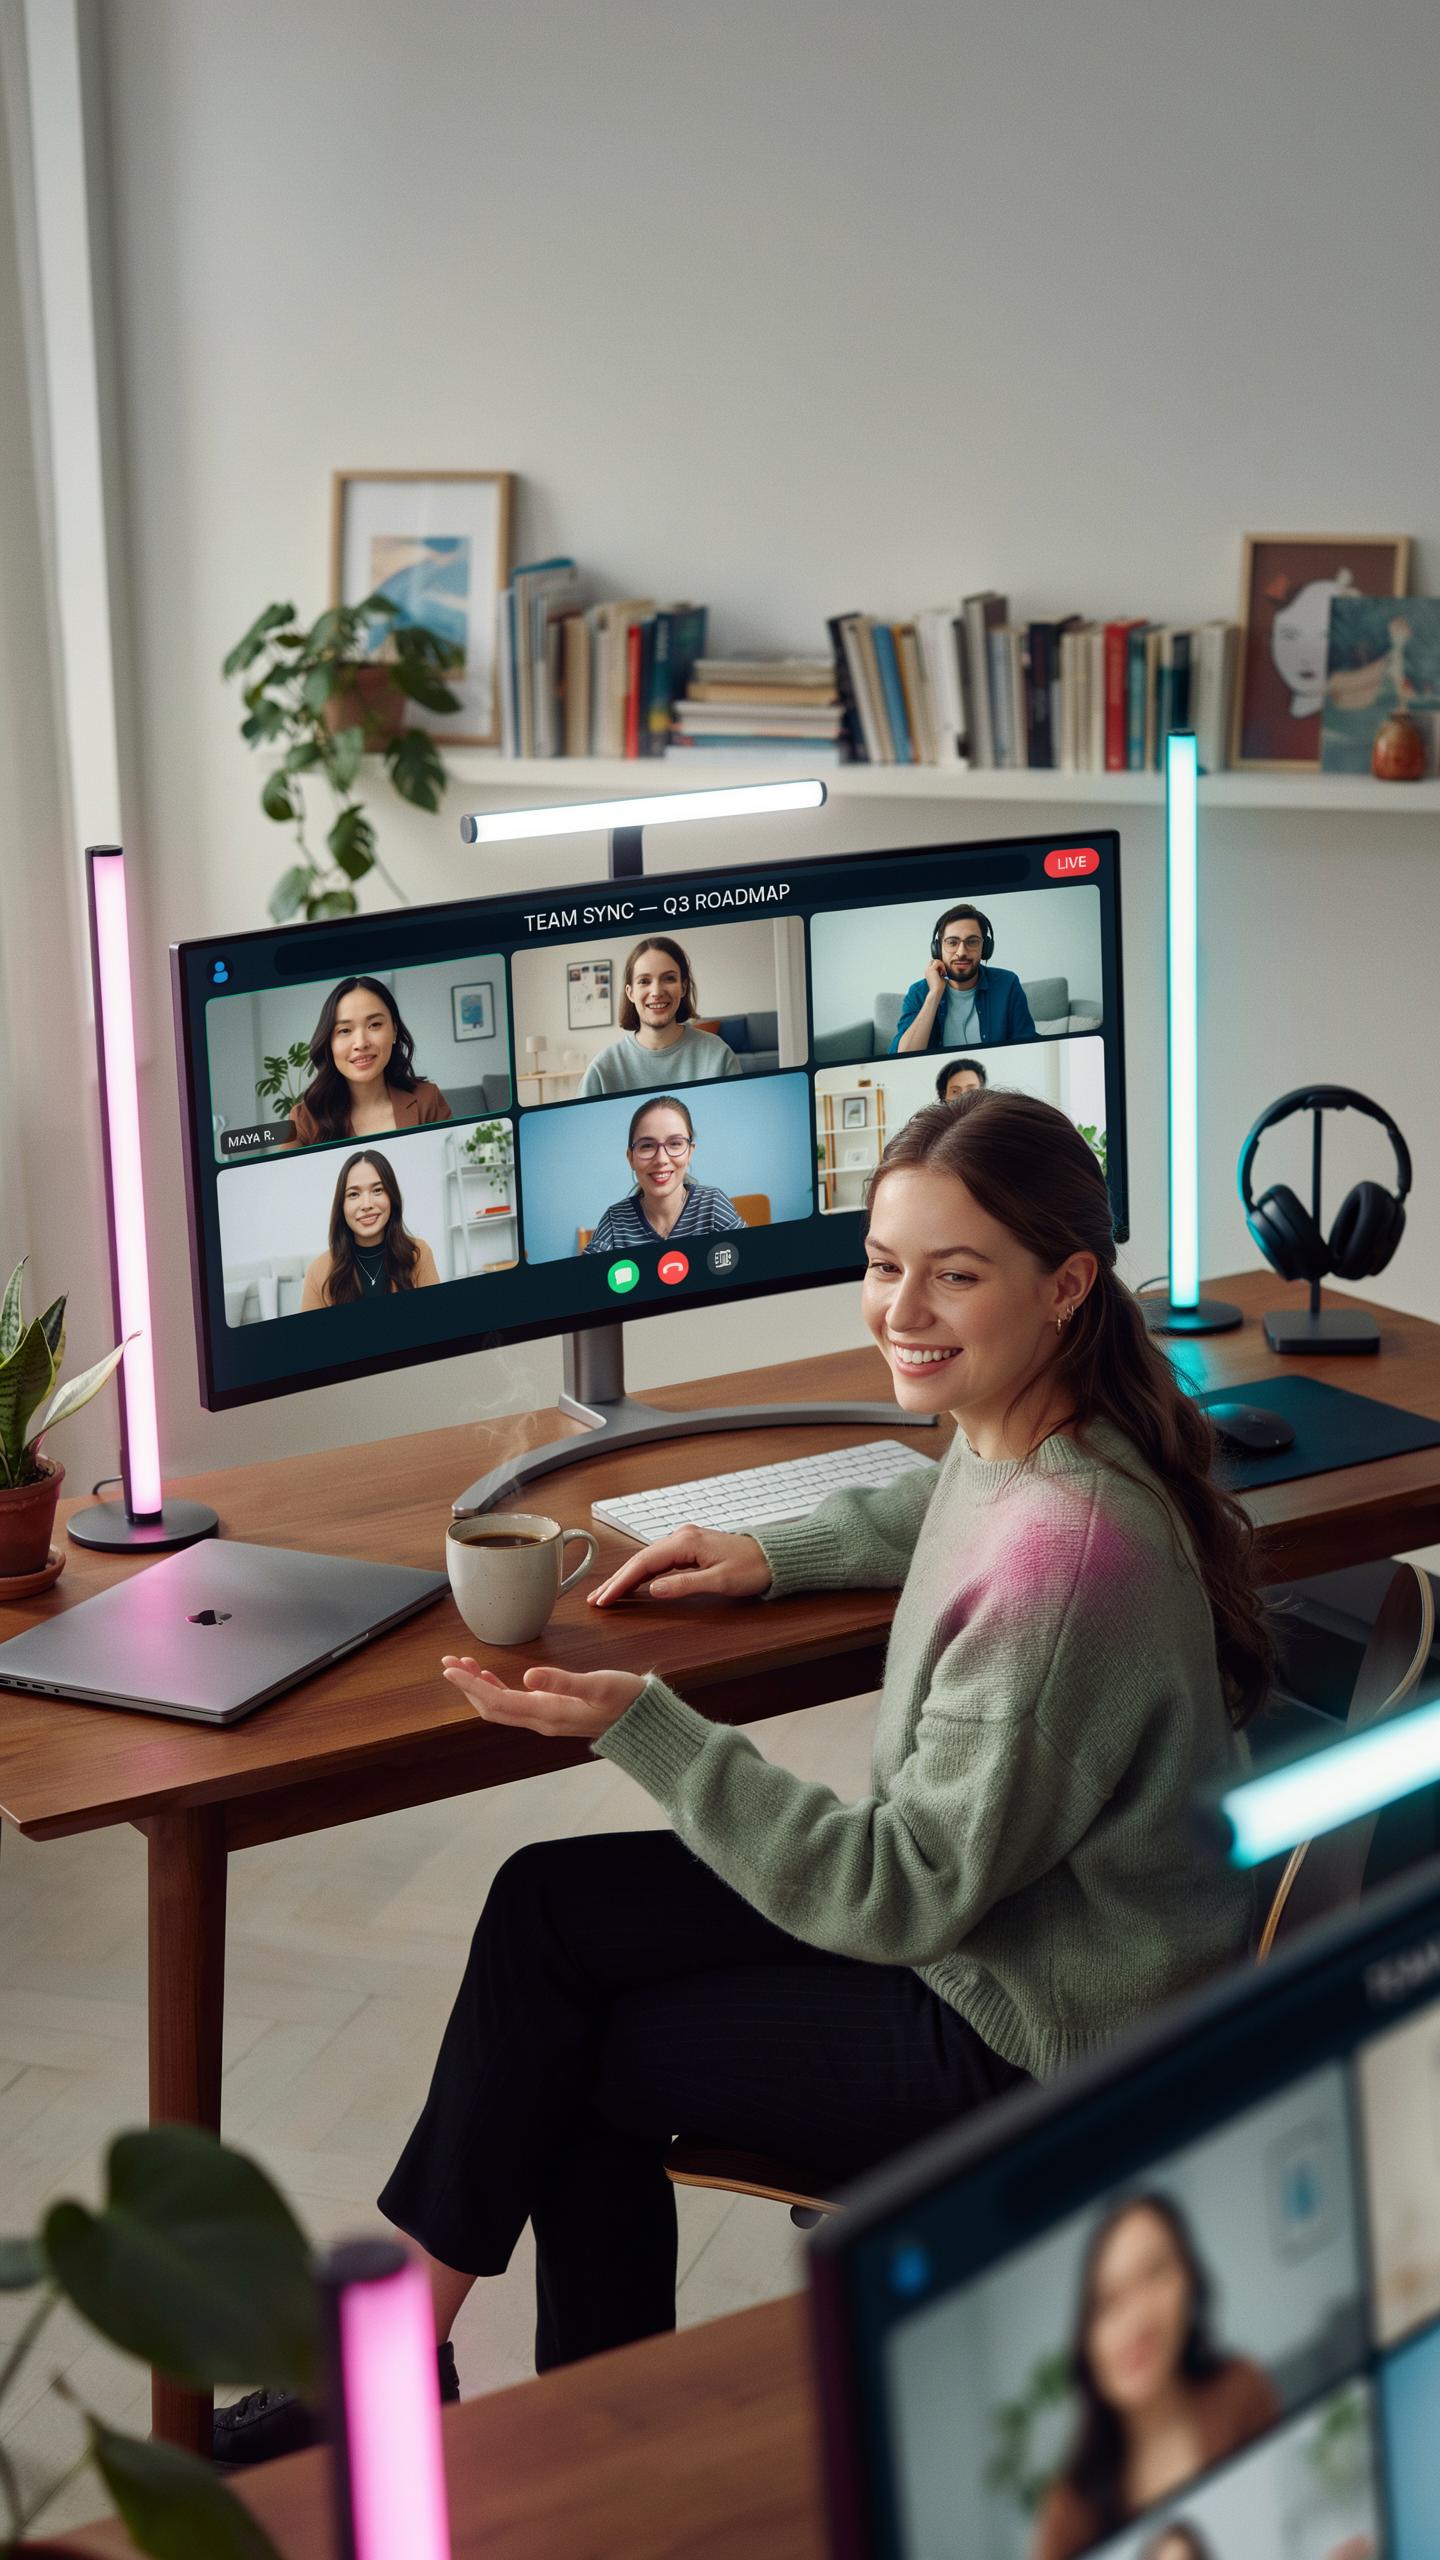
Shadows on your face during video calls create unflattering contrast and reduce clarity. Position a second LED panel at a 45-degree angle to your key light source. This fill light bounces illumination into shadowed areas without eliminating dimension entirely. The result is even skin tone and improved visibility without looking washed out or artificial.
Adjust your fill light to roughly half the intensity of your key light. Most LED panels include dimming controls that let you dial in exact output levels. Place the fill light on the opposite side of your camera from your key light. This setup mimics professional studio lighting and works across all video conferencing platforms without requiring software adjustments.
Backlighting For Depth And Separation
Backlighting places an LED panel behind you or to the side, creating a halo effect that separates you from your background. This depth cue makes you appear more three dimensional and professional on screen. Position the backlight so it does not directly enter your camera lens. Aim it at your shoulders and upper back to create subtle rim lighting that defines your outline.
Backlighting improves video compression performance on bandwidth-limited connections. When your subject separates cleanly from the background, encoding algorithms allocate processing power more efficiently. Use a backlight at approximately 25 percent intensity to avoid overexposure. This technique works particularly well for virtual backgrounds and solid-colored home office backdrops.
Edge Lighting Vs Direct Lighting For A Flattering Look

Benefits Of Diffused Edge Lighting
Edge lighting positions your light source to the side and slightly behind you. This technique reduces harsh shadows on your face and minimizes unflattering under-eye darkness. The light wraps around your features rather than hitting them head-on. Your skin appears smoother on video calls because the diffusion softens texture and blemishes. This setup also creates natural separation between you and your background.
Diffused edge lighting requires less power than direct lighting to achieve professional results. LED panels positioned at 45-degree angles work best for this approach. The diffusion material (typically frosted acrylic or fabric) scatters light evenly across your face. You avoid the washed-out look that comes from overpowered direct illumination. Most people appear more natural and approachable under edge lighting conditions.
When To Use Direct Lighting And How To Soften It
Direct lighting works when you need to eliminate shadows or brighten darker skin tones. Position a panel directly in front of you at eye level or slightly above. The problem is direct light creates harsh shadows unless you control it properly. This setup can feel clinical and unflattering without modification. Reserve pure direct lighting for situations where you need maximum brightness and clarity.

Soften direct lighting by adding diffusion material between the panel and your face. Silk, frosted plastic, or commercial diffusion panels all reduce intensity effectively. Place the light slightly off-center rather than dead-center to your camera. Combine direct lighting with a secondary edge light to balance shadows. This two-light setup gives you control over shadow depth while maintaining brightness where needed.
Portable Led Panels Your Selfie Light Solution On The Go
Compact Options For Travel And Mobile Calls
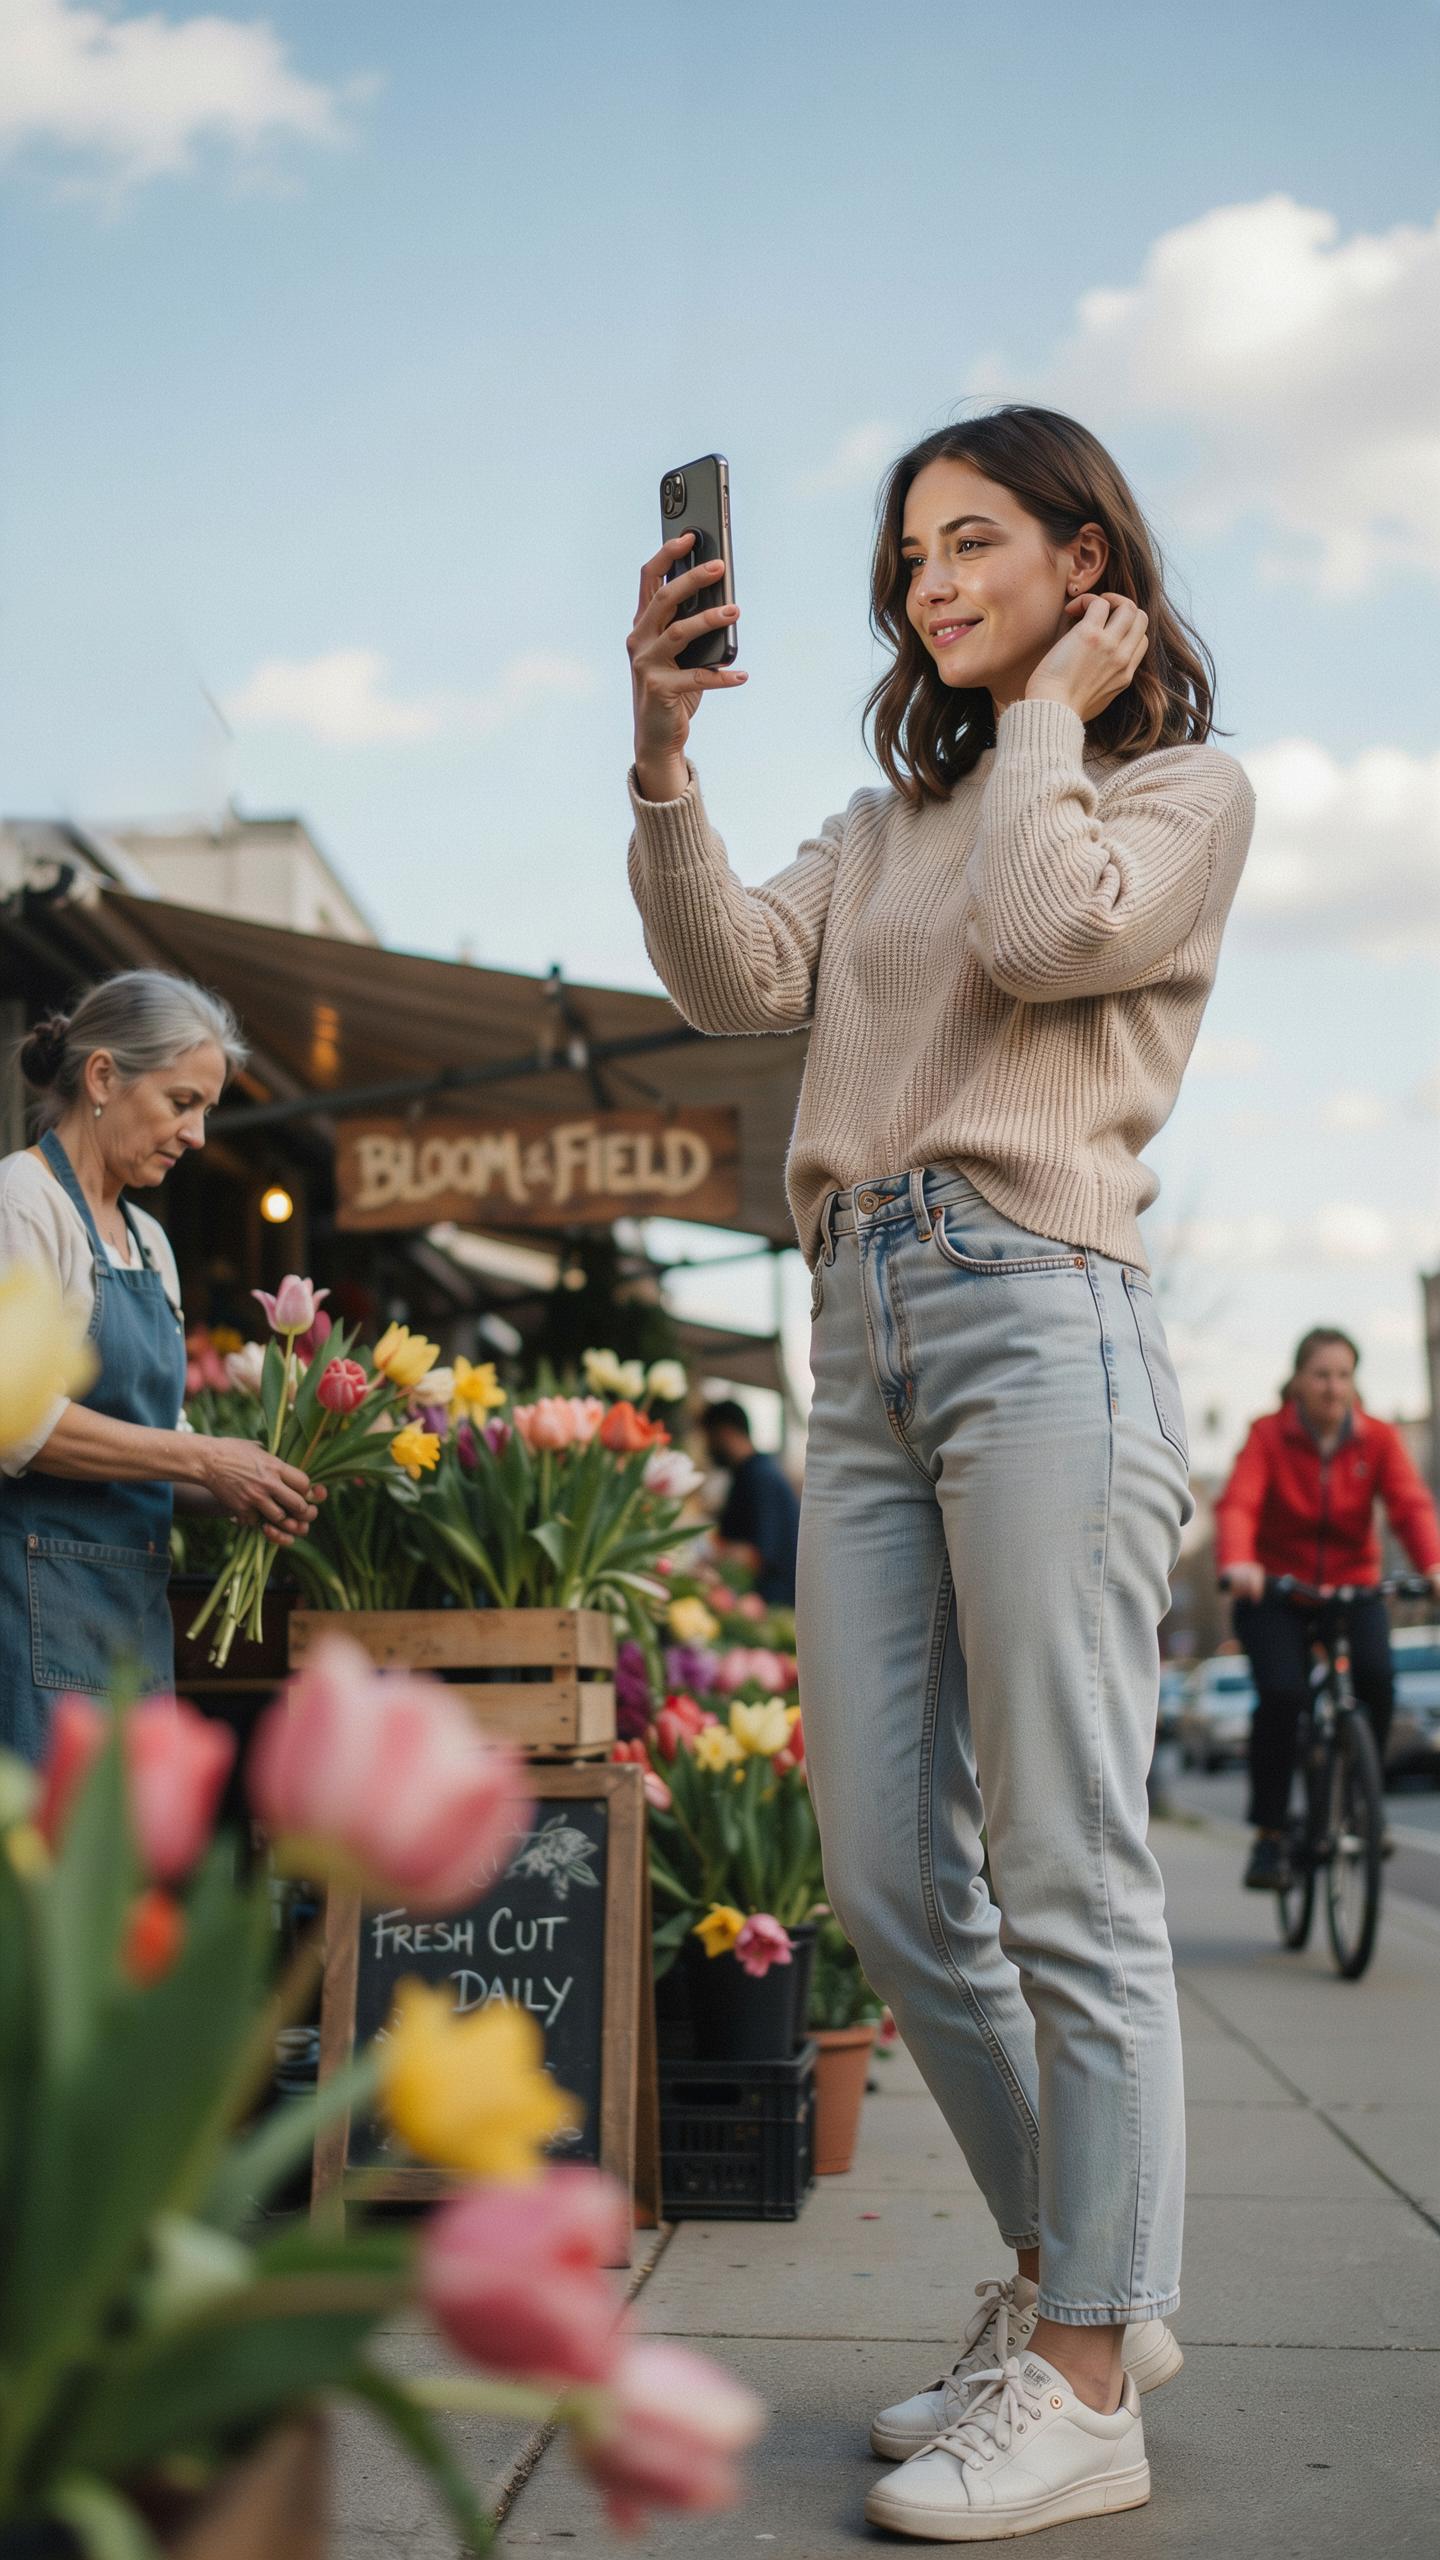
Portable LED panels range from 4 inches to 12 inches in width. These smaller units weigh between 0.5 to 2 pounds, fitting into laptop bags and backpacks without friction. They mount on tripods, ring light stands, or clip directly to monitors. Most compact models use standard USB-C or micro-USB charging, eliminating the need for proprietary cables during travel.
Battery-powered portable panels deliver 2000 to 5600 Kelvin color temperature options. This range covers daylight and warm indoor settings. You control intensity from 10 to 100 percent brightness using physical buttons or smartphone apps. Built-in diffusers soften shadows on your face during video calls, producing professional-grade results without studio equipment.
Battery Life And Portability Features
Most portable LED panels run 4 to 8 hours on a single charge at 50 percent brightness. Full brightness drains batteries faster, typically lasting 2 to 4 hours. Charging cycles range from 2 to 3 hours depending on battery capacity. Manufacturers rate these panels for 50000 hours of LED lifespan, though you replace batteries every 1 to 2 years based on use frequency.
- USB-C Fast Charging: Charges in 1.5 to 2.5 hours on most models, compatible with phone chargers and laptop power adapters for unified travel gear.
- Lightweight Aluminum Frames: Weigh less than standard panels while maintaining rigidity, critical for preventing tip-overs on unstable desk surfaces.
- Folding Designs: Collapse to 5 by 3 inch dimensions, fitting carry-on luggage and hotel nightstands without taking up valuable space.
- Detachable Diffusion Panels: Swap between frosted and clear filters to adjust light softness, adapting to different room environments quickly.
- DC Power Input Options: Accept external battery packs or wall outlets, extending runtime indefinitely when plugged in during long conference calls.

Portable panels handle multiple daily video calls without requiring a charge between sessions. Most users charge overnight or during breaks. Built-in battery indicators show remaining runtime on LED displays or smartphone apps. These panels replace ring lights for travel because they illuminate larger face areas and reduce eye strain during extended screen time.
Integrating Your Led Panel With Your Home Office Aesthetics
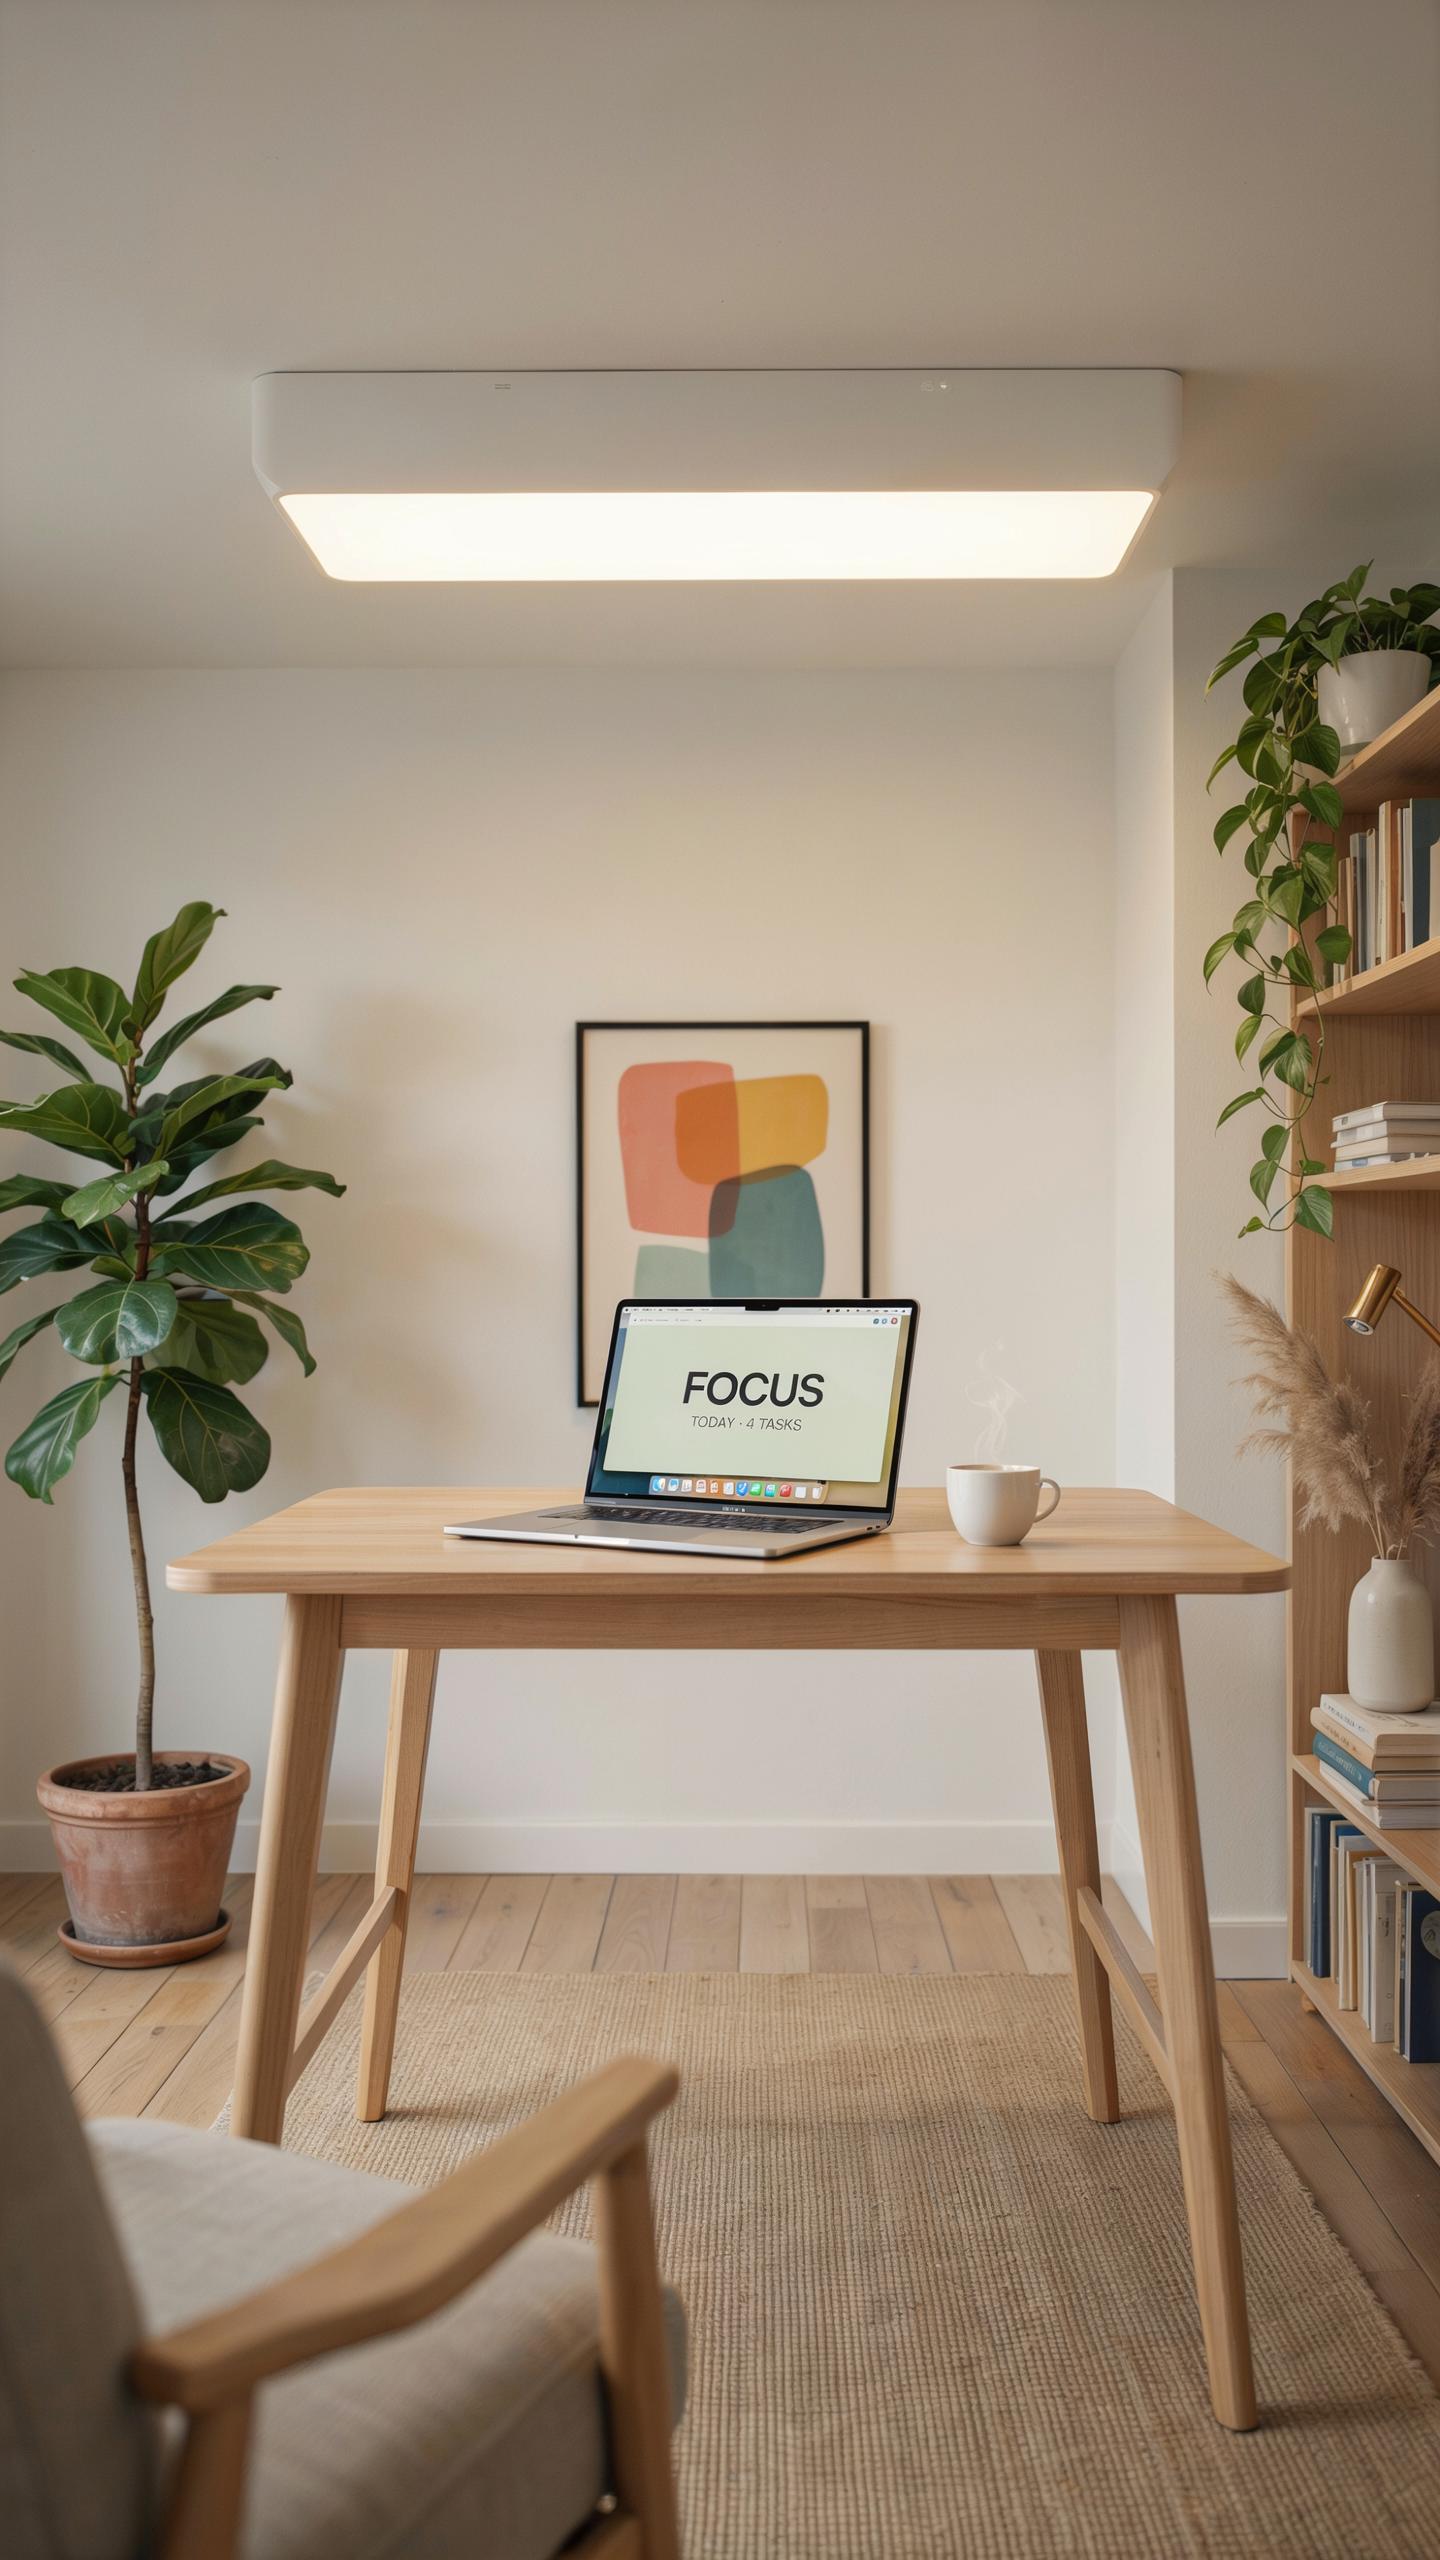
Mounting Solutions And Discreet Placement
LED panels mount using several standard methods. Arm mounts attach directly to desks or walls using clamps or brackets. This approach keeps the panel at eye level during video calls. Wall mounting uses standard VESA patterns or custom brackets. Positioning the panel above your monitor or to the side eliminates shadows on your face. Ceiling mounts work for overhead lighting but require professional installation. Choose mounting based on your desk layout and camera position.
Discreet placement means hiding the panel’s power brick and excess cable. Position panels behind monitors or on monitor arms to keep them out of frame. Angled placement at forty-five degrees to your face eliminates harsh shadows while staying invisible to cameras. Test your camera view before finalizing placement. Move panels slightly until your face appears evenly lit without visible light sources in the background.
Cable Management And Power Considerations
LED panels draw between twenty and one hundred watts depending on model and brightness settings. Run power cables along desk edges using cable trays or adhesive clips. Route cables behind monitors or down the back of desks to maintain a clean workspace. Use surge protectors with on-off switches to control power without unplugging. USB-powered panels eliminate one cable but draw from your computer’s power supply, which can strain older systems.
Cable management prevents tripping hazards and maintains professional appearance during video calls. Bundle cables with velcro straps in groups of two to three. Keep cables away from foot traffic areas and water sources. Label each cable at both ends if you use multiple panels or accessories. Test all connections before mounting panels permanently to ensure stable power delivery.
Troubleshooting Common Video Lighting Challenges
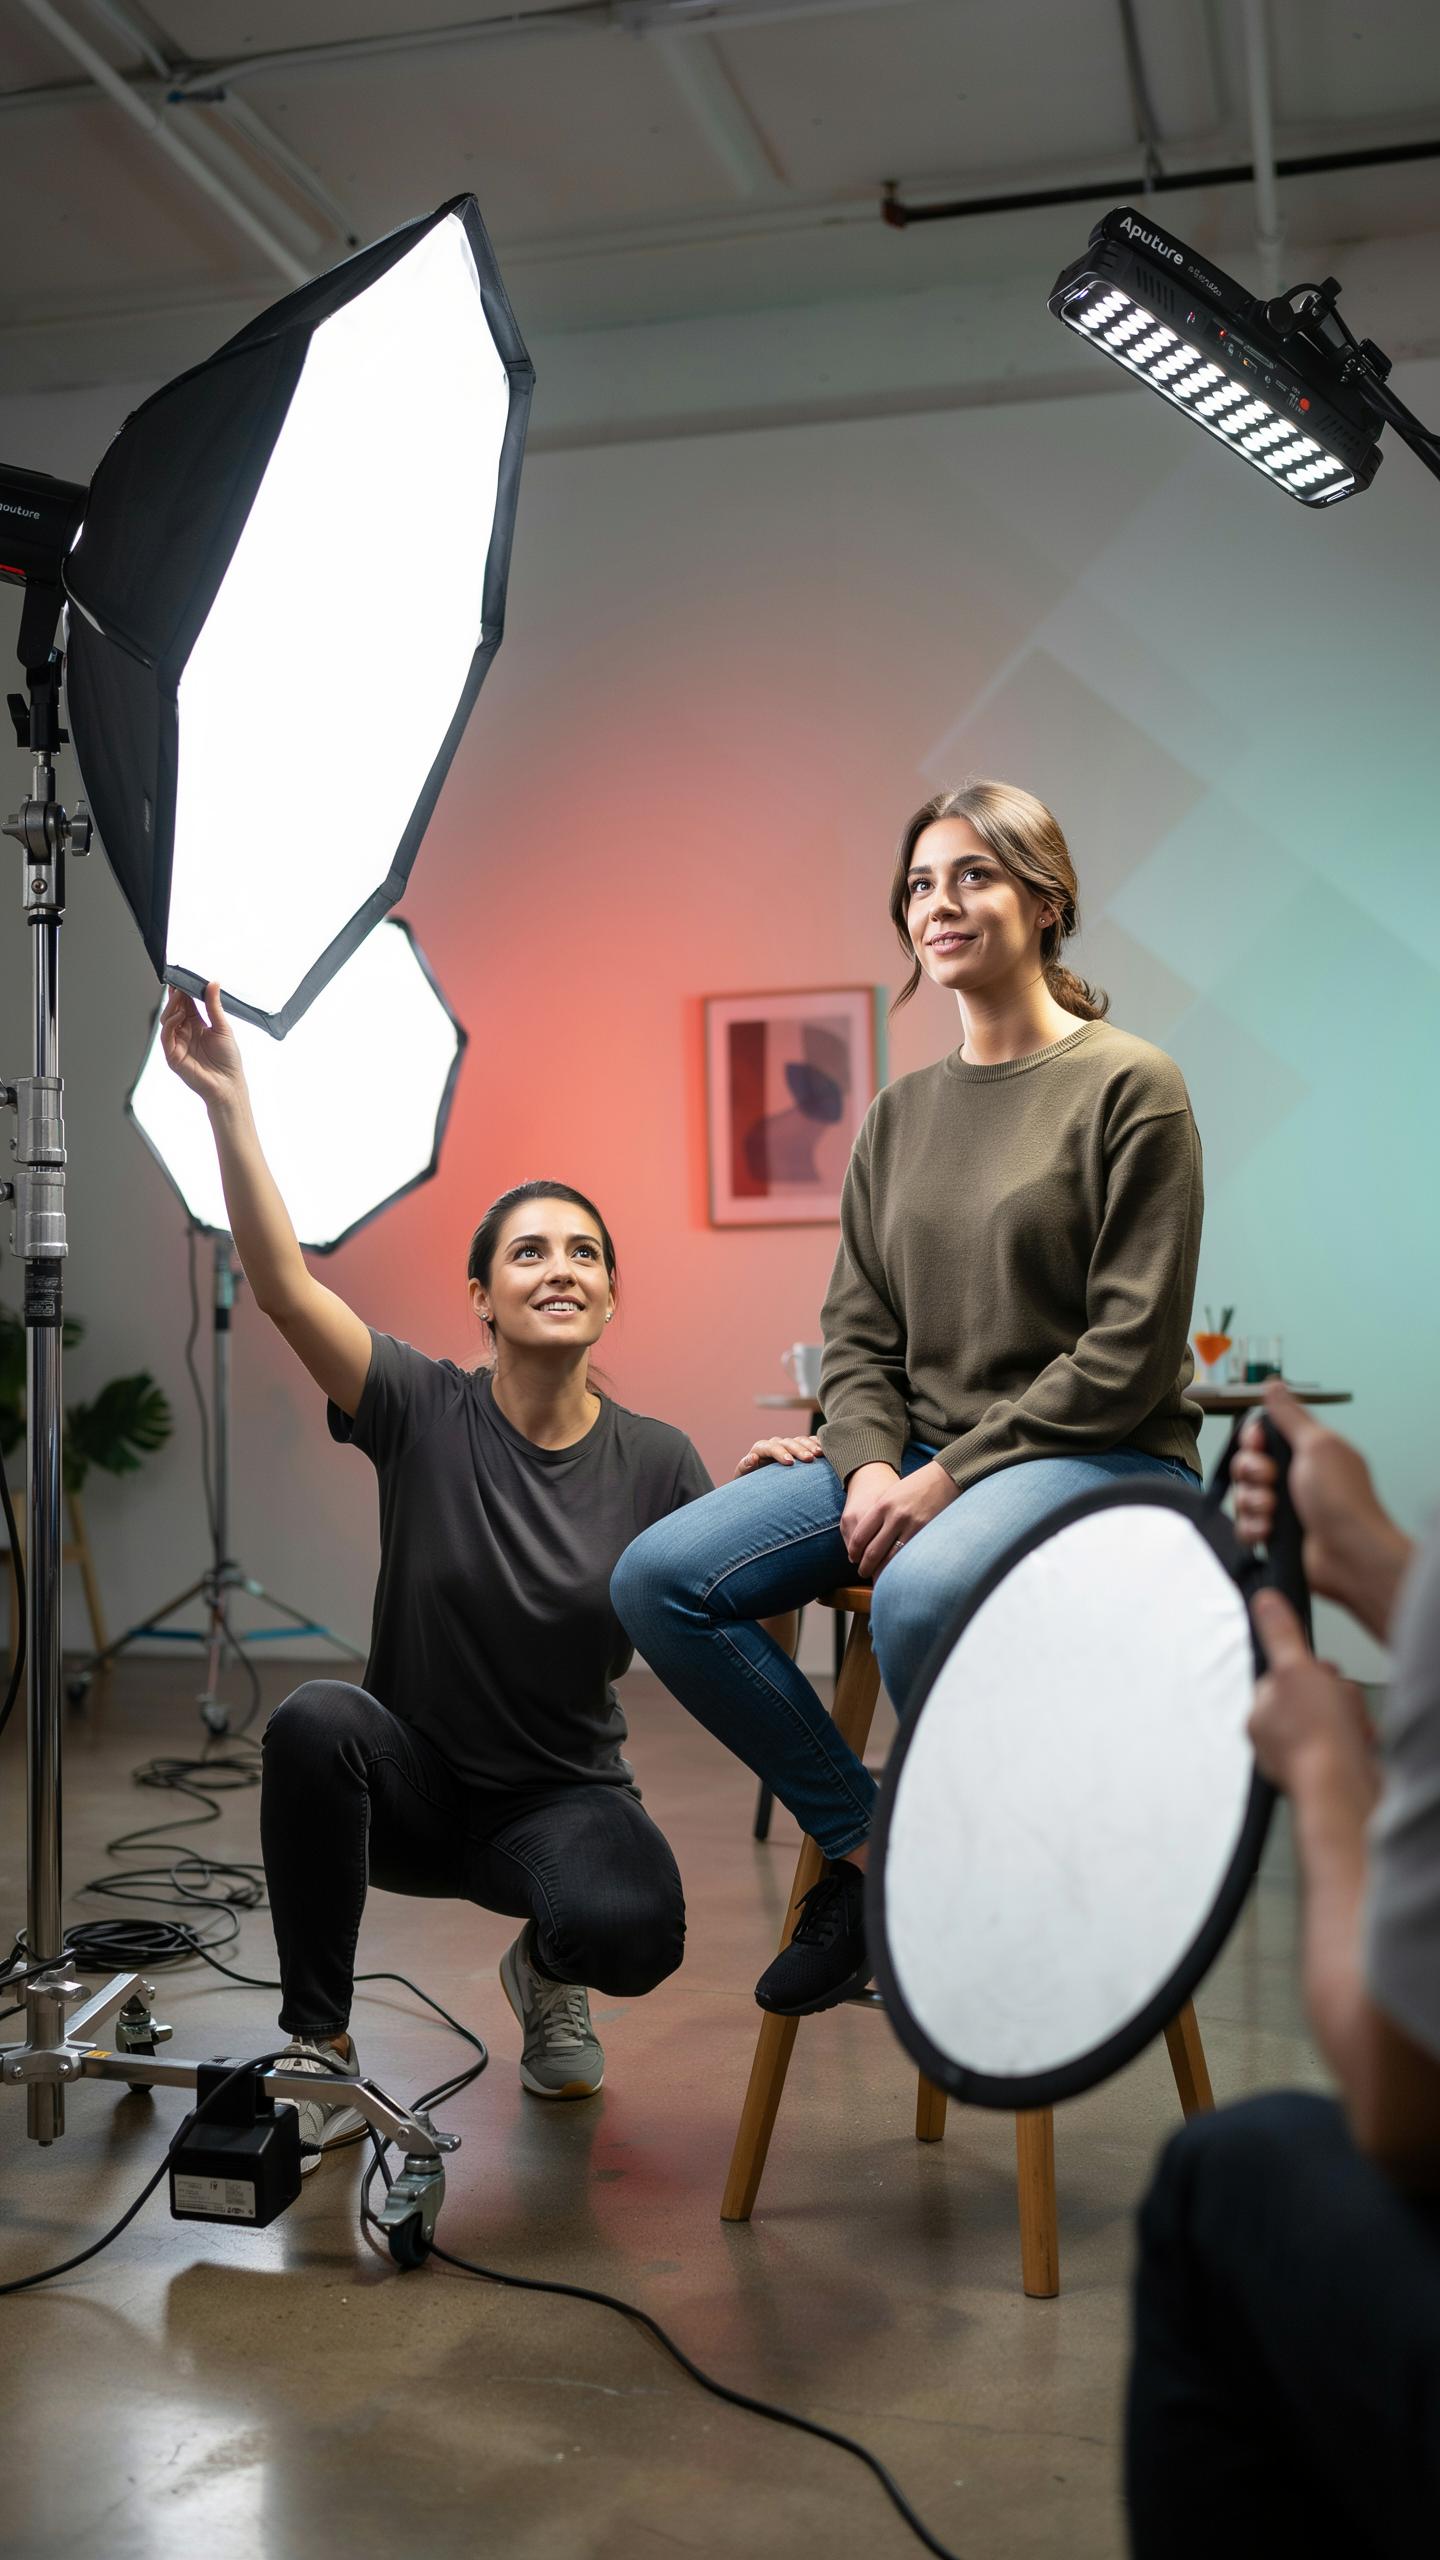
Dealing With Glare And Reflections
Glare comes from light bouncing directly into your camera lens or reflecting off surfaces behind you. Position your LED panel at a 45-degree angle to your face, not straight on. This reduces direct reflection while maintaining even illumination. Adjust panel height so light travels downward and across, avoiding bounce-back into the lens.
Use diffusion filters or frosted panels to scatter light rays. These reduce harsh reflections without losing brightness output. Place your panel slightly above eye level and angled down. Test your video feed before calls to catch reflections early. Move reflective objects like glass, mirrors, or metal items away from your camera’s line of sight.
Adjusting For Varying Ambient Light Conditions
Ambient light changes throughout the day. Your LED panel must compensate or conflict with natural sunlight and indoor fixtures. Dimmer rooms require higher LED output. Brighter rooms need lower settings to prevent overexposure. Use your camera’s preview to monitor exposure in real time before meetings start.
Color temperature matters when mixing light sources. Warm indoor bulbs conflict with cool daylight through windows. Set your LED panel to match the dominant light source in your space. Most panels range from 3000K to 5600K. Adjust based on time of day and existing room lighting. Test different settings weekly as seasons change natural light patterns.
Future Proofing Your Video Lighting Setup
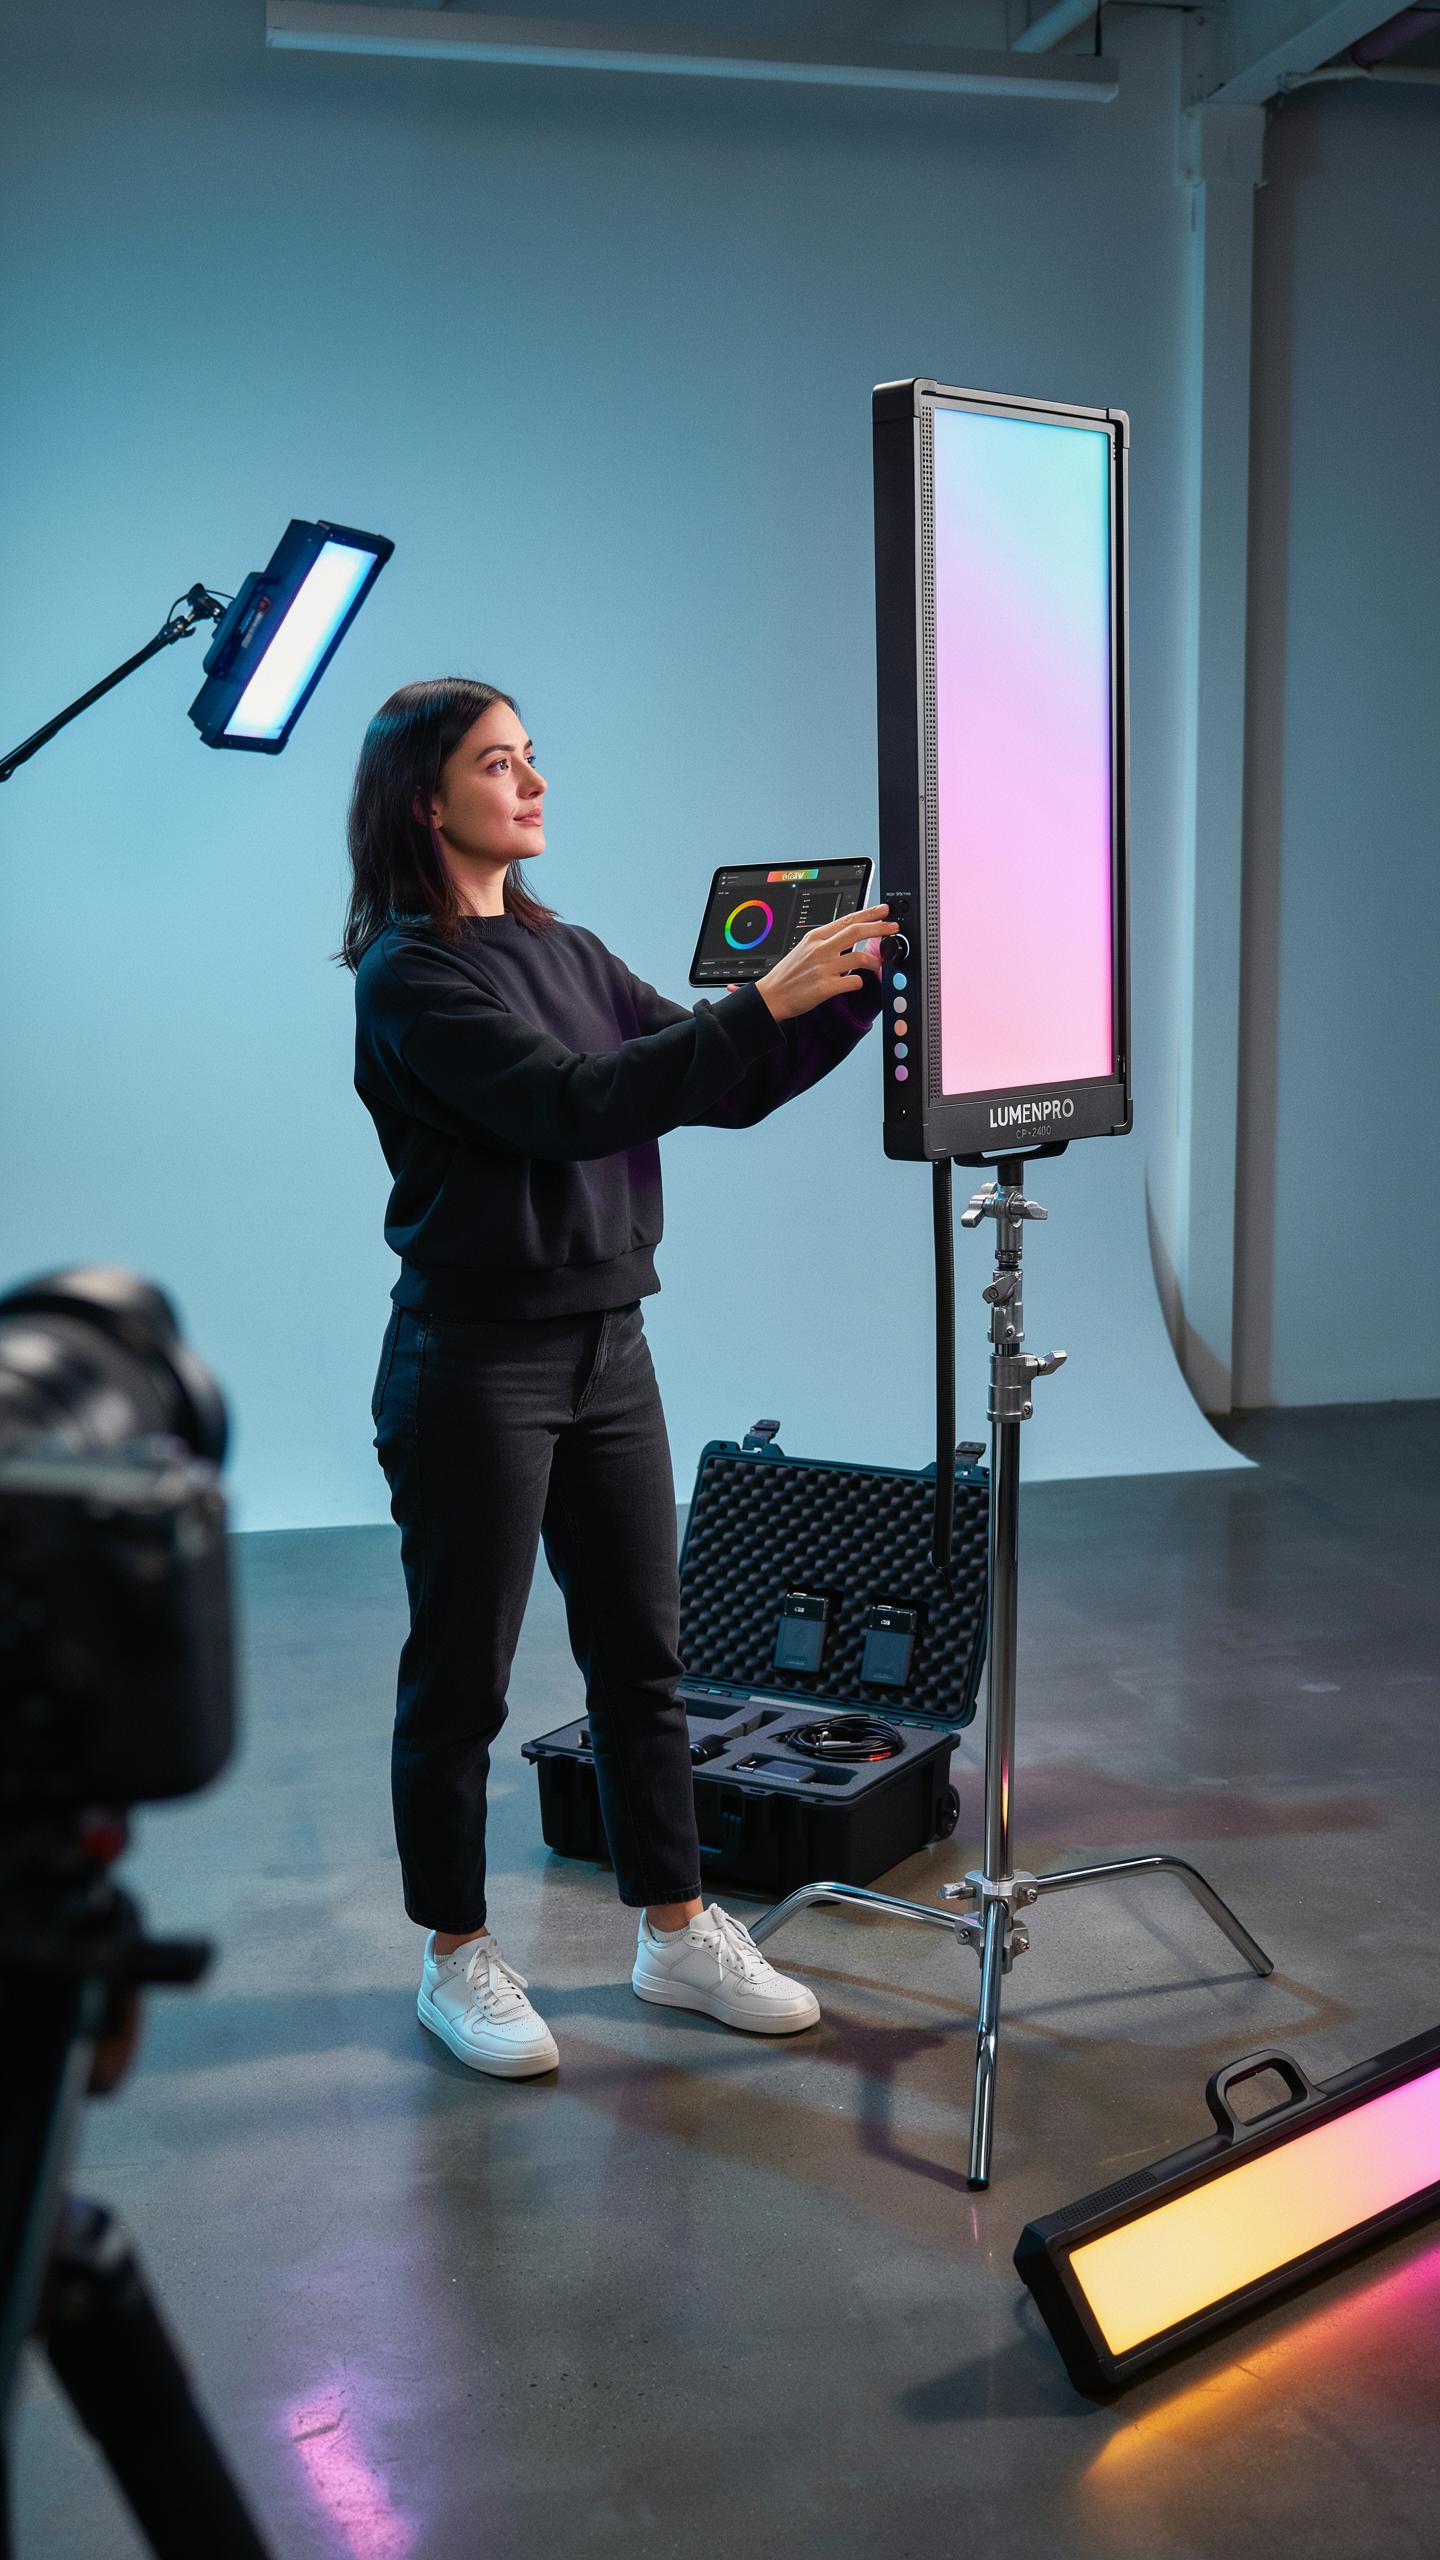
Innovations In Smart Lighting And Control
Smart lighting systems now integrate with video conferencing platforms through WiFi and Bluetooth connectivity. Major manufacturers embed dimming, color temperature adjustment, and scheduling directly into mobile apps or voice assistants. This eliminates manual adjustments during calls and lets you preset optimal lighting for different times of day or meeting types.
API integration allows LED panels to sync with calendar software and automatically adjust brightness when meetings start. Some panels now feature AI sensors that detect ambient light and compensate in real time. These systems reduce the need to physically touch your setup once configured, keeping your hands free and your appearance consistent throughout your workday.
Upgrading Your LED Panel For Evolving Needs
Your current panel handles today’s video quality standards, but camera technology and platform compression algorithms change. Upgrade triggers include moving to higher resolution cameras, adopting new conferencing software with better color rendering, or expanding to multi-camera setups for different angles.
- Resolution compatibility: Newer cameras capture more detail, requiring brighter or more evenly distributed light to prevent grain and shadows in compressed streams.
- Color accuracy standards: Professional platforms increasingly demand accurate skin tone reproduction, pushing panel upgrades toward higher CRI ratings above 95.
- Expandability: Modular panels allow you to add units without replacing your entire setup as your home office grows or your content demands increase.
- Power efficiency: Newer LED technology produces the same output at lower wattage, reducing heat and electricity costs over time.
- Connectivity options: Panels with multiple control methods ensure compatibility with future platforms and smart home ecosystems you may adopt.
Assess your upgrade needs annually by testing your video output on different platforms and comparing it against current professional standards. Document any inconsistencies in color, shadow detail, or brightness to justify replacement or addition of units before they impact your professional presence.
Frequently Asked Questions

What exactly is an LED light panel, and why would I need one for my video calls?
An LED light panel is a compact, adjustable light source that provides bright, even illumination. For video calls, it eliminates shadows and brightens your face, making you look more professional and presentable. It drastically improves your on-screen appearance compared to relying on ambient room lighting, ensuring clarity and engagement.
How do I properly set up and position my led light panel for video calls at home to get the best results?
Position your led light panel for video calls at home directly in front of you, slightly above eye level, angled downwards. This illuminates your face evenly without creating harsh shadows. Experiment with the brightness and color temperature settings to find what best complements your skin tone and room environment for a natural, flattering look.
Are there affordable options for an LED light panel, or do they tend to be expensive for home use?
Absolutely! You can find a wide range of affordable LED light panels suitable for home office video calls without breaking the bank. Many excellent options are available under $50, offering adjustable brightness and color temperature. Look for models designed for content creators or remote work for quality without the high price tag.



