
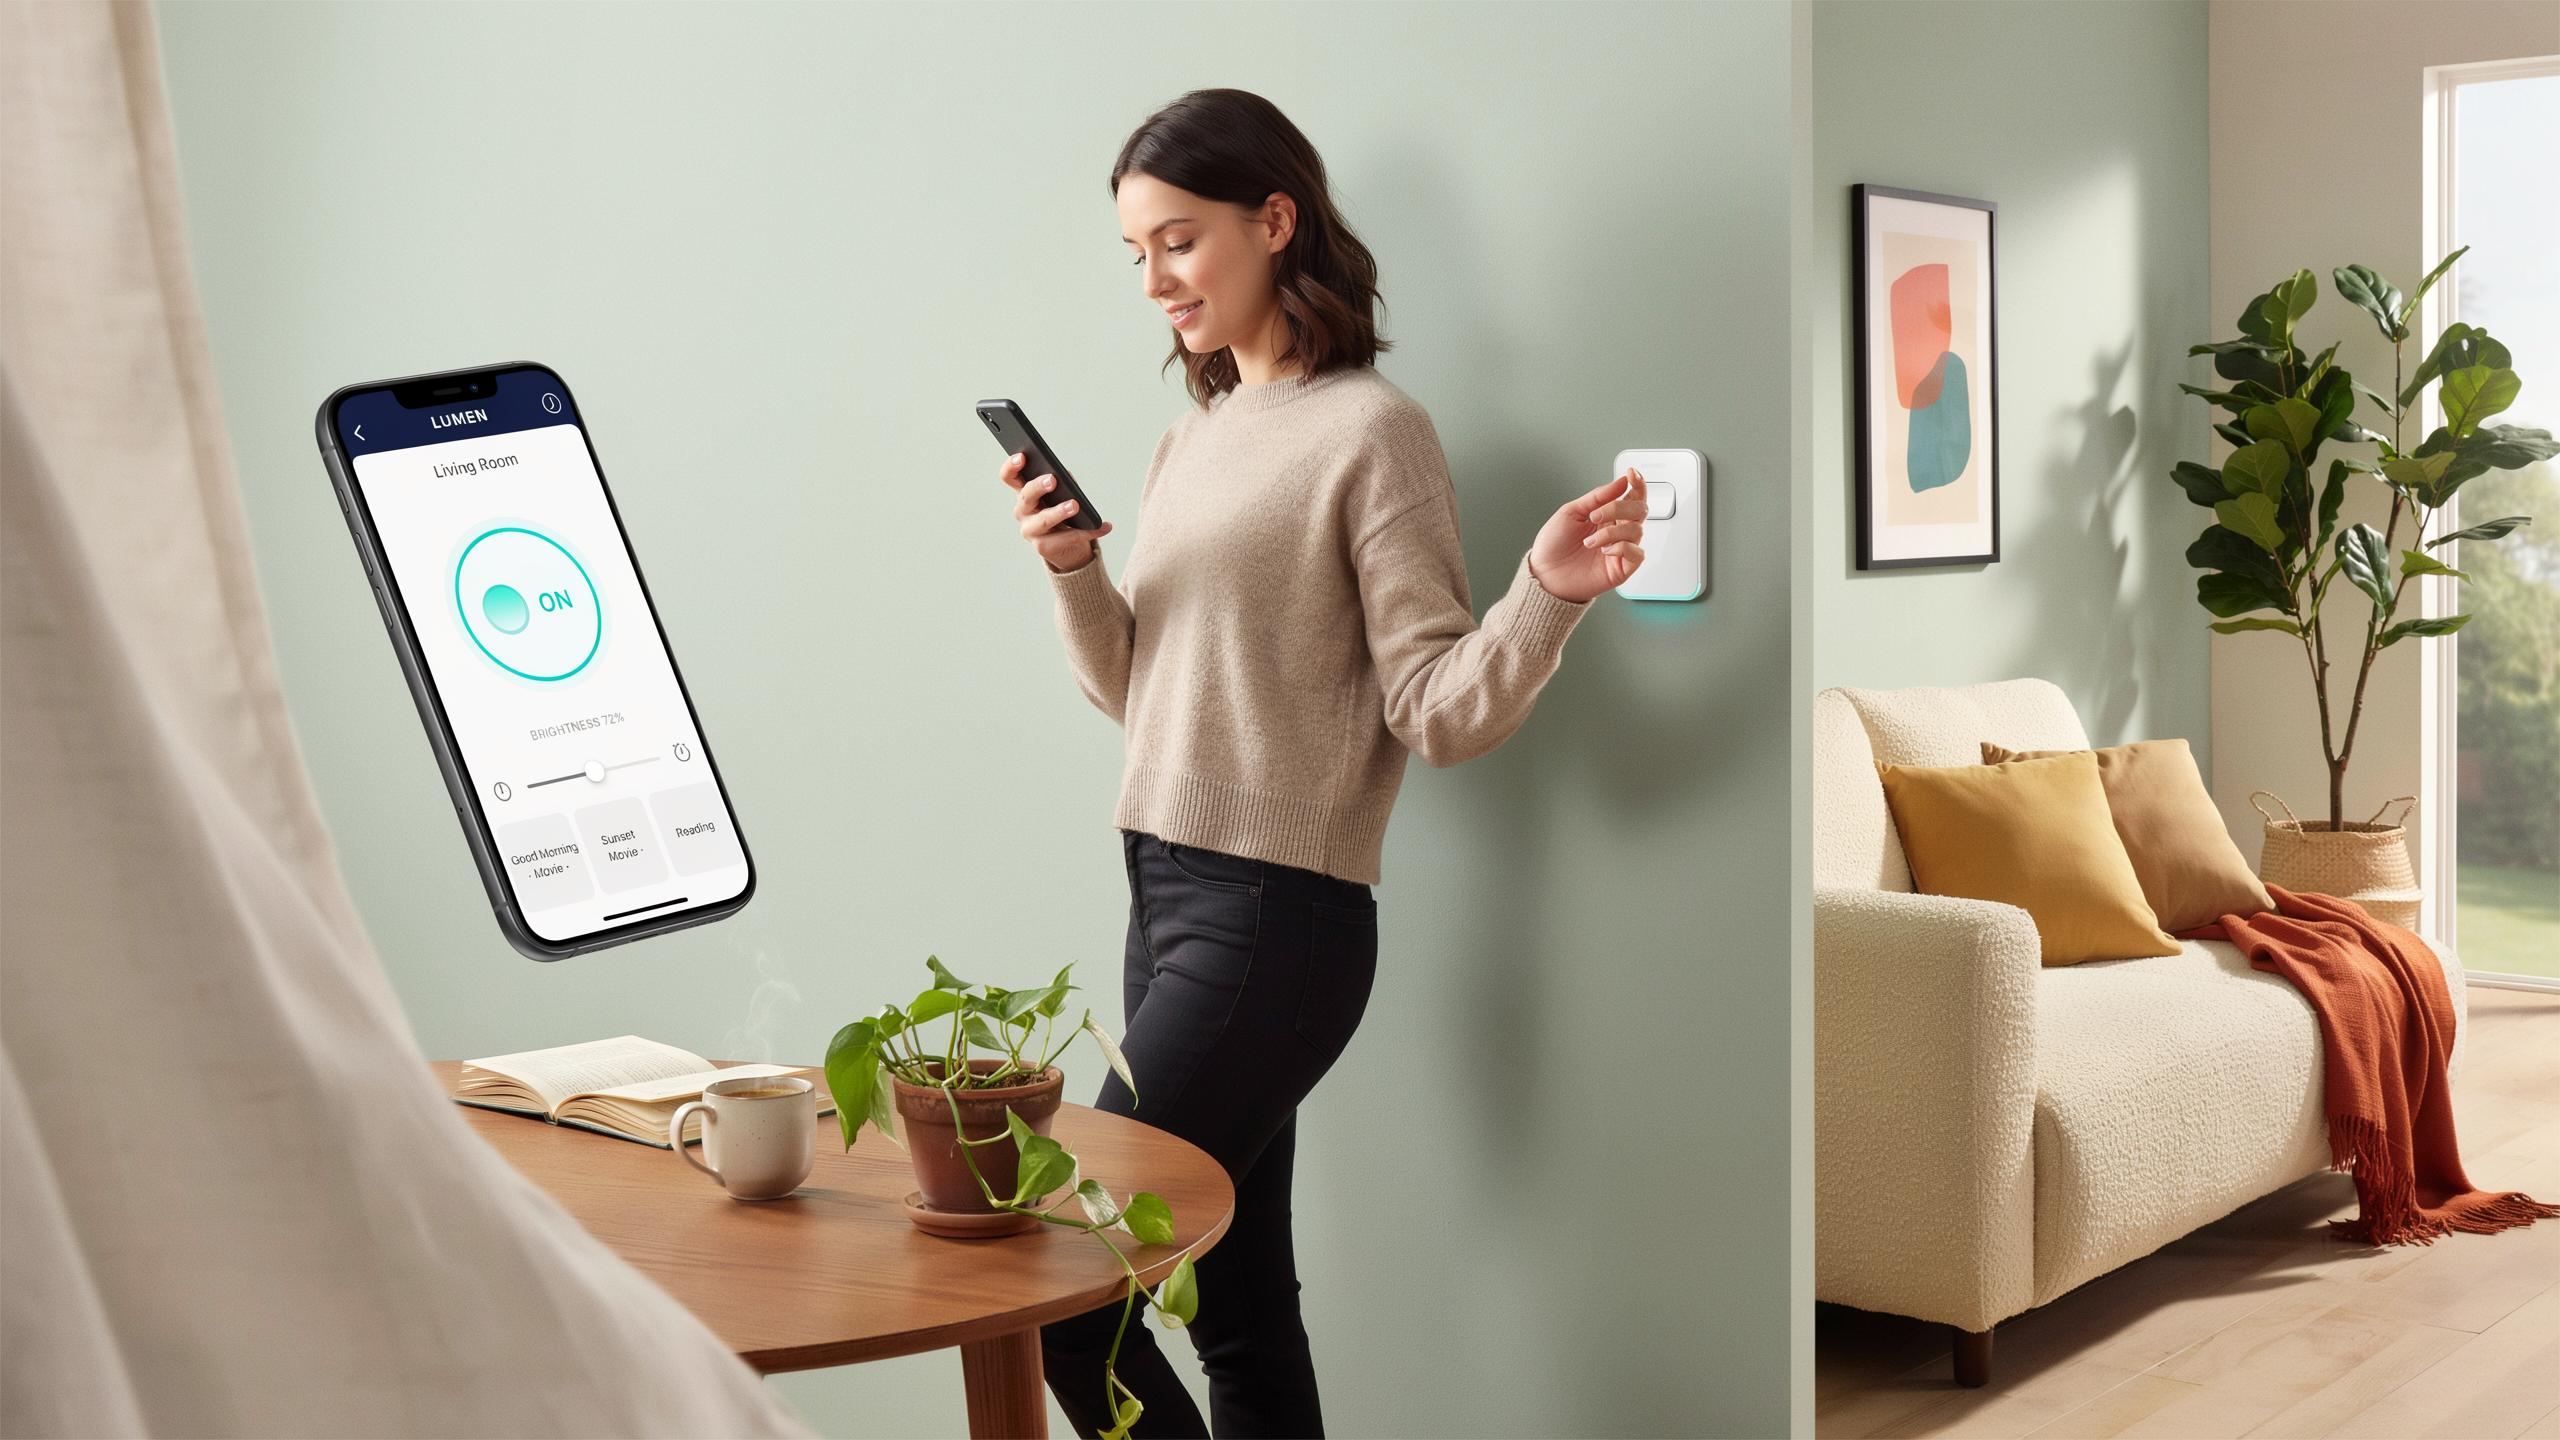
Understanding Smart Switches What They Are And How They Work
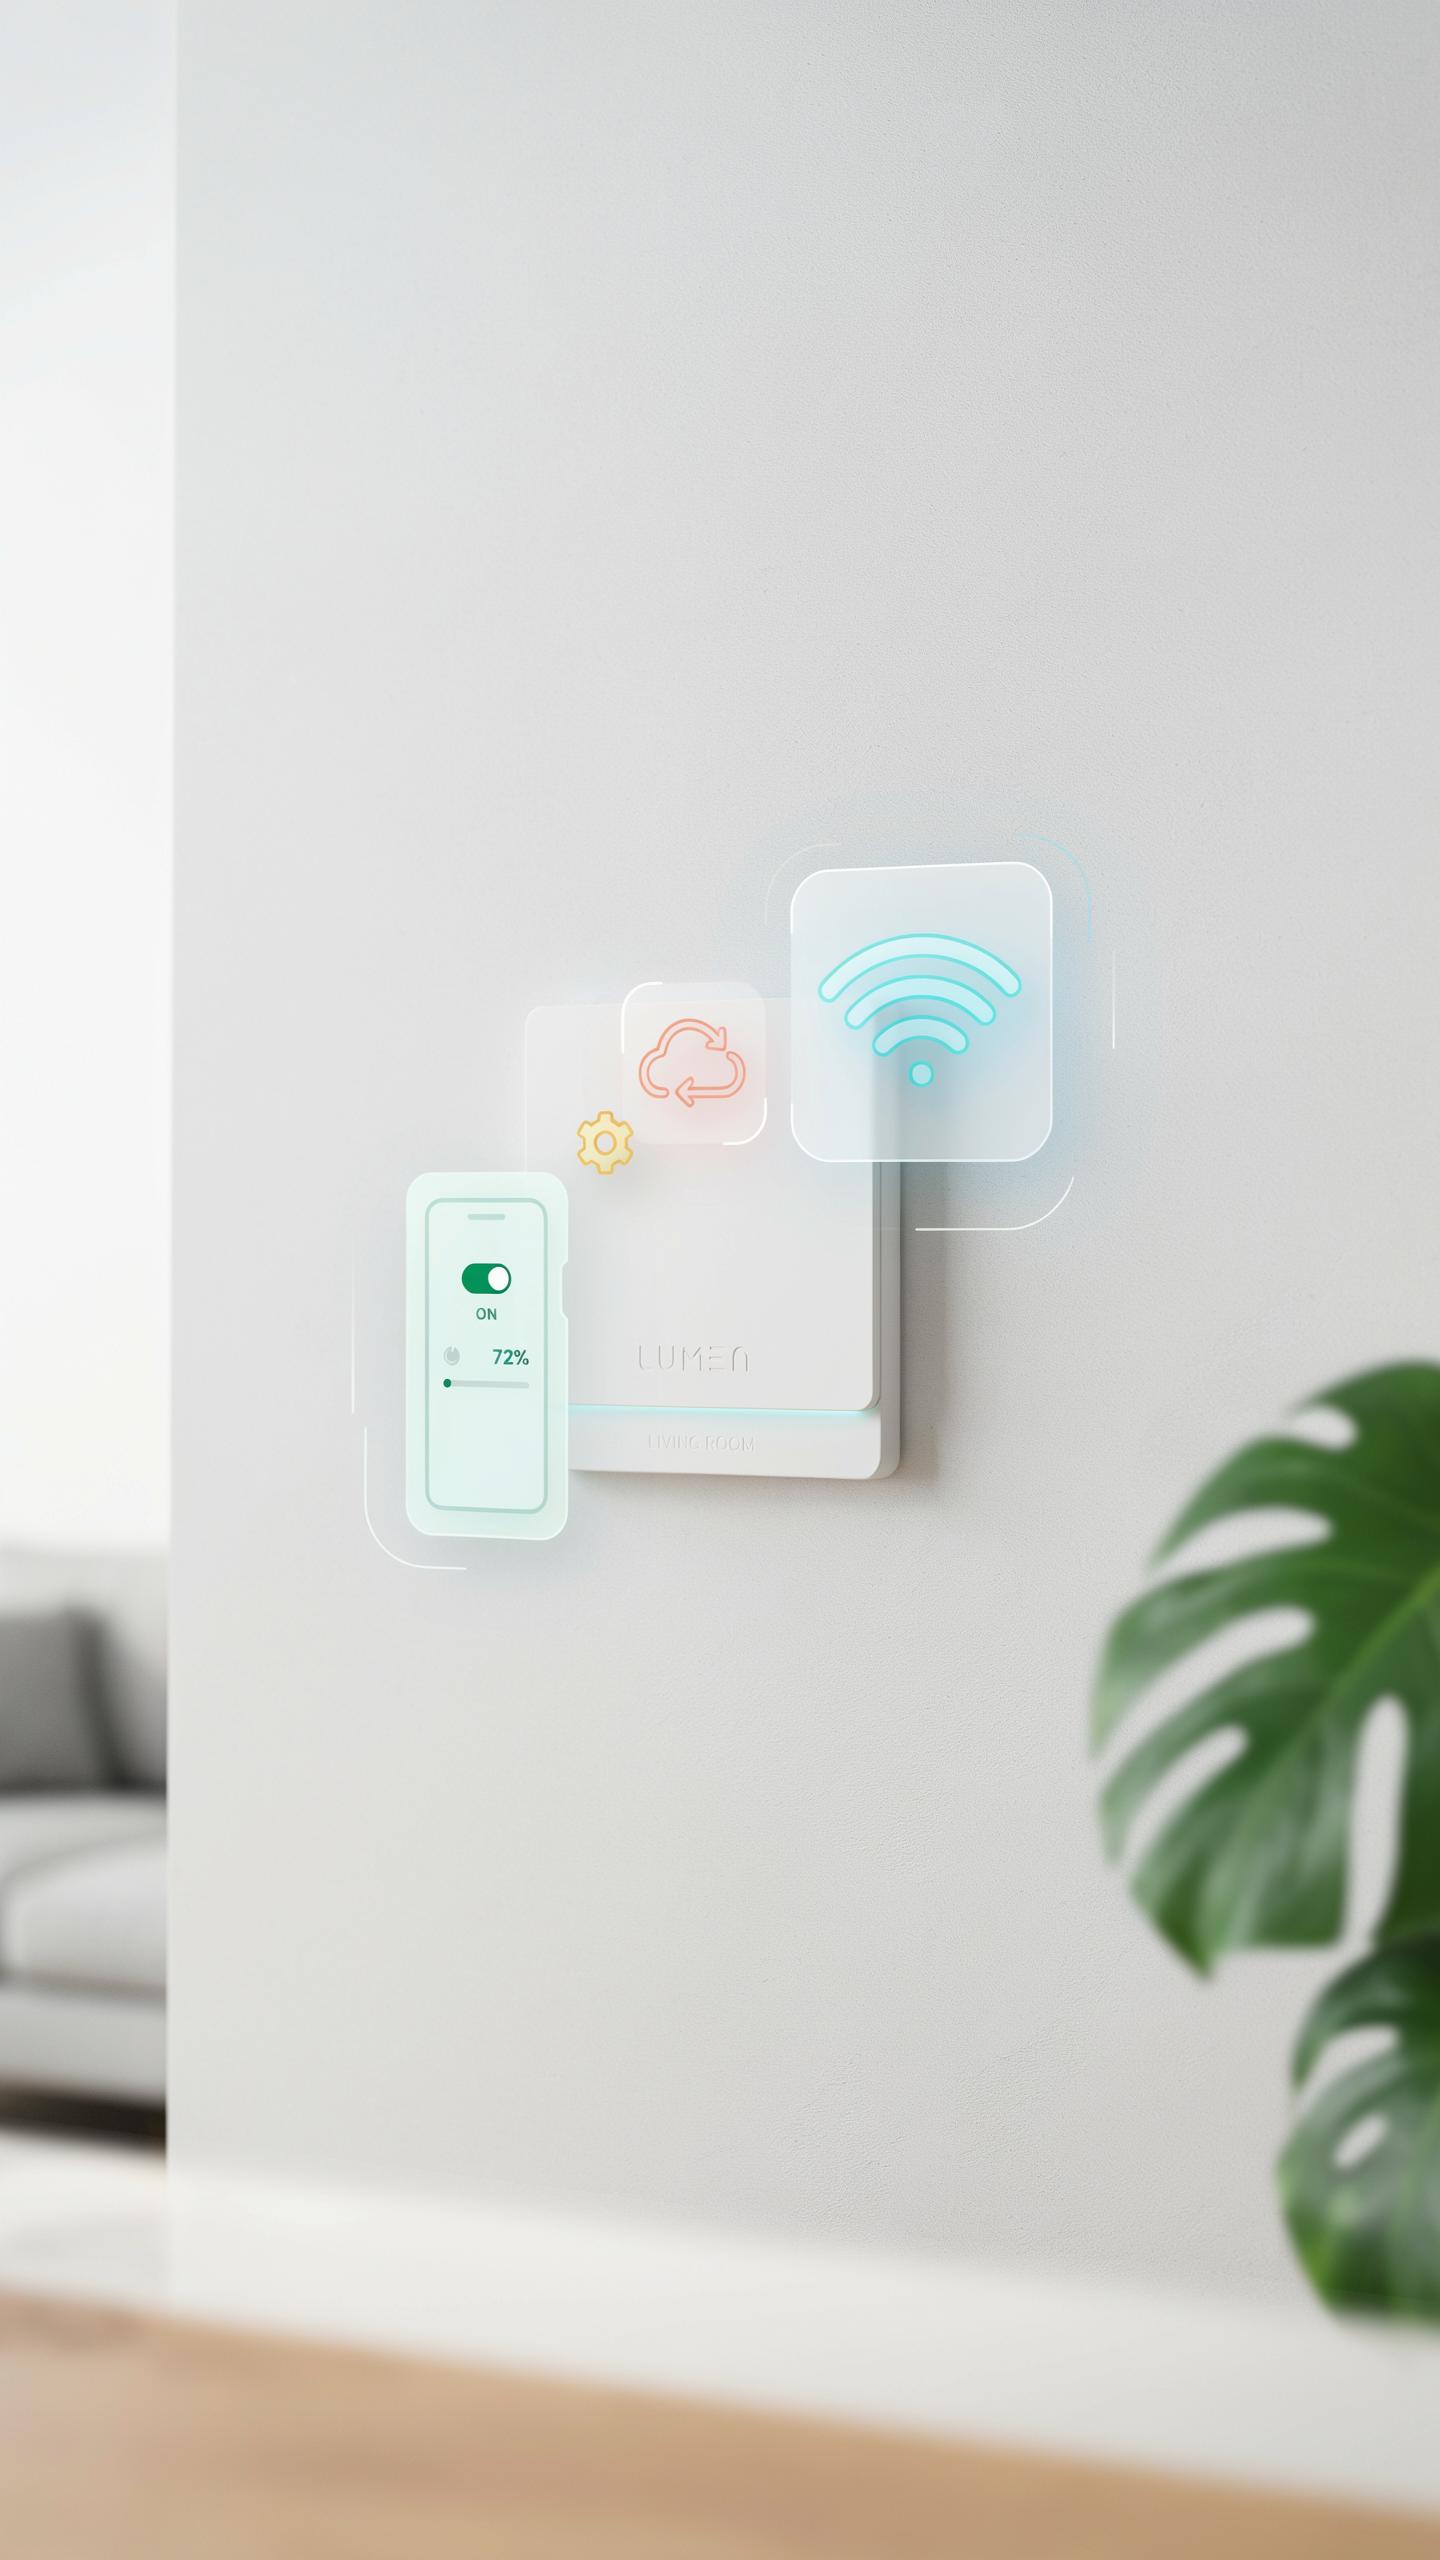
The Basics Of Smart Lighting Technology
Smart light switches replace standard switches with devices that connect to your home network via WiFi, Bluetooth, or Zigbee protocols. They communicate with a central hub or directly with your smartphone app. The switch controls power delivery to your lights through an internal relay mechanism. This setup lets you command lights from anywhere, not just from the physical switch location.
Smart switches operate through commands sent over wireless networks to activate or deactivate electrical circuits. Your phone app sends a signal to the switch, which then toggles the relay on or off. Some models include dimming capabilities by modulating power delivery rather than simple on-off control. The switch itself contains a small computer processor that interprets commands and executes them instantly.
Benefits Of Upgrading To Smart Switches
Smart switches eliminate the need to physically touch a switch to control your lights. You manage lighting from your phone, voice commands, or automated schedules from anywhere with internet access. This convenience works especially well for hard-to-reach fixtures, exterior lights, or controlling multiple rooms at once without walking between spaces.
Smart switches reduce energy waste by letting you automate schedules and dimming levels based on occupancy or time of day. You can set lights to turn off automatically when you leave home or adjust brightness to match natural sunlight patterns. Lower energy consumption directly cuts your electricity bills while reducing strain on your home’s electrical system and lowering your carbon footprint.

How To Choose Smart Switches Selecting The Right Type For Your Home
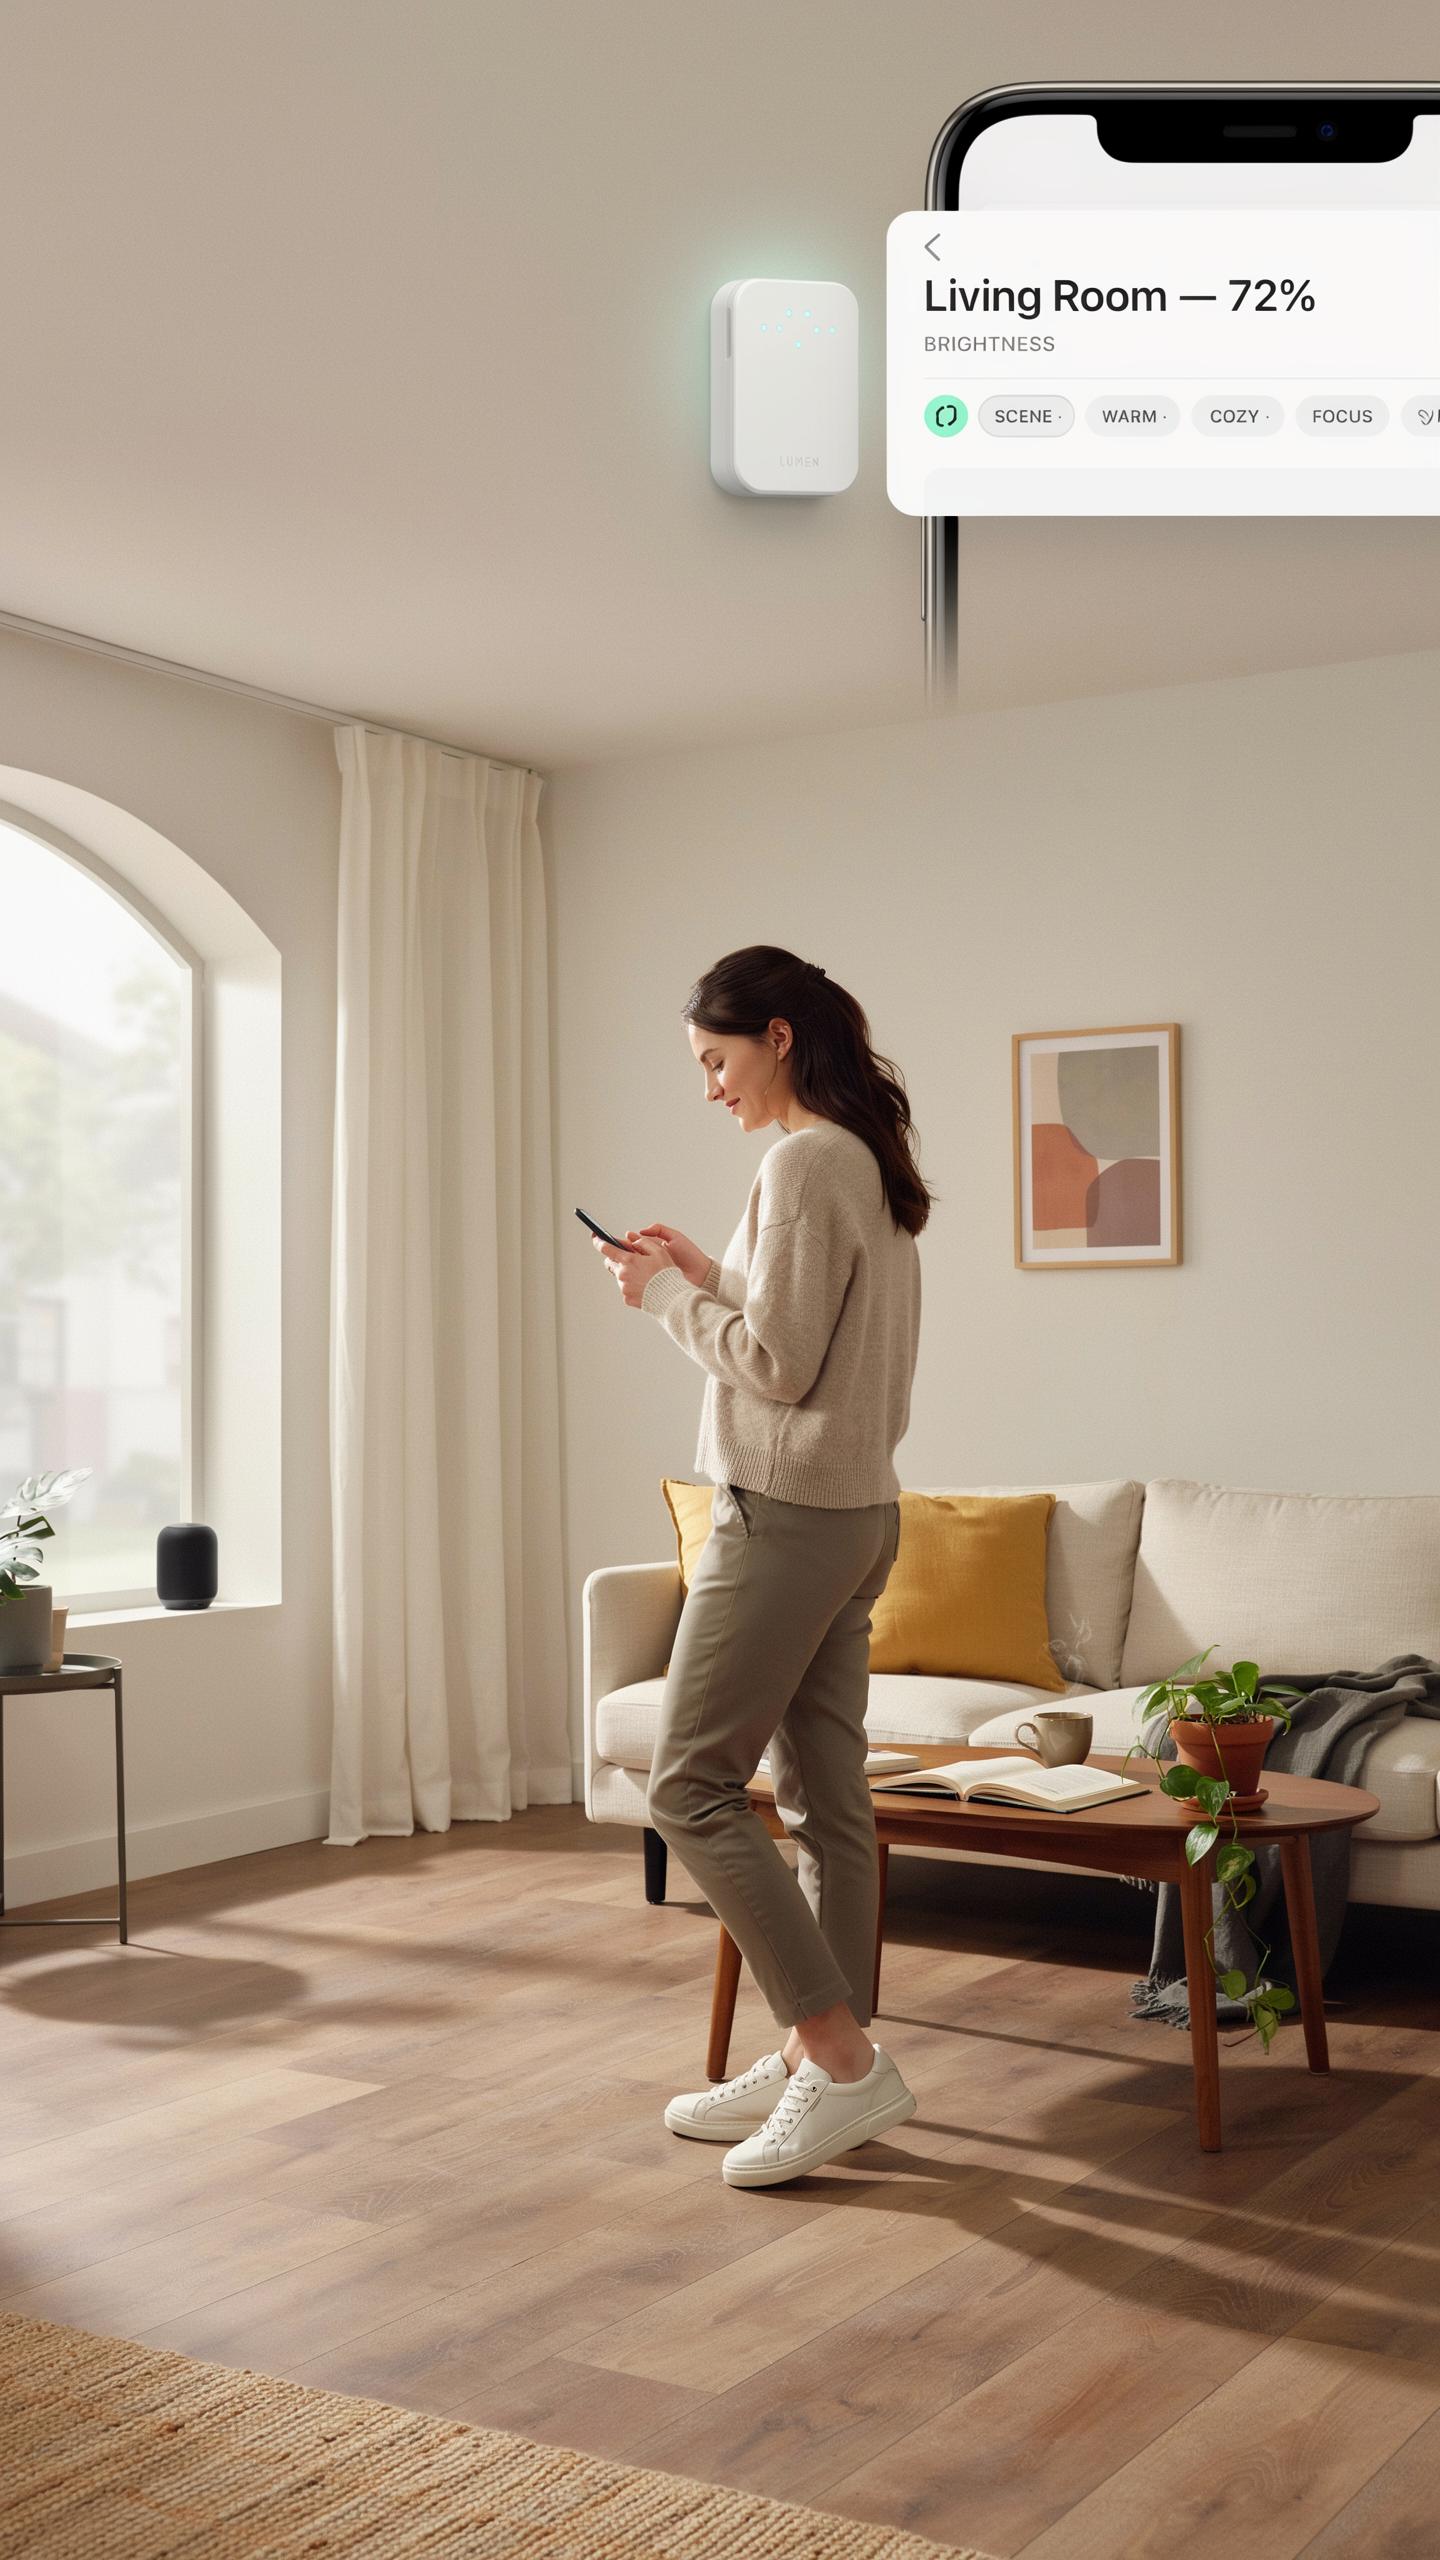
Dimmer Vs. On Off Switches
Smart dimmer switches control brightness levels from zero to one hundred percent. Standard on/off smart switches only toggle between two states: powered on or powered off. Dimmers cost more upfront but give you granular control over lighting intensity. Use dimmers in spaces where you adjust brightness regularly, like bedrooms or living rooms.
On/off switches work best in high-traffic areas where you simply need lights on or off. Bathrooms, entryways, and storage closets rarely need dimming capability. On/off switches are cheaper and simpler to install. They also consume less power than dimmers during operation. Choose based on actual usage patterns, not on what sounds advanced.
Compatibility With Smart Home Ecosystems
Your smart switch must communicate with your existing platform. The three major ecosystems are Amazon Alexa, Google Home, and Apple HomeKit. Not every switch works with every platform. Some switches support multiple platforms simultaneously, while others lock into one ecosystem. Check compatibility before purchasing. A switch that does not work with your system is worthless.

Research the specific model number on the manufacturer’s website. Look for official compatibility statements, not retailer descriptions. Test compatibility information by visiting the platform’s official app store or device database. Switching ecosystems later means replacing all incompatible hardware. Pick your primary platform first, then select switches that integrate with it. This decision shapes your entire smart home infrastructure.
Preparation Is Key Before You Begin Your Smart Switch Installation Guide
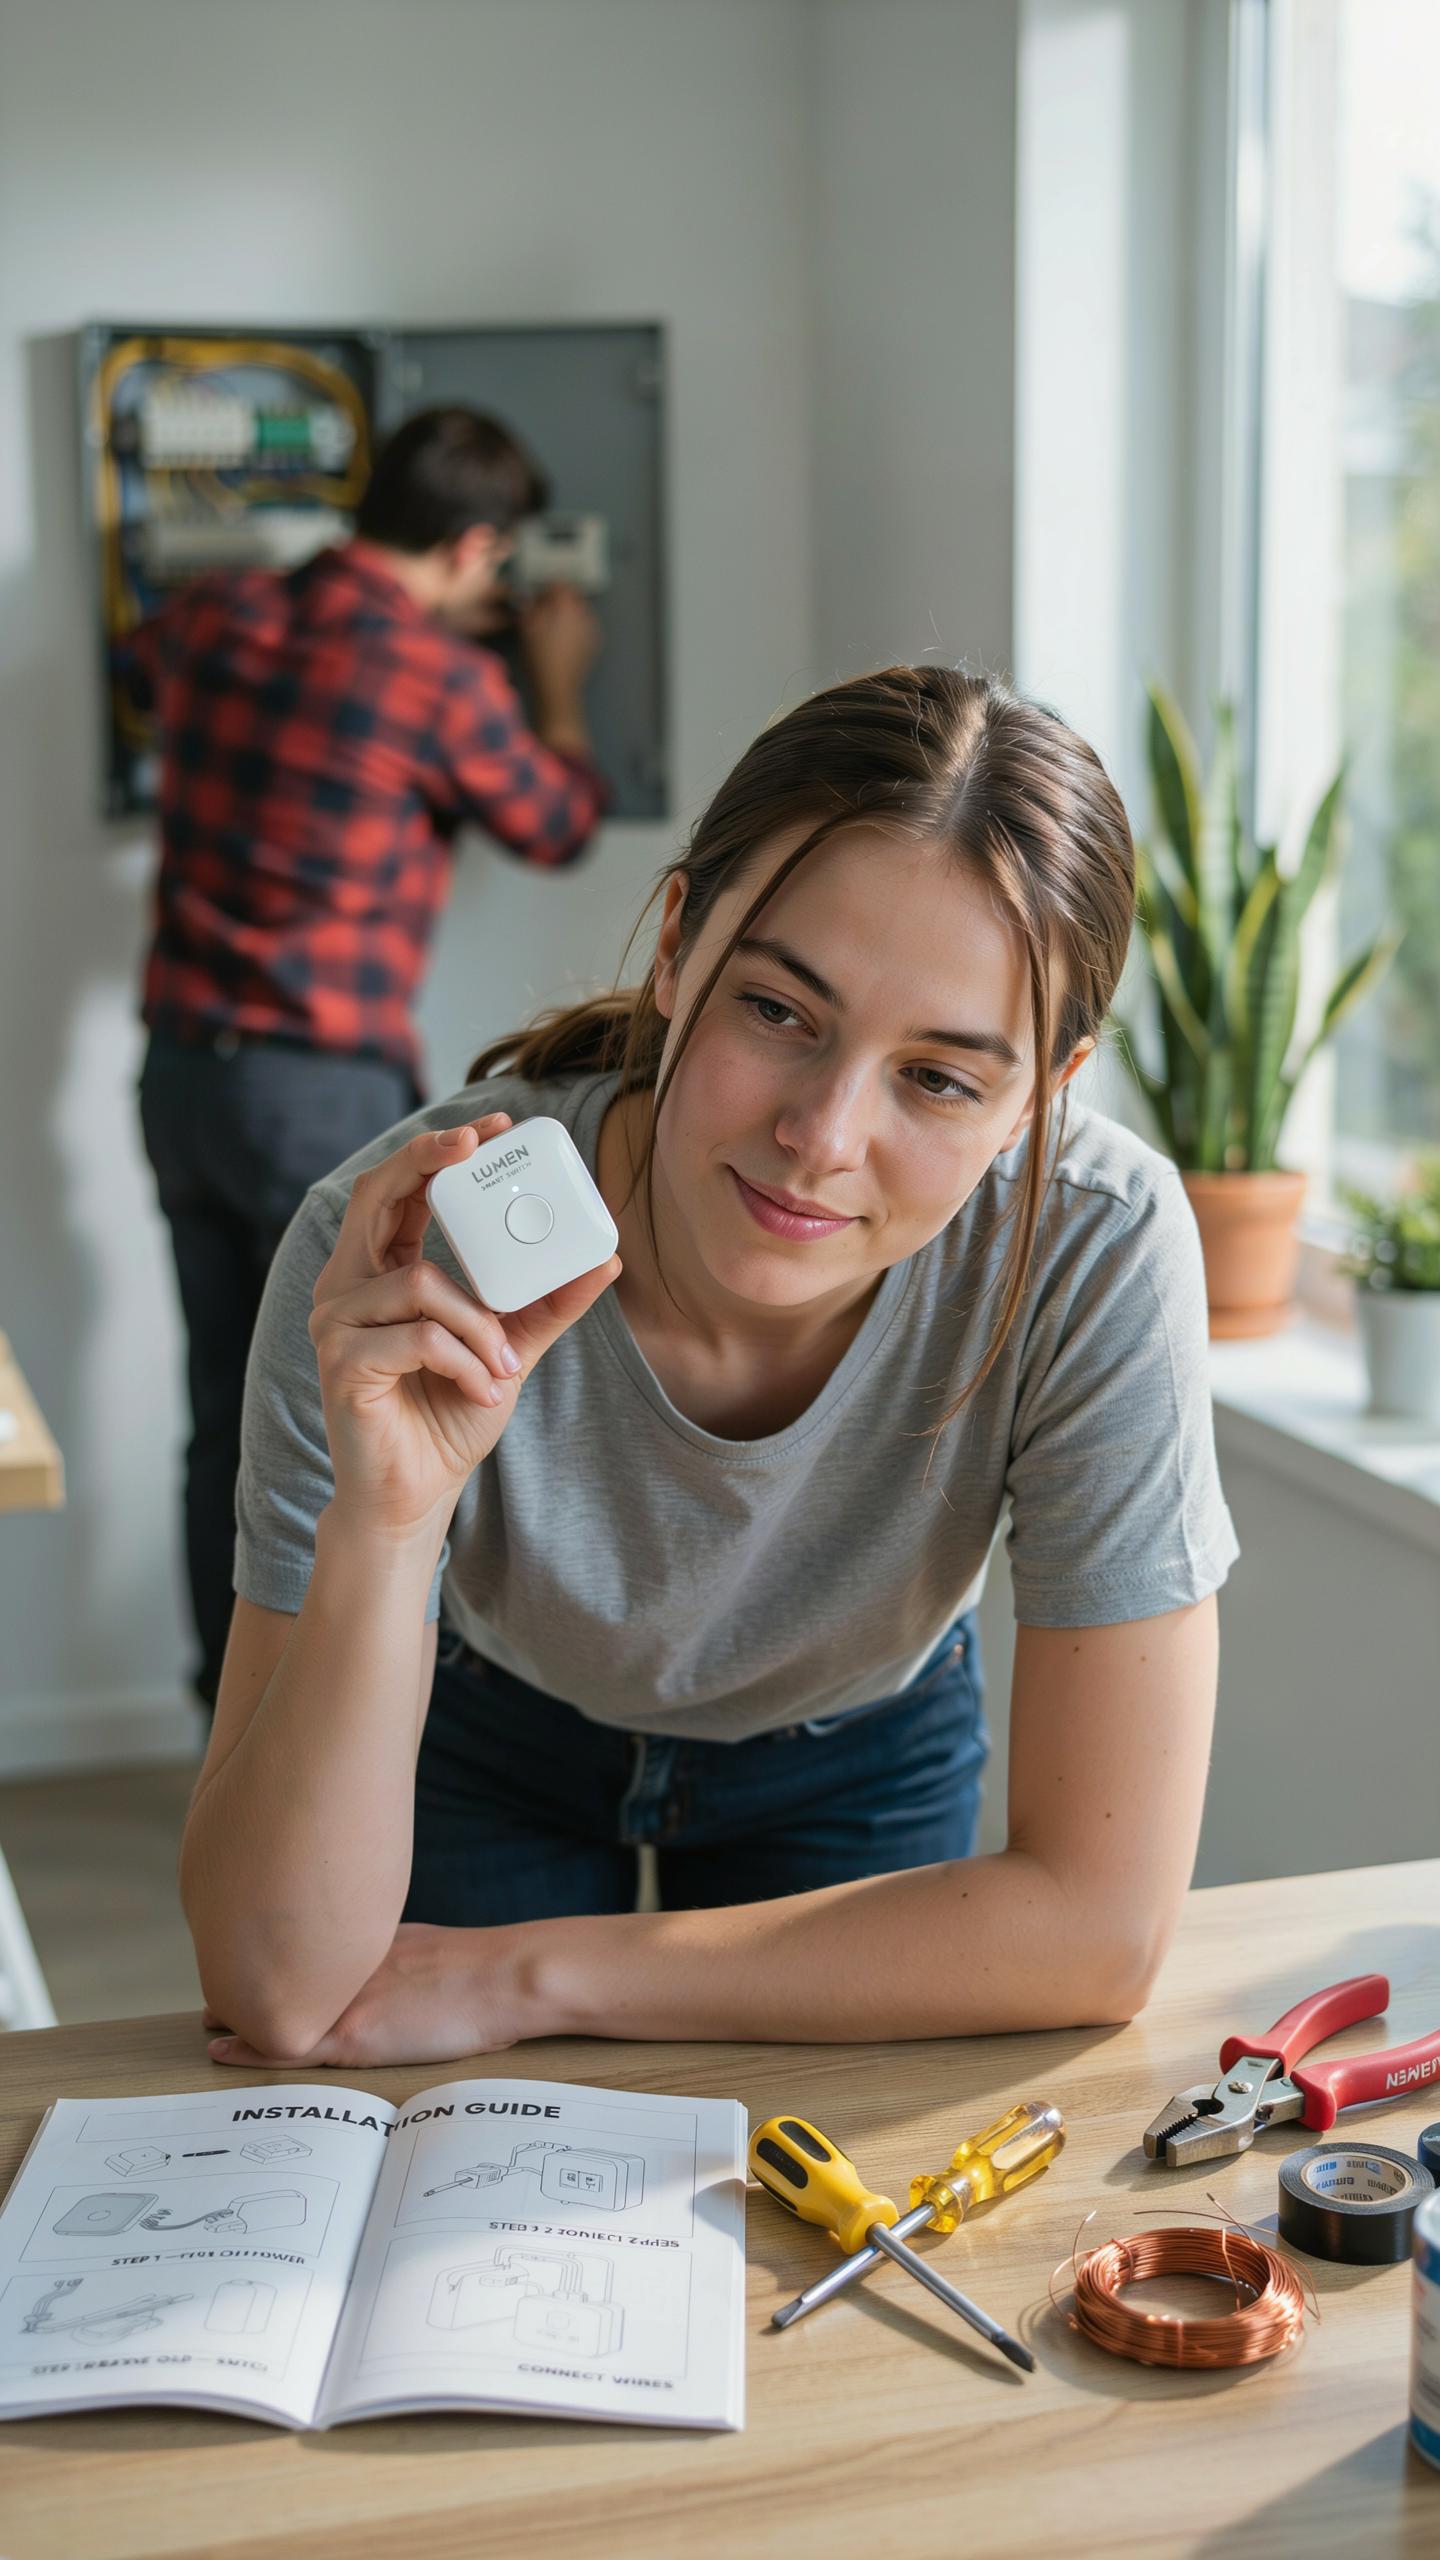
Safety First: Turning Off Power At The Breaker
Locate your electrical panel and identify the breaker controlling the switch circuit. Flip the breaker to the off position. Test the existing light switch to confirm power is completely cut. This step prevents electrocution and equipment damage. Never skip this verification step regardless of your experience level.
After confirming power is off, keep the breaker switch in the off position during your entire installation. Place tape over the breaker handle or use a breaker lockout device if available. This prevents someone else from accidentally restoring power while you work. Your safety depends on this precaution remaining in place until installation is complete.
Tools And Materials You Will Need
Gather the right tools before starting work to avoid interruptions and mistakes during installation. Having everything ready keeps the process efficient and reduces your exposure time to open electrical work.
- Screwdrivers: Flathead and Phillips head screwdrivers in multiple sizes to handle different screw types in your wall box and switch terminals.
- Wire strippers: A tool that removes insulation from wire ends without damaging the copper conductor underneath, typically rated for 10 to 24 gauge wire.
- Voltage tester or multimeter: An electronic device that confirms power is actually off before you touch any wires or components in the electrical box.
- Wire nuts: Connectors that join wire ends together securely, usually included with your smart switch but buying extras prevents delays if you need replacements.
- Needle nose pliers: Precision pliers for bending and positioning wires in tight spaces inside the electrical box and connecting wires to terminals.
- Flashlight or headlamp: Lighting for working inside wall boxes where overhead light may be blocked or insufficient for safe wire identification.

Your smart switch kit contains the switch itself, mounting screws, and documentation specific to your model. Read the manufacturer’s instructions before starting since wiring configurations vary between brands. Having all materials staged prevents fumbling in the dark and reduces installation time significantly.
Modern Smart Switch Installation Guide Step By Step For Standard Switches
Removing Your Old Light Switch
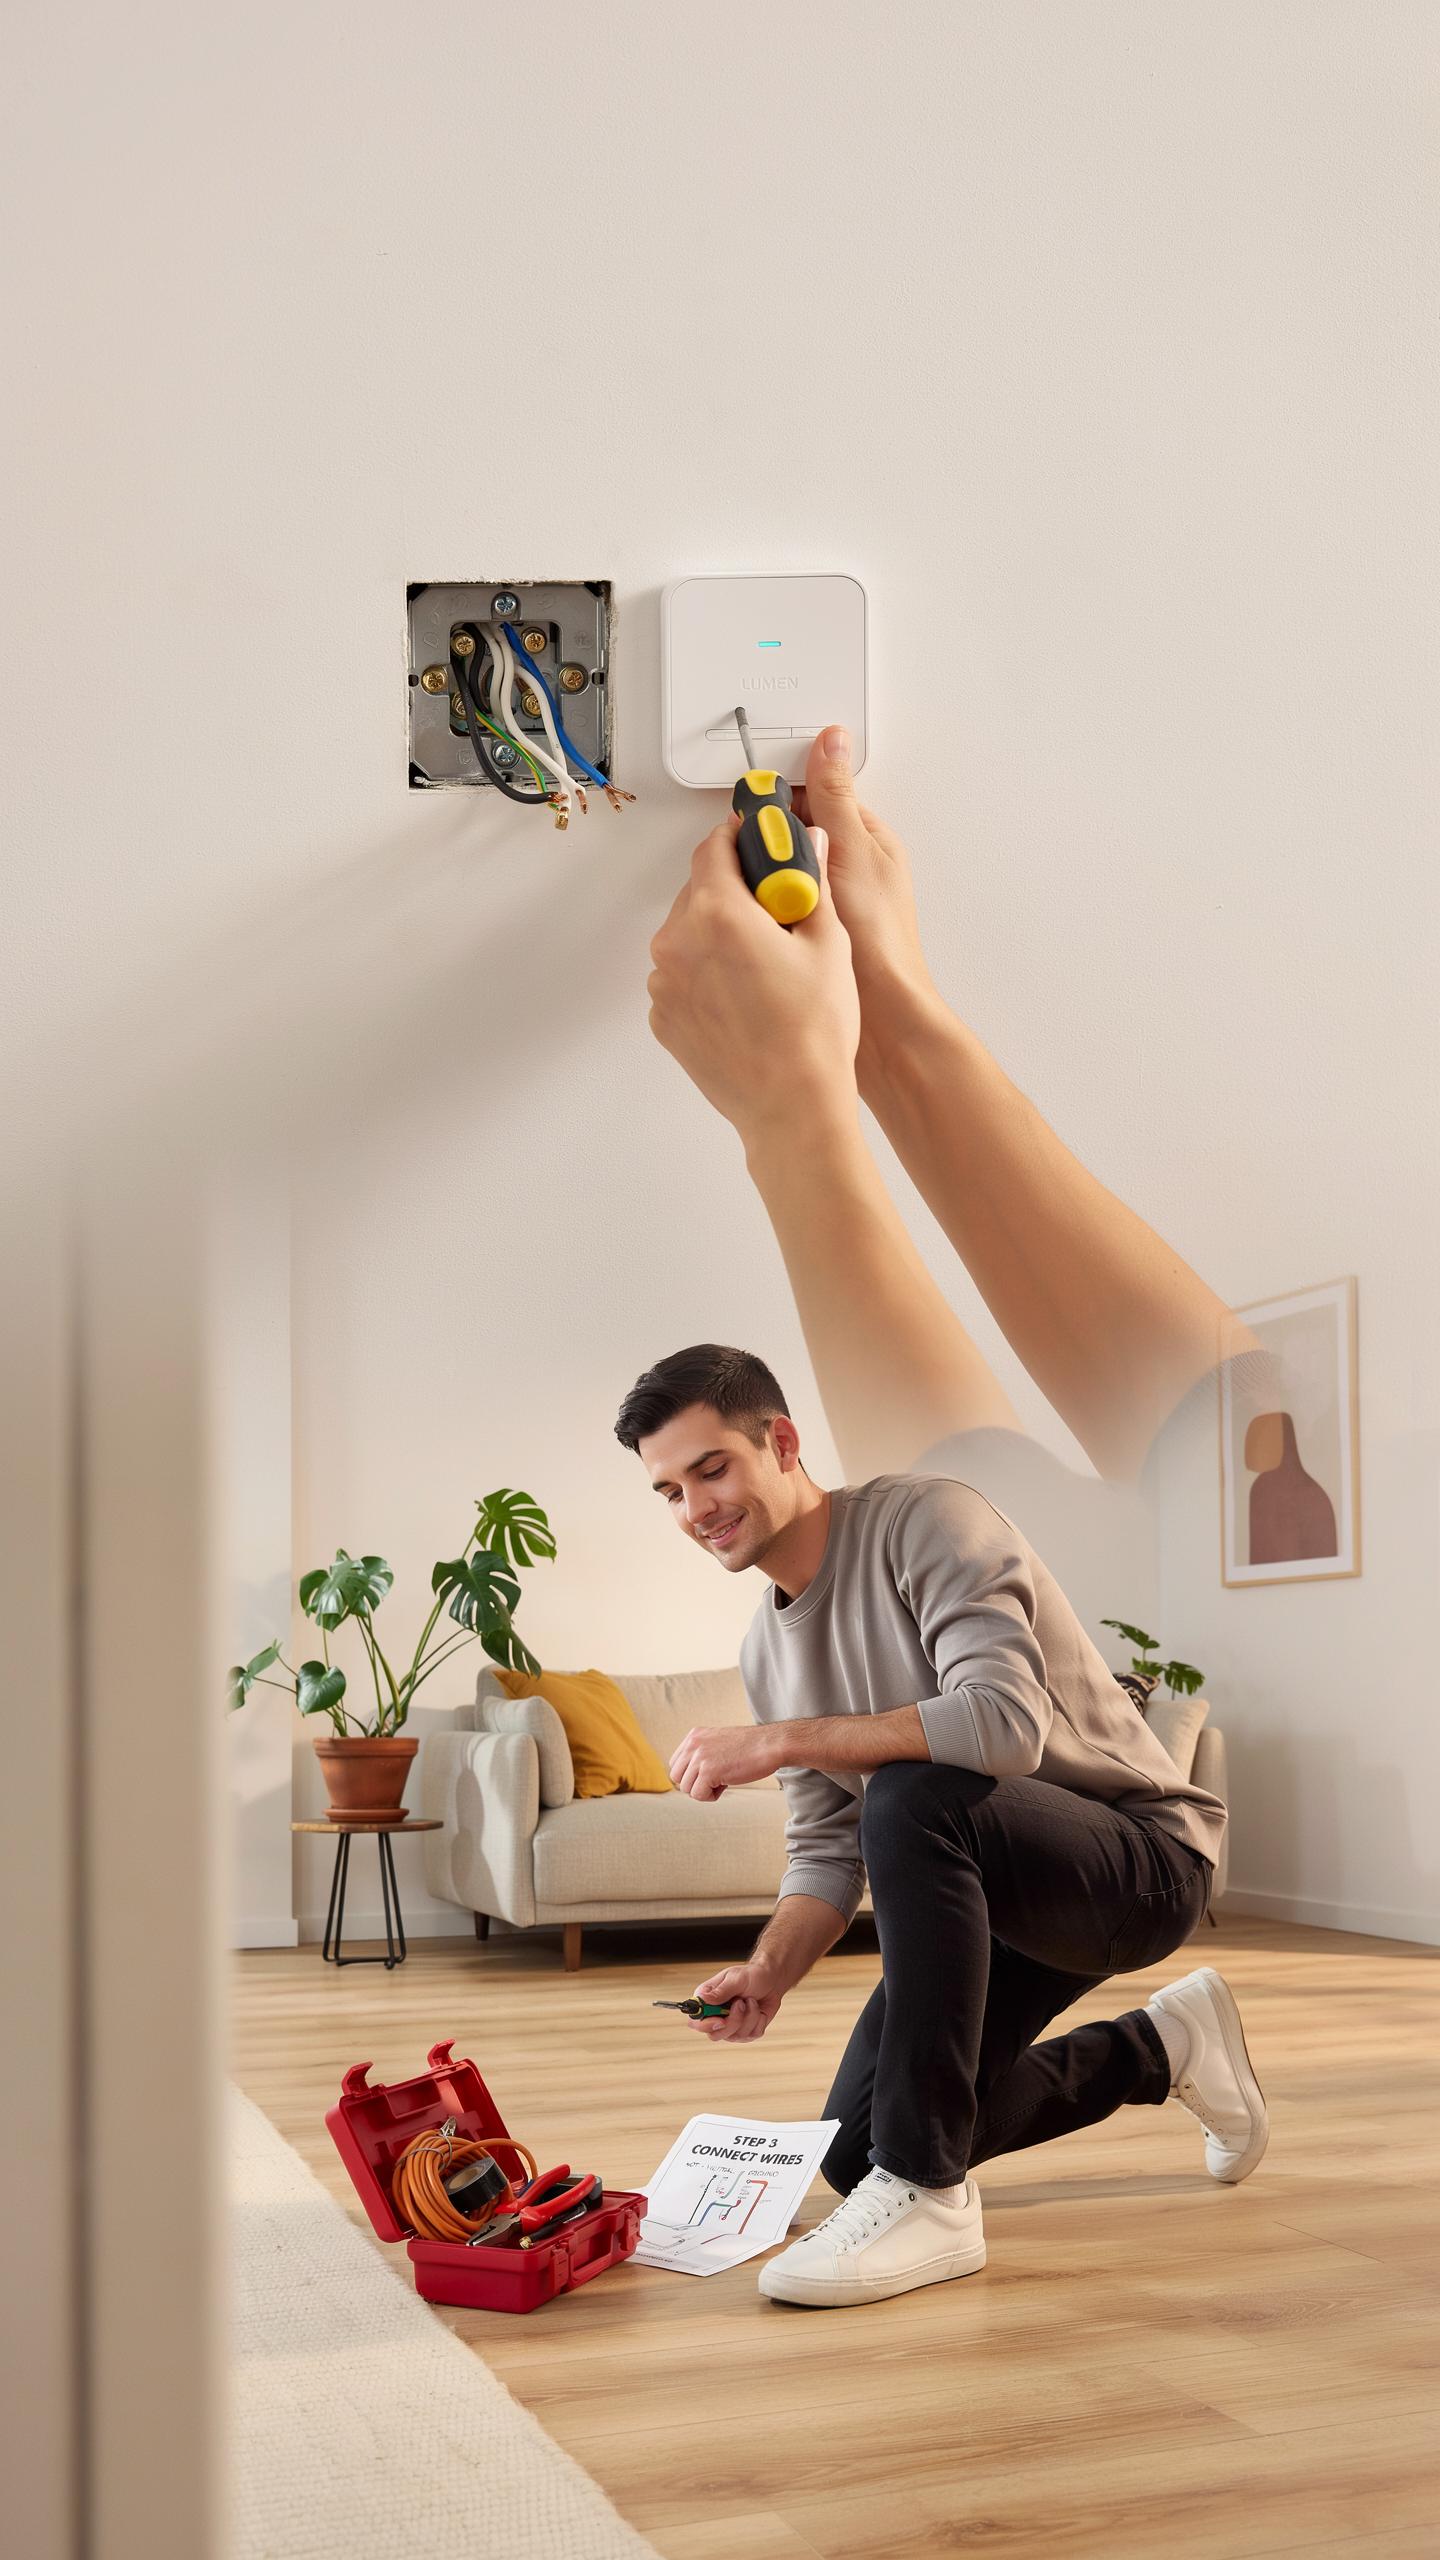
Turn off power at your circuit breaker before touching anything. Flip the breaker switch corresponding to the light you want to replace. Test the switch to confirm the power is off. Use a voltage tester on the existing switch to verify no electricity flows through it. This step prevents electrical shock and protects your equipment.
Unscrew the cover plate and remove it from the wall. Unscrew the switch from the electrical box. Carefully pull the switch out to access the wires attached to it. Most standard switches have three wires: black for live power, white for neutral, and bare copper for ground. Note the wire positions before disconnecting them, or take a photo for reference.
How To Install Smart Switch: Wiring The New Smart Switch
Match each wire from your old switch to the corresponding terminal on your new smart switch. The black wire connects to the live terminal. The white wire connects to the neutral terminal. The bare copper wire connects to the ground terminal. Some smart switches label these as L, N, and G. Consult your switch manual if terminal labels differ from standard conventions.

Push the smart switch back into the electrical box and screw it into place. Attach the cover plate once the switch sits flush against the wall. Restore power at the circuit breaker and test the switch using its app or physical button. Verify the light responds to commands before completing installation. If the light does not respond, turn off power and double check all wire connections.
How To Install Smart Dimmer Switch Special Considerations
Wiring An LED Dimmer Switch
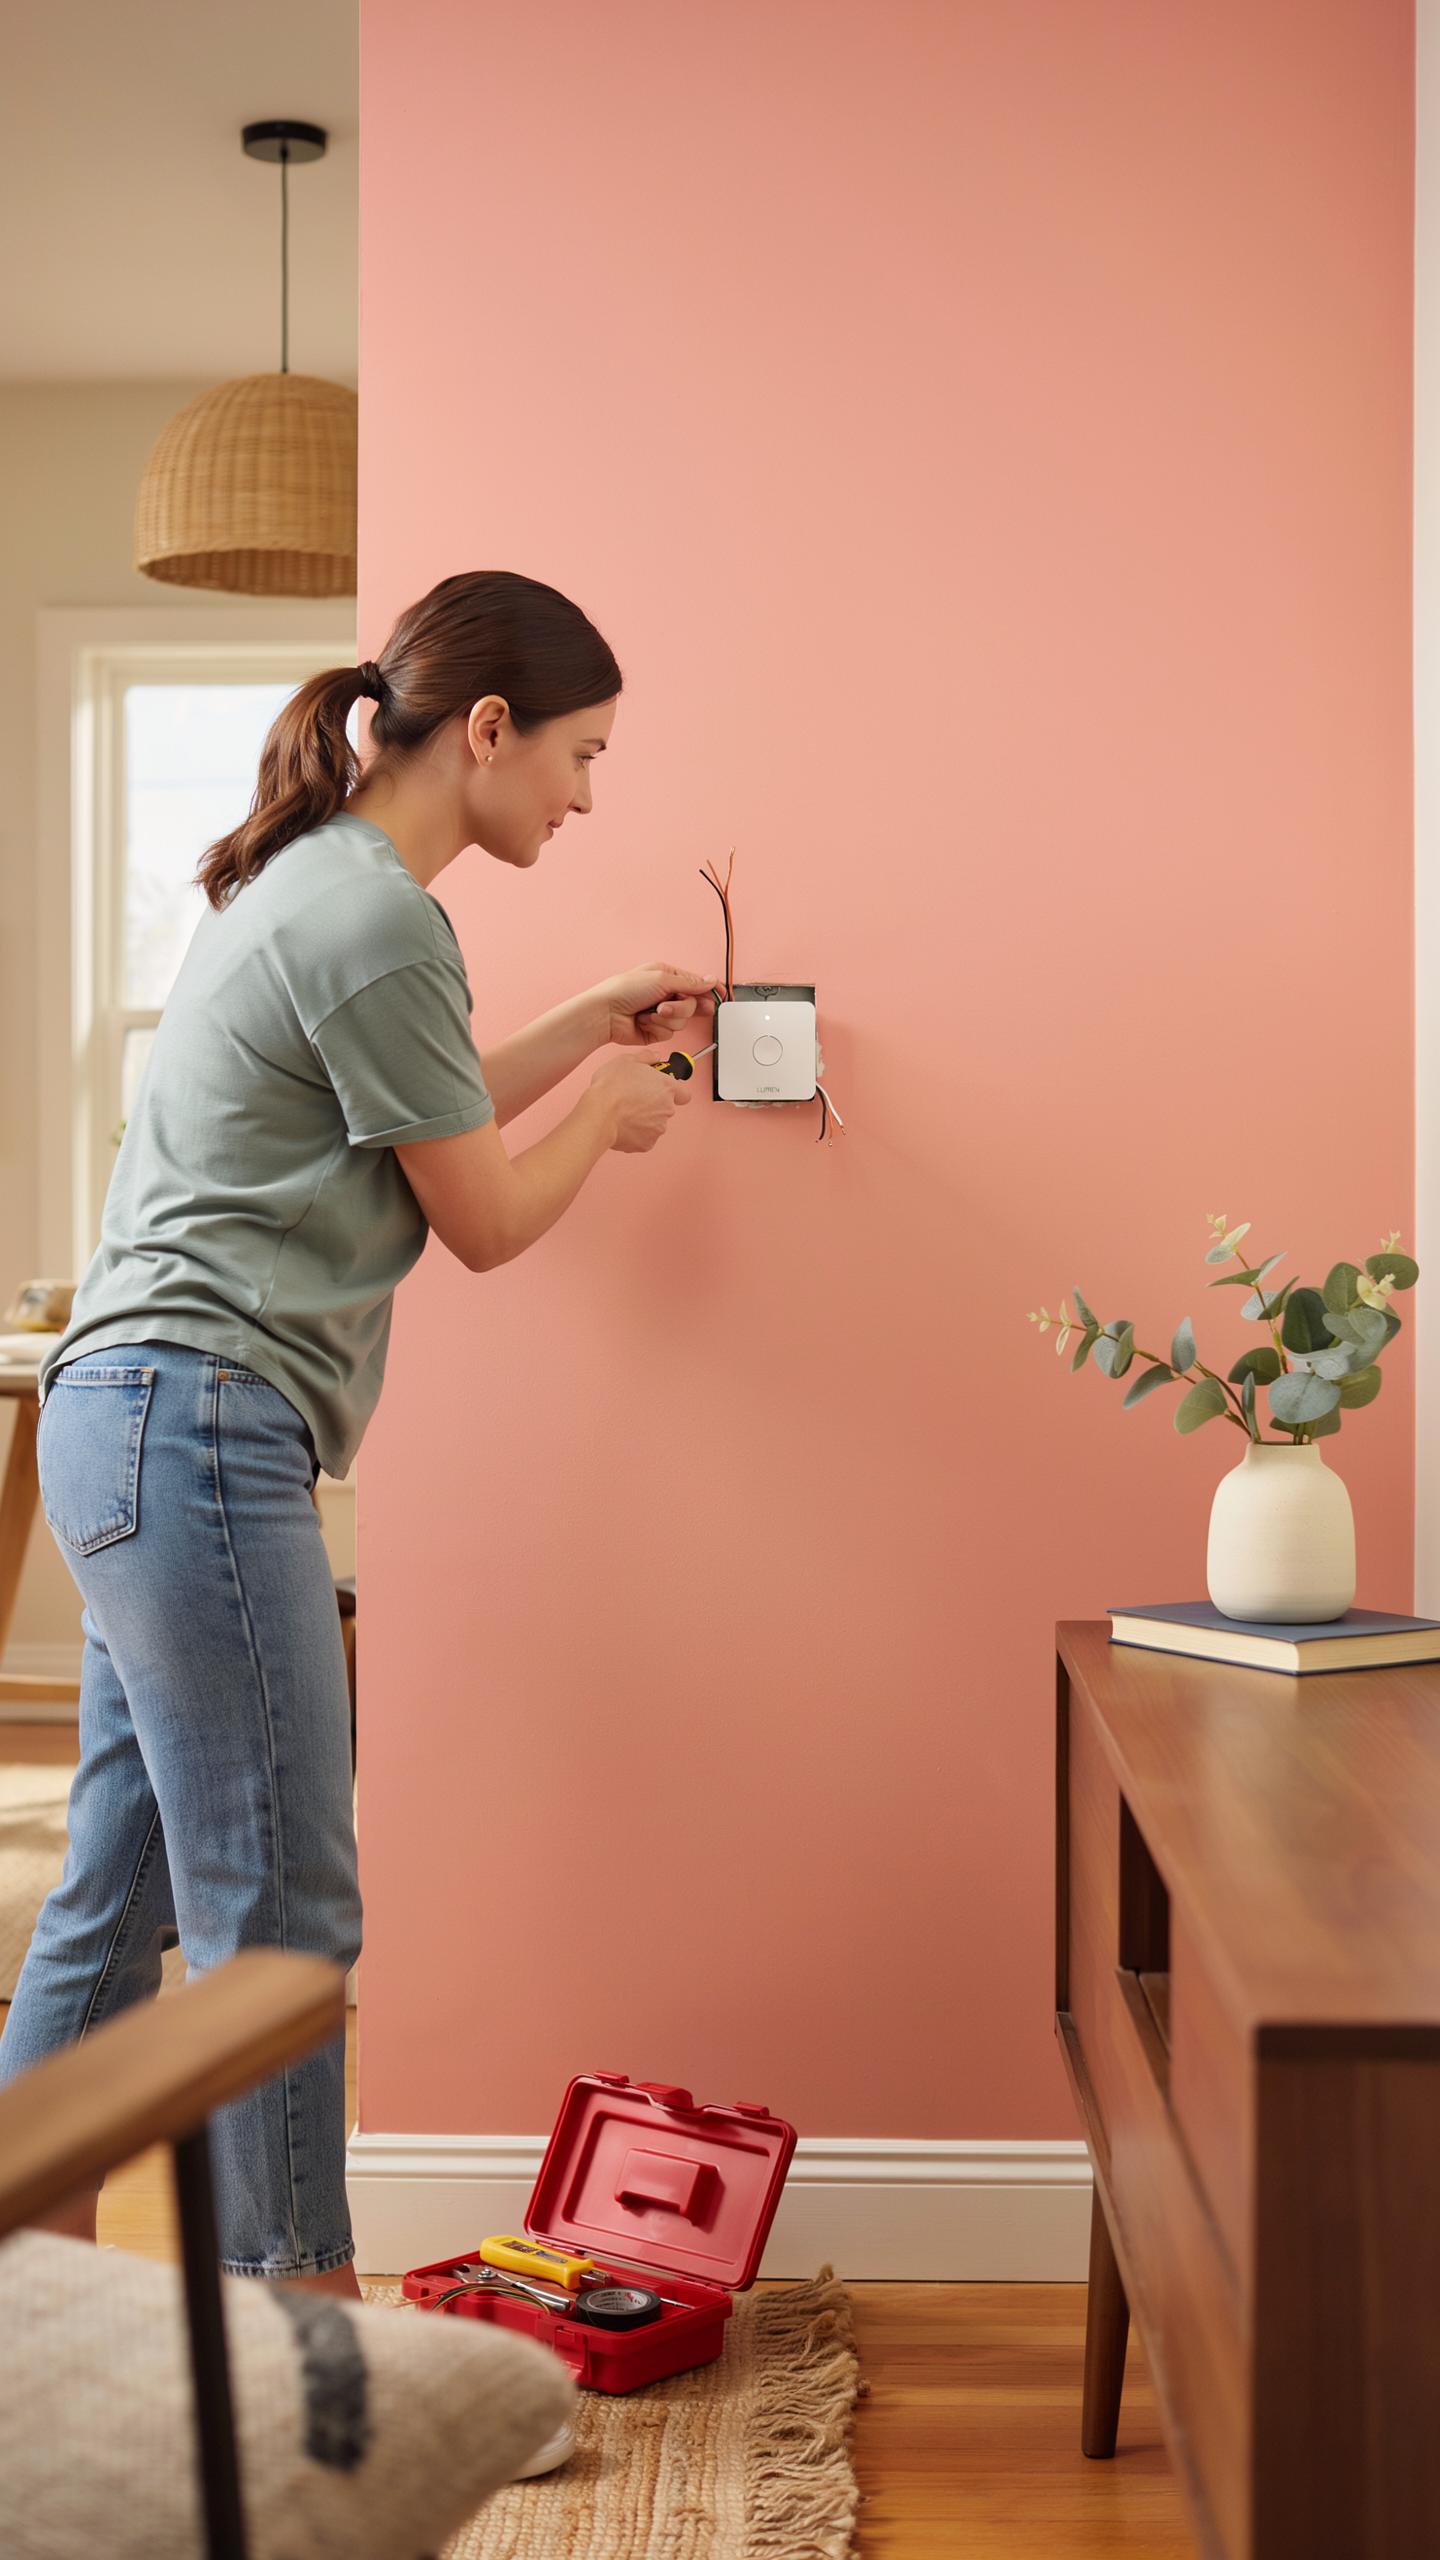
Smart dimmers require specific wiring for LED fixtures because LEDs draw minimal current compared to incandescent bulbs. Standard dimmers designed for high-wattage loads often malfunction with LEDs. You must use dimmers rated for LED compatibility. Check the switch specifications before purchase. The dimmer must match your LED wattage range exactly.
LED dimmers work by rapidly switching power on and off to control brightness. This technique called pulse width modulation differs from how traditional dimmers reduce voltage. Your smart dimmer must support this switching method. Incompatible dimmers cause flickering and reduced lifespan for LED bulbs. Always verify LED compatibility in the product manual before installation.
Remember that first click, the one that changed everything? Installing your smart switch is the simple beginning of a smarter, more connected home story.
Load Compatibility And Flicker Prevention
Load compatibility means matching the dimmer’s wattage rating to your total lighting load. Add up all bulb wattages on the circuit. Most smart dimmers handle between 100 to 1000 watts. Exceeding the maximum load damages the switch and creates fire hazards. Staying below the minimum load also causes problems and flickering.

Flickering happens when the dimmer cannot regulate power smoothly to your fixtures. This occurs with mismatched loads, poor neutral connections, or incompatible bulb types. Test the dimmer at various brightness levels after installation. If flickering persists, verify neutral wire connections are tight. Consider upgrading to dimmers specifically rated for your bulb type and wattage requirements.
How To Install A 3 Way Smart Switch Advanced Setups
Identifying Travelers And Common Wires
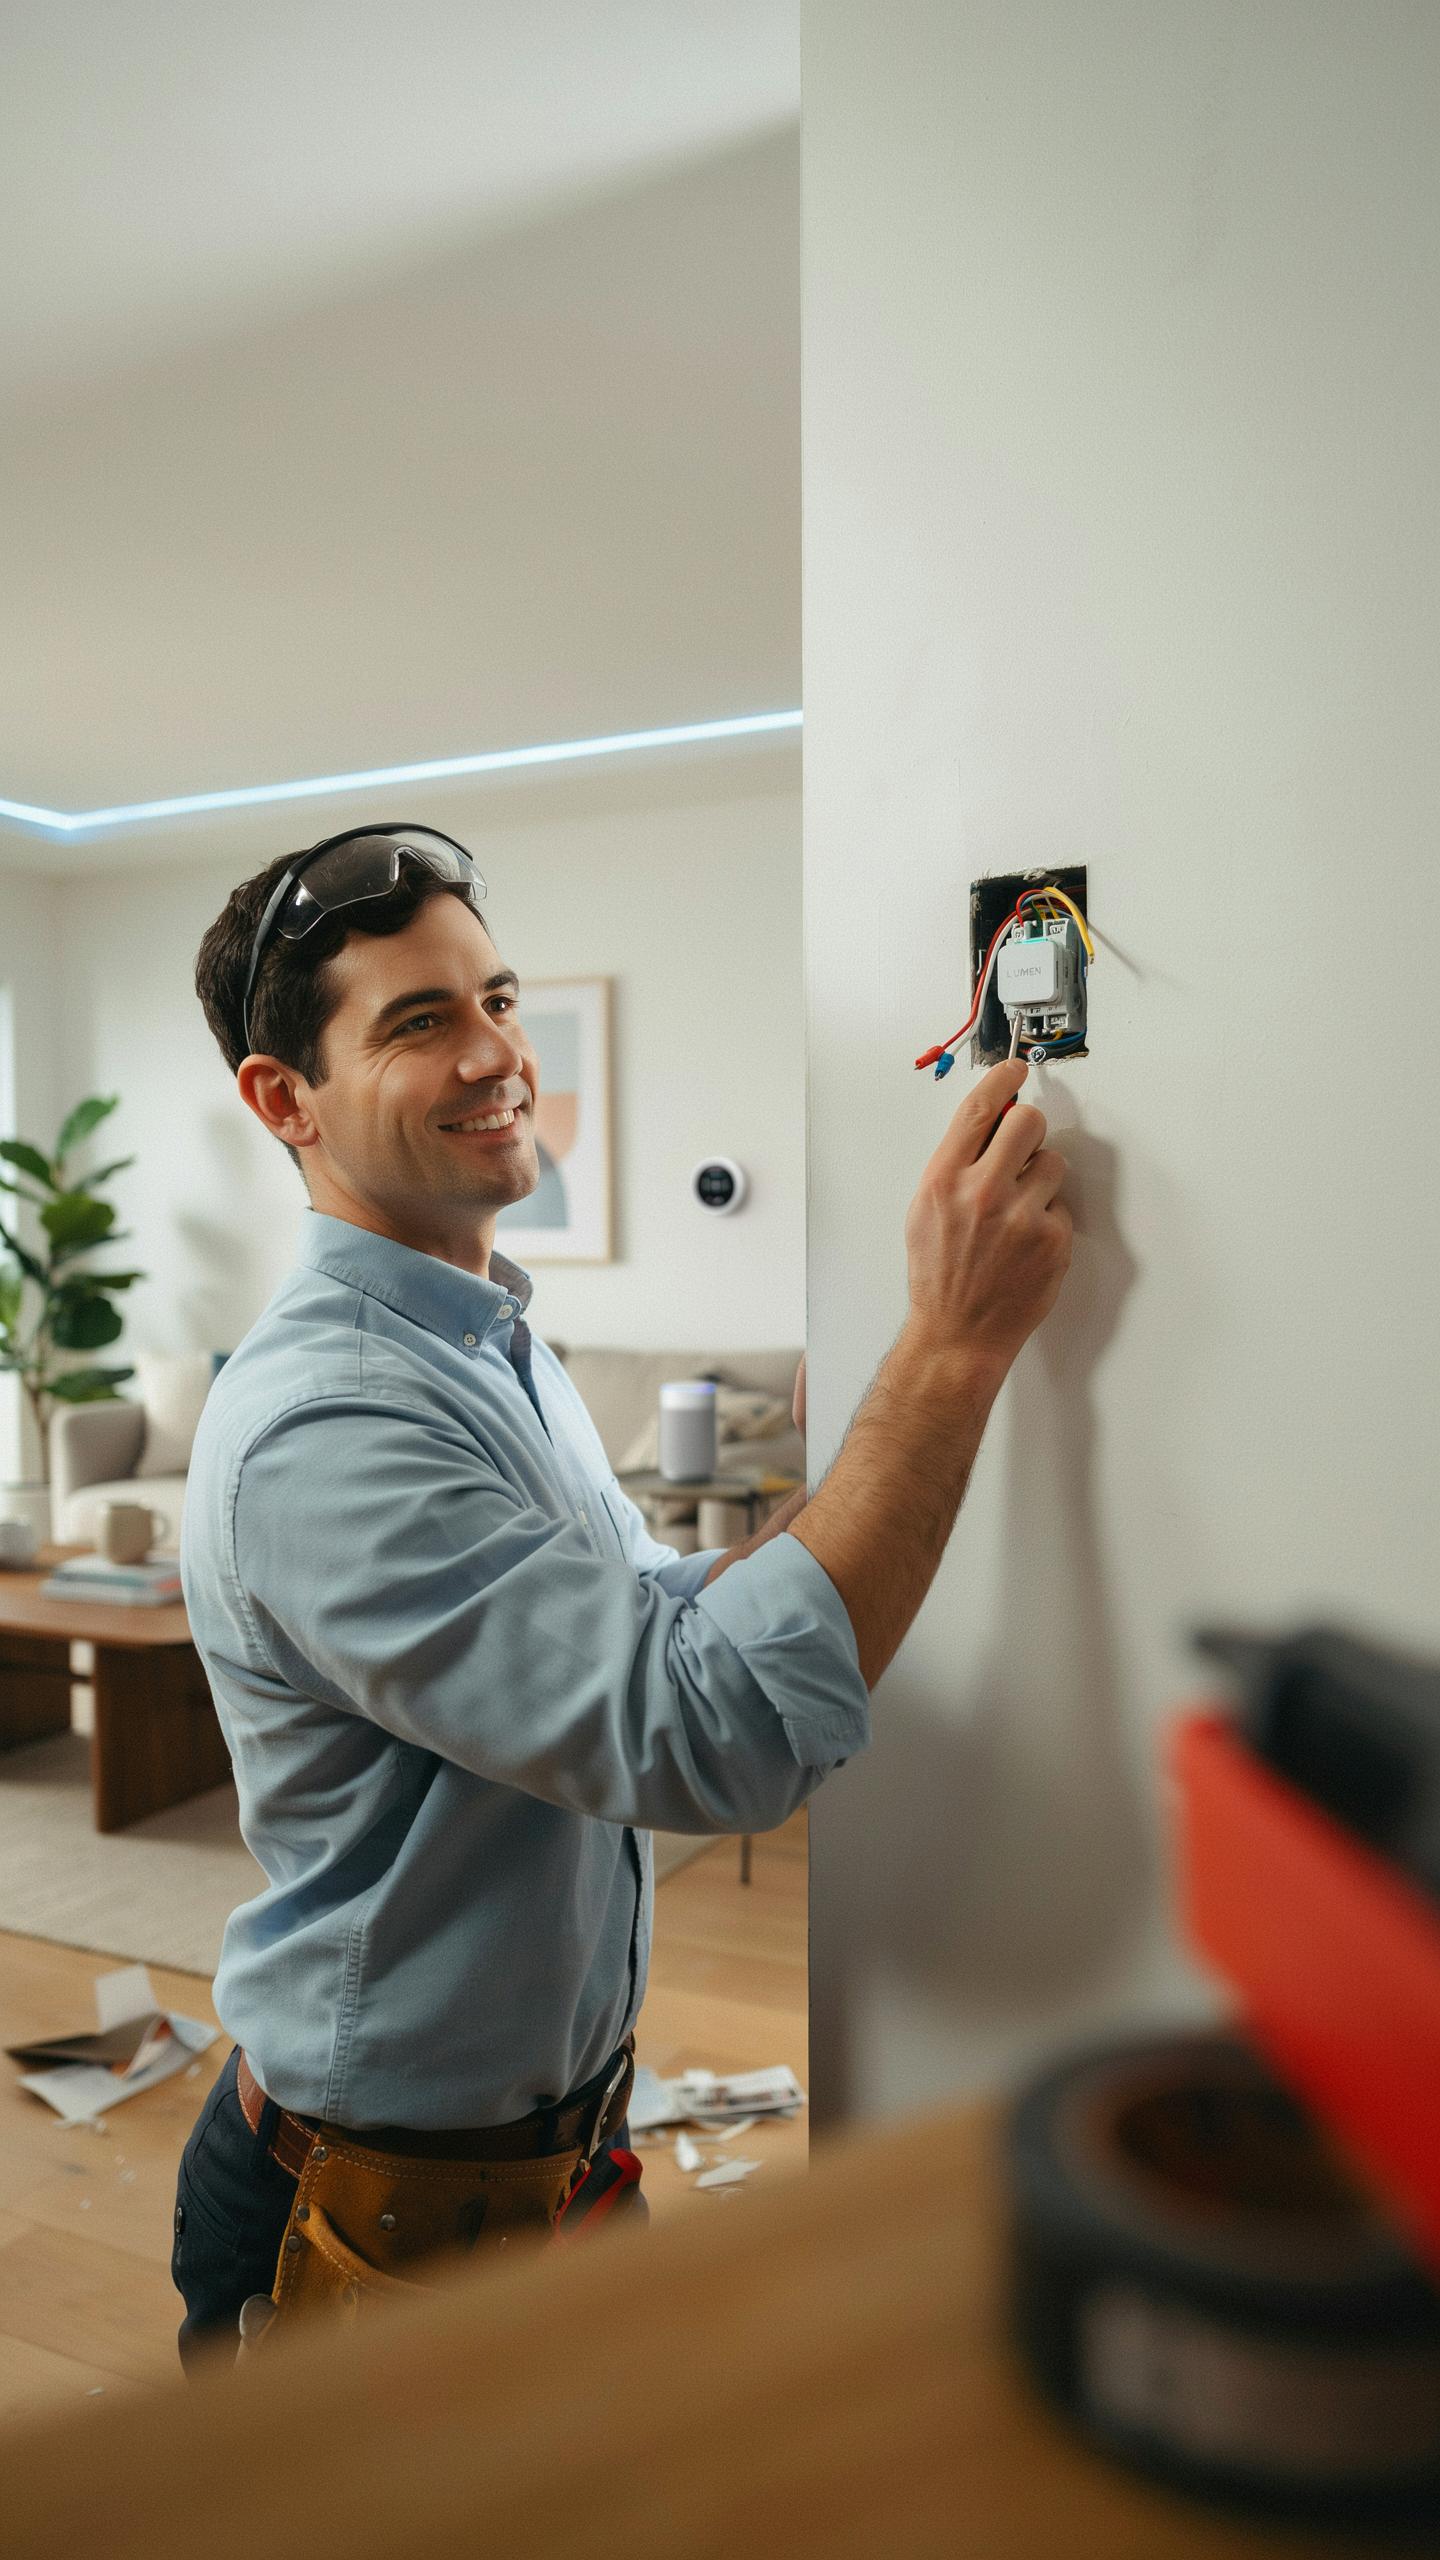
A 3-way switch setup uses three wires to control one light from two locations. The common wire connects directly to the power source or the light fixture. The two traveler wires run between the switches and carry the signal that toggles the light on and off. You must identify these wires before installing any smart switch.
Use a non-contact voltage tester to locate the hot wire at the power source. The common wire attaches to the darkest screw on a standard 3-way switch, usually brass or black. The two traveler wires connect to the lighter colored screws. Mark each wire clearly with tape before disconnecting anything. This prevents confusion during installation and eliminates dangerous mistakes.
Wiring A 3 Way Smart Switch System
Turn off power at the breaker and verify it is off using your voltage tester. Remove the first switch and disconnect the three wires. Most smart switch systems require you to install the smart switch at one location and keep a standard switch at the other, or use two smart switches designed for 3-way setups. Connect the common wire to the common terminal on the smart switch first.

Attach the traveler wires to the designated traveler terminals on your smart switch. Some smart switches label these as line and load instead of travelers. Follow your specific switch manufacturer’s wiring diagram precisely, as configurations vary between brands. Reconnect power, test operation from both switch locations, then secure the switch plate and verify all connections remain tight after 24 hours of use.
How To Wire Two Smart Switches In One Box
Managing Multiple Switches In A Single Gang Box
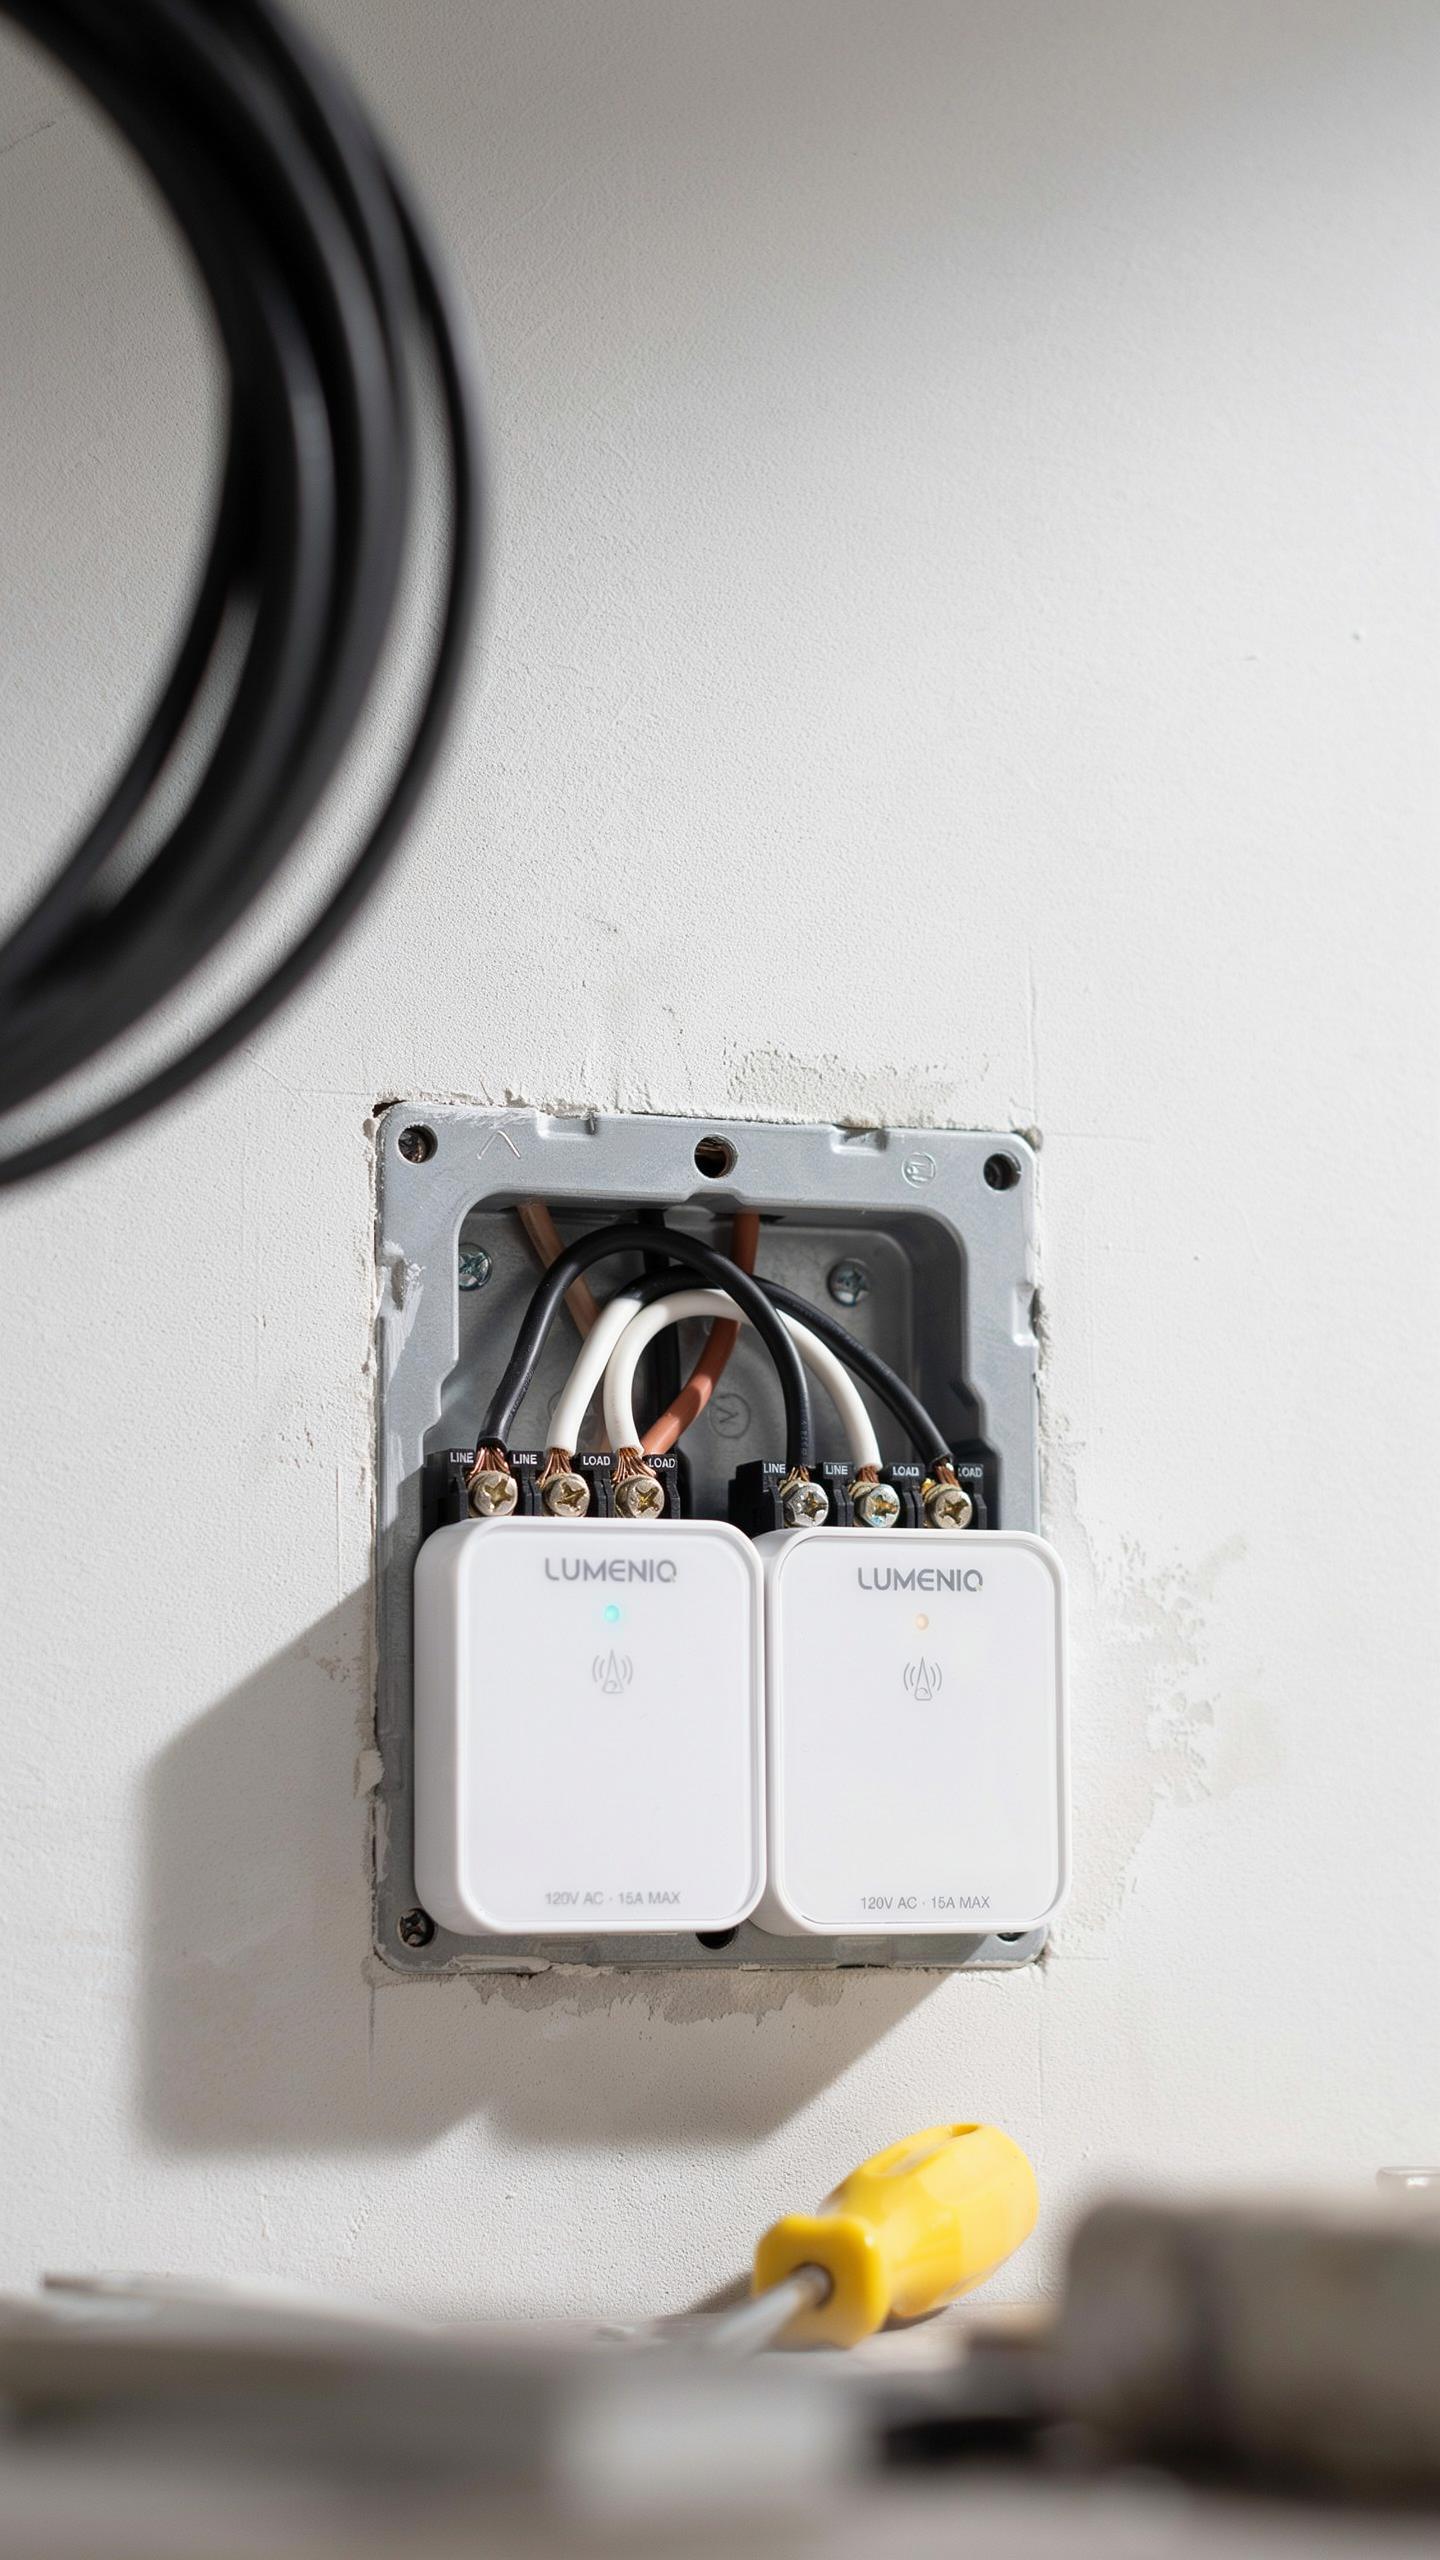
Fitting two smart switches into one electrical box requires understanding space constraints and wire management. Standard single-gang boxes measure roughly 2 by 3 inches deep. Smart switches have larger bodies than conventional toggles. You must route all wires cleanly to prevent crushing conductors. Use the back and sides of the box strategically. Coil excess wire carefully behind each switch. Never force components into cramped spaces.
The neutral wire demand differs between smart and standard switches. Most smart switches require a neutral wire to function. This adds one more conductor per switch to manage. Route neutrals separately from hot and load wires when possible. Label all wires clearly before installation starts. Double-check connections match your specific switch model requirements. Manufacturer instructions override general guidance every time.
Ensuring Adequate Space And Ventilation
Heat dissipation matters when packing multiple switches into confined areas. Smart switches contain circuit boards that generate minimal heat, but stacking switches reduces airflow. Leave at least a half-inch gap between switch bodies when feasible. Position switches so air can circulate around components. Avoid blocking any openings or vents on the switch casings. Overheating accelerates component failure and creates fire risk.

Deep electrical boxes work better than shallow ones for dual installations. A 3-inch deep box provides superior wire management compared to 2-inch alternatives. If your existing box is too shallow, consider replacing it with a deeper model. Some jurisdictions allow box extenders to increase depth legally. Check local electrical codes before modifying the installation. Proper spacing prevents switch malfunction and extends equipment lifespan significantly.
Completing The Smart Switch Installation Guide Final Steps
Securing The Switch And Faceplate
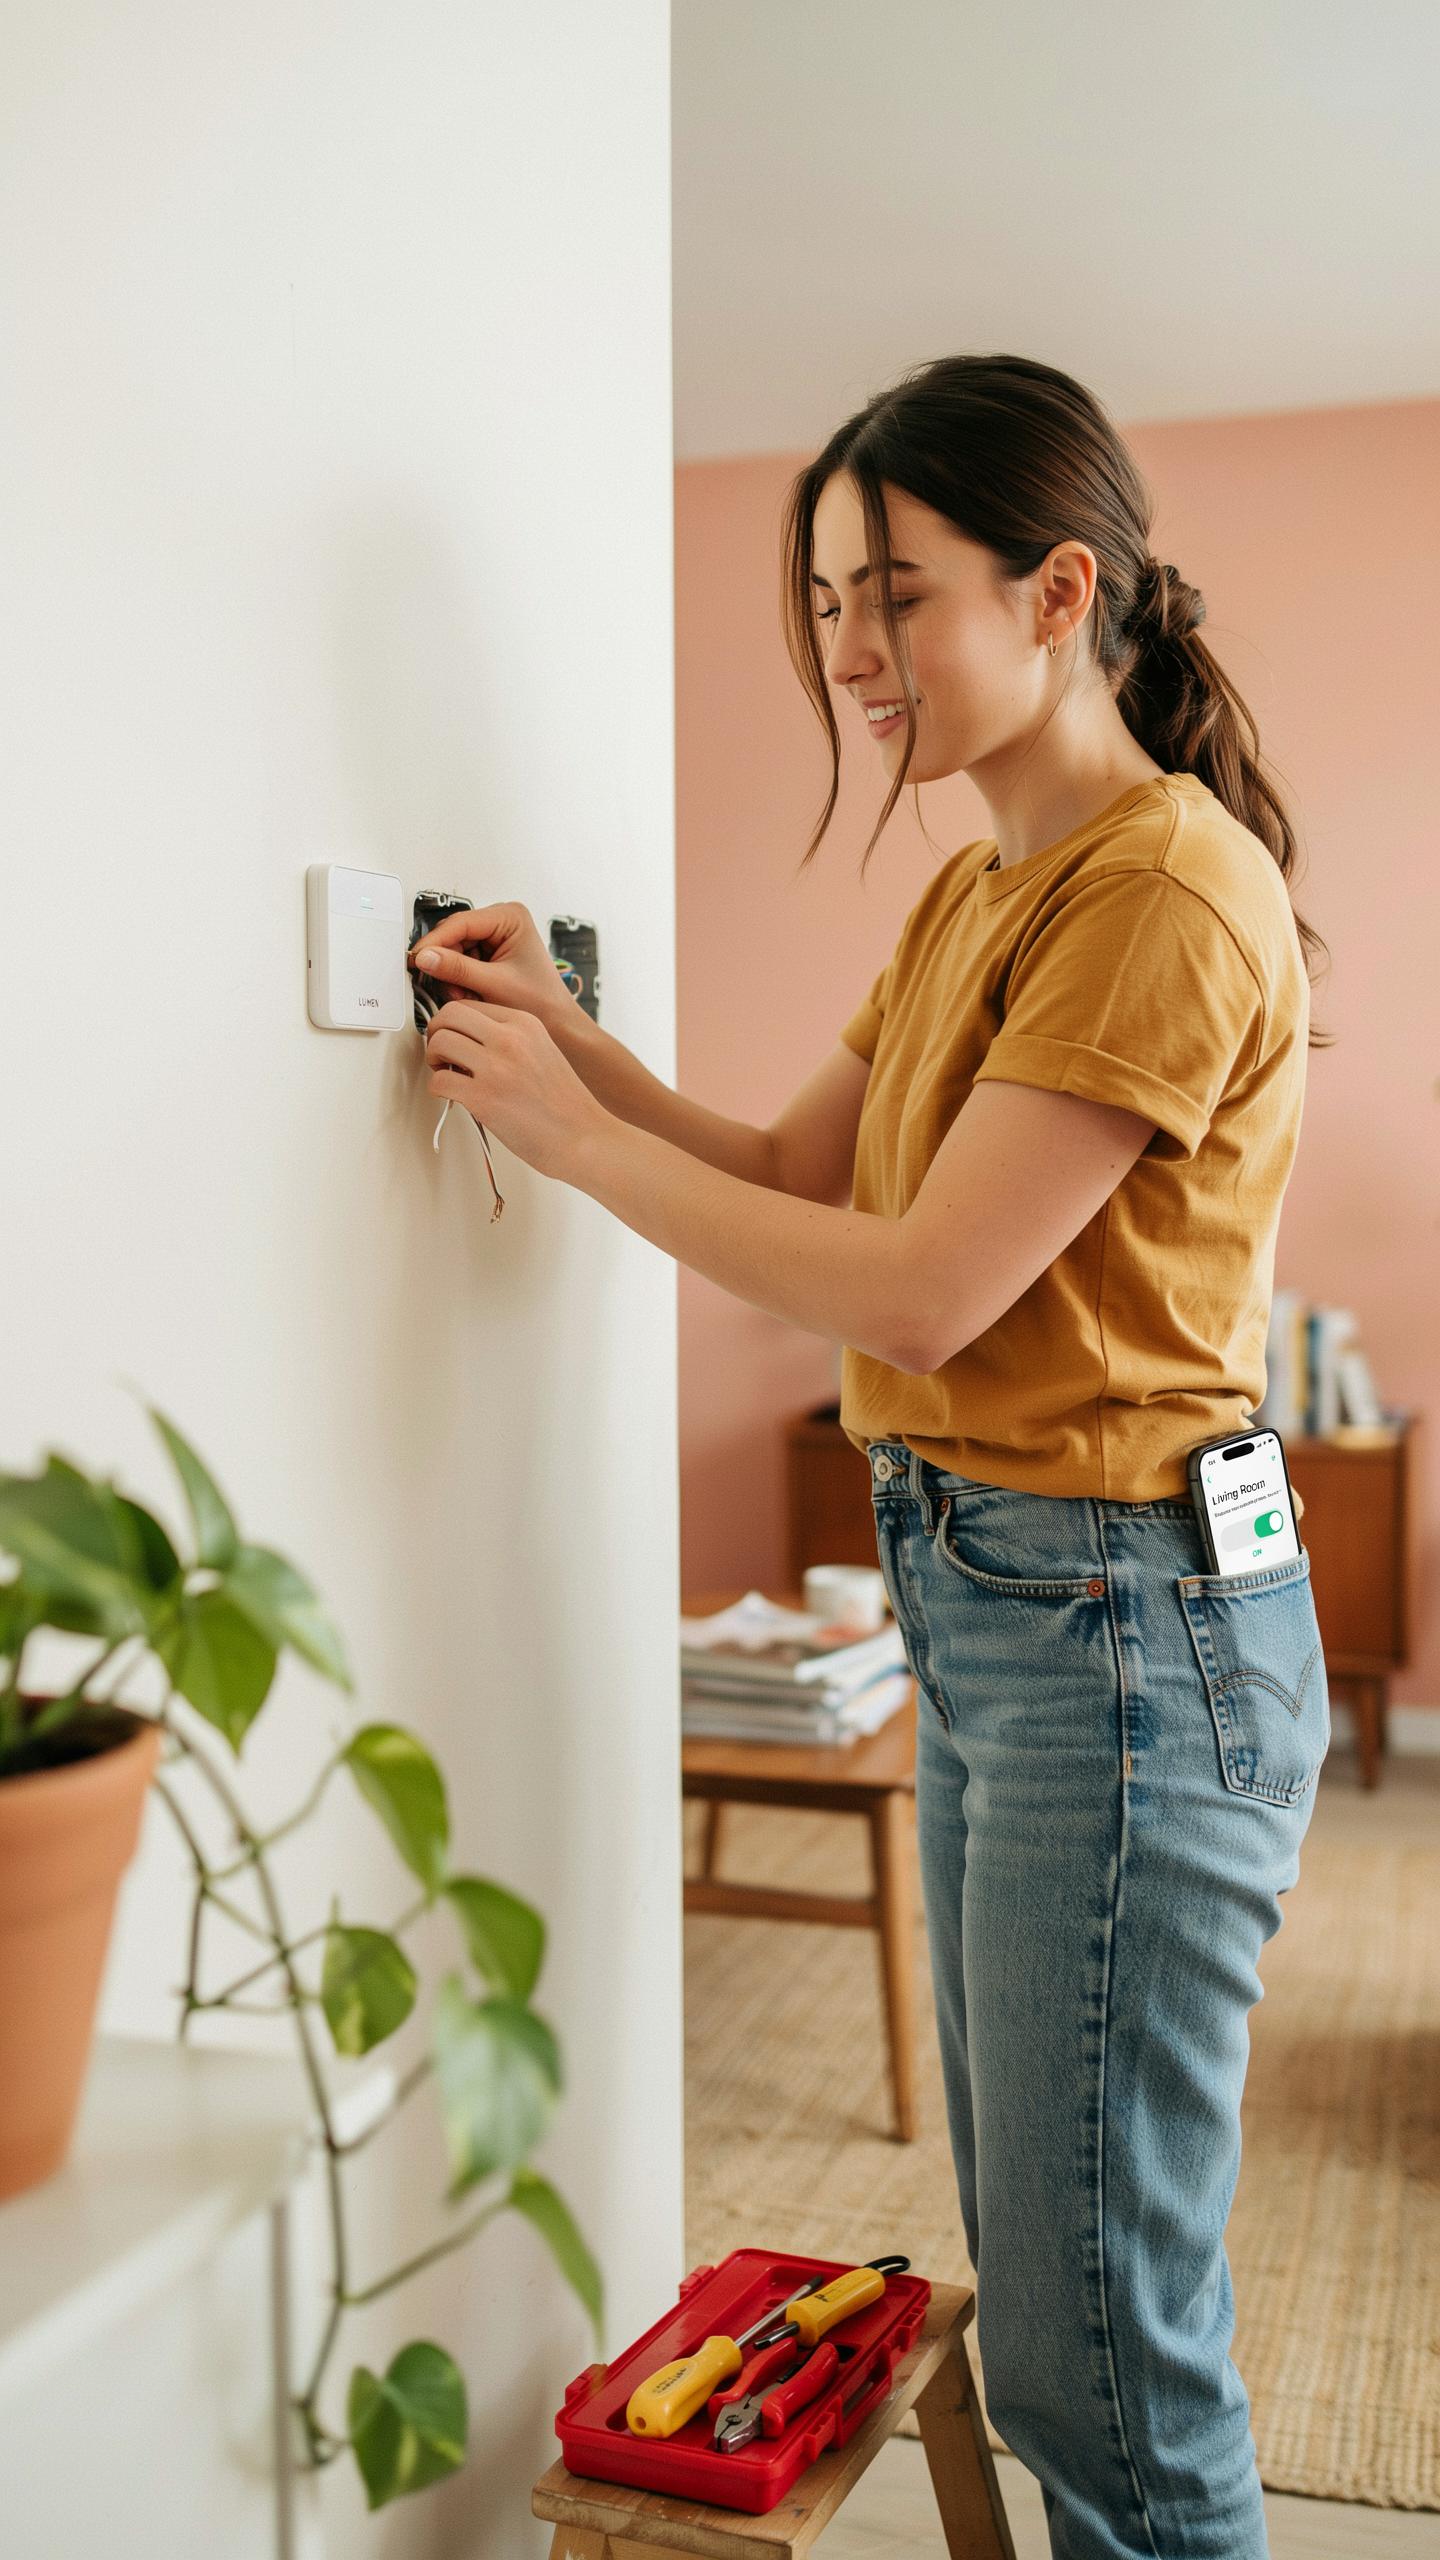
Mount the smart switch into the electrical box by aligning the mounting tabs on both sides of the device with the box openings. Push the switch flush against the box until the tabs catch. Use the two provided screws to secure the switch firmly to the box. Do not overtighten, as this strips threads and cracks the switch housing.
Attach the faceplate by sliding it over the switch body and pressing until it seats completely against the wall. Secure the faceplate with the single center screw provided. The faceplate should sit flat and level with your wall surface. Check that all edges align properly before considering this step complete.
Restoring Power And Initial Testing
Turn the breaker back on at the electrical panel. The smart switch should power up and display an indicator light or screen, depending on the model. Wait thirty seconds for the device to fully boot. Check that the physical button responds when pressed by controlling the connected light fixture.

Open the smart switch manufacturer’s app on your smartphone and search for the newly installed device on your home network. The app will guide you through pairing and naming the switch. Test basic functions like turning the light on and off remotely and adjusting brightness if your switch supports dimming. Verify that all features work as expected before moving to the next installation.
Configuring Your Smart Home Switches Connecting To Your Network
Pairing With Your Smart Home Hub Or App
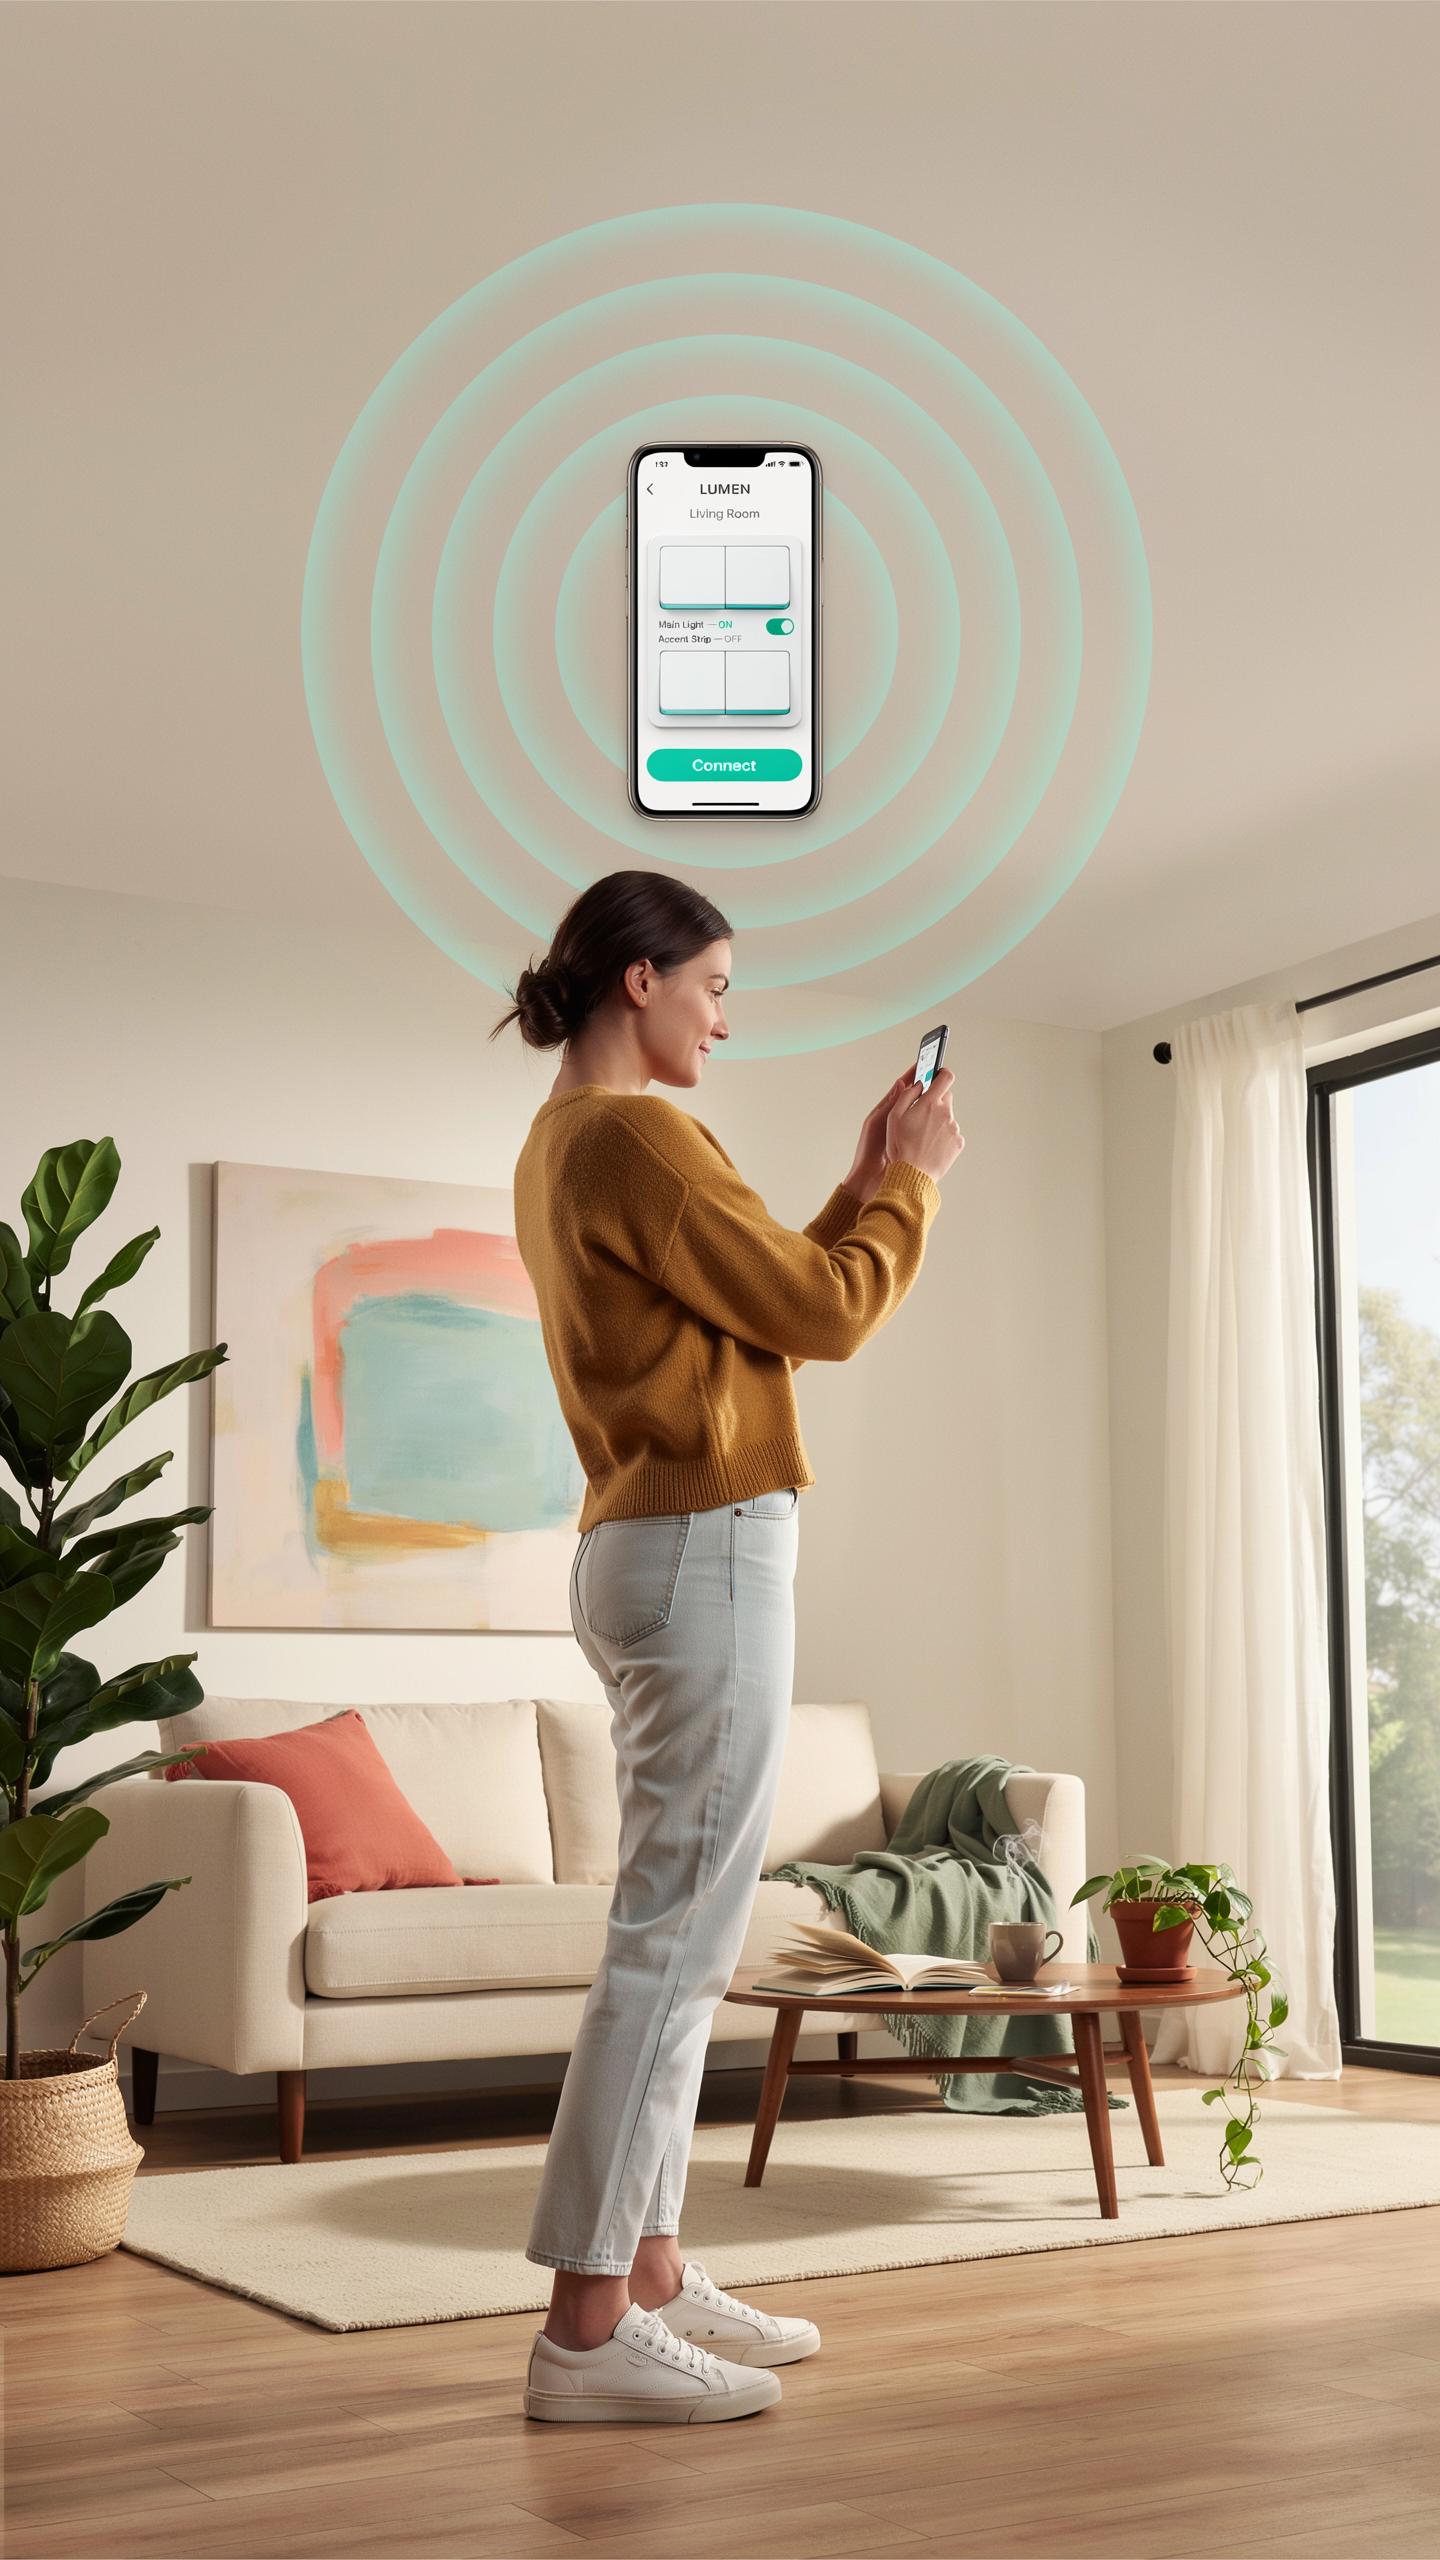
Your switch needs to connect to your network before it can function. Start by opening your smart home app or hub software. Most switches pair through a discovery mode that detects new devices on your network. Access the app settings, select “Add Device,” and follow the specific pairing instructions for your switch model. This process typically takes under five minutes.
Once pairing completes, your app displays the switch in your device list. The switch now receives commands from your phone or voice assistant. Test the connection by toggling the switch on and off through the app. If the physical switch responds to app commands, pairing succeeded. You can now move forward with customization and automation setup.
Setting Up Schedules And Automations
Schedules automate your lights based on time of day. Create a schedule by accessing the automation section in your app. Set specific times for lights to turn on or off daily. For example, you can program lights to turn on at sunrise and off at 11 PM. Most apps allow unlimited schedules per switch with recurring or one-time options.
Automations trigger lights based on conditions like motion, location, or other device states. Connect your smart switch to motion sensors or geofencing features if your system supports them. Build rules such as “turn on hallway light when motion detected” or “turn off bedroom lights when everyone leaves home.” These automations reduce manual control and lower energy costs by preventing lights from running unnecessarily.
Troubleshooting Common Issues After Smart Switch Installation
Addressing Connectivity Problems
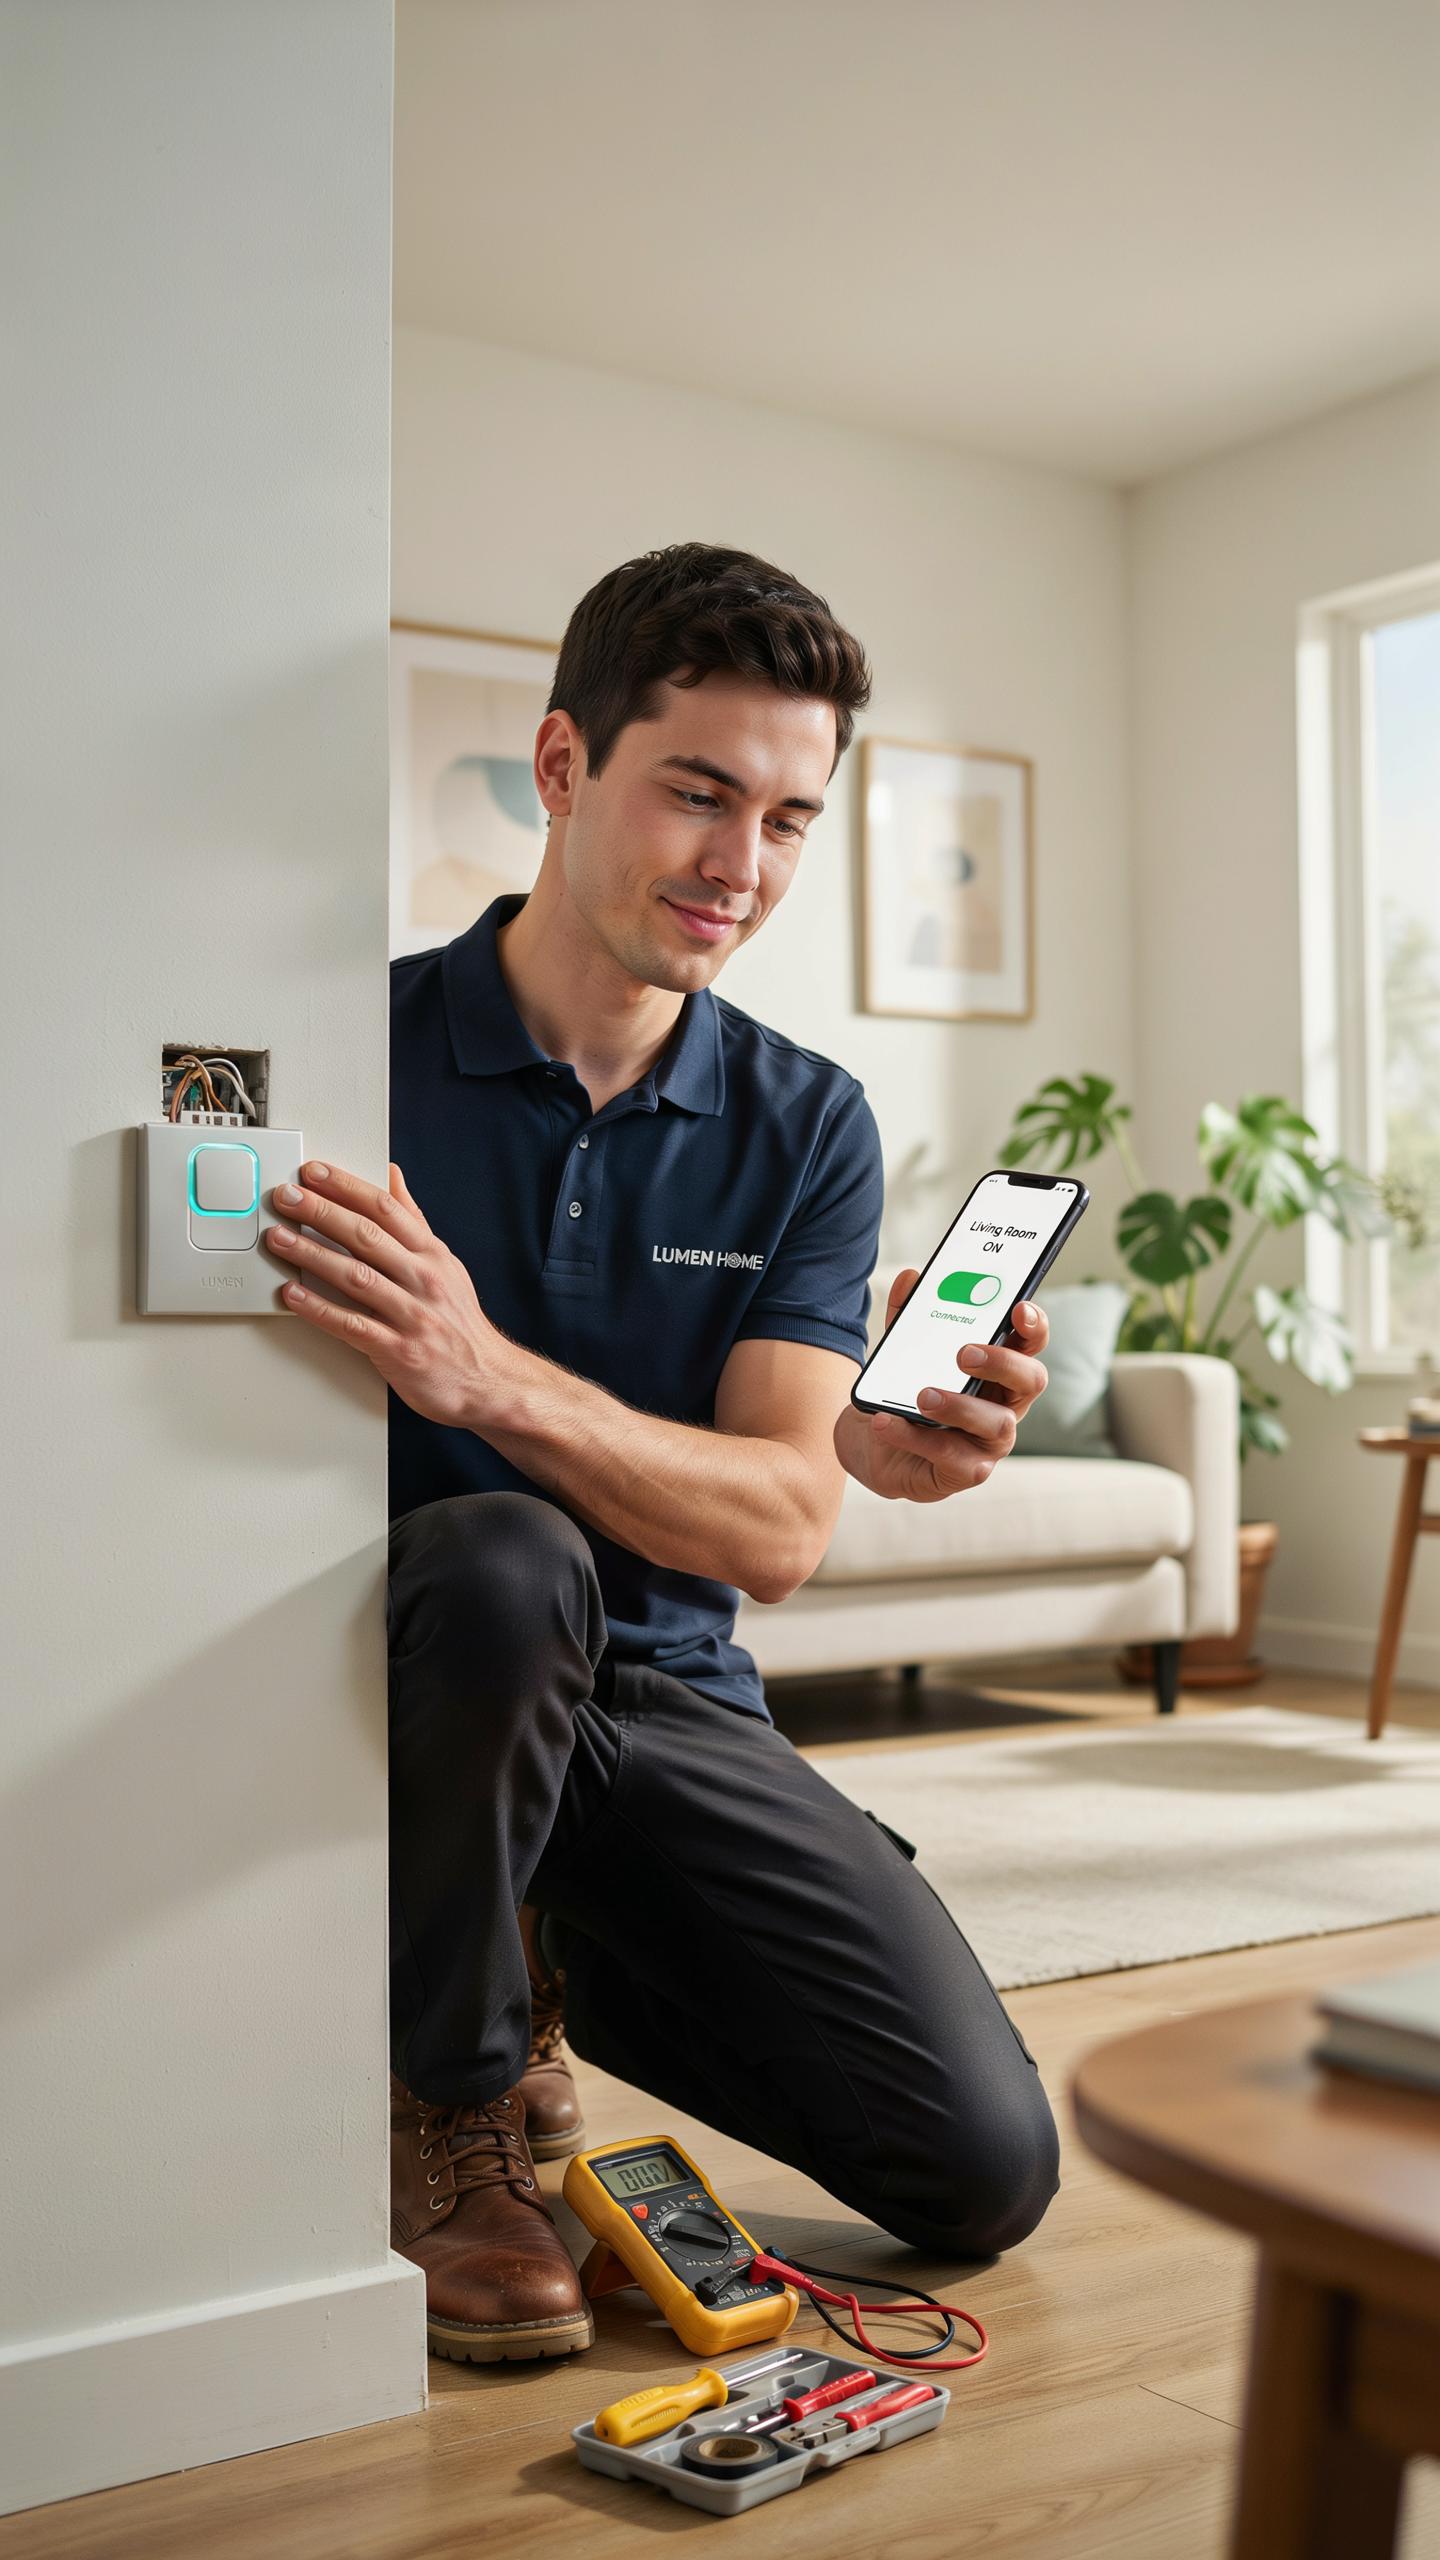
Your smart switch connects through Wi-Fi or a hub protocol like Zigbee or Z-Wave. If your switch doesn’t connect, start by checking your router distance. Most switches operate within 30 to 50 feet of the router. Move closer to verify the switch responds. Test with your phone at the same location to confirm signal strength.
Next, restart both your switch and router. Power off the switch at the breaker for 30 seconds, then restore power. Restart your router by unplugging it for 60 seconds. After both restart, attempt pairing again through your app. If problems persist, check that your Wi-Fi password is correct and your network band matches the switch requirements.
Resolving Flickering Lights Or Inconsistent Operation
Flickering occurs when the switch doesn’t hold a stable electrical connection or the load doesn’t match switch specifications. Check your bulb wattage against your switch’s minimum and maximum load ratings. LED bulbs, for example, need higher minimum load support than traditional incandescent bulbs. If your bulbs fall below the minimum load, the switch cannot stabilize the circuit.
Verify your wiring matches the switch requirements by reviewing the installation manual’s wiring diagram again. Loose neutral wires cause intermittent operation and flickering. Turn off power at the breaker and physically check that all wires connect securely to their terminals. If flickering continues after verification, try replacing the bulbs with different brands or wattages to isolate whether the issue stems from incompatible lighting loads.
Frequently Asked Questions

What exactly is a smart light switch and why should I consider installing one as a first-time user?
A smart light switch connects to your home’s Wi-Fi, allowing you to control your lights from anywhere using a smartphone app or voice commands. For first-time users, they offer incredible convenience, energy savings, and the ability to set automated schedules, making your home more efficient and stylish. Our smart light switch install guide will show you how simple it is.
What tools do I need to prepare before starting a smart light switch install guide?
Before beginning your smart light switch install guide, gather a few essential tools: a screwdriver set (Phillips and flathead), needle-nose pliers, wire strippers, and a voltage tester. Safety is paramount, so always ensure the power to the switch is off at the breaker box before you begin.
Are smart light switches expensive, and can they work with my existing light fixtures?
The cost of smart light switches varies, with many affordable options available. Generally, they are designed to work with most existing light fixtures, as they replace your standard in-wall switch. This makes them a cost-effective way to upgrade your home’s lighting without replacing every bulb or fixture.



