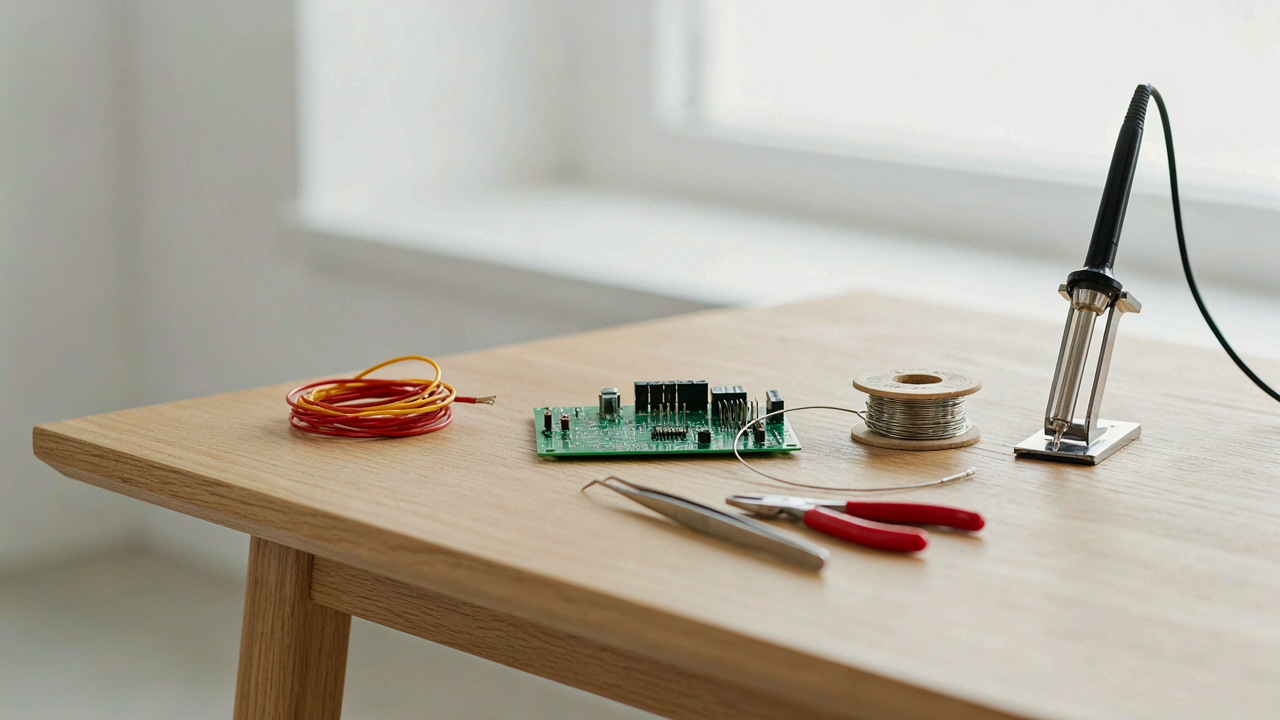
The Minimalist’s Iron: Why Less Is More For Beginner Soldering Projects
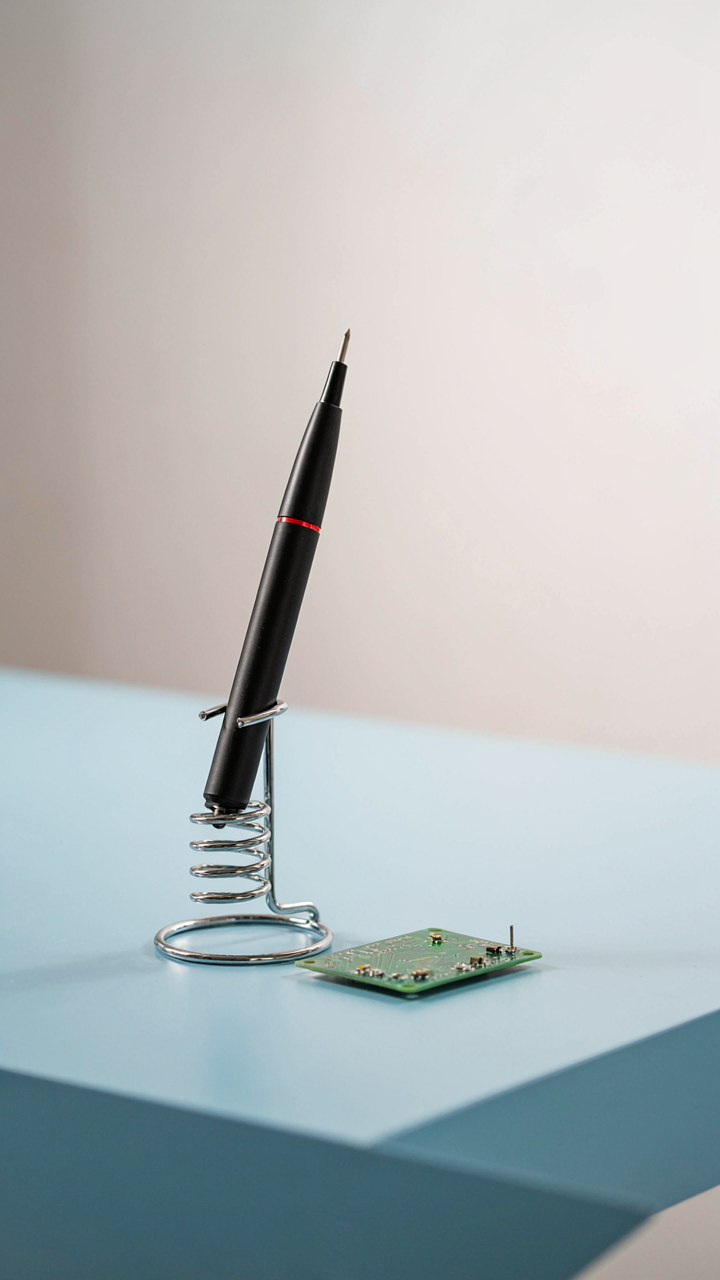
Station Or Pen: Pick One And Stop Second Guessing
You want to feel like you made the right choice before you even plug anything in. That’s the real reason you’re comparing soldering stations to pen irons. The mechanism is simple: beginners confuse tool complexity with capability. A soldering station sits on your bench, heats a metal tip, and holds it in a stand. A pen iron is the whole system in one handheld unit. Stations cost more upfront but stabilize temperature better. Pen irons are cheaper and portable. Neither makes you better at soldering. Your skill does.
For actual beginner work, a pen iron does the job. Most come between 30 to 60 watts of power, which handles standard through-hole components and light wire work without drama. Stations make sense if you’re soldering for hours daily or need precision on surface-mount work. As a beginner, you’re not there yet. A 40-watt pen iron with a basic stand costs under fifty dollars and teaches you the mechanics without the financial commitment or desk clutter. Pick one, use it consistently, and ignore the upgrades until you actually need them.
Temperature Control: Where Beginners Actually Fail
Think of temperature control as a biology problem: heat is the environment, and your solder joint is the organism. Too cold, the joint doesn’t flow. Too hot, you kill the component. Most beginner advice says “just get a soldering iron with temperature control,” which is incomplete. What matters is whether the iron maintains temperature under load. A cheap pen iron without temperature regulation will drop 50 to 100 degrees the instant you touch it to a component. That’s why the joint fails, not because you’re bad.
A pen iron with built-in temperature control costs marginally more and actually stays hot when you need it. Look for irons with feedback heating, meaning the iron senses temperature drop and adjusts the coil power automatically. Entry-level models from reputable brands do this at 40 to 50 watts. Set it to 350 degrees Celsius for standard lead-solder work. Never exceed 400 degrees or you’ll oxidize the tip and degrade components. Let the iron sit at temperature for two minutes before your first joint to let the tip stabilize completely.
Your First Soldering Iron: Understanding Power And Heat Transfer
Wattage Decoded: Enough Heat, Not Overkill
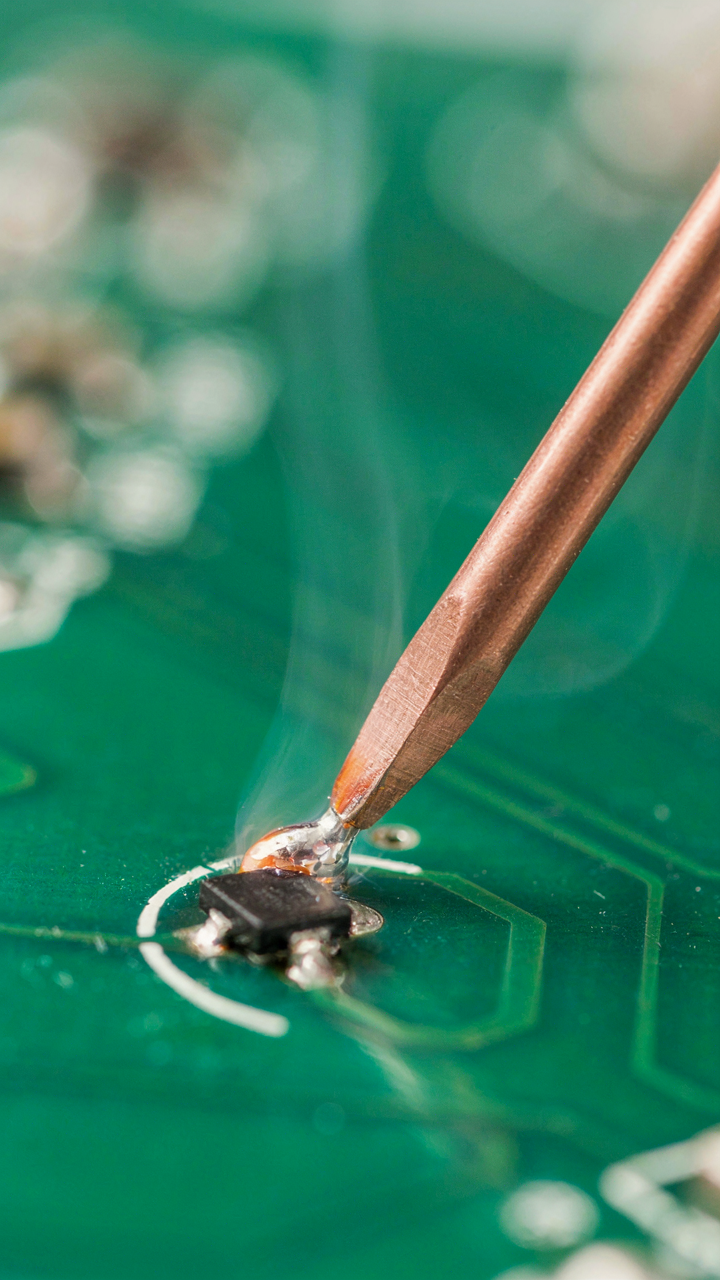
You want a number that feels safe, that proves you made the right choice. That’s not how wattage works. Wattage is the rate at which an iron transfers energy to solder and the joint. Below 25 watts, you wait too long and heat the surrounding circuit board—that damages components. Above 60 watts for beginner work, you overshoot the melting point and burn flux before solder flows, creating cold joints that fail later.

For learning, 40 watts sits in the efficiency zone. It reaches working temperature in 30 to 60 seconds and maintains heat through a joint without requiring precision timing. The mechanism is simple: higher wattage recovers temperature faster after contact with cold metal, which means cleaner joints and less fussing. Most beginner soldering irons cluster around 30 to 40 watts for exactly this reason—not because it’s trendy, but because the physics demands it.
Thermal Mass: Faster, Cleaner Joints
Thermal mass determines how quickly an iron recovers temperature after you apply it to a joint. A soldering iron’s tip—usually iron or copper—stores heat. Larger tips hold more heat and cool less when touching cold solder and the pad. This borrowed concept from thermodynamics maps directly onto your iron’s tip geometry: higher mass equals higher heat retention, lower mass means faster cool-down and slower recovery.
A 3.2-millimeter conical or chisel tip works for most beginner tasks because it balances thermal mass with control. Thinner tips cool too fast and require more time on the joint, risking heat damage to components nearby. Thicker tips hold temperature better but become harder to position precisely. Copper tips conduct heat faster than iron, but require regular cleaning or they oxidize and lose efficiency. When you choose your iron, prioritize tip design over the flashiest feature—it directly controls whether your joints succeed.
The Soldering Iron Tips Arsenal: Beyond The Conical Myth
Chisel Tips Win Because They Transfer Heat Faster
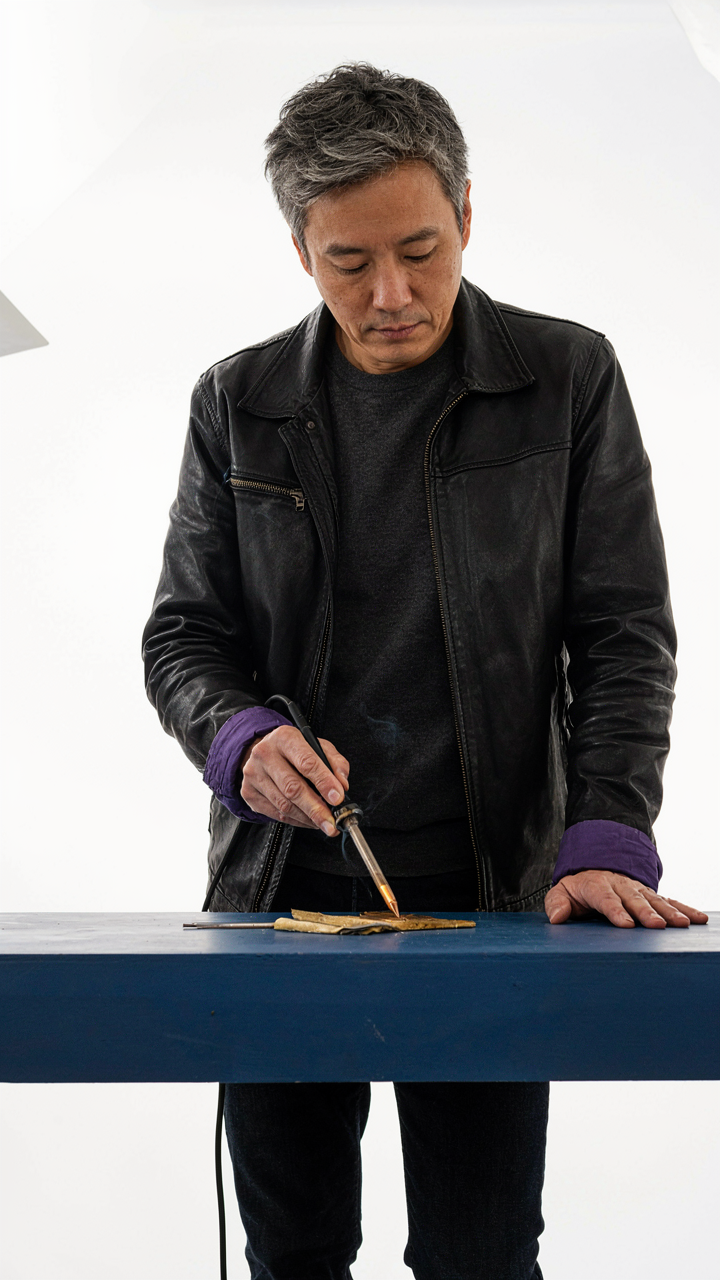
You think the conical tip looks more professional. It doesn’t. The real reason you care about tip shape is thermal transfer efficiency, borrowed directly from thermodynamics: surface area determines heat flow rate. A chisel tip presents flat, broad contact with your joint. A conical tip touches down like a pencil point, concentrating heat in a tiny zone and wasting the rest into air.

Chisel tips dominate production lines and professional repair work for one reason: they solder faster and more reliably. Buy a 3.2mm or 4.8mm chisel for 95% of your early work. The flat edge sits flush against component leads and pads simultaneously, heating both at once. Conical tips create the illusion of precision while actually delivering slower, uneven heat. Stop fighting the physics.
Oxidation Destroys Tips Faster Than Use Does
Tip lifespan isn’t about solder volume. It’s about oxygen exposure. When your iron sits idle or runs too hot, the copper oxidizes and forms a black crust that refuses to wet solder. This crust acts as a thermal barrier, killing heat transfer instantly. You can’t solder through it.
Clean your tip every three to five joints using a damp brass wool cleaner or wet natural sponge. Wet works better than dry because moisture breaks the oxide layer faster and doesn’t gouge the copper like aggressive scrubbing does. The goal is to expose fresh copper, not to shine it. Store your iron in its stand between uses and keep the temperature at the lowest setting that still flows solder smoothly, typically 350 to 380 degrees Celsius. Lower temperature means slower oxidation and tips that last months instead of weeks.
The Solder Wire Dictum: Material Matters More Than Iron
Lead Vs. Lead Free
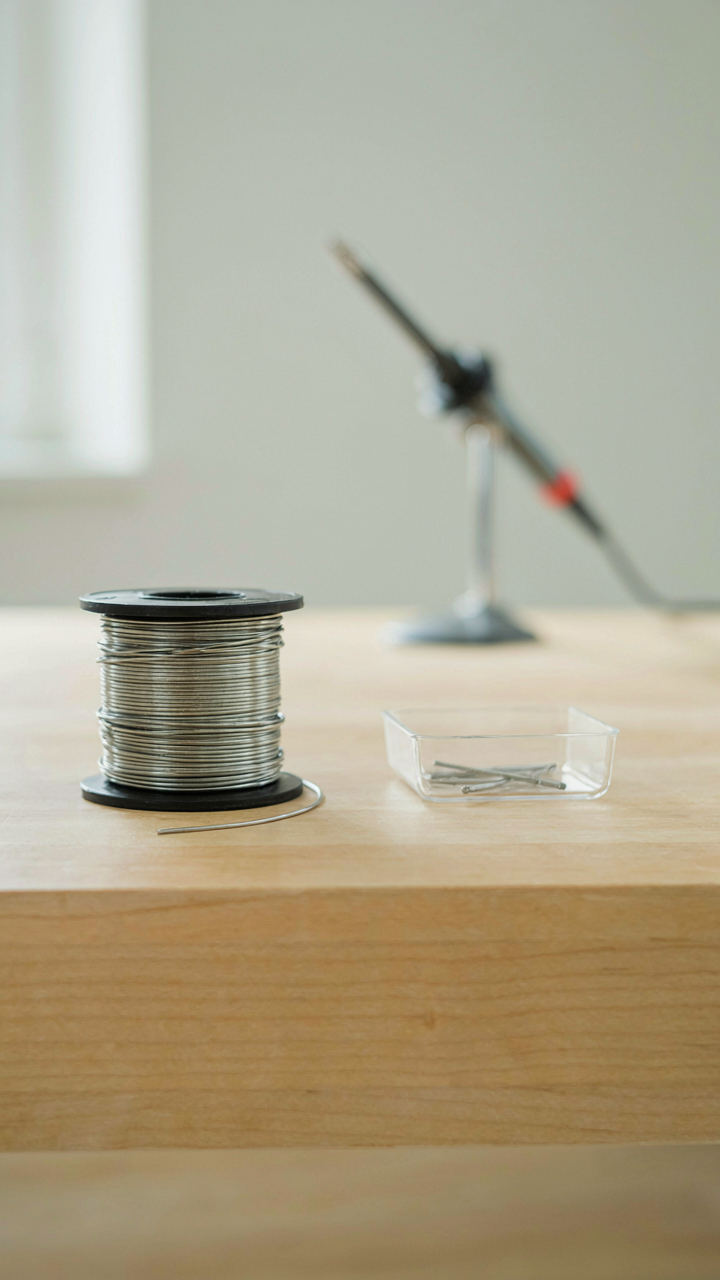
You think the iron matters most because it’s the tool you’re buying. It doesn’t. You’re worried you’ll mess up because you picked the wrong one. The real mechanism is this: your solder’s melting point and flow characteristics determine whether your iron can actually do the job. Lead solder melts around 190°C. Lead-free melts around 220°C. An underpowered iron can’t reach lead-free temperatures, leaving you with cold joints that fail. The iron is just the delivery mechanism.

Lead solder flows faster, wets components better, and forgives timing mistakes. Lead-free solder is mandatory in commercial electronics due to RoHS regulations, but it demands higher temperatures and needs better flux to work reliably. For beginners, lead solder is objectively easier. Your 30-watt iron handles lead without strain. That same iron struggles with lead-free. If you’re learning, use lead solder with a proper iron. You can switch later. Right now, the goal is building muscle memory, not virtue signaling through regulation compliance.
Flux Core Gets The Job Done
Flux is the chemistry that makes solder wet and stick to metal instead of balling up and sliding off. Flux-core solder has flux built into the wire’s center, so you don’t need to add it separately. This is not a convenience feature. This is the difference between a joint that holds and one that fails. Beginners without flux-core solder either buy separate liquid flux and apply it manually, which adds a step and a variable, or they solder blind and wonder why nothing sticks.
Rosin flux, the standard in flux-core wire, is mildly corrosive by design. It cleans the oxidized layer off metal so solder can bond. You’ll see it as a brown residue after soldering. Leave it there. Clean it off later with isopropyl alcohol if you care about aesthetics. The mechanism is this: buy 60/40 or 63/37 lead solder with rosin flux core. Load it into your iron. Melt it. The flux does the work. Everything else is just showing up.
The First Principles Of Soldering: A Military Logistics Approach
Stage Your Workspace Before Power On
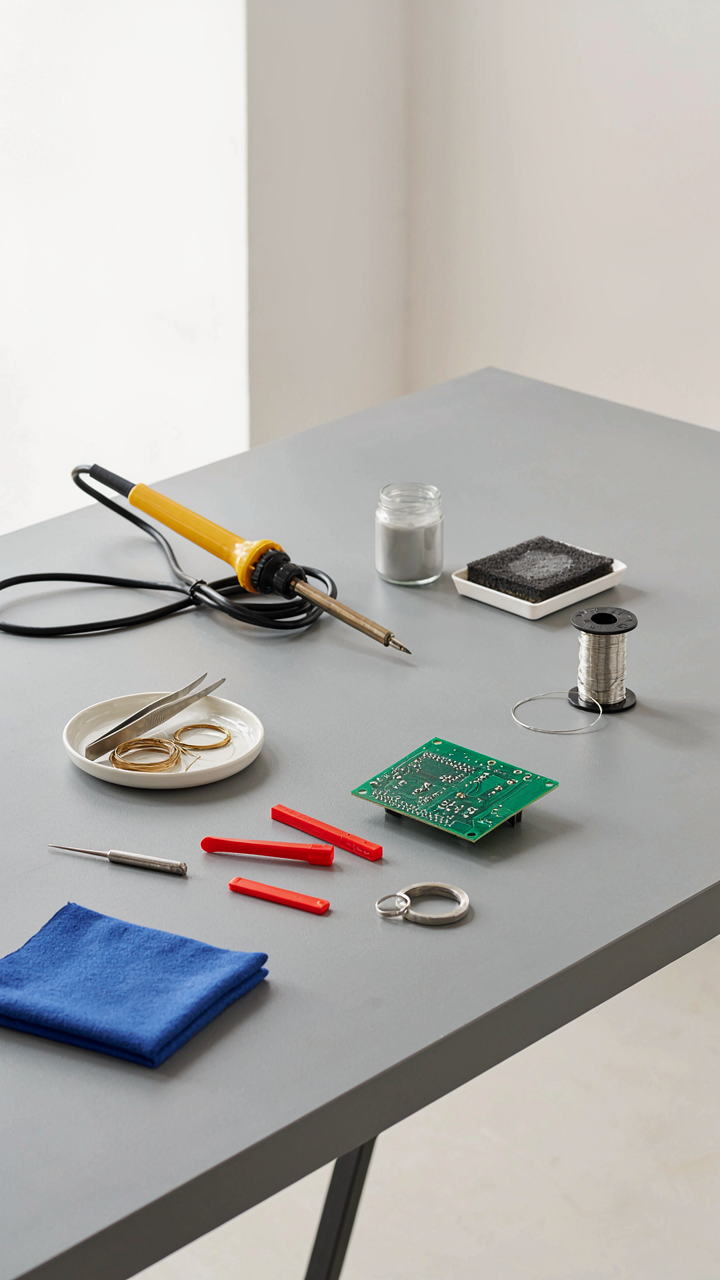
You want to feel competent before you touch the iron, and that’s actually the mechanism at work here. Military logistics wins wars through pre-positioning, not heroic improvisation. Think of your workspace as a supply line: everything the iron needs must sit within arm’s reach before you energize anything. This eliminates the amateur mistake of hunting for solder while the tip oxidizes or fumbling for a wet sponge mid-joint.

Lay out your iron, solder, wet cleaning sponge or brass wool, helping hands or PCB holder, and desoldering wick in fixed positions. Your non-dominant hand should never leave the work area searching for a tool. The moment you power on, your mental bandwidth narrows to heat management and joint timing. Remove that friction beforehand, and you execute clean joints instead of panicking through them.
Optimize For The Tools You Actually Own
The common advice says buy everything at once, and that’s incomplete. Real constraint optimization means working backward from what you have, not forward from aspirational purchases. If you own a basic 30-watt pencil iron and rosin-core solder, that determines your next move: smaller components only, shorter dwell times, pre-tinning everything.
Don’t fight your equipment’s limits by adding complexity. Instead, match your technique to your tool’s capability. A cheap iron teaches better joint discipline than an expensive one because you cannot rely on raw power. You learn heat transfer, timing, and flux management out of necessity. Once you nail joints with constraints, upgrading to a temperature-controlled station becomes optional, not mandatory.
Essential Soldering Tools: The Non Negotiable Support System
The Hands You Don’t Have
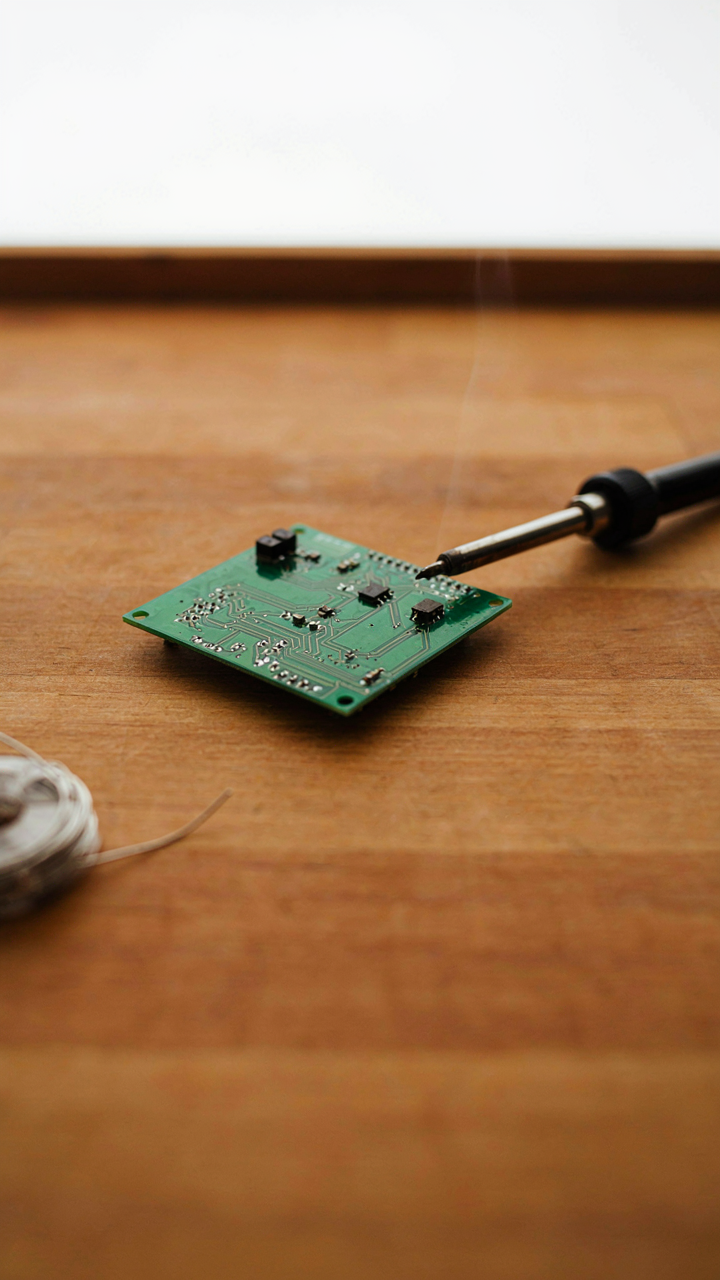
You want to look competent without spending money on gear that sits unused. That’s understandable. But here’s the mechanism: soldering requires simultaneous control of three objects—iron, solder, and the joint itself. Your two hands physically cannot manage this without external support, which means you either stabilize the workpiece or you fail repeatedly while blaming technique.

A third hand is not optional scaffolding. It’s the difference between a solder joint and a cold joint. You need these tools working in concert.
- Third hand tool: Holds circuit boards or components steady using articulated arms with alligator clips. Frees both hands to manage iron and solder feed simultaneously without fumbling.
- Safety glasses: Protects eyes from solder splatter and flux debris. Molten solder travels faster than reflexes. Polycarbonate lenses rated for impact work.
- Fume extractor or solder sucker: Removes lead-free flux fumes that irritate sinuses and lungs. A $30 desk extractor beats headaches and respiratory irritation over time.
- Wet sponge or brass wool holder: Cleans iron tip between joints to maintain heat transfer. A dirty tip wastes heat and forces you to hold the iron longer against the joint.
- Helping hands stand: Alternative third-hand setup with flexible arms. Better for larger boards than a basic clip-based holder, though heavier to transport.
Every beginner skips the fume extractor and regrets it within an hour. You’re not being cautious by ignoring it. You’re trading a minor expense for actual discomfort and potential health accumulation. Deploy all five tools from day one.
Brass Wool Versus Sponge: The Real Tradeoff
Most guides hedge this comparison. They don’t. Brass wool preserves tip life. A wet sponge erodes it. That’s not opinion—it’s material science applied to tinned copper.
A wet sponge cools the iron tip rapidly through direct contact. This thermal shock causes expansion and contraction in the solder coating, which accelerates oxidation and degrades the tip surface. Brass wool cleans through abrasion without the thermal stress. If you’re soldering for more than five minutes at a time, brass wool extends tip life by months. The downside is minor: brass wool leaves tiny filaments on your iron if you don’t shake it clean, and it costs slightly more upfront. A sponge is cheaper and works fine for occasional use. If you plan to solder regularly, brass wool is the rational choice, not the premium option.
The iron tip should feel smooth and shiny after cleaning. If it looks pitted or dull after weeks of use, you’re using the sponge. Switch to brass wool, and your next iron will last through real projects instead of degrading into a useless nub that won’t hold heat.

Your First Soldering Diagram For Beginners: Deconstructing Simple Circuits

Reading Schematics: Identifying Components
You want to look competent without actually understanding what you’re looking at. The real mechanism is this: schematics are a compression format. They translate physical reality into symbols so you stop wasting mental energy on what things look like and start tracking what they do.
A schematic uses standardized symbols because engineers across continents need to build the same circuit without phone calls. Resistors appear as zigzag lines or rectangles. Capacitors show as two parallel lines. Diodes look like arrows pointing toward a bar. LEDs are diodes with arrows shooting outward. Once you memorize twelve symbols, you’ve decoded ninety percent of beginner circuits. Your soldering iron melts solder onto the connections these symbols represent, nothing more.
Practicing With Real Boards First
Most advice tells you to “study circuits before you solder.” That’s backwards. Muscle memory matters more than theory at this stage. Buy a practice board with pre-printed circuits and component footprints already marked. These boards show you exactly where the iron goes and what solder joints should look like when they’re done right.
Simple practice boards force you to repeat the same motion until your hand knows the angle, pressure, and dwell time without your brain arguing about it. You heat the pad and component lead together for two to three seconds, touch solder to the joint, watch it flow, then remove both iron and solder. Do this twenty times on a practice board before touching anything valuable. The circuit doesn’t matter. The muscle pattern does.

The Practice Loop: How To Start Soldering Projects For Rapid Skill Acquisition
Start With Single Joints, Not Boards
You want to feel competent fast. Here’s the mechanism: your nervous system doesn’t learn from projects. It learns from repetition of isolated variables. One joint repeated fifty times teaches your hand more than five different boards with ten joints each.
Pick projects that isolate one skill per session. Solder fifty practice joints on scrap wire first. Then move to adding components to a single pad. Then two pads. Then a simple circuit board with five connections. The progression isn’t about complexity. It’s about removing variables so your muscle memory hardens around one constraint at a time.
- Bare wire to pad practice: Strip wire, tin both surfaces, connect them. Do this twenty times before touching a board. Builds joint geometry without distraction.
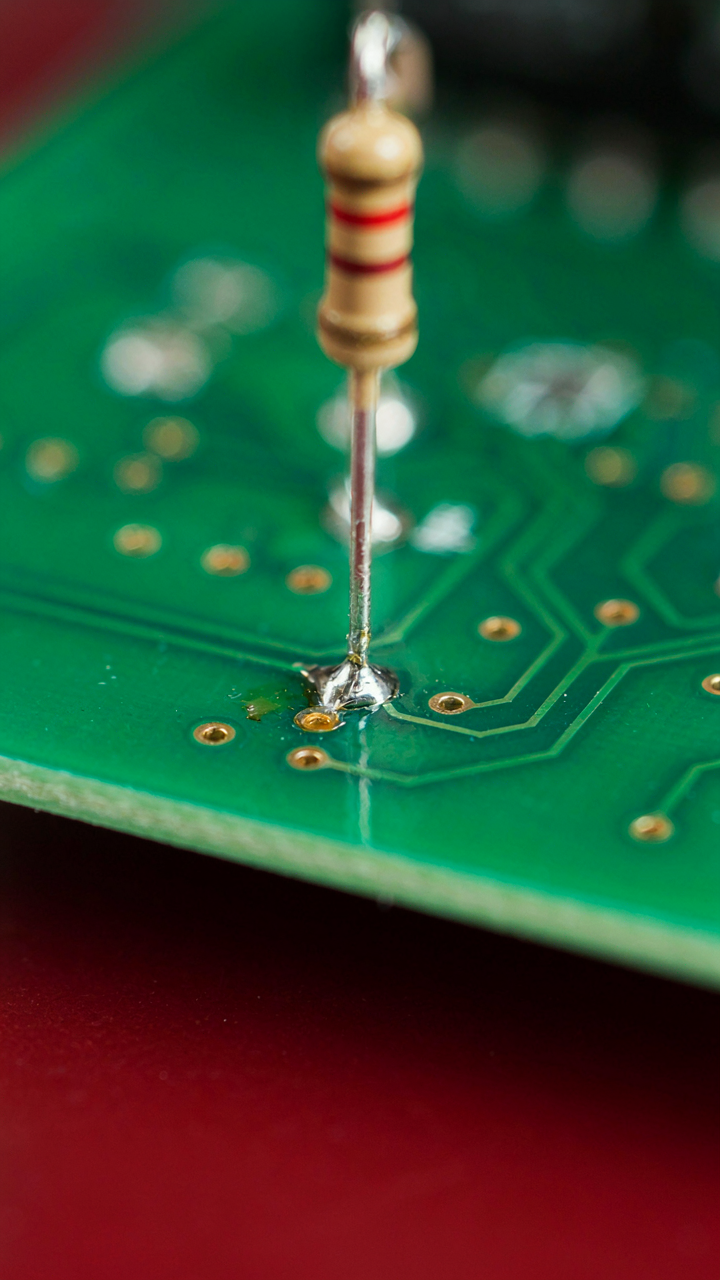
- Single component insertion: Resistor or capacitor to a practice board with one set of pads. Repeat ten times. Focus only on heat timing and solder flow.
- Two-pad circuits: Simple LED with current limiting resistor on a breadboard or perfboard. Repeat five times. Tests your ability to manage two joints without overheating components.
- Small functional boards: Arduino shields or simple breakout boards designed for beginners. Three to eight connections maximum. Do two or three before moving to denser work.
- Real project assembly: Only after forty to fifty total joints under your iron. Now you have baseline control to troubleshoot when something fails.
The timeline matters less than the repetition count. Fifty joints in one week beats ten joints spread over a month. Your hand forgets micro-adjustments without frequency. Stack your practice sessions close together, then move to the next variable.
Reading Joints Like Symptoms
Most beginner troubleshooting advice is useless. People say “look for a shiny joint” like you’re buying jewelry. That’s not diagnosis. Real diagnosis means knowing what the joint tells you about what went wrong during soldering.

A dull gray joint means you didn’t reach proper temperature before the solder cooled. The solder crystallized instead of flowing. Reflow it by reheating both the pad and the component lead for three to four seconds. A joint that looks balled up or beaded means too much solder, too much heat, or both. A joint that looks thin or sparse means you didn’t apply enough solder to the connection. A cold joint looks grainy and weak at the edges. Heat it again and let solder flow into the gap. A joint that cracked under the component shows thermal stress from reheating too many times or cooling too fast. Leave it alone unless it affects electrical connection. A joint that spread across the pad or onto adjacent traces means your iron was too hot or you held contact too long. Lower temperature and reduce contact time on the next joint. Burnt flux around the joint (brown or black residue) means excessive heat. Reduce temperature by 50 degrees and try again.
The Real Obstacle Isn’t The Iron; It’s Your Resistance To Disciplined, Focused Practice With Basic Tools

You’ll buy a soldering iron and convince yourself the tool matters more than your hands do. It doesn’t. Grab whatever beginner model fits your budget and stop waiting. The skill lives in repetition, not in gear. Solder ten joints today. Then ten tomorrow. Your hands learn faster than your brain can rationalize. The iron you own right now is good enough to become dangerous with it.