
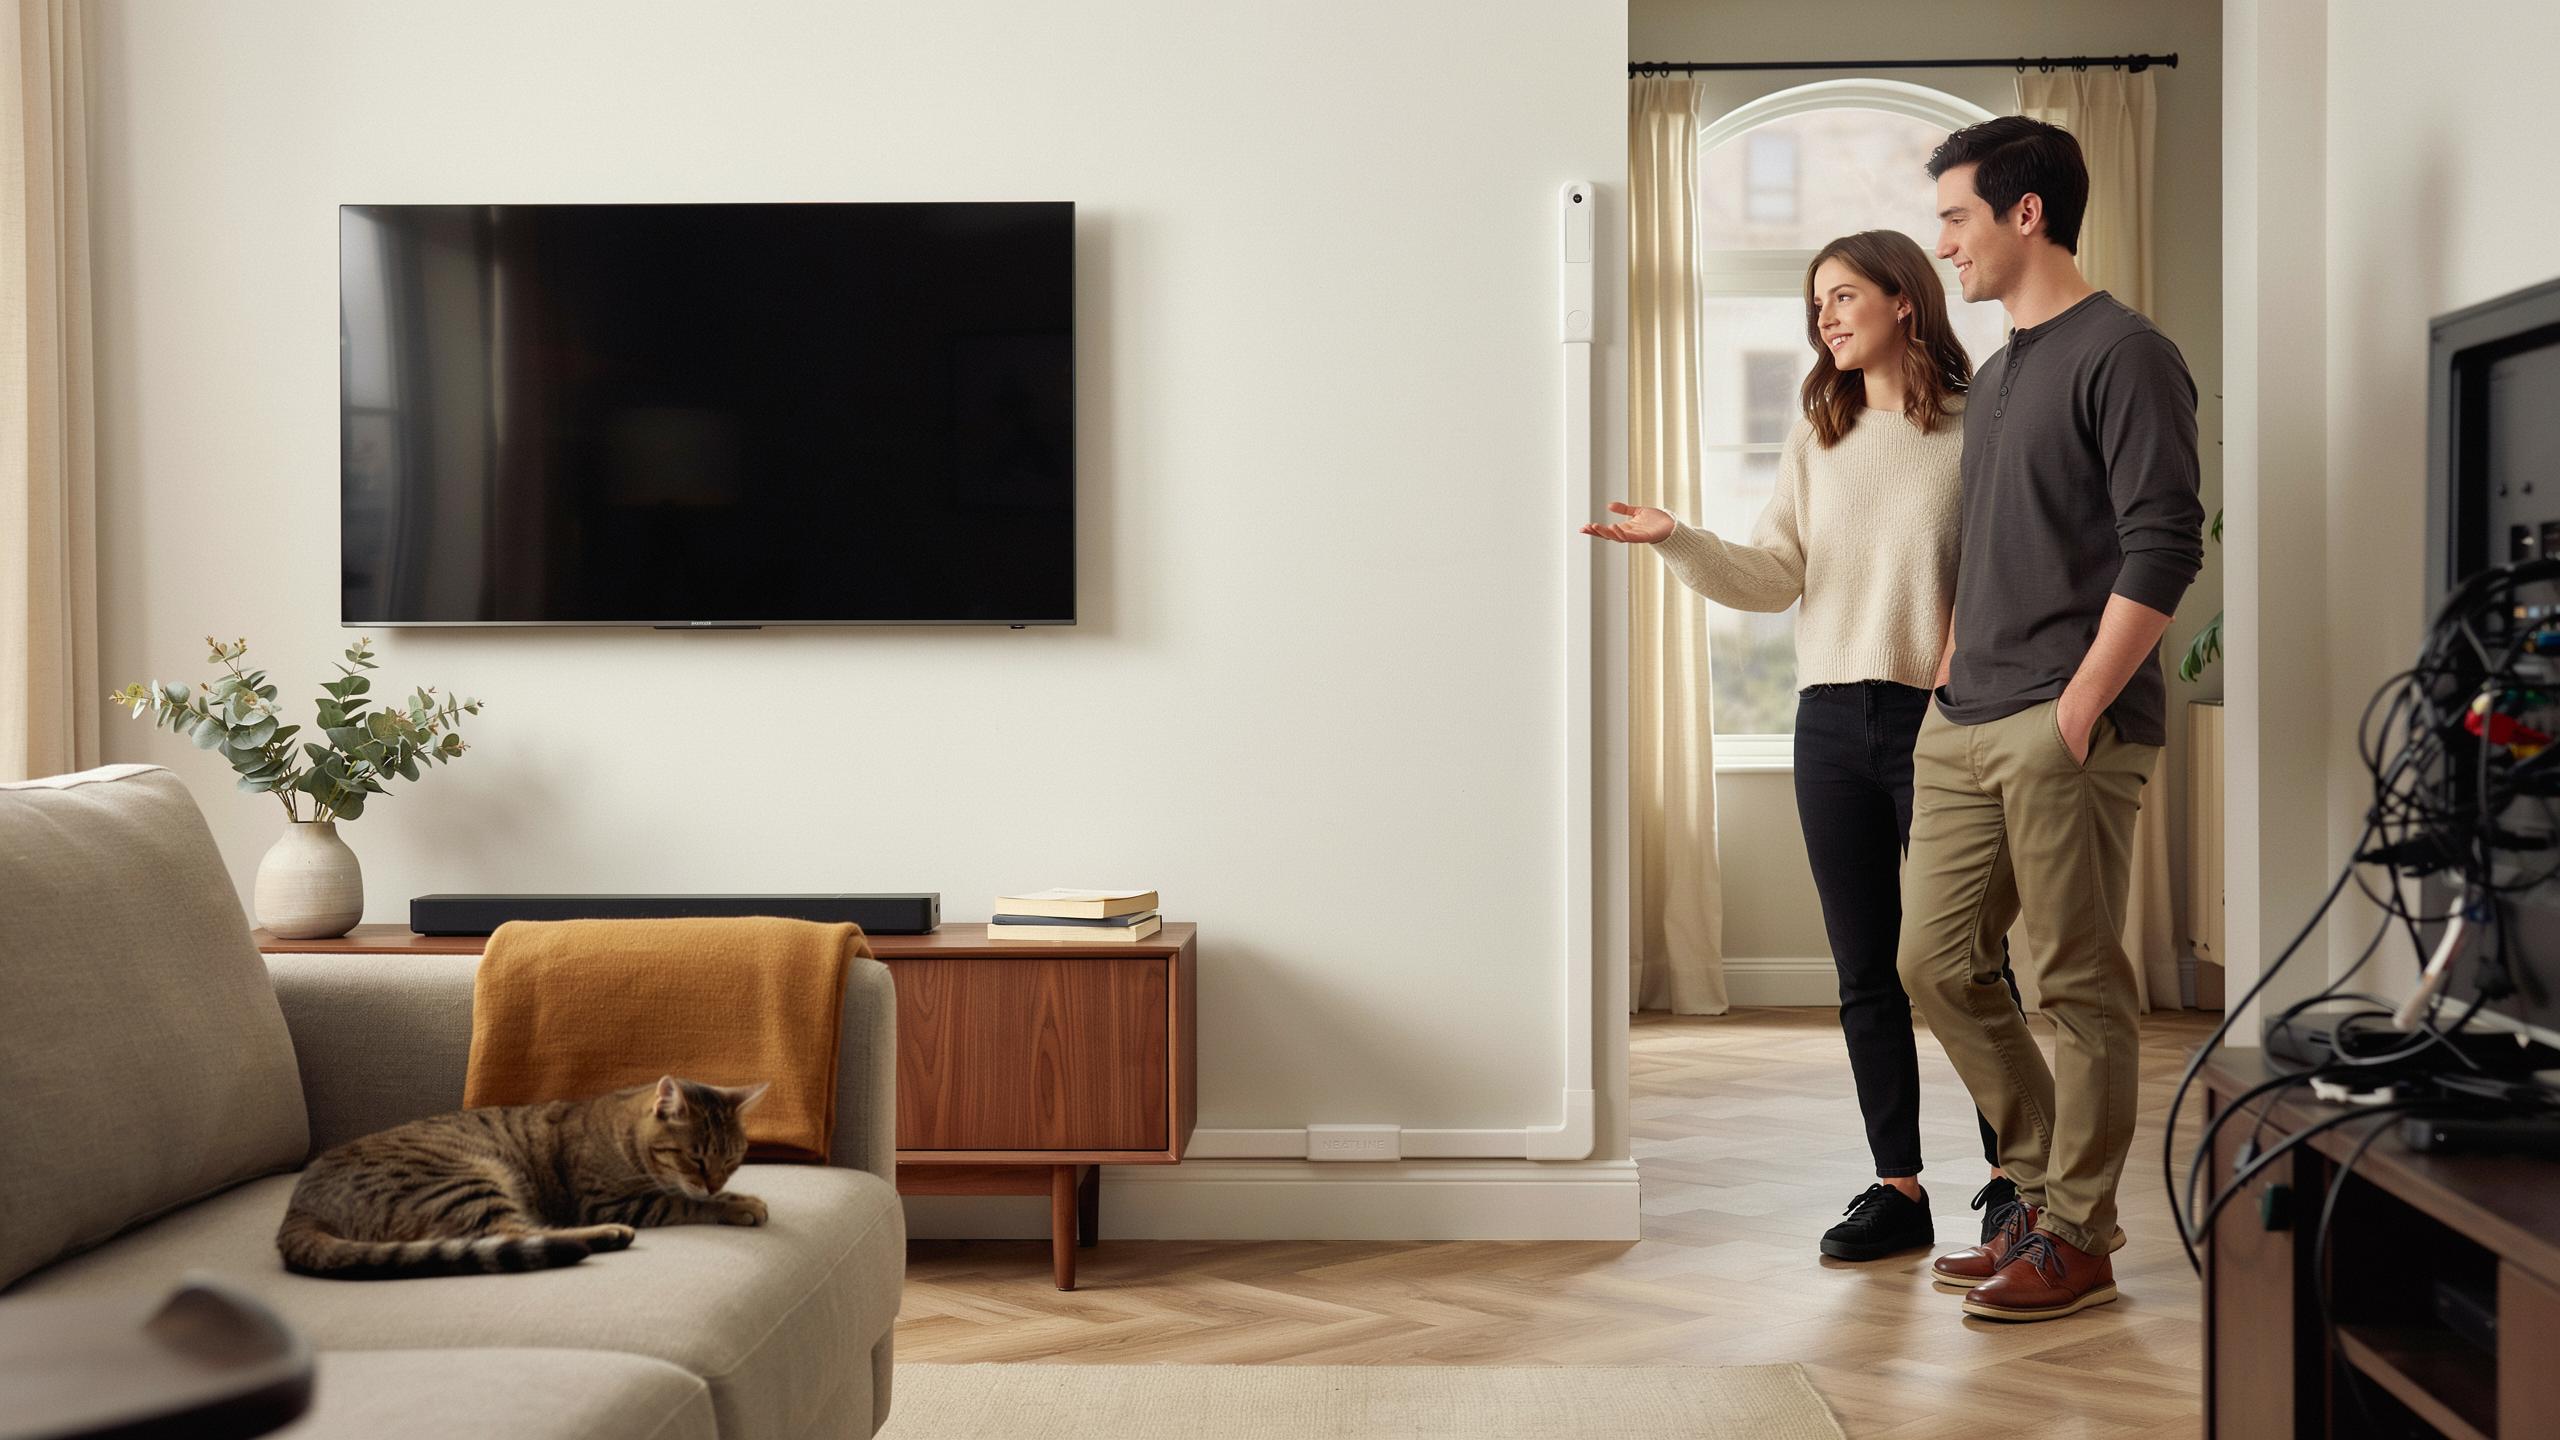
Understanding The Need For A Raceway Cable Cover
The Challenge Of Visible Tv Cords
Wall-mounted TVs create a specific problem: cables must run from the wall outlet to the back of the display. Power cords, HDMI cables, and component wires drape down or across the wall surface. This creates visual clutter in living rooms, bedrooms, and commercial spaces. Most people find exposed cords detract from the clean aesthetic they expect from a mounted installation.
The standard solution involves running cables through walls during construction, but most installations happen after walls are finished. Retrofitting requires drilling, fishing cables, and potential damage to drywall. Renters cannot modify walls at all. This leaves exposed cords as the default outcome for many installations, forcing homeowners and business operators to accept visible wire management or invest in expensive alternatives.
Why A Raceway Cable Cover Is The Ideal Solution
A raceway cable cover mounts directly to the wall surface and conceals cables without renovation. The system works by channeling wires through a hollow tube or track that runs from the outlet to the TV. Installation requires only adhesive, screws, or clips on existing walls. This approach works for renters, new builds, and existing installations where wall modification is not possible or practical.
Raceway covers eliminate the trade off between aesthetics and functionality. You get a finished appearance while maintaining full access to cables for repairs or changes. The covers come in colors that match common wall finishes like white, black, and beige. Cost remains significantly lower than wall modification, making this the most accessible solution for the majority of installations.
Choosing The Right Cable Hider For Your Setup
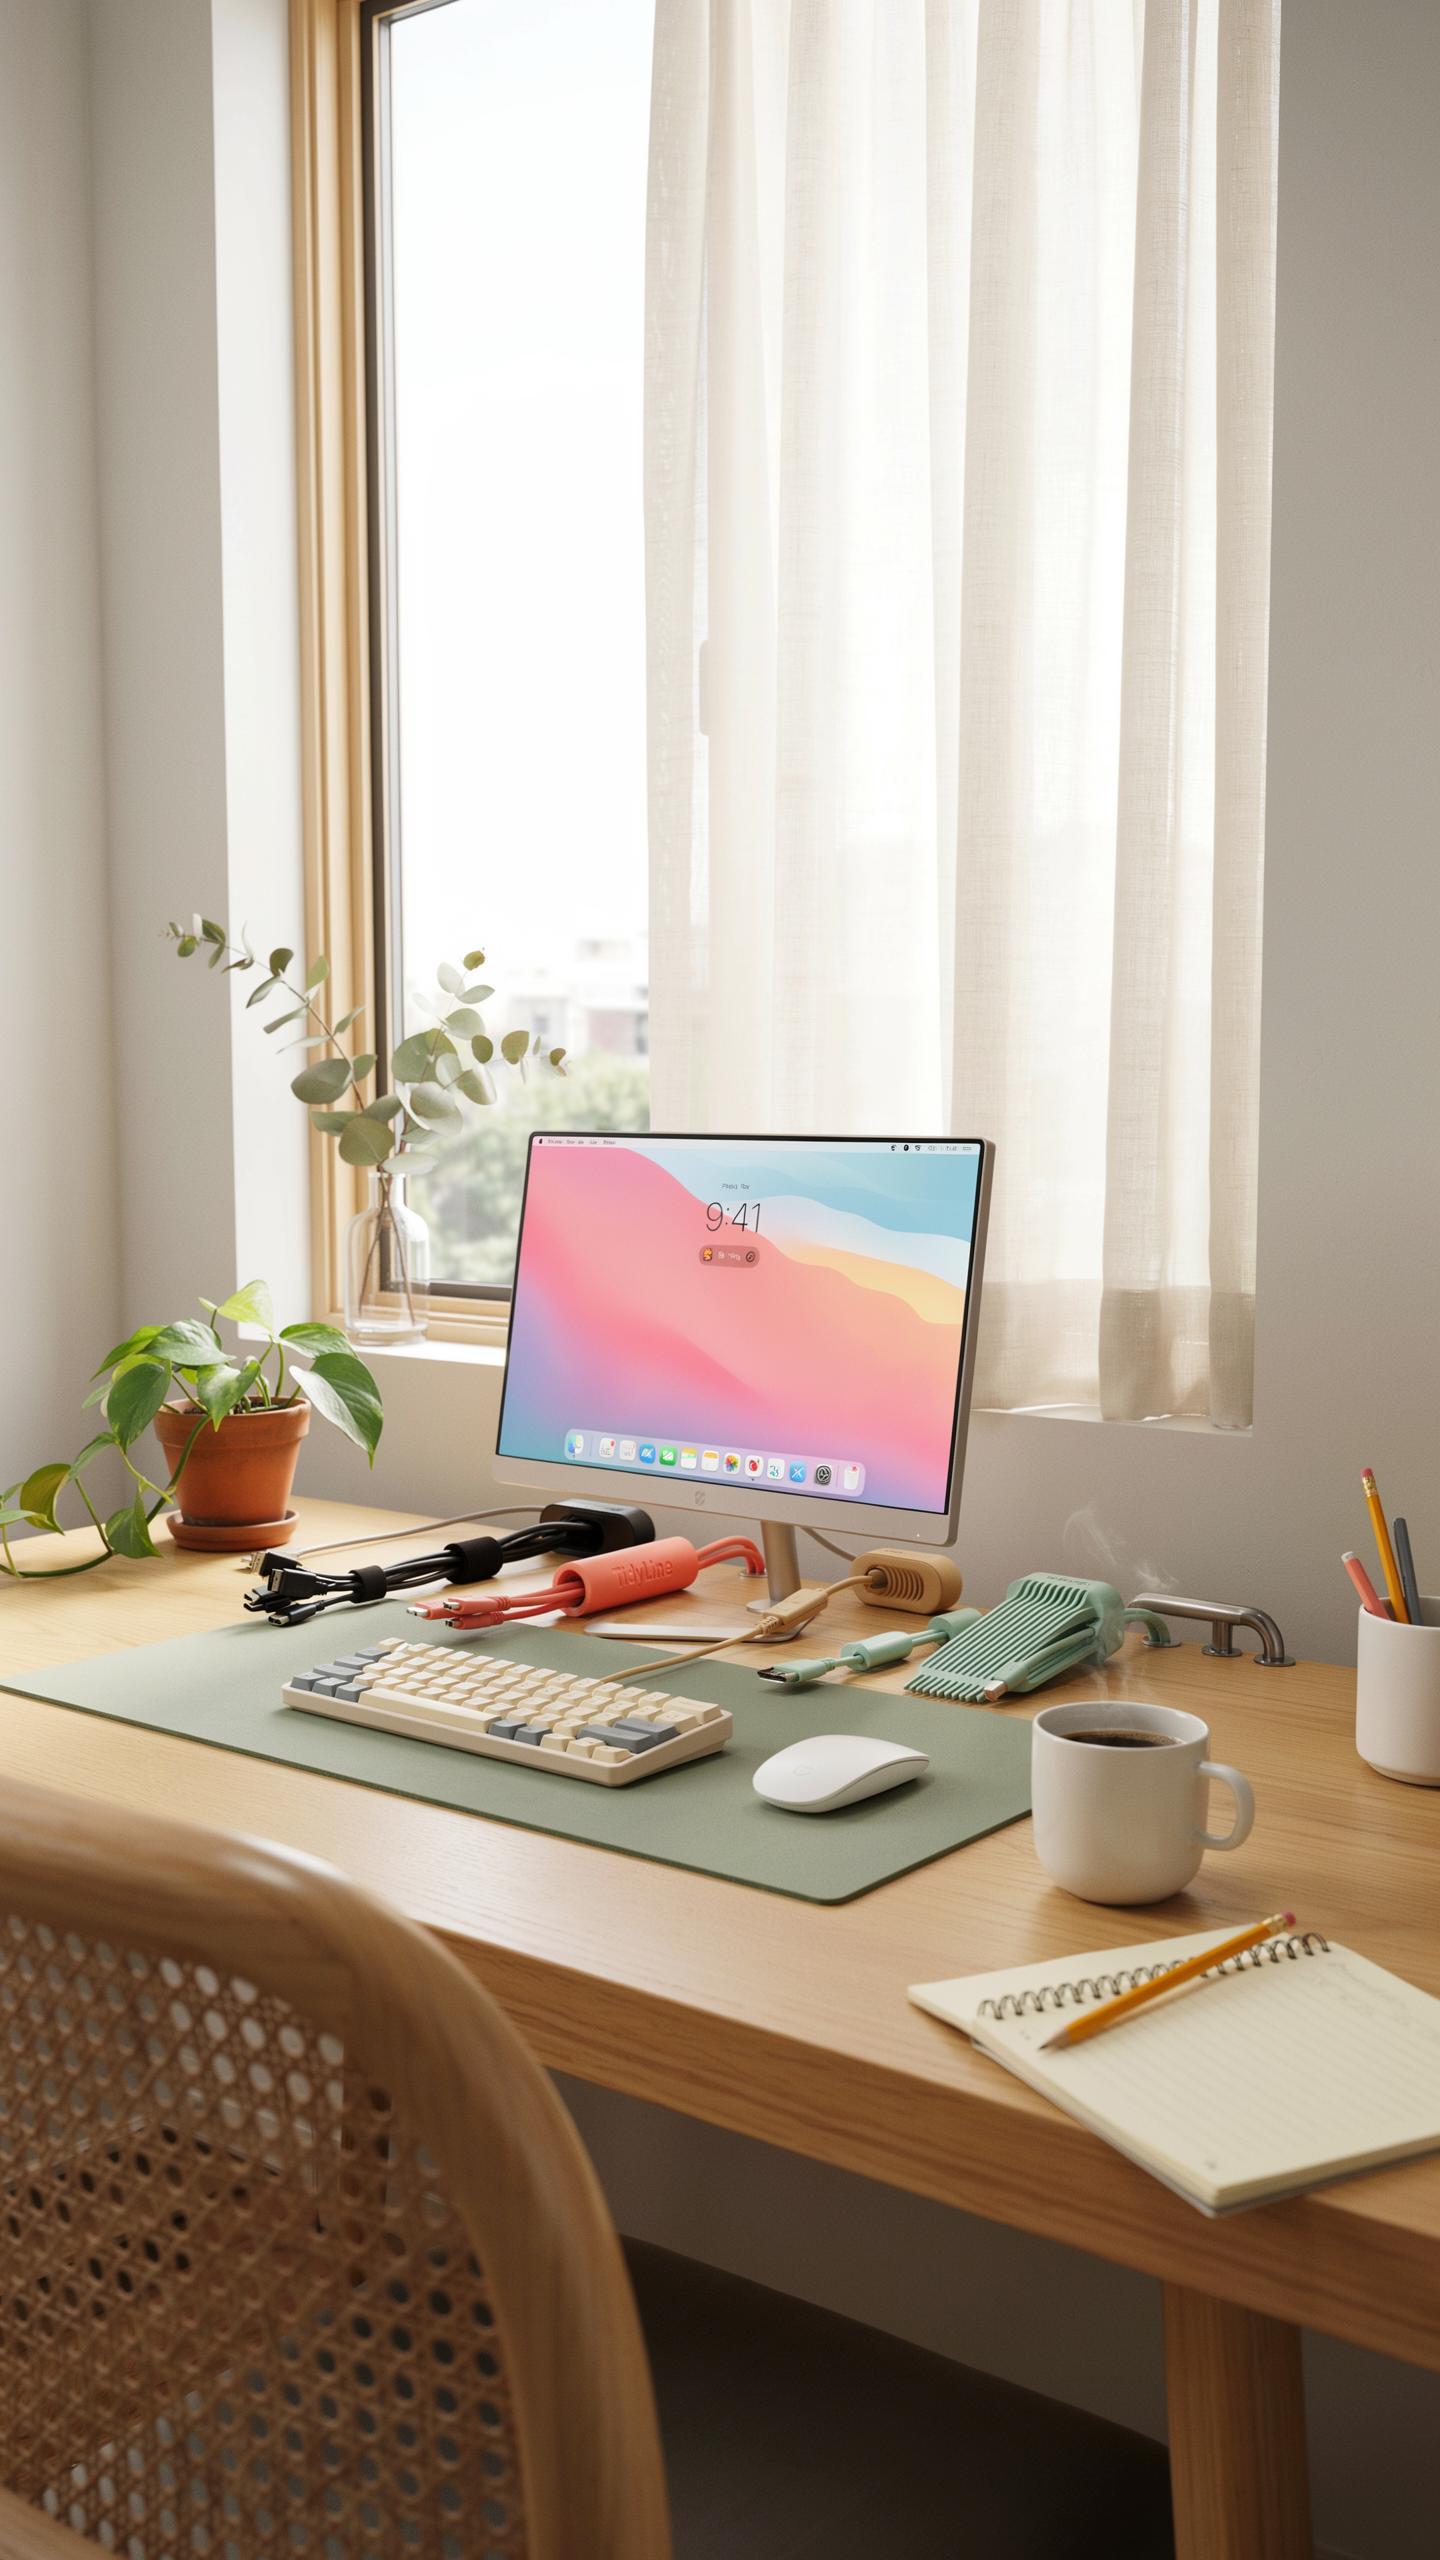
Types Of Raceway Cable Covers Available
Raceway cable covers come in three core designs that handle different installation scenarios. Surface-mounted raceways attach directly to walls with adhesive or screws and work best on drywall or painted surfaces. In-wall raceways require cutting into existing walls during installation and provide the cleanest final appearance. Flat adhesive covers stick directly over cables already in place and offer the easiest retrofit option for existing TV installations.
Each type trades installation difficulty against final appearance. Surface-mounted raceways take 30 minutes but remain visible as wall fixtures. In-wall raceways demand cutting and patching but disappear completely behind walls. Adhesive covers require minimal effort but work only on smooth wall surfaces and may show cable outlines underneath. Your choice depends on whether you’re installing during construction, doing a new TV mount, or hiding existing cable runs.
Material And Color Considerations For A Seamless Look
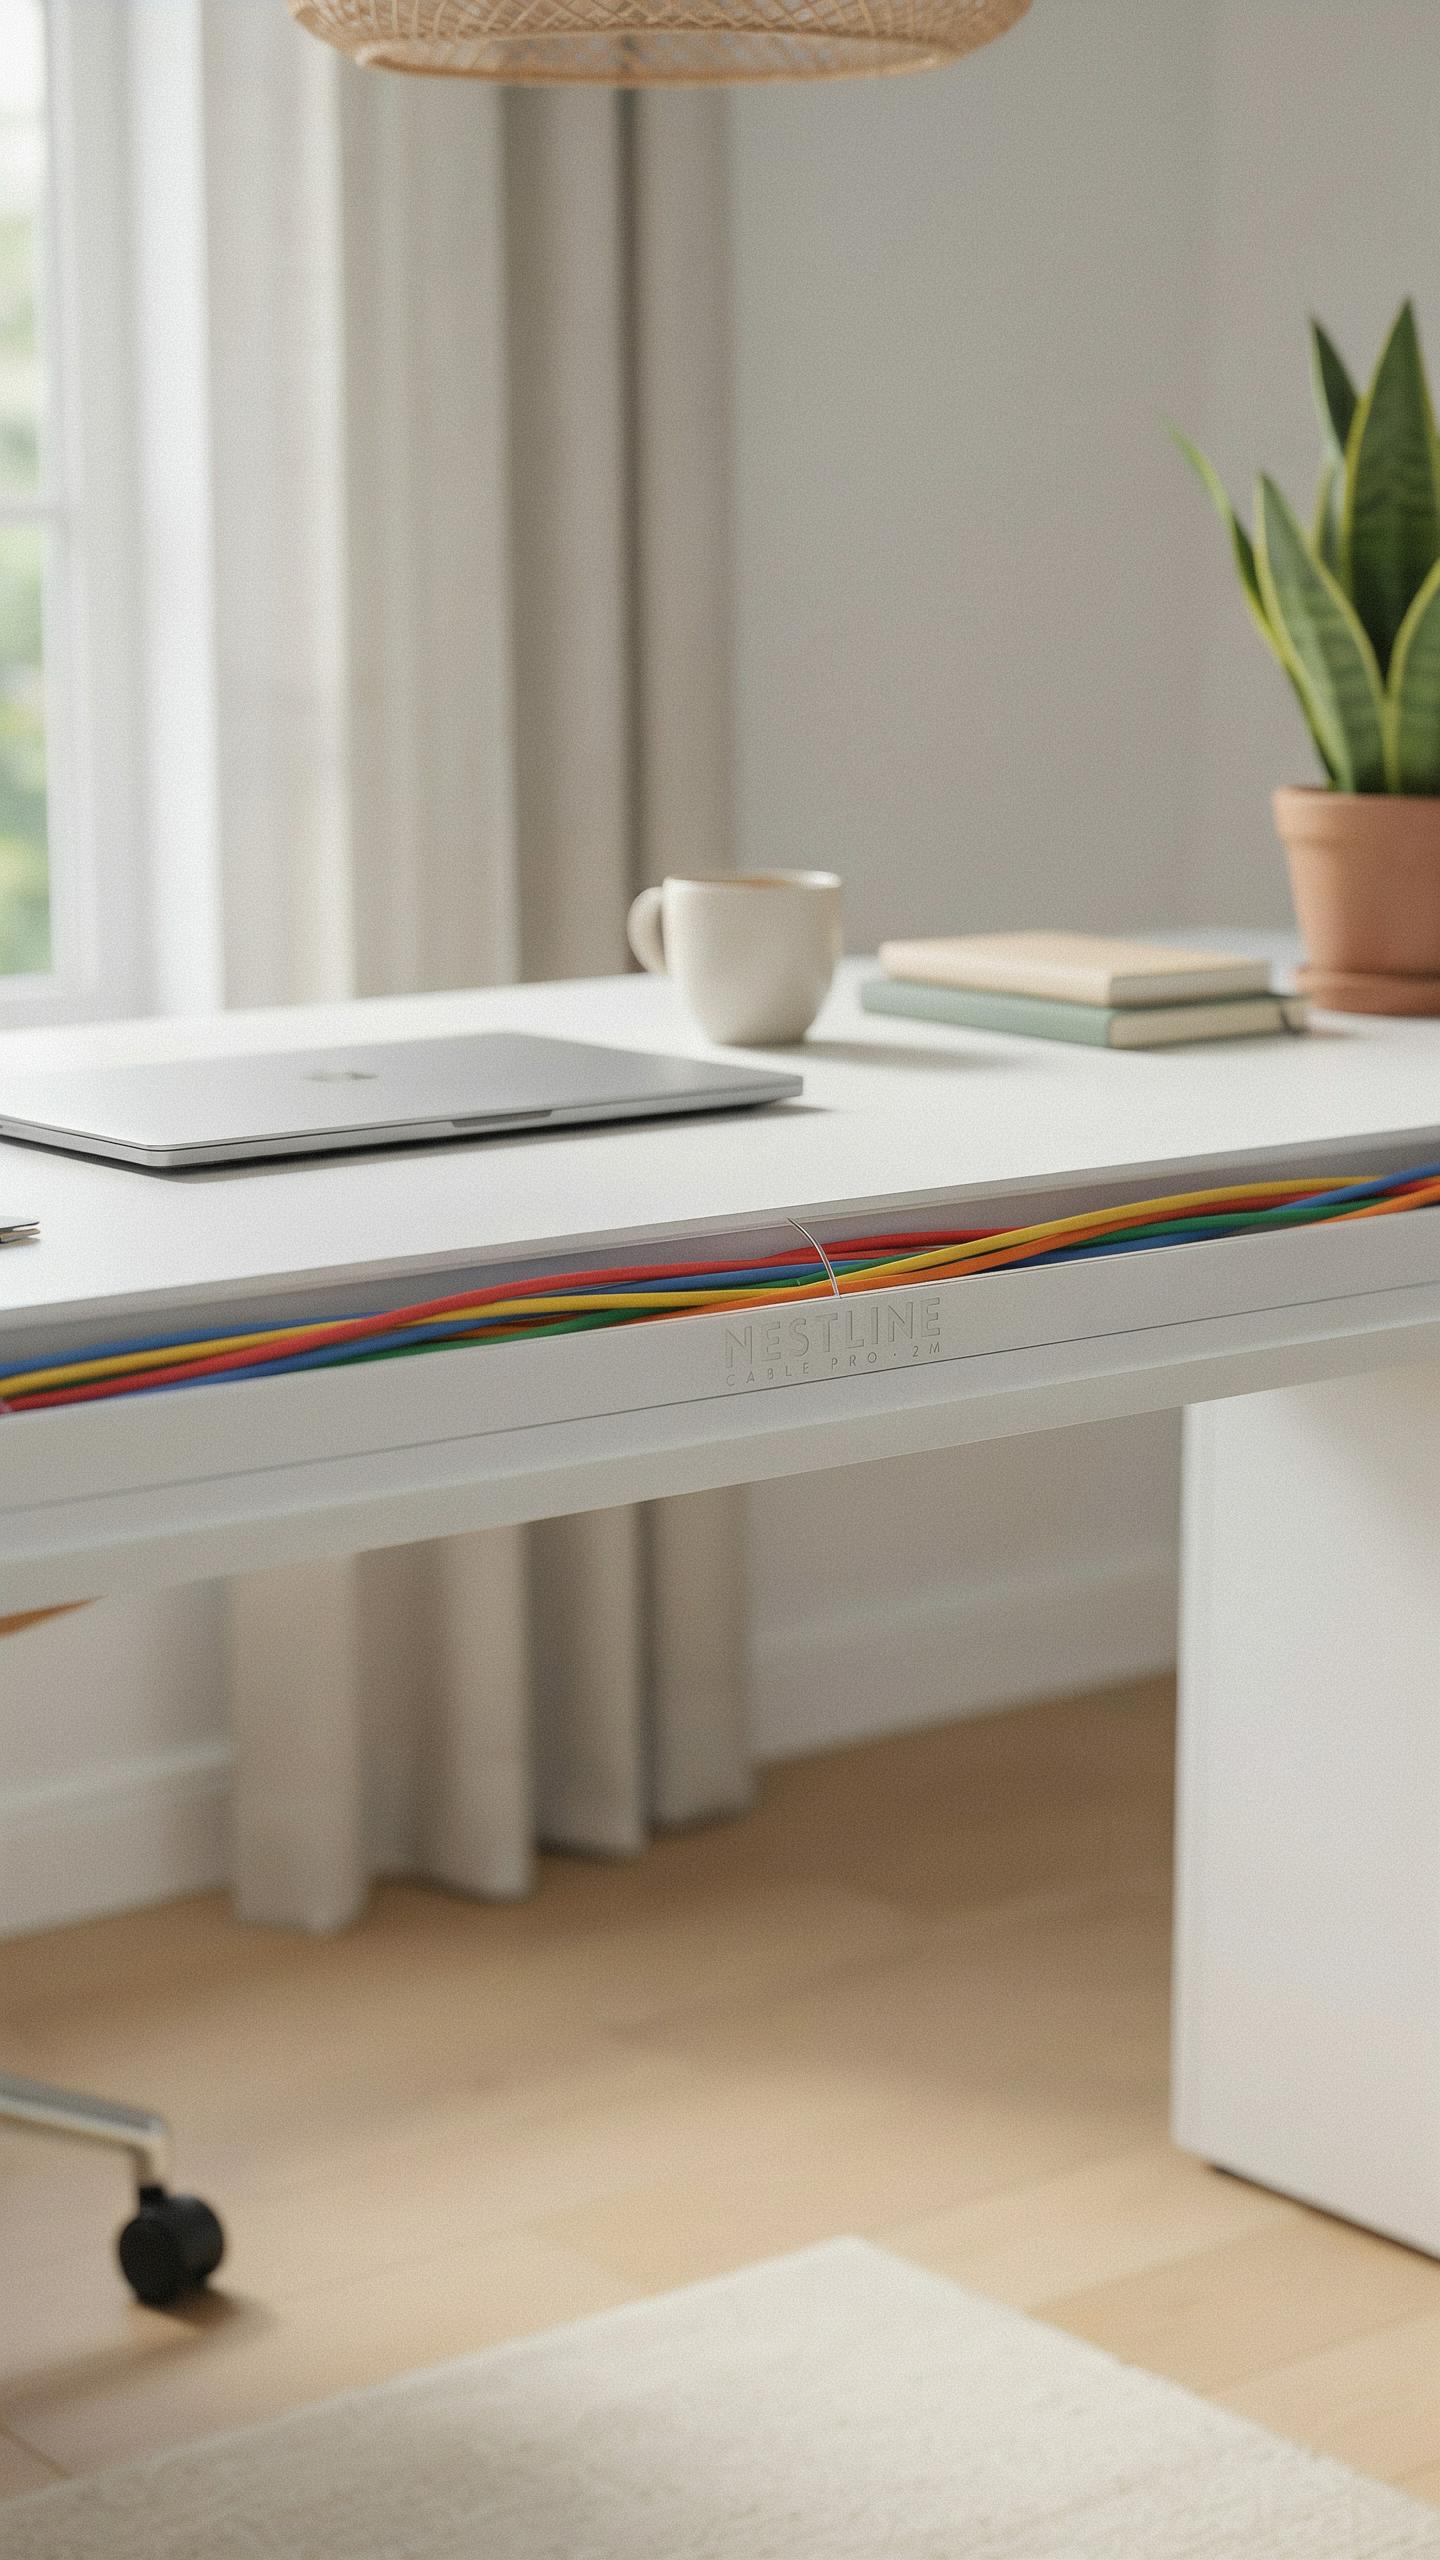
Raceway covers use PVC plastic, aluminum, or rubber-composite materials. PVC dominates the market because it costs less, resists moisture, and accepts paint easily. Aluminum offers durability and a modern look but costs more and requires professional painting for color matching. Rubber composites provide flexibility for curved paths but limit color options to standard blacks and whites.

Color matching requires measuring your wall finish before purchasing. Match raceway color to wall paint exactly or choose black covers that read as shadow lines against most walls. White covers disappear on white walls but stand out on colored surfaces. Test adhesive covers on a small section first because they’re harder to remove than screwed raceways. Consider that painted raceways require touch-ups annually as dust accumulates.
Installation Guide How To Hide Cords On Wall
Pre Installation Steps And Tools Required
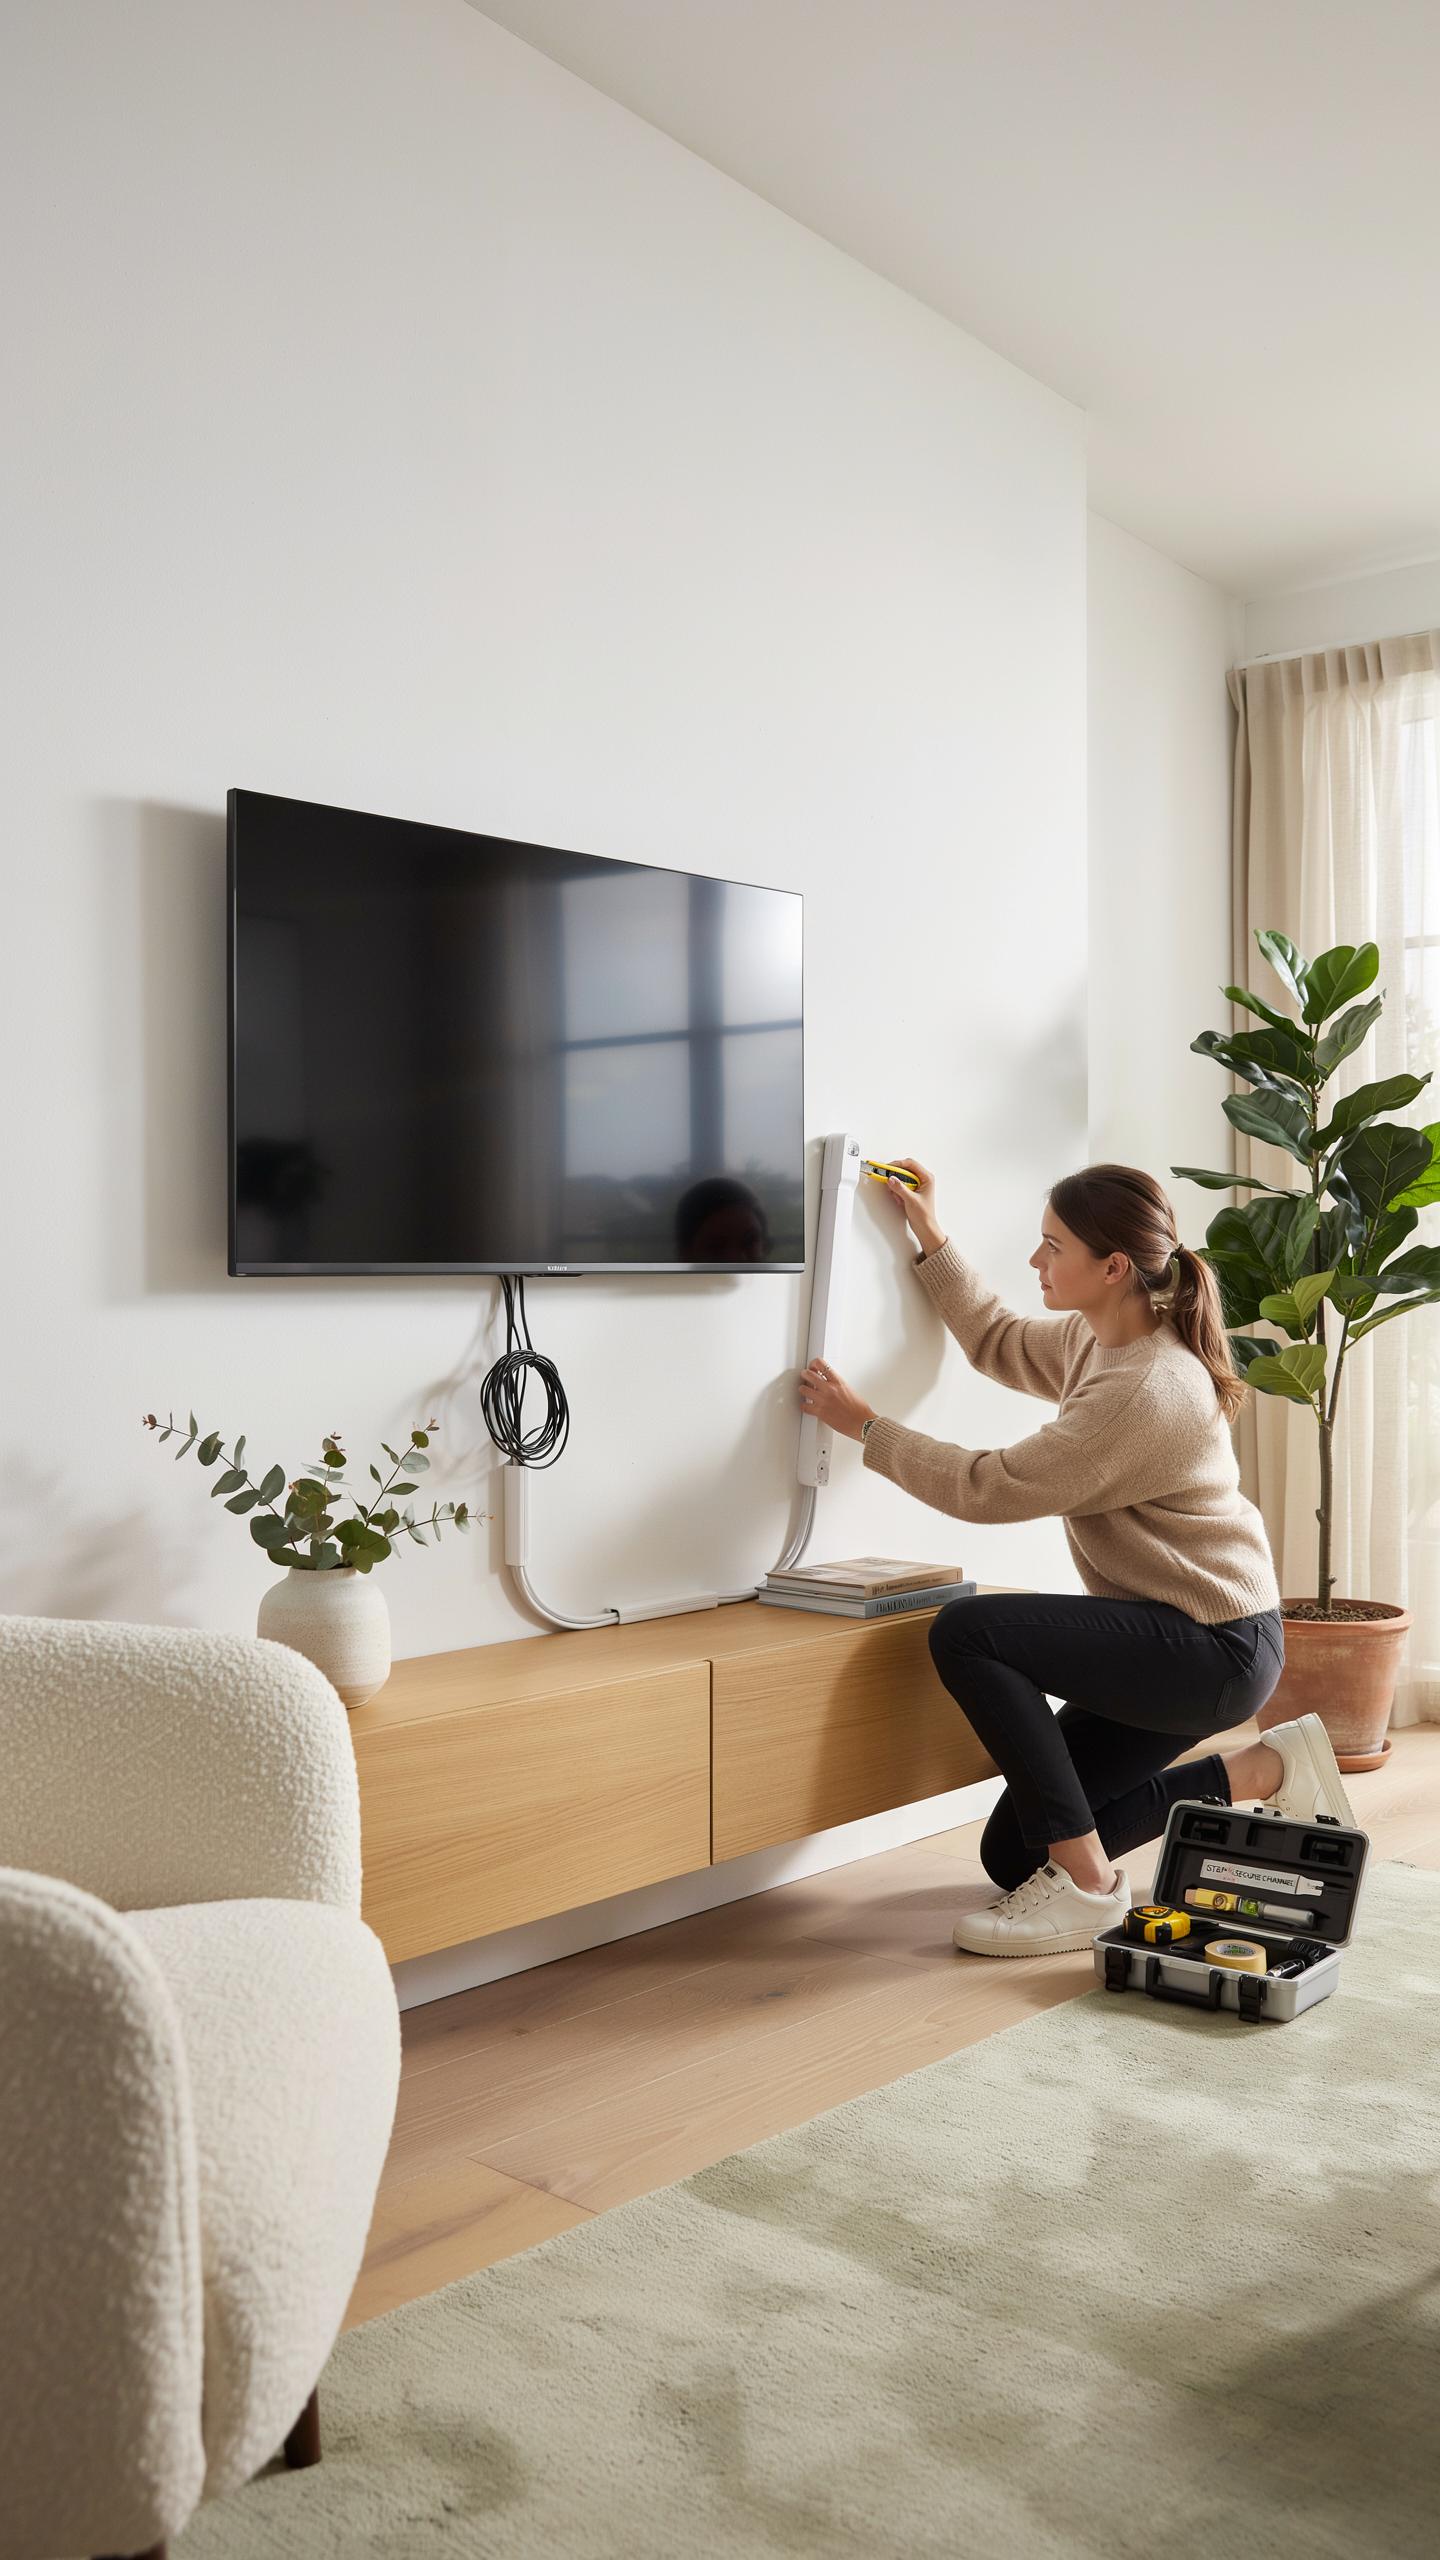
Start by mapping your cable route from the TV to your power outlet and components. Measure the distance and count how many cables you need to run. Check the wall for studs, outlets, and obstacles using a stud finder. Identify whether your wall is drywall, plaster, or brick because installation method changes based on material. Turn off power at the breaker for any outlets you’ll work near. Gather all components before you start drilling or cutting.
You need a drill with bits, level, tape measure, and pencil. Purchase the raceway cable cover kit sized for your cable volume. Include wall anchors or toggle bolts if you’re mounting between studs. A drywall saw or utility knife cuts raceway channels cleanly. Have your cables organized and labeled before installation begins. Double-check that your raceway size accommodates your thickest bundle without forcing cables inside.
Remember the joy of a clean, uncluttered space? Cable covers bring that serenity back, making your modern entertainment feel as timelessly neat as your grandmother’s parlor.
Step By Step Raceway Cable Cover Installation
Mark your cable route on the wall using a pencil and level to keep lines straight and aligned with wall features. A crooked raceway looks unprofessional and makes alignment issues obvious from across the room. Use your tape measure to verify equal spacing from the TV, outlet, or baseboard. Draw light marks only because you’ll need to adjust if you hit obstacles. This planning phase takes five minutes and prevents costly mistakes during mounting.
- Mount the raceway base: Drill holes through raceway mounting holes into the wall at marked points. Use appropriate fasteners for your wall type. Space fasteners every 16 to 24 inches for stability. Ensure the base sits flush against the wall with no gaps or tilting.
- Organize cables inside the base: Group cables by function before inserting them into the channel. Use cable ties or clips to bundle related wires together. Keep power cables separated from data or video cables when possible. This prevents signal interference and makes future changes easier.
- Insert cables into the channel: Feed cables through the open base channel from the power source toward the TV. Don’t force cables or bend them sharply at angles under 90 degrees. Leave a few inches of slack at both ends for future adjustments. Avoid overstuffing the raceway beyond 75 percent of its capacity.
- Attach the raceway cover: Snap or click the cover onto the base channel once all cables sit inside. The cover should fit snugly with no gaps. Test that the cover stays secure by gently tugging it. Some covers require adhesive backing or screws depending on the raceway model.
- Secure cable ends at connection points: Use cable ties or velcro straps to bundle wires at the TV and outlet. Keep excess cable length coiled behind the TV stand or mounted outlet. Label each cable at both ends for quick identification during troubleshooting or upgrades.
After installation, test all connections to confirm your TV and components receive power and video signals properly. Check that the raceway sits flush and level with no visible gaps or separation from the wall. Walk around the room to view the installation from different angles. Make any adjustments to cable tension or raceway positioning before final approval. Proper installation eliminates the professional appearance issues that poor cable management creates.
Ensuring Optimal Cable Management Wall For Your Hidden TV
Organizing Your Tv Cords Within The Raceway
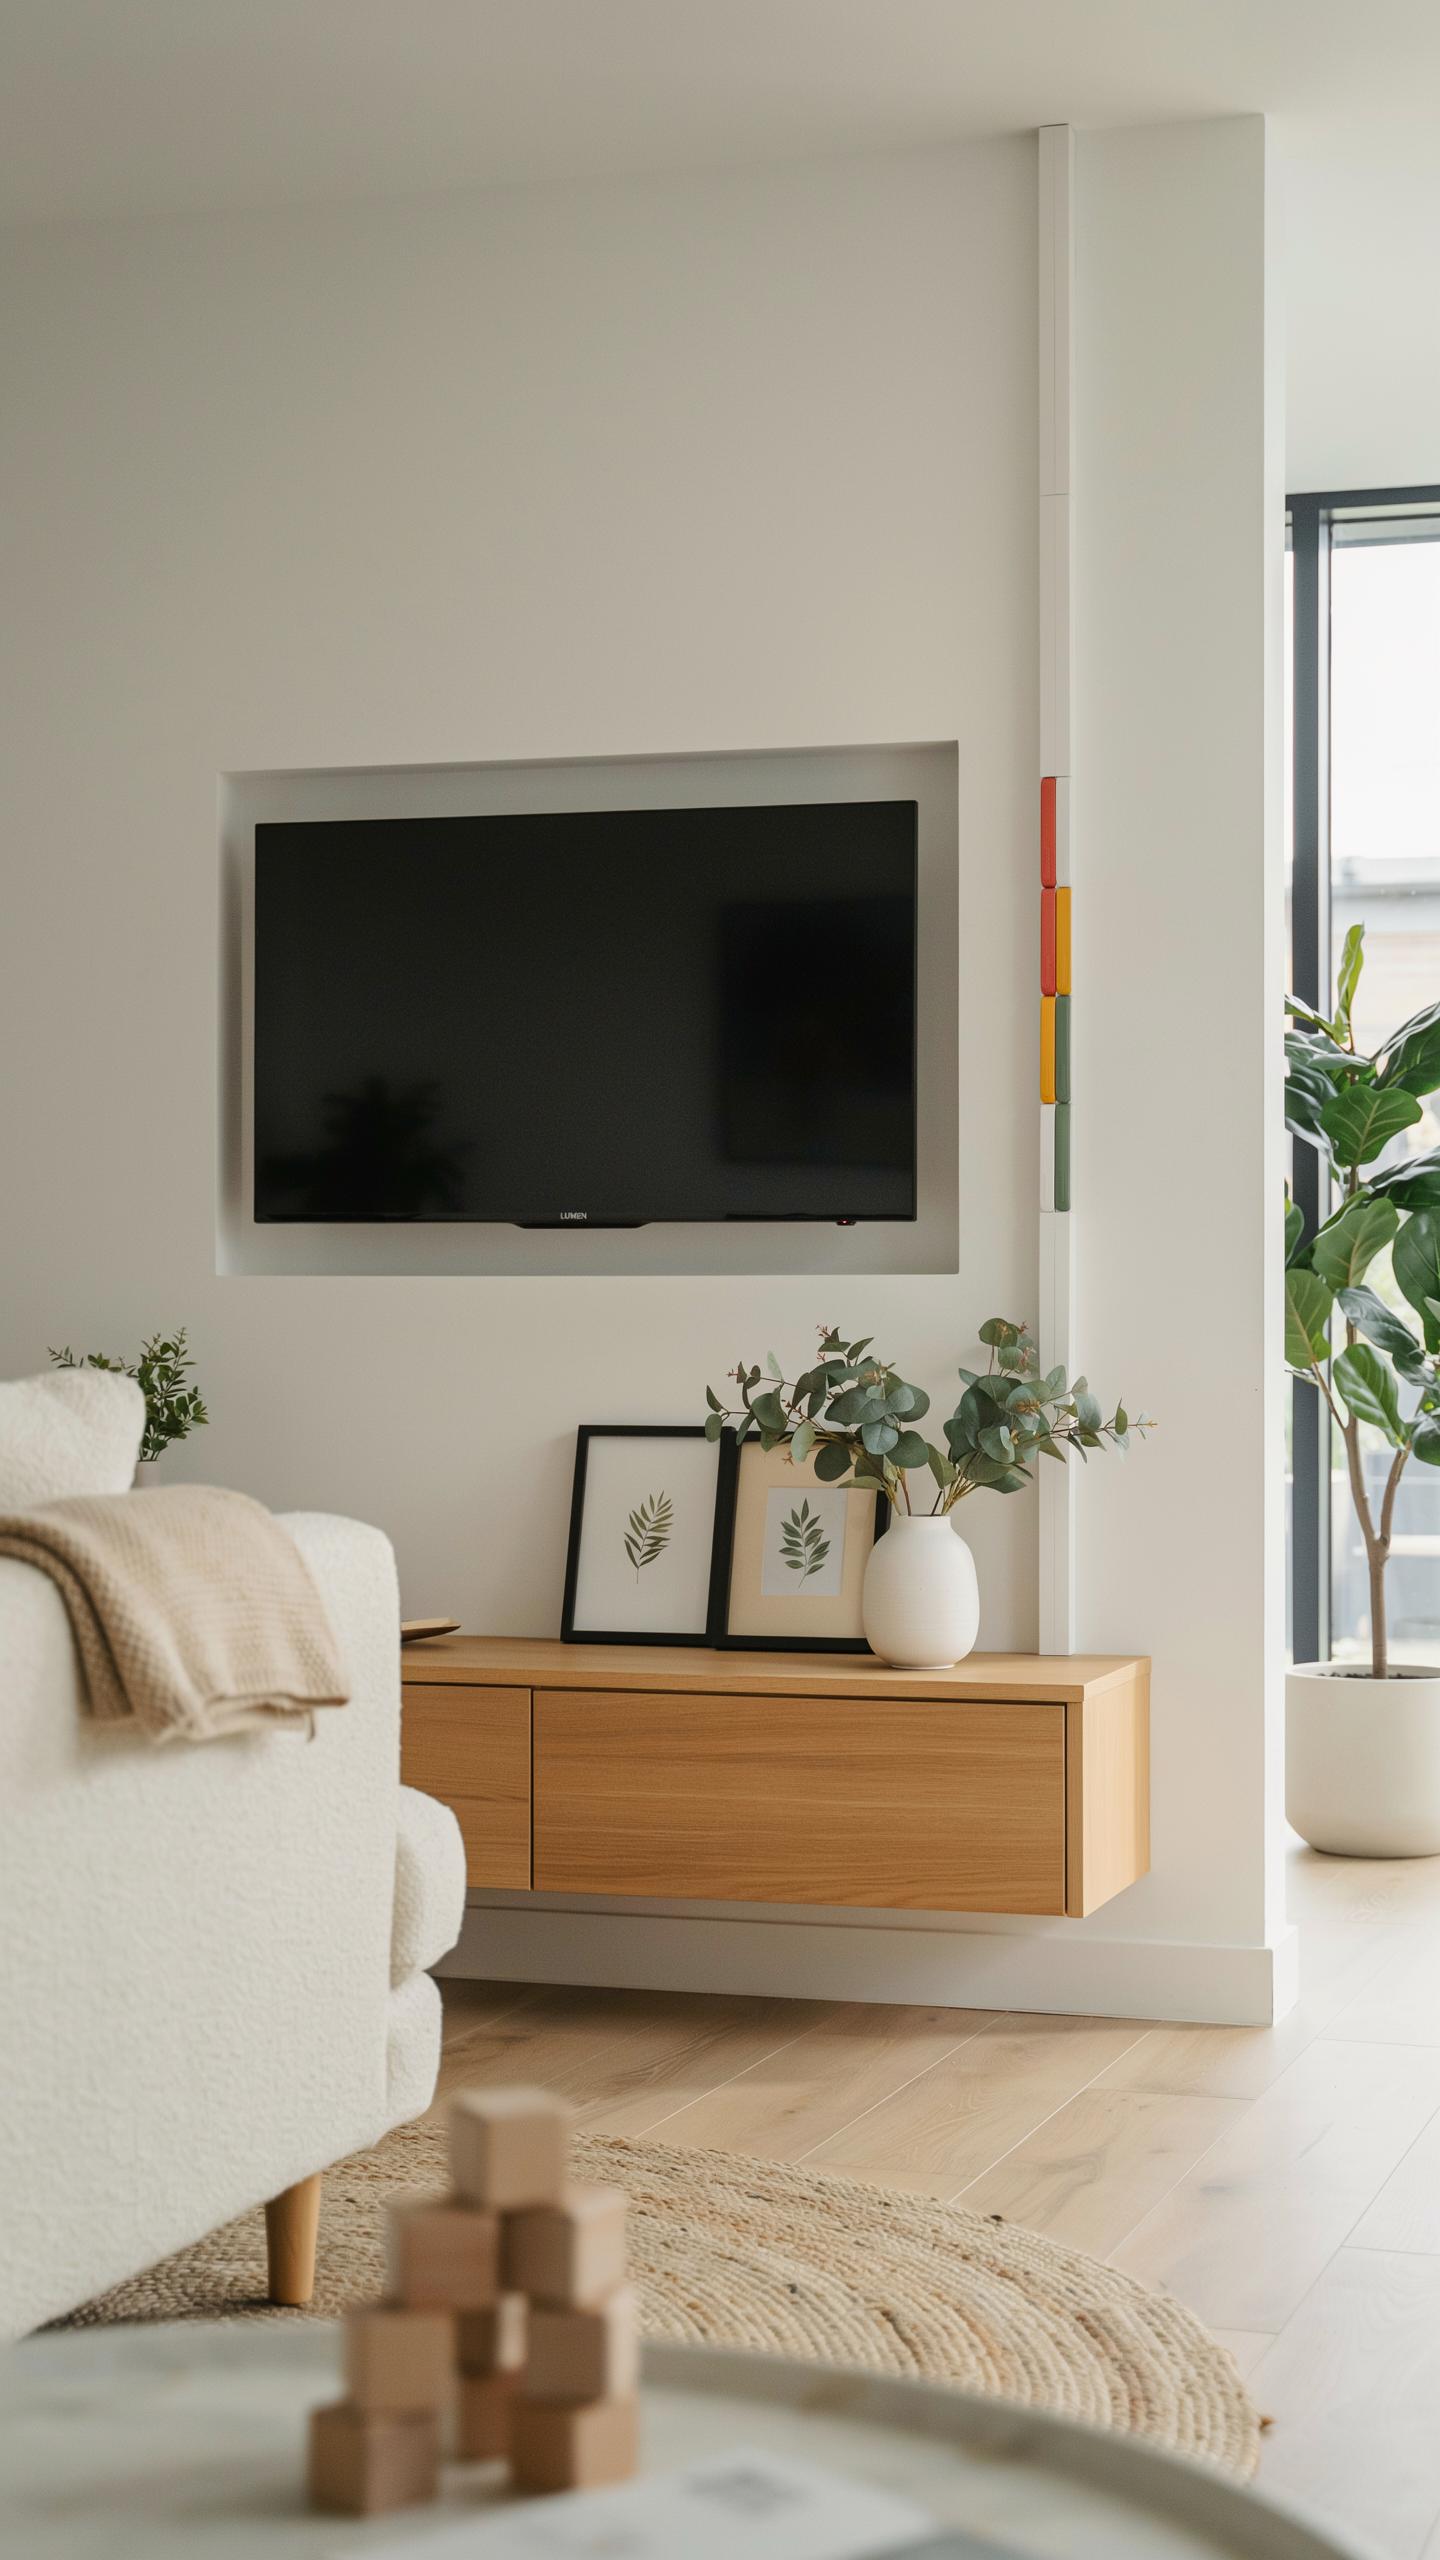
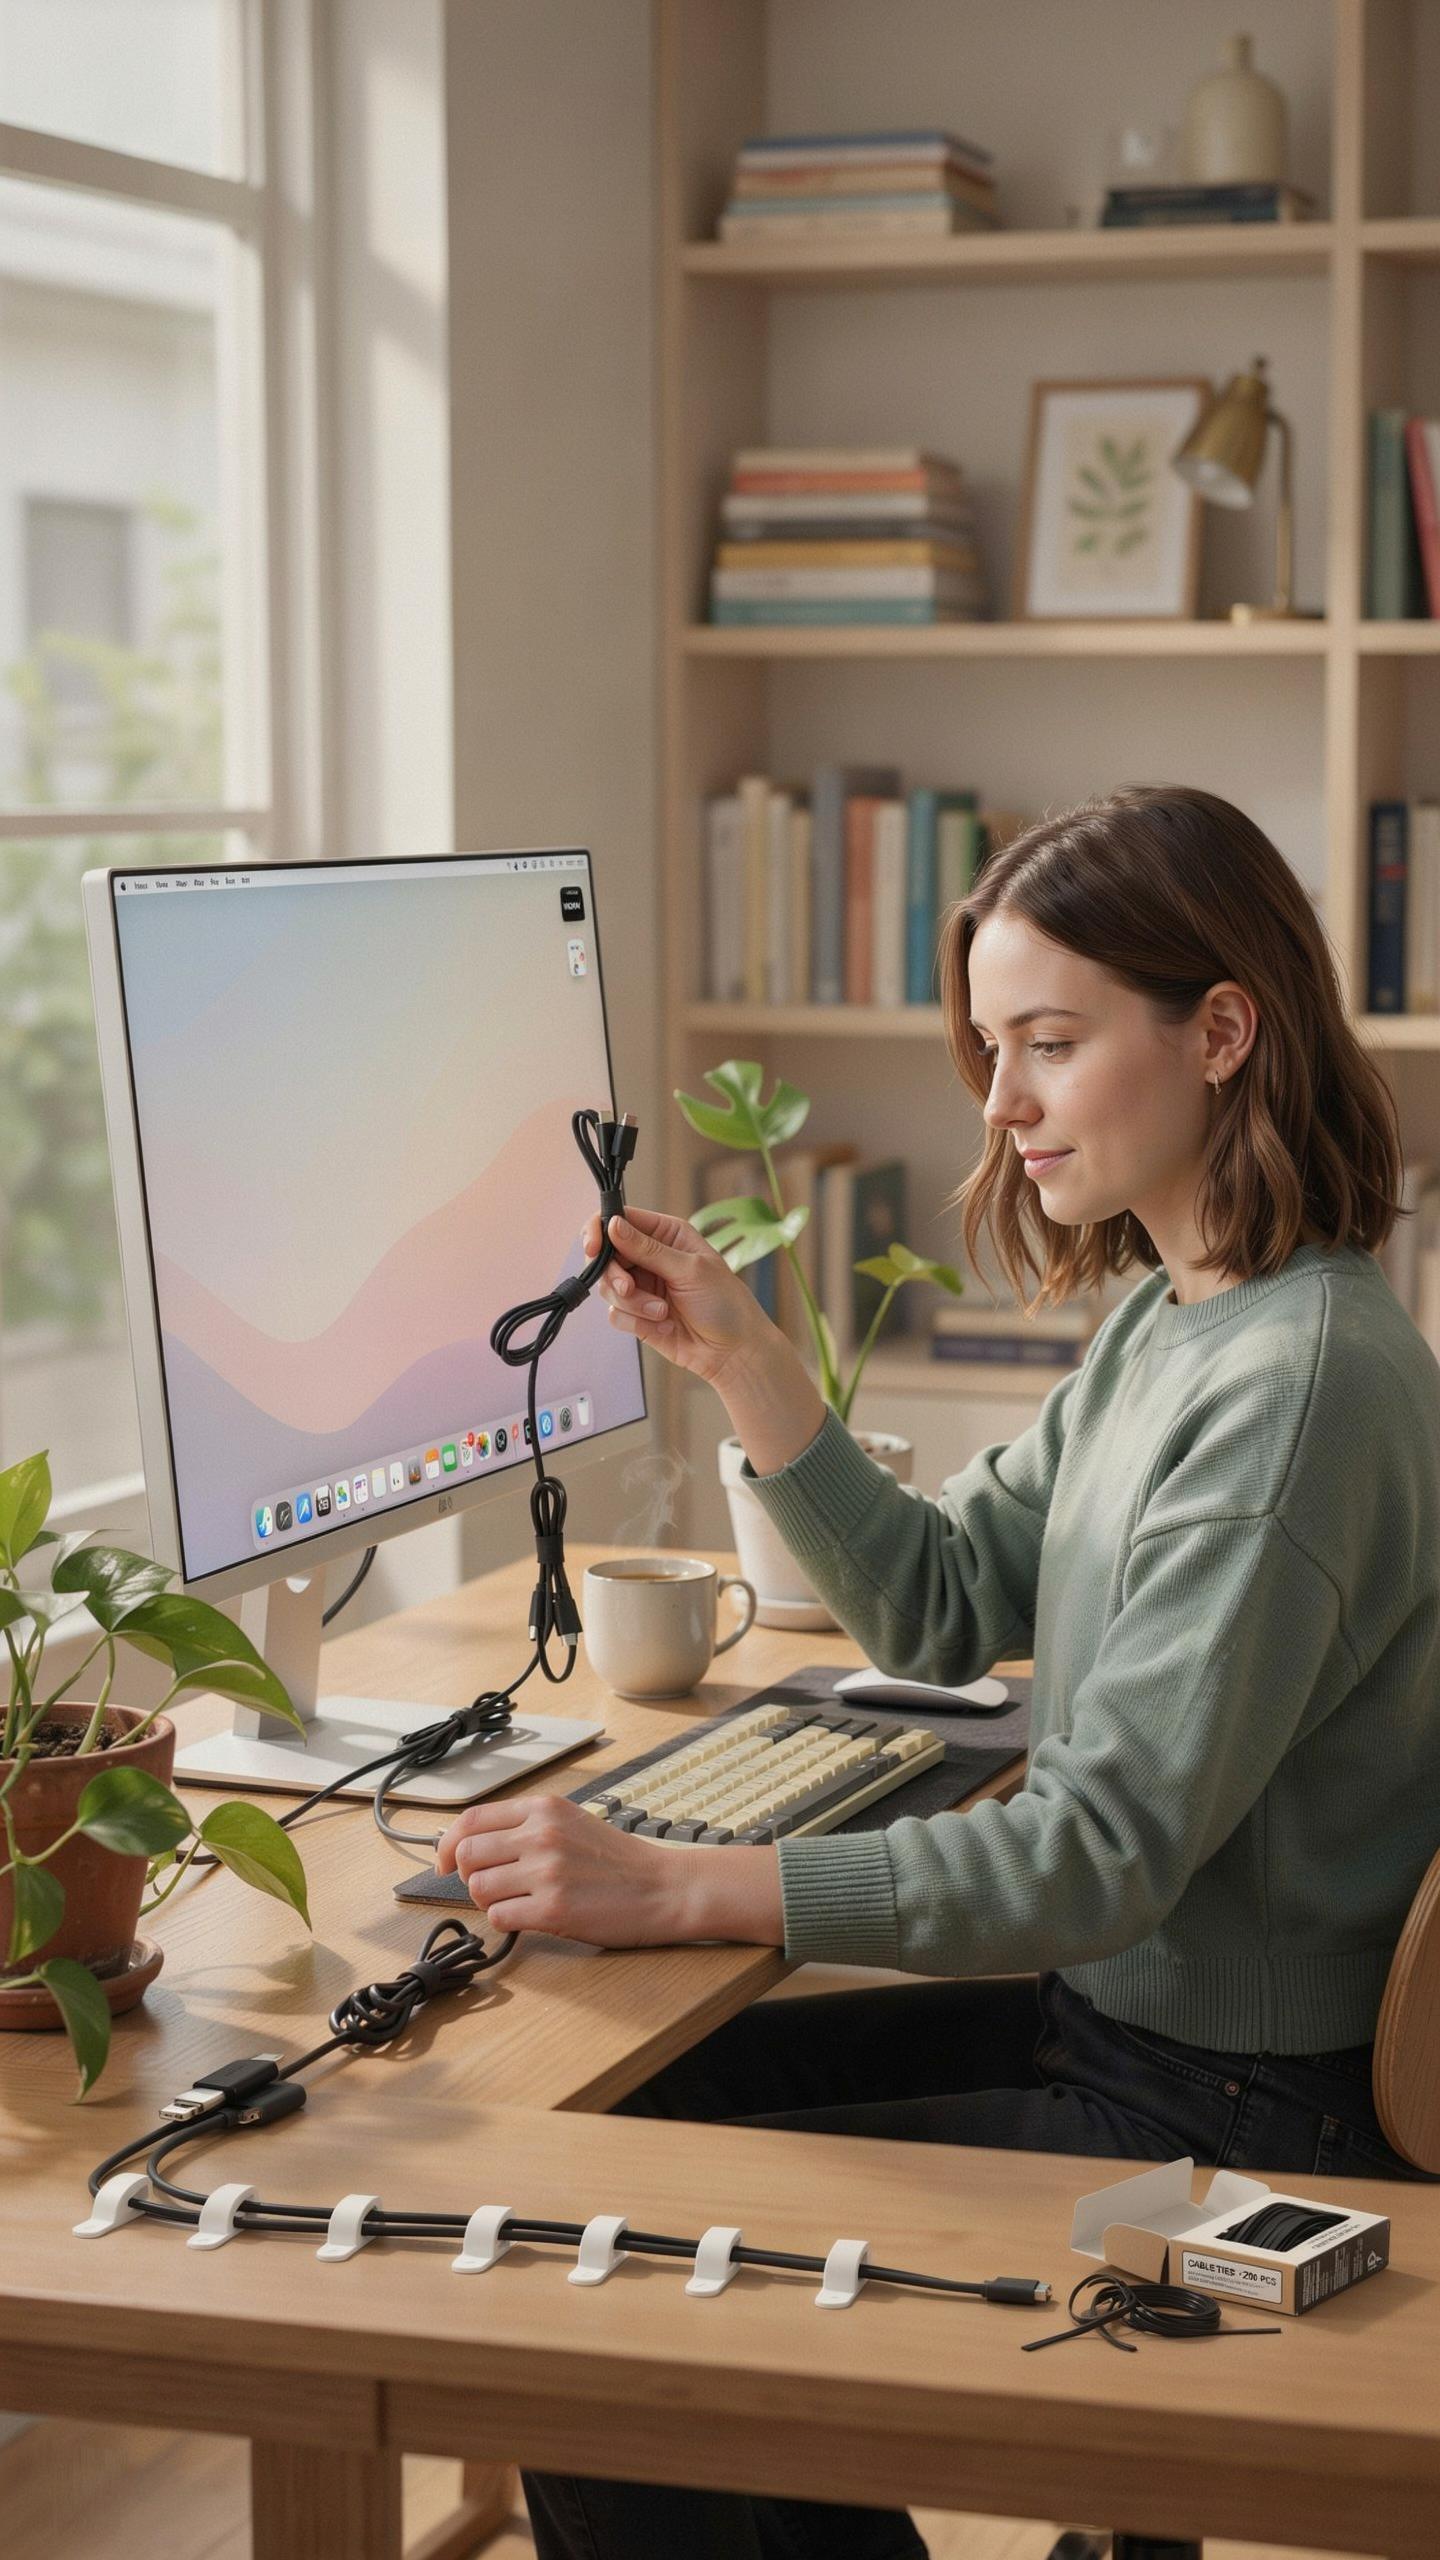
Start by categorizing cables by function and length before inserting them into the raceway. Power cords go in first, followed by HDMI cables, audio lines, and network connections. Coil excess cable length loosely rather than wrapping it tightly, which prevents signal degradation and heat buildup. Label each cable at both ends with adhesive tags to identify purpose and destination quickly during troubleshooting.
Bundle similar cables together using velcro straps or spiral wrap inside the raceway. This approach reduces tangling and makes future modifications straightforward. Position power cords away from signal cables like HDMI or ethernet to minimize electromagnetic interference. Leave approximately 20 percent of the raceway’s internal space empty to allow heat dissipation and accommodate future additions without overcrowding.
Routing Cables For Future Accessibility
Plan your cable path before mounting the raceway to account for future equipment changes. Route cables vertically down the wall rather than horizontally when possible, as gravity assists in cable management and reduces slack. Install the raceway slightly wider than your current cable bundle requires to prevent tight packing that complicates future swaps. Position access points at mid-wall height and near equipment for quick disconnect without dismantling the entire system.

Design your routing to avoid areas where you might drill holes for shelves or other wall installations later. Run power and signal cables on opposite sides of the raceway’s interior to maintain separation and prevent crosstalk. Test each cable connection before fully concealing it within the raceway to confirm functionality. Document your current setup with photos or a simple diagram so you reference it when adding or removing components in the future.
Benefits Of A Cord Hider For An Aesthetic And Functional Space
Enhancing Room Aesthetics With A Clean Look
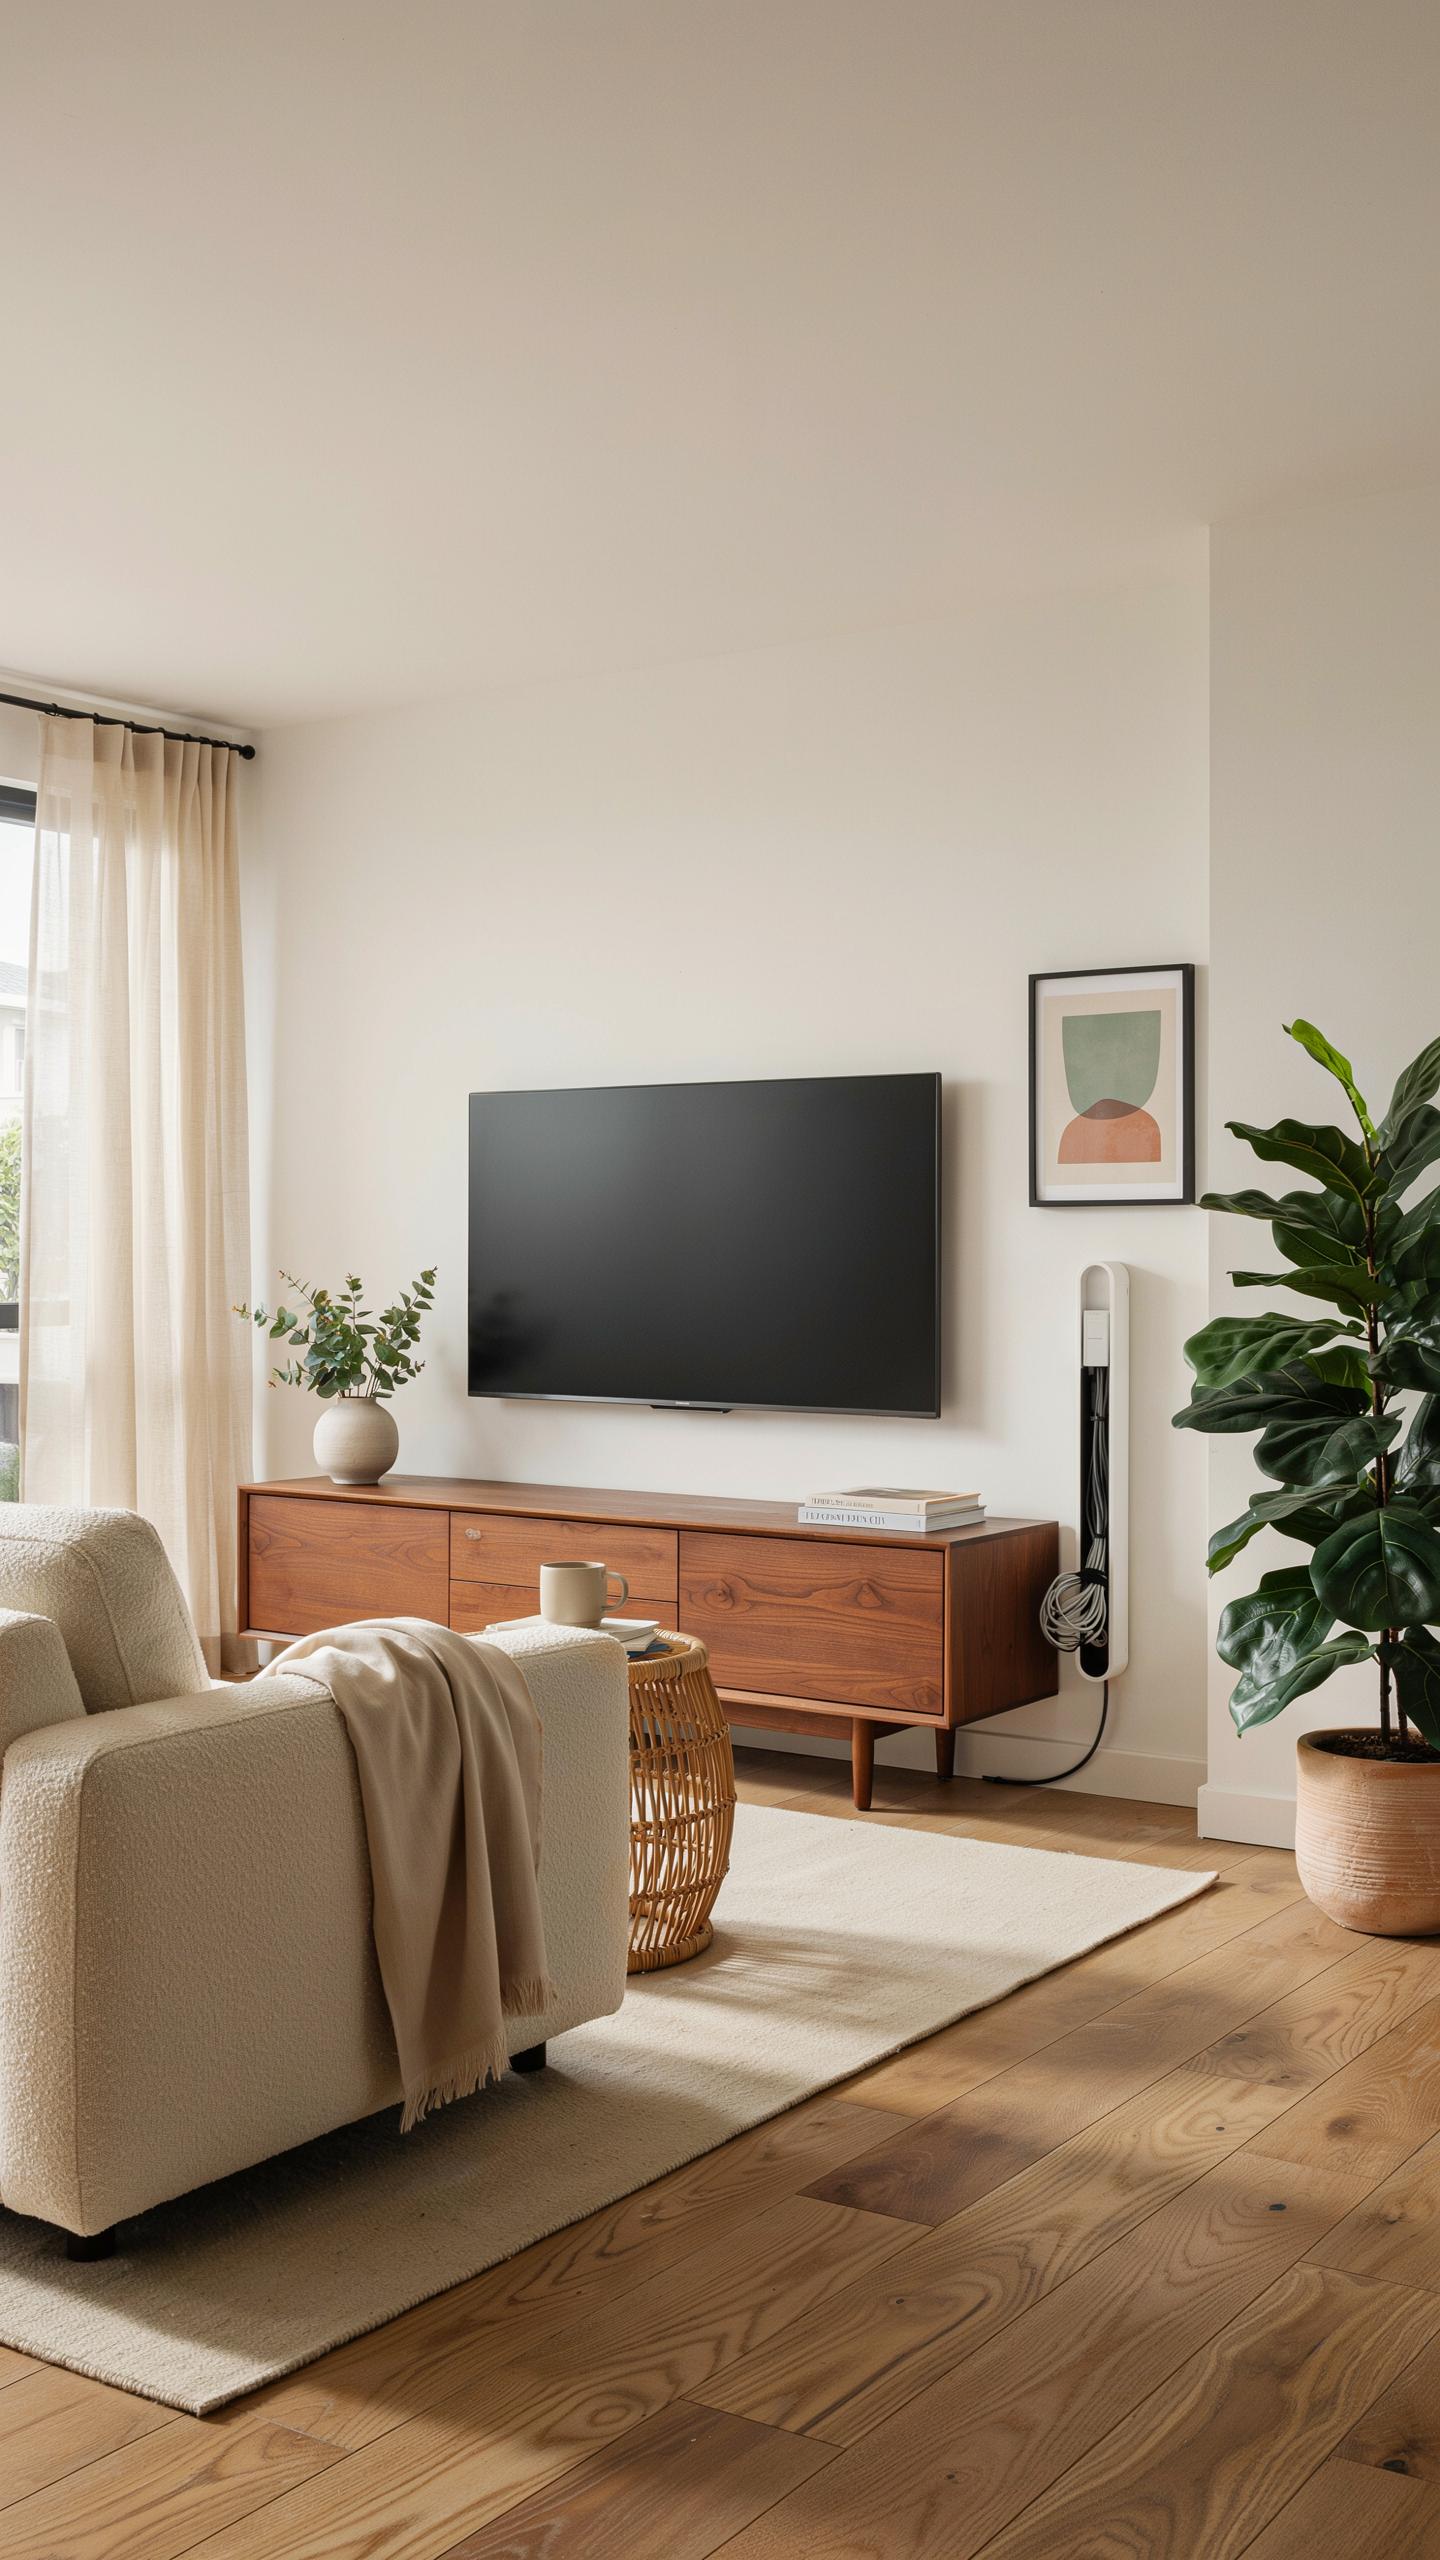
Visible cables create visual clutter that disrupts interior design intentions. Wall-mounted TVs surrounded by exposed wires, power cords, and HDMI cables break sightlines and draw attention away from the display itself. Raceway cable covers eliminate this distraction by consolidating wires into a single unified channel that runs discreetly along the wall or baseboard.
A raceway system transforms the wall presentation from chaotic to controlled. When cables disappear into a cover, the TV setup reads as intentional and finished rather than temporary or cobbled together. This clean appearance enhances perceived room value and makes the space feel organized regardless of how many devices connect to your television setup.
Safety Advantages Of Concealing Wires
Exposed cables create trip hazards and present fire risks in high-traffic areas. Loose wires on floors or dangling behind furniture catch feet and cause falls, particularly dangerous near stairs or in homes with children and elderly residents. Concealed wiring eliminates this hazard entirely by keeping cords off walking surfaces and protected from damage.

Protecting cables from physical damage prevents electrical hazards and extends equipment life. Covered wires resist crushing, pet damage, and accidental cuts that expose live conductors. Raceway covers also shield cables from dust accumulation, which reduces overheating risks in components like power supplies and amplifiers that require proper ventilation and protection from environmental contaminants.
Troubleshooting Common Issues When You Hide Wires
Addressing Cable Overcrowding
Too many cables in one raceway creates heat buildup and signal interference. Heat damages cable insulation and shortens equipment lifespan. Interference degrades video and audio quality. Calculate your cable count before installation. HDMI, power, and ethernet cables have different heat tolerances. Separate high-power cables from sensitive signal cables when possible. Use wider raceways to distribute cables across more surface area. This approach costs more upfront but prevents costly repairs later.
Split your cables across multiple raceways if one pathway becomes congested. Run power cables in one raceway and signal cables in another. This separation eliminates crosstalk and reduces thermal stress. Bundle cables loosely inside the raceway rather than compressing them. Tight bundling traps heat and increases failure rates. Leave at least 20 percent empty space in your raceway for airflow and future additions.
Securing The Raceway For Long Term Stability
Raceways loosen over time due to wall vibration and thermal expansion. Loose raceways cause cables to shift, creating visible bulges and kinks. Check mounting brackets quarterly for tightness. Use appropriate wall anchors for your wall type. Drywall requires toggle bolts or heavy-duty anchors rated for 50 pounds minimum. Concrete and brick need masonry anchors rated for your raceway weight plus cable load.
Apply thread-locking compound to bracket bolts before installation. This prevents vibration from loosening fasteners over months and years. Recheck all fasteners after the first week of use. Wall material settling and thermal cycling cause initial movement. Tighten any loose bolts and brackets at that point. After that, annual inspections catch problems before cables fail or fall.
Advanced Techniques For A Truly Hidden Tv Line
Painting And Customizing Your Tv Cord Cover
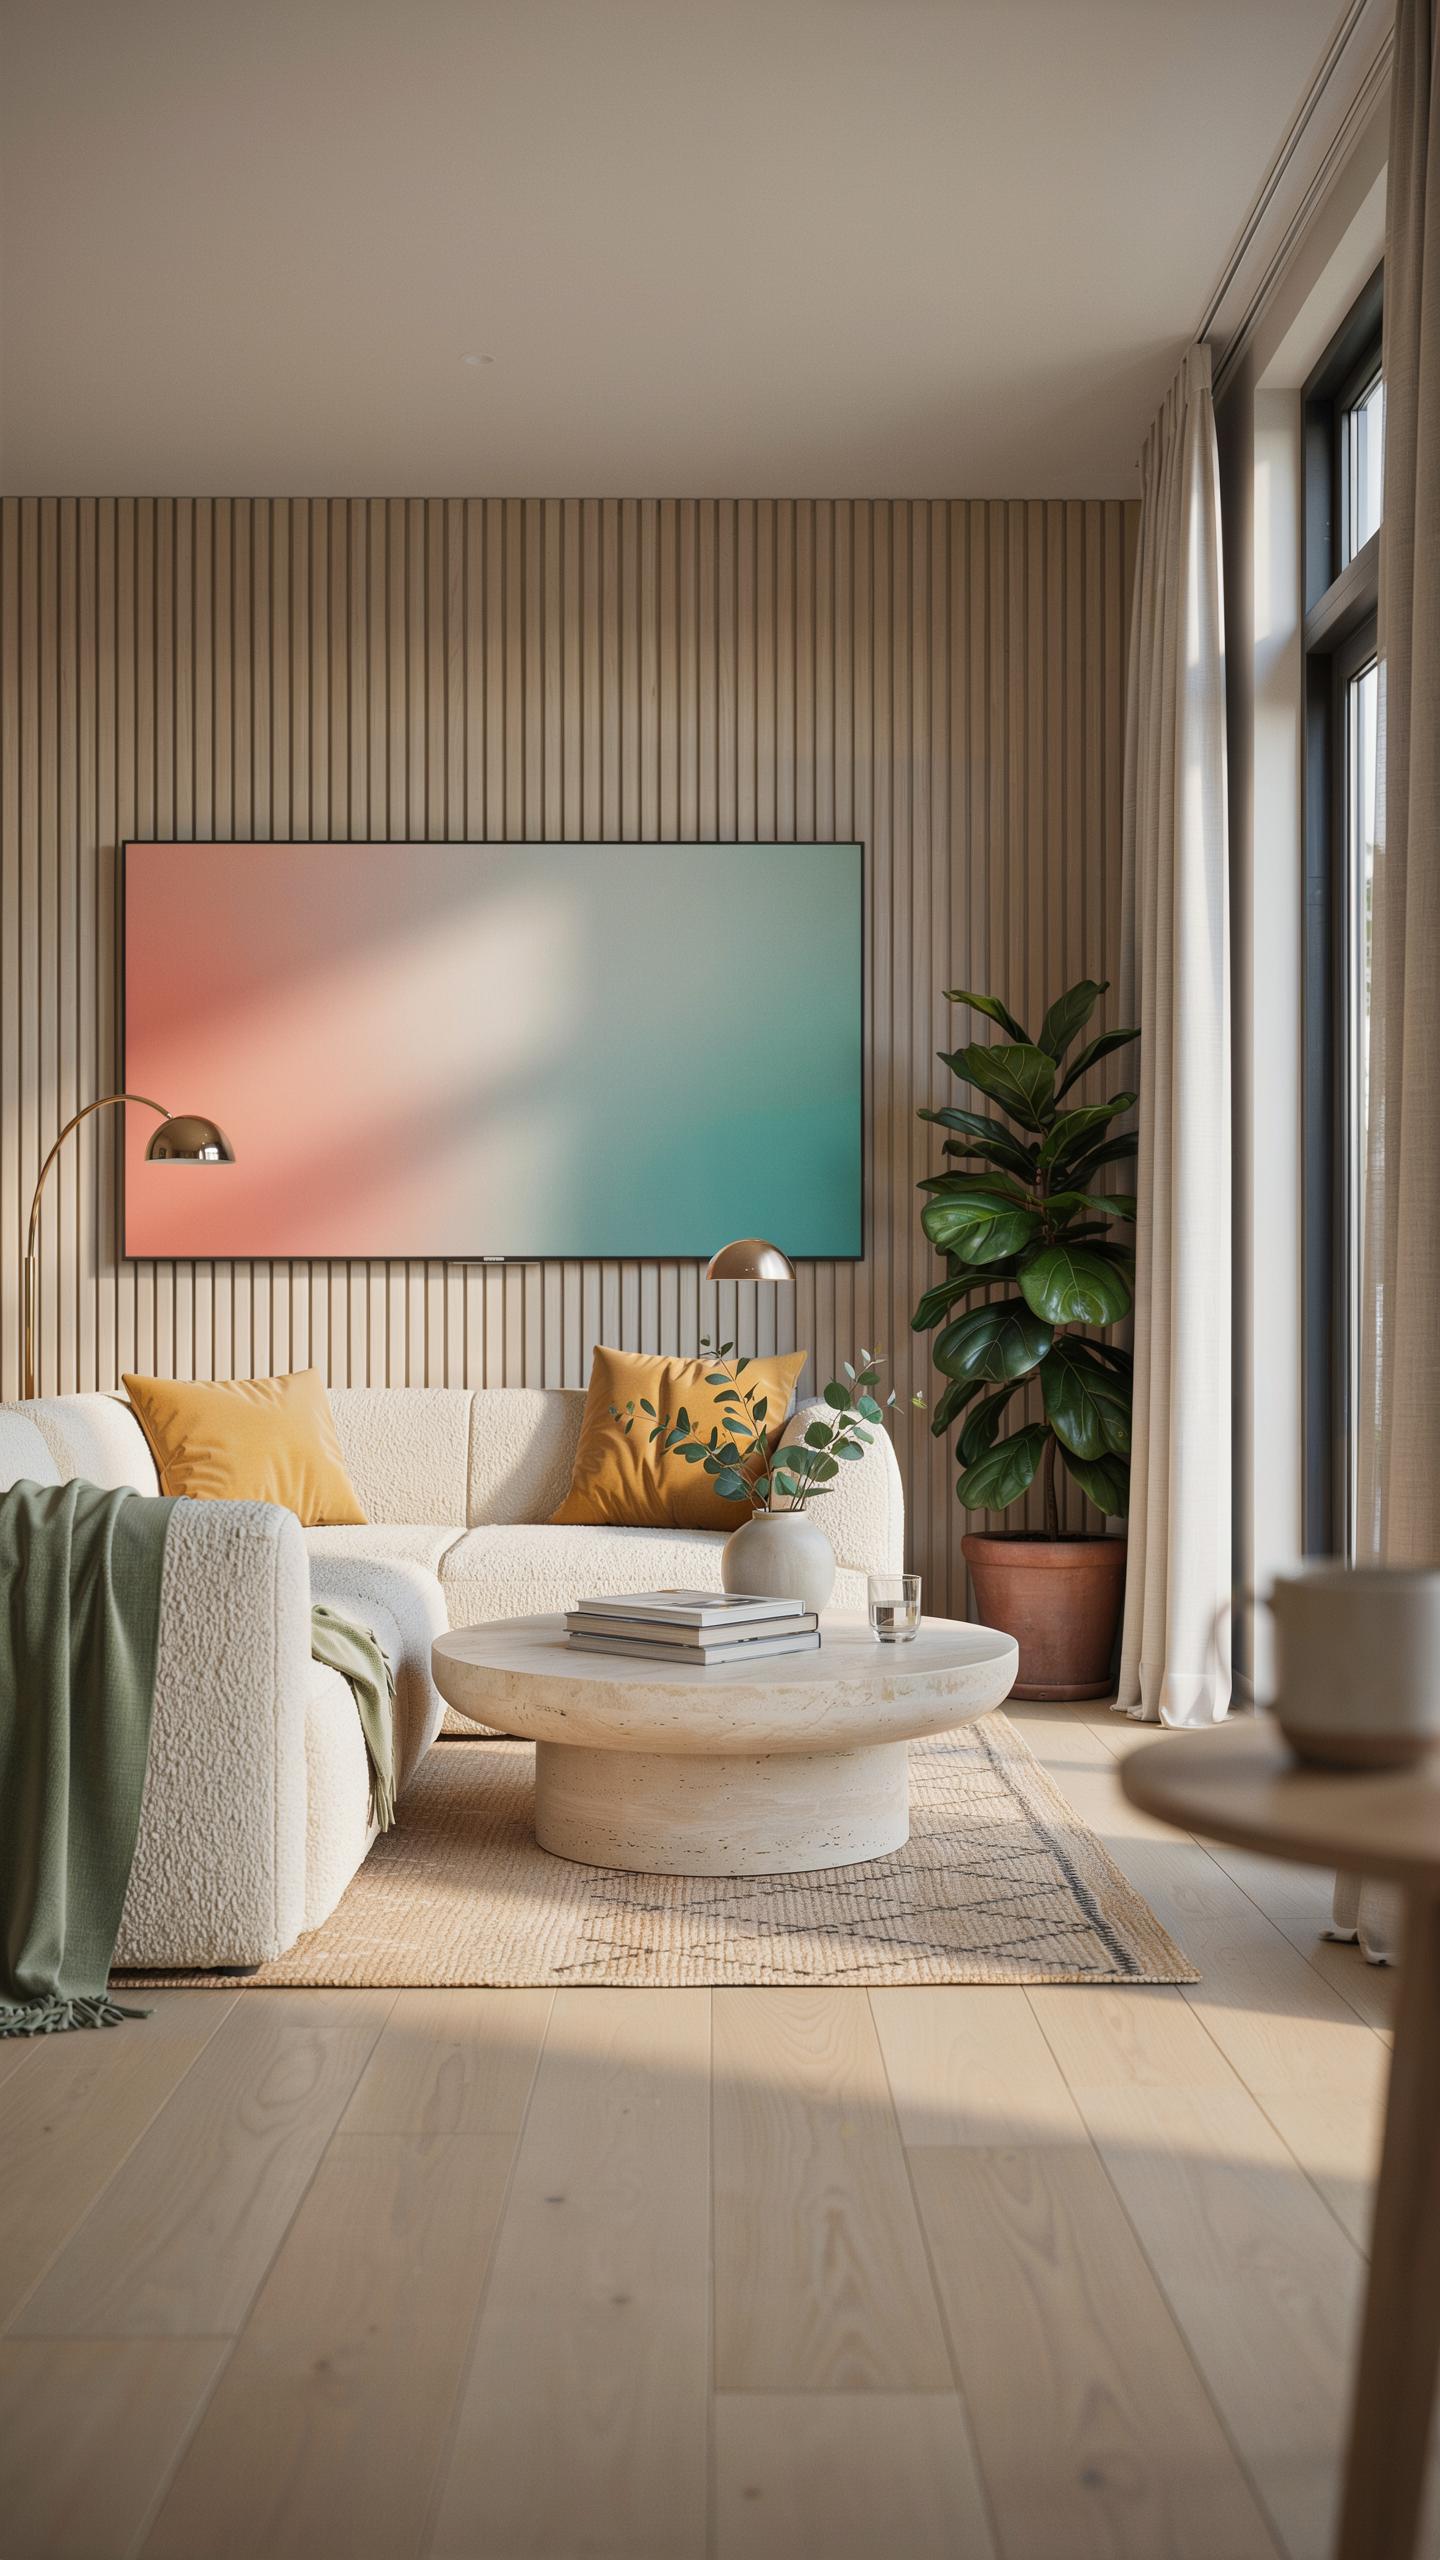
Painting raceway covers matches them to your wall color and makes cables disappear visually. Most raceway covers use PVC plastic, which accepts acrylic latex paint directly. Prime the surface first with a bonding primer designed for plastic. This step prevents peeling and ensures color stays put through temperature changes and humidity shifts.
Choose paint that matches your wall finish. Flat, eggshell, or satin finishes work best because they blend with standard wall paint. Semi-gloss or gloss finishes reflect light and draw attention to the cover. Apply two thin coats rather than one thick coat to avoid drips. Sand lightly between coats with fine-grit sandpaper for better adhesion.
Integrating With Smart Home Devices And Systems
Raceway covers work alongside smart home systems without interference. Run ethernet cables, power lines, and low-voltage wiring inside the same raceway as long as you maintain separation channels. Most raceways include dividers that keep power and data cables apart, preventing signal degradation and safety hazards. This setup lets you organize all wiring for your TV, soundbar, and network equipment in one location.

Plan your raceway path before installation to accommodate future devices. Leave empty channels inside the cover for adding cables later without removing the entire system. Smart home hubs, streaming devices, and voice assistants often need power and network connections routed through the same wall path as your TV lines. Building flexibility into your raceway system now saves time and money during upgrades.
Maintaining Your Cable Management System
Regular Cleaning And Inspection Of The Raceway
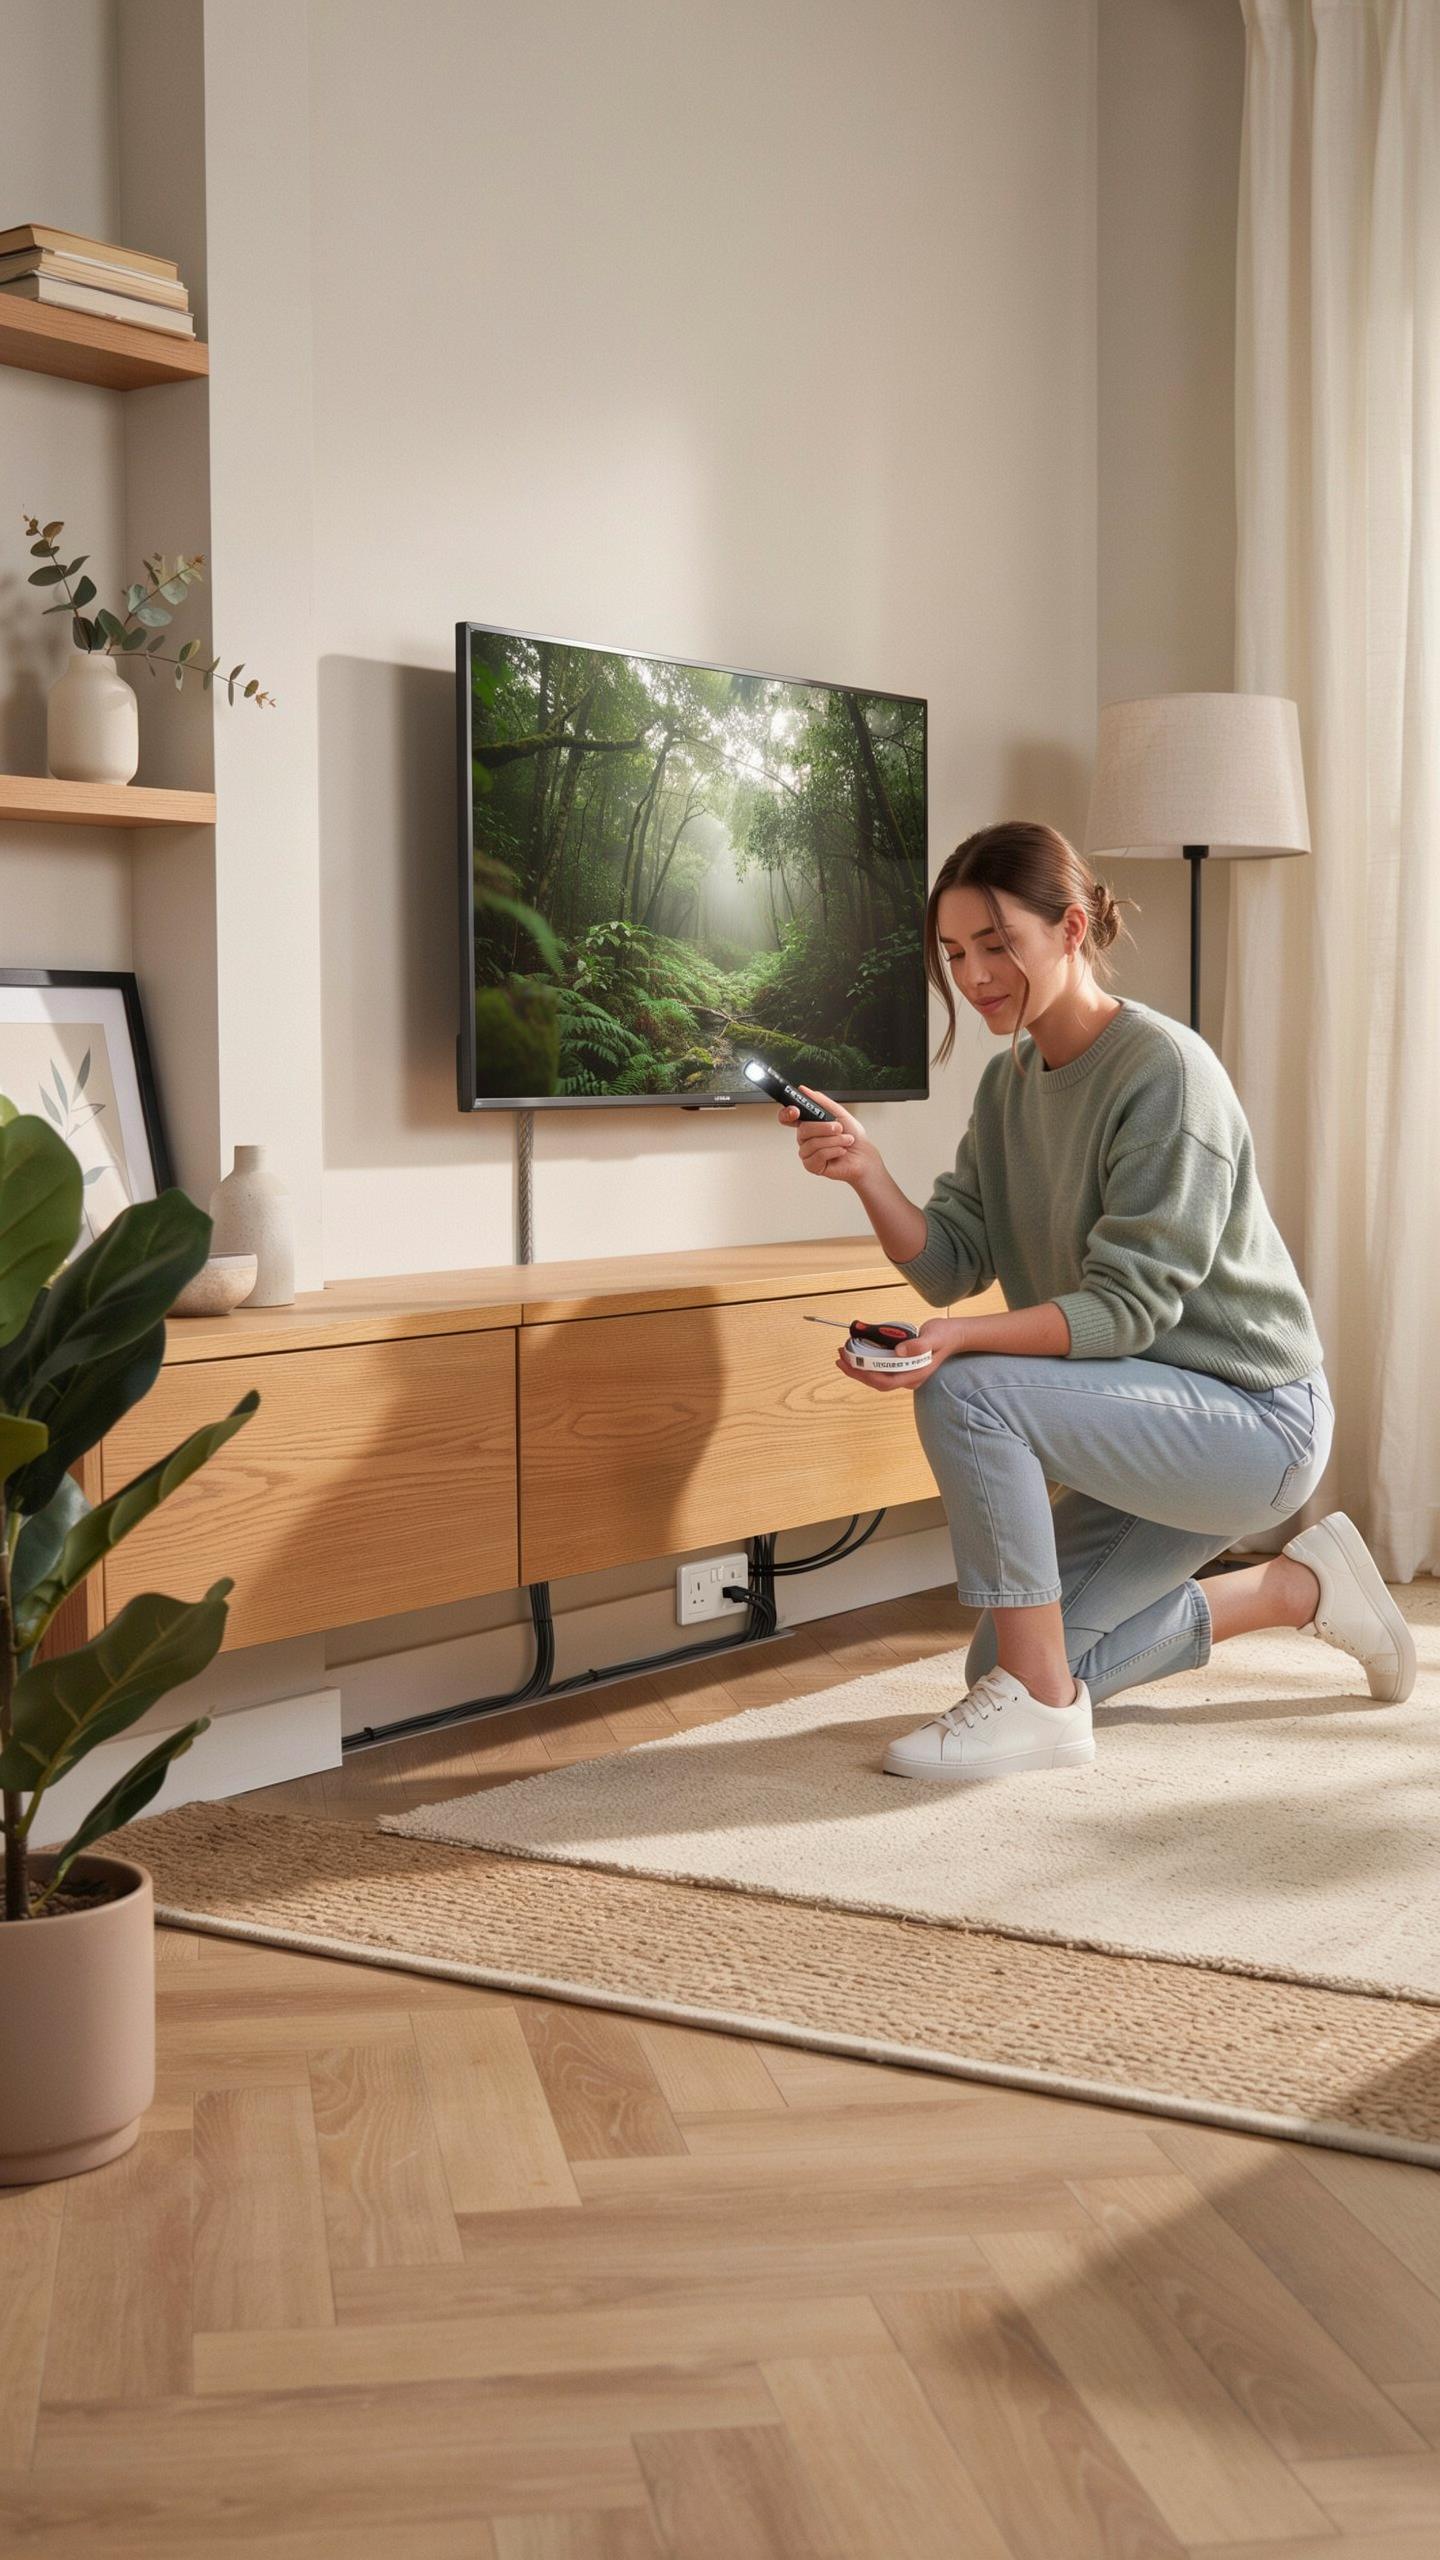
Dust accumulates inside raceways faster than most people realize. Every three to six months, disconnect power to your TV setup and inspect the raceway interior. Use a flashlight to check for dust buildup, debris, or cable damage. Compressed air works well for removing dust without disassembling the entire system. This prevents overheating issues and keeps your cables functioning properly.
Inspect cable connectors and connections during cleaning cycles. Look for corrosion, bent pins, or loose connections that degrade signal quality. Tighten any loose cable fittings. Check that the raceway itself remains securely mounted to the wall. Small maintenance intervals catch problems before they become costly failures or safety hazards.
Upgrading Or Expanding Your Cable Hiding Solution
Your cable needs change as you add devices like soundbars, gaming consoles, or streaming boxes. When expansion is necessary, measure your current raceway capacity before purchasing additional components. Larger raceways or multiple parallel runs handle future growth better than cramped single-channel systems. Plan for at least 30 percent extra capacity to avoid future restrictions.
Compatibility matters when upgrading. Match new raceway segments to your existing system’s dimensions and material composition. Vinyl raceways work with vinyl raceways. Plastic with plastic. Mixing materials creates visible gaps and inconsistent appearance. If your original raceway is discontinued, replace the entire run rather than patching incompatible sections together.
Achieving A Professional Finish With Your Cable Management Wall
Tips For A Flawless Installation
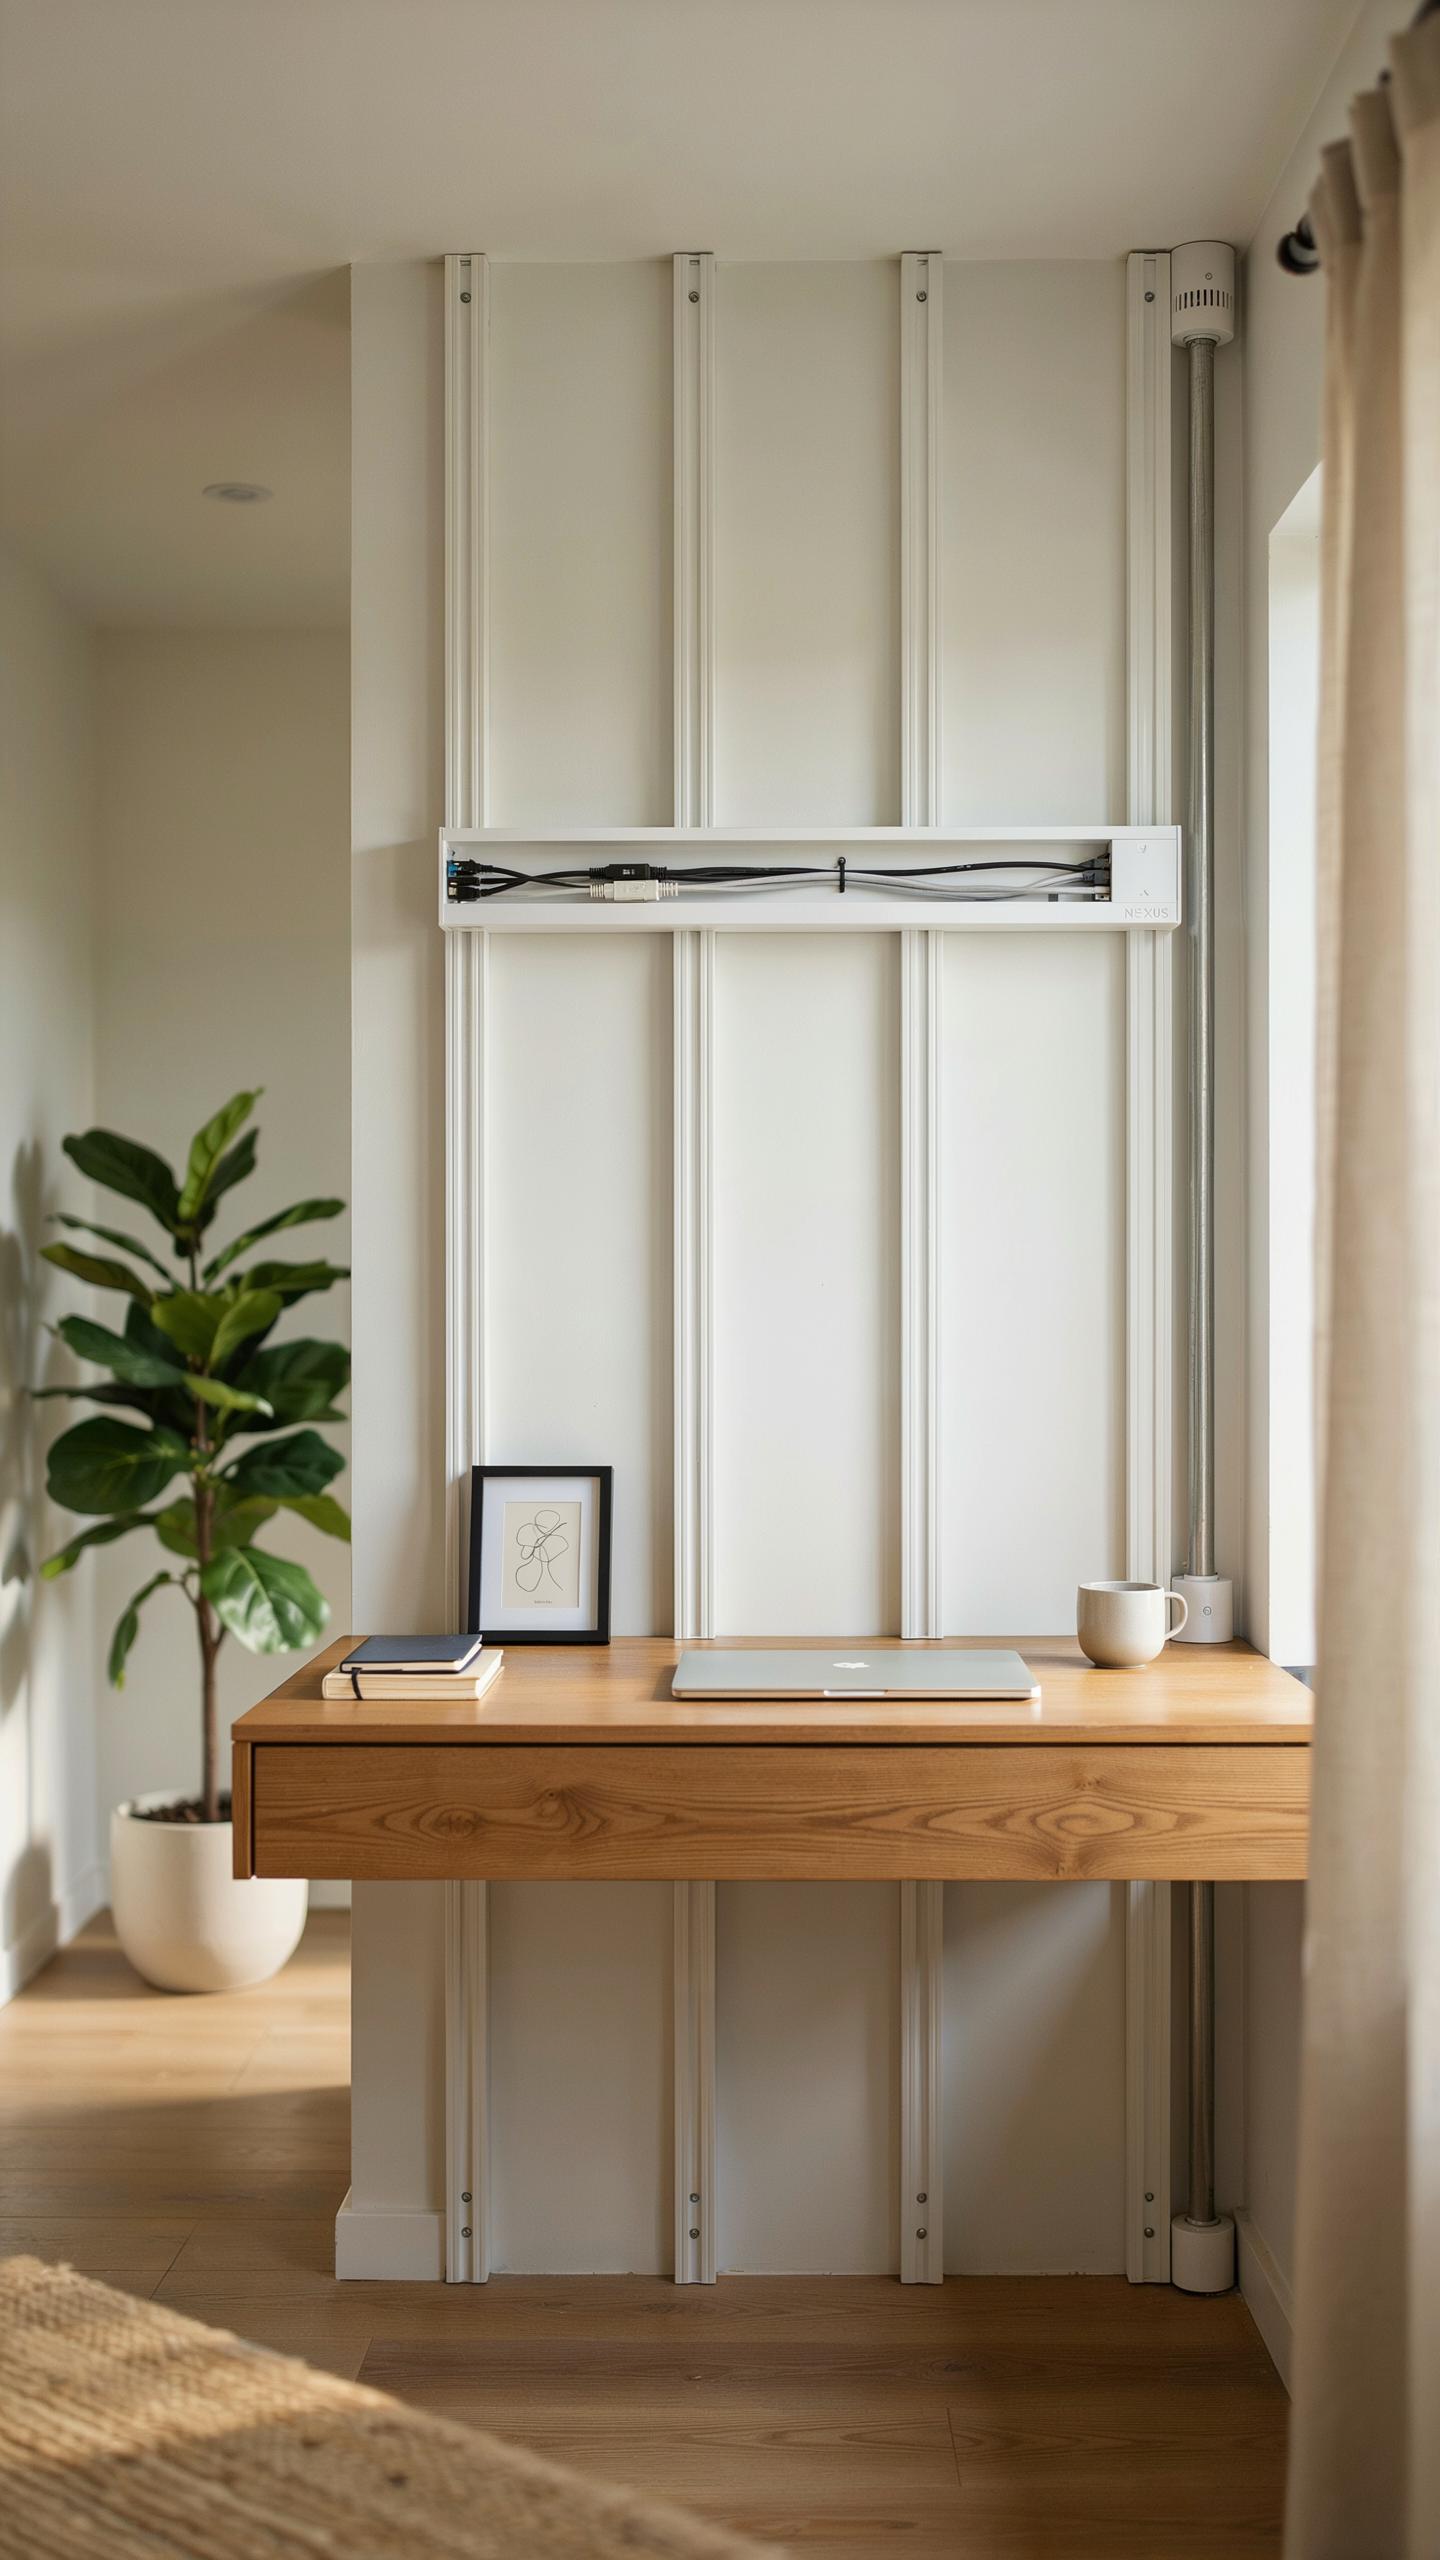
Measure twice before cutting raceway. Start at the TV and trace the actual path cables will travel to your equipment. Mark the wall with a pencil at key points like corners, outlets, and wall studs. This prevents mistakes that waste material and create visible gaps or misalignments that compromise the finished look.
- Use A Level Tool: Ensure horizontal and vertical runs are straight. Crooked raceways look unprofessional and catch light awkwardly, making imperfections obvious from seating positions.
- Secure To Wall Studs When Possible: Studs provide solid anchoring points. Use appropriate fasteners for stud mounting to prevent sagging or separation over time as cables add weight.
- Plan For Future Access: Route raceways so you can add or remove cables without full disassembly. Leave extra space in the raceway for cable upgrades or replacements.
- Match Wall Color Or Paint: Paint raceway covers to match your wall finish. This visual continuity makes the installation blend seamlessly rather than stand out as an afterthought.
- Hide Connections At Equipment Ends: Tuck raceway termination points behind the TV or receiver. This eliminates visible transitions that break the clean line effect you worked to achieve.
- Test Cable Routing Before Installation: Run cables through the raceway before permanently mounting. This confirms all connections reach without strain and identifies pinching or binding issues early.
Invest time in proper fastening. Use anchors rated for your wall type, whether drywall, plaster, or concrete. Cheap fasteners fail under cable weight and vibration, forcing reinstallation and leaving visible holes that damage your wall finish.
Enjoying Your Clutter Free Entertainment Space
A properly installed raceway transforms your viewing area. Cables disappear behind the cover, eliminating visual distractions that pull focus from your screen. Your wall becomes a clean backdrop for your entertainment system rather than a tangled mess of wires and adapters that looks unprofessional.
Maintenance now requires minimal effort. Cables stay protected from dust, pets, and accidental damage. When you need to adjust or replace a cable, access is straightforward since everything runs organized inside the raceway. Your entertainment space stays functional and attractive long term without the constant struggle of managing visible cords.
Frequently Asked Questions

What exactly is a raceway cable cover, and why would I need one for my wall-mounted TV?
A raceway cable cover is a decorative channel designed to conceal and organize unsightly cables running from your wall-mounted TV to outlets or other devices. It creates a clean, streamlined look, preventing tangled wires and enhancing the aesthetic of your living space. It’s a simple, effective solution for a polished finish.
How do I properly install a raceway cable cover for my wall-mounted TV to ensure a secure and neat finish?
Most raceway cable covers for wall-mounted TVs are designed for easy DIY installation. Start by measuring and cutting the raceway to length. Secure the base to the wall with screws or strong adhesive strips, ensuring it’s level. Then, neatly tuck your TV cables inside and snap on the cover for a clean, professional appearance.
Are there affordable raceway cable cover options available, or do they tend to be expensive for a wall-mounted TV setup?
Absolutely! There are many budget-friendly raceway cable cover options available, ranging from simple plastic channels to more decorative paintable versions. You can find excellent solutions for your wall-mounted TV setup at various price points, ensuring a tidy look without breaking the bank.



