
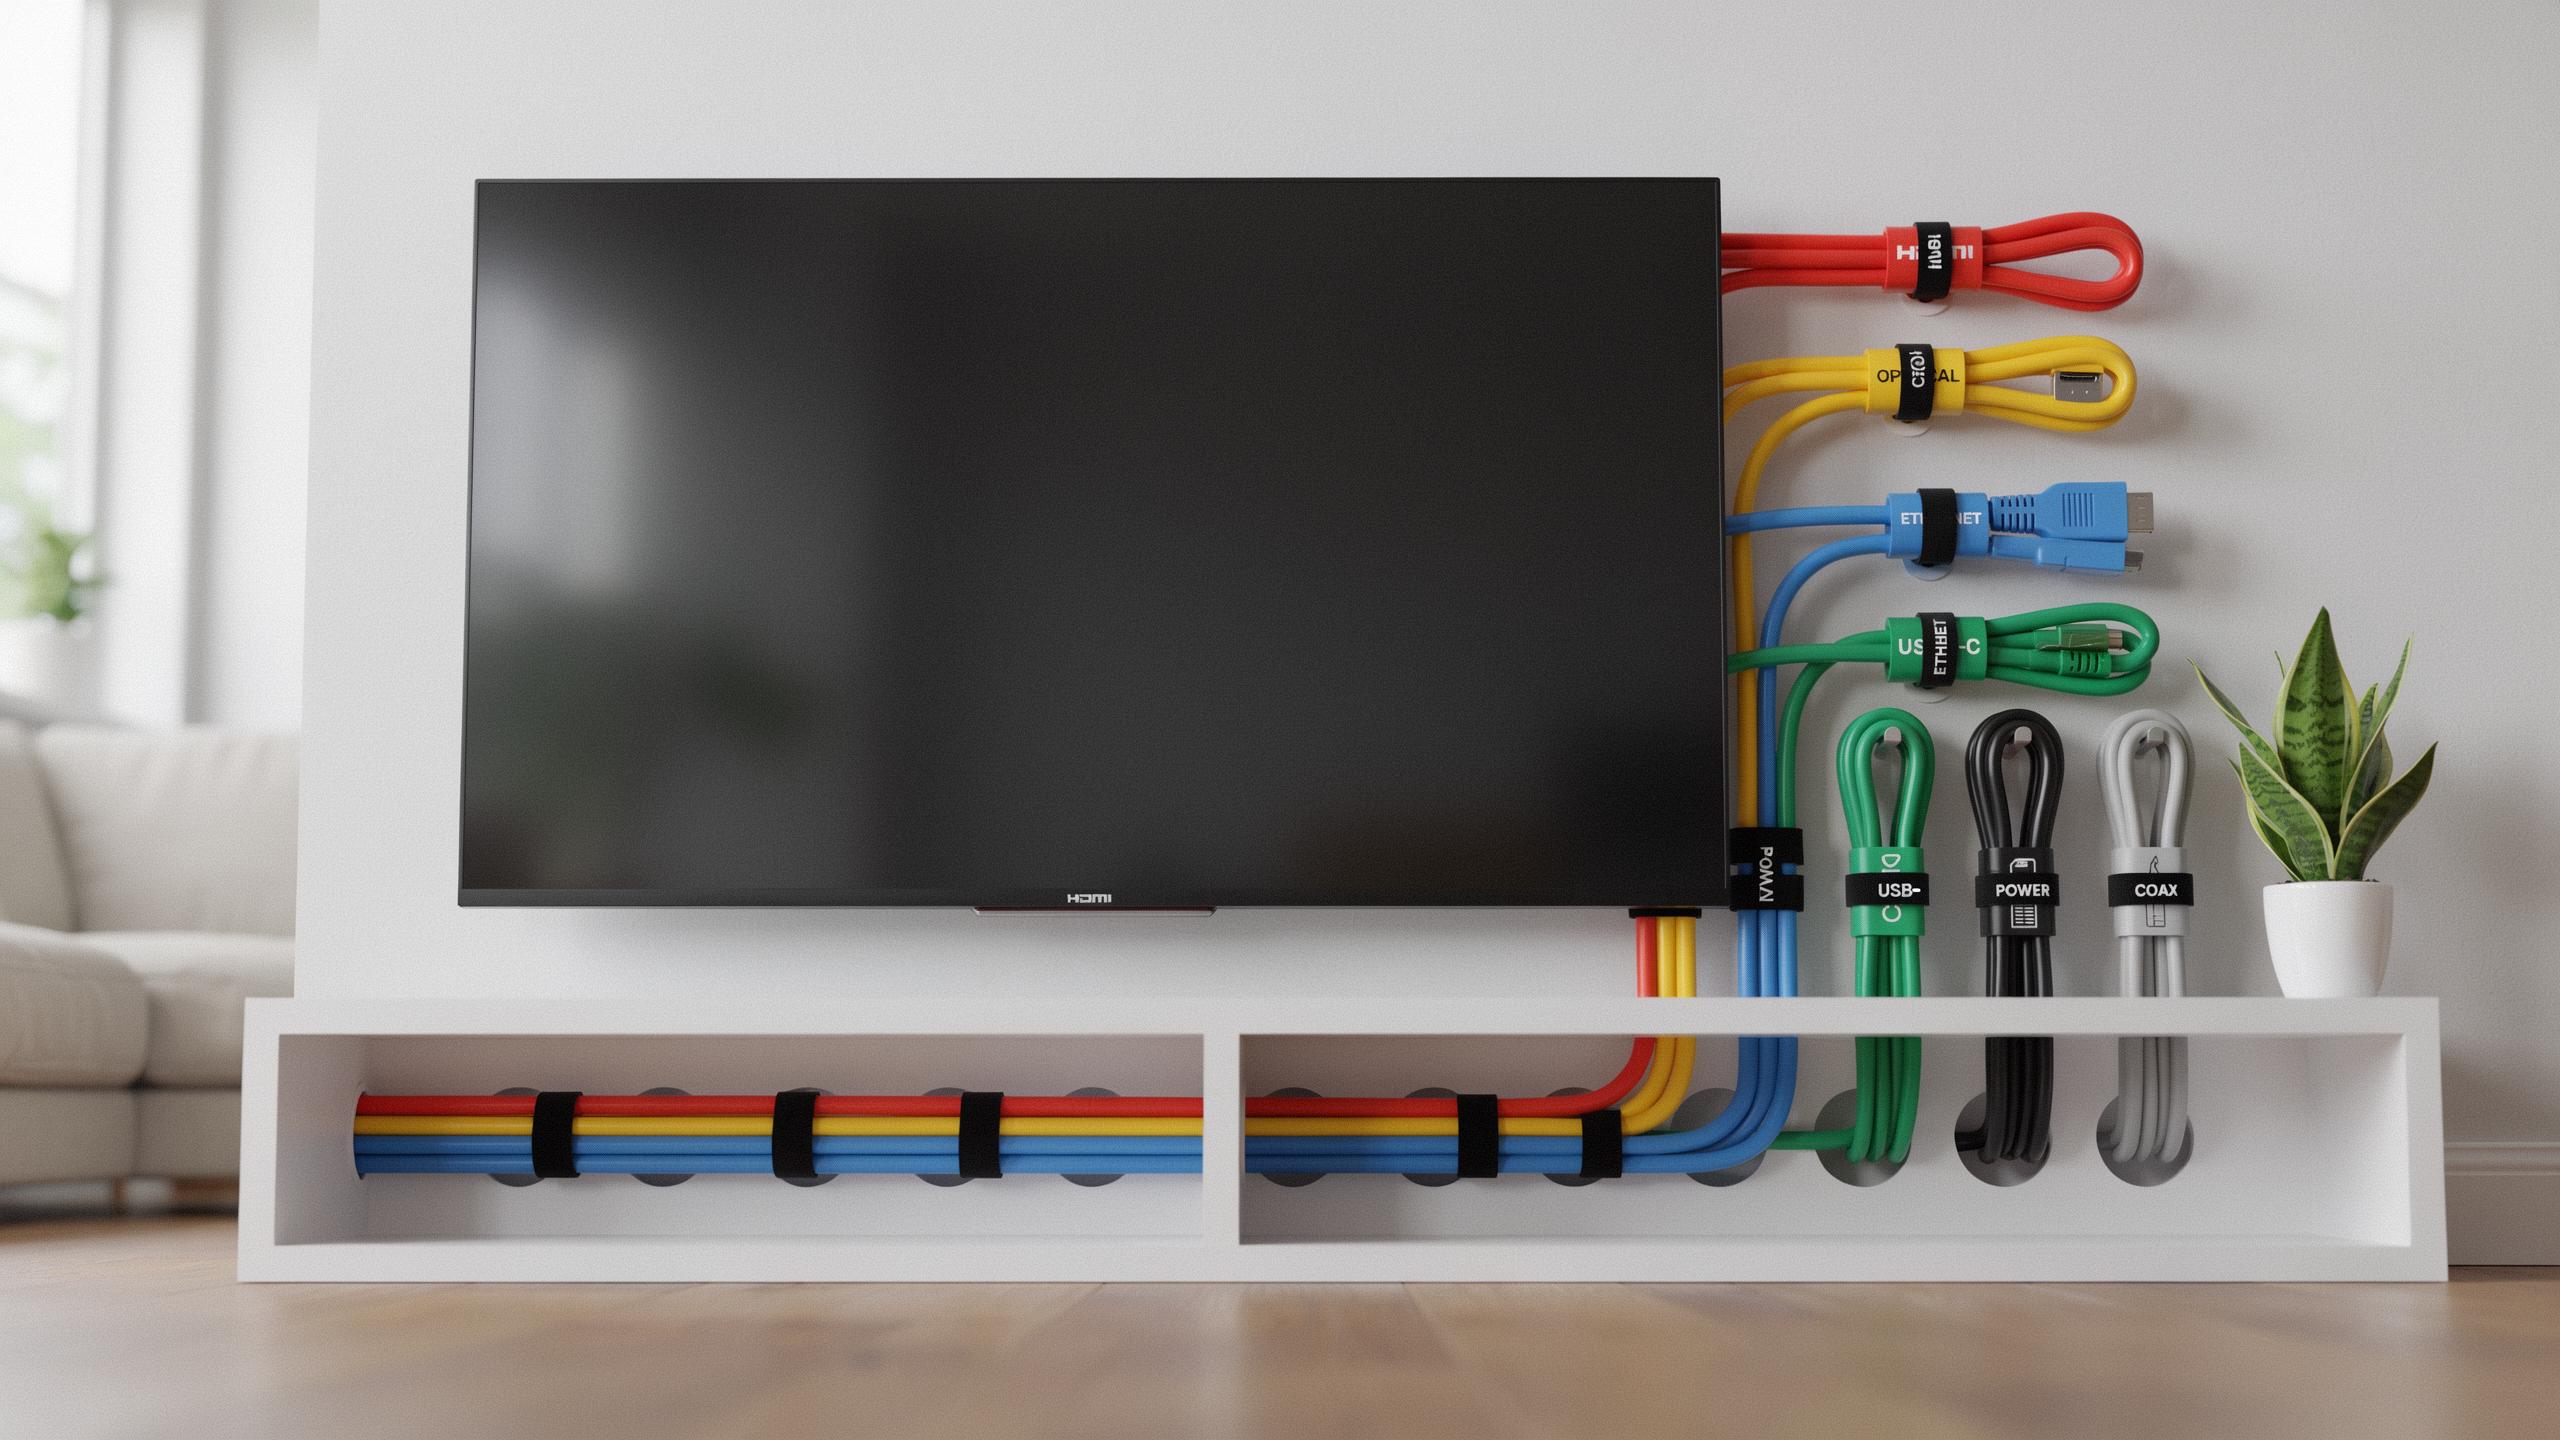
Why Labeled Cable Tags For Identifying Cords Are Essential
The Frustration Of Unidentified Cables
Behind most televisions and computer setups sits a tangle of cords. Power cables, HDMI lines, ethernet wires, and audio connections overlap and twist together. You need to unplug something. You grab a cord. Is it the right one? You yank it out. The screen goes black. You just killed your internet connection instead. This happens because cables lack identification. You waste time tracing each wire back to its source. You risk disconnecting critical equipment by accident. The frustration compounds every time you need to adjust your setup or troubleshoot a problem.
When equipment malfunctions, you must identify which cable failed. Without labels, you disconnect cables one by one, testing each time. This process eats hours. You might damage connectors through repeated plugging and unplugging. You might forget which cable goes where after you remove it. Your family or coworkers cannot help because they do not know your cable configuration. The mental load of remembering your setup creates unnecessary stress. A simple labeling system eliminates this entire category of problems.
Benefits Of A Structured Cable System
Labeled cable tags transform your entertainment or workspace from chaos into order. When you know exactly which cable controls which device, troubleshooting takes minutes instead of hours. You disconnect the correct cable on the first try. You reconnect equipment faster when you relocate or upgrade. Your setup remains functional even when someone else needs to work with it. The time savings compound over weeks and months of use. You stop second-guessing yourself about which wire does what.
A structured cable system also protects your equipment. You avoid accidental disconnections that corrupt data or cause sudden shutdowns. You reduce wear on connectors from repeated guessing and plugging. You prevent cascade failures where one wrong disconnect damages multiple systems. Your cables stay organized, reducing pressure on connector joints from twisted and tangled wires. The physical space behind your television or desk stays accessible and functional. Organization creates reliability. Reliability creates peace of mind.

Organizational Cable Labels The First Step To A Tidy Setup
Understanding Different Label Types
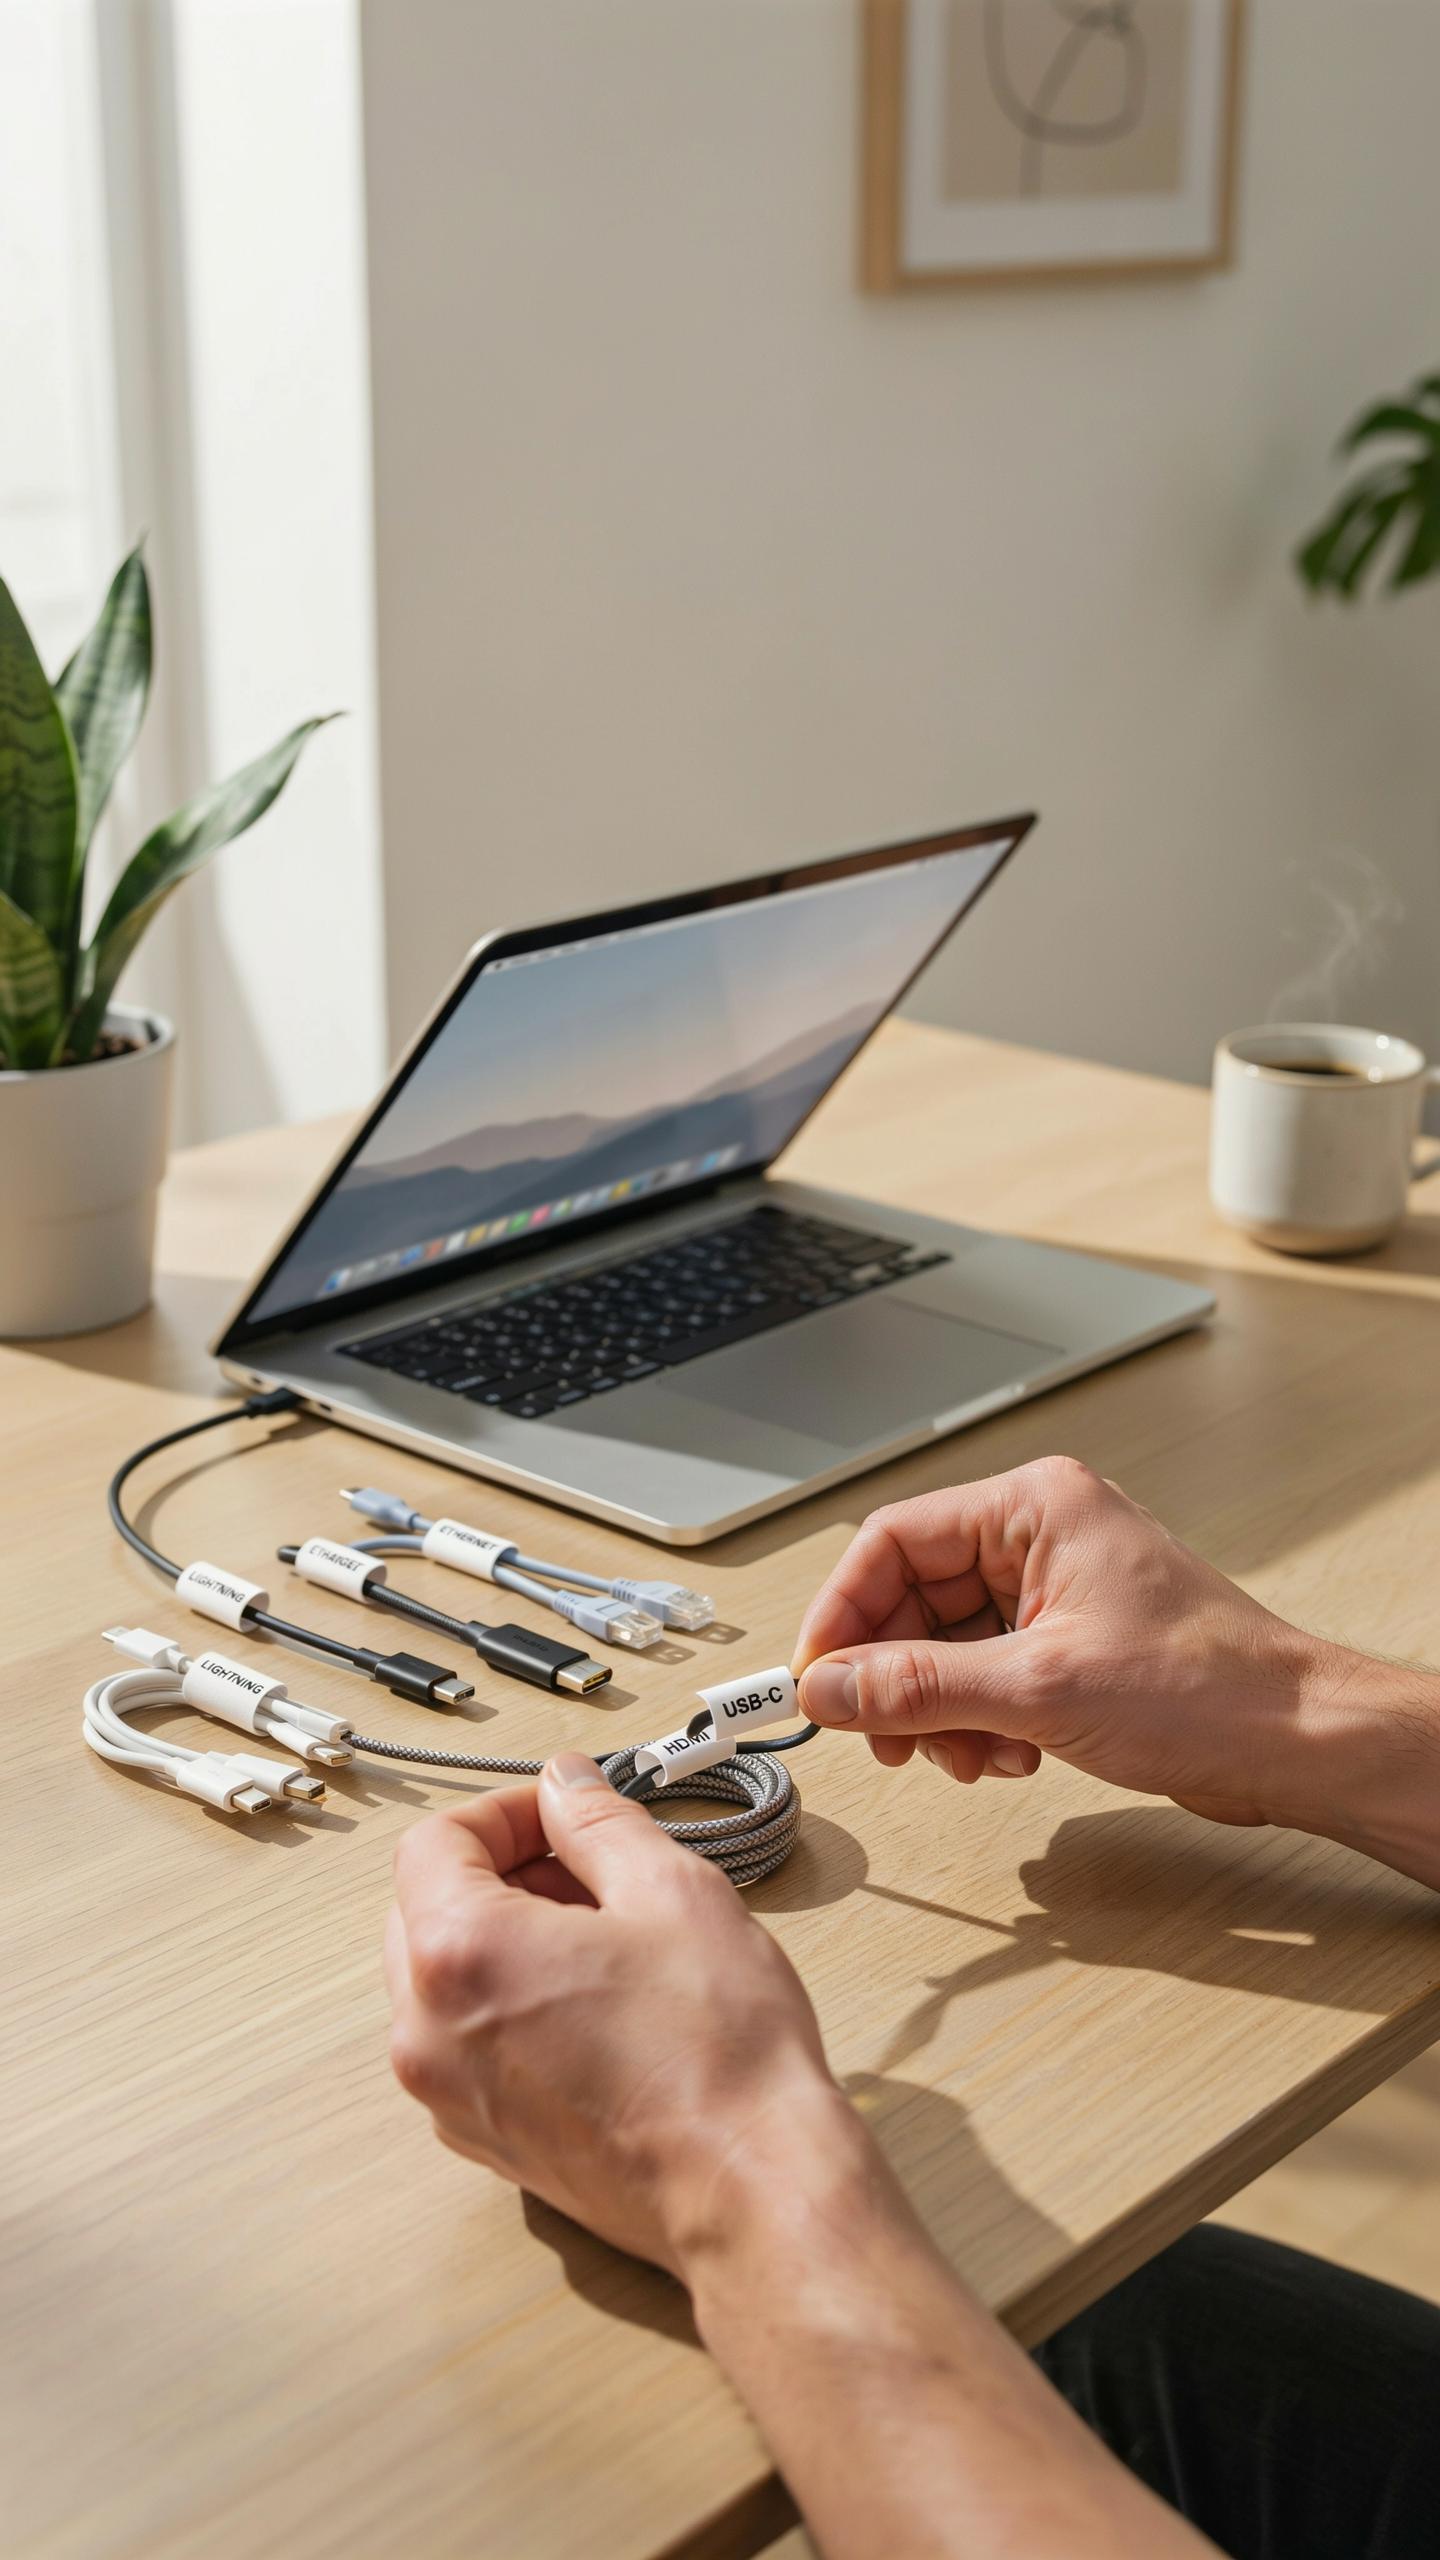
Wrap-around labels circle the cable and secure with adhesive or velcro. They work on cables of varying diameters and allow you to write directly on the label surface. Flag-style labels attach perpendicular to the cable, making text visible without rotating the cord. Heat-shrink labels slide over the cable and permanently seal when heated, offering maximum durability in high-heat environments like server rooms or behind entertainment centers.
Choose wrap-around labels for temporary setups where you frequently change configurations. Use flag-style labels when you need quick visual identification without handling cables. Heat-shrink labels deliver the best performance in permanent installations where cables won’t move. Your choice depends on setup permanence, environmental conditions, and how often you modify your cable arrangement. Each type solves different problems, so match the label to your specific situation.
Choosing The Right Material And Durability
Label material directly impacts longevity in entertainment setups. Vinyl and polyester withstand temperature swings from heated equipment and air conditioning. Paper labels fail quickly behind televisions where heat accumulates. Adhesive quality matters equally since poor adhesive releases under dust buildup and temperature stress. Invest in labels rated for the temperature range your entertainment center experiences daily.

Water resistance prevents label deterioration in humid environments or near cooling vents. Check manufacturer specifications for adhesive strength ratings and temperature tolerances before purchasing. Labels rated for industrial use typically outlast consumer-grade options by years. Behind televisions, equipment generates continuous low-level heat that degrades cheap labels within months. Buy durable materials upfront rather than replacing failed labels repeatedly throughout your setup.
Cable Management Labels Beyond Basic Identification
Integrating Labels With Cable Management Strategies
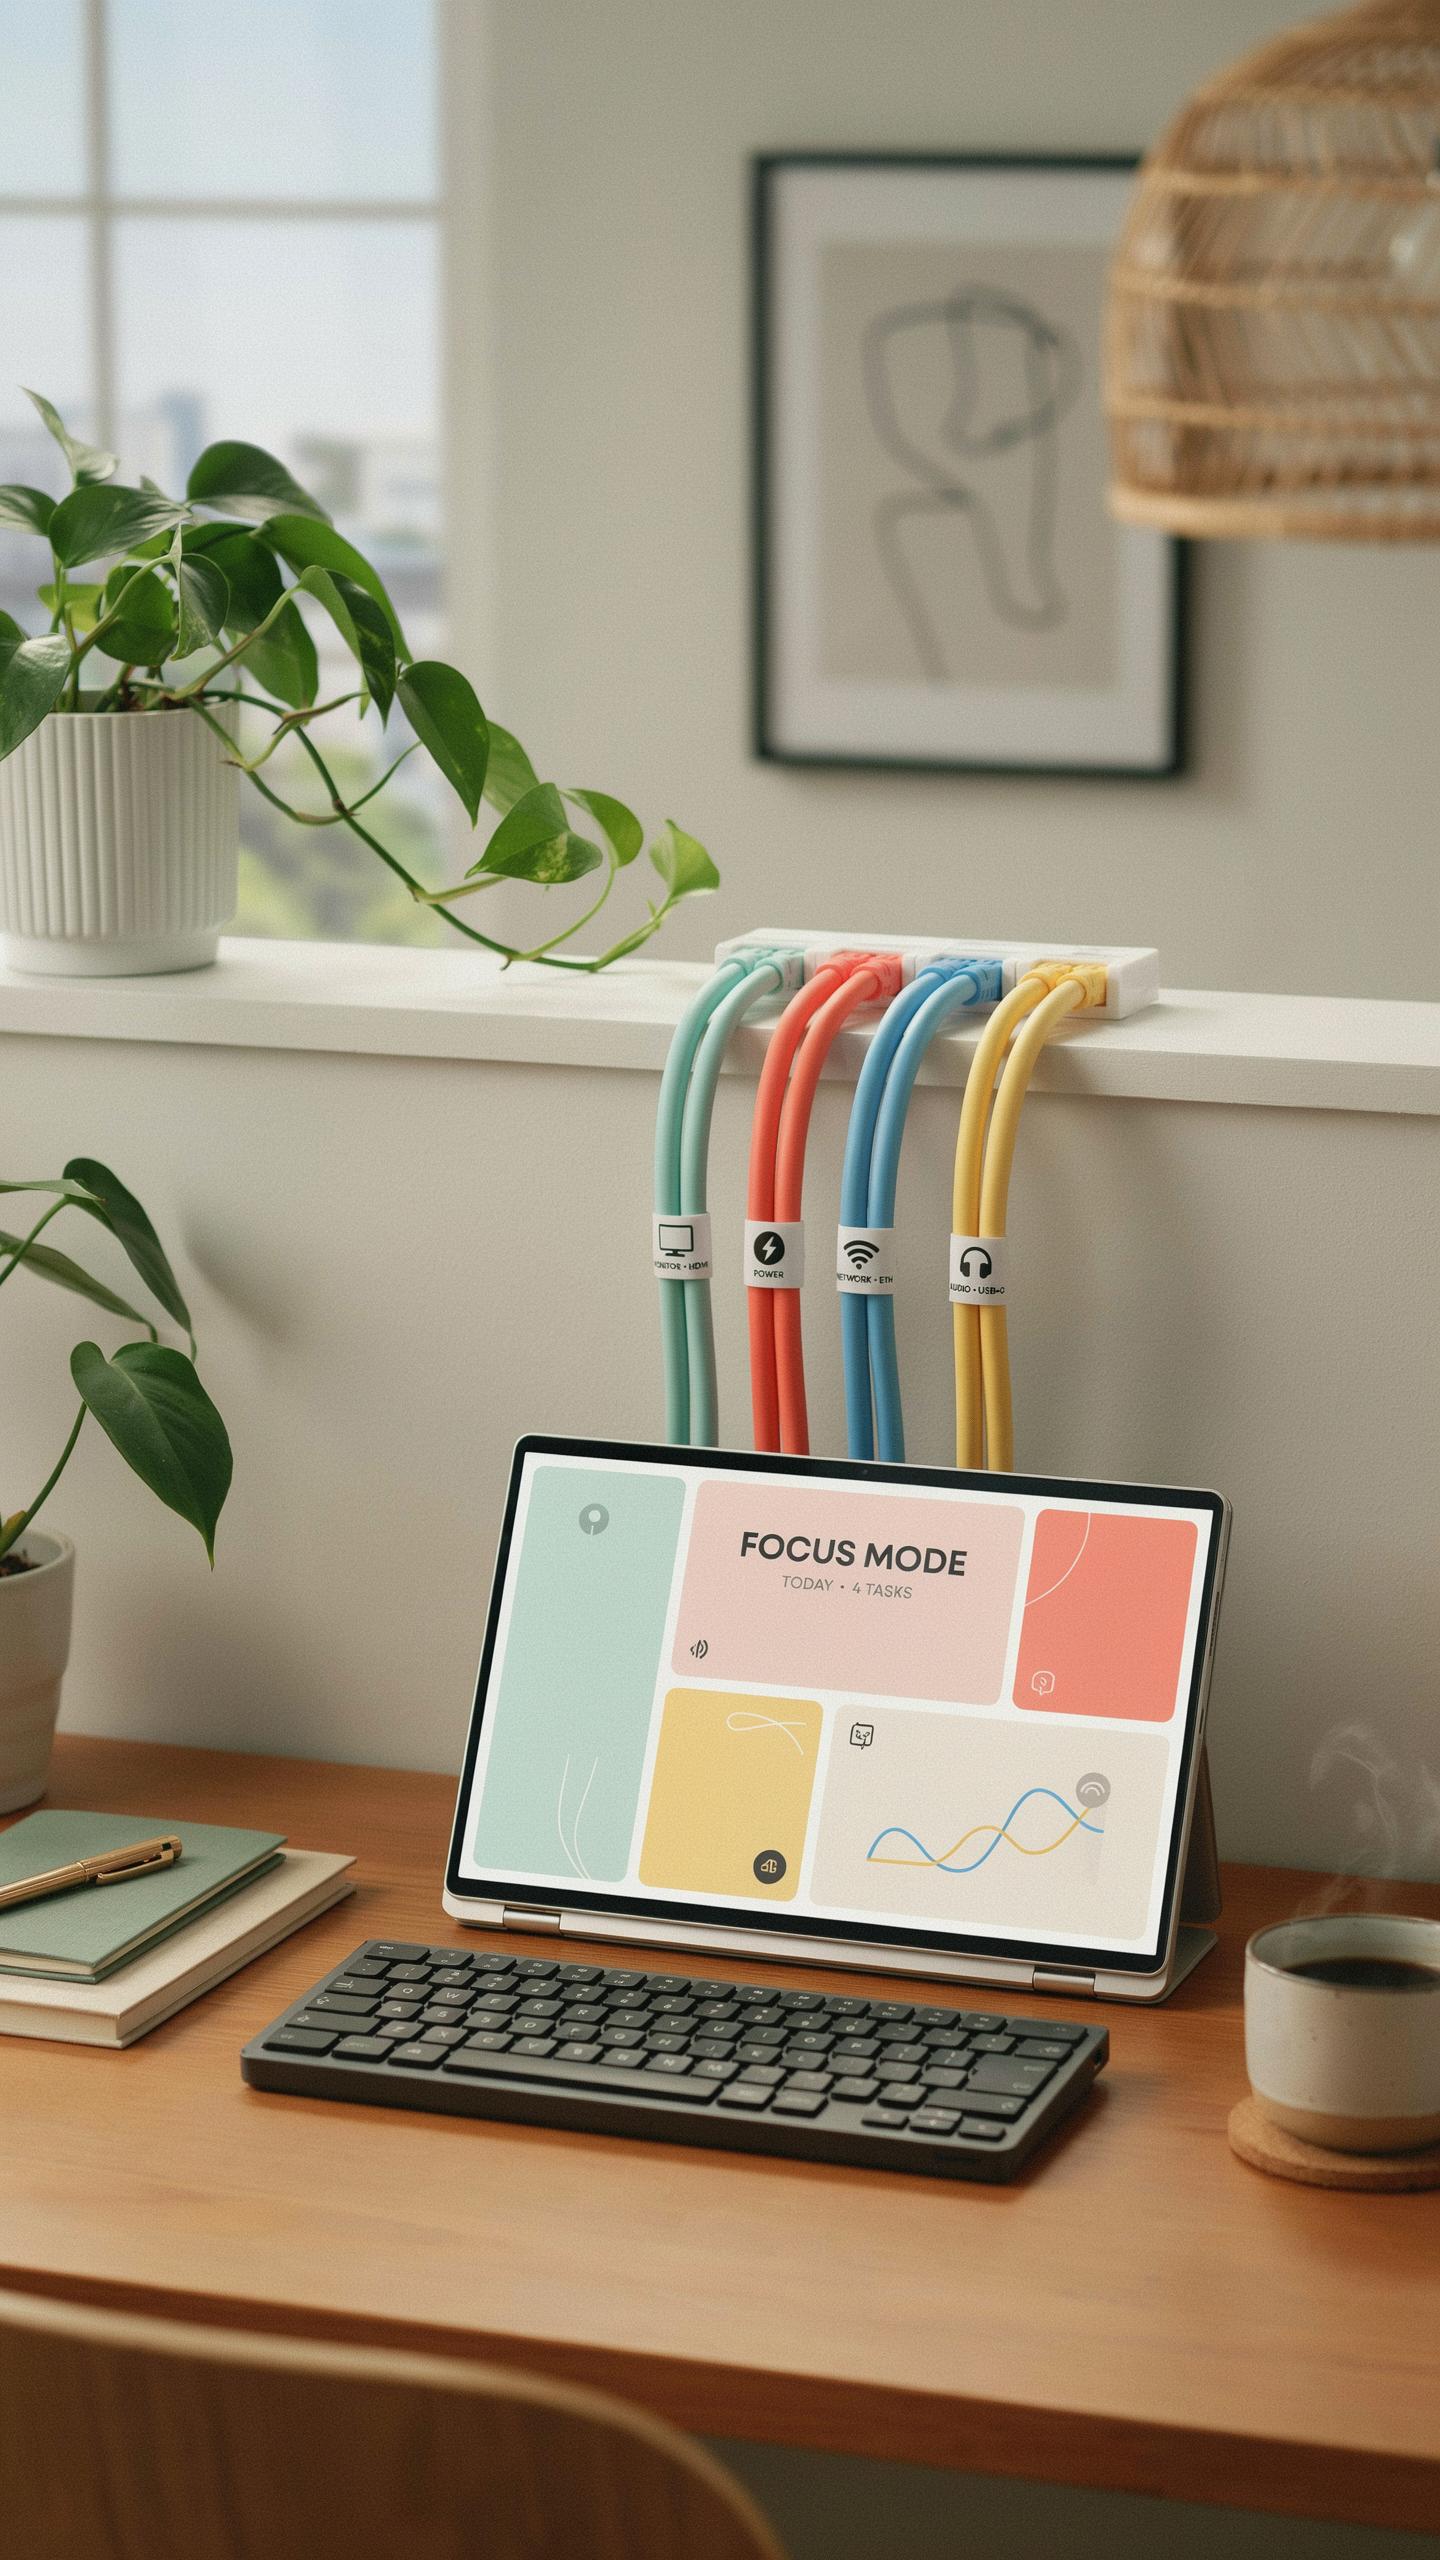
Labeled cable tags work as one component within a complete cable management system. They function alongside cable ties, sleeves, and raceways to eliminate confusion and maintain organization. Without labels, even perfectly bundled cables become a problem when you need to identify or disconnect a specific cord. Labels transform your cable infrastructure from organized looking to actually functional. They tell you what each cable does before you touch anything.
Cable ties secure cables together. Sleeves hide multiple cords and reduce visual clutter. Raceways channel cables along walls or furniture edges. Labels identify what’s inside those organized bundles. Each tool serves a distinct purpose, but they depend on each other to work effectively. A neatly tied bundle without labels forces you to trace cables by hand. A labeled cable without proper routing still creates a tangled mess. Together, these elements create a system you can maintain and modify without frustration.
Enhancing Safety And Maintenance With Labels
Clear labels prevent accidental disconnections during cleaning, rearrangement, or troubleshooting. You know exactly which cable powers your receiver before you unplug it. This eliminates guesswork and the risk of shutting down equipment you meant to keep running. Maintenance becomes faster when you identify the correct cable immediately. You spend time fixing problems instead of hunting for the right cord.

Equipment upgrades and replacements happen easier with labeled cables. When you add a new device or replace an old one, labels show you the existing connections quickly. Electricians and service technicians work more efficiently when they can read what each cable does. You reduce downtime for your entertainment system significantly. Labels also help you troubleshoot issues methodically by confirming which devices connect to which power sources and data lines.
Cable Label Ideas And Creative Solutions

Innovative Labeling Techniques
Multiple labeling systems exist to match different organizational preferences and needs. The right approach depends on your setup complexity, the number of cables you manage, and how quickly you need to identify connections. Most effective systems combine two or more methods to create redundancy and speed up identification during troubleshooting or equipment changes.
- Color Coding: Assign specific colors to device categories like streaming devices, gaming consoles, audio equipment, and power sources. Use colored tape or markers on label tags to create instant visual recognition without reading text.
- Numbering Systems: Label cables sequentially and maintain a printed or digital reference guide mapping each number to its device and function. Works best for complex setups with many similar looking cables.
- Icon Labeling: Use simple symbols or pictographs to denote cable types such as HDMI, power, ethernet, or USB. Icons work across language barriers and speed up identification in low light conditions.
- Destination Plus Source Labels: Write both where the cable goes and where it comes from, like TV to Receiver or Receiver to Speaker. This dual naming prevents confusion during reconnection tasks.
- Text Plus Size Reference: Combine written labels with cable diameter indicators to distinguish between similar cables in tight spaces. Prevents incorrect insertion attempts on connectors with limited physical space.
Combining methods amplifies efficiency. Color coding provides instant visual scanning while text labels deliver specific information. Add numbers for cross referencing with a master cable map stored on your phone or printed nearby. This layered approach eliminates guesswork and reduces reconnection time.
Personalizing Your Cable Organization
Your labeling system should reflect your lifestyle and the visual environment behind your TV. Some people prefer minimal, professional aesthetics using monochrome labels and consistent typography. Others use varied colors and icons to create a system that feels intuitive to their household.

Consider the materials available to you. Adhesive label makers produce durable, consistent results. Heat shrink tubing with markers offers permanence and heat resistance. Fabric tape works well for people who frequently reconnect cables. The material you choose affects how long labels last and how easily you can modify them when your setup changes.
How To Label Computer Cables Effectively
Best Practices For Computer Cable Identification
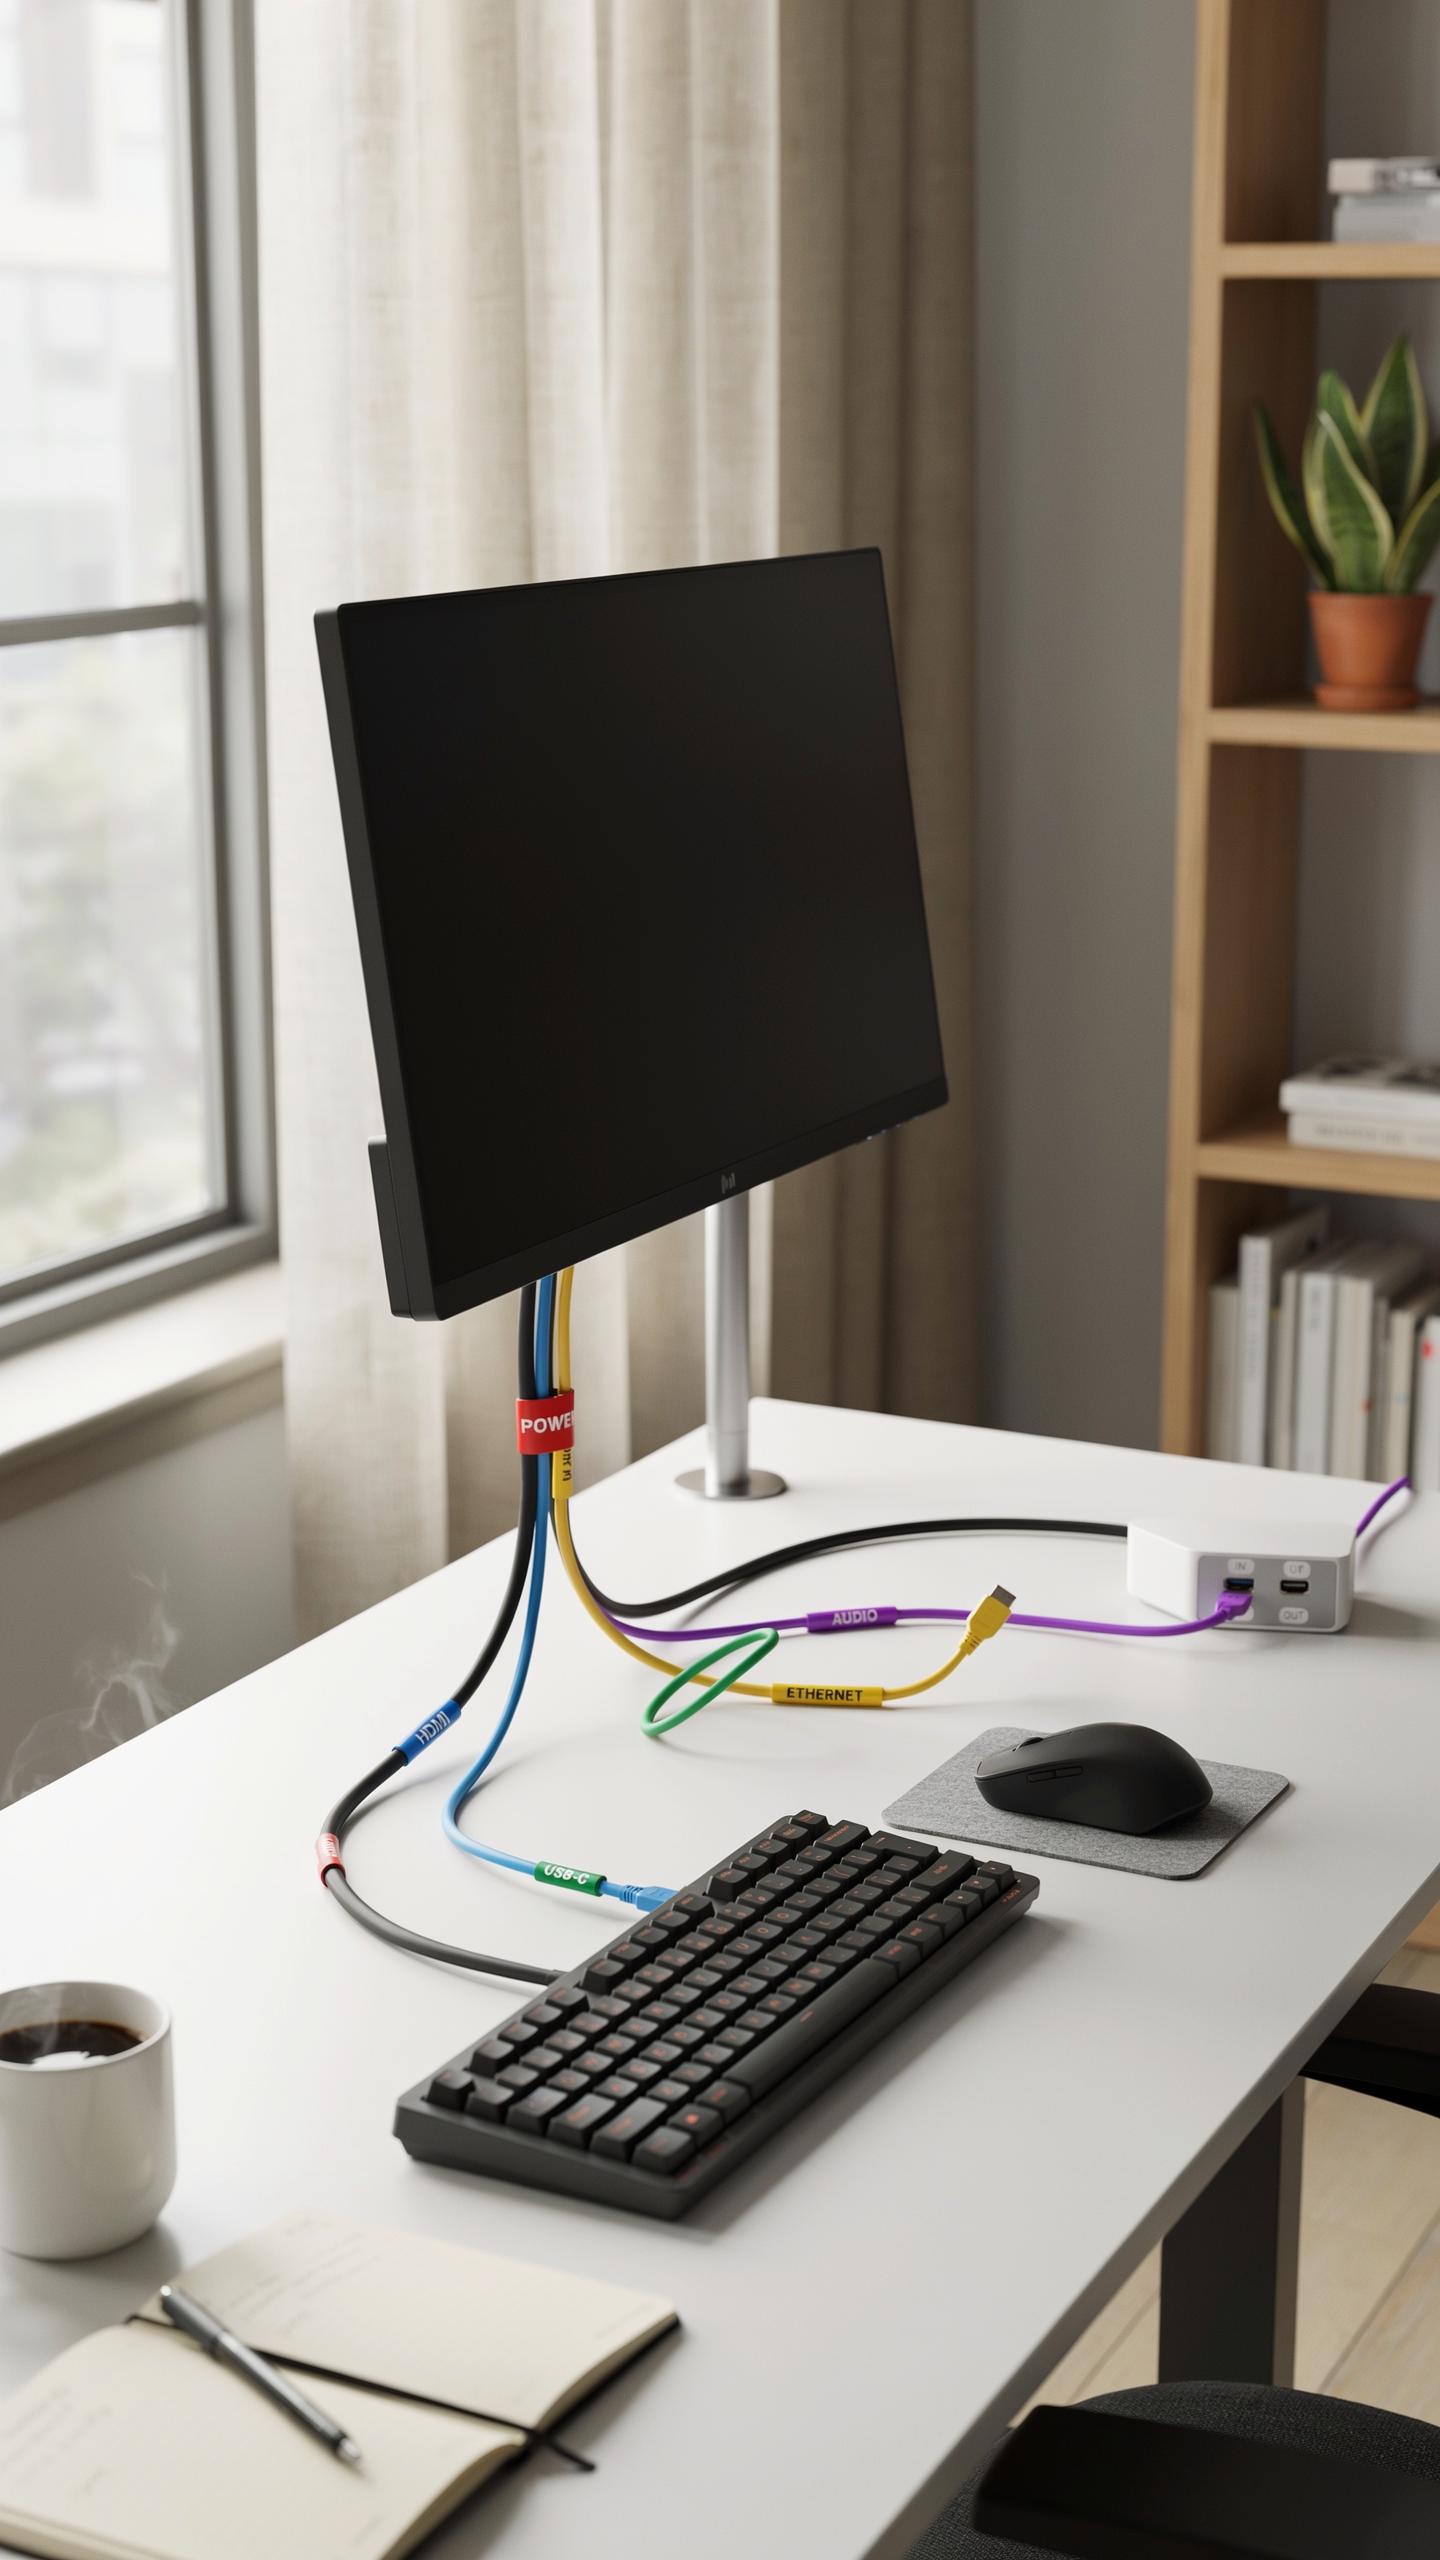
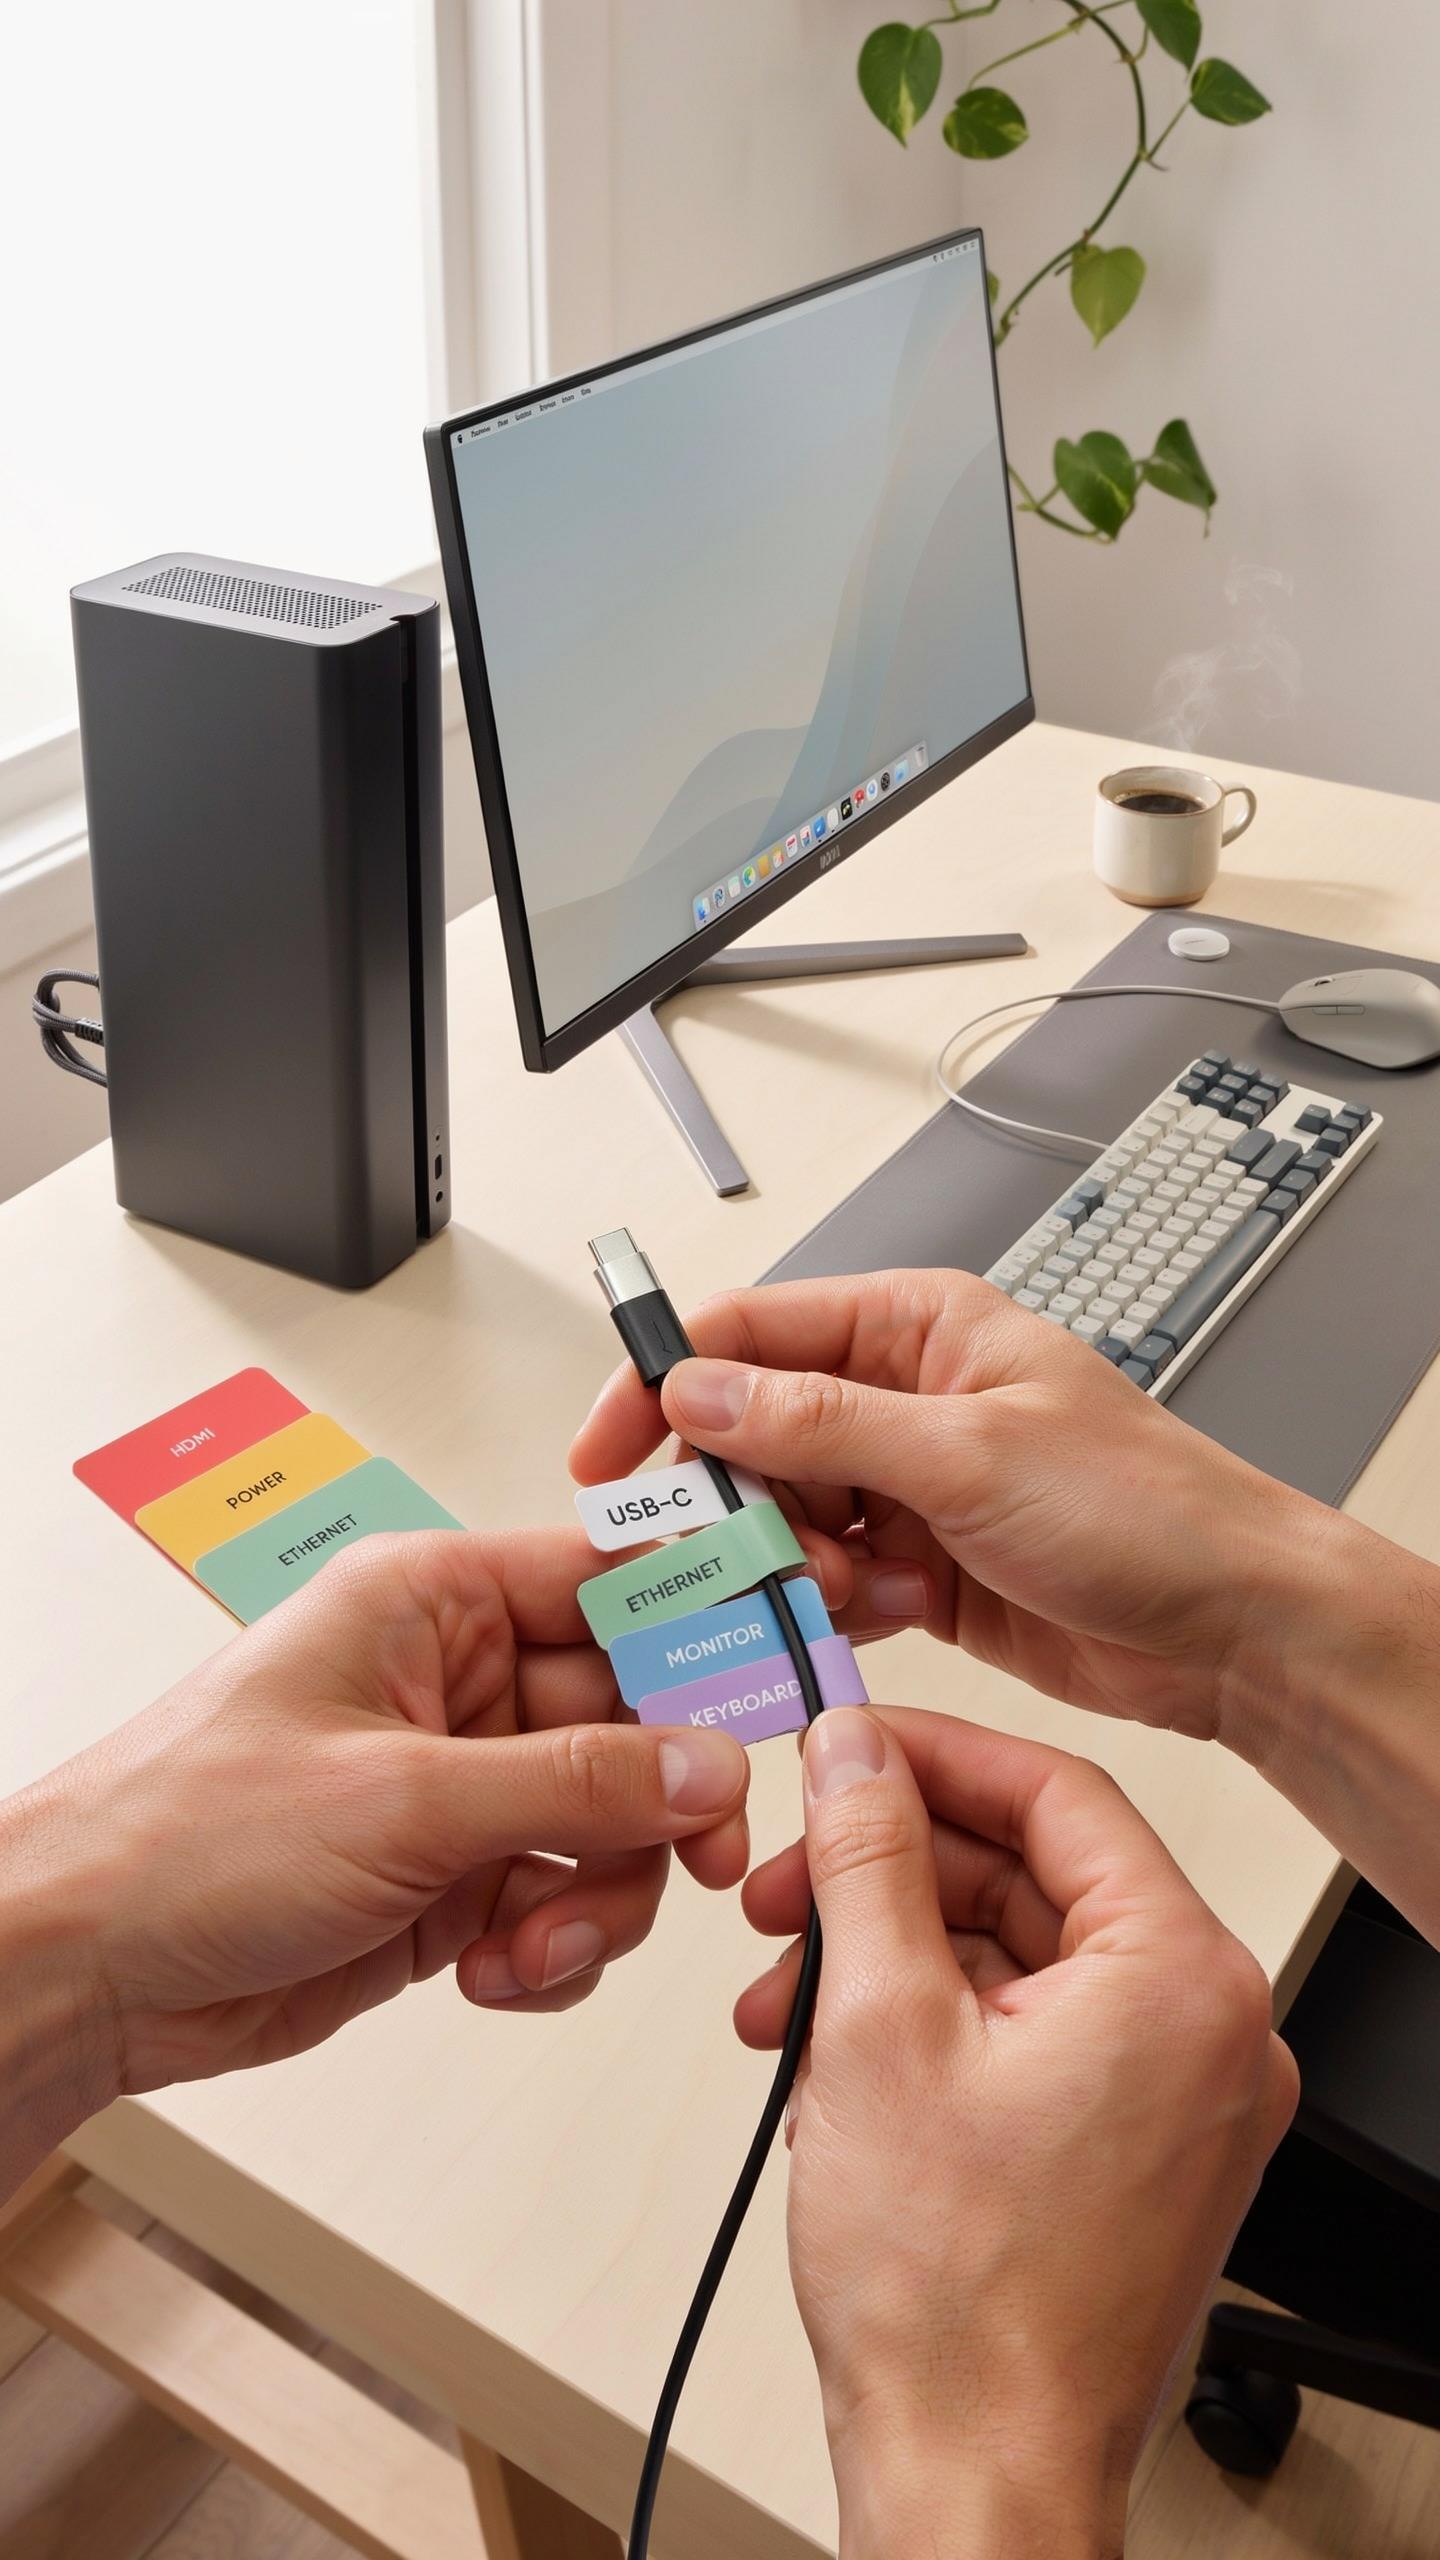
Density matters in computer setups. You have power cords, USB cables, display connectors, and audio lines all competing for the same real estate. Label each cable at both ends. Use the connector type and destination as your labeling system. For example, write “Monitor HDMI” or “Printer USB” directly on the tag. Avoid generic labels like “Cable 1” because they create confusion when you need to unplug something fast.
Choose label placement strategically. Place tags within two inches of the connector where the cable exits your device or port. This proximity forces you to read the label before you yank anything out. Use label makers or industrial tape for durability. Handwritten labels fade and smudge in dusty environments behind desks. The goal is readability under poor lighting conditions, so pick high contrast colors like black text on white or white text on black.
Remember those tangled holidays past? Labeling your cables is like unwrapping peace of mind, making every movie night a clear, connected joy.
Streamlining Your Workstation With Labeled Cords
A labeled cable system cuts setup time in half. When you replace equipment or troubleshoot problems, you know exactly which cord connects where without tracing wires back to their sources. This saves minutes per task, and those minutes compound across your year. Your workstation looks professional and functions predictably. Clients and colleagues notice organized spaces, and it reflects your competence.

Workflow efficiency depends on cable visibility and accessibility. Clear labeling eliminates the guessing game when you need to add a new device or swap peripherals. You spend less time on cable management and more time on actual work. Documentation also matters. Photograph your labeled setup from multiple angles and save the images. This reference protects you against future confusion and helps anyone else using your workstation understand the system you built.
Cable Labels DIY Crafting Your Own Solutions
DIY Materials And Methods For Cable Tags
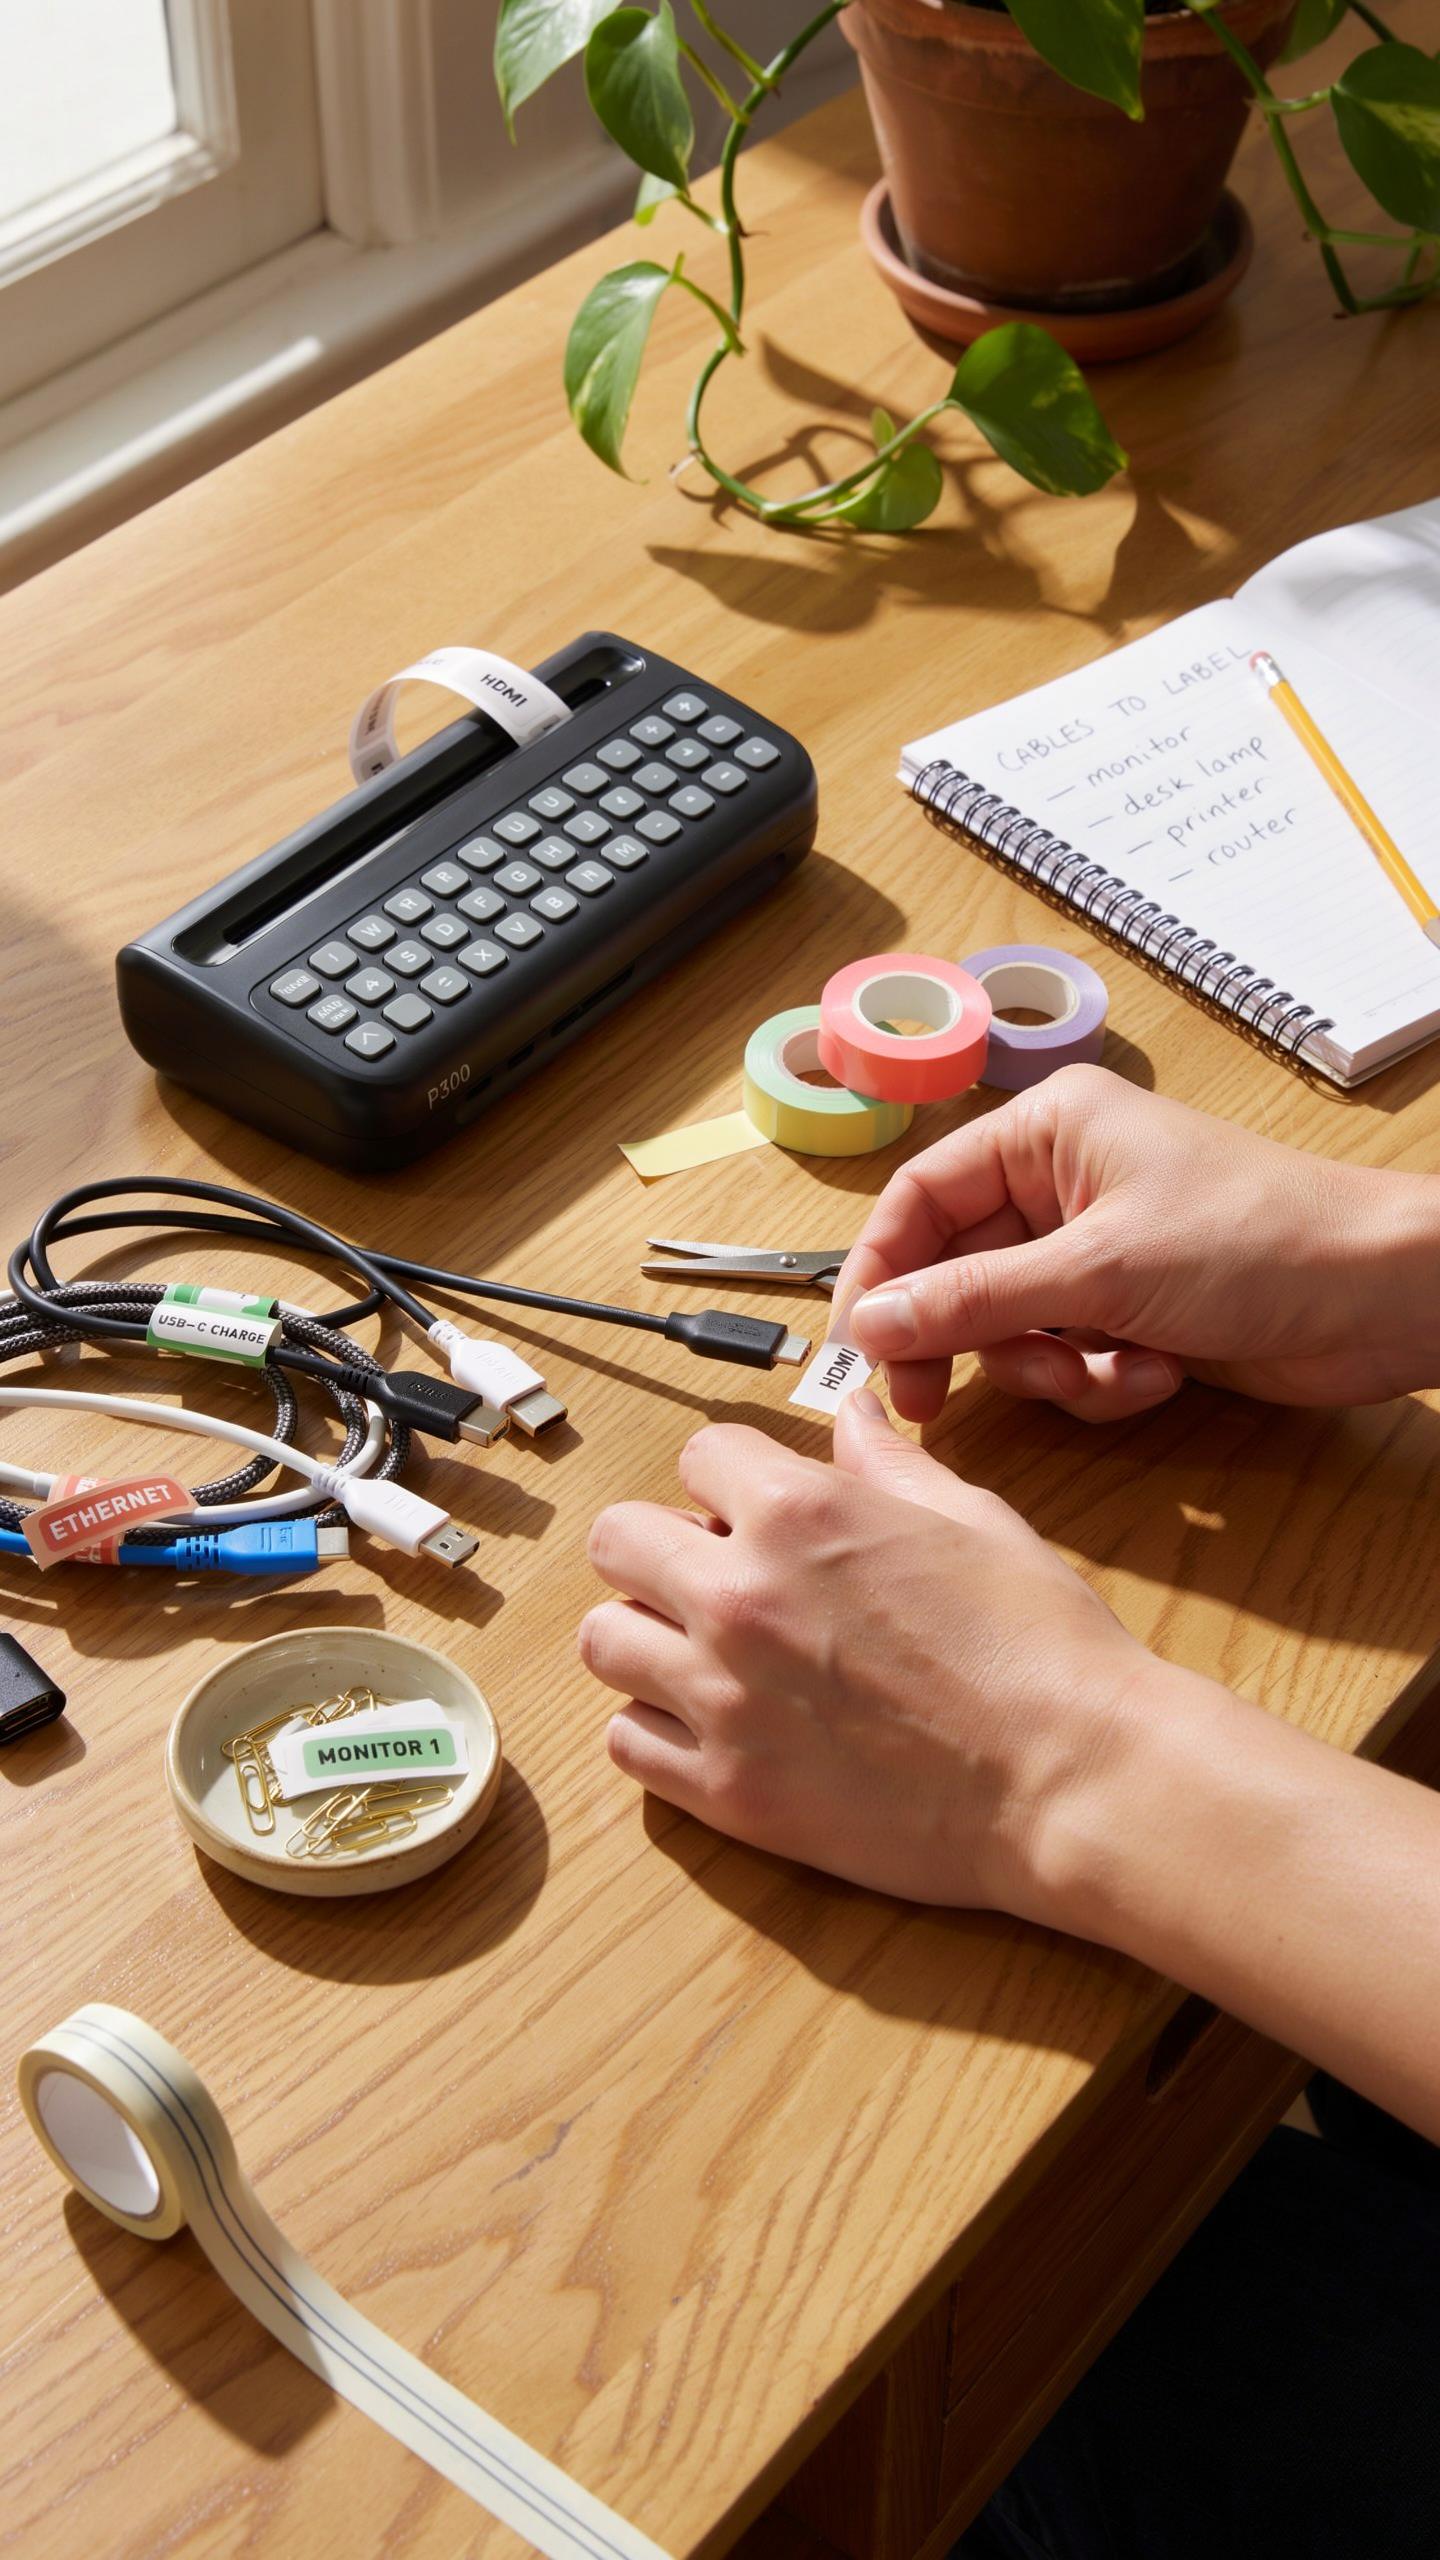
You don’t need to buy expensive labeling systems. Use materials already in your home to identify cables effectively and quickly. Masking tape, painter’s tape, and electrical tape work as label bases. Write directly on tape with a permanent marker or ballpoint pen. Paper tape combined with adhesive works for temporary setups. Bread clips, clothespins, and rubber bands hold paper tags in place without damaging cables.
- Masking Tape Method: Write cable names with permanent marker directly onto masking tape wrapped around the cord. Works for most cable types and removes cleanly without residue.
- Paper Tags with Zip Ties: Punch holes in small paper squares, thread them onto zip ties, then secure around cables. Allows larger writing space and easy replacement.
- Electrical Tape with Marker: Use colored electrical tape as a base, then write with paint pen or permanent marker. Provides durability in high-traffic areas behind televisions.
- Bread Clips with Labels: Attach small paper labels to bread bag clips using tape, then clamp around cables. Reusable and easy to move between different cords.
- Index Card Tags: Cut index cards into strips, write cable information, and secure with rubber bands or string. Offers ample writing space for detailed notes.
Your choice depends on how long you need the labels to last and how frequently you’ll reorganize cables. Temporary setups benefit from tape and paper methods. Permanent installations work better with zip ties and clips that resist wear.
Tips For Durable And Legible DIY Labels
Make your labels last by choosing the right writing tool. Permanent markers outperform ballpoint pens on most surfaces because they don’t smudge or fade. Paint pens work well on electrical tape and plastic surfaces. Write clearly and large enough to read without moving cables. Use consistent abbreviations across all your tags to speed up identification.
Secure your labels properly to prevent them from sliding or falling off. Wrap tape completely around the cable instead of applying it to just one side. Test adhesion immediately after labeling by gently tugging on the tag. Replace any labels showing signs of peeling or fading within six months. Keep a master list nearby that matches your abbreviated labels to full device names for quick reference.
Printable Cable Labels Professional Results At Home

Utilizing Templates And Label Printers
Printable cable label templates save time and eliminate guessing. You download a template, input your cable information, and print directly onto label stock. Dedicated label printers like Brother and Epson models handle standard adhesive label sheets without jamming. These printers produce sharp, smudge-resistant output that withstands dust and minor contact behind your entertainment setup. Template libraries exist across platforms including Microsoft Office, Google Docs, and specialized label software. This approach beats handwriting because text remains legible and consistent across all your tags.
Label printers outperform standard inkjet printers for cable tags because they apply ink directly to adhesive stock designed for the purpose. Thermal and inkjet label printers both work, but thermal models require no ink cartridges and produce faster output. You’ll find compatible label sheets in various sizes, from small 0.5-inch tags to larger 1-inch by 2-inch options. Stock your printer with weather-resistant or laminated label material if your cable area experiences temperature fluctuations or moisture exposure. The investment in a dedicated printer pays off when organizing multiple entertainment systems or managing complex setups with dozens of connections.
Software And Design Considerations For Printable Labels
Font selection determines whether your cable tags remain readable in low light behind the TV. Sans serif fonts like Arial, Helvetica, and Verdana stay legible at small sizes without decorative elements that clutter the tag. Font size matters more than style, aim for 10-point minimum for any label you’ll read beyond arm’s length. High contrast between text and background is non-negotiable, black text on white or light yellow labels works best. Avoid light gray text or colored backgrounds that strain your eyes when you’re troubleshooting connections in cramped spaces.

Layout efficiency maximizes what you fit on each tag without creating confusion. Arrange information vertically when space allows so your eye moves top to bottom naturally. Include the cable type and destination in order of importance, device name first, then port location if needed. Leave white space around text rather than filling every inch of the label. Test your design by printing one sample label, attaching it to a cable, and reading it from the distance and angle you’ll use behind your TV setup.
The Ultimate Cable Organizer Bringing It All Together

Integrating Labeled Cords Into A Full Cable Management System
Labeled cable tags function as the foundation of any effective cable management strategy. Without them, you lose track of what connects where, creating friction every time you need to adjust your setup. Tags eliminate guesswork and reduce troubleshooting time by half. Combined with routing solutions like clips, sleeves, and cable trays, labeled tags transform chaos into a predictable system. The label tells you what a cord does. The physical organization shows you where it goes. Together, they create an entertainment setup that functions without constant mental effort.
Your system works because it removes decision-making from the equation. When you need to disconnect or reconnect a device, the label answers your question instantly. This matters for equipment swaps, troubleshooting dead connections, or adding new components. A functioning system saves hours annually on cable management tasks. More importantly, it prevents the damage that occurs when you yank the wrong cord. Your labeled and organized cables protect your equipment while keeping your space visually clean and tactically efficient.
Maintaining Your Organized Cable System
Check your cable system quarterly to catch issues before they compound. Equipment additions happen. Cables get moved. Labels fade or peel. Set a calendar reminder to walk behind your TV and verify that labels match actual connections. Replace any worn or illegible tags immediately. This takes fifteen minutes per quarter and prevents the slow degradation of your system back into disorder. The cost of replacement tags is negligible compared to the cost of system failure or the time spent untangling problems months later.

Update your labels whenever you add, remove, or replace equipment. This is non negotiable. A label that no longer reflects reality becomes worse than no label. Keep extra blank tags and a marker in your cable management area for quick updates. Document what you change in a phone note so you remember your setup. This ongoing maintenance keeps your system accurate and functional indefinitely. Your organized cables remain a tactical advantage only if you maintain their accuracy over time.
Frequently Asked Questions

What exactly are labeled cable tags, and why should I use them behind my TV?
Labeled cable tags are small, customizable identifiers that attach to your various cords. They help you quickly pinpoint which cable belongs to which device, eliminating confusion and making setup or troubleshooting a breeze. Using labeled cable tags for identifying cords behind your TV transforms a tangled mess into an organized, stress-free entertainment hub.
What’s the easiest way to effectively label my cables for my entertainment center?
For optimal organization, label each end of the cable near the device it connects to and near the power strip or outlet. Use clear, concise labels like “Blu-ray HDMI” or “Soundbar Power.” This double-labeling system with labeled cable tags for identifying cords ensures you always know what’s what, even when cables are bundled.
Are there affordable options for labeled cable tags, or do I need to invest in a special printer?
Absolutely! You don’t need a fancy printer. Many affordable options exist, from simple write-on tags with permanent markers to colorful adhesive labels you can print on a regular home printer. You can even find reusable Velcro straps with writeable surfaces, making labeled cable tags accessible for every budget.



