Why “Modern Sound” Is A Distraction (And What You Really Want)
The Specs Don’t Match The Room
You want to believe better audio gear will fix something. It won’t. The real issue is that vintage radios sit in actual rooms with actual acoustics, and no Bluetooth module changes that fundamental constraint. Frequency response specs mean nothing if the cabinet resonates at 200Hz and muddies everything below it.
Most people obsess over whether their conversion will deliver “crisp highs” or “punchy bass.” Wrong frame. Think of it like impedance matching in electrical systems. Your vintage radio’s wood enclosure, speaker size, and internal volume are already tuned to specific frequencies from 1950 or whenever. Bolt modern audio components onto that fixed geometry and you get unpredictable results. The mechanism is physics, not marketing. You need to work with the cabinet’s existing acoustic signature, not against it.
Objects Rewire How You Use Them
You’re not actually buying modern sound. You’re buying permission to use an object without guilt. That’s the real transaction happening. Vintage radios trigger a specific kind of attention because they demand it. They sit on a shelf and make you walk over to them instead of vanishing into a smart speaker ecosystem.
This isn’t sentiment. It’s behavioral design. A 1960s radio with Bluetooth forced your hand into a ritual: you approach it, you interact with it physically, you’re present for the audio. That friction is the entire point. Most people skip this part of the analysis because it sounds soft. It’s not. The mechanism is that limited interface options create focused listening instead of background consumption. When you convert a vintage radio to Bluetooth, you’re preserving that constraint while removing the obsolescence penalty.
The Heritage Hi Fi Protocol: Selecting Your Vintage Radio

What Actually Lives Inside The Chassis
You want the radio that looks good on the shelf. That’s the real reason you’re reading this section. But aesthetics mean nothing if the guts are corroded beyond function or already gutted by a previous owner. The mechanism is simple: a vintage radio is a container. The container matters less than what you can actually work with inside it.

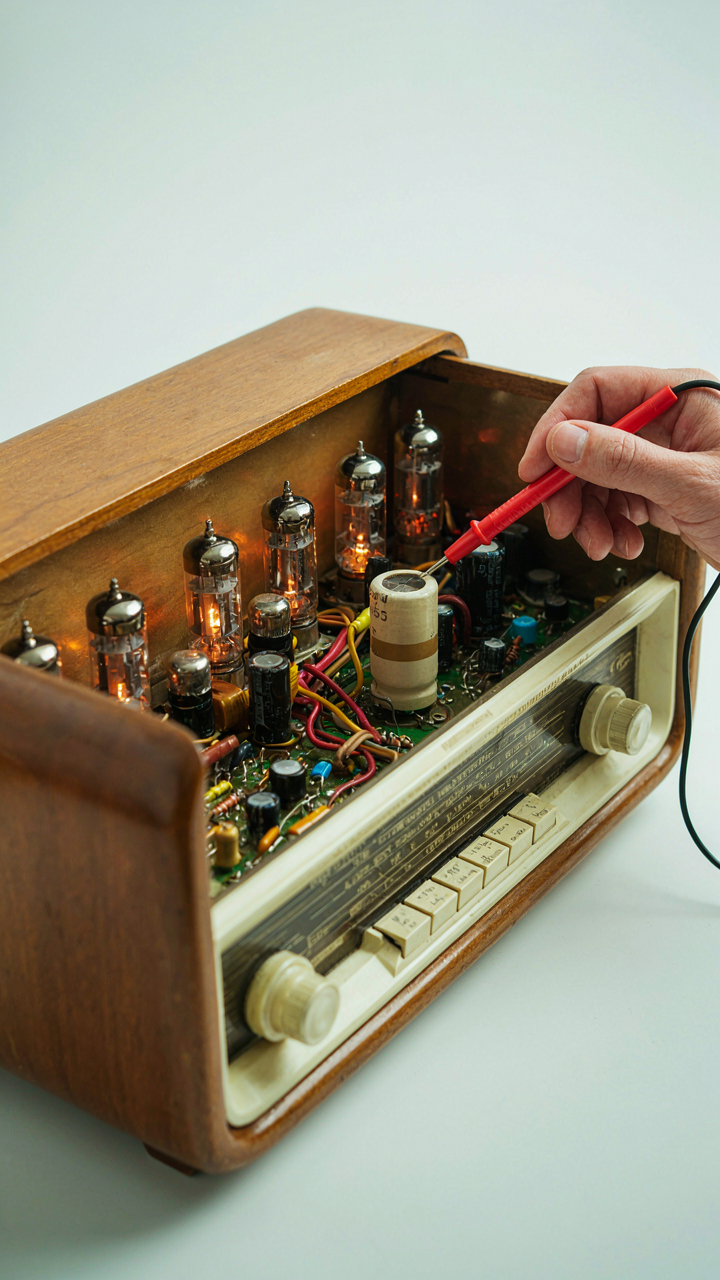
Start by opening the back. You’re looking for the transformer, capacitor bank, and tube sockets. A radio with original components still attached to the chassis gives you a foundation. Missing components, broken solder joints, or a rats nest of disconnected wires means someone already tried this conversion or abandoned it halfway. That’s not a starting point. That’s a salvage operation.
Radios Built For Conversion, Not Decoration
Transistor radios fail this conversion more often than tube radios do, and most people pick them first. Tube radios have space. They have power supplies designed to handle modification. Transistor models were engineered for compactness and low voltage. Cramming Bluetooth gear into a transistor chassis creates heat management problems you don’t need.
- Tube radios from the 1950s to early 1960s: Larger cabinets, robust transformers, straightforward wiring, and built-in speaker enclosures that work with modern amplification modules without redesign.
- AM/FM combo units: Dual-band receivers with more internal real estate than single-band sets, giving you space for Bluetooth modules and battery compartments without cramped installations.
- Portable models with handle designs: These were built with accessibility in mind, meaning disassembly is simpler and components aren’t bonded into the structure permanently.
- Radios with detachable speaker backs: Units designed to swap speakers or service internals signal that the manufacturer expected some level of maintenance and modification capacity.
- Sets with visible transformer mounts: Radios where transformers bolt to the chassis rather than being buried indicate professional design standards that survive modification better.
Open the radio and test continuity on the speaker terminals. A working speaker saves you money. Check the power cord for cloth insulation rather than rubber, which crumbles and becomes a fire hazard. The condition of these details tells you whether the radio was used until it died or left dormant for decades. Active deterioration means corrosion inside. Dormancy means oxidation on contacts that cleans off. This distinction determines your actual labor cost before you start.
Deconstructing The Past: Safe Disassembly For Your Retro Radio

Map Every Connection Before You Touch Anything
You want to avoid looking stupid when you can’t reassemble it. But the real reason this matters is that vintage radios were hand-wired point-to-point, meaning every solder joint is a discrete signal path with no schematic inside the chassis. This isn’t like modern circuit boards where traces are standardized and replaceable. Each wire placement encoded the designer’s solution to RF interference, impedance matching, and component heat distribution. Photograph every angle before disconnection. Use a systematic approach: shoot the whole chassis, then zoom on each section, then document wire colors and gauge sizes with written notes.

Your phone’s camera creates data you can reference in six months when your memory fails. The original manufacturer’s service manual exists for most radios made after 1940, and cross-referencing your photos against those schematics catches errors before they become soldering mistakes. Many radios have component values printed directly on the chassis or hand-written in pencil, which disappears under dust. Document these marks before cleaning. This step takes two hours and prevents twelve hours of reverse-engineering later.
Handle Aged Components Like Precision Equipment
Everyone says “be gentle with old parts,” which is useless advice. The mechanism that matters is material degradation: vintage capacitors use paper and wax construction that becomes brittle and conductive over time, transformers develop microfractures in their windings, and tube sockets corrode at the contact points. Treat them as fragile not because they’re old, but because their structural integrity has measurably declined. This changes your handling protocol.
Never apply force to any component without supporting both sides of the connection point. When unsoldering wires from vintage tube sockets or terminal strips, use a solder sucker or desoldering braid and apply heat to the joint itself, not the component lead. Hold the component body steady with needle-nose pliers while you work, reducing strain on the connection. If a component won’t budge, apply more heat, never more force. If leads snap, you’ve lost information about the original circuit that no amount of documentation recovers. Work at ground potential using a grounded soldering iron to prevent static discharge damage to any surviving germanium diodes or early solid-state components that might exist in the radio.
The Ghost In The Machine Integration: Bluetooth Module Secrets
Power Distribution Without The Hum
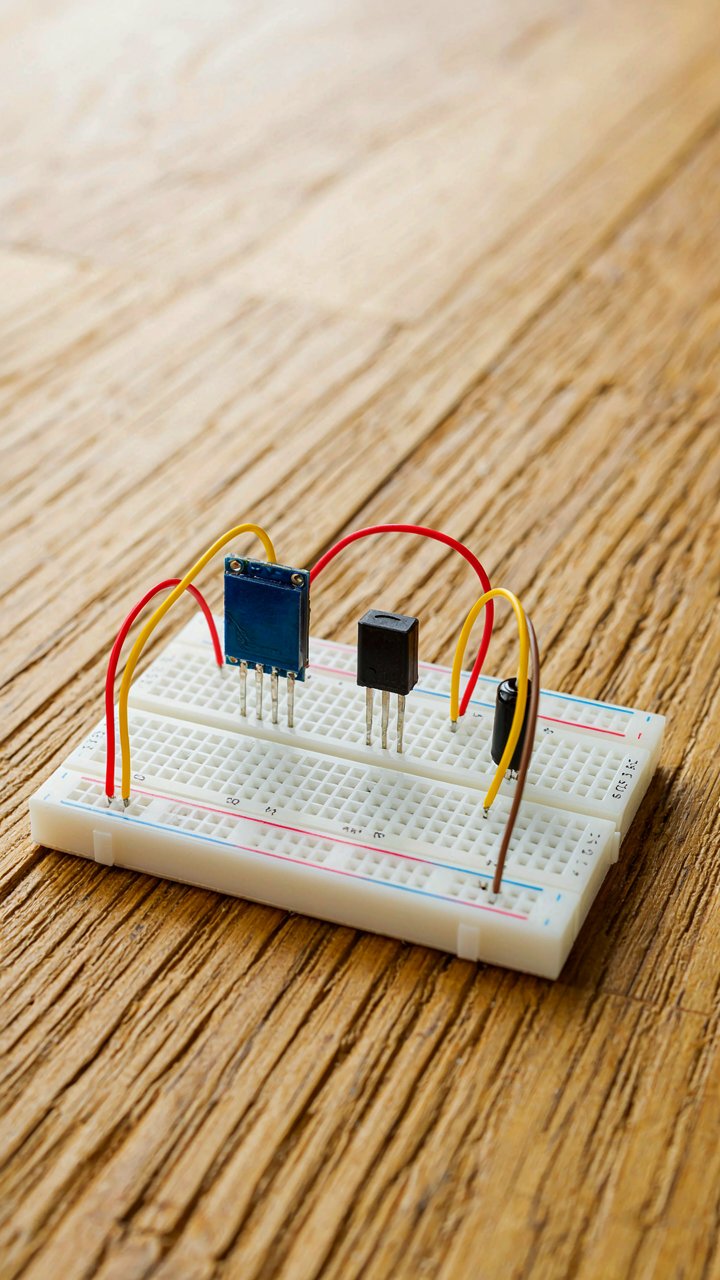
You want the conversion to sound like the radio always had Bluetooth. That requires the module to vanish electrically, not announce itself through noise in your speakers. The mechanism here borrows from industrial power supply design: isolation. A Bluetooth module draws current in spikes during transmission and pairing. That current spike travels back through shared ground paths and couples into your audio circuit unless you physically separate the power domains.

Run the Bluetooth module’s power from a dedicated regulated supply, not the main radio power rail. Use a low-dropout linear regulator rated for the module’s draw, typically 300-500mA peak. Ground the module to a separate point that connects to the main ground only through a single ferrite bead rated for audio frequencies. This breaks the return path that carries switching noise into the preamp stage. The ferrite absorbs the high-frequency hash before it reaches your audio traces.
Signal Path Integration For Authenticity
Most people wire Bluetooth audio directly to the radio’s input jack and call it done. That approach treats the module like an external device instead of an internal component. The real move is treating the Bluetooth decoder as a source that integrates into the existing signal chain, using the radio’s own amplification and tone control rather than bypassing it.
Inject the Bluetooth output at the lowest impedance point in the radio’s audio path. On most vintage radios, this is after the detector stage but before the volume control, typically in the range of 10k to 100k ohms. Use a coupling capacitor sized for the lowest frequency you want to pass cleanly. For a 10k ohm injection point, a 1-10 microfarad capacitor passes bass without phase shift. This method lets the radio’s built-in amplifier and tone stack shape the Bluetooth source the same way it shapes AM or FM, preserving the unit’s original character instead of fighting it.
From Analogue To Digital: The “Signal Flow” Reroute
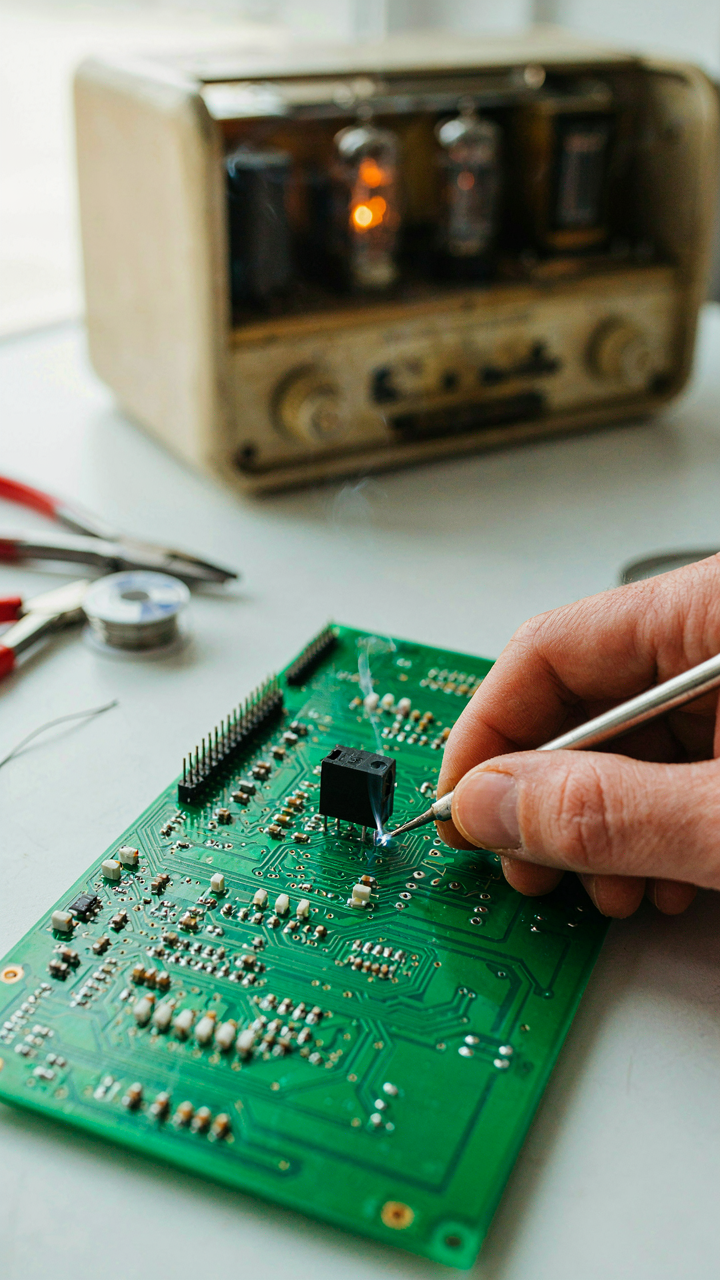
Feedback Loops Control Everything
You want this to sound better than the original radio ever did, which is exactly why you’ll fail if you don’t understand feedback loops first. In cybernetics, a feedback loop is a system that measures output, compares it to input, and corrects deviation. Your vintage radio is an open-loop device: signal goes in, speaker goes out, no correction happens. Bluetooth conversion forces you to close that loop or accept worse sound.

The mechanism is this: analogue FM radios used automatic gain control built into the tuner stage. As signal strength fluctuated, AGC adjusted amplifier bias in real time. Bluetooth modules have no equivalent. Your conversion must reintroduce gain compensation or dynamic range collapse destroys everything you’re trying to preserve. Install a small potentiometer or digital volume controller that responds to input levels, not just user preference. This isn’t decoration. It’s the difference between sounding “restored” and sounding “broken.”
Signal Gating Prevents The Handoff Disaster
Most people botch the transition because they treat analogue and digital as separate worlds that just need to coexist. Wrong frame. They’re different impedance domains fighting for control of the same output stage. The real problem is gate timing: you need the Bluetooth module to cleanly hand off to the power amplifier without signal collision or switching noise.
Install a relay or solid state switch that physically disconnects the FM tuner output the moment Bluetooth input arrives. Don’t use mixers or summing amps for vintage radios. The tuner output impedance is high, the Bluetooth module output is low, and mixing them creates phase cancellation and distortion. The relay must switch within fifty milliseconds or the listener hears a pop. Use a simple logic circuit tied to the Bluetooth module’s power detection pin. When Bluetooth is present, gate closes on the tuner. When Bluetooth disconnects, gate opens back to FM. This is the invisible mechanism that makes conversion sound seamless.
Old Radio With Bluetooth: Preserving Patina, Hiding Modernity
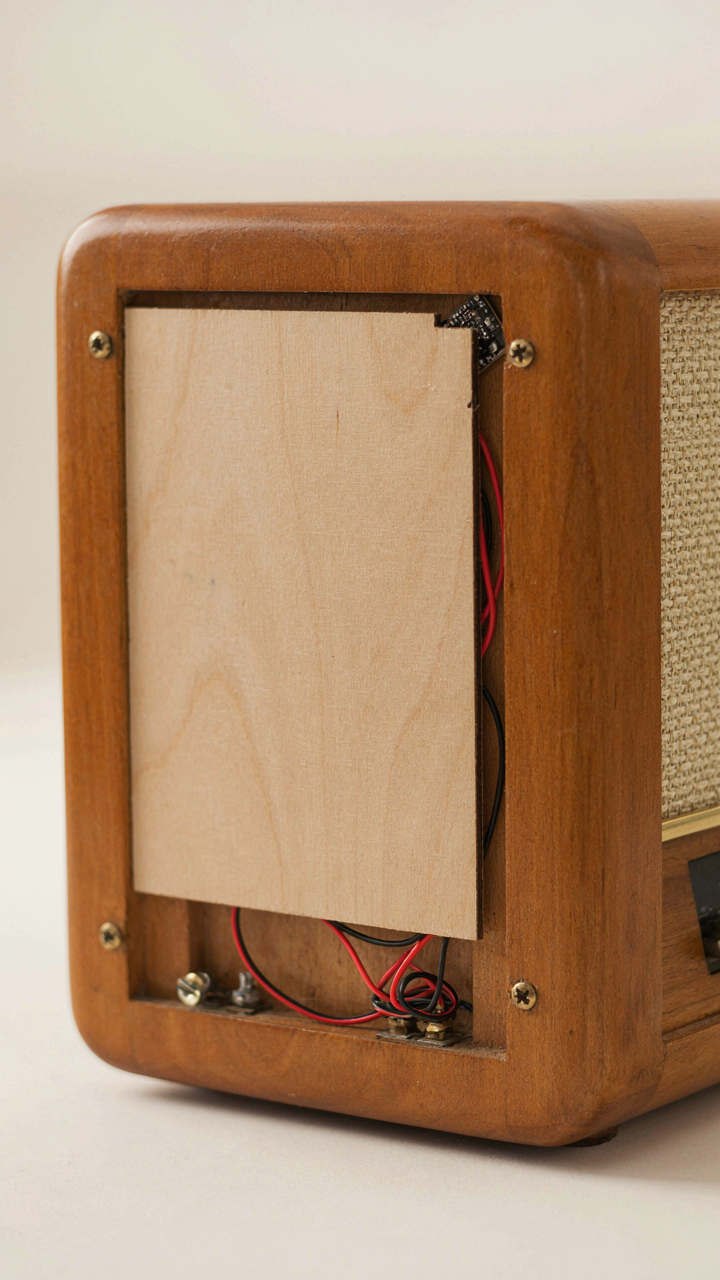
Invisible Modifications For External Controls
You want people to see a pristine 1950s radio, not the guts of your engineering project. The mechanism here is borrowed from industrial design: constraint breeds elegance. A vintage radio has exactly three to five physical access points that won’t destroy value: the back panel, the bottom, the speaker grille, or the tuning knob shaft. You route all Bluetooth components through one of these without touching the front fascia or dial.

The most reliable approach uses the rear panel. Remove the existing back, which was typically cardboard or thin plywood held by solder tabs or screws. Mount your Bluetooth module, amplifier, and battery behind this panel, then fabricate a new rear using period-appropriate materials. The speaker grille works if you’re comfortable removing the original speaker. Route the Bluetooth receiver and amplifier into the cavity behind the grille cloth, leaving the speaker in place but rewired to the amp. Never modify the tuning knob shaft unless you’re prepared to rebuild the entire mechanical tuner interface, which defeats the project.
Maintaining Original Aesthetic Integrity
The consensus advice here is wrong: you cannot preserve a vintage radio’s aesthetic by simply hiding components. Aesthetic preservation requires that the radio function as originally designed on the outside and behave correctly when touched. Most people fail this because they prioritize invisibility over operational authenticity. A radio that looks perfect but has a Bluetooth button taped to the back is aesthetically compromised because it signals modification.
The protocol is straightforward. Keep the original speaker, dial, tuning mechanism, and all visible knobs untouched. If the radio had an on-off switch, use it to power your Bluetooth amp. If it had a volume knob, mechanically couple it to a potentiometer that controls the amp input. This requires disassembling the original control shaft and adding a simple mechanical linkage, but it means someone can operate the radio exactly as they would have in 1958. The final step: test the tuning dial’s resistance to ensure the original mechanism doesn’t strain against your new electrical load. A functional restoration preserves more than wood and paint—it preserves the object’s original relationship with the user.
Vintage Radio Modern Upgrade: Testing And Calibrating The Deception
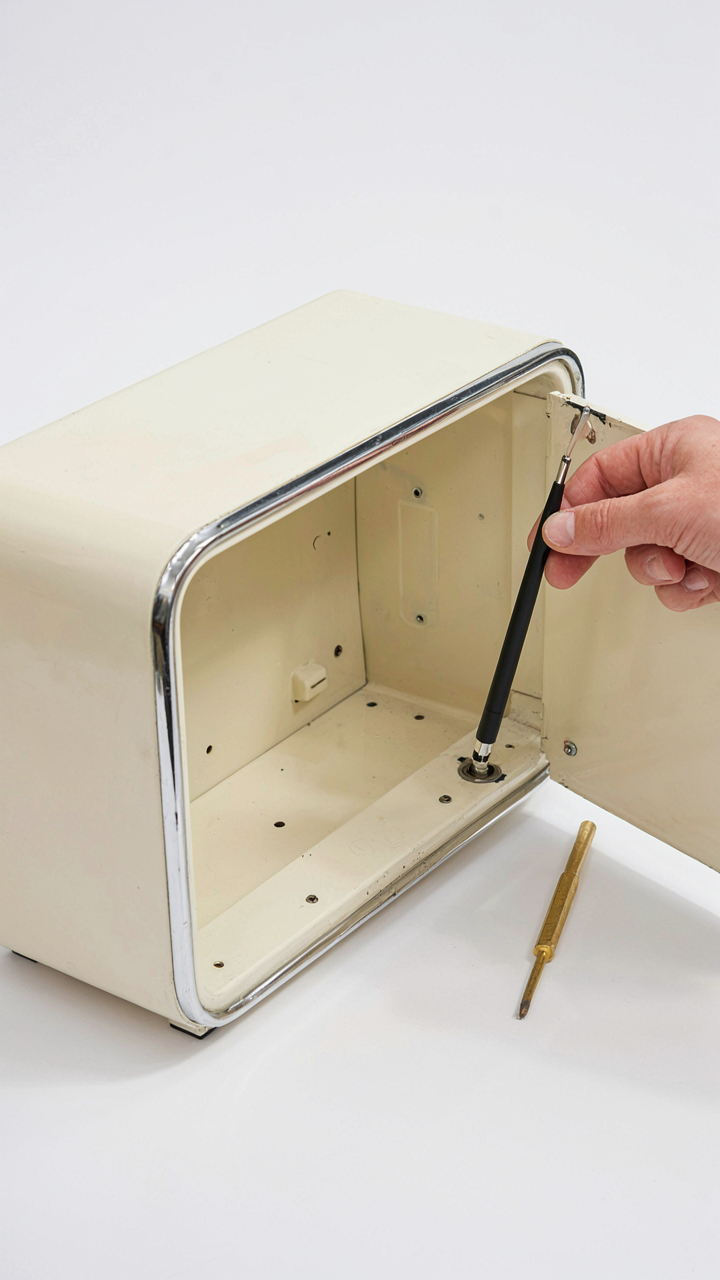
Where The Signal Actually Dies
You want this to work without admitting you’re nervous it won’t. That fear is the only reason you’re reading a testing section instead of just powering it on. The mechanism is simple: Bluetooth operates at 2.4 GHz, the same frequency band vintage radio chassis was never shielded against. Your radio’s ungrounded metal frame acts as an antenna for noise. Without deliberate testing, you’ll hear hum, dropout, or warble that makes the conversion look amateur.

The standard advice says “test everything at once.” That’s backwards. You need to isolate variables. Bluetooth module first, alone, outside the chassis. Then the audio path without the radio’s power supply running. Then the combined system cold. Only after each stage passes do you move forward. This isn’t paranoia. This is how you separate what’s actually broken from what looks broken because you didn’t test methodically.
Calibration Points That Actually Matter
- Antenna placement inside chassis: Position the Bluetooth module’s antenna away from power supply transformer and capacitors. Radio chassis creates a Faraday effect at 2.4 GHz. Distance compounds your signal strength exponentially.
- Input level matching to preamp stage: Most vintage radios expect line voltage around 100-200 millivolts. Modern Bluetooth modules output 500 millivolts. Use a potentiometer inline to prevent preamp clipping before you hear distortion.
- Ground loop elimination: Run Bluetooth module ground to the radio’s chassis ground point, not multiple points. Multiple grounds create return paths that generate hum. One point kills it.
- Power supply decoupling: Add a 10 microfarad capacitor and 100 nanofarad capacitor at the Bluetooth module’s power pins. This starves high-frequency noise before it enters the audio stage.
- Speaker impedance verification: Confirm your speaker matches the radio’s output transformer spec. A 4-ohm speaker on an 8-ohm tap causes distortion and heat. Check the schematic.
The real calibration step nobody mentions is the listening protocol. Set volume to 50 percent. Play a known track with both high and low frequencies present. Listen for dropout at specific positions inside the room. If dropout correlates to location, your antenna placement is weak. If it’s consistent regardless of position, your power supply needs better filtering. Move the module or add capacitance. Then test again from the same position. Change one variable per cycle.
The “Unveiling”: How To Use A Vintage Radio Without Apology
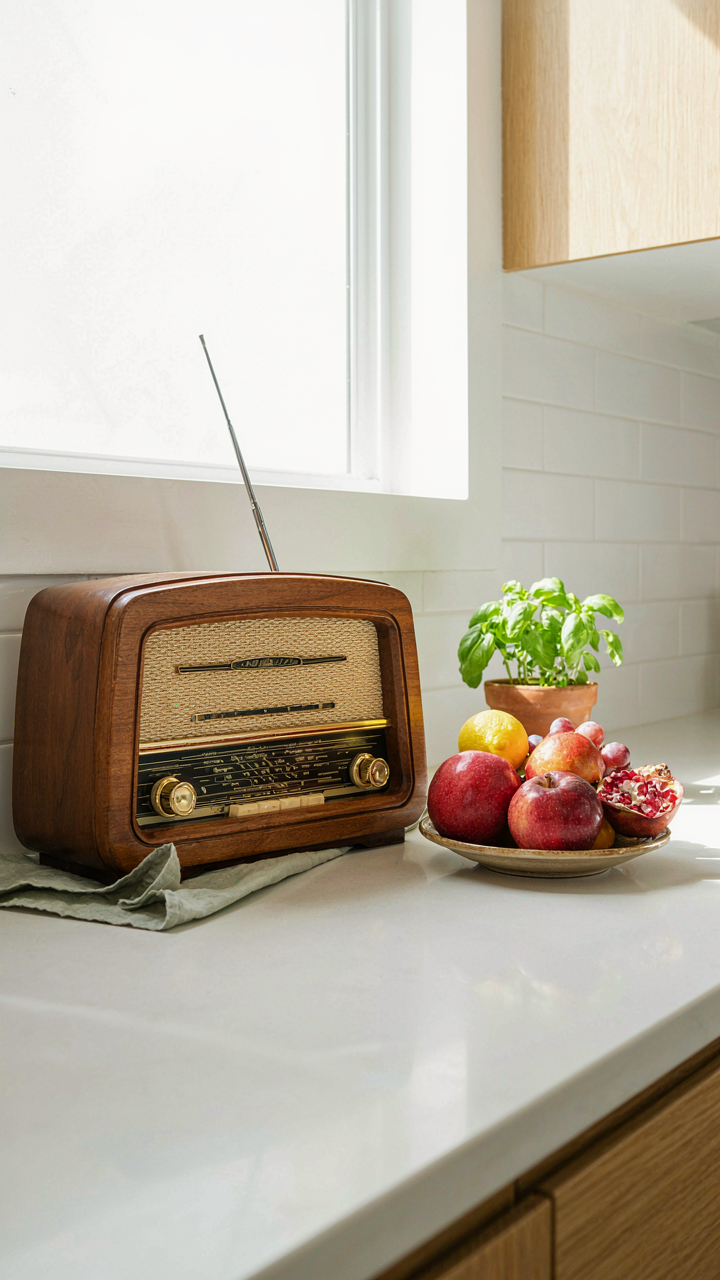
Placing It Where People See It
You’re worried someone will think you’re performative. That’s the real friction here. But integration isn’t about justification—it’s about function. A converted vintage radio sits where it’s used: bedside table, kitchen counter, workshop shelf. The Bluetooth module doesn’t change the radio’s footprint or purpose. It simply expands what sounds move through it. Placement follows utility, not aesthetic rescue fantasies.
The radio occupies space the same way a speaker does. Its wood or Bakelite housing doesn’t require special treatment or framing. Set it where you listen. If that’s visible, fine. If it’s tucked in a corner, better. The conversion is complete when the object stops announcing itself and starts working. No reverence needed. Just sound coming through a thing that holds it well.
The Obsolescence Myth Gets One Thing Wrong
Everyone says vintage radios are “outdated” because they can’t stream. That’s technically true and strategically stupid. Obsolescence in consumer electronics means the object breaks and parts vanish. Vintage radios from the 1950s through 1970s still function with original components. Their circuits handle current flow the same way they did sixty years ago. A Bluetooth module doesn’t replace the radio—it translates input format. The mechanism remains intact underneath.

The real advantage is durability. Vintage radios were built with components that outlast planned obsolescence. Speaker cones handle repetition. Transformers manage power without thermal failure. Once you install the Bluetooth receiver, the radio performs on par with modern equipment but survives longer. No software updates, no forced obsolescence cycles, no subscription requirement to keep the device operational. The radio becomes more capable without losing the engineering that made it reliable in the first place.
The Real Obstacle Isn’t The Conversion; It’s Your Fear Of Truly Owning Your Curated Anachronism

You’re not afraid of soldering a Bluetooth module into a 1970s radio. You’re afraid of admitting you prefer it to whatever algorithmic wasteland your phone serves you. That fear is what stops you from starting. Pick one radio in your home today. Look up the Bluetooth conversion kit that fits it. Order it. Stop performing indecision and start performing taste. Taste is the only thing you actually own anymore.