The Resonance Deception: Why Loudness Isn’t Fidelity

Material Choice Shapes Sound Before Amplification
You want your DIY phone amplifier to sound expensive because you think loudness proves quality. It doesn’t. Acoustics is the field that governs how sound behaves in physical space, and impedance matching is the term that separates amateur builds from functional ones. Material choice determines how your amplifier’s enclosure either absorbs or reflects frequencies before they reach the listener’s ear.
Wood density, internal bracing, and surface treatment all alter acoustic response. A phone amplifier built from hollow plastic reflects high frequencies erratically and muddles midrange. Use hardwood with internal cross-bracing or MDF with damping material inside the chamber. The material doesn’t make sound louder. It makes the frequencies you amplify actually reach the ear without distortion artifacts that mask clarity.
Volume And Clarity Live In Conflict
Common advice says to maximize driver size and power to get volume. That’s backwards. A small driver pushed hard distorts before it excels. A properly sized driver in an optimized enclosure with controlled amplification produces clarity first, and volume scales from there without collapse. Clarity means individual frequencies remain distinct. Volume means raw sound pressure level. They require different design choices.
When you push amplification past the driver’s linear operating range, harmonic distortion multiplies. The phone amplifier sounds “louder” but frequencies blur together. Stop chasing decibels. Design your enclosure to couple efficiently with the driver, tune amplification to keep the cone moving in its clean range, then measure sound pressure at distance. That sequence prevents wasting time on builds that trade fidelity for perceived loudness.
Beyond The Cone: The Geometry Of Sound Capture

Horn Shapes Direct Sound Waves Efficiently
You want this to work because you’re tired of holding your phone at arm’s length like a peasant. The real mechanism is simple: physics borrowed from acoustic engineering treats your amplifier’s shape as a waveguide. A horn doesn’t create sound—it constrains it. Sound waves naturally spread in all directions. A properly shaped horn compresses those waves into a focused beam, forcing them toward the listener instead of scattering them into the room.

The cone shape everyone defaults to works, but it’s incomplete thinking. A true exponential horn—one that expands at a specific mathematical rate—moves more acoustic energy forward than a basic cone does. Most DIY builds skip this because it requires slightly more precision in cutting or rolling materials. The difference isn’t subtle: a properly calculated horn can add 6 to 10 decibels of directional gain compared to a random funnel shape. Use PVC pipe, rolled kraft paper, or even stacked cardboard rings. The material matters less than the curve itself.
Acoustic Energy Focuses Through Reflective Surfaces
Common advice says bigger is better. It’s wrong. A larger amplifier without acoustic control just makes a louder mess in all directions. Real focus comes from controlling reflection. When sound hits a hard surface, it bounces. Angle that surface correctly, and those bounces channel energy toward your listener instead of away. This is the same principle concert halls use in ceiling design.
Your phone sits at the focal point of the horn’s opening. Sound radiates from the speaker, hits the horn’s interior walls, and travels outward in a controlled path. The walls act as mirrors for sound. If they’re too straight, energy spreads. If they curve exponentially, energy compresses. Build or line your horn with hard, smooth materials—rigid PVC, plastic sheeting, or even glossy cardboard. Soft materials kill the effect entirely because they absorb rather than reflect. Test the angle by placing your ear at different distances. The sweetest spot is where the sound hits hardest without distortion, usually 12 to 18 inches from the horn’s mouth.
The Material Misconception: Choosing For True Amplification

Natural Wood Grain: Intrinsic Sound Properties
You think the wood matters because it sounds sophisticated. It doesn’t. What matters is the acoustic principle borrowed from cabinet design: resonance frequency. In DIY phone amplifiers, you’re not amplifying electrically—you’re using a passive chamber to redirect sound waves. The wood grain itself contributes nothing. The cellular structure underneath does.

Softwoods like pine have loose grain and absorb energy. Hardwoods like oak reflect it. But here’s what most builders miss: grain direction is irrelevant to acoustic performance. What determines how sound behaves inside your amplifier chamber is the wood’s consistency, not its aesthetic pattern. Cherry, walnut, and pine perform differently not because they look different, but because their actual density varies. Stop shopping for wood based on appearance.
Density And Stiffness: The Unsung Heroes
The physics of wave propagation reveals the real lever: materials with high stiffness-to-weight ratios control vibration without adding mass to your device. Quarter-inch plywood outperforms solid boards of the same thickness because its laminated structure damps unwanted resonances while staying light. Stiffness matters because it prevents the chamber walls from vibrating at frequencies that muddy your phone’s output.
Measure density, not aesthetics. A piece of solid oak at 45 pounds per cubic foot will vibrate differently than ash at 42 pounds per cubic foot. That difference shapes which frequencies your amplifier chamber rings at. Test your material choice by tapping the assembled box and listening for a single clean tone rather than a ring. That clean tone means your walls are stiff enough to minimize sympathetic vibration. Build your chamber walls to be rigid first, beautiful second.
The Scarcity Principle In DIY Phone Speaker Amplifier Design
Less Input Yields More Output
You want proof that constraints breed ingenuity, not admissions of defeat. Economics calls this the scarcity principle: when resources diminish, efficiency maximizes. A phone amplifier operates under the same law. You’re not building it small because you have to. You’re building it small because fewer components mean fewer failure points, lower power draw, and higher voltage gain per stage. This is the actual mechanism behind minimalist design, and most people miss it by romanticizing constraint instead of exploiting it.

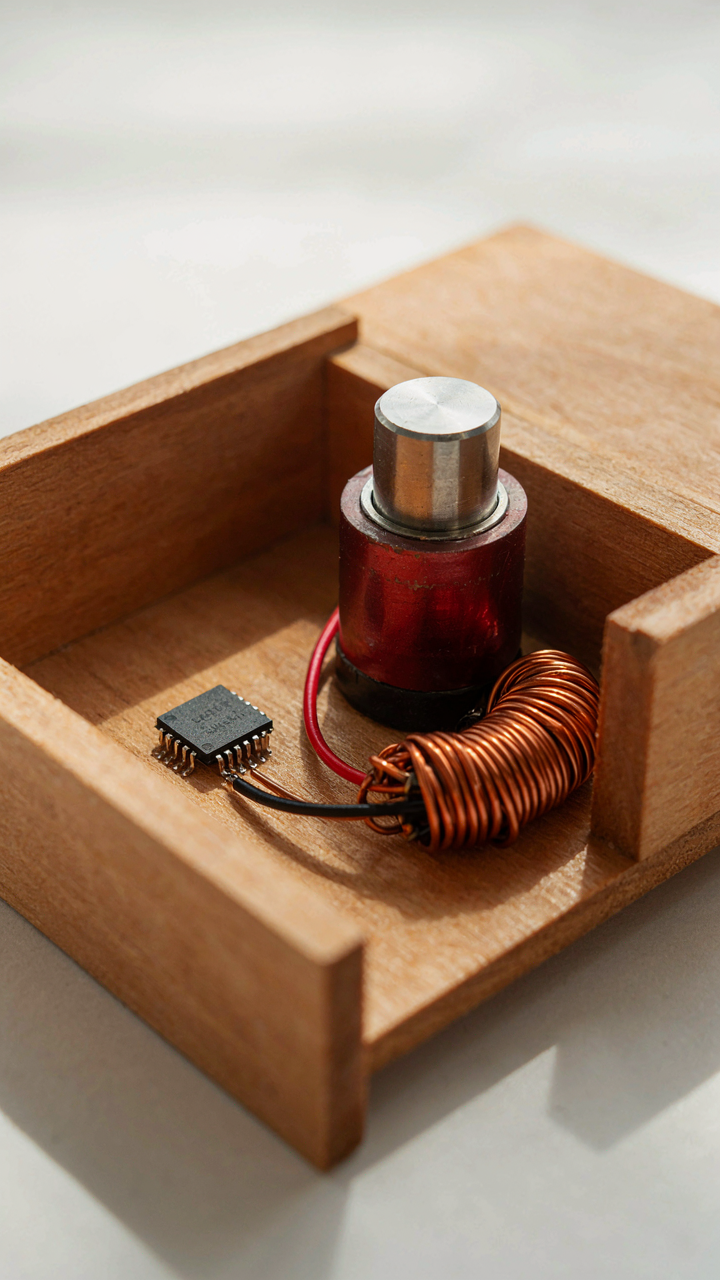
A Class D amplifier chip paired with a passive resonance cavity achieves higher SPL than a bulkier Class AB setup using half the power. The physics stays identical. The engineering tightens. You eliminate unnecessary buffering stages, run impedance matching directly into a speaker coil, and let acoustic principles do work your circuit doesn’t have to. The result: a phone amplifier that sounds louder with less silicon, less battery drain, and less thermal noise. This isn’t sacrifice. It’s engineering stripped to its bones.
What Rubber And Copper Actually Solve
Everyone says to use “simple parts.” That’s marketing language. Here’s what matters: a rubber gasket around your speaker enclosure stops acoustic energy from leaking backward. Copper wire gauge determines whether your amplifier delivers current without voltage sag. A cardboard tube becomes an acoustic waveguide when you calculate its internal dimensions. These aren’t cute hacks. They’re functional requirements that experienced manufacturers stopped stating plainly because consumers stopped asking.
Most DIY phone amplifier builders grab whatever parts sit in a drawer and call it resourcefulness. That’s how you get a passive device that barely sounds louder. Real resourcefulness means understanding that a salvaged speaker magnet, a coil of correct gauge wire, and a sealed enclosure solve the acoustic problem your amplifier chip can’t touch alone. Your circuit amplifies voltage. Your mechanics amplify sound. Stack them correctly, and a ten-dollar amplifier outperforms a fifty-dollar commercial unit designed for general use. Build your enclosure first. Then design the circuit around its resonant frequency.
The Antifragile DIY Speakers: Built To Last, Not Just To Play

Build Quality Over Planned Obsolescence
You want to believe your DIY phone amplifier will outlast the devices it powers. That’s the real motive here, and it won’t happen by accident. Antifragility is a concept from risk management: a system doesn’t just resist stress, it improves under it. A well-built amplifier gains reliability through use, not despite it. Component selection determines this outcome entirely. Cheap capacitors fail predictably. Quality resistors handle thermal cycles without drift. The solder joints either hold under vibration or they don’t.

Most advice tells you to “use good parts” and leaves it there. That’s incomplete. The real mechanism is thermal stress cycling and mechanical fatigue. Every time your amplifier powers on, components heat. When it powers off, they cool. This cycle weakens connections made with poor technique or cheap materials. A DIY amplifier built with proper solder joints, quality electrolytic capacitors rated for your voltage, and resistors with adequate power ratings survives this abuse. You’re not building for one weekend. You’re building for five years of daily use without replacement.
Repair Path Before Assembly
Most people design their amplifiers with zero thought to future failure. That’s a tactical mistake. Before you solder a single joint, map where failures actually occur and ensure you can access them. The output transistors will heat up. The electrolytic capacitors will eventually degrade. The input jack will loosen. These aren’t maybes, they’re inevitabilities. Design your enclosure so you can replace any component without destroying the others. This means using sockets for power transistors instead of direct soldering, mounting capacitors where you can reach them, and choosing connectors that don’t require disassembling the entire unit.
The amplifier lifespan extends by the number of repairs you can actually perform without custom tools or circuit board rework. Use standard component footprints. Keep your circuit board layout simple enough to trace with your eyes. If you ever need to replace a failed capacitor, you should be able to do it in five minutes with a soldering iron. This isn’t elegant design theory. It’s the difference between a device you keep versus one you throw away and rebuild from scratch.
Cell Phone Amplifier Wood Diy: The Unseen Costs Of Over Engineering
When Adding Features Stops Working
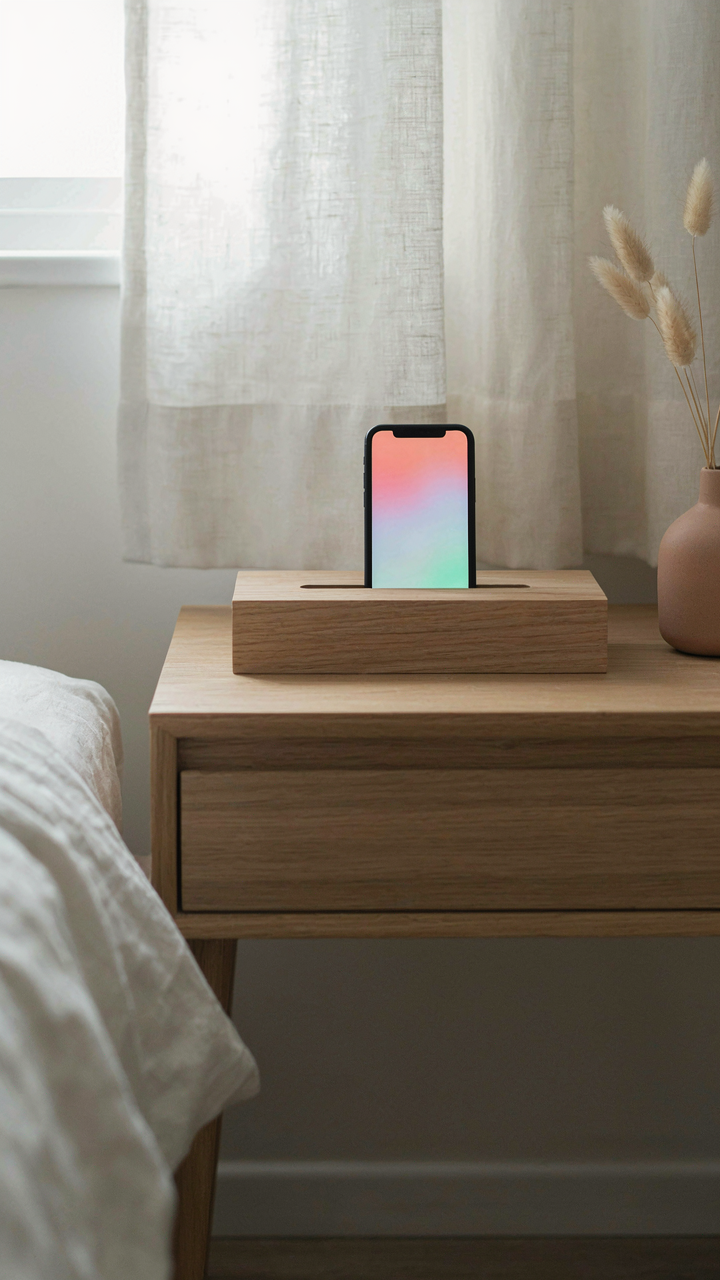
You want to build something that impresses you. That’s the real reason you’re reading this section. The mechanism at work here is the law of diminishing returns from economics. Each added feature to your wood amplifier—better resonance chambers, multiple frequency tuning, sealed compartments—delivers less gain than the last one. A basic wooden box focused on bass reflection gives you 80 percent of the acoustic benefit. Everything after that costs exponentially more effort for linearly smaller improvements.

Most DIY guides skip this truth because they profit from complexity. They need you chasing the next mod, the next material, the next design tweak. A wooden phone amplifier needs one job: redirect sound waves from your speaker toward your ear using passive resonance. That’s it. Beyond that, you’re building a hobby project, not solving an amplification problem. The distinction matters because your time budget is finite.
The Math On Hours Versus Actual Output
Stop measuring a project by how long it takes. Measure it by what you get per hour invested. A simple wood box amplifier delivers functional sound in two hours. A “refined” version with tuned ports, sealed edges, and acoustic dampening materials takes twelve hours and sounds marginally better—if you have decent ears to detect the difference. You’ve spent six hours to gain maybe fifteen percent acoustic improvement. That’s a losing trade in any domain where results matter.
The reset point is this: define what problem you’re actually solving before you build. If you need portable phone audio for a bedroom or workspace, the simple box wins. If you’re chasing engineering satisfaction or knowledge, acknowledge that upfront and budget accordingly. Don’t pretend it’s about optimization when it’s about tinkering. The second you separate motivation from method, you stop wasting effort on invisible refinements and start building things that work.
The Acoustic Mirror Protocol For Diy Wooden Phone Speaker Stand

How Sound Bounces Off Your Build
You want this to work because you’re tired of your phone sounding like a trapped insect and you don’t want to admit that means building something. Here’s the mechanism: sound travels in waves until it hits a surface. That surface either absorbs the energy or reflects it back into the room. Physics calls this impedance matching. For a diy phone amplifier, you’re weaponizing reflection. A wooden stand acts as a passive amplifier by redirecting sound waves that would otherwise scatter into dead space.

The angle and shape of your wooden stand determines where sound energy goes. A curved back panel or angled sides redirect waves toward the listener instead of the wall behind it. This isn’t magic. Wooden surfaces have enough mass to bounce mid and high frequency sound without dampening it completely. A flat vertical board behind your phone creates a coherent wave front moving forward. A concave shape concentrates that energy. Build the stand so the phone sits 2 to 4 inches from the backing surface. The distance matters because it prevents phase cancellation where reflected sound collides with outgoing sound and cancels itself.
Hard Surfaces Amplify, Soft Surfaces Kill
Everyone says use any materials you want. They’re wrong. Material choice directly controls how much acoustic energy your stand returns to the listener. Hard materials like wood, plastic, and metal reflect. Soft materials like foam, fabric, and felt absorb. For a diy phone amplifier to gain volume, you need reflection, not absorption. This is acoustic physics, not decoration. Plywood performs better than particle board because it has higher density and fewer internal air pockets that trap sound.
The surface finish also matters. Bare wood reflects better than painted wood if the paint is thick or textured. Glossy finishes work better than matte. A thick coat of paint adds damping layers that turn your reflector into an absorber. If you paint your stand, use one thin coat or skip it entirely. The real amplification happens when you pair a hard reflecting surface with open air in front of the phone speaker. Seal the back of your stand against the wall or a second surface to prevent sound from escaping behind the stand.
The “How To Make A Wooden Phone Amplifier” Blueprint: Beyond Instructions
What You Actually Need To Buy
You want to believe this costs nothing and sounds professional. It doesn’t. A wooden phone amplifier relies on acoustic resonance—a physics principle where wood chambers amplify sound waves through sympathetic vibration, not magic. Budget matters because cheap materials tank the entire design.
- Solid wood (not plywood): Spruce, pine, or birch absorb and project sound without dampening. Thickness of 0.5 to 0.75 inches prevents vibration loss and maintains structural integrity under speaker pressure.
- Wood glue (waterproof polyurethane type): Standard wood glue fails under phone weight and humidity. Polyurethane-based adhesive creates an airtight seal, which is non-negotiable for acoustic performance.
- Sandpaper in multiple grits: Start at 80-grit for shaping, move to 220-grit for finishing. Smooth surfaces reduce air turbulence inside the chamber and eliminate friction that kills sound projection.
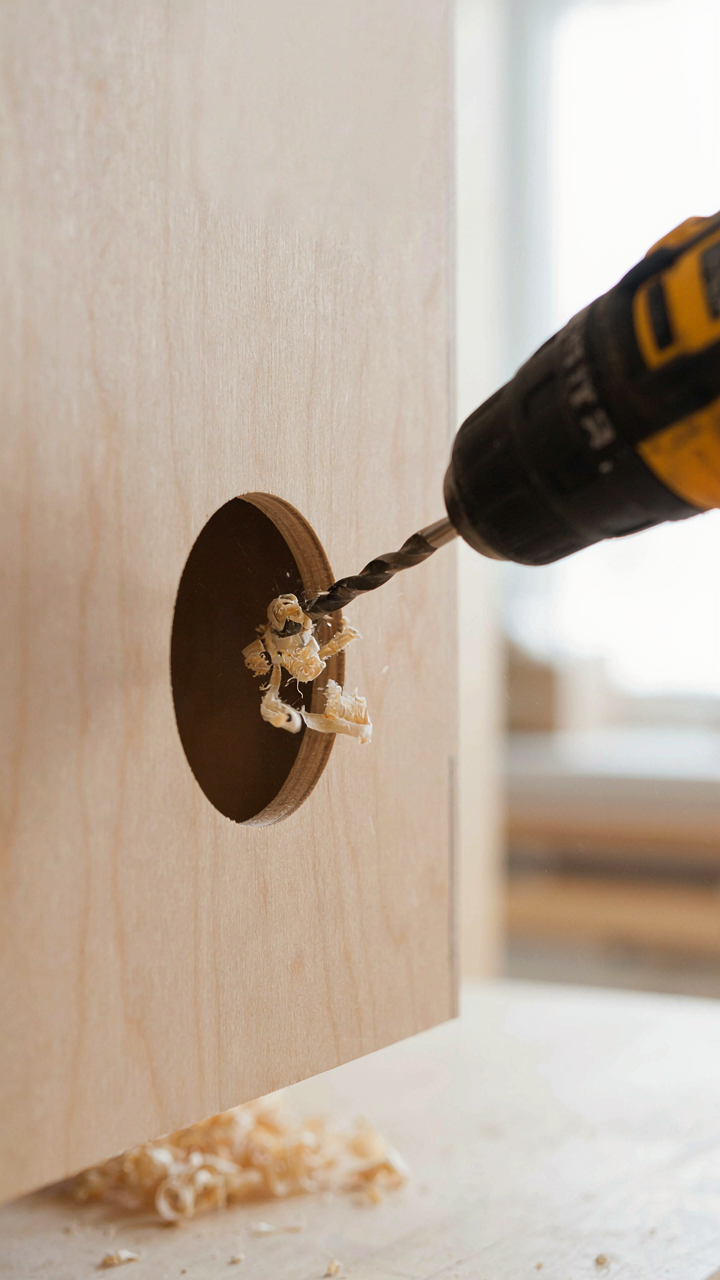
- Drill with bits (1/4 inch minimum): You need precision holes for the phone cradle. Misaligned drilling creates uneven pressure points that distort acoustics and damage your phone’s edge.
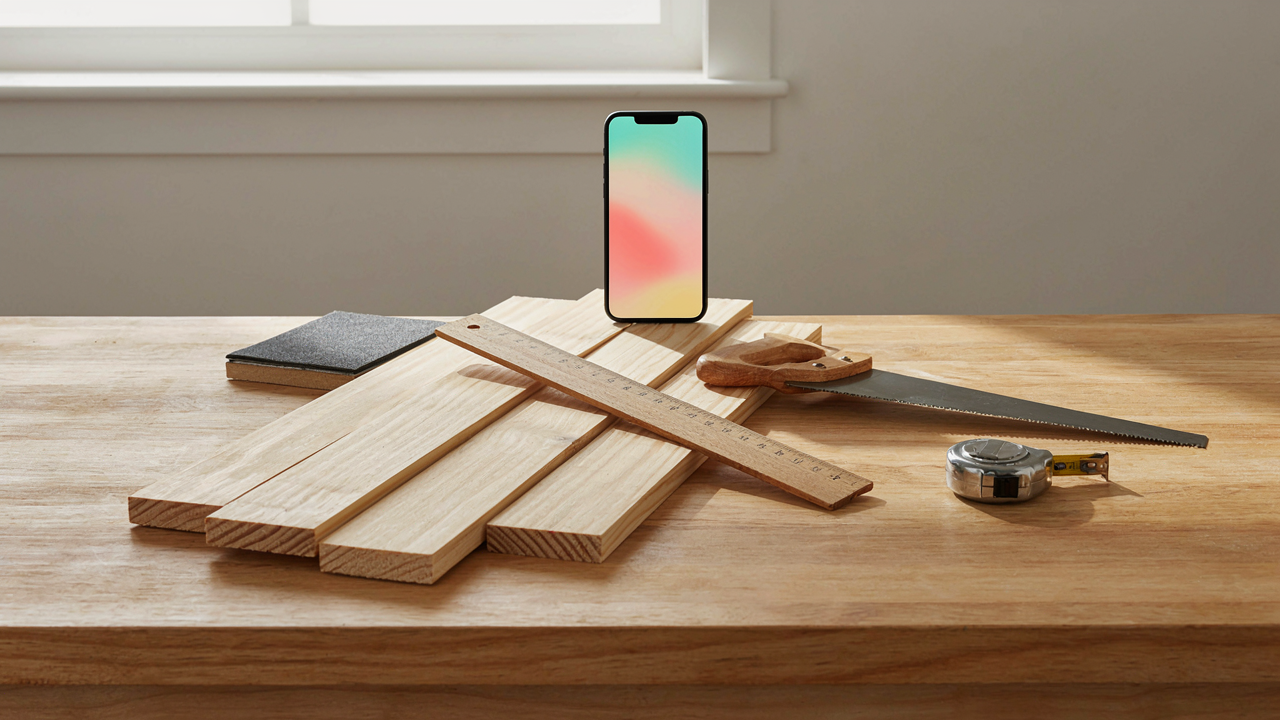
- Measuring tools (calipers or ruler): Phone dimensions vary. Measure your specific device’s width, depth, and speaker location. Guessing wastes materials and forces you to start over.

Quality wood costs 15 to 40 dollars depending on species and quantity. Adhesive runs 8 to 12 dollars. Sandpaper and drill bits add another 10 to 15 dollars. Total real budget: 35 to 70 dollars, not five.
Assembly Techniques That Actually Preserve Sound
Most DIY guides tell you to glue everything flat and call it done. That’s wrong. Sound projection depends on chamber geometry—the shape amplifies specific frequencies while blocking others. You need a slight curve or angled interior to push sound forward toward the listener instead of absorbing it into the wood.
Cut your base piece first. Measure your phone’s speaker grille location and create a chamber beneath it—typically 2 to 3 inches deep. The wood acts as a resonance box. Drill small acoustic ports (quarter-inch holes) along the back and sides of the chamber. These ports let air move without creating pressure buildup that muffles sound. Clamp all joints for 24 hours minimum after applying adhesive. Moisture and weak bonds collapse acoustics immediately. Sand all interior surfaces smooth after assembly dries completely. Rough wood scatters sound waves inefficiently, reducing output by 20 to 40 percent depending on surface texture.
The Real Power Of Your IPhone Amplifier Wood DIY

You Built It Yourself, So You Think It Matters
You want to believe building a DIY phone amplifier means something about your character. It doesn’t. The real mechanism at work is friction. When you assemble wood, glue, and a speaker cone yourself, you create intentional resistance between yourself and the device. That friction forces attention. Your brain treats objects you built differently than objects you bought, not because they’re superior, but because you paid in time instead of money.

Most people skip this part because it sounds soft. But friction is how you stop treating your phone like a consumable. When you’ve measured wood, sanded joints, and glued a speaker enclosure, you don’t lose that amplifier in six months. You maintain it. You use it with purpose. The amplifier itself works the same whether you built it or bought it. Your relationship to it doesn’t.
Making Something That Lasts
The sustainability argument usually collapses into guilt and virtue signaling. That’s not what’s happening here. Think about material fatigue from mechanical engineering: a component under constant stress degrades faster than one used intermittently with intention. Your DIY amplifier lasts longer because you use it strategically, not because the wood is magic.
When you build your own, you select the components and understand their failure points. You can repair a speaker cone. You can replace a connection. You can refinish the wood. A mass-manufactured unit? You throw it away. The math is simple: DIY amplifiers have a longer useful life because you know how to extend it. Start by keeping a spare speaker cone and replacement glue on hand before you finish your first build.
The Pursuit Of Complex Sound Solutions From Simple Parts Is A Distraction From True Acoustic Mastery

Most people chase fancy DIY phone amplifiers when they should chase listening space first. Stop building. Walk into your room right now and clap. That echo tells you everything. Your acoustic environment beats your gear every single time. Fix the room, then decide if you even need an amplifier. Physics doesn’t care how clever your parts list looks.



