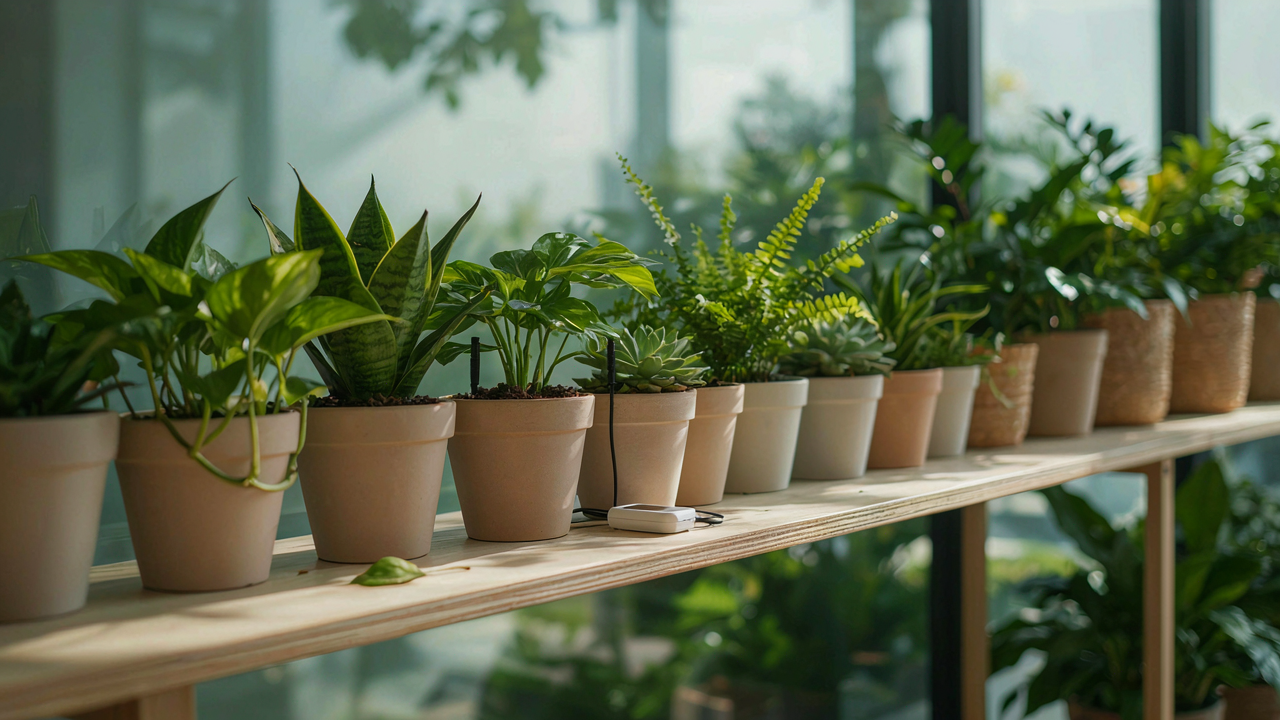
The Illusion Of Busy Plant Owners And Automated Plant Watering Systems

Why Generic Timers Fail Your Specific Plant Needs
You want the system to work so you don’t have to think about it. That’s the real draw. But generic timers operate on a fixed schedule regardless of what your plants actually need, and that’s where the failure happens. Borrowing from control theory in engineering, your arduino plant watering system needs feedback, not just a predetermined signal. A timer with no sensor is an open-loop system, spraying on schedule whether soil is wet or dry.
Most plant owners install timers and assume the problem is solved. It isn’t. Soil moisture varies based on season, humidity, pot size, and drainage capacity. A timer watering every three days works in winter but drowns roots in spring. Your arduino plant watering system only becomes useful when it reads actual soil conditions and adjusts output accordingly. That requires a moisture sensor, not just a clock. Without feedback, you’re automating failure, not solving it.
The Cost Of Convenience Suboptimal Growth And Wasted Resources
Overwatering kills more houseplants than underwatering does. When you set a timer, you trade precision for convenience, and plants lose. Excess water displaces oxygen in soil, suffocates roots, and accelerates root rot within weeks. You’ve now created the exact problem automation was supposed to prevent. Your arduino plant watering system becomes a slow-motion sabotage machine if it operates on time alone.
The mechanism is simple: water costs money, electricity costs money, and dead plants cost replacement money. A sensor-based arduino plant watering system uses less water, runs the pump only when needed, and keeps roots alive longer. Set the threshold at 40 percent soil moisture instead of watering on a fixed schedule. Your system triggers only when the sensor reports dryness. This approach reduces water waste, extends plant lifespan, and eliminates the guilt of killing something you paid to keep alive.
Beyond Basic Arduino Watering System: The Data Driven Differential

When Thresholds Matter More Than Sensors
You want to believe a soil moisture sensor is smarter than you. It isn’t. What you actually need is to stop treating sensor data like a binary switch and start reading the curve. Capacitive soil moisture sensors measure volumetric water content on a scale, typically from 0 to 1023 in Arduino’s analog read. Most people set one threshold: if the reading drops below 400, water. This is lazy. It ignores the actual mechanism: different plants need different moisture ranges, and soil composition changes how that sensor reads the exact same wetness level.

A real Arduino plant watering system treats thresholds as windows, not walls. Sandy soil dries faster and reads lower values at the same moisture level as clay soil. A succulent needs a reading of 300 before it gets water. A fern needs water at 600. You calibrate by testing your specific soil in your specific pot, then you set upper and lower bounds. When the sensor hits the lower bound, the pump runs. When it hits the upper bound, it stops. The sensor becomes a measurement tool, not a decision maker.
Prediction Beats Reaction Every Time
Most Arduino plant watering setups react: sensor reads dry, pump turns on. This is firefighting. Economics calls this the difference between lagging and leading indicators. Your soil moisture reading is a lagging indicator—it tells you what already happened. The mechanism that matters is environmental rate of change: how fast does your specific plant’s soil dry out given light, humidity, temperature, and airflow in your specific location.
Build a predictive model by logging sensor data every hour for two weeks without any intervention. Track light levels with a photoresistor, temperature with a DHT22, and soil moisture alongside it. You’ll see the pattern: soil moisture follows a decay curve tied to environmental factors. Once you know the curve, you can calculate days until the plant needs water and schedule the pump proactively. The Arduino doesn’t just respond to dryness—it waters before the plant stresses. Log the data to an SD card or cloud service. Use those logs to adjust your thresholds. This turns watering from a binary yes-or-no into a precise, predictable system.
The “Greenhouse Protocol”: Replicating Optimal Microclimates
Temperature And Humidity Feedback Loops
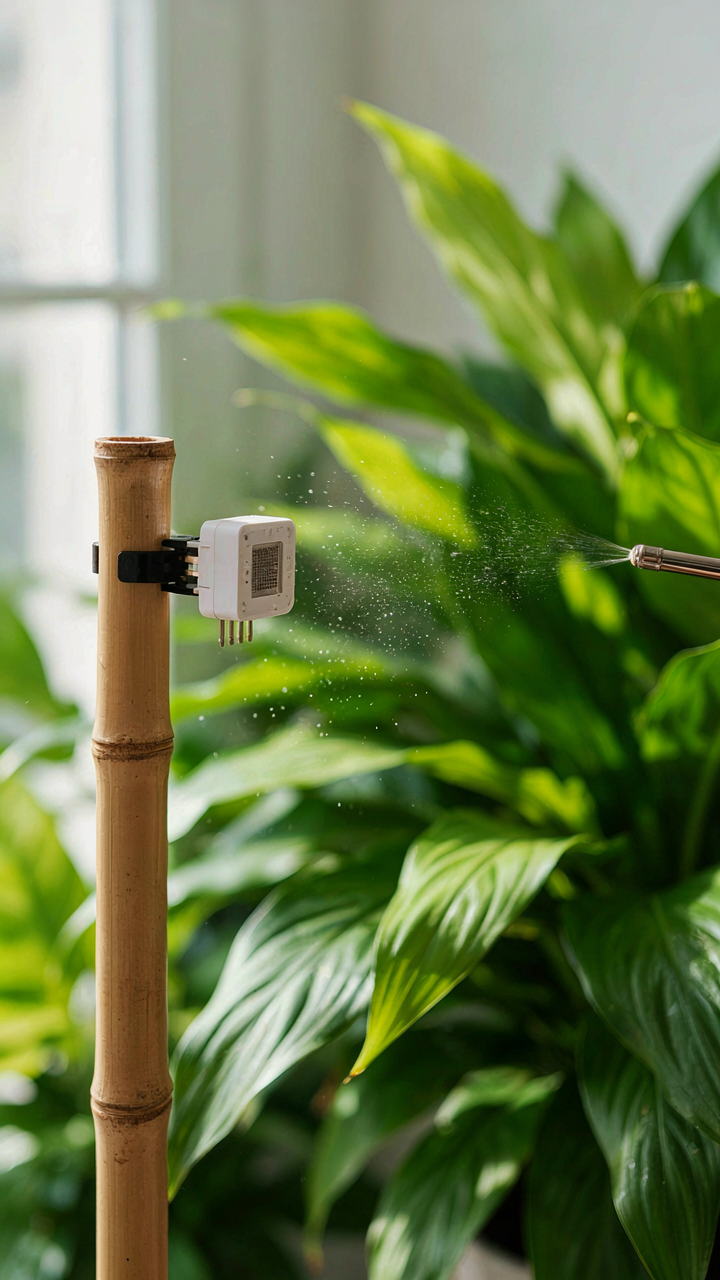
You want proof your system works without thinking about it. That’s the real draw here. The mechanism is simple: plants respond to temperature and humidity gradients, and Arduino reads both with DHT22 sensors, then triggers corrective actions before conditions drift. This isn’t guesswork. Temperature shifts enzyme activity in plant cells. Humidity controls transpiration rates. Miss the window on either and growth stalls or disease creeps in.

Connect a DHT22 to your Arduino’s analog input and poll it every 60 seconds. Set thresholds: if temperature drops below 65°F or climbs above 80°F, trigger a relay controlling a heating pad or fan. If humidity falls below 40%, activate a mister. If it climbs above 75%, run an exhaust fan. The sensor data feeds an if-then logic loop. No complexity required. You’re not predicting weather. You’re catching deviations and correcting them in real time, the same way a thermostat works in your house.
Mimicking Natural Cycles For Accelerated Growth
Most people ignore photoperiod entirely and wonder why their plants stall. Control of light duration is where growth acceleration actually happens. Borrow from circadian biology: plants evolved to respond to day-length shifts. An Arduino controlling a relay to a grow light on a timer replicates this. Twelve hours on, twelve hours off is baseline. You can manipulate this to push flowering or vegetative growth depending on species. The Arduino’s millis() function or an external RTC module tracks absolute time. Program it to toggle your light relay at specific hours.
The second lever is temperature cycling. Natural environments don’t hold steady temperatures. They drop at night, rise during day. Implement a 5-10 degree gap between your daytime high and nighttime low using the same relay setup controlling heaters or fans. Day-length control plus temperature cycling combined signal to the plant that seasons are changing. This triggers metabolic shifts toward blooming or expansion faster than static conditions ever will. Your watering system runs parallel to this: feed the Arduino’s relay control for lights and heaters, then your soil moisture sensor adjusts water timing to match the growth phase the plant is actually in.
Arduino Projects That Actually Matter: From Hobby To Hyper Efficiency
Build Versus Buy: Where Your Money Actually Goes
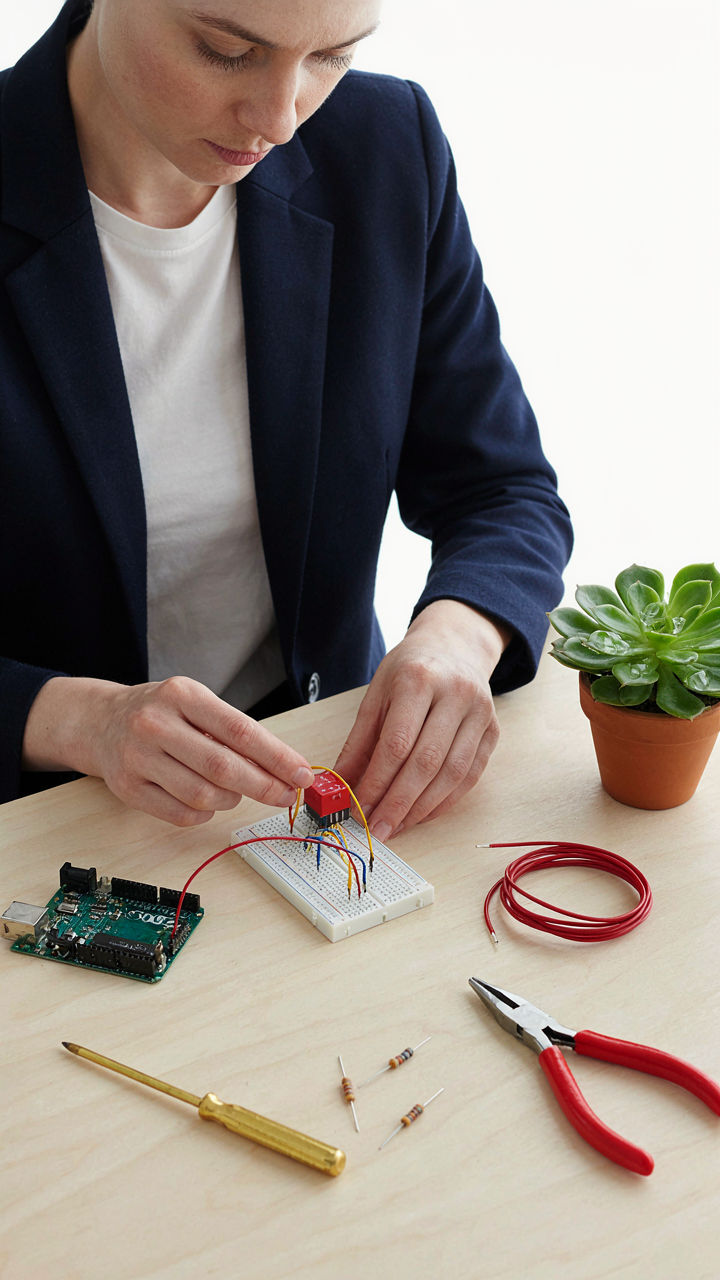
You want to feel like you made the smart choice, but what you really want is permission to spend less time thinking about this decision. Here’s the mechanism: pre-made kits lock you into their sensor quality and relay limitations, while building from scratch costs more upfront but lets you swap components when they fail or become obsolete. The hidden cost of kits is vendor lock-in disguised as convenience.
- Arduino Uno or Nano board: The brain of the system, costs 5-15 dollars. Nano saves space if you’re mounting inside a small enclosure near plants.
- Capacitive soil moisture sensor: Better than resistive alternatives because it doesn’t corrode. Costs 3-8 dollars per unit versus pre-kit versions at 2-3x markup.
- 5V relay module: Controls the water pump. Standalone modules run 2-5 dollars compared to 15-30 dollars bundled in kits with mediocre specs.
- Submersible water pump: 12V DC pumps cost 10-20 dollars and outlast pre-kit pumps by months because you choose the actual brand and wattage.
- Breadboard and jumper wires: Reusable across projects. Initial investment of 8-12 dollars pays for itself after two systems instead of buying two complete kits.
- USB power supply or battery module: Flexibility to power from wall outlet, battery pack, or solar. Kits often force one power method at double the cost.

Building from scratch means you source each component based on failure rates and availability, not marketing. You learn which sensors actually read soil moisture versus which ones measure only electrical conductivity. When a sensor dies after six months, you replace it for five dollars instead of buying another two-hundred-dollar kit. The real advantage isn’t cost. It’s control.
Scaling Beyond One Plant Without Redesigning Everything
Systems in economics use the term “marginal cost” to describe what happens when you add one more unit to production. In Arduino plant watering, marginal cost is nearly zero. Add a second plant and you’re adding one more sensor and pump line, but your Arduino handles multiple sensors on the same sketch. This is why people fail at scaling: they think they need a new Arduino for each plant.
The constraint isn’t processing power. It’s power delivery and water distribution. One Arduino can manage ten plants if you wire them to separate relays and pump lines. Your bottleneck becomes physical space in your enclosure, the number of available digital pins (most Arduinos have 14 usable pins), and whether your power supply can handle multiple relays firing simultaneously. A five-volt relay draws 70-100 milliamps per coil. Ten relays running at once demand a power supply rated for at least one amp. Run the math before you build. Mount your expansion on a second breadboard and extend communication through a simple serial protocol if you need more sensors than your Arduino has pins available.
The Cybernetic Loop: Plant Monitoring And Watering System As An Extension Of Will
Plant Health As The System’s Output Signal
You want this system to work so you don’t have to think about your plants anymore. That’s not laziness—that’s the entire point. Cybernetics, the field studying control and feedback in systems, calls this output signal: measurable plant state that tells you whether your intervention worked. Your Arduino doesn’t care about your plant’s health. It cares about the soil moisture reading, the temperature sensor value, the time elapsed since the last watering event. These become numbers.

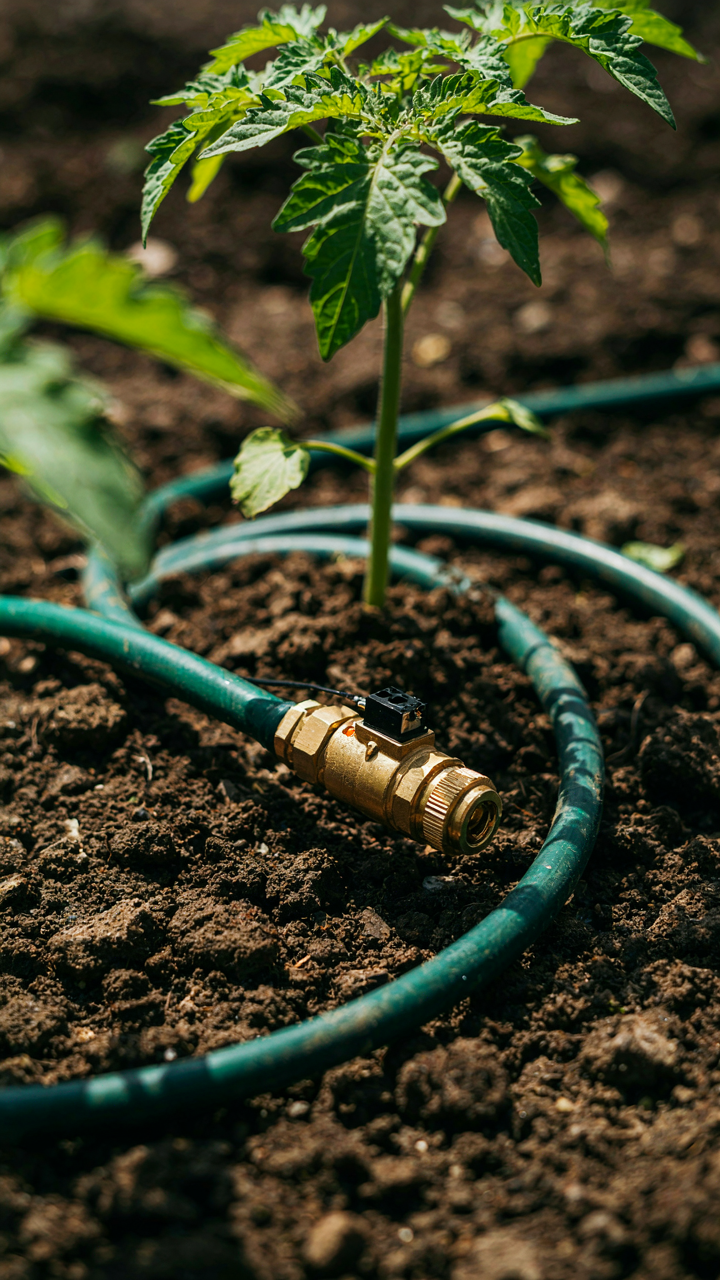
The mechanism is simple. A capacitive soil moisture sensor reads the substrate, converts resistance into a digital value between 0 and 1023 on the Arduino’s analog input. You set a threshold—say, 400. When the reading drops below it, the relay switches on, the solenoid valve opens, water flows. When moisture climbs above 600, the valve closes. The plant doesn’t receive water because you decided to care about it. The plant receives water because a number crossed a boundary you defined. That boundary is your extended will operating without your presence.
Adaptive Control That Responds To Actual Plant State
Everyone says “set it and forget it,” which is false advice that kills plants. Adaptive control means the system changes its behavior based on what the plant actually needs, not what you guessed it would need in March. Temperature, humidity, season, pot size, soil type, and plant species all shift water demand. A rigid watering schedule ignores all of this. An Arduino running adaptive logic doesn’t.
Here’s how the mechanism works: your sensor reads not just moisture but also ambient temperature via a DHT22 or similar module. When temperature rises, evaporation increases, so you lower the moisture threshold—triggering watering sooner. When temperature drops, you raise the threshold. The Arduino stores this logic in code running on a loop, checking conditions every five minutes, adjusting valve duration based on how far below threshold the soil reading falls. You’re not adapting. The system adapts, and your plants respond to actual conditions, not to your static assumptions.
Wiring Your Dominance: Essential Components Of A Plant Watering System Using Arduino
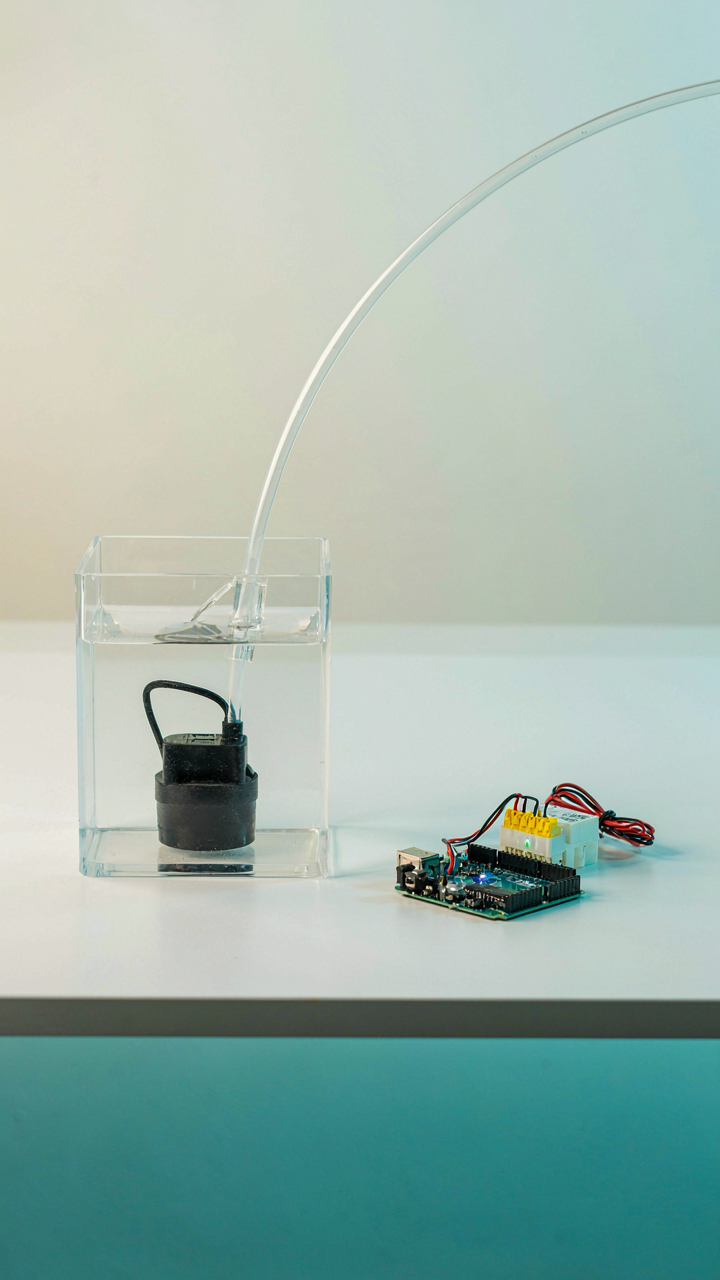
Pump Selection: Flow Rate And Pressure
You want this section because you’re afraid of buying the wrong pump and wasting money. Here’s what matters: the mechanism is simple hydraulics. A pump’s flow rate (measured in milliliters per minute) determines how fast water reaches your plant, while pressure (measured in PSI or bar) determines whether that water actually makes it through the soil without pooling or bypassing roots entirely.

Most people buy pumps based on marketing hype or lowest price. Wrong move. A 5V submersible pump outputs 100-300 mL per minute, enough for single plants. A 12V peristaltic pump delivers controlled, slow flow ideal for drip lines. The critical detail: peristaltic pumps prevent backflow and siphoning, which keeps your soil moisture consistent instead of waterlogged one minute and dry the next. Match your pump to your plant count and soil type before anything else.
Power Management: Ensuring Consistent, Reliable Operation
Voltage regulation is borrowed directly from electrical engineering. Your Arduino runs at 5V, but your pump likely runs at 12V. That gap is the entire problem. A direct connection fries your microcontroller or delivers erratic water pulses as the power collapses under load.
You need a dedicated power supply for the pump circuit, separate from the Arduino’s power line. A 12V 2A wall adapter with a relay module creates isolation. The relay acts as a switch: the Arduino sends a logic signal, the relay toggles full 12V power to the pump independently. Without this separation, you get brown-outs, sensor misreadings, and inconsistent watering. Run separate ground wires between circuits to prevent voltage creep. This is the protocol that stops your system from becoming a liability.
Coding For Control: The Brains Behind Your Arduino Automatic Watering System

When Your Sensor Tells The Arduino What To Do
You want this to work so you don’t have to think about it. That’s the real reason you’re reading this section. The mechanism is simple: your sensor collects data, your code reads that data, and your code decides what happens next. Nothing magical. The Arduino runs a loop that never stops. Inside that loop, you read the analog value from your moisture sensor, compare it against a threshold you set, and trigger the pump or valve based on that comparison. This is conditional logic. If soil moisture is below 400, turn on the pump. If it reaches 600, turn it off. The code executes this same check dozens of times per second.

Your sensor gives you a number between 0 and 1023 on the Arduino’s analog input pins. Dry soil reads high. Wet soil reads low. Most people get this backwards initially. You set your thresholds based on actual testing in your specific soil and pot combination, not guesses from online tutorials. Run the sensor in dry conditions, record the value. Run it in wet conditions, record that value. Your lower threshold sits somewhere between those two numbers. Program your Arduino to read that sensor value, store it in a variable, and execute your watering logic only when conditions match your parameters.
Layering Logic Across Multiple Signals
Soil moisture alone tells an incomplete story. Plants use water differently based on light and humidity in the air. Think of this like triage in emergency medicine: you need multiple vital signs to make the right call, not just one. Your moisture sensor is one signal. Your light sensor is another. Your humidity sensor is a third. The code doesn’t water based on moisture hitting a threshold. Instead, it waters only when soil moisture is low AND light levels suggest the plant is actively growing AND humidity is below a certain point. This prevents overwatering during cloudy days or in high-humidity environments where evaporation slows.
You write this as nested conditional statements. If moisture is dry, check if light is bright enough. If both are true, check if humidity is low. Only if all three conditions align do you activate the pump. Most Arduino plant systems fail because they treat soil moisture as the single source of truth. The real mechanism is intersection: multiple sensors voting on whether the plant actually needs water right now. Your code structure uses && operators to stack these conditions. Each condition must evaluate as true before the pump turns on. This layered approach cuts false watering events in half and prevents root rot from overzealous automation.
Beyond The Sprinkler: Advanced Garden Automation Project Ideas
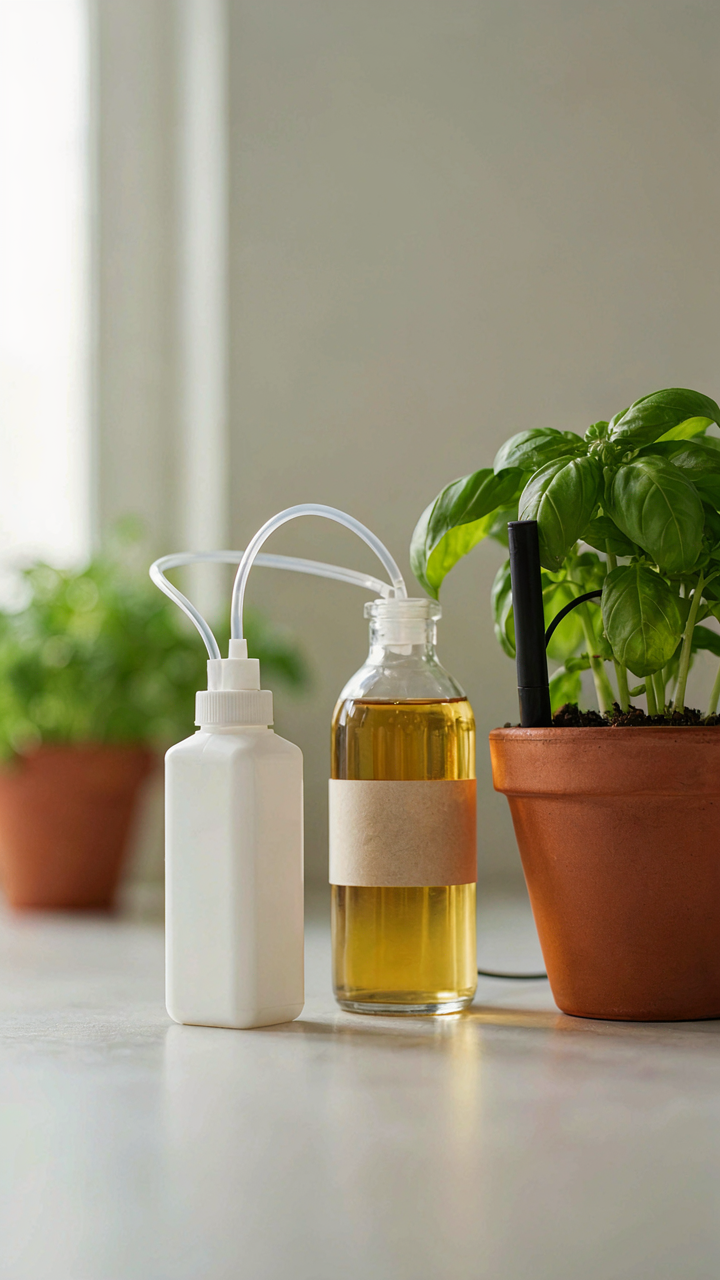
Nutrient Delivery Integration For Targeted Feeding
You want this because it signals you’ve moved past “keeping plants alive” into actual cultivation. The mechanism is simple: plants need different nutrient ratios at different growth stages, and manual feeding creates inconsistency. An Arduino monitors soil EC (electrical conductivity) and triggers a peristaltic pump to inject diluted fertilizer on demand rather than on a schedule. This is borrowed from hydroponic systems, which use the “reservoir principle”—continuous availability of nutrients at controlled concentration. Your soil moisture sensor can’t tell you nutrient status. EC sensors can.

A standard setup uses an analog EC probe connected to an Arduino analog input pin. When soil conductivity drops below your target range, the Arduino energizes a relay that activates a 12V peristaltic pump for a timed interval (usually 2 to 5 seconds). Store your diluted nutrient solution in a separate container above soil level so gravity doesn’t reverse-flow. Calibrate your EC sensor with known solutions before deployment. This prevents nutrient lockout and eliminates the guessing game of “did I feed it enough last week?”
Disease Prevention: Early Detection Via Environmental Anomaly
Most growers wait until they see symptoms to act. By then the infection has already spread. Leaf wetness and temperature swings create the exact conditions fungi need, so an Arduino catches the pattern before visible damage occurs. Pair a DHT22 temperature and humidity sensor with a leaf wetness sensor (a simple PCB probe that detects surface moisture) to log microclimate conditions. When humidity stays above 80 percent and temperature hovers in the 65 to 75 degree Fahrenheit range for more than four consecutive hours, your system logs the event and alerts you.
The protocol requires two actions: first, lower humidity by triggering a small fan via relay when conditions cross your threshold. Second, adjust watering time to early morning only, preventing evening leaf wetness. Your Arduino stores this data in a CSV file on an SD card module, creating a historical record that reveals which dates correlate with disease outbreak. Over time you’ll identify your specific risk windows and automate preventive measures. Don’t wait for visual confirmation. Act on the environmental data first.
The “Set And Optimize” Method: Continuous Improvement, Not Complacency

Validate Before You Trust The Numbers
You want to believe your sensors work so you can stop thinking about watering. That’s the trap. A capacitive soil moisture sensor reads voltage based on dielectric properties of the soil, borrowing the measurement principle from electrical engineering. Your sensor drifts. Temperature changes its output. Salt buildup skews readings. You must validate against ground truth at least twice monthly by inserting a calibrated probe alongside your Arduino sensor and comparing outputs side by side in the same soil spot.

The common advice says “calibrate once and forget it.” That’s incomplete. You calibrate to establish a baseline, then validate continuously because the sensor degrades in live conditions. Run your system for two weeks, then manually check three plants by hand. Feel the soil. Check your Arduino log against your tactile reading. If they diverge, adjust the threshold in your code or replace the sensor. This is not optional busywork. It’s the only way to keep the system accurate as environmental factors shift.
Adjust Based On What Your Plants Actually Tell You
Stop watering on a fixed schedule the moment you see edge leaf curl or yellowing at the base. The plant is speaking a language your sensor cannot read. Your Arduino measures only moisture and temperature, not nutrient availability, root rot, light stress, or pest damage. If your system waters perfectly but leaves still brown out, the problem is not the watering. You’ve optimized the wrong variable. Change your observation protocol: photograph the same plant weekly from the same angle under the same light, log visible changes in a spreadsheet, and cross-reference them with your moisture and temperature logs from the Arduino.
Iteration means running a real experiment, not guessing. Water a test plant for one full month using only Arduino triggers and no manual intervention. Document every visible change. After thirty days, adjust either the moisture threshold or watering duration by a small amount (five to ten percent), then run another thirty-day cycle. Compare results. The plant’s actual growth rate and leaf color density tell you if the adjustment worked. That feedback loop is where optimization lives, not in tweaking numbers in a vacuum.
Scaling Your Botanical Empire: Multi Plant And Diverse Environment Solutions
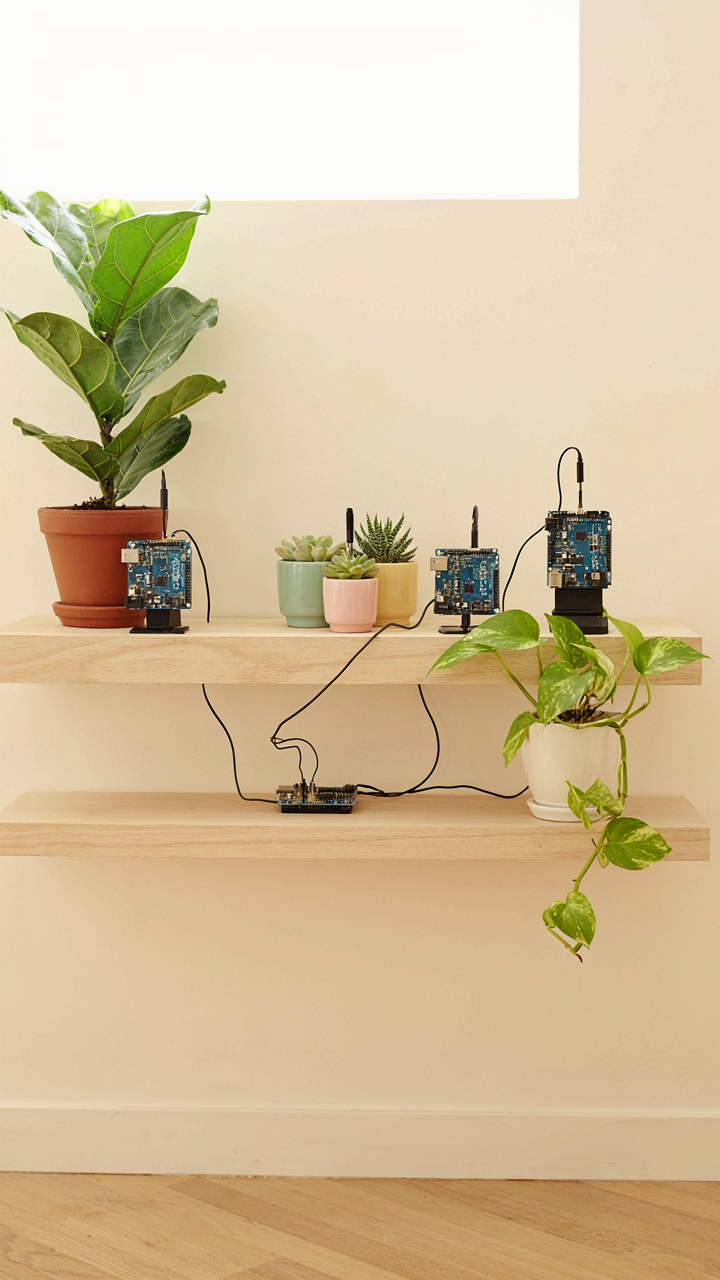
Building Systems That Actually Expand
You want to look like someone who can manage fifty plants without thinking about it. The real mechanism at play here is modularity borrowed from systems design: each component must function independently while connecting to a larger network. Most people bolt extra sensors and relays onto their original Arduino setup and watch it collapse under its own complexity. That’s backwards.
Start with a primary controller that handles one zone cleanly: one moisture sensor, one valve, one pump. Document exactly how it works. Then clone that module rather than expanding the original. Use either an Arduino Uno per zone with centralized logging via a master Pi, or step up to a Mega that distributes power and I2C commands to independent sensor modules. The wiring matters less than the decision to treat each plant cluster as its own contained system.
Matching Hardware To Species Demand
Different plants have wildly different soil moisture ranges and watering frequency. Succulents need long dry periods between watering. Ferns need constant moisture. The common advice says use the same capacitive sensor for everything and just adjust thresholds. That’s lazy and it fails because sensor drift changes your threshold calibration over weeks.
Instead, assign sensor types by plant type. Capacitive sensors work fine for moisture-loving plants because their baseline stays relatively stable in wet soil. Use resistive sensors for succulents where you’re measuring drier ranges where capacitive drift matters less. Program separate watering profiles in your Arduino sketch: store trigger thresholds as separate variables by zone, not one global moisture target. Run each zone’s pump time and frequency independently. This way one zone can water every two days while another waters weekly, all from the same controller hardware.
The Real Obstacle Isn’t Time, But Your Refusal To Wield Data For Plant Dominance
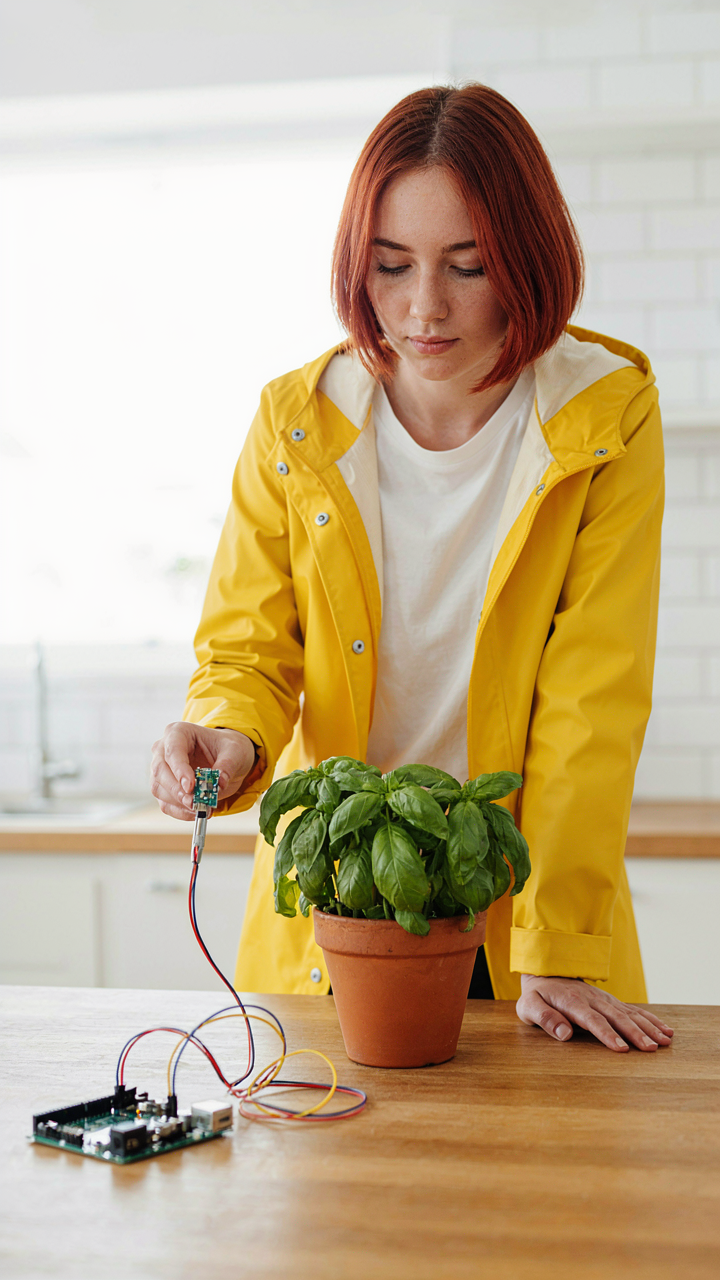
Most plant owners treat watering like a chore instead of a system. You have sensors. You have soil moisture data. You’re ignoring both. Buy a capacitive soil sensor today and wire it to your Arduino. Stop guessing. Stop killing plants. The moment you quantify what your plants actually need, you stop being a plant parent and start being a plant operator. Data beats intuition every single time.



