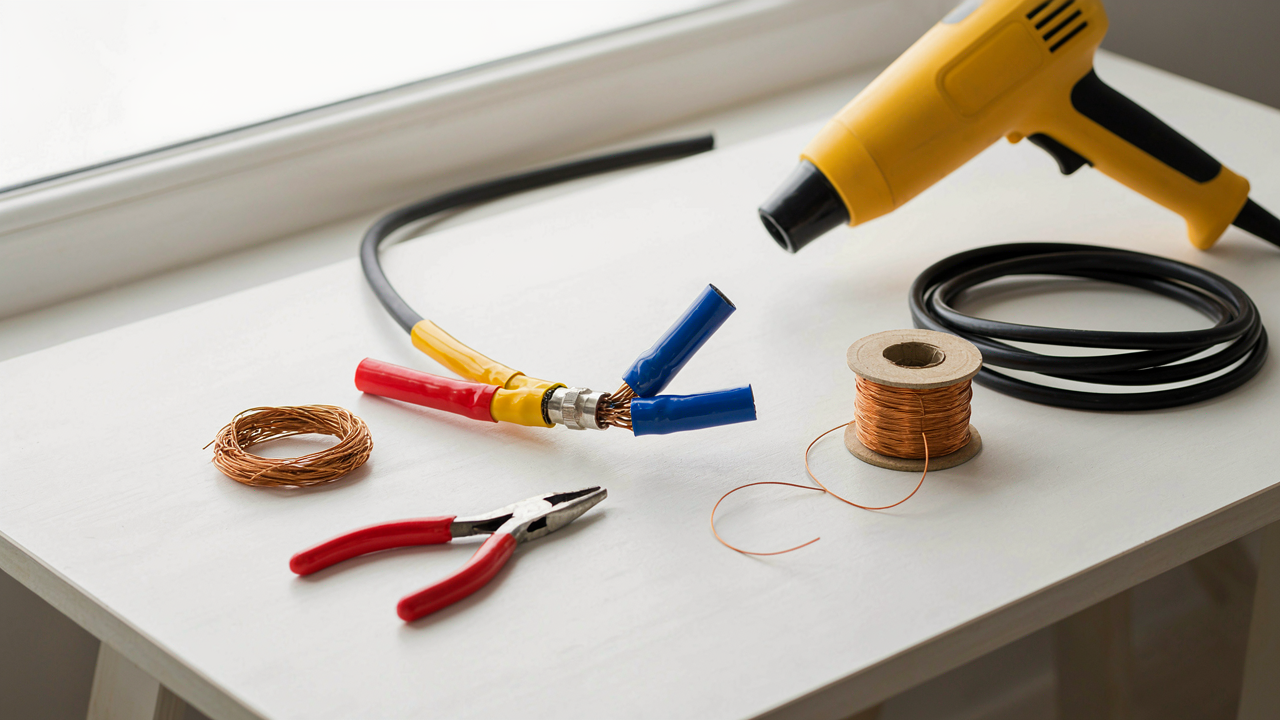
The Myth Of “One Size Fits All” Heat Shrink Tubing
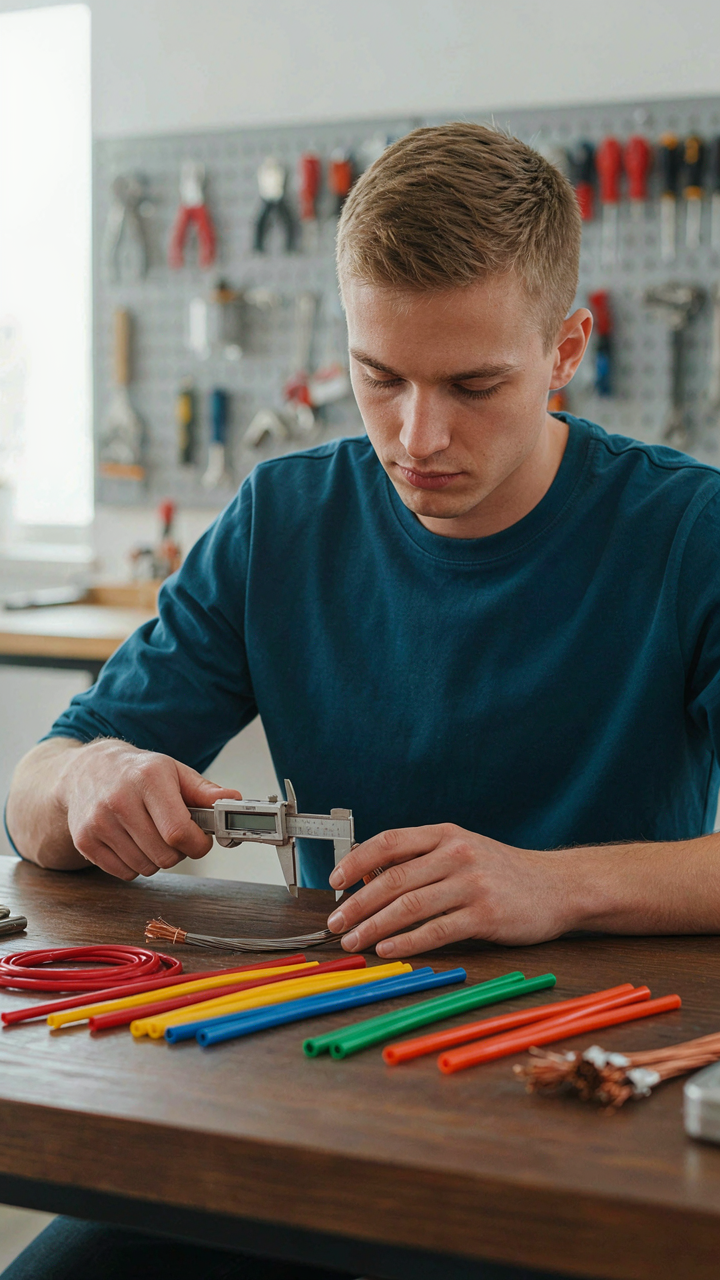
Why Generic Sizes Guarantee Failure
You want to believe one pack of heat shrink solves every problem because buying multiple sizes feels like admitting you don’t know what you’re doing. The mechanism is simple: heat shrink tubing works through radial force. When heated, the polymer contracts inward. If the ID (inner diameter) is too large, the tubing never grips the wire. It just falls off or slides around like a loose sock. If it’s too small, it constricts the conductor and either crushes the insulation or traps moisture underneath.
The “assorted pack” approach fails because wire gauges and their insulation thicknesses vary wildly. A 22 AWG solid copper wire with thin PVC insulation occupies a different space than 22 AWG stranded wire with thick silicone insulation. Neither fits the same tubing. Generic packs offer 3/16″, 1/4″, 3/8″ sizes and call it coverage. They cover nothing precisely. You end up with tubing that’s either loose or damaging, which defeats the entire purpose of a repair.
Wire Gauge And Insulation Diameter Accuracy
This is engineering, not guesswork. The tubing’s recovered inner diameter must match the wire’s outer diameter within tight tolerances. Most manufacturers specify tubing performance using “shrink ratio,” typically 2:1 or 3:1, meaning the tubing shrinks to half or one-third its original ID when heated. But that ratio only matters if you start with the correct pre-shrink size for your specific wire.
Measure the wire’s actual outer diameter with calipers before selecting tubing. Account for the insulation thickness, not just the conductor gauge. Pre-shrink tubing sizes range from 1/32″ to well over an inch. Select tubing where the pre-shrink ID matches your wire OD plus 10 to 20 percent. This tolerance gives you the contraction window you need to grip firmly without crushing. Heat the tubing evenly with a heat gun or solder iron until it contracts fully and stops moving.
Beyond The Blow Dryer: Actual Heat Application For Shrink Wrap

When Heat Doesn’t Distribute Evenly
You want the repair to look professional so people don’t question your competence. The mechanism is this: heat shrink tubing shrinks in response to temperature, but it doesn’t shrink uniformly when heat hits one side first. Thermal gradient matters. If you apply concentrated heat to the tubing’s surface while the interior stays cool, the outer layer contracts before the inner walls reach shrink temperature, creating wrinkles, bubbles, and loose spots that defeat the entire purpose.

A blow dryer or lighter held too close creates precisely this problem. The near side of the tubing reaches 200+ degrees Fahrenheit while the opposite side lags ten to twenty degrees behind. That differential causes the polymer to constrict unevenly, trapping air pockets and leaving the wire connection vulnerable. You need heat that surrounds the tubing, not heat that attacks it from one direction.
The Right Heat Source Matters More Than You Think
Heat shrink tubing requires sustained, radiating warmth, not a point source. A heat gun set to 300-350 degrees Fahrenheit at six to eight inches distance beats a lighter or hair dryer because it delivers broader, more consistent thermal energy. The tubing shrinks uniformly when surrounded by warm air moving at moderate velocity. A soldering iron, though tempting, concentrates too much energy on contact and risks melting the tubing’s outer layer before the inner diameter shrinks properly.
Ceramic heat guns outperform coil-based models because they maintain stable temperature and won’t spike during operation. Move the gun in slow circles around the tubing, not back and forth. Keep moving. Stationary heat creates hot spots. The entire circumference should reach shrink activation temperature within three to five seconds, then hold at that temperature until the tubing settles around the wire. Once you stop, the tubing sets as it cools. No second chances after that.
The Shrink Ratio Deception: What Numbers Really Mean
What The Numbers Actually Represent
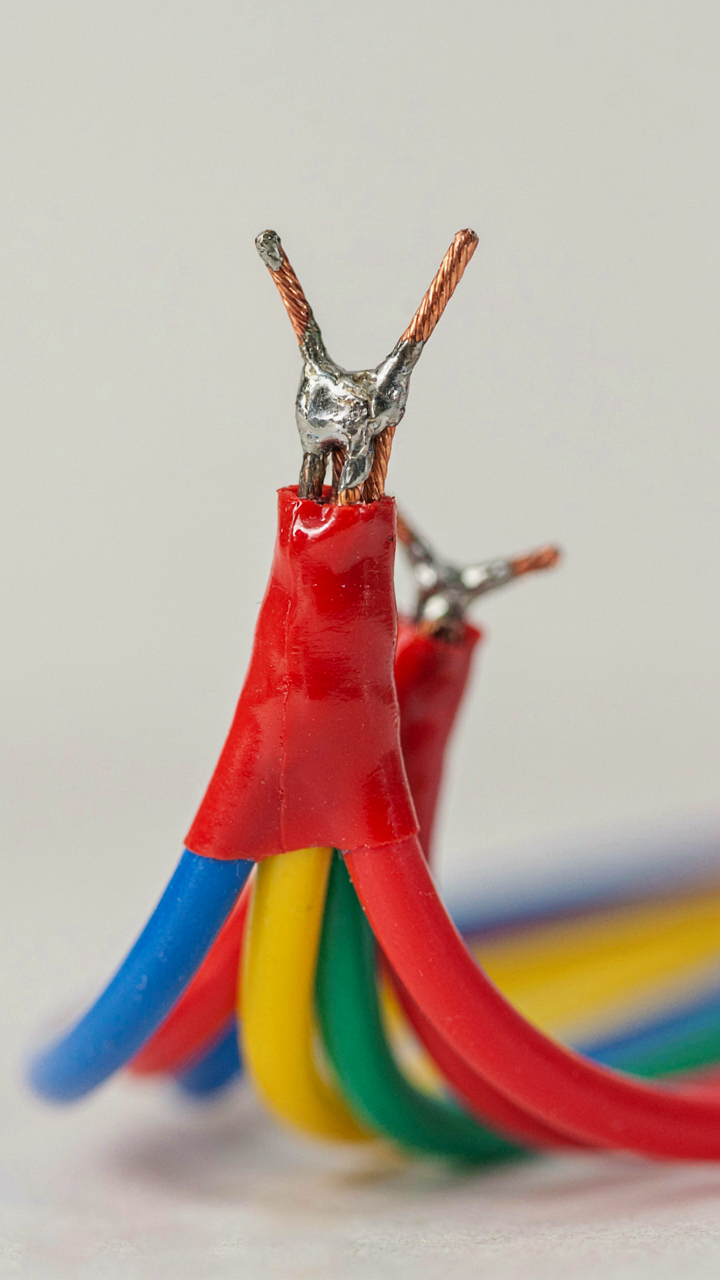
You want the ratio number to tell you something magical about quality. It won’t. A shrink ratio is pure geometry: the diameter of the tubing before heat versus after it contracts. A 2:1 ratio means the tubing shrinks to half its original diameter. A 3:1 ratio shrinks to one third. A 4:1 ratio shrinks to one quarter. That’s the entire mechanism. Nothing hidden.

Most suppliers bury this in spec sheets, so people guess. Standard diameters determine ratio value, not the other way around. A tube that starts at half inch and ends at quarter inch is 2:1. The same tube cannot magically become 3:1 by heating it differently. The ratio is baked into the material formulation during manufacturing. Heat just reveals what was engineered in.
Matching Ratio To Your Actual Wire
The repair requirement determines which ratio survives contact with reality. Use economics as your frame: you’re allocating a finite resource (tubing diameter) against variable wire bundle sizes. A 2:1 ratio works when your wire bundle diameter is already close to the tubing’s final size. You apply heat, it shrinks slightly, and pressure seals the connection.
Use 3:1 or 4:1 when you have irregular wire bundles or need coverage over connectors and solder joints. Higher ratios start larger and shrink more aggressively, giving you forgiveness for misalignment. The tradeoff is wall thickness. Tubing that shrinks 4:1 has thinner walls than 2:1 equivalents because the material stretches during manufacturing. Match the ratio to your exact wire diameter range, then test one piece before committing to the full repair.
The Contamination Protocol: Prepping For True Adhesion

Why Surface Prep Actually Matters
You skip this step because you want the repair done fast. You want the visual win without the invisible work. Here’s the mechanism: heat shrink tubing with adhesive lining doesn’t bond to surfaces—it bonds to whatever sits on top of them. Oil, oxidation, dust, and insulation residue all act as release agents. The adhesive melts and pools around the contamination instead of fusing to the conductor. Your repair holds for weeks, then fails under load or temperature cycling because nothing actually adheres.

The standard advice here is “just wipe it down.” That’s incomplete. You need to understand what contamination you’re actually fighting. Copper and aluminum oxidize continuously. Fresh cuts expose bare metal that oxidizes within minutes in humid air. Stranded wire sheds insulation particles during stripping. These aren’t minor details—they’re the difference between a repair that lasts and one that separates under stress. Wire strippers leave microscopic metal particles and plastic flakes. Isopropyl alcohol alone won’t remove oxidation from bare copper. You need mechanical action first, then chemical cleaning.
The Real Sequence Before Heat Shrink Goes On
Don’t sand or file excessively—that creates new surface area that oxidizes faster. Use 0000 steel wool or a brass brush to break the oxidation layer with light, circular motion. This removes the oxide without generating heat or deep scratches. Then wipe with isopropyl alcohol on a lint-free cloth. Alcohol evaporates completely and leaves no residue. Let the joint air-dry for 30 seconds minimum before sliding the tubing on. Any moisture trapped under the adhesive lining weakens the bond permanently.
The timing window matters more than most technicians realize. After cleaning, oxidation begins reforming immediately on copper. You have roughly five minutes of optimal adhesion conditions before the oxide layer rebuilds enough to become a barrier. Apply heat shrink tubing within that window. If you’re working on a longer repair or in humid conditions, clean the immediate section right before the tubing slides into position. This protocol eliminates the most common failure mode: adhesion that looks solid initially but fails after the first thermal cycle.
How To Choose Heat Shrink Tubing: Material Science Of Longevity

The Real Polymer Trade Off
You want the tubing that works everywhere without thinking about it. That’s not what you’re buying. Heat shrink tubing is a material compromise, and the material you pick determines what fails first. Polyolefin dominates the market because it shrinks fast and costs nothing, but it has a glass transition temperature around 70°C. PVC shrinks at lower heat, around 60°C, but leaches plasticizers and hardens over years. Neither is a universal answer. You’re choosing which failure mode you’ll accept.

The mechanism is polymer chain behavior under heat. When you heat polyolefin, the crystalline structure softens and the material contracts around the conductor. PVC behaves similarly but with different thermal windows and chemical stability profiles. The choice isn’t about which material is “better”—it’s about which material’s failure timeline aligns with your wire’s lifespan in its environment. A marine application needs different chemistry than a dry indoor enclosure. The tubing you pick should match the stress it will face, not the stress you hope won’t happen.
Durability Against Real World Stress
Environmental factors don’t wear tubing evenly. UV degrades the polymer backbone in outdoor applications, starting at the surface within months. Chemical exposure from fuel, solvents, or salt spray accelerates breakdown. Abrasion from vibration or friction against sharp edges punctures coverage before the material itself fails. The mistake most people make is treating these as separate concerns. They’re not. UV damage weakens the polymer, making it more brittle when abrasion hits it. Chemical intrusion softens the structure, reducing tensile strength before mechanical stress appears.
Select tubing with UV stabilizers if the wire runs outside. Use heavier wall thicknesses (3:1 or 4:1 ratios instead of 2:1) where abrasion is likely. For chemical exposure, test the tubing material against the specific substance first. Don’t assume. A polyolefin with carbon black for UV protection performs differently than unstabilized polyolefin, and that difference compounds over two or three years of weather. The protocol is simple: identify the three harshest stressors your wire will face, then verify the tubing material handles all three before you buy it.
The Thermal Expansion Strategy (Physics)
How Heat Makes Tubing Grip Wire
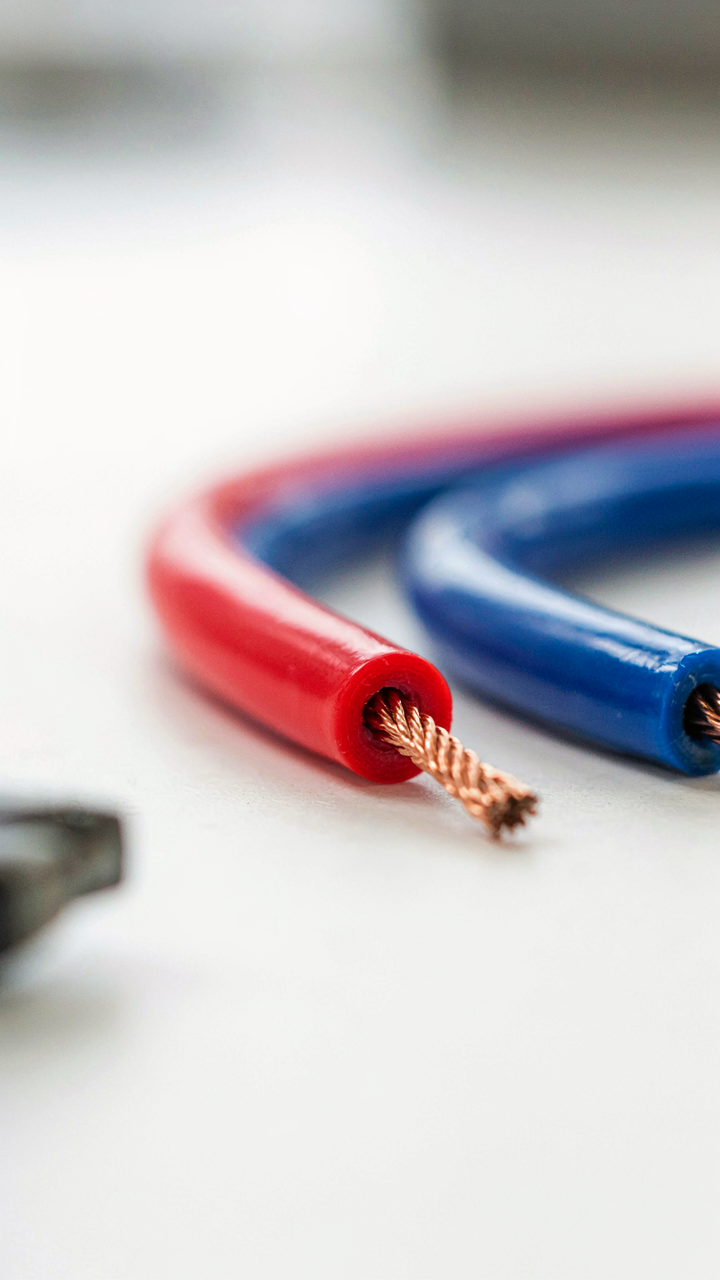
You want this section to make you feel like you understand something others don’t. Here’s the mechanism nobody states plainly: heat shrink tubing works because physics borrowed from material science applies directly here. Thermal expansion is the property that materials grow larger when heated, then contract when cooled. The tubing shrinks around your wire because the polymer matrix was stretched during manufacturing. When you apply heat, the material reaches its glass transition temperature and remembers its original, smaller shape. It locks onto the wire with mechanical force, not adhesive. That grip comes from the tubing’s diameter collapsing faster than your wire can move inside it.

The reason most people get this wrong is they think shrink tubing works like a glove you slide on. Wrong. It works like a hydraulic press. As the material contracts, it exerts radial pressure inward from all directions simultaneously. This pressure scales with wall thickness and shrink ratio. A tubing with two-to-one shrink ratio creates more force than one with three-to-one because less polymer needs to move. The tighter the final fit around your conductor, the more mechanical restraint you have against corrosion, vibration, and pulling forces.
Avoiding Stress Fractures During Shrinking
Most advice tells you to use lower heat or move faster, which misses why cracks actually form. Uneven heating creates stress gradients inside the polymer. One section cools while another shrinks, and the material tears internally before you see it. The real issue is rate of temperature change, not absolute temperature. Rapid heating past the glass transition point causes the outer tubing wall to contract while the inner wall still has mobility. This tension builds until the material yields. You need consistent, moderate heating across the entire tubing length at the same time, not point heating with a torch.
Preventive protocol: use a heat gun on medium setting, maintain four to six inches distance, move it in a slow circular pattern from one end to the other, then reverse direction. This creates uniform thermal distribution without localized pressure spikes. The tubing contracts gradually and evenly. If you see the material dimple, wrinkle, or split, you overheated that section and the polymer exceeded its strain capacity. Stop, let it cool, and cut out the damaged section for a fresh piece. The mechanism that prevents failure is consistent heat application that lets the entire mass contract as one unit.
The Overlap Fallacy: Why More Isn’t Always Better
How Much Overlap Actually Seals
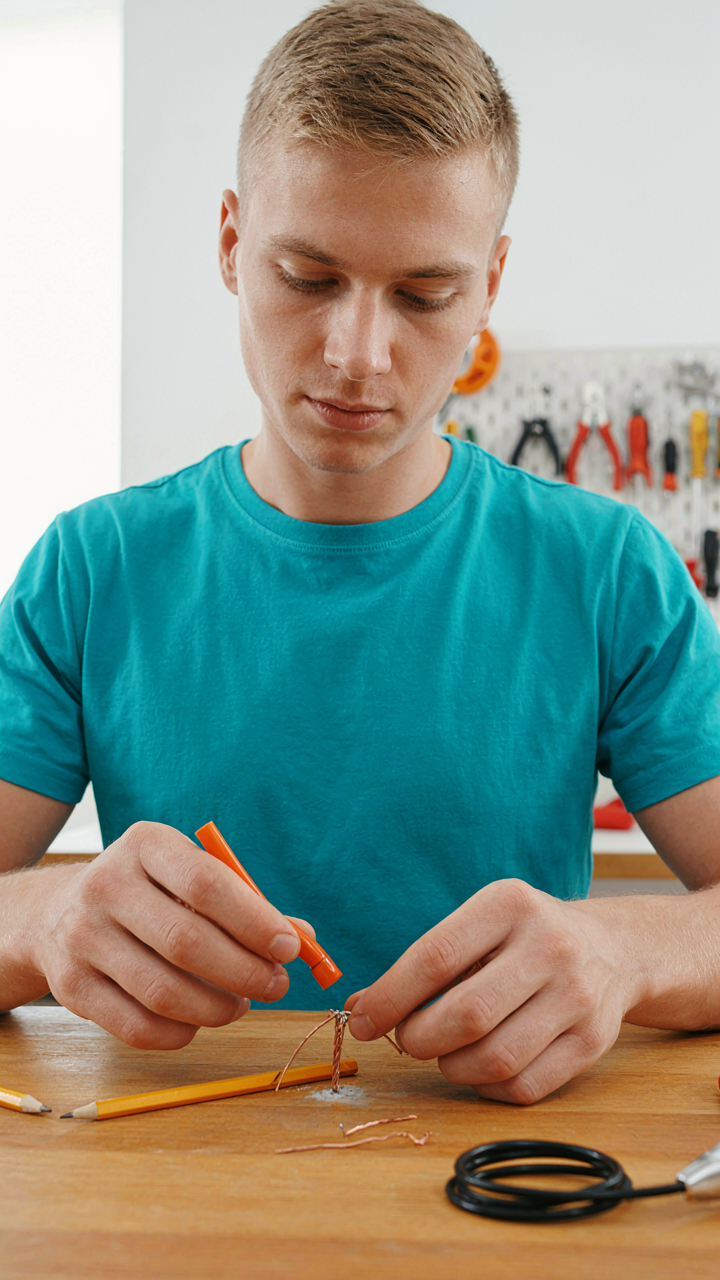
You want the repair to hold because a failed connection means you wasted time and materials. Here’s what actually matters: the mechanism is adhesive contact, not coverage. Heat shrink tubing bonds through its inner adhesive layer melting and flowing onto the conductor or connector. That adhesive needs direct pressure and heat to cure properly. Too little overlap leaves gaps. Too much overlap creates a different problem: uneven heat distribution.

The right overlap is 50 percent of the tubing’s length onto each side of the joint. If your tubing is one inch long, half an inch sits on each conductor or connector piece. This gives the adhesive enough surface area to form a mechanical seal while allowing uniform shrinkage. The tubing contracts evenly, pulling the adhesive tight without creating stress points. Measure before you slide, mark with a marker if the joint is unclear, and slide the tubing into position. Once positioned correctly, apply heat with a heat gun or lighter, keeping the flame moving to avoid scorching.
When Overlap Becomes The Weak Point
Most technicians pile overlap on, thinking redundancy equals reliability. Wrong. Material science tells us that stress concentrates at boundaries, not in uniform zones. When you overlap too much tubing, the material doesn’t shrink uniformly across the joint. The adhesive cures faster at the edges than the center. This creates internal stress layers and weak adhesion zones where the tubing bunches or wrinkles.
Excessive overlap also prevents you from seeing what’s happening under the tubing. You can’t verify the joint is clean, the wire insulation isn’t melted, or the connector is seated flush. The tubing masks problems. Keep overlap to the bare minimum that seals the connection and allows you to inspect before final installation. Slide the tubing, position it, heat it deliberately, then let it cool before moving the wire. This single protocol step prevents most seal failures that people blame on “defective tubing.”
DIY Heat Shrink Tubing: Tools You Actually Need (and Don’t)
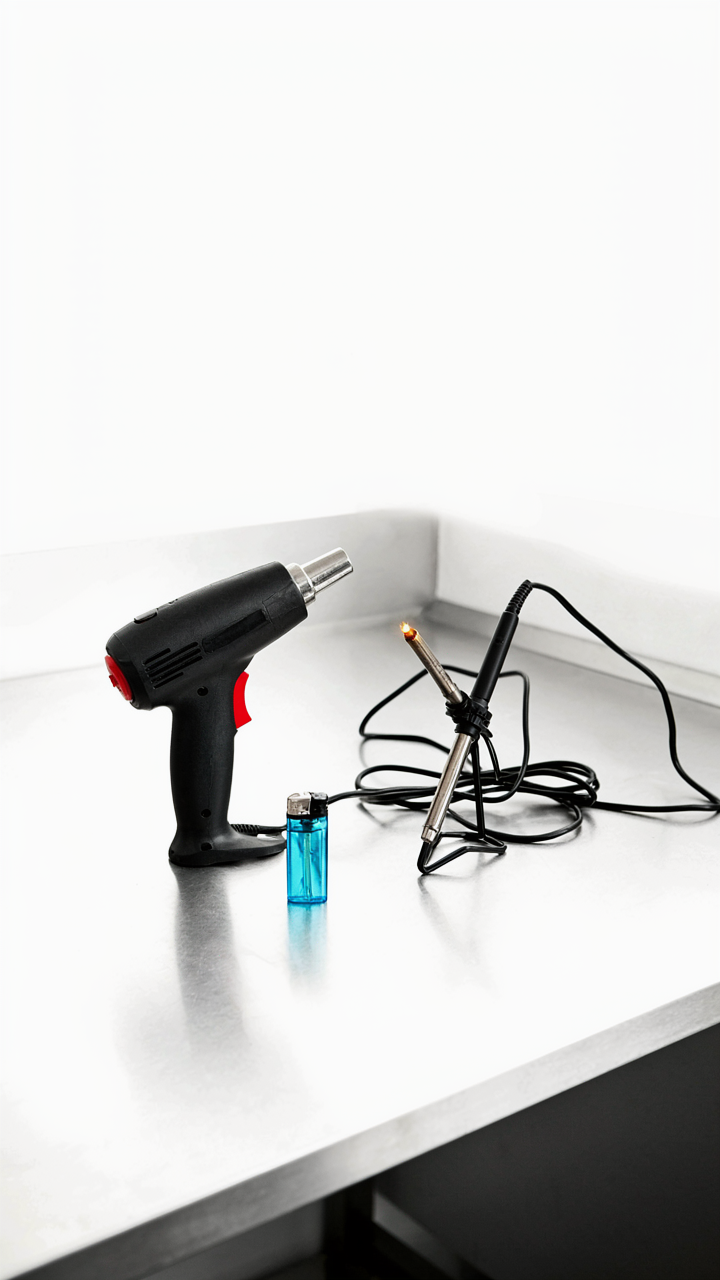
What Actually Shrinks The Tubing
You want to look competent without spending money on tools you’ll use once. Here’s the mechanism: heat shrink tubing is crosslinked polyolefin that contracts when heated past its glass transition temperature, around 120 degrees Celsius. You need a consistent heat source that reaches that threshold without torching the wire underneath. Temperature control matters more than tool status.
- Heat gun: Delivers 350-500 degrees Fahrenheit with distance control. The adjustable nozzle prevents localized charring. Best for production work or precise diameter control.
- Butane lighter: Costs three dollars. Works on tubes up to 1/4 inch. Requires steady hand and rotating motion to heat evenly without melting insulation.
- Soldering iron with shrink tubing tip: Purpose-built attachment that clamps the tubing and heats it uniformly. Slow but reliable for small repairs in tight spaces.
- Hair dryer: Insufficient unless the tubing is rated for low-temperature shrinking, which most aren’t. Wastes time and creates false expectations.
- Stove or candle flame: Uncontrollable. Creates hot spots that char tubing and melt wire insulation. Skip this entirely.

The heat gun dominates professional work because it separates heat application from the wire itself. You control distance and angle, shrinking tubing in seconds without risk. For one-off repairs, a lighter works if you rotate the wire and stay patient. The tool choice depends on volume and your tolerance for technique over convenience.
When Improvisation Actually Fails
The common advice says any heat source works if you’re careful. That’s incomplete. Improvised tools fail because they either concentrate heat in one spot or take so long that ambient heat creeps into the joint and destabilizes solder. Open flame torches and direct contact with heating elements create charring, discoloration, and brittle tubing that cracks under tension.
Microwave heating, rubbing alcohol ignition, or resistive wire coils sound clever until the tubing melts unevenly or catches fire. The cost difference between buying a ten-dollar heat gun and replacing a fried circuit board is not a trade worth making. Use the right tool or accept that your repair looks amateur and fails early.
Flame Retardant And Multicolor Heat Shrink Tubes: Beyond Aesthetics
When The Insulation Fails Under Heat
You want flame retardant tubing because you’re afraid of liability, not because you understand what stops a fire. The mechanism matters: flame retardant compounds work through thermal physics, specifically by disrupting the chain reaction of combustion. When standard polyolefin tubing burns, it feeds the flame. Flame retardant versions introduce halogenated or mineral compounds that absorb heat energy and release inert gases, cooling the reaction zone below ignition temperature. This isn’t prevention. It’s controlled interference with oxygen availability and thermal feedback.

Standard tubing ignites around 200 degrees Celsius. Flame retardant variants delay that threshold and reduce flame propagation speed by 60 to 70 percent, depending on the formulation. The tubing still chars and degrades, but it won’t sustain combustion. This matters in confined spaces, tight junction boxes, and automotive harnesses where an electrical arc can trap heat. You don’t choose flame retardant tubing because it looks professional. You choose it because containment becomes your responsibility the moment current flows through your repair.
Color Coding For System Identification
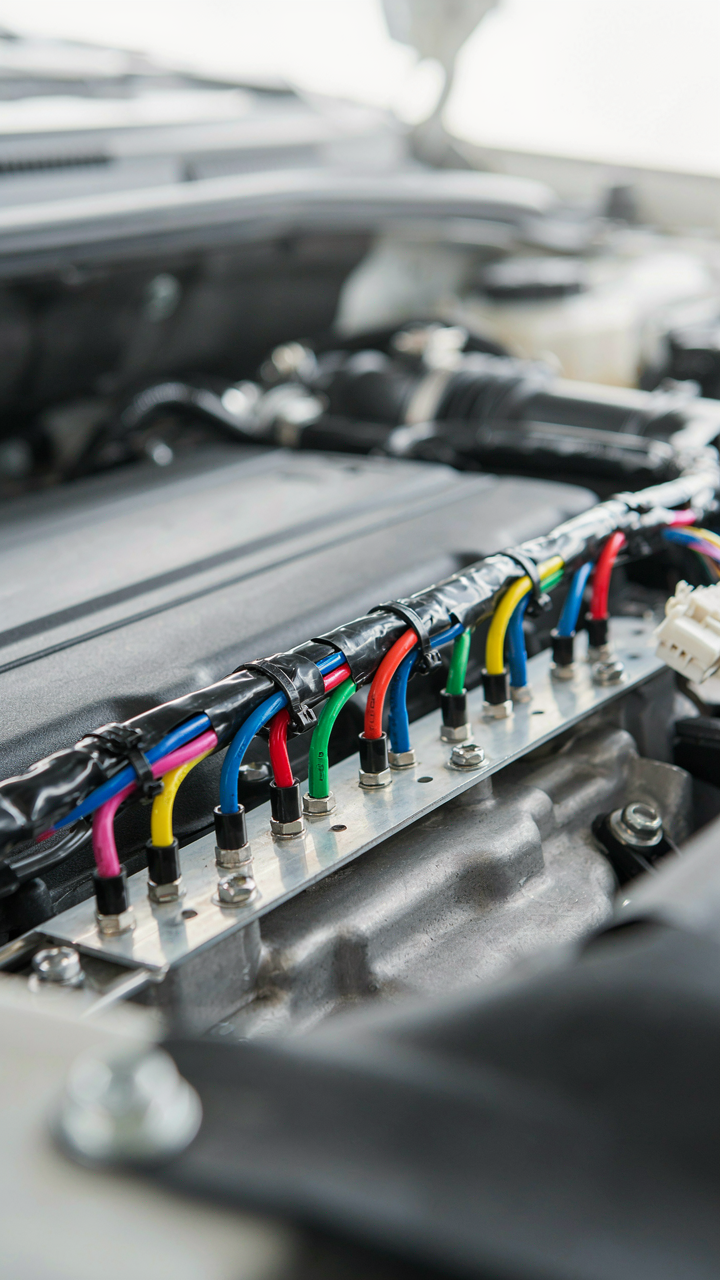
Color labeling is information design applied to physical space. Instead of relying on tracing wires backward to their source, you encode circuit identity into the tubing itself. This reduces diagnostic time from minutes to seconds and eliminates the most common repair error: splicing into the wrong circuit. Red tubing identifies power lines, black marks ground returns, yellow flags accessory circuits, blue denotes data lines. The standard isn’t universal across industries, which is why you establish your own protocol before the first splice.
The real value emerges when a technician returns to your work three years later. They don’t think. They see the color and know the circuit function instantly. Multicolor options let you run multiple repairs in a single area without visual confusion. You use a thinner wall, 2-to-1 ratio tubing for tight spaces where standard 3-to-1 won’t compress enough, then sleeve it with colored tubing to maintain your key. The discipline isn’t cosmetic. It’s systems thinking applied to maintenance. Assign colors once, stick to the assignment forever, and the repair becomes self-documenting.
The Post Shrink Inspection Protocol

What Actually Matters After The Heat Hits
You’re checking because you’re afraid the joint will fail and you’ll look incompetent. So stop inspecting for perfection and start inspecting for the mechanism that prevents failure: adhesive bond integrity and tubing compression ratio. Run your thumb hard across the shrunk tubing while it’s still warm. You’re feeling for gaps between the tubing and the wire jacket. Any separation means the adhesive didn’t activate fully, and your repair will delaminate under vibration or temperature cycling.
The tubing should be snug enough that you can’t twist it around the wire with your fingers. If it slides, the shrink ratio was too low for your wire diameter, or you didn’t heat it evenly. Press firmly on the tubing edges where they meet the wire. They should feel solid and locked, not rubbery or hollow. This compression is what holds everything sealed against moisture and oxidation. If you feel mushiness, you either used the wrong tubing size or let it cool too fast.
Catching And Fixing What Went Wrong
Most people say “look for bubbles,” which is useless advice because you can’t always see them, and minor ones won’t kill your repair. What actually matters is checking for incomplete coverage and adhesive failure. Start at the wire entry points where the tubing meets bare conductor. The adhesive should have flowed down and sealed the gap completely. If you see a visible line or crack where bare wire shows through, the tubing didn’t shrink enough or didn’t heat long enough at that spot.
If the tubing pulled away from either end, reheat it with your heat source held 2-3 inches back for 10-15 seconds until it tightens again. Work slowly to avoid overheating the adhesive layer and causing it to separate from the tubing wall. Once you confirm even coverage and firm compression at both ends and across the full overlap, the joint is sealed and ready to work.
Your Fear Of Doing It Wrong Is A Self-fulfilling Prophecy. Master The Material, Master The Outcome
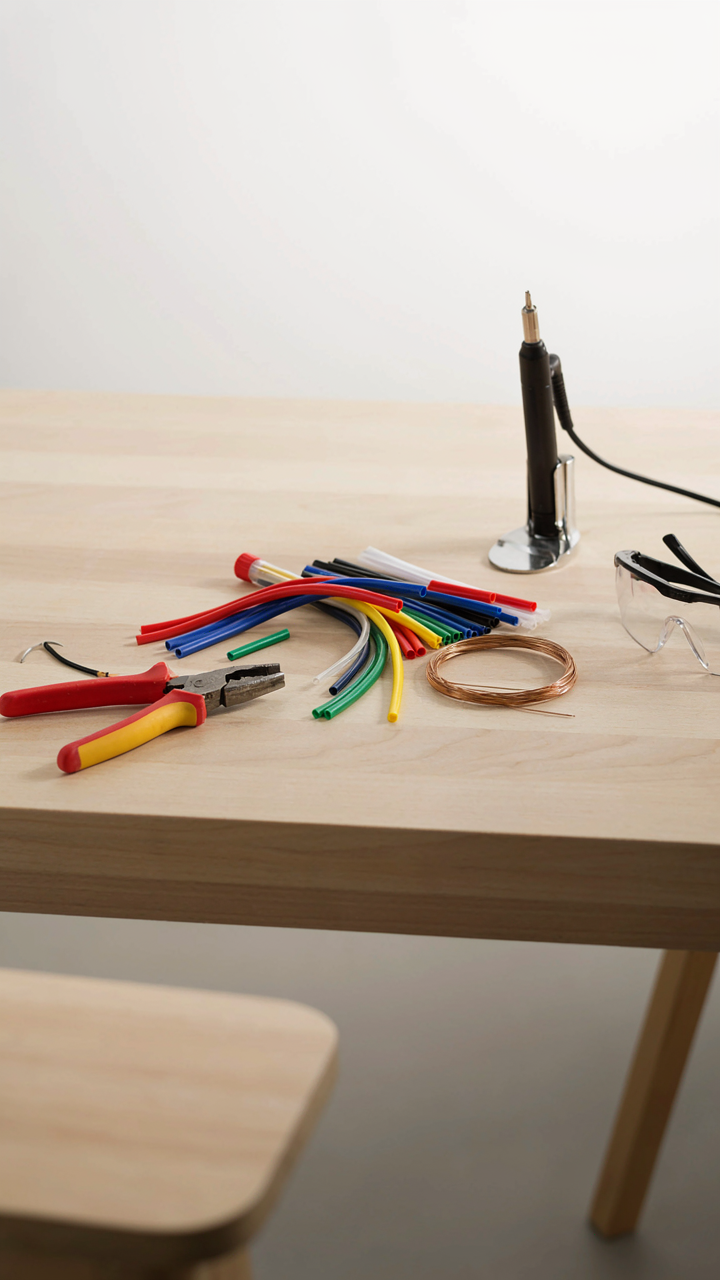
Most people fail with heat shrink tubing because they treat it like a chore instead of a tool they control. You decide the temperature, the timing, the fit. Stop waiting for permission to get it right. Buy a heat gun today, practice on scrap wire for fifteen minutes, and watch how fast your fear evaporates. The only difference between a clean repair and a sloppy one is someone who decided they could do it.



