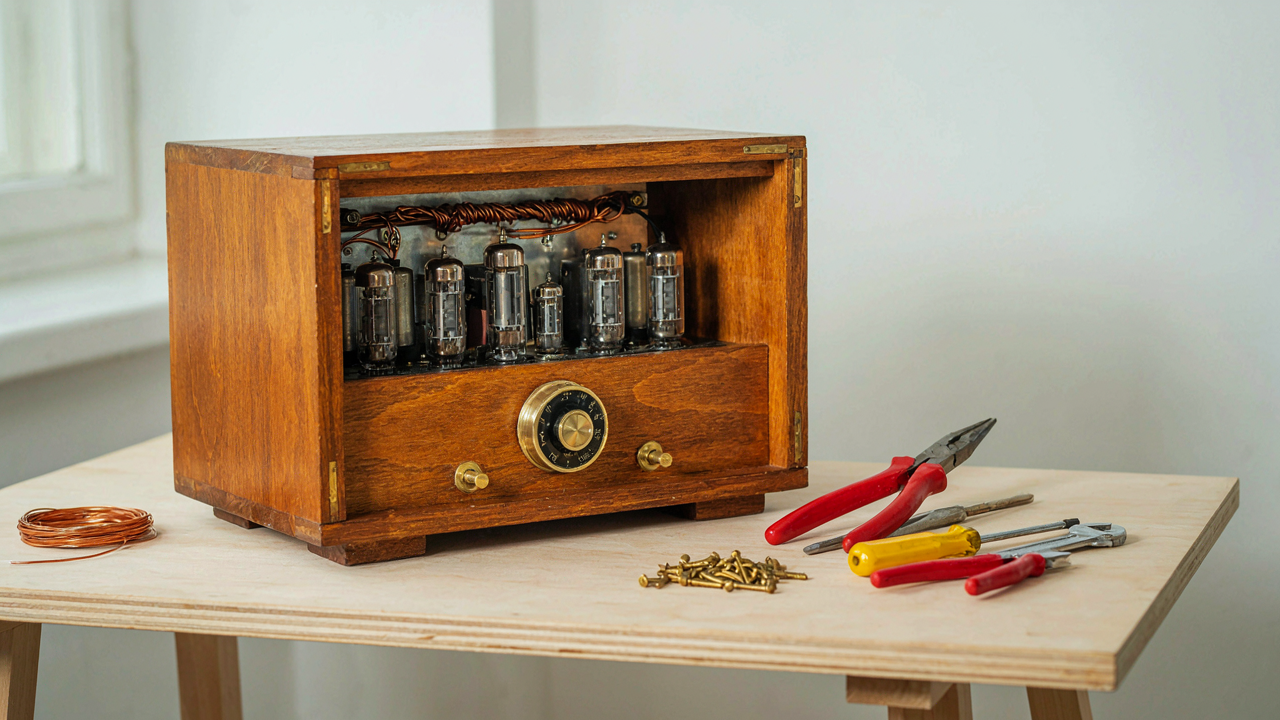
The Deceptive Sheen: Why Your “Shine” Fails
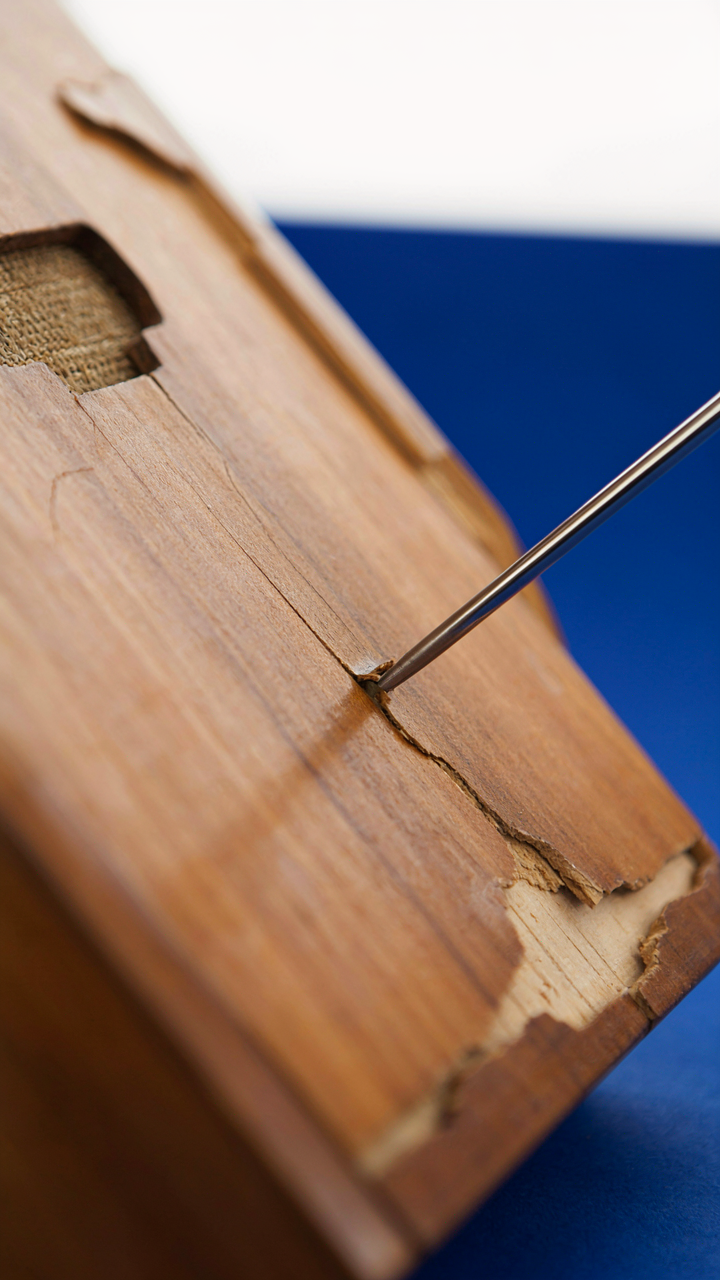
Cosmetic Fixes Hide Real Problems
You want the cabinet to look restored because you want people to see value in what you own, not because the wood actually recovered. But here’s the mechanism: finish sits on top of substrate. A shiny surface tells you nothing about what’s underneath. Cracked veneer, water damage, loose joints, and rotted wood all disappear under a fresh coat of poly or wax. You’ve masked the problem, not solved it.
Structural failure compounds over time. A cabinet with sound wood but dull finish needs cleaning and recoating. A cabinet with damaged substrate needs repair before any finish touches it. Most people skip the inspection phase entirely and go straight to sandpaper and stain, which accelerates deterioration on compromised wood. You end up with a polished exterior containing deeper damage you can’t see, only discover later when the veneer lifts or a joint fails.
Sand Away The Shortcuts
The consensus says “sand it smooth, apply stain, seal it.” That’s incomplete advice that ruins more cabinets than it saves. Sanding removes finish, not damage. If you sand over a soft spot in veneer or a water-damaged edge, you’re thinning compromised material, not strengthening it. You’re also grinding away the original finish without understanding whether the substrate beneath it is even stable.
Inspect first. Press the wood with a metal probe. Listen for hollows. Check veneer adhesion by flexing edges. Identify water stains, cracks, and joint separation before you touch sandpaper. Repairs happen now: reglue loose veneer, patch gouges, replace rotted sections, shore up wobbly frames. Only after the cabinet is structurally sound do you proceed to surface prep and finish application. This sequence is non-negotiable.
Beyond Aesthetics: Structural Integrity Protocol
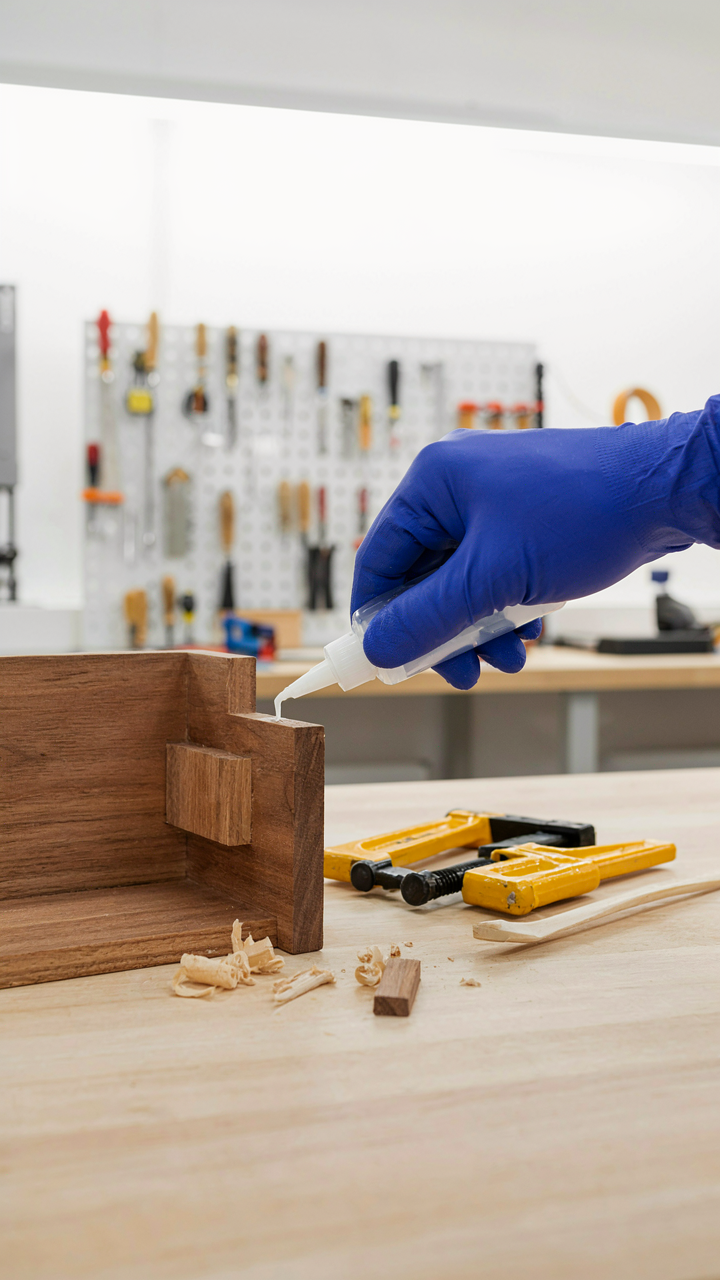
When The Joints Start Talking
You want the cabinet to look restored, but what you’re really afraid of is sinking money into a piece that falls apart in your hands. Here’s the mechanism: wood moves. It shrinks and swells with humidity. Joints that held for sixty years start failing because the original glue was animal-based and brittle now. You need to catch this before refinishing, because paint and stain hide nothing—they expose every structural flaw underneath.

Start with the joints. Press on corners and edges where pieces meet. Listen for creaks. Feel for play. Radio cabinets from the 1930s through 1950s used mortise and tenon joints held with hide glue. That glue fails predictably. Veneer bubbles appear where substrate wood has shifted. Gaps form between frame and side panels. The cabinet won’t look finished until the skeleton is solid again. These aren’t cosmetic problems you can sand over.
Adhesives And Clamps Do The Work
This is where most people get it wrong. They think one pass with wood glue fixes everything. Wrong. Mechanical advantage matters here—borrowing from engineering, you need load distribution, not just adhesive strength. Hide glue reactivates with heat and moisture, making it ideal for disassembly and repair of vintage cabinets. Modern PVA glues (like Titebond) cure faster but don’t penetrate old wood the same way. Pick the tool that matches the joint type.
Loose joints need the joint opened first. Tap gently with a mallet to separate the pieces without breaking them. Clean out old glue residue with a chisel. Apply fresh adhesive into the joint cavity, reassemble, and clamp with even pressure across the joint for 24 hours. Veneer gaps need different handling—inject adhesive under the veneer with a syringe, weight it flat, and let it set. Bracing from inside adds reinforcement where joints are weak. The protocol is: assess, open, clean, glue, clamp, wait.
Stripping The Veneer Of Ignorance: True Preparation
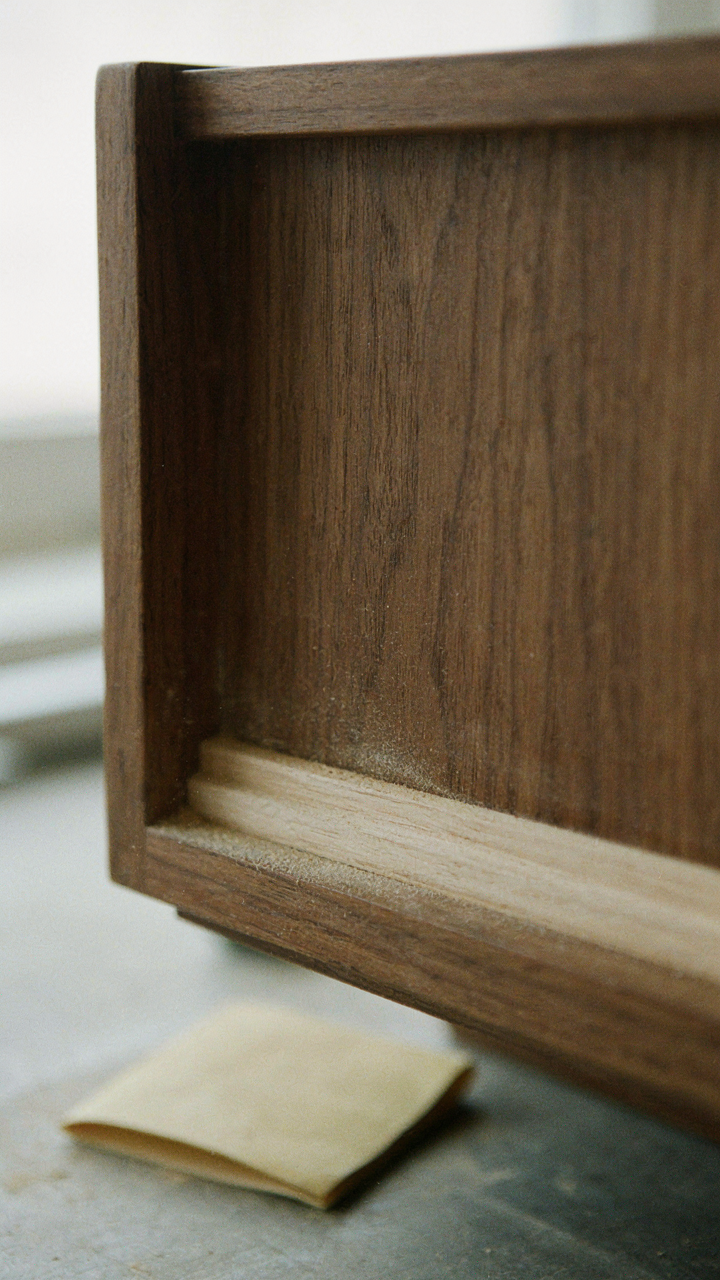
Chemical Versus Mechanical Stripping
You want to avoid damaging the wood underneath because refinishing a cabinet you’ve already ruined defeats the entire point. Here’s the mechanism: chemical strippers dissolve finish (lacquer, shellac, varnish) without abrading the substrate. Mechanical stripping (sanding, scraping) removes finish by friction and requires skill to avoid gouging veneer or exposing substrate unevenly. Chemical strippers work faster on thick, layered finishes common in vintage radios. Mechanical methods give you finer control but demand patience and consistent pressure.

Most people default to chemical stripping because it sounds easier. That’s wrong for veneer. Veneer on radio cabinets is typically thin, glued to cheaper wood underneath. Heavy chemical exposure can penetrate the glue line and cause the veneer to bubble or separate. Mechanical stripping, done properly with sharp tools and light pressure, keeps veneer flat and preserves the original wood surface. The trade off: mechanical takes twice as long but delivers a surface ready for finish without adhesion risk.
Sanding Progression For Actual Results
Sand progression works like military escalation: you don’t start with maximum force. Begin at 80-grit to remove old finish residue and level the surface. This aggressive grit tears wood fibers intentionally to establish a flat base. Skip this step and you chase grain raise and uneven absorption all the way through stain.
Move to 120-grit next to smooth the surface and remove 80-grit scratches. Then 150-grit to prepare for stain or sealer. Never jump grits. Each step removes the scratch pattern from the previous one. Stop at 150 or 180-grit maximum before staining, because ultra-fine sanding closes wood pores and kills stain absorption. After stain dries, sand again with 220-grit before applying topcoat. This final pass ensures adhesion and removes dust nibs that collect during stain drying.
The Alchemist’s Stain: Matching Original Finish
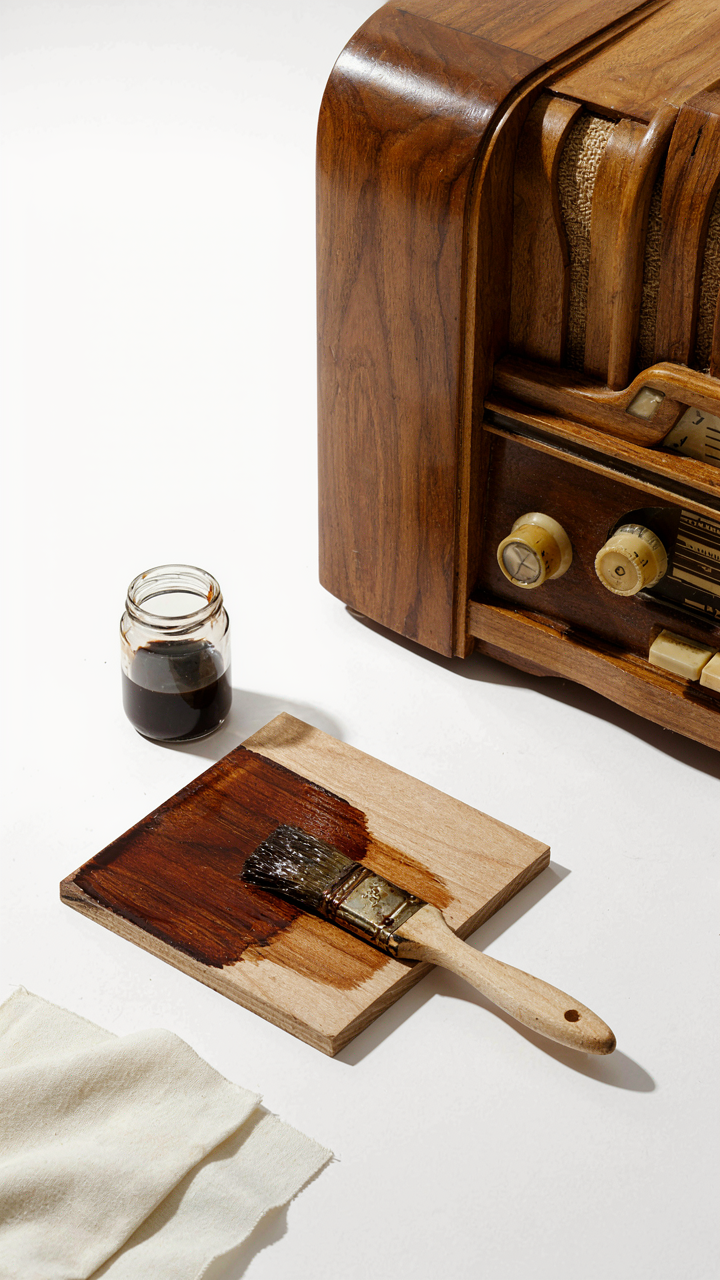
Know Your Wood Before You Touch It
You want to believe the original finish is still salvageable under all that grime. It rarely is. The real mechanism here comes from botany: wood is cellular structure, and grain pattern plus natural color variation tells you the species before you ever apply stain. Most mid-century radio cabinets used walnut, mahogany, or oak because they took stain predictably and looked expensive. The grain runs in visible lines. Walnut shows tight, dark grain. Mahogany displays straighter patterns with reddish undertones. Oak grain is coarse and open. Look at an unexposed edge first, not the top surface.

Once you’ve identified the species, accept this: the original finish was likely a single stain application plus lacquer or shellac. The color you see now is contaminated by decades of dust, oxidation, and whatever chemicals were in the air. Strip to bare wood. This is nonnegotiable if you want accuracy. Sand progressively from 80 grit to 150 grit to kill the old finish completely. The wood underneath will tell you what the original color actually was, not what time made it become.
Stain Layers Build Depth, Not Shortcuts
Most people apply stain once and wonder why it looks flat and generic. That’s not how original finishes worked. Stain is optics: light penetrates the first layer, scatters through the wood grain, bounces off the cellular walls, and returns to your eye. Multiple thin layers create visual complexity because each layer absorbs slightly different wavelengths. This is the same principle as painting: one coat of paint looks thin. Three coats of the same color look substantial. Apply stain in two or three passes, letting each dry fully between coats. Use 50 percent diluted stain on the first pass if the wood is light. This prevents blotching on softwoods or unevenly stained grain.
Tinting means mixing stain colors to match the original cabinet. Get the base stain that matches your wood species, then add a second stain in a complementary tone to deepen or shift the hue. Walnut stain plus a touch of ebony creates the warm brown most radio cabinets had. Mahogany stain plus burnt sienna adds the depth you see in authentic vintage pieces. Test on scrap wood first. Seal between stain applications with a thin coat of your topcoat product, whether that’s lacquer or polyurethane. This prevents the second stain from lifting the first and gives you layered authenticity instead of a muddy result.
Veneer’s Second Act: Repairing And Replacing
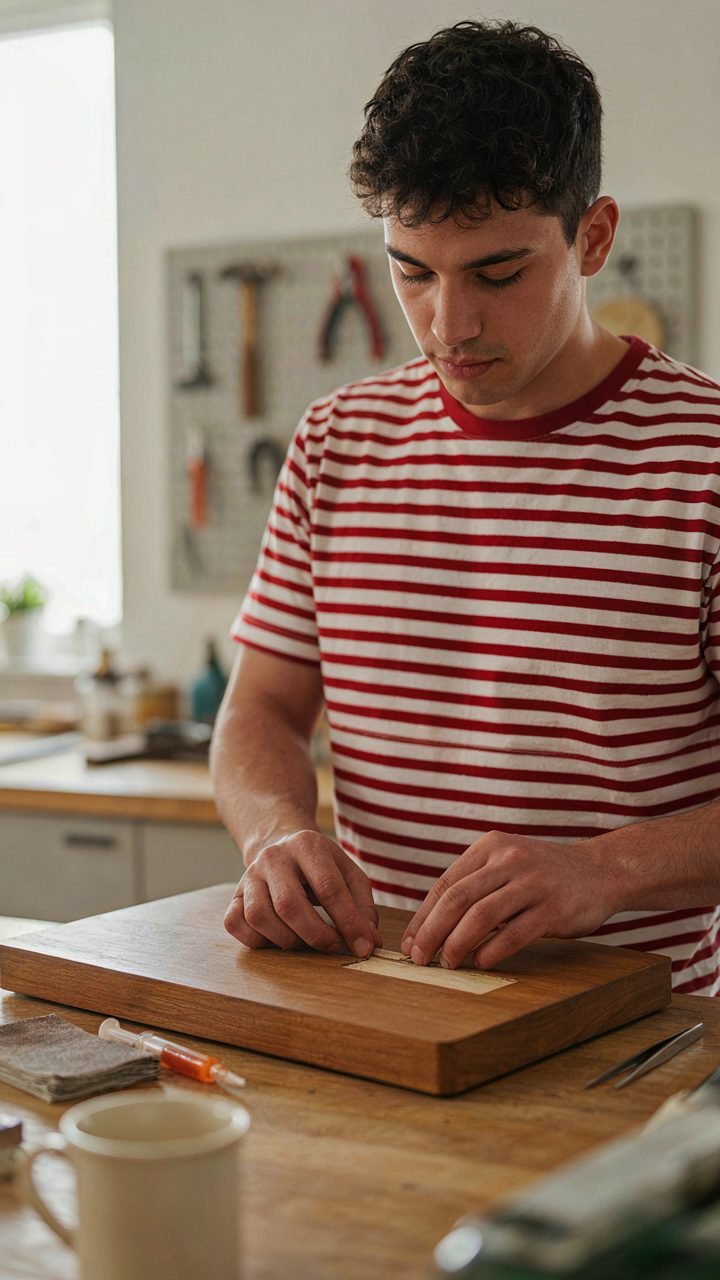
When The Surface Speaks For Itself
You want the cabinet to look untouched, like time didn’t happen. That’s denial. Veneer fails because it’s glued to wood that moves with humidity, and wood moves whether you want it to or not. This isn’t a cosmetic problem you hide—it’s a structural signal you read. Patching works when the damage is isolated. Color matching requires holding samples under the exact light where the cabinet lives, not your workshop. Grain alignment is about physics: veneer has directional stress. When you patch, you’re installing a piece that will move differently than what surrounds it. Match the grain direction of the original veneer, not your aesthetic preference. Sand the damaged area flat first, undercut the edges slightly so the patch sits proud, then sand flush after glue sets. Use contact cement or hide glue depending on whether you need repositionability. Hide glue lets you lift and adjust. Contact cement locks immediately.

Temperature and humidity during patching control whether your work survives the next season. Cold glue sets slow. Dry air accelerates it unevenly. Work in the space where the cabinet will live, not in your climate-controlled shop. Let the patch cure for 48 hours minimum before sanding. Rush this and you sand through the glue line into the base wood. The patch will telegraph through stain later.
Adhesion Determines Whether Veneer Stays Veneer
Common advice says “use the right glue.” That’s incomplete. The real issue is pressure distribution and temperature during set. Veneer that’s already failed teaches you this: the original glue failed under seasonal wood movement, not because it was weak. New veneer needs clamps or a vacuum press holding even pressure across the entire surface for the duration of cure. Uneven pressure creates hollow spots that fail in 18 months. Adhesion methods divide into three: contact cement for small patches where you need speed, hide glue for reversibility and repositioning time, and modern PVA for consistent open time. Each demands different clamping protocols. Contact cement sets in minutes and needs no clamps after initial pressure. Hide glue needs clamps for the full 24-hour cure. PVA needs 12 to 16 hours under pressure.
Tools matter only because they enforce pressure distribution uniformly. Cauls, which are flat boards laid across the veneer surface under clamps, prevent clamps from denting the wood. Vacuum presses distribute pressure perfectly but cost money most people don’t spend on one radio cabinet. If you’re using hand clamps, space cauls every 6 inches across the surface. Tighten clamps in alternating pattern, half turn at a time, not one clamp fully tight then the next. This keeps the veneer from buckling during pressure application. Verify the veneer is flush with surrounding surfaces before glue fully sets because sanding it level after cure takes more work than positioning it right the first time.
The Restoring Old Radio Cabinets Finish Application Matrix
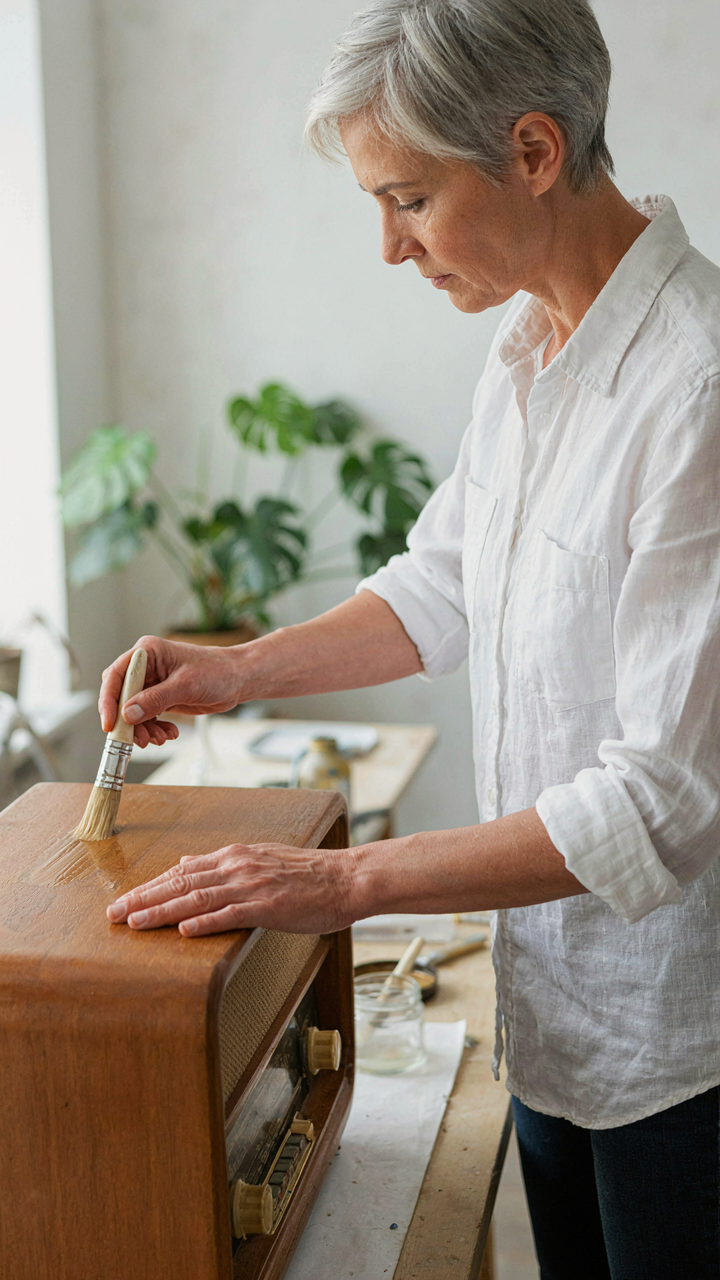
Oil Versus Lacquer Versus Shellac
You want the cabinet to look like it did in 1955, not like you refinished it last weekend. The real mechanism here is that finish choice determines whether wood grain stays visible or gets buried under plastic film. Oil soaks into wood and hardens from oxidation. Lacquer and shellac sit on top as a coating layer. That distinction changes everything about appearance and how the cabinet ages.

Oil finishes reveal grain detail because light passes through the hardened oil into the wood itself. Shellac and lacquer create a surface film that can obscure grain if applied too thick. Oil demands more frequent maintenance and offers less protection against moisture and alcohol rings. Lacquer provides harder surface protection and faster dry times, but yellows over decades and chips rather than wears evenly. Shellac splits the difference: moderate durability, reversible if you need repairs, but vulnerable to heat and water rings. For radio cabinets that sit indoors and rarely get touched, shellac was the factory standard because application speed mattered in production.
Brushing, Spraying, And Wiping Methods
Brushing leaves visible lap marks unless you understand the actual physics of how bristles move finish across wood grain. Think of finish application like military deployment: you choose your entry vector based on terrain and available resources. Brushing works for oil finishes and thin shellac applications because the finish flows back together after the brush passes. Spraying atomizes the finish into a mist, eliminating brush marks, but requires equipment and technique that most home refinishers lack. Wiping applies oil or thin shellac by hand with a cloth, giving you maximum control and visibility.
- Brushing with natural bristles: Works best for oil finishes and full-strength shellac. Synthetic bristles shed into shellac and lacquer. Watch the grain direction and brush with it, not against it.
- Spraying with HVLP equipment: Delivers even coat without marks, but overspray wastes material and requires ventilation. Lacquer and thin shellac spray cleanly. Oil doesn’t atomize predictably.
- Wiping technique with cloth: Apply finish to cloth, then rub wood in circular motions. Best for oils and thinned shellac. Gives you real-time feedback and nearly eliminates mistakes.
- Pad application for shellac: Use a lint-free cloth pad dampened with shellac. Multiple thin passes build finish without visible brush strokes. This was a pro technique before spray equipment existed.
- Combination approach: Wipe initial coats to seal and build depth, then brush or spray final coat for desired sheen. Reduces application errors while maintaining control over final appearance.
Thinned finishes apply easier than full-strength products because they flow and level better, but you sacrifice protection and must build thickness across more coats. The real decision isn’t which tool looks fanciest but which method matches your finish choice and your actual skill level with that tool.
Beyond The Surface: Vintage Radio Cabinet Repurposed Patina Preservation
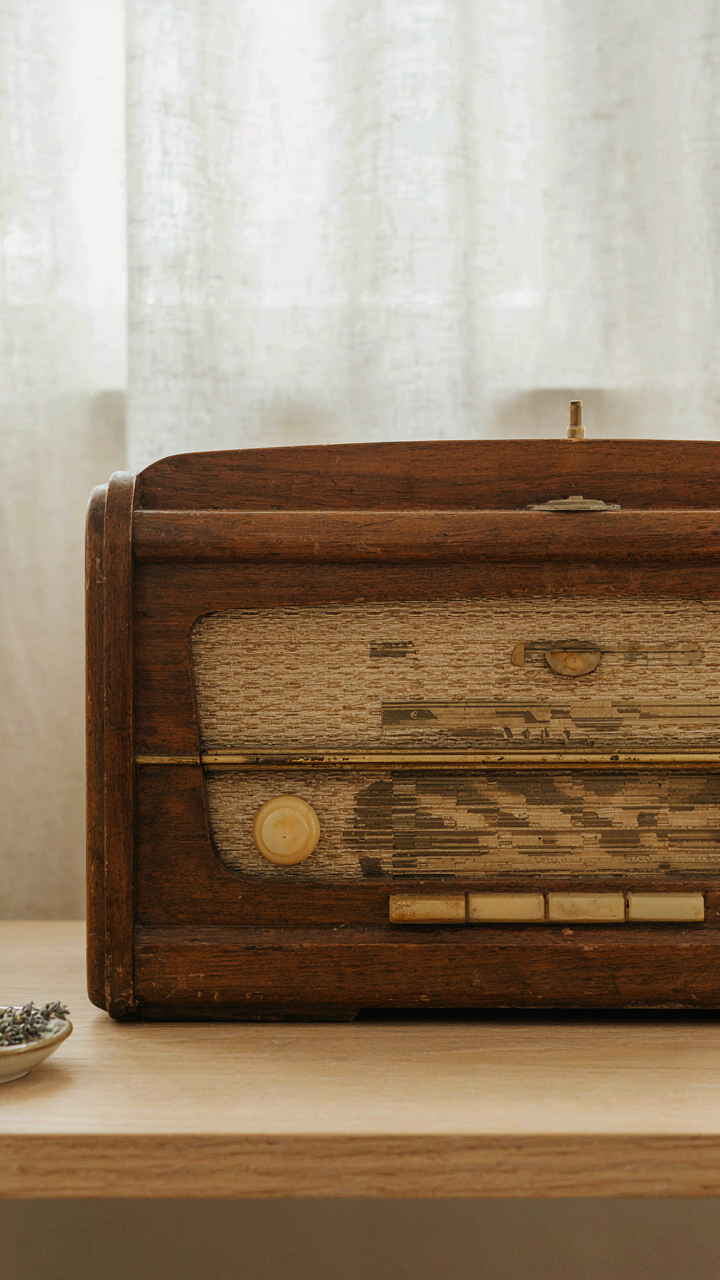
Know When To Stop
You want to believe the cabinet is worth restoring because selling it or keeping it half-finished feels like admitting waste. Here’s the military principle: in warfare, you choose between holding territory and abandoning it. With radio cabinets, you choose between conservation and overhaul. Most cabinets fall between two states: either they’re historically significant enough to preserve exactly as they sit, or they’re damage-prone enough to warrant full refinish. The distinction matters because partial work creates a false artifact.

Original finishes on mid-century radio cabinets—lacquer, shellac, or oil-based varnish—tell a material history. Attempting to “blend” old finish with new treatment leaves you with a hybrid that satisfies no standard. You either document the existing patina, leave it untouched, and accept the age, or you commit to complete stripping and refinish. The mechanism is simple: mixed finishes fail faster because different materials have incompatible expansion rates under humidity and temperature swings.
Restore Only What Justifies The Time
The common advice says “restore everything.” Wrong. You should restore only the visible surfaces that receive direct use or affect value perception. A radio cabinet’s back panel, typically plywood veneer or cardboard, doesn’t warrant the same effort as the front. If the cabinet will sit against a wall, the rear damage is irrelevant to the outcome.
Calculate actual return on labor. If a cabinet’s wood grain is solid and only the finish is dull, a surface refinish makes sense. If the veneer is lifting, the substrate is water-damaged, or structural joints are loose, you’re not refinishing—you’re rebuilding. That’s a different project with different economics. Strip and refinish only when the wood itself remains viable. Otherwise, you’re masking structural failure under new finish, which fails within two seasons.
The Unseen Details: Hardware Antique Radio Cabinet Makeover

When To Clean Hardware Instead Of Replace It
You want people to see you did legitimate restoration work, not just slapped new parts on an old box. Here’s what matters: cleaning brass, steel, and nickel hardware reveals the original finish underneath, and that original finish is your proof of authenticity. Most advisors say “replace damaged parts,” but that’s backwards. The mechanism is simple. Dirt and oxidation hide what’s actually there. Remove the oxidation first, assess the real condition second, decide replacement third.

Hardware from 1930s to 1950s radios carries intentional design markers. Bakelite knobs, pot metal bezels, and stamped steel brackets were chosen for specific acoustic and mechanical reasons, not decoration. When you clean instead of replace, you preserve those original choices. Use 0000 steel wool and mineral spirits on brass knobs. For pot metal, use a soft brass brush. The goal is surface oxidation removal, not aggressive scrubbing that erases maker marks and patina depth.
Finding Authentic Parts When Replacement Is Real
Sourcing vintage hardware sounds easy until you realize most sellers misidentify era and material. The distinction matters because a 1945 radio knob differs from a 1955 one in threading depth, bakelite compound, and dial markings. Radio restoration communities online track original supplier catalogs and cross-reference manufacturer stamps. eBay listings for “vintage radio parts” are often mislabeled or mismatched. Contact active ham radio clubs and antique radio societies directly. They maintain parts databases and know which suppliers stock period-correct hardware without guessing. Verify material type, threading size, and maker information before ordering anything.
If you cannot source an exact match, accept the limitation rather than improvise. A mismatched knob or bracket telegraphs to anyone who knows radios that your work was incomplete. Original condition beats partially restored every time. If a part is missing, leaving the hole empty is more honest than filling it with something wrong. Document what was there using patent numbers, manufacturer catalogs, or radio schematics. This record matters more than forcing a solution.
Longevity, Not Trend: Radio Cabinet Makeover For The Decades

The Environment Controls The Wood
You want your refinished cabinet to stay beautiful because you’ve invested time and money into it, and decay feels like failure. Here’s what actually matters: wood moves. Temperature swings and humidity fluctuations force the grain to expand and contract. This mechanical stress cracks finishes and opens joints. The finish you apply is only as durable as the environment you keep it in.

Store your radio cabinet away from direct sunlight, heating vents, and exterior walls where temperature swings are extreme. Target 45 to 55 percent relative humidity and stable temperatures between 65 and 75 degrees Fahrenheit. These conditions prevent the wood from absorbing and releasing moisture at rates that destroy your work. A basement or interior closet beats a sunroom every time. UV light fades stain and breaks down polyurethane and lacquer bonds over years. Control the environment first, or refinishing becomes a recurring job.
Cleaning And Waxing Keep The Finish Alive
The common advice here is weak: dust occasionally and you’re done. Wrong. Dust particles are abrasive. They scratch finishes. Wax does not restore shine lost to oxidation, but it fills micro-scratches, buffers moisture, and adds a protective layer that extends the life of your topcoat by years.
Clean the cabinet monthly with a soft cotton cloth barely dampened with distilled water. Wipe dry immediately. Every six to twelve months, apply paste wax formulated for wood furniture in thin, even coats. Buff it to a matte or satin finish depending on your preference. Paste wax reapplication is the single cheapest insurance against premature refinishing. Skip this step and your cabinet’s finish oxidizes, hardens, and crazes within three to five years. Commit to it and you extend the viable life of your topcoat by a decade.
The Real Obstacle Isn’t The Wood; It’s Your Impatience With True Craftsmanship
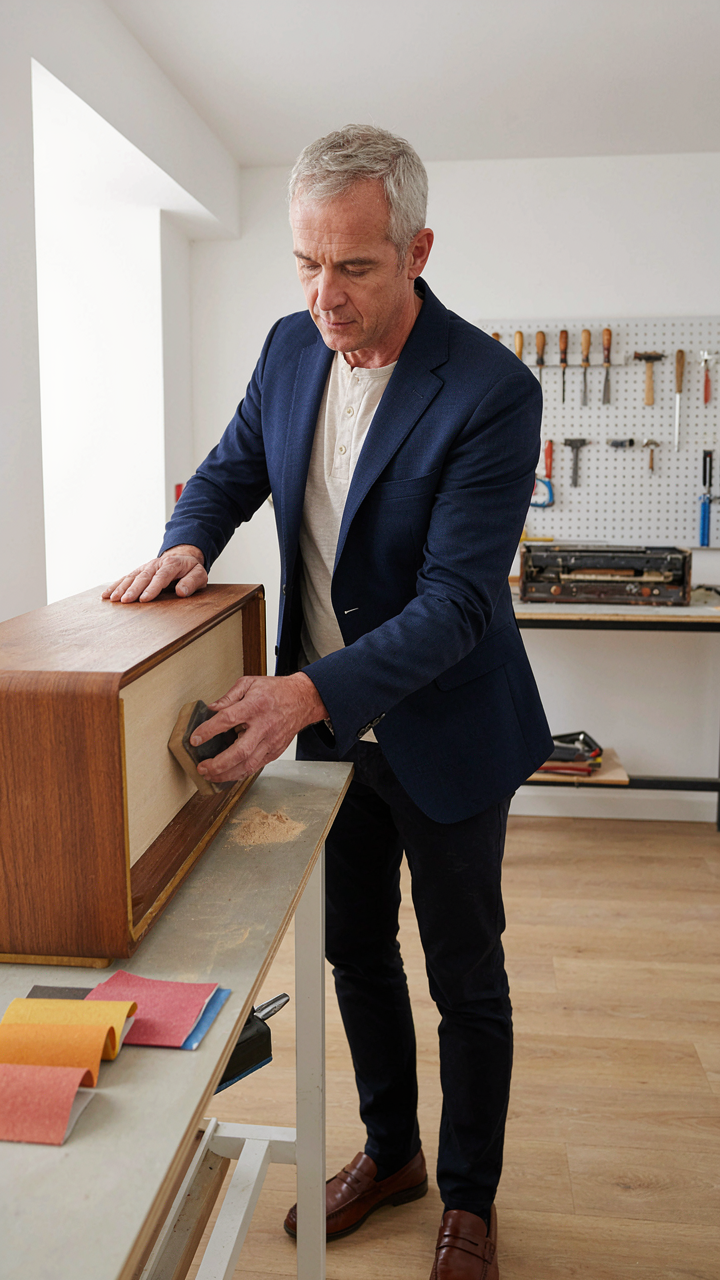
Most people quit refinishing cabinets halfway through because they expect instant results. You won’t get them. The wood demands time. Strip it properly, sand it right, stain it with intention, seal it with precision. Stop treating this like a weekend project and start treating it like a skill worth mastering. Pick up sandpaper today and spend an hour on one section of your cabinet. You’ll realize the work itself is the point, not the finished product.