The “Battery Only” Fallacy: More Than Just Power

Most People Think A Battery Is Just A Battery
You want to believe a battery is just a power source so you can skip the hard part and build something that works. The mechanism nobody explains plainly: a battery doesn’t just provide voltage. It provides voltage under load, which changes everything. The terminal voltage you measure sitting on a bench collapses the moment current flows. That collapse determines what your circuit actually does, not the number printed on the wrapper.
Physics calls this internal resistance. In circuits, internal resistance is the invisible cost that eats your available voltage before it reaches your components. A 9V battery might show 9V on a meter, but push 500 milliamps through it and the voltage drops to 7V or lower. This isn’t a flaw in the battery. It’s the mechanism that decides which projects work and which fail silently.
Current, Resistance, And Why Most Guides Skip The Real Problem
Everyone tells you to “match the battery to the load” because they learned it that way, not because they understand why. The real answer is buried in Ohm’s Law, but most battery projects fail because people ignore current limits, not voltage. A battery rated for 2000mAh doesn’t mean it can safely deliver 2000 milliamps. It means that’s the total charge capacity, not the peak current the chemistry can handle.
When you short a battery through a low resistance load, current spikes fast enough to damage the battery internally or create heat that burns components. This is why LED projects work and motor projects explode: motors draw variable current that balloons on startup. Adding a resistor in series isn’t a suggestion. It’s the protocol that prevents your battery from turning into a heating element or your circuit from drawing lethal current through fragile wiring.
Deconstructing The “Easy” Myth: Real Simplicity Is Foundational

When Component Count Becomes Sabotage
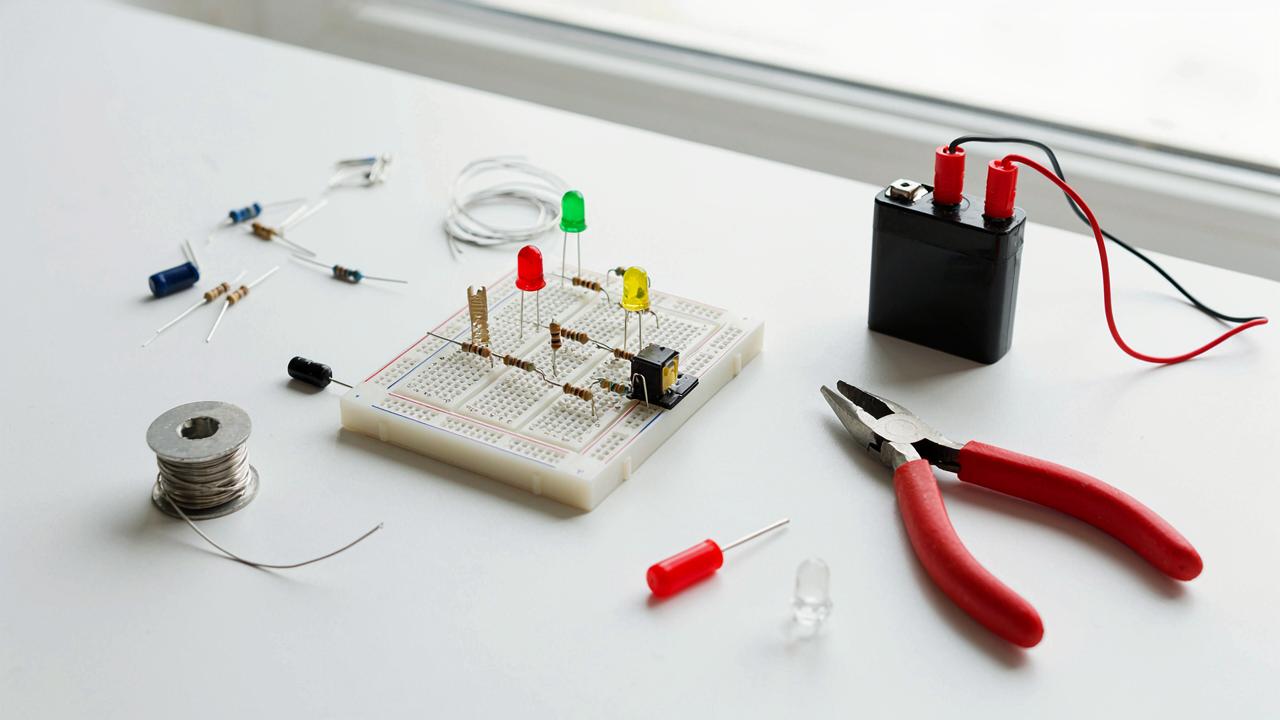
You want to feel like you’re not wasting time by starting simple. The real mechanism is this: most beginner projects fail because they pack in components nobody needs, then call it “educational.” A working LED circuit requires a battery, an LED, and a resistor. Everything else is noise that trains you to accept bloat.

Electronics borrows from systems design the concept of “critical path”—the shortest sequence of essential steps to reach an outcome. Your critical path is voltage, load, and protection. Most tutorials add switches, capacitors, extra resistors, and breadboards when none of those are mandatory for proof of concept. Strip to the mechanism first. Add the rest after you understand what’s actually happening.
Voltage, Current, And One Real Rule
Beginners memorize Ohm’s Law and forget to ask what it solves. You need one rule: a component burns out when current through it exceeds its rating. A standard LED dies above 20 milliamps. A 9V battery can push 500 milliamps through a dead short. A resistor sits between them and makes the math work. That’s not theory—that’s the only rule that keeps components alive.
Current flows in one direction through an LED. The longer leg goes toward positive voltage. Reverse it and nothing happens. A resistor has no polarity. A battery does. These three facts eliminate 90 percent of beginner confusion. When you understand why current flows and what stops it, you stop following steps and start predicting outcomes. Build a simple LED circuit with just battery, resistor, and LED soldered together, no breadboard. You’ll know exactly how it works because you felt every connection.
The Minimalist Circuit Protocol: Less Is More
Designing Efficient Stripped Down Circuits
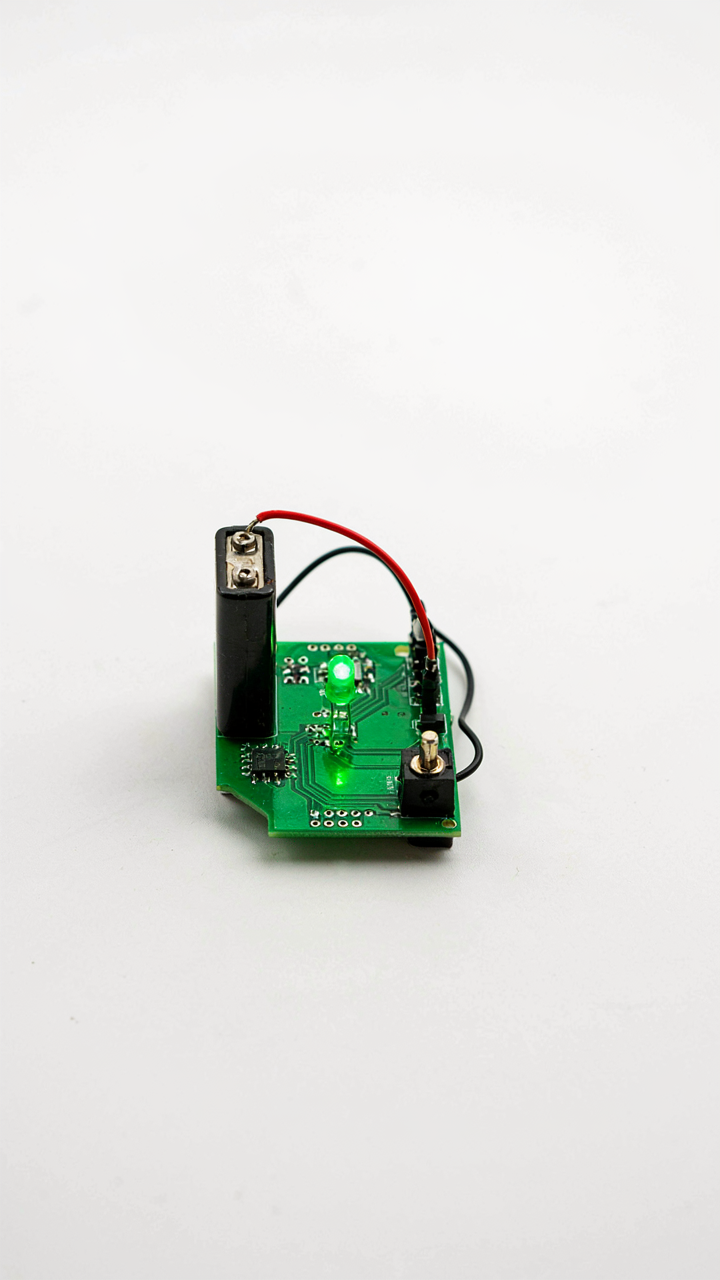
You want to feel smart without actually learning. The mechanism that stops most hobbyists is feature creep: adding components because they exist, not because the circuit needs them. This is the signal-to-noise ratio problem borrowed from information theory. In circuits, noise is every component that doesn’t directly serve your specific output.

Start by naming your single desired outcome. LED lights up. Motor spins. Buzzer sounds. Everything else is distraction. A battery, a switch, and a load (the thing that does work) form the core. Resistors, capacitors, and transistors enter only when the battery voltage or current would destroy the load or when you need to control timing. Most beginner projects fail not from missing parts but from forgetting this: every component must justify its presence by solving a real problem.
What Stays And What Gets Cut
The consensus says buy a kit with fifty components. Wrong. You need three categories: the battery (your power source), the load (LED, motor, speaker), and the control layer (switch, resistor). Everything else is optional until your circuit breaks.
A resistor protects an LED from burning out immediately. That’s load protection. A switch lets you toggle power without touching wires. That’s control. A capacitor smooths voltage spikes only if your battery delivers them erratically, which standard AAs do not. Cut it. A transistor amplifies signal only if your battery can’t drive the load directly, which it usually can with LEDs or small motors. Keep it simple: include a component only after your circuit fails without it.
Building Block Mastery: Essential Components For Battery Power
The Three Components That Actually Matter
You want to feel competent without actually learning electronics. The mechanism stopping you is confusion masquerading as complexity. Most beginner projects fail because people don’t understand what each component does in the circuit, so they guess at values and get frustrated when nothing works.

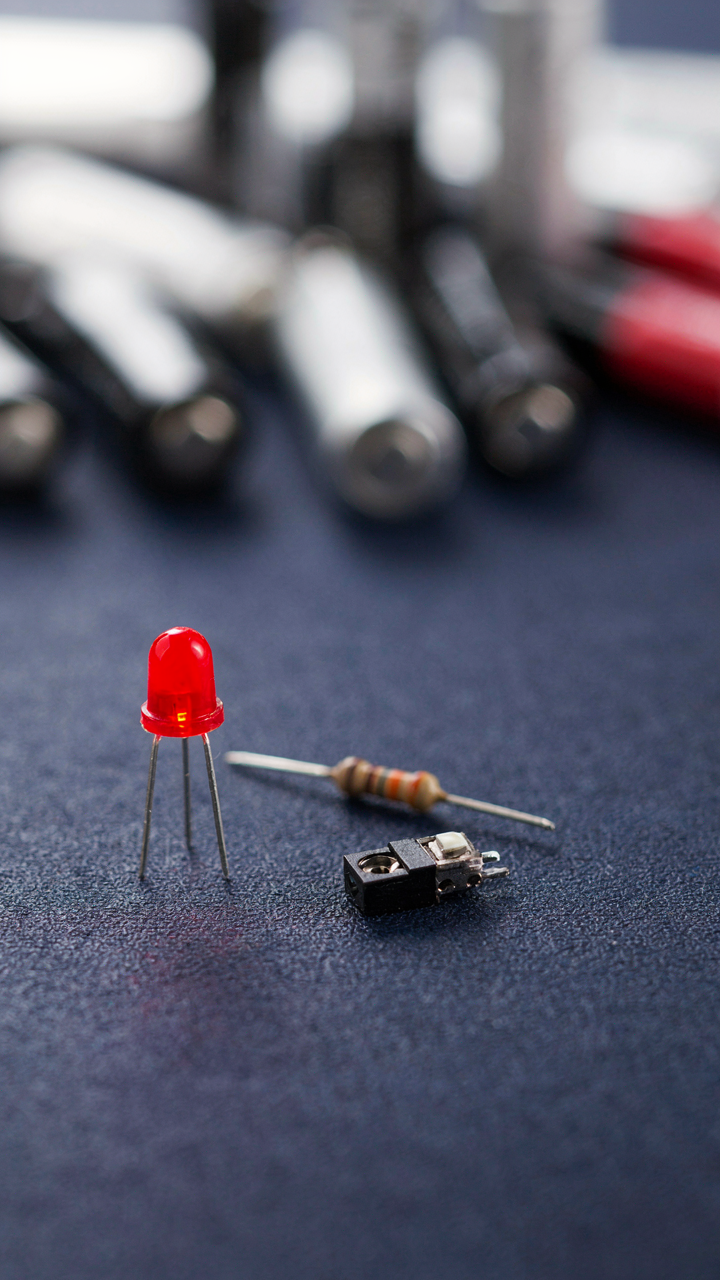
An LED is a one-way valve for current. It only conducts electricity in one direction, and it drops a specific voltage (usually 2 volts for red, 3 for blue). A resistor slows current down by converting excess energy into heat. A switch is just a gate that opens or closes the path. That’s it. Understanding these three forces you to think like a circuit instead of following instructions blindly.
Battery Chemistry Matches The Job
Different battery chemistries exist for different reasons, and picking wrong wastes time and money. Alkaline batteries (AA, AAA, 9V) deliver steady voltage for low-drain projects like LED flashlights. Rechargeable NiMH batteries cost more upfront but work for projects you’ll build repeatedly. Lithium coin cells power small circuits for weeks because they maintain voltage longer than alkaline equivalents.
The mechanism: battery chemistry determines voltage stability, discharge curve, and lifespan under load. A 9V alkaline battery actually starts around 9.6 volts and drops to 7.5 before it dies. Understanding this matters because LEDs and sensors have voltage thresholds. Your circuit might work at the start and fail silently weeks later as voltage creeps down. Test your project’s minimum operating voltage before declaring it finished.
The “Scarcity Principle” Of Power: Engineering With Constraints

Maximize Output With Minimal Power
You want to prove you can build something real without blowing money on a power supply. Here’s the mechanism: economics calls this scarcity, and it applies directly to circuits. Constraints force optimization. A 9V battery isn’t a limitation—it’s a design parameter that kills bad ideas before you build them. When power is finite, every component choice matters. You stop adding features you don’t need. You stop using parts that waste current in standby. The project gets lean.

Most advice tells you to “just pick efficient components.” That’s incomplete. Efficiency lives downstream of architecture. You decide first whether your circuit runs constantly or pulses. A pulsing LED uses a fraction of the current of a continuous one at the same brightness. That decision, made early, saves you more power than picking between two similar chips ever will. A 9V battery lasts weeks instead of days based on that one choice.
Trade Offs In Component Selection And Battery Life
The real trade-off isn’t brightness versus efficiency—it’s response time versus power draw. Standard LEDs run on 20 milliamps. Ultra-bright LEDs pull 30 to 50 milliamps but cost the same. The brightness curve flattens around 30 milliamps; going higher wastes battery life for marginal gains. Most hobbyists pick ultra-bright anyway because the spec sheet looks better. Your project runs half as long. Worse, you don’t notice the difference in a lit room.
Choose components based on the task, not the marketing. A standard red LED and a standard NPN transistor from the 2N series handle 95 percent of beginner projects. They cost cents. They’ve worked for 60 years. A microcontroller adds capabilities but drains faster than discrete logic in low-power states. Pick the microcontroller only if you need programmable logic. Otherwise, a simple 555 timer or relay costs less and runs longer on the same battery.
Practical Applications: Beyond Glowing LEDs
Making Motors Turn Without Code
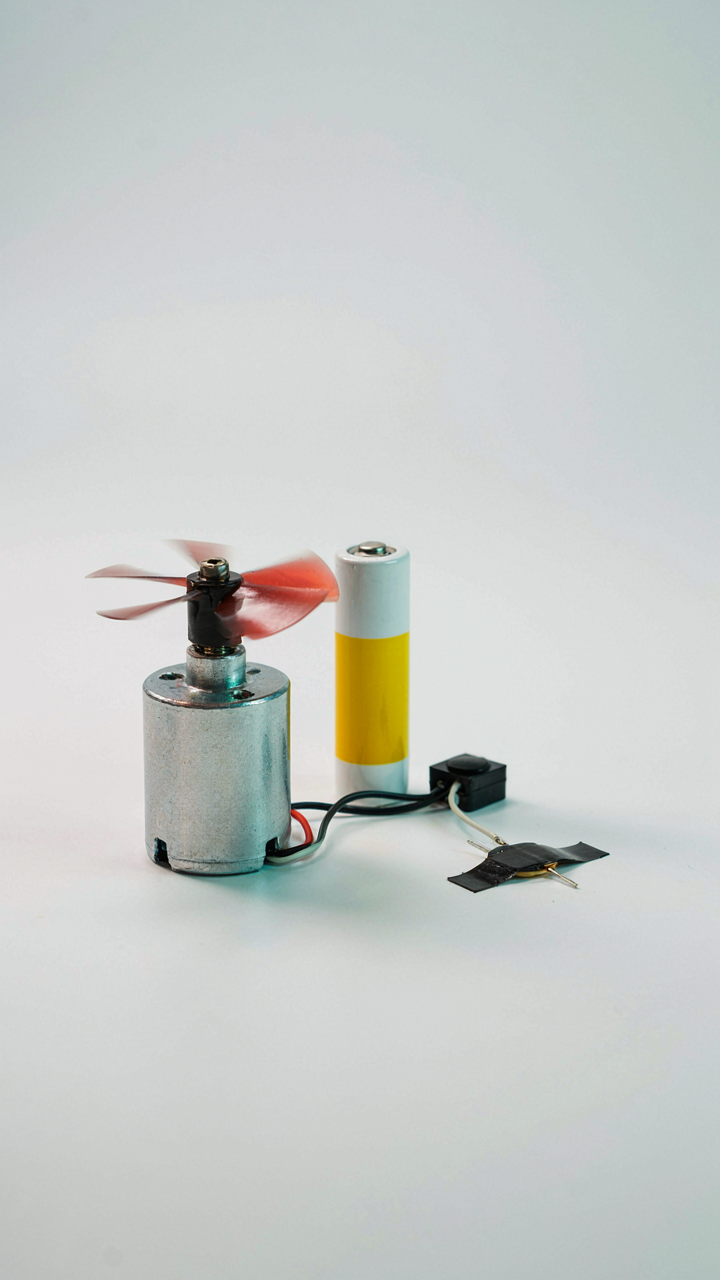
You want proof that your circuit does something real. You want tangible output. Here’s the mechanism: a motor needs consistent voltage and current flow, which a battery provides directly. No microcontroller required. A DC motor spins when current passes through its coil inside a magnetic field. The battery voltage determines speed. The battery capacity determines how long it runs. Wire a motor to a battery through a simple switch and you’ve built the foundation for everything else.

Adding a sensor means inserting a component that changes resistance based on an input. A photoresistor changes resistance when light hits it. Wire it in series with the motor circuit, and the motor’s speed responds to light levels without any programming. The battery powers both the sensor and the motor. The mechanical response is instant. This is how early motion-sensitive toys worked before electronics became software-dependent.
Building Things That React And Respond
The consensus says interactivity requires complexity. It doesn’t. You create interactivity by chaining simple cause-and-effect circuits together. Touch a wire to complete a circuit and a buzzer sounds. Tilt a tilt switch and an LED turns on. Stack these together and you’ve built a device that reacts to human input. The battery is the only power source. Each interaction is mechanical or electromagnetic, not computational.
The real leverage is combining outputs. One battery can power an LED, a motor, and a buzzer simultaneously if their current draws don’t exceed the battery’s rating. Build a project where tilting activates a motor, which spins a wheel, which breaks a light beam and triggers the buzzer. The user experiences it as one responsive system. In reality, you’ve just connected independent circuits that share a power source. Verify the battery amperage before wiring everything together, then test each component individually before connecting them all to confirm the system works.
Wiring Discipline: The Unsung Hero Of Reliability
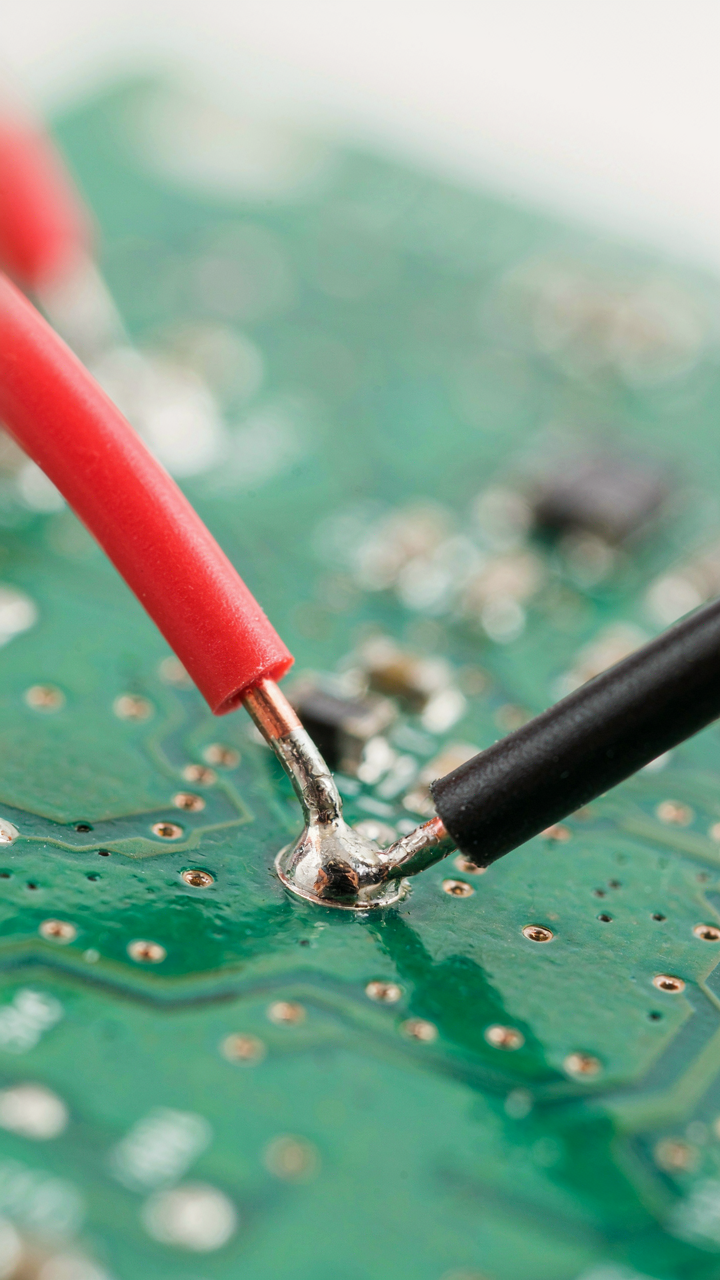
Color Codes Aren’t Optional, They’re Signal
You care about this section because you don’t want your project failing at 2 AM when you’ve already wasted three hours troubleshooting. The mechanism is simple: wire color is a language. Electrical standards use specific colors to encode function, not decoration. Red means positive. Black means negative. This isn’t preference. It’s the difference between a working circuit and a fire hazard you can’t diagnose.

Standard color coding exists because electricians need to communicate through physical wires. In battery projects, treat colors like a protocol. Red wire connects to the positive terminal of your battery. Black wire connects to the negative terminal. If you mix them, your polarity-sensitive components fail silently or fail dramatically. The cost of compliance is zero. The cost of skipping it is your entire project plus the time you’ll spend explaining why it doesn’t work.
Solder Joints Determine Your Uptime
Bad connections cause 80 percent of dead projects that aren’t actually dead. A loose wire creates intermittent failures that make you think your design is broken when it’s just touching inconsistently. Use solder, not twisted wires. Solder creates a metallurgical bond. Twisted connections oxidize, corrode, and loosen over time. A cold solder joint looks solid but conducts poorly and generates heat. Reflow your connections until the solder flows smoothly around the wire and the pad, forming a shiny cone. Test continuity with a multimeter before you power anything on. Secure all connections so vibration doesn’t create microfractures in the joint.
From Paper Circuits To Practical Power: The True Fundamentals

Where Conductive Tape Meets Real Constraints
You want the shortcut that skips physics. Paper circuits feel like cheating because they look simple, but that simplicity is the entire mechanism you need to exploit. In electronics, constraint breeds clarity. Paper circuits use conductive tape, a battery, and an LED on a flat surface. No breadboard confusion. No loose wires failing randomly. You see every connection and every failure point instantly.
The real value isn’t the craft project aesthetic. It’s that paper circuits force you to think in series and parallel without the distraction of soldering or component density. A coin cell battery has finite power output. Conductive tape has measurable resistance. An LED draws specific current. When you build on paper, you stop treating these as abstract concepts and start treating them as constraints that shape your design choices. This mental model transfers directly to every battery-powered project you’ll ever build.
Scaling Without Losing The Core Principle
The jump from paper to practical builds fails when people add complexity instead of refining constraint. Most advice says upgrade your tools, get a soldering iron, buy a breadboard. That’s backward. The constraint that made paper circuits work is still your advantage. You’re still limited by battery voltage, current capacity, and component efficiency.

Take what you learned on paper: trace power from source to load. Measure voltage drop across each component. Know your battery’s discharge curve before you deploy. When you move to a 9V battery and a relay or a string of LEDs, you’re not learning new principles. You’re applying the same logic to higher power levels. The mechanism stays identical. Build a simple prototype with a coin cell first. Verify behavior. Then scale the voltage and current, not the complexity. This prevents catastrophic failures where you discover your design flaw at the moment your project stops working in the field.
The Real Limit Isn’t Your Battery, It’s Your Imagination And Willingness To Build

You don’t need permission or a degree to build circuits. You need a battery, five minutes, and the guts to start before you feel ready. Pick one project today. Not tomorrow. Not when you have more time. Build it now with whatever materials you have. The only thing stopping you from mastering easy electronics projects with batteries is the lie you tell yourself that you’re not ready yet.



