The Myth Of The Magic Wipe: Why “Clean” Is A Deception
Surface Versus Structural Integrity
You want to believe one cloth can restore a radio to factory condition. That fantasy dies here. Think of cleaning as a physics problem with two separate systems: the external shell and the internal electrical architecture. Damaging one doesn’t immediately destroy the other, but most people treat them as one unit and wreck both. The surface is cosmetic. The structure is functional. Confuse them and you stop the radio from ever working again.
Most vintage radios use Bakelite, lacquered wood, or painted metal shells. These degrade predictably over decades through oxidation, dust accumulation, and light exposure. The internals—capacitors, resistors, transformers, tube sockets—follow an entirely different degradation timeline governed by heat, humidity, and electrical stress. A dirty exterior tells you nothing about internal condition. Clean surfaces give you false confidence. You’ll polish the case while the paper capacitors inside have already turned to dust, and you’ll never know until you power it on and watch it fail catastrophically.
When Cleaning Becomes Sabotage
The standard advice is wrong here. “Use a soft cloth and mild soap” sounds protective but misses the actual danger. Water penetrates seams. Solvents dissolve old glues holding components in place. Abrasive materials strip protective finishes that were applied before you were born. You strip that finish, you expose bare material to rapid oxidation. The radio doesn’t look better. It looks restored for exactly two weeks, then oxidation accelerates and you’ve made things worse than if you’d left it alone.
Dust removal and deep chemical cleaning require different protocols, and most people default to the destructive approach first. You need to establish what’s actually contaminating the radio—dust versus grime versus chemical corrosion—because each requires opposite treatment methods. If you treat dust with solvent, you’ve created mud inside the mechanism. If you treat chemical corrosion with dry brushing, you’ve spread it. Most damage occurs because people clean without diagnosis first. Before you touch that radio with anything, you must identify what you’re actually trying to remove.
The Pre Restoration Protocol: What You Missed First

Know What’s Actually Broken
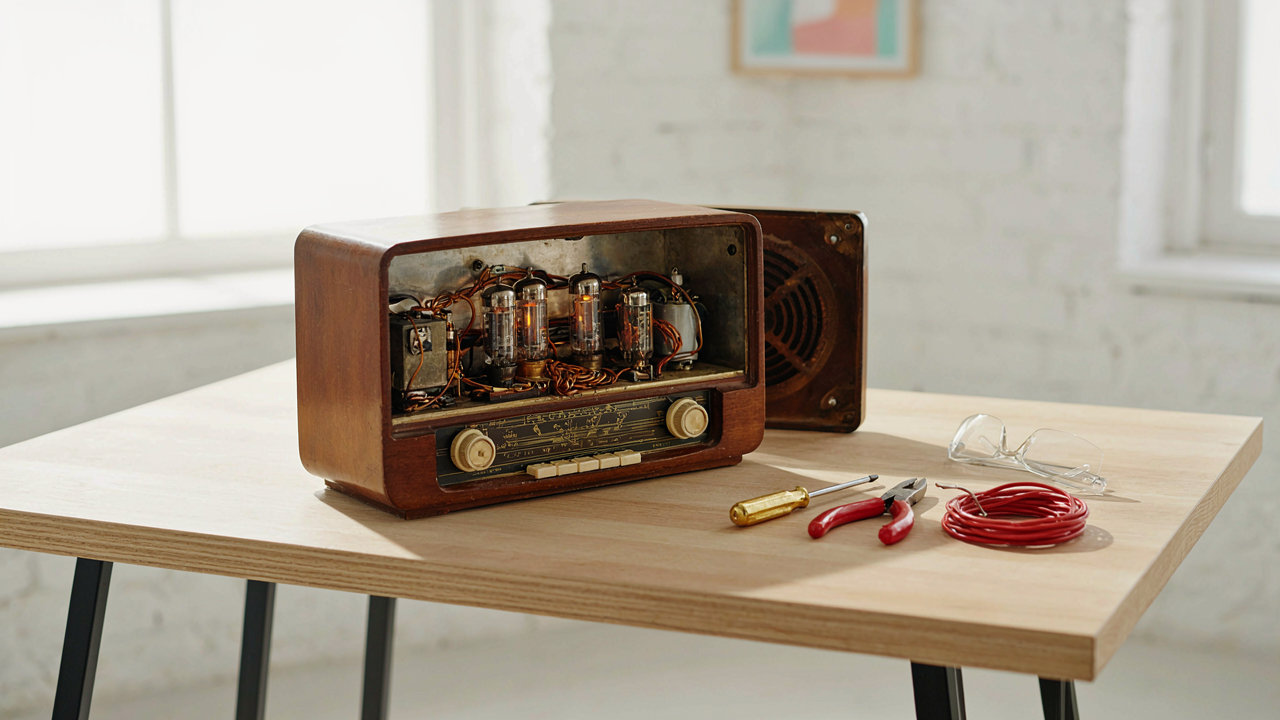
You want to believe the radio just needs cleaning so you can avoid the harder truth: you might be looking at real component failure. This distinction matters because it changes everything downstream. In diagnostic work, engineers separate signal from noise. Here, you separate cosmetic oxidation from structural decay. Surface crud on the dial window or case looks catastrophic but cleans in minutes. Internal corrosion on capacitors or transformer windings looks minor until you power it up and it fails. The mechanism is simple: moisture and time attack different materials at different rates. Paper-wrapped capacitors fail from the inside out. Bakelite cases crack from thermal cycling, not dust. Look for white or green powder on circuit board traces, fluid weeping from component bases, or discoloration patterns that suggest heat damage. Those aren’t cosmetic problems dressed up as dirt.

Spend time with the case off before touching anything. Identify what oxidation is and what rot is. Oxidation on a brass tuning mechanism is reversible. A cracked solder joint or a tube socket with green verdigris buildup means corrosion has been working. You cannot restore what you cannot see. Photograph the interior in daylight or with a work lamp positioned low. Document every visible defect: cracked components, missing parts, loose wiring, burn marks. This step prevents you from discovering problems halfway through the job and blaming yourself for causing them.
Record Every Step Before You Start
Nobody documents restoration work because it feels like overhead, but it’s insurance against two disasters: repeating mistakes and claiming you broke something you didn’t. Hire a museum conservator and watch them work. They photograph before, during, and after each discrete action. They note which tool they used and for how long. They do this because reversibility matters in conservation. Your vintage radio deserves the same rigor because a wrong move can destroy irreplaceable components. The real mechanism is accountability. If you photograph the tube configuration before you pull tubes, you cannot accidentally misinstall them. If you note the position of each wire before desoldering, you cannot install it backward. If you document capacitor values before removal, you cannot substitute the wrong part.
Start with a wide shot of the entire radio, back and front, then zoom into each section of the circuit board. Photograph the tube layout from directly above. If the radio has a schematic, find it now and attach it to your notes. Photograph any damage or unusual modifications. Mark which wires connect where using a pen and paper or voice notes before you disconnect them. This documentation becomes your roadmap for reassembly. A single photograph of the original wire positions will save you hours of troubleshooting later. You need this record before the first tool touches the case.
Disassembly: The Controlled Deconstruction Method For Antique Radio
Removing Components Without Breaking What Matters
You’re doing this because you’re afraid you’ll ruin it. That fear is rational. Vintage radios use solder joints that corrode, capacitors that become brittle, and wire insulation that turns to dust if you breathe on it wrong. The mechanism is simple: thermal stress kills old electronics. Every component you remove generates heat through friction or desoldering. Minimize heat, minimize damage. Work slow. Document everything before you touch anything.

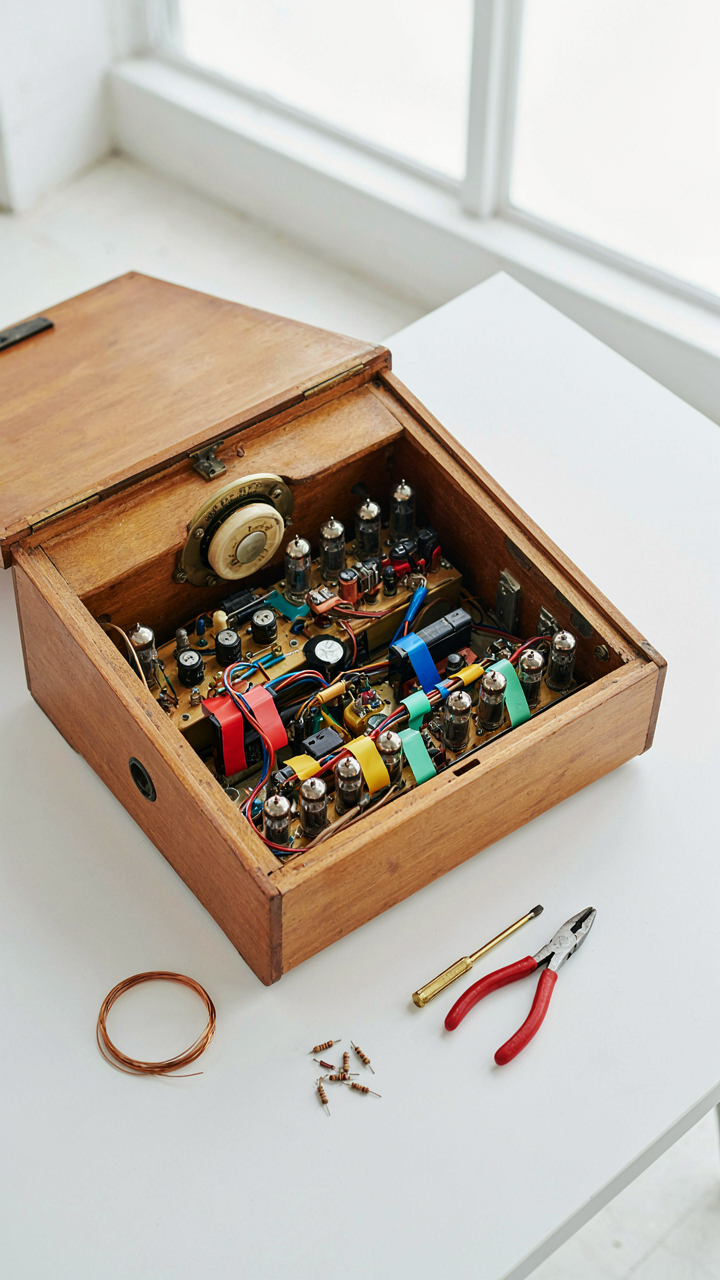
Tube radios use a chassis design where most parts bolt or solder directly to a metal frame. Transformers, capacitors, and resistors attach to the underside. Tubes sit in sockets on top. Before you remove a single wire, photograph the entire layout from multiple angles. Mark every connection with a label maker or tape. Note wire colors, terminal positions, and component values. This isn’t busywork. When you reassemble, these images are your only reliable reference.
Track Every Part And Connection
The military calls this “configuration management” in logistics. You’re applying the same principle: establish state, document deviation, enable reversal. Vintage radios fail on reassembly because people forget where a wire went or lose a small bracket. Use a component inventory sheet. List each part, its location, its connections, and where you store it.
- Photograph Stage: Take overhead shots of chassis before opening, then close-ups of each solder joint and connector. Include a ruler for scale reference.
- Label Wires: Use tape flags or adhesive labels on every wire at both ends. Write color, source terminal, and destination terminal. Numbers work better than descriptions.
- Organize Fasteners: Store bolts, screws, and clips in separate labeled containers grouped by location. A tackle box or muffin tin prevents loss and mixing.
- Map Capacitor Positions: Draw or photograph the exact orientation of each capacitor before removal. Polarity matters on electrolytic types and reversing one kills the circuit.
- Create Disassembly Order: Write down the sequence you removed parts in. Reassemble in reverse order. This prevents installing components that block access to others.
You extract components in layers, not randomly. Remove the tube shield cage first. Then exterior knobs and dial string. Then wiring harnesses. Finally solder connections at the deepest level. This sequence prevents you from breaking a component you need to remove something else. When you finish documenting and sequencing, you’re ready to desolder. Wait until you’ve completed this step before you heat anything.
Beyond The Brush: Precision Techniques For DIY Radio Restoration Tips

Where Dust Actually Hides
You want to clean a vintage radio because you’re afraid it’s broken when it’s actually just suffocating. The real problem isn’t the dust you see on top—it’s the debris trapped inside the chassis where air stopped moving decades ago. Surface cleaning misses everything that matters.

Dust accumulates in layers inside vintage radios. Transformer windings, capacitor leads, and tube bases collect particles that block heat dissipation and trap moisture. A soft brush alone moves dust around without removing it. You need suction first, then targeted brushing to dislodge what’s stuck, then suction again to extract it completely. Compressed air pushes particles deeper into crevices instead of removing them, so don’t use it on the chassis interior.
The Chemistry Of Metal Decay
Corrosion operates by electrochemistry—the same mechanism that powers a battery, except it’s eating your radio instead of powering it. Oxidation requires three elements: metal, oxygen, and an electrolyte like moisture. Remove one element and the reaction stops.
Tube pins corrode when moisture settles on them and creates a conductive layer. This layer blocks signal and causes intermittent audio or complete failure. Clean tube pins with isopropyl alcohol on a small brush, using friction to break the oxidized layer. For chassis corrosion on component leads, apply a thin coat of light machine oil after cleaning to exclude oxygen and halt further decay. The goal is displacement—alcohol removes water, oil prevents its return.
Cabinet Care: Restoring Vintage Radios Guide To Wood And Bakelite

Wood Finishes Without Stripping Authenticity
You want your radio to look like someone cared for it, not like you restored it. That’s the real mechanism at work here. Wood cabinets deteriorate because moisture penetrates the finish, raising the grain and creating a dull, cloudy appearance. The finish itself (usually lacquer or shellac on radios from the 1930s-1950s) oxidizes and becomes brittle. You don’t strip it down to bare wood unless it’s genuinely unusable. Most vintage radios need surface cleaning and selective touch-up, not refinishing.

Start with a barely damp microfiber cloth and mineral spirits. Apply spirits to the cloth, not the radio, and wipe in the direction of the grain. This dissolves surface grime and oxidized lacquer without pooling liquid into the joints. If the finish shows crazing (fine cracks across the surface), stop there. You’ve cleaned it. Attempting to “restore” crazing by adding new finish on top creates plastic-looking patches that announce renovation louder than honest wear ever could. The goal is to let the original finish show through cleaned, not to create an illusion of factory condition.
Bakelite Restoration Without The Mistakes
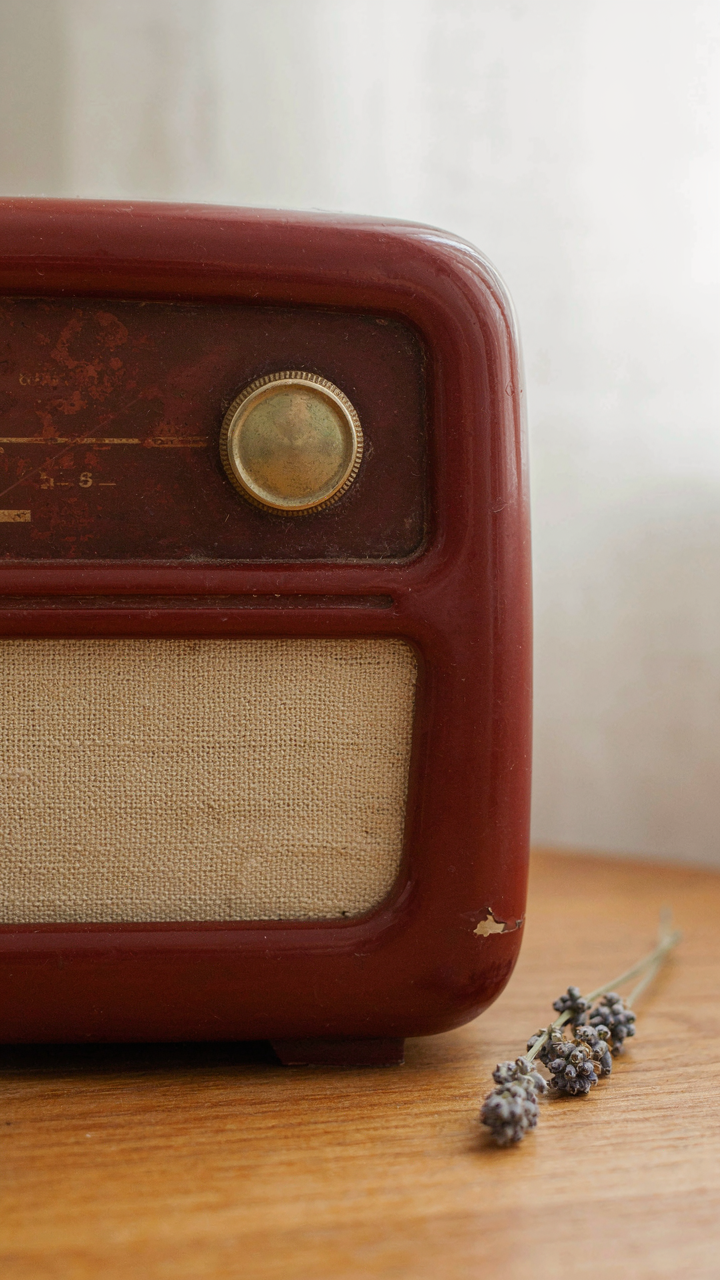
Common advice says to polish bakelite with toothpaste or automotive compounds. This is incomplete and often wrong. Bakelite deteriorates through chemical breakdown, not just surface oxidation like metal does. The phenol-formaldehyde compound becomes brittle and develops a sticky residue as it ages. Aggressive polishing accelerates cracking and can remove the thin colored layer on vintage bakelite radios, exposing brown base material underneath. You’re not refinishing bakelite. You’re stabilizing what exists.
Clean bakelite with warm soapy water and a soft brush to remove dust and grime buildup. Dry immediately with a microfiber cloth. If the surface feels sticky, wipe it down with a cloth barely dampened in white vinegar, then dry completely. This removes the decomposition residue without abrading the material. For discoloration that’s actually dirt, a very light rub with a soft cloth and mineral oil can improve appearance. Never use heat guns or place bakelite near direct sunlight during cleaning. The material becomes more brittle when warm, and UV light accelerates the chemical breakdown that’s already happening.
The Invisible Culprits: Deep Cleaning For Retro Radio Performance

Contact Oxidation And Component Access
You want to restore a radio and have it actually work, not sit on a shelf looking restored. That requires addressing what kills vintage electronics from the inside: oxidized contacts and corroded component leads. Think of oxidation like friction in mechanical systems. The oxide layer creates resistance where current should flow freely, dropping voltage and killing signal integrity across tubes, transformers, and variable capacitors.
- Tube socket pins: Oxidation here blocks filament and plate connections. Clean each pin individually with a wooden toothpick wrapped in fine steel wool or a specialized contact cleaner pen. Work gently to avoid damaging the ceramic base.
- Variable capacitor plates: Corrosion on rotor and stator plates prevents tuning smoothness and frequency drift. Use compressed air first, then a small brass brush if plates are visibly tarnished. Never force mechanical parts.
- Transformer terminals: Solder joints oxidize and crack internally. Inspect the solder joints on primary and secondary windings for dull gray discoloration. Reflow with fresh solder only if the joint physically cracks during inspection.
- Resistor and capacitor leads: Older components have leads prone to green or white corrosion where they connect to the turret board. Clean with contact cleaner and a soft brass brush, working perpendicular to the lead, not along it.
- Switch contacts: Selector switches and on-off switches accumulate oxide buildup. Cycle the switch fifty times with contact cleaner applied. If stuck, apply penetrating oil and wait two hours before cycling again.

Component-level cleaning separates a radio that hums and drifts from one that locks onto stations. After addressing each contact point, power on the radio in a safe environment and let it warm for five minutes before testing audio output and tuning stability.
Harness Inspection Without Breaking Continuity
Most people ignore the wiring harness entirely. They’ll spend hours on the chassis and miss that cloth-wrapped wire deteriorates into a conductor of nothing. Old radios used cotton or rayon insulation that absorbs moisture and becomes conductive itself, creating leakage paths that destroy frequency stability and introduce hum.
Inspect every inch of cloth harness by running your fingernail along the weave. If the cloth crumbles or shows dark staining, that section has absorbed moisture and needs localized attention. Do not strip and rewire the entire harness unless multiple sections fail this test. Instead, use a small brush with mineral spirits to clean the outer cloth surface, then let it dry completely under low heat from a desk lamp positioned six inches away. The goal is surface cleaning, not internal reformation. Once dry, high-impedance components like grid and plate leads should measure stable resistance to ground when tested with a multimeter on the 20-megohm scale. If resistance drops or fluctuates, that harness section has internal breakdown and requires rewiring of just that run.
Reassembly And Testing: The True Test Of Your Diy Retro Radio Restoration

Put Every Part Back In Order
You want to feel like you’ve actually restored something instead of just cleaned dust off old components. That fear drives people to skip the systematic part and rush reassembly, which is exactly when expensive mistakes happen. Reassembly is a supply chain problem: every component depends on the one before it, and one misplaced part breaks the entire chain downstream. Document every step backward as you disassemble, photograph connector positions, and label wires before they leave the chassis. Work in reverse order.

The tube sockets, transformers, and filter capacitors go back first because they anchor everything else. Capacitors install perpendicular to the chassis unless the original layout shows otherwise. Verify solder joints make actual contact with component leads and pads, not just the adjacent copper. Reattach the tuning dial pointer to its shaft before the front panel goes on, since access disappears once you close it up. Never force anything.
Actually Turn It On And Listen
Everyone who cleans a vintage radio obsesses over how it looks when reassembled. What matters is whether it works. Plug it into a properly grounded outlet with a fused power cord in place, never directly into wall current. Let the tubes warm for 30 seconds before expecting audio output. Radio tubes need time to heat their filaments and establish cathode emission. Tune across the band and confirm stations come through cleanly on AM and FM if applicable to the model.
Static and weak reception usually mean capacitors near the RF stage degraded during storage, not cleaning errors. If the radio produces audio on only one band or loses stations midway through the dial, suspect capacitor failure, not your work. Ground loop hum indicates poor solder joints at transformer leads or shielding cans. Each symptom points to a specific component, so document what you hear and cross-reference it against the schematic before disassembling again. Test with the volume control at midrange first, not maximum.
Preservation, Not Just Cleaning: The Long Game For Old Radios
Keep The Environment Stable
You want proof your restoration matters. That’s the real reason you care about this section. Here’s the mechanism: radios decay through cycles of expansion and contraction caused by humidity and temperature swings. Think of it like metal fatigue in engineering. Every time moisture enters a capacitor or solder joint and then leaves again, you’re triggering microscopic stress. The radio survives the cleaning only to fail six months later from environmental neglect.

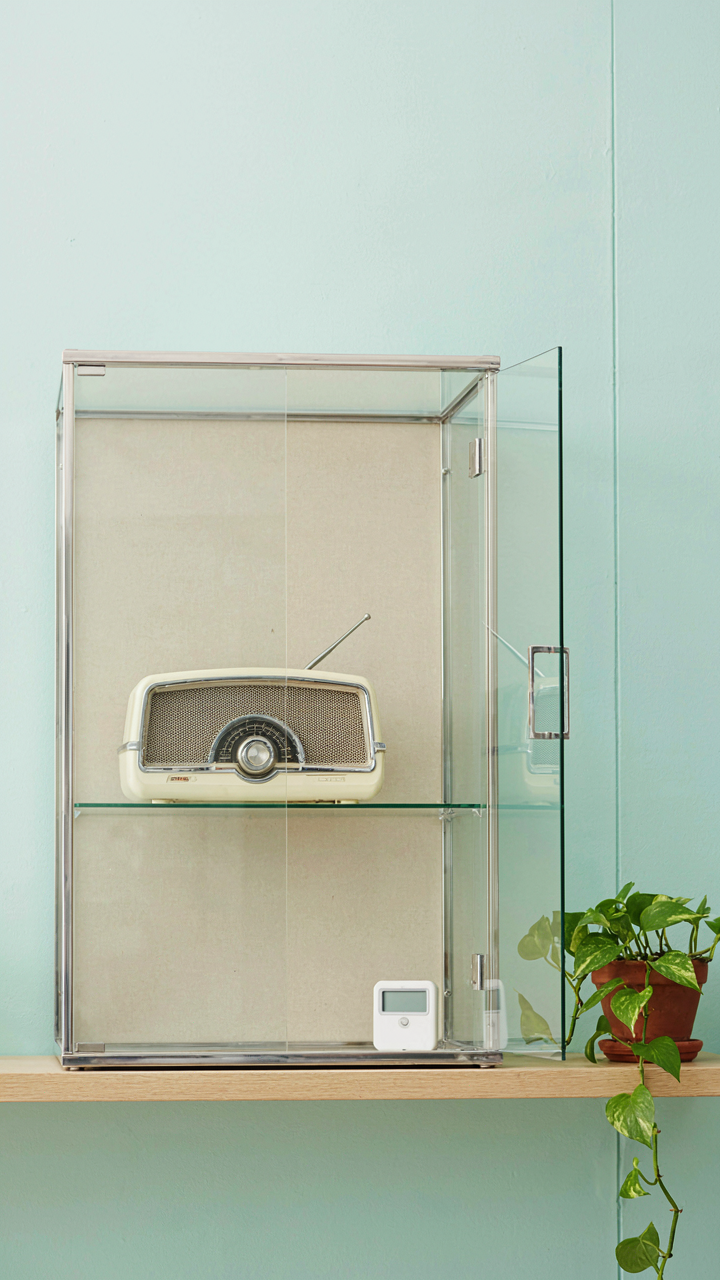
Store your radio indoors at 40 to 50 percent relative humidity and 65 to 75 degrees Fahrenheit. Avoid basements prone to dampness and attics subject to temperature extremes. Use a small digital hygrometer to track conditions where you keep it. If humidity climbs above 60 percent, place silica gel packets in the display cabinet or case. Check and replace them monthly during damp seasons.
The Maintenance Schedule That Actually Works
Common advice says check your radio once a year. That’s lazy and insufficient. What matters is catching decay at the moment it starts, not after months of damage compound.
Examine tubes for visible corrosion on pins every three months. Look for white oxidation on solder joints and capacitor leads under magnification. Test the radio at half volume for thirty seconds monthly to keep components warm and prevent moisture pooling inside transformers. If you detect crackling or signal drift, trace the source immediately rather than letting it deteriorate. Document any changes in sound quality or reception strength in a simple log so you catch patterns before they become failures.
Your Real Obstacle Isn’t The Dirt; It’s Your Fear Of Understanding The Machine

Most people fail to clean a vintage radio because they treat it like a black box instead of a system they can actually understand. The dirt is the excuse. Your real problem is the story you told yourself that vintage electronics require some special wizard knowledge. Pull the back panel off today. Look inside. Name three things you see. That act alone kills the mystique and turns a restoration project into something your hands can actually do. You don’t need permission to touch what you own.




