
The “Fun” Fallacy: Why Most Arduino LED Projects Fail
The Dopamine Loop Of Simple Success
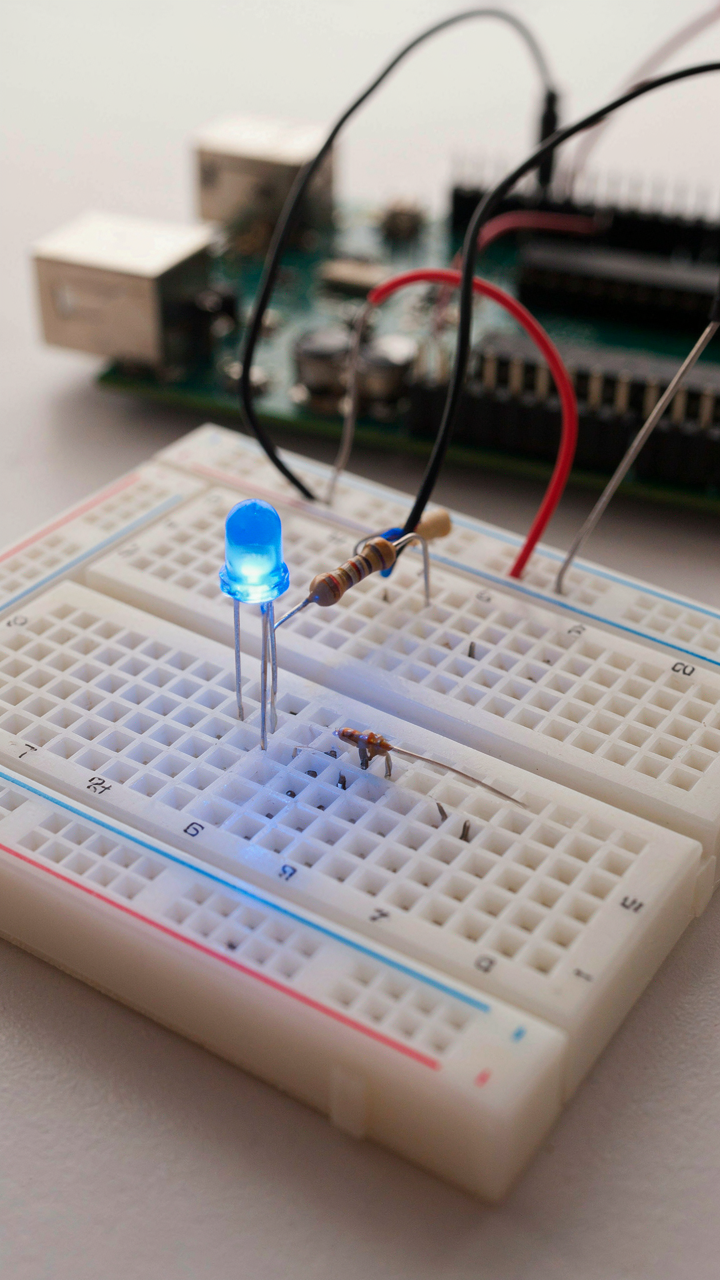
You want proof you can build something. That’s the real reason you’re here—not fun, but validation that you’re not wasting your time. The mechanism is borrowed from behavioral psychology: intermittent reinforcement. When an LED blinks on command, your brain releases dopamine. You did that. The problem is this loop trains you to chase the wrong metric.
A blinking LED teaches you nothing about actual electronics or problem-solving. It’s a parlor trick dressed up as learning. The Arduino outputs 5 volts to a pin, current flows through an LED, it lights up. That’s it. Most tutorials stop here because it’s easy to explain and fast to execute. You feel accomplished. Then you’re stuck, because you never learned the layer underneath: current limiting, voltage drops, or why that resistor matters at all.
Beyond Blink Real World Application Demands
The common advice is to “build something you’re interested in.” That’s incomplete. The real differentiator is whether your project has constraints that force you to think. A project without constraints is a demo. A project with constraints is an education. Real-world applications have three elements tutorials ignore: power limitations, environmental factors, and failure modes.
Build an LED system that runs off a battery. Now you care about current draw. Now you calculate runtime. Now you understand why PWM dimming exists—not as a neat trick, but as a survival mechanism. Wire an LED to respond to actual sensor input instead of a hard-coded delay. That forces you to debug real data, handle noise, and write logic that adapts. The mechanism is friction: constraints create the pressure that burns understanding into your hands.
The 3 Tiered Project Protocol For Arduino Led Mastery

Start With Circuit Behavior, Not Components
You want to skip ahead because you think knowing the part names makes you competent. It doesn’t. The real mechanism here comes from physics: voltage drop across a resistor determines current flow, and current determines brightness. Every LED problem traces back to this one law. Start by building a single LED circuit, measuring voltage at different points with a multimeter, then changing the resistor value and watching brightness shift. This trains your intuition before complexity arrives.

Most tutorials dump schematics on you and call it teaching. Wrong approach. You need to understand why an LED dies without a resistor, why brightness changes with resistance, and how the Arduino’s pins output voltage. Build the same basic circuit five times with different resistor values. Measure each one. Write down the results. This is foundational work, not busy work. Without this, every project later becomes troubleshooting guesswork instead of intentional design.
Control Light Through User Input
Borrowed from systems theory, your LED now operates as a feedback loop: user input produces light output, which triggers the next user action. Start here with a button that toggles an LED on and off. The code is simple, but the principle matters: the Arduino reads a digital input, processes it, then drives an output. Build this first. Then add a potentiometer that dims the LED instead of toggling it. You’ve now moved from binary to analog control.
The mistake everyone makes is adding too many features too fast. A button and one LED. A potentiometer and one LED. Master these interactions before mixing them. Once a potentiometer dims an LED smoothly when you turn the dial, you understand PWM (pulse width modulation) at a practical level. Only then stack these controls together: button for mode, potentiometer for intensity. This layering prevents the codebase from becoming unreadable and your learning from stalling in confusion.
From “Cool Arduino Projects” To Practical Problem Solving

The Problem Nobody Names Out Loud
You want to build something that looks impressive so people think you understand electronics. The real mechanism here is signal visibility. Every environment has a visibility problem: darkness, distance, or attention scarcity. Light solves it faster than any other medium. An LED communicates instantly across a room without sound, motion, or complexity. This is why industrial systems, traffic control, and emergency equipment lean on light. Your Arduino LED project isn’t decorative once you frame it this way. It’s a communication tool.

The gap between “cool project” and useful project collapses when you stop treating LEDs as outputs and start treating them as information carriers. Most tutorials show you how to blink an LED. That’s not a problem solved. That’s a Hello World. The real work begins when you ask: What information does this space lack? What would make a person’s life easier if it were visible? Answer that first, build second.
Efficiency Through Signal Hierarchy
Borrowing from information design, think of signal-to-noise ratio as your core constraint. Your Arduino can drive multiple LEDs, but not all light deserves equal brightness or attention. An indicator that something is working needs less luminance than an alert that something failed. An RGB LED that cycles through ten colors wastes power compared to one that uses three states: off, on, or blinking at a specific interval. The common advice says “use more LEDs for more info.” That’s backward. Use fewer LEDs with smarter patterns.
Start by defining what each LED must communicate, then size the current accordingly. A status indicator running continuously draws more power than one that blinks once per minute. Current draw compounds quickly across multiple LEDs. Use 220-ohm resistors as your baseline for standard 5mm LEDs on a 5-volt Arduino, but drop to 150 ohms if you need visibility in bright rooms and calculate the power budget before you wire it. Your efficiency goal: maximum communication with minimum current draw.
The “Minimum Viable Product” In Arduino LED Development
Start With One LED And Power
You want to skip to the impressive stuff because building something simple feels like wasting time. That’s the trap. In product development, MVP means shipping the smallest working version to test your core assumption. For Arduino LED projects, your core assumption is: does current flow through this circuit and light the diode? Start there.

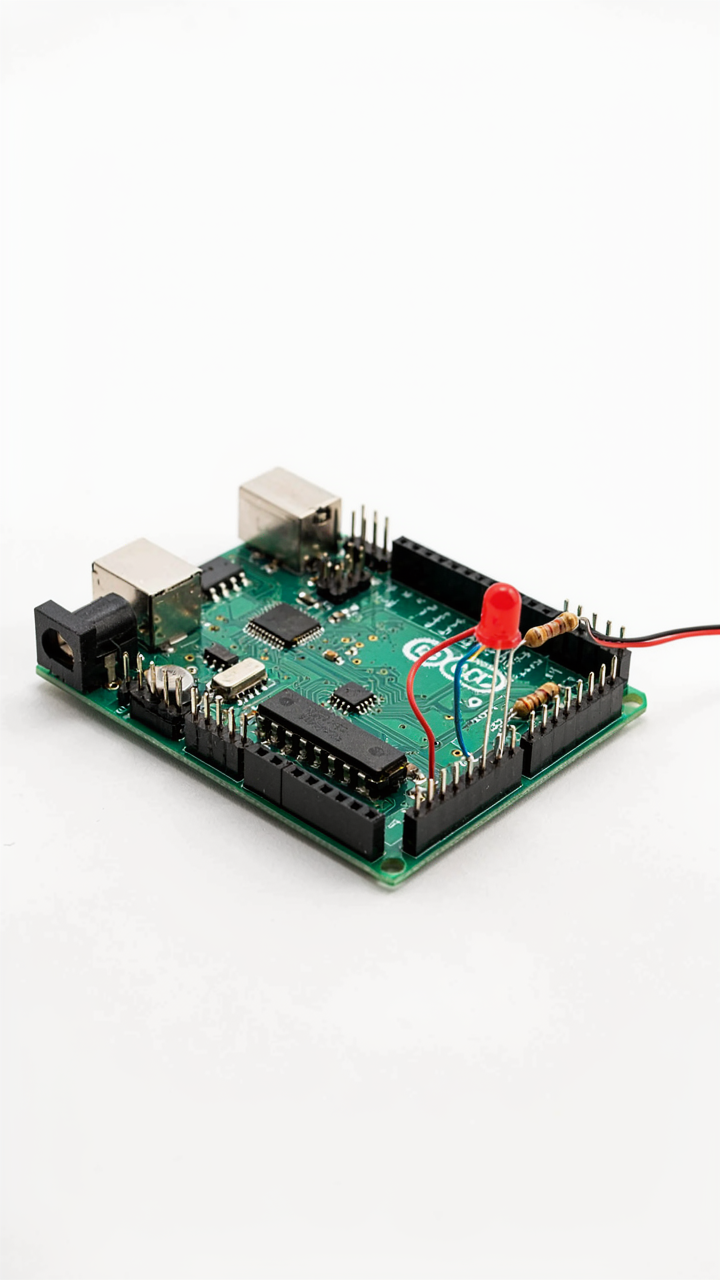
A single LED, a 220-ohm resistor, power from the board, and ground. That’s it. Wire the positive leg of the LED to pin 13 through the resistor. Ground the negative leg. Write five lines of code to set the pin HIGH. If the LED lights, your assumption holds. Everything else builds on this foundation. Skip this step and you’ll debug phantom problems that don’t exist.
Prove The Loop Before Adding Complexity
The real mechanism here comes from systems thinking: one variable at a time. Most people throw ten LEDs, buttons, and sensors into their first sketch and blame the Arduino when nothing works. You’ve introduced too many failure points to isolate the problem.
After your single LED blinks, add one interaction. A button that turns it on and off. Test that. Then add a second LED and verify the first still works. This isn’t tedious. This is how you stay ahead of your own mistakes. Each iteration should take minutes, not hours. When you add the ninth LED and it doesn’t respond, you know it’s that LED or that pin, not some ghosted conflict from setup three iterations ago.
Beyond Tutorials: Deconstructing “Fun Arduino Projects”

Breaking Down The LED Sequences
You want to feel like you understand what’s happening instead of just copying code. Most tutorials hide the mechanics. They show you the final effect and skip the decision tree underneath. The real lever is understanding that LED brightness control relies on PWM (pulse width modulation), not actual voltage changes. Your Arduino doesn’t gradually increase voltage to a pin. It switches current on and off so fast that human eyes perceive a brightness gradient. Knowing this one fact changes everything about how you read code.

When you see digitalWrite or analogWrite in existing projects, those commands don’t control intensity the same way. digitalWrite sends full power or nothing. analogWrite uses PWM to fake a spectrum between zero and 255. The Arduino’s PWM frequency runs around 490 Hz on most pins, fast enough that flickering disappears. Reverse engineering complex LED effects means finding where the code manipulates these pulse widths. Track the variables controlling delay times, loop iterations, and analogWrite values. That’s where the visual magic lives. Every fading effect, color transition, or animation pattern flows from how those three elements interact with PWM timing.
Modifying Code For What Actually Matters
Existing LED projects fail because they were built for someone else’s hardware setup. You have a different resistor value, a different LED color, or a different power supply. Generic tutorials don’t account for these variables. The adjustment mechanism is simple: find the values that change the behavior, test them independently, and document the results. Start by identifying constants at the top of any sketch. Most beginners skip this step and assume default values work everywhere. They don’t. A delay of 1000 milliseconds might look smooth on one setup and jarring on another depending on your specific LED’s response time and your power supply’s stability.
Adaptation isn’t about rewriting logic. It’s about calibrating the parameters that control timing and intensity. Change one variable at a time. Observe the output. Write down what changed. This teaches you cause and effect faster than reading documentation. Build a personal reference document: LED color, resistor Ohm rating, delay values that produced smooth fades, PWM levels that matched brightness targets. Next time you adapt code, you have a baseline instead of guessing. The protocol is test, measure, document, repeat. Do this three times and you’ll stop needing tutorials.
The Economic Principle Of Arduino Project Resource Allocation
Which Projects Return The Most Learning
You’re hoping one project will teach you everything and make you look competent fast. That’s not how this works. Economics calls this opportunity cost: every component and hour spent on one project is unavailable for another. An Arduino LED matrix project teaches multiplexing, but burns weeks. A simple blink circuit teaches timing and current flow in days.

The mechanism is selection bias masquerading as learning. Beginners chase complexity because it feels like progress. Instead, rank projects by the specific skill you need next, not by what looks impressive. A single LED with a button teaches you digital input and conditional logic faster than chasing animated effects. Build the boring foundation first.
Maximizing Component Output Per Dollar
The scarcity principle from supply chain management applies directly here: you have finite budget and parts inventory. Most beginners waste components through redundant purchases or projects that use identical setups. You don’t need ten identical pushbuttons across ten different sketches.
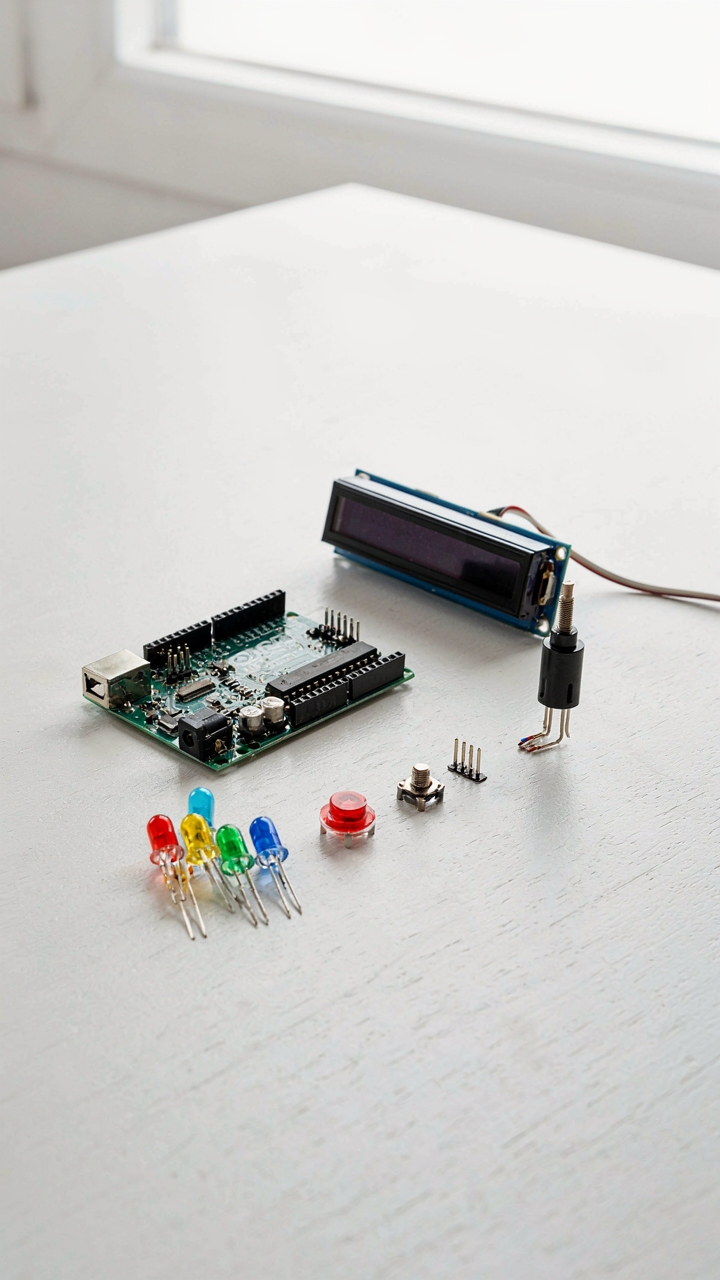
Map your components to multiple projects before buying more. One 16×2 LCD display works in sensor monitoring, data logging, and game score displays. One set of NPN transistors handles LED switching, relay control, and amplification tasks. Before ordering, audit what you already have and sketch three separate projects using the same part in different roles. This forces you to understand the component deeply rather than treat it as single-use.
Scaling “Arduino Projects Ideas”: From Single LED To Matrix
Design For Addition, Not Replacement
You want to feel like you’re building something real, not just blinking one LED and calling it done. The mechanism that actually matters here comes from systems thinking: treat your LED circuit like a biological organism with organs that function independently but connect through defined interfaces. Each component—power supply, control pins, data lines—needs to work solo before you wire it into the larger system.

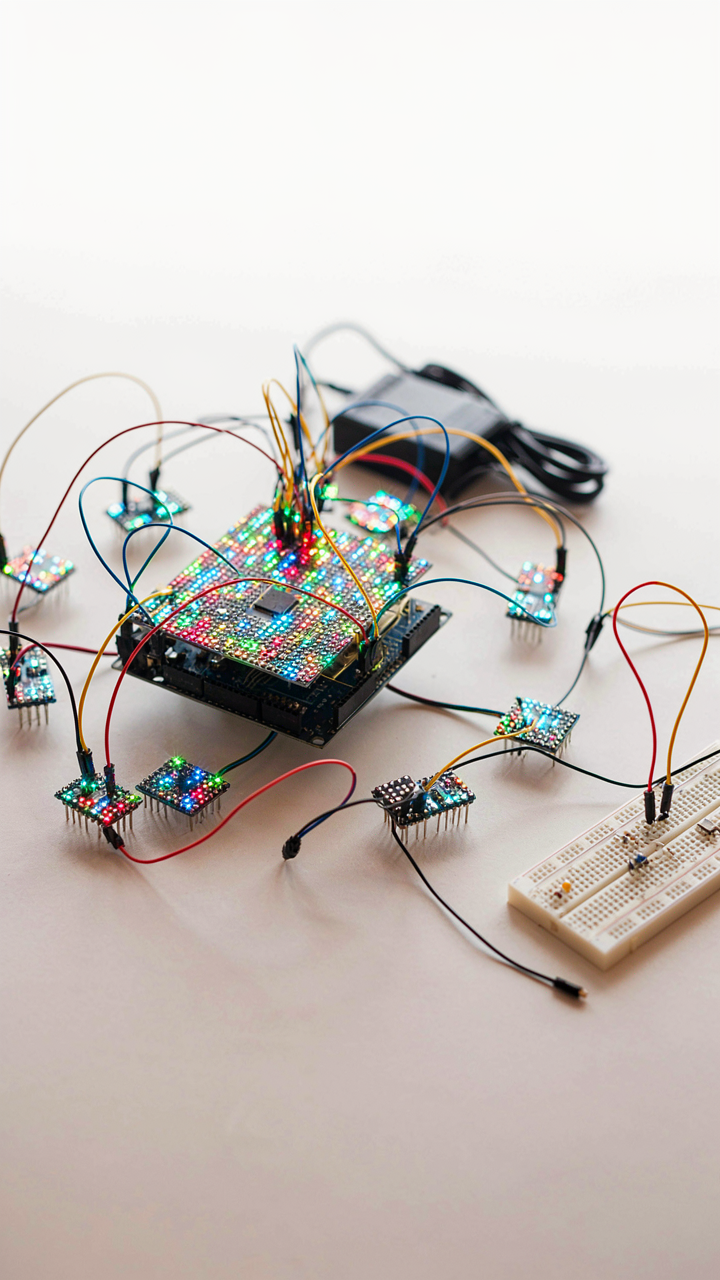
Build your first LED setup to run completely standalone. Document its power draw, pin requirements, and response time. This becomes your unit of replication. When you add a second LED circuit, you’re not redesigning the first one. You’re duplicating a known, working module and connecting it through a standardized protocol. This prevents the cascade failures that happen when people try to jury-rig expansion into designs that weren’t built for it.
Power And Data Need Separate Strategies
Everyone talks about “wiring things together,” which is useless advice. The real constraint is this: current and information flow on different rules. A single Arduino pin outputs about 40 milliamps total. A WS2812B RGB LED strip can draw 60 milliamps per LED at full white. You cannot run 10 LEDs on one pin and expect stable behavior.
Split your power distribution from your control distribution. Use a separate power supply rated for your total LED current draw, with a common ground connection back to the Arduino. Control signals run on dedicated data pins to a shift register or LED driver IC. The shift register handles the current demands; the Arduino handles only the logic. This separation prevents voltage sag that corrupts data signals and crashes your microcontroller.
The “Arduino Uno Projects” That Actually Teach Something
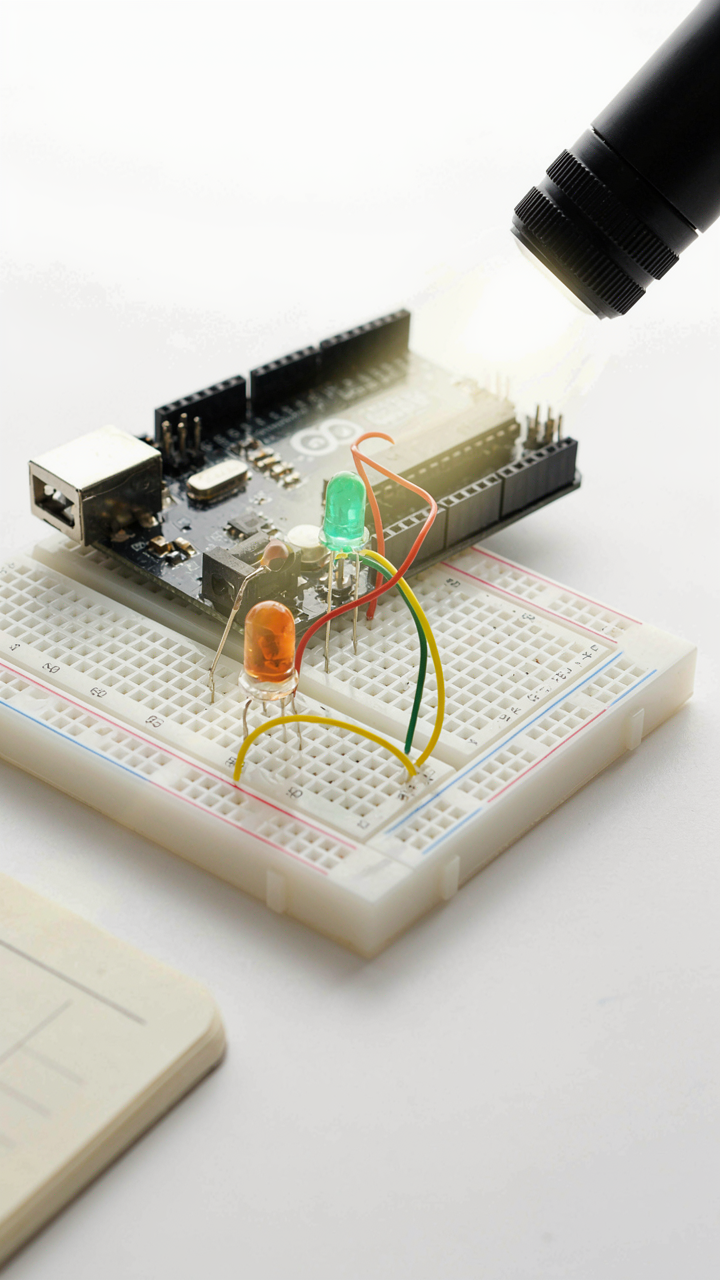
When Sensors Drive The Light Show
You want proof that you understand electronics, not just proof you can follow a tutorial. The real mechanism here is input-to-output translation: a sensor reads the physical world, the Arduino processes that data, and the LED responds accordingly. Most people skip this because it feels harder than blinking an LED on a timer. It isn’t. A light sensor (LDR) wired to analog pin A0 feeds voltage values between 0 and 1023 directly into your code. Those values map to LED brightness via PWM.

The mistake most tutorials make is treating sensors as decoration rather than decision engines. Your sensor data should actually change program behavior, not just log to serial. Connect an LDR to analog input, then use analogRead() to grab values in real time. Map that range to analogWrite() output on a PWM-capable pin (3, 5, 6, 9, 10, 11 on Uno). The LED brightness now tracks ambient light without user input. That’s not a project. That’s a system.
Closed Loop Systems Expose Hidden Assumptions
Control theory calls this negative feedback, and it’s the architecture that separates toys from functional designs. You set a target state, measure the actual state, calculate the difference, then adjust your output to close the gap. Most LED projects ignore the measurement part entirely. That gap between what you wanted and what you got teaches more than a hundred on-off circuits ever could.
Build this: set a target brightness value in code, read your LED’s actual brightness with a photoresistor aimed at the LED itself, then adjust PWM duty cycle to match. If the LED drifts (due to voltage drop or aging), the system corrects it automatically. This teaches you that control requires sensing, comparison, and adjustment in a loop. Implement your adjustment in 10ms intervals using millis() instead of delay() so your code remains responsive. You now understand how real devices maintain stability.
Arduino Projects Diy: Building For Durability, Not Just Demo

Components That Won’t Fail When It Matters
You want your project to work six months from now, not just impress someone at a maker fair. The real mechanism is thermal stress and voltage sag. Every component experiences cycles of heating and cooling, and cheap parts fail under this strain because their internal connections degrade faster than premium equivalents.
- Resistors rated 1/4W or higher: Standard carbon film resistors handle brief spikes, but metal film resistors maintain tolerance across temperature swings. Use metal film for current-limiting LED circuits where precision matters over time.
- Electrolytic capacitors with 105-degree rating: Most cheap capacitors fail because their electrolyte dries out. Higher temperature ratings slow this process. Replace budget caps with Rubycon or Nichicon equivalents in power supply sections.
- LEDs from known manufacturers: Cree, Osram, and Kingbright LEDs maintain lumen output consistency. Unmarked LEDs from bulk bins degrade visibly after 500 hours. Pin them down early or accept dimming.
- Solderable connectors, not breadboards: Breadboards corrode internally from humidity. Solder headers or use screw terminals. Every connection point that wiggles becomes a failure point within weeks.
- Arduino boards with ATMEGA328P authenticity verified: Counterfeit clones use lower-grade silicon. Buy from official distributors or verify the bootloader flashing behavior before integration into permanent projects.

The real cost calculation is replacement time, not part price. A 50-cent resistor that lasts two years beats a 10-cent resistor that burns out in three months because you spend labor diagnosing the failure both times. Buy components that won’t force you to revisit the project.
Enclosures That Survive Contact With Reality
Most people treat enclosures as decoration. They’re actually environmental barriers. The difference between a project that works and one that corrodes is whether moisture and dust reach solder joints.
3D-printed enclosures look slick but absorb moisture through layer lines. ABS or PETG prints last longer than PLA, but neither matches laser-cut acrylic or machined aluminum for moisture resistance. If you print, seal the exterior with epoxy or conformal coating. For permanent installations, aluminum anodized enclosures protect without ongoing maintenance and dissipate heat from power components naturally.
Cable entry matters more than most builders admit. Drill holes and seal them with compression glands or silicone. Loose entries let dust find circuit traces. Mount the Arduino board and breadboard on standoffs inside the enclosure, not loose on the bottom. Standoffs prevent condensation from pooling under components. Route power and signal wires separately, and use shielded cable for LED data lines running more than a meter. Integrate wire strain relief at every exit point so cable movement doesn’t eventually crack solder joints at connectors.
The Unspoken Truth About Arduino LED Mastery

Consistency Beats Intensity Every Time
You want to skip ahead and build the flashy project because you think that’s where mastery lives. It isn’t. The mechanism here comes from athletics: periodization. In training, coaches don’t crush athletes with one brutal week then disappear for a month. They stack manageable work over months. Arduino LED mastery works the same way. Three focused hours weekly outperforms a 20-hour weekend sprint followed by radio silence.
The people who actually ship functional LED systems didn’t find some shortcut. They committed to touching their Arduino code and hardware two to three times per week, every week, for quarters at a time. This rhythm builds pattern recognition faster than sporadic effort ever will. Your brain consolidates learning during rest between sessions. Skip the rest, and you lose the consolidation.
Portfolio Depth Over Project Count
Building a real portfolio means finishing systems that solve actual problems, not collecting half-built RGB LED experiments on your desk. Most people treat Arduino LED projects as one-off demonstrations. They light up an LED, show it to someone, then abandon it. That’s a demonstration, not mastery. Real mastery shows up as systems you’ve built, debugged, and actually deployed somewhere.
Aim for three to five complete projects you can fully explain, modify, and troubleshoot under pressure. One motion-sensor LED corridor light. One programmable mood light you gift to someone. One LED timer for a specific task. These aren’t portfolio padding. They’re proof your knowledge transfers from theory to function. Document each one with code that runs, a schematic someone else can follow, and the problems you solved during build. That’s the deliverable people hire you for.
The Real Obstacle Isn’t The Code, It’s Your Willingness To Build Something That Actually Matters
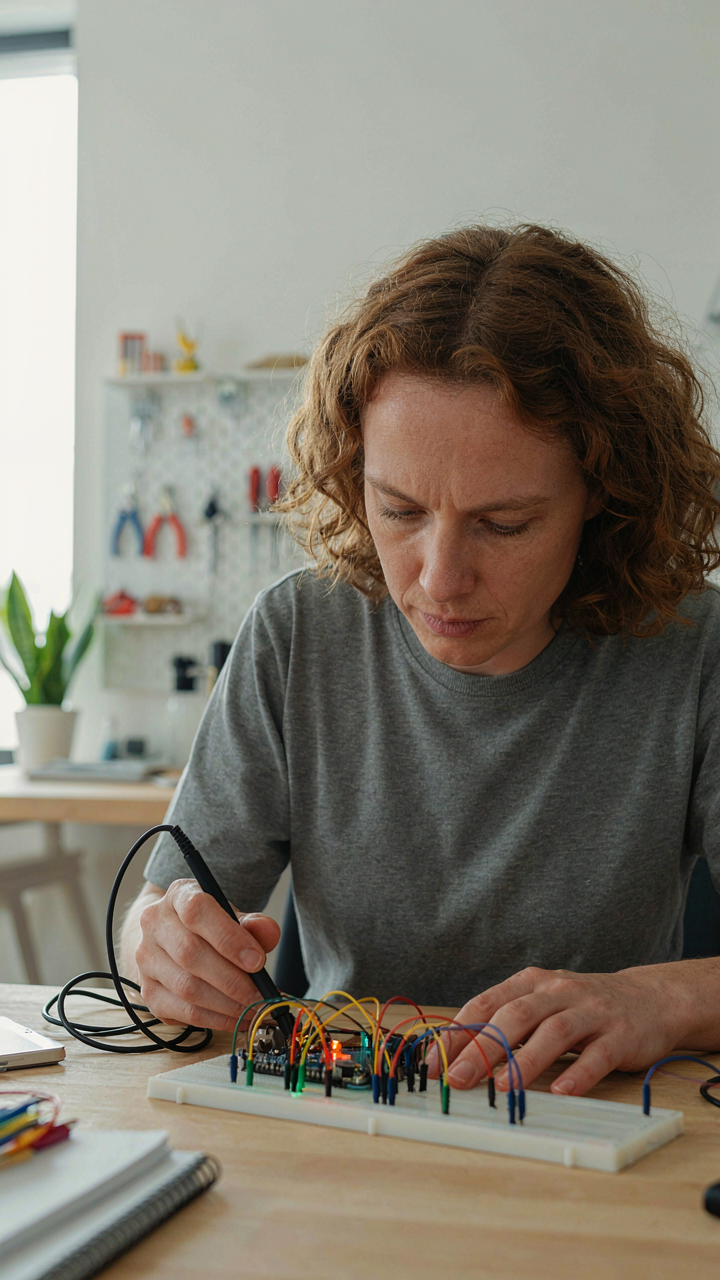
Most people never finish an Arduino LED project because they’re chasing tutorials instead of problems. You already know what to build. That annoyed feeling you get every day, that inefficiency nobody solved yet, that’s your project. Stop researching and pick one today. Wire up those LEDs. Fail. Fix it. The learning happens in the doing, not the watching. Your curiosity is useless until you weaponize it against something real.



