

Getting Started With DIY Home Automation Project Ideas
Understanding The Basics Of Smart Homes
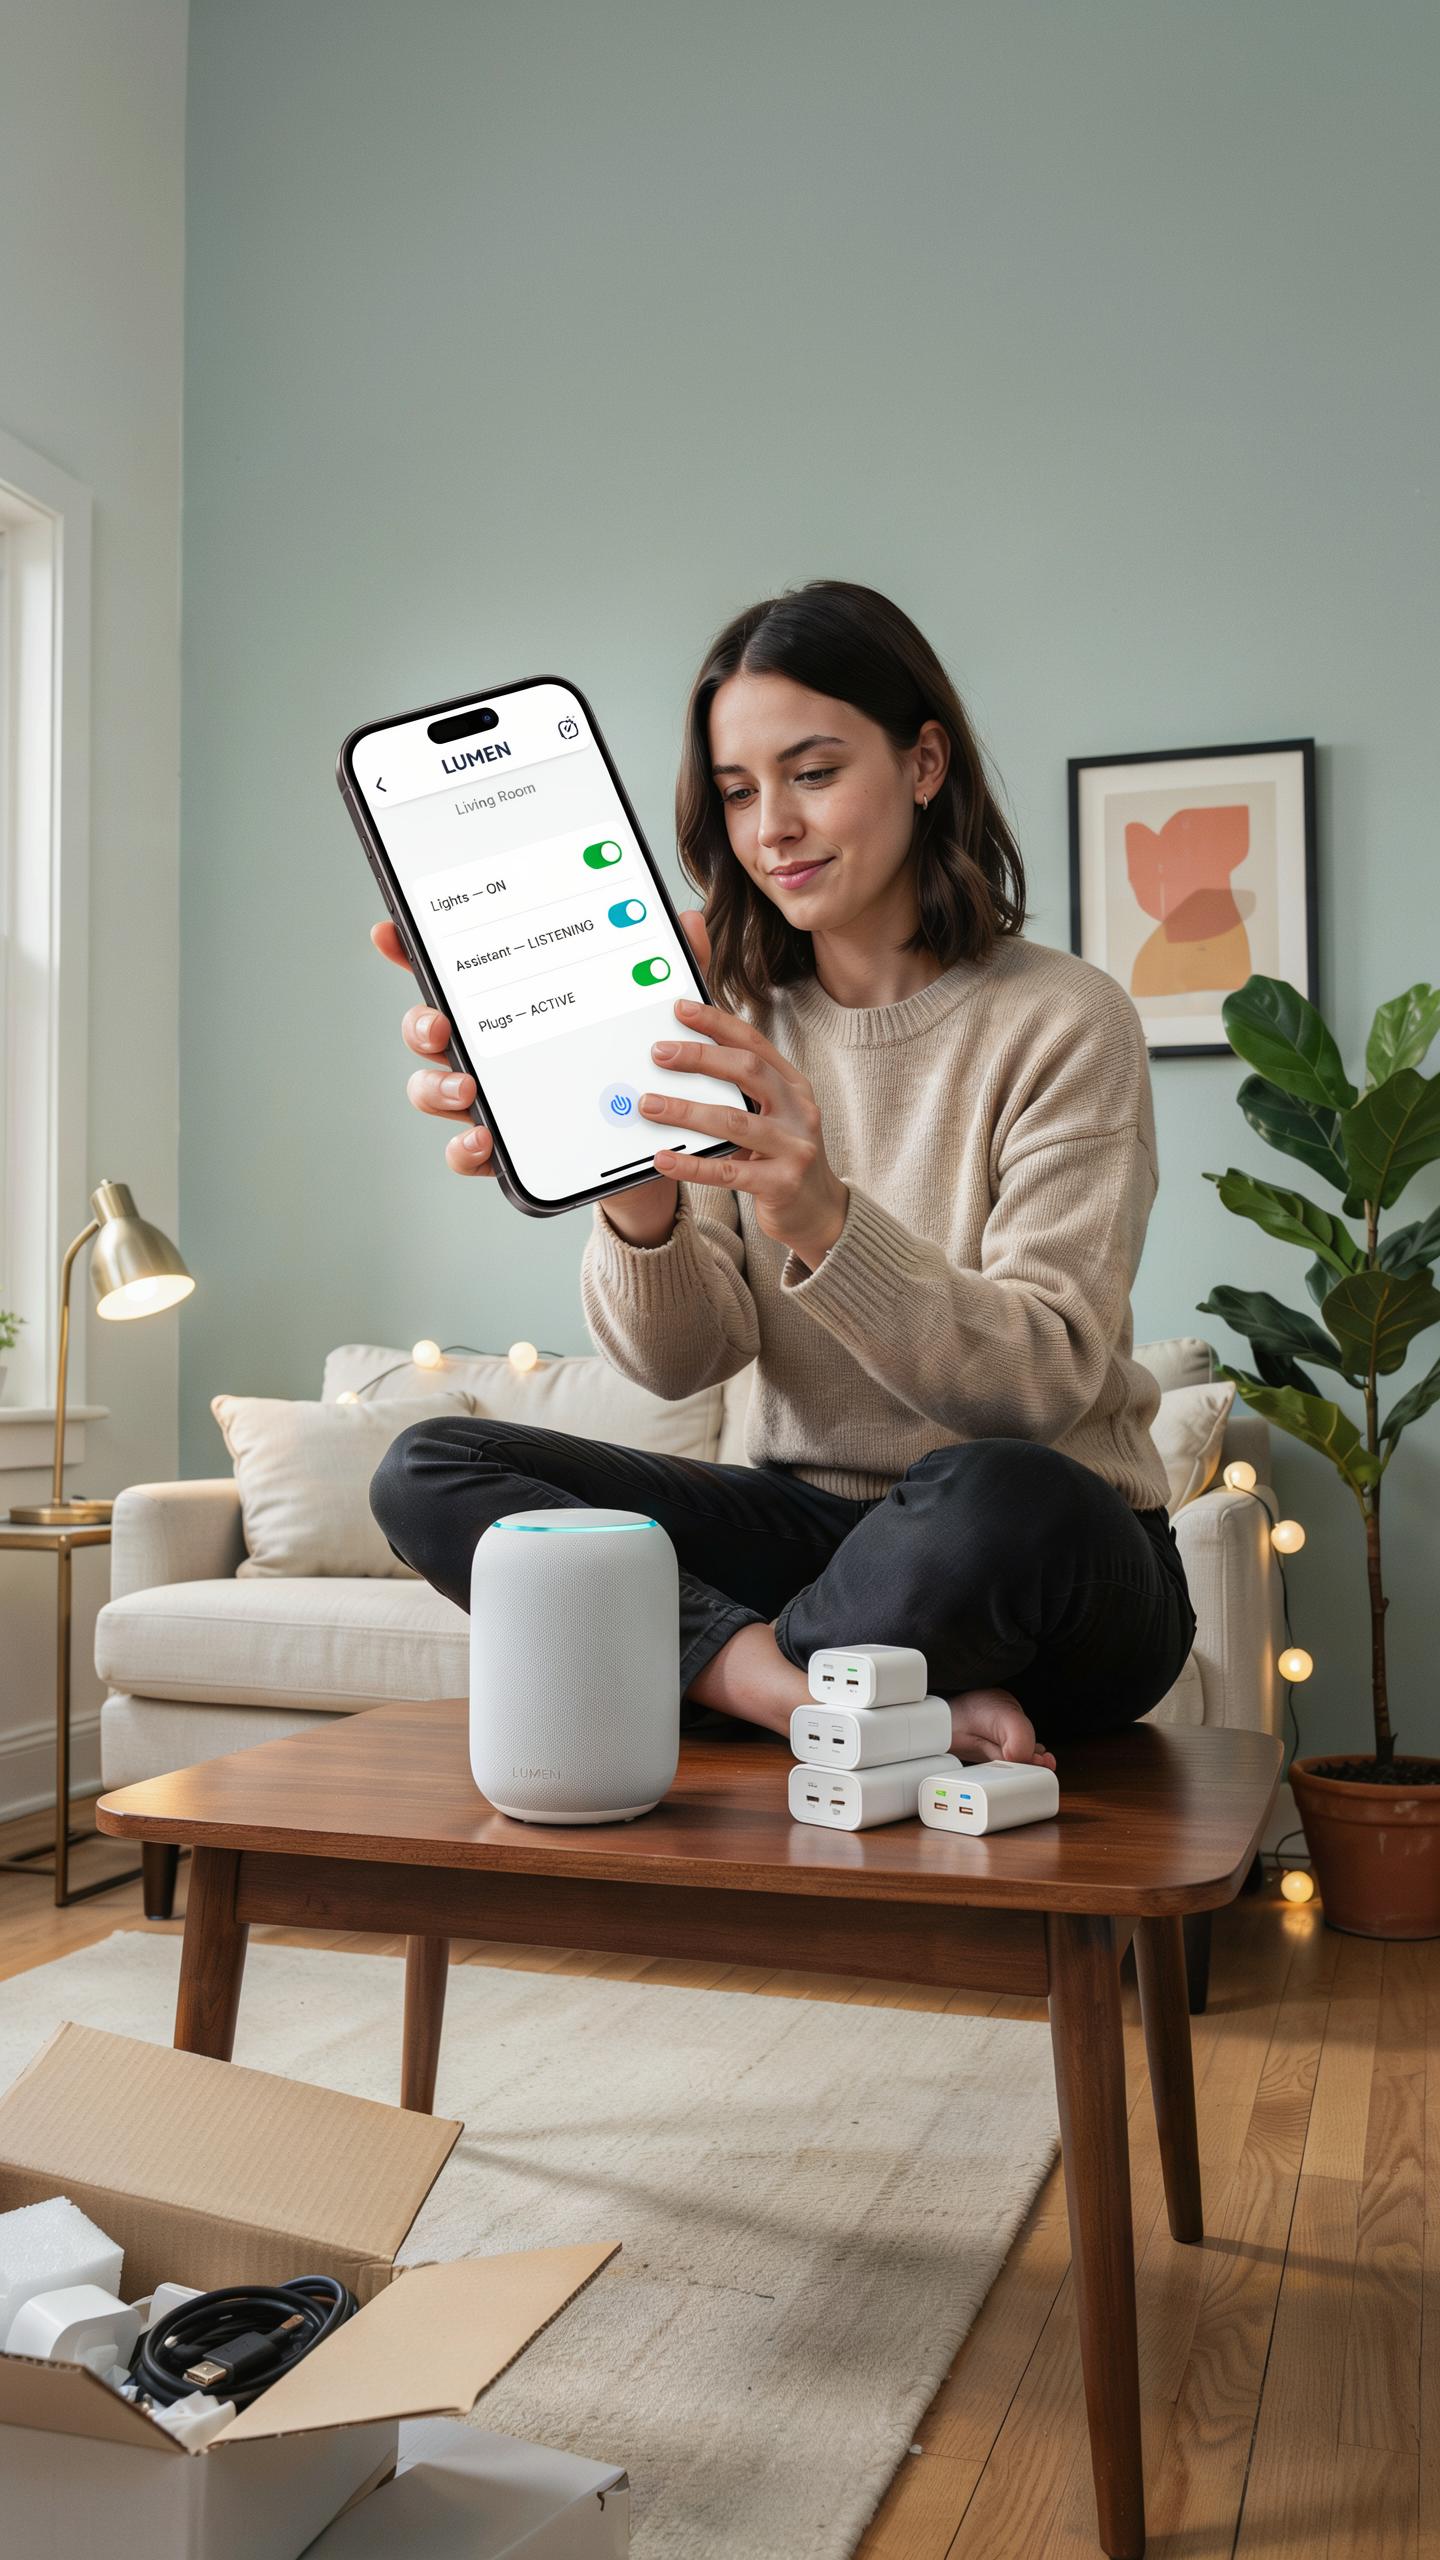
Home automation means controlling devices and systems in your home remotely or automatically. Smart homes use internet-connected devices that communicate with each other through wireless protocols like WiFi, Zigbee, or Z-Wave. You install hardware like smart speakers, switches, or sensors, then manage them through apps or voice commands. The core benefit is convenience, but automation also reduces energy waste and improves security through monitoring and control.
Beginners don’t need to automate everything at once. Start with one or two devices to learn how systems work before expanding. Most entry-level smart home devices cost between 20 and 100 dollars each. The key advantage for budget-conscious users is that you build incrementally, adding devices as money allows. This approach lets you test what actually works for your lifestyle before spending heavily.
Identifying Your First Automation Need
Walk through your home and identify repetitive tasks or inefficiencies that waste time or money. Common pain points include forgetting to turn off lights, manually adjusting thermostats, or checking if doors are locked before leaving. Prioritize problems that happen daily or affect your utility bills. The best first project solves a genuine problem you face regularly, which keeps motivation high and demonstrates real value quickly.
Focus automation efforts on areas where you spend the most time or money. A bathroom light automation costs the same as a living room light, but automating the room you use most frequently delivers faster payback. Consider what reduces your workload most effectively. Budget constraints force this prioritization, making it strategic rather than limiting. You’ll gain experience troubleshooting one system before tackling complex multi-device setups.
Choosing The Right Platform For Beginner DIY Automation Project Ideas

Exploring Microcontroller Options: Arduino Projects Vs. Raspberry Pi
Arduino boards cost between 20 and 50 dollars and run simple, repetitive tasks well. They excel at reading sensors, controlling lights, and managing motors. Arduino uses straightforward C-based code. The trade-off: Arduino cannot run a full operating system or handle complex networking tasks on its own.
Raspberry Pi costs 35 to 75 dollars and runs a complete Linux operating system. This means you can run multiple programs, connect to WiFi directly, and use Python or other languages. Raspberry Pi handles heavier lifting. Choose Arduino for single-task projects like automated watering systems. Choose Raspberry Pi when you need a central hub managing multiple devices or running local software.
Software And Programming Basics For Beginners
Arduino uses the Arduino IDE, a free application that simplifies code writing and uploading. The language syntax is basic and forgiving. Beginners write functions that execute repeatedly without deep programming knowledge. Most starter projects require only 20 to 50 lines of actual code to function properly.

Raspberry Pi uses Python as the primary beginner language, supported by free tools like Thonny IDE. Python reads like English and eliminates confusing syntax that blocks newcomers. Both platforms use if/then logic and sensor value checking. Online communities like Arduino.cc and Raspberry Pi forums provide ready-to-use code templates. Start with copying existing code, modify variables, and run tests to understand what changes what.
Essential Components For Your First Home Automation Project
Budget Friendly Sensors And Actuators
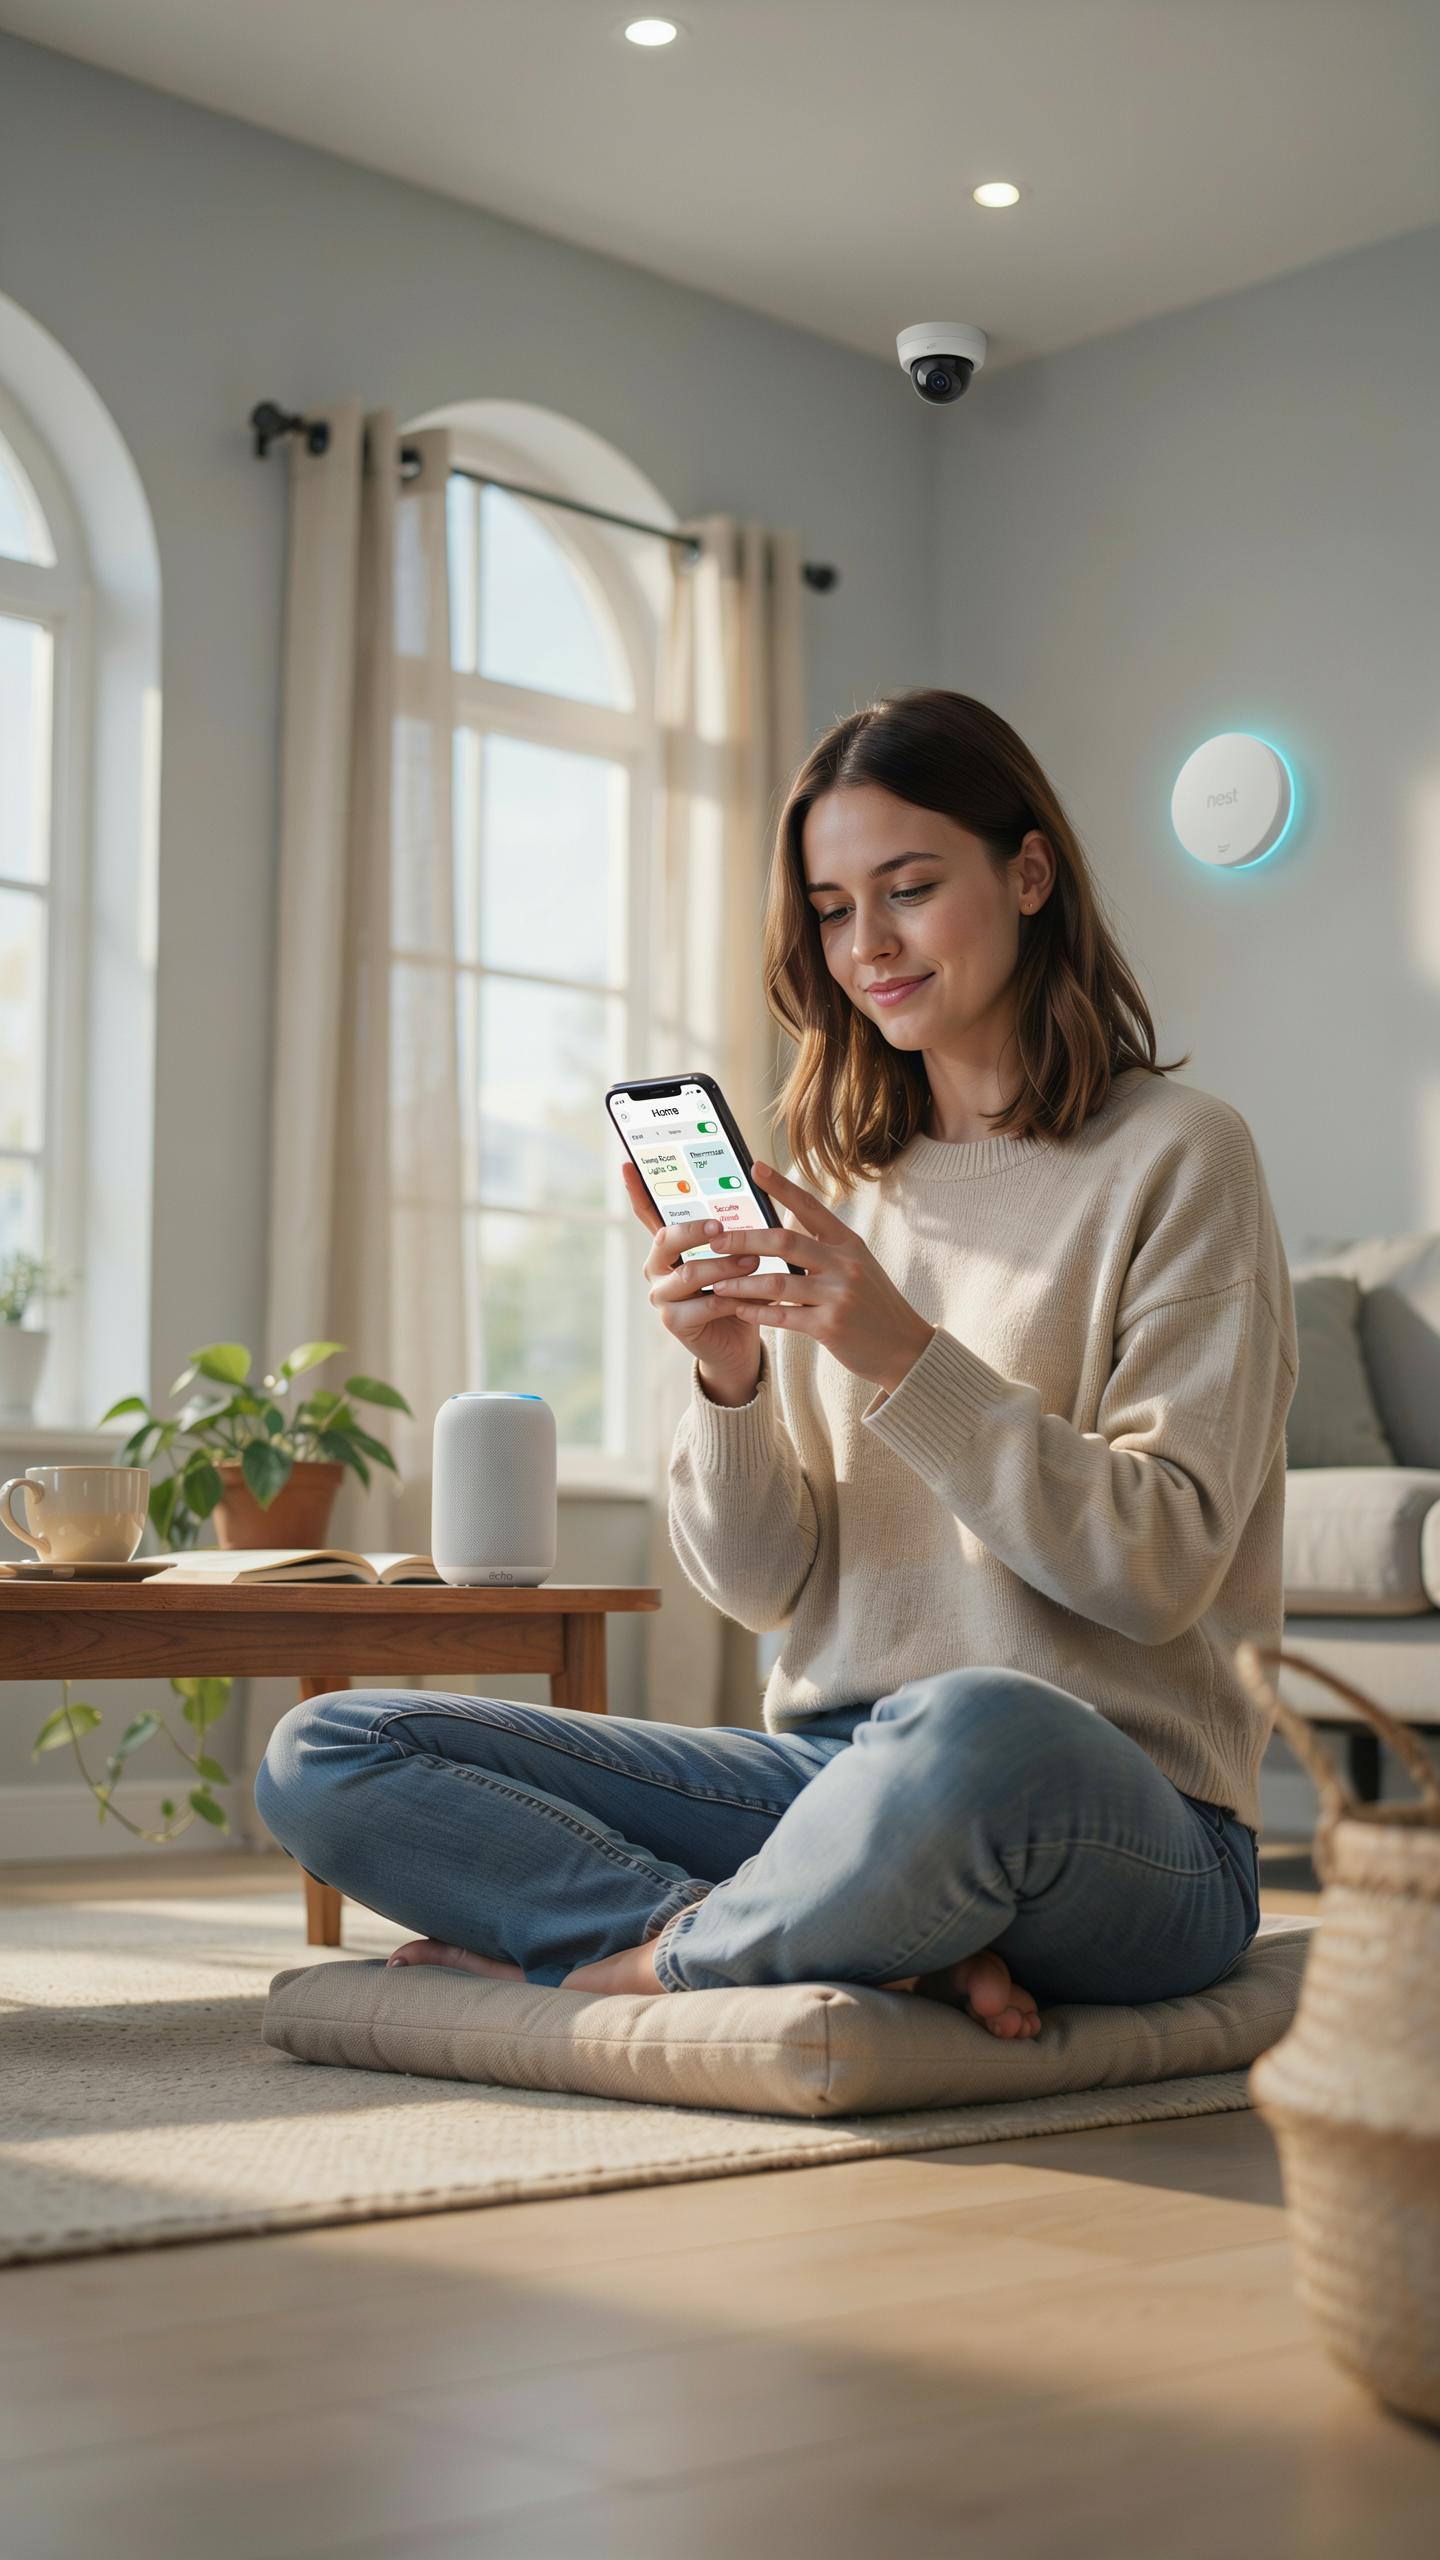
Motion sensors detect movement in rooms and cost between 10 to 30 dollars. They trigger lights, cameras, or alarms based on activity. Temperature sensors measure room heat and run 5 to 15 dollars each. Light sensors detect brightness levels and adjust lighting automatically. These four sensor types form the backbone of most beginner projects and integrate easily with standard platforms.
- PIR Motion Sensors: Detect infrared heat from moving objects. Cost 10 to 25 dollars. Work with most microcontroller platforms. Ideal for entry points and room occupancy tracking.
- DHT Temperature and Humidity Sensors: Measure temperature and moisture levels simultaneously. Cost 5 to 15 dollars. Provide real time data for climate control automation. Common in weather stations and indoor environmental monitoring.
- LDR Light Sensors: Detect ambient light intensity using photoresistor technology. Cost 2 to 8 dollars. Trigger automatic lighting based on darkness levels. Perfect for outdoor lighting automation projects.
- Relay Modules: Switch electrical circuits on or off using low power signals. Cost 3 to 10 dollars per relay. Control lamps, fans, and other appliances safely. Available in single or multi channel configurations for scaling.
- Servo Motors: Rotate between 0 to 180 degrees for mechanical control. Cost 5 to 20 dollars depending on torque specifications. Operate door locks, blinds, and valve controls. Require pulse width modulation PWM signals to function.
Actuators like relays and servo motors execute the actions your system decides. Relay modules cost 3 to 10 dollars and switch household appliances on or off. Servo motors cost 5 to 20 dollars and control mechanical functions like blinds or locks. Combining affordable sensors with cheap actuators keeps initial spending under 100 dollars for a complete beginner project.
With a little ingenuity and an open mind, even the simplest of gadgets can elevate your home into a haven of clever convenience. It’s about crafting comfort, not just buying it.
Connectivity Options Wi Fi Bluetooth And Beyond
Wi Fi requires an existing router but offers range up to 100 feet indoors. Bluetooth operates at shorter distances, typically 30 to 100 feet, but drains less power. Zigbee uses mesh networking where devices relay signals through each other, extending range without adding infrastructure. Evaluate your home layout and device placement before choosing a protocol. Wi Fi dominates beginner projects because most homes already have routers installed.

Z Wave operates on a 900 MHz frequency and requires a dedicated hub for control. Thread is a newer protocol gaining traction in consumer devices but lacks widespread support. For budget projects on existing networks, Wi Fi via microcontroller boards like ESP8266 costs 5 to 15 dollars and requires no extra hardware. Bluetooth works well for single room projects but struggles with wall penetration. Pick the protocol that matches your home infrastructure and device compatibility needs.
How To Build A Home Automation System Simple Lighting Control
Project 1: Automated Light With A Photoresistor
A photoresistor detects ambient light and triggers an action. You wire it to an Arduino microcontroller, which reads the sensor data and controls a relay connected to a light fixture. The Arduino compares light levels against a threshold you set. When light drops below that point, the relay activates the lamp. When light rises above it, the relay cuts power.
Start with an Arduino Uno, a photoresistor, a 10k ohm resistor, a relay module, and basic jumper wires. Connect the photoresistor and 10k resistor as a voltage divider to an analog input pin on the Arduino. Connect the relay module to a digital output pin and ground. Upload code that reads the sensor value and controls the relay output. Test by covering the photoresistor to simulate darkness and verify the light turns on.
Expanding With A DIY Home Automation Switch
A manual override switch lets you control the light independently of the photoresistor. Wire a pushbutton switch to another digital input pin on the Arduino. Program the code to prioritize the switch input when pressed, bypassing the photoresistor logic temporarily. This gives you on-demand control without rewiring anything.
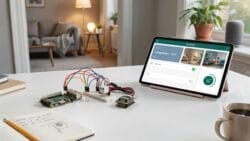
Mount the switch near your light or in a convenient location. Use a pull-up resistor to keep the pin stable when the switch is not pressed. The Arduino detects the switch state each time it reads inputs. You can toggle the light on and off manually while keeping the automated system intact for when you need it.
Home Automation Motor Projects Window Blinds Automation
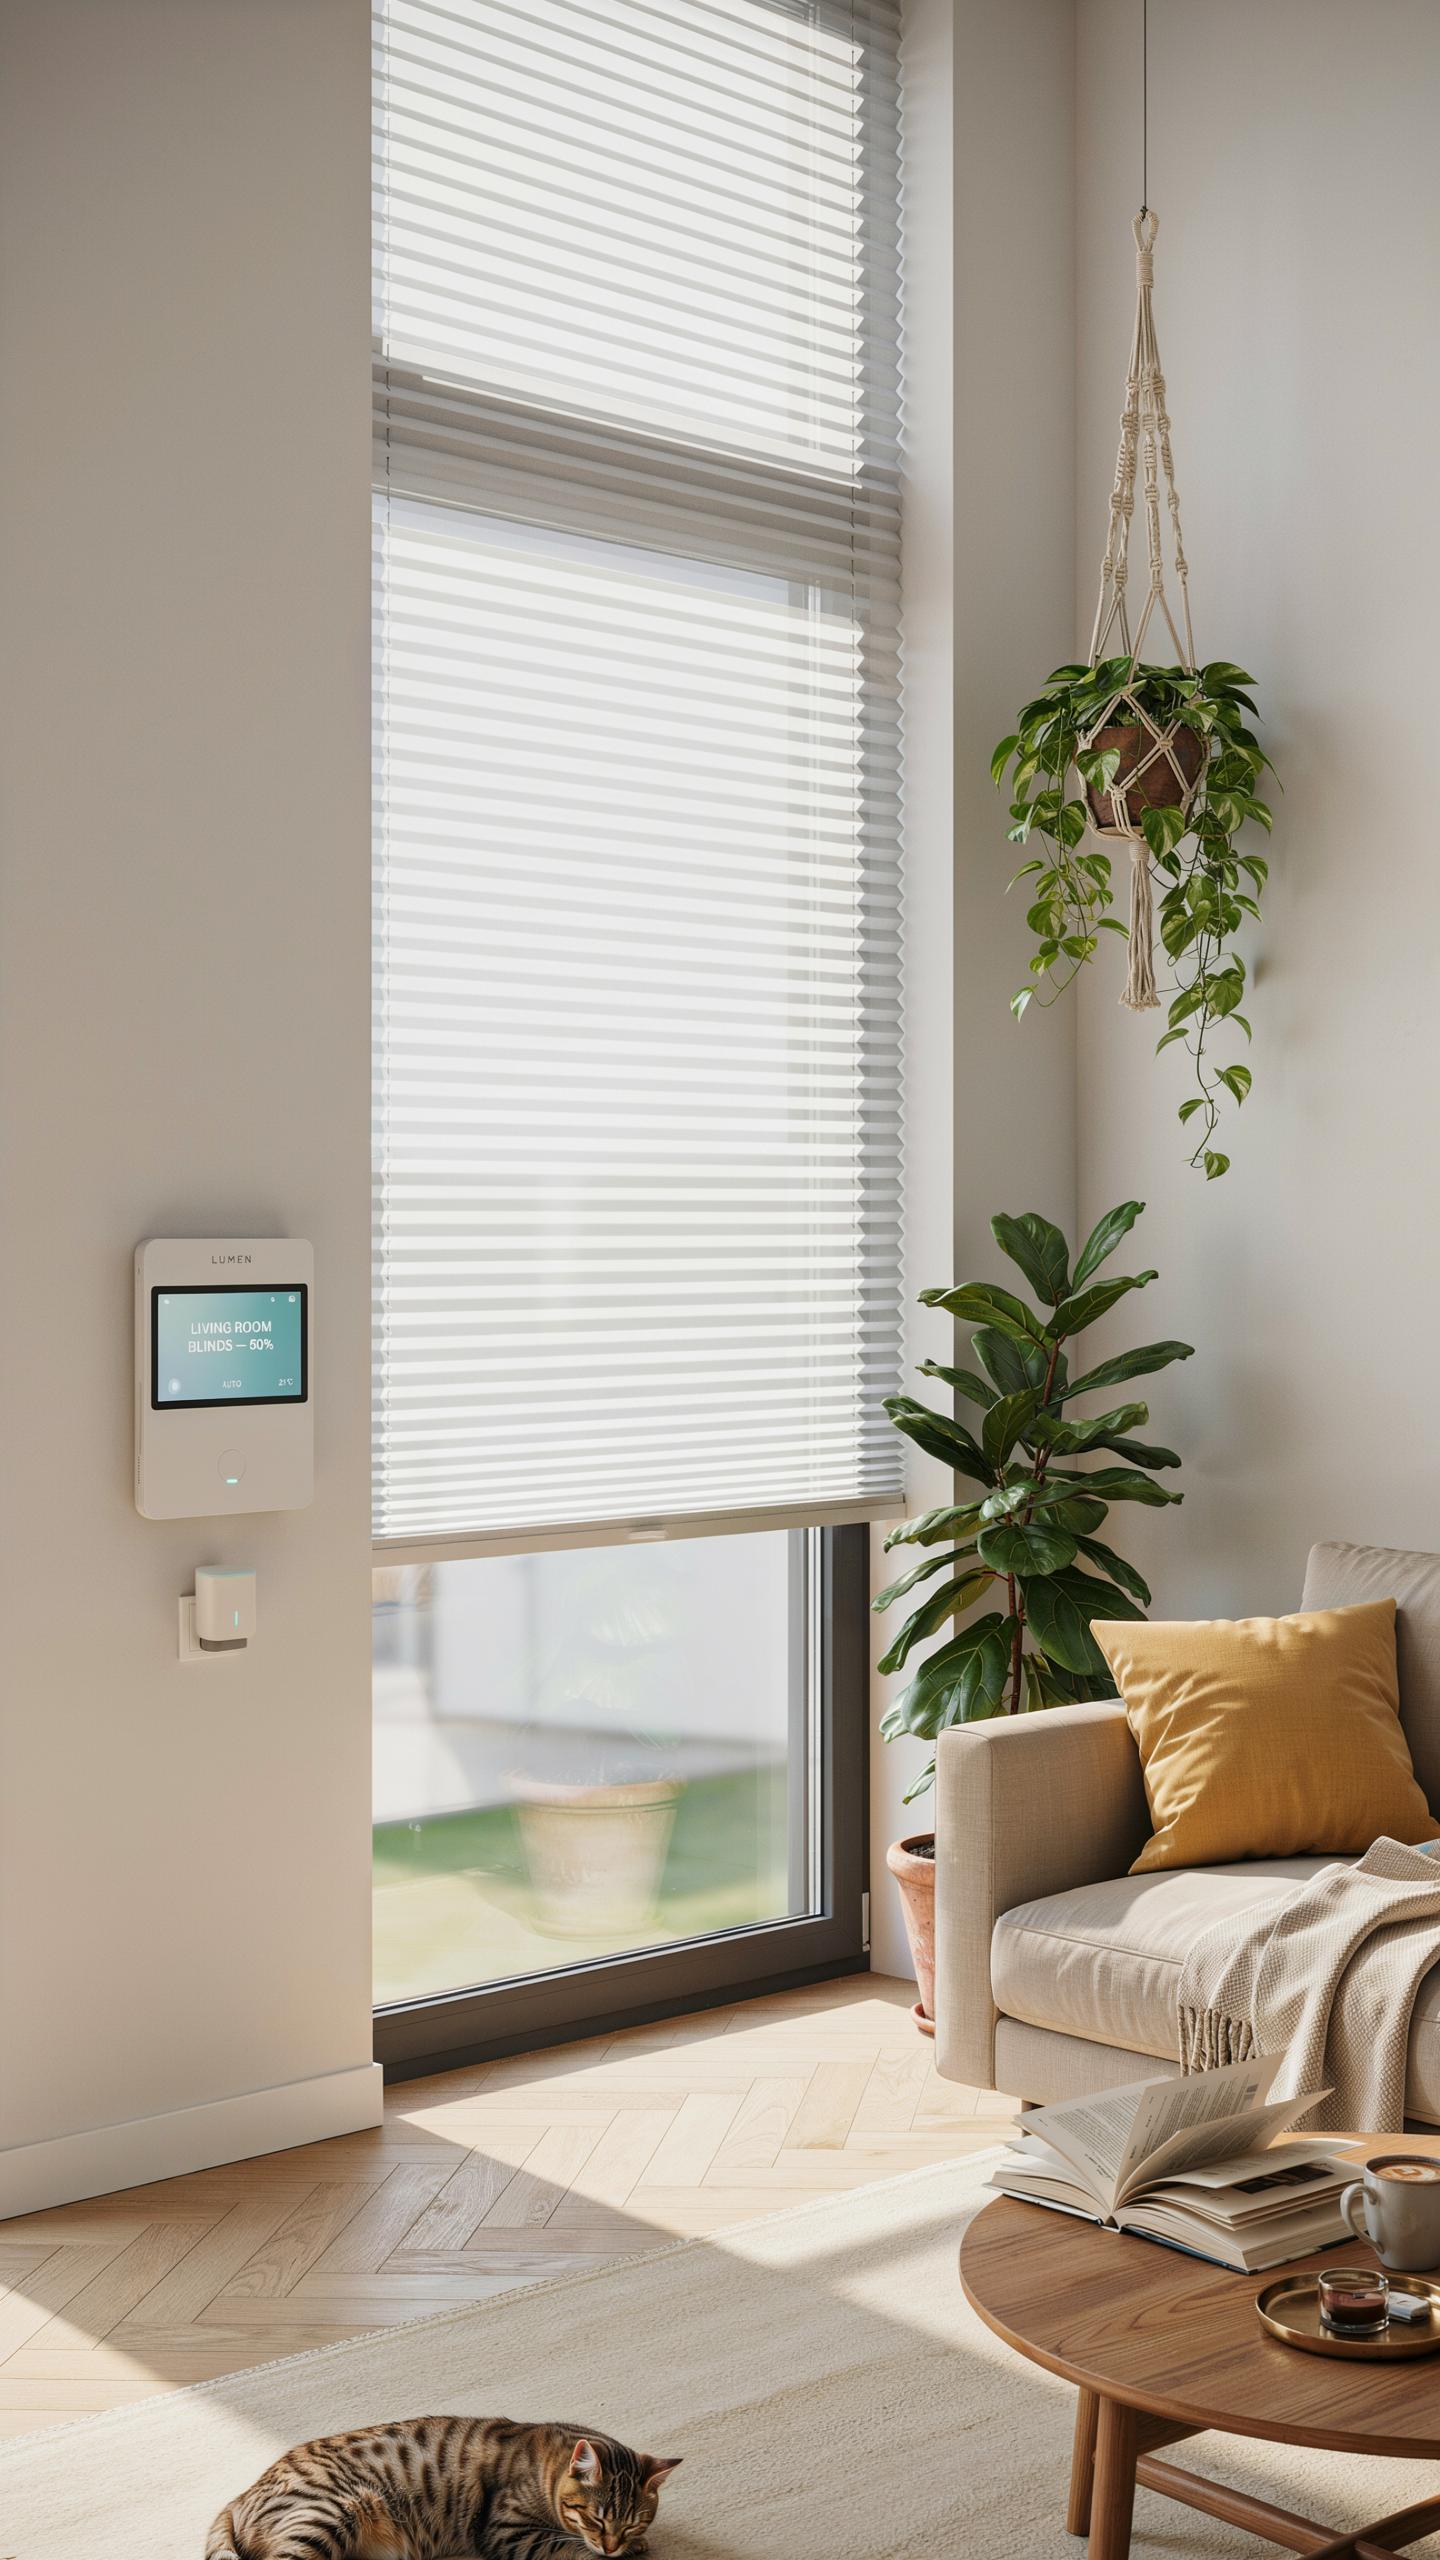
Project 2: Motorized Blinds With A Small DC Motor
A small DC motor converts electrical power into rotational movement, making it ideal for opening and closing window blinds. You need four core components: a DC motor rated between 3 and 12 volts, a microcontroller like Arduino, a motor driver module, and a power source. The motor driver acts as a switch, letting the microcontroller control motor direction and speed without direct connection to higher current loads.
Mount the DC motor to your blind mechanism using a bracket or coupling that transfers rotational force to the blind rod. Program the microcontroller to activate the motor driver on a schedule or via remote input. You control direction by reversing voltage polarity through the motor driver, allowing upward and downward blind movement. Total material cost stays under 50 dollars for basic setups using common hobbyist components.
Adding A Push Button For Manual Operation
A push button provides manual override capability when automation fails or you need immediate control without accessing an app or remote. Wire the button to the microcontroller’s input pin, then program logic to detect button presses and trigger motor movement. Debounce the button signal in code to filter electrical noise that causes false multiple presses from a single physical button press.
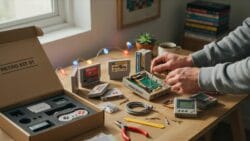
Implement two buttons for practical control: one for opening blinds and one for closing. Add a stop function so pressing the button again halts motor rotation mid-movement, giving you partial blind positioning. This redundant control method ensures functionality during wifi outages or app failures, keeping your blinds operational under all circumstances.
DIY Home Automation Kit Building A Smart Plant Watering System
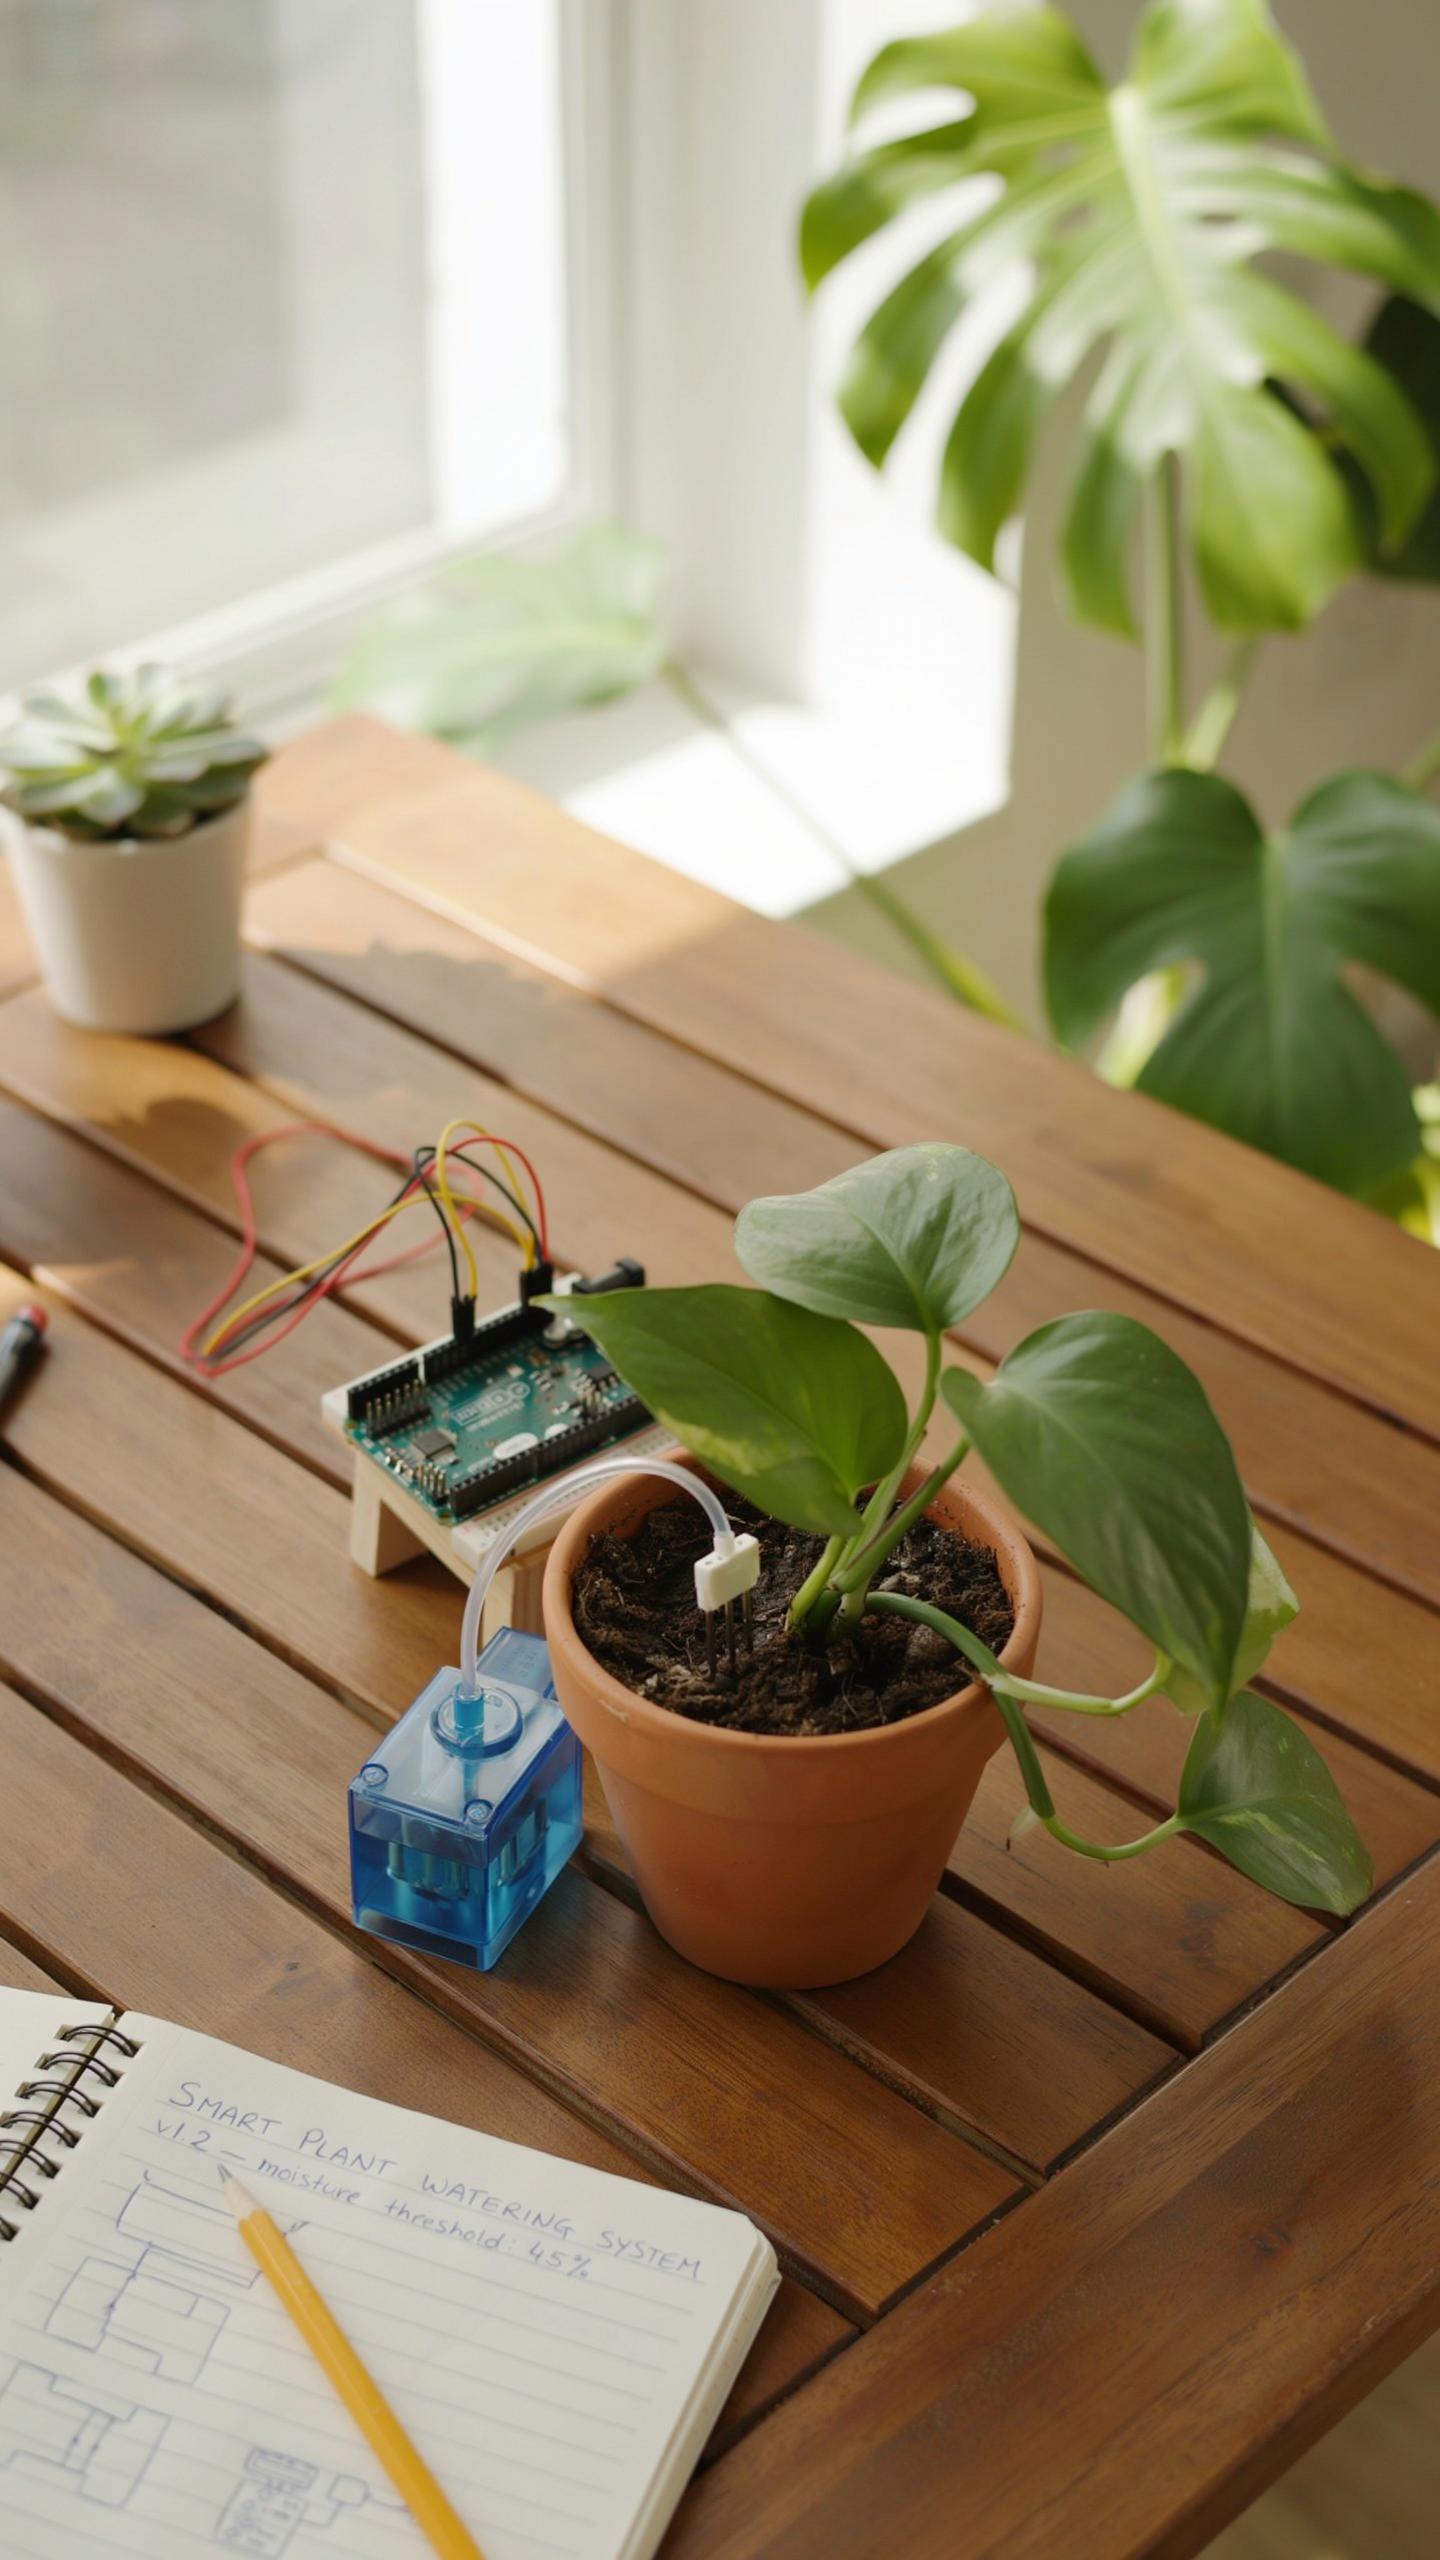
Project 3: Soil Moisture Sensor And Water Pump Integration
A soil moisture sensor detects water levels in soil and sends that data to a microcontroller like Arduino or Raspberry Pi. When soil dries past your set threshold, the microcontroller triggers a relay that powers a small water pump. This automation eliminates guesswork and prevents both overwatering and plant death from neglect.
The hardware stack is straightforward. You need a capacitive soil moisture sensor, a small submersible pump, a relay module, tubing, a power supply, and your microcontroller. Capacitive sensors outperform resistive ones because they resist corrosion from constant soil contact. Wire the sensor to your microcontroller’s analog input, connect the pump to the relay output, and run tubing from the pump into your plant’s pot or water reservoir.
Setting Up Schedules And Notifications
Program your microcontroller to check soil moisture at set intervals, typically every hour or based on time of day. Use simple if-then logic: if moisture reading falls below 30 percent, activate the pump for a set duration like five to ten seconds. This prevents continuous pumping and manages water waste while keeping plants adequately hydrated throughout growing seasons.

Notifications alert you to system status without constant manual checks. Send basic alerts via email or smartphone app when the pump activates or when moisture stays critically low despite watering attempts. Most beginner platforms like Arduino with WiFi shields or Raspberry Pi can integrate free services like IFTTT or Blynk to deliver these alerts. This feedback loop helps you spot equipment failures or identify plants that need repotting.
Energy Monitoring With DIY Automation Project Ideas
Project 4: Simple Energy Usage Monitor
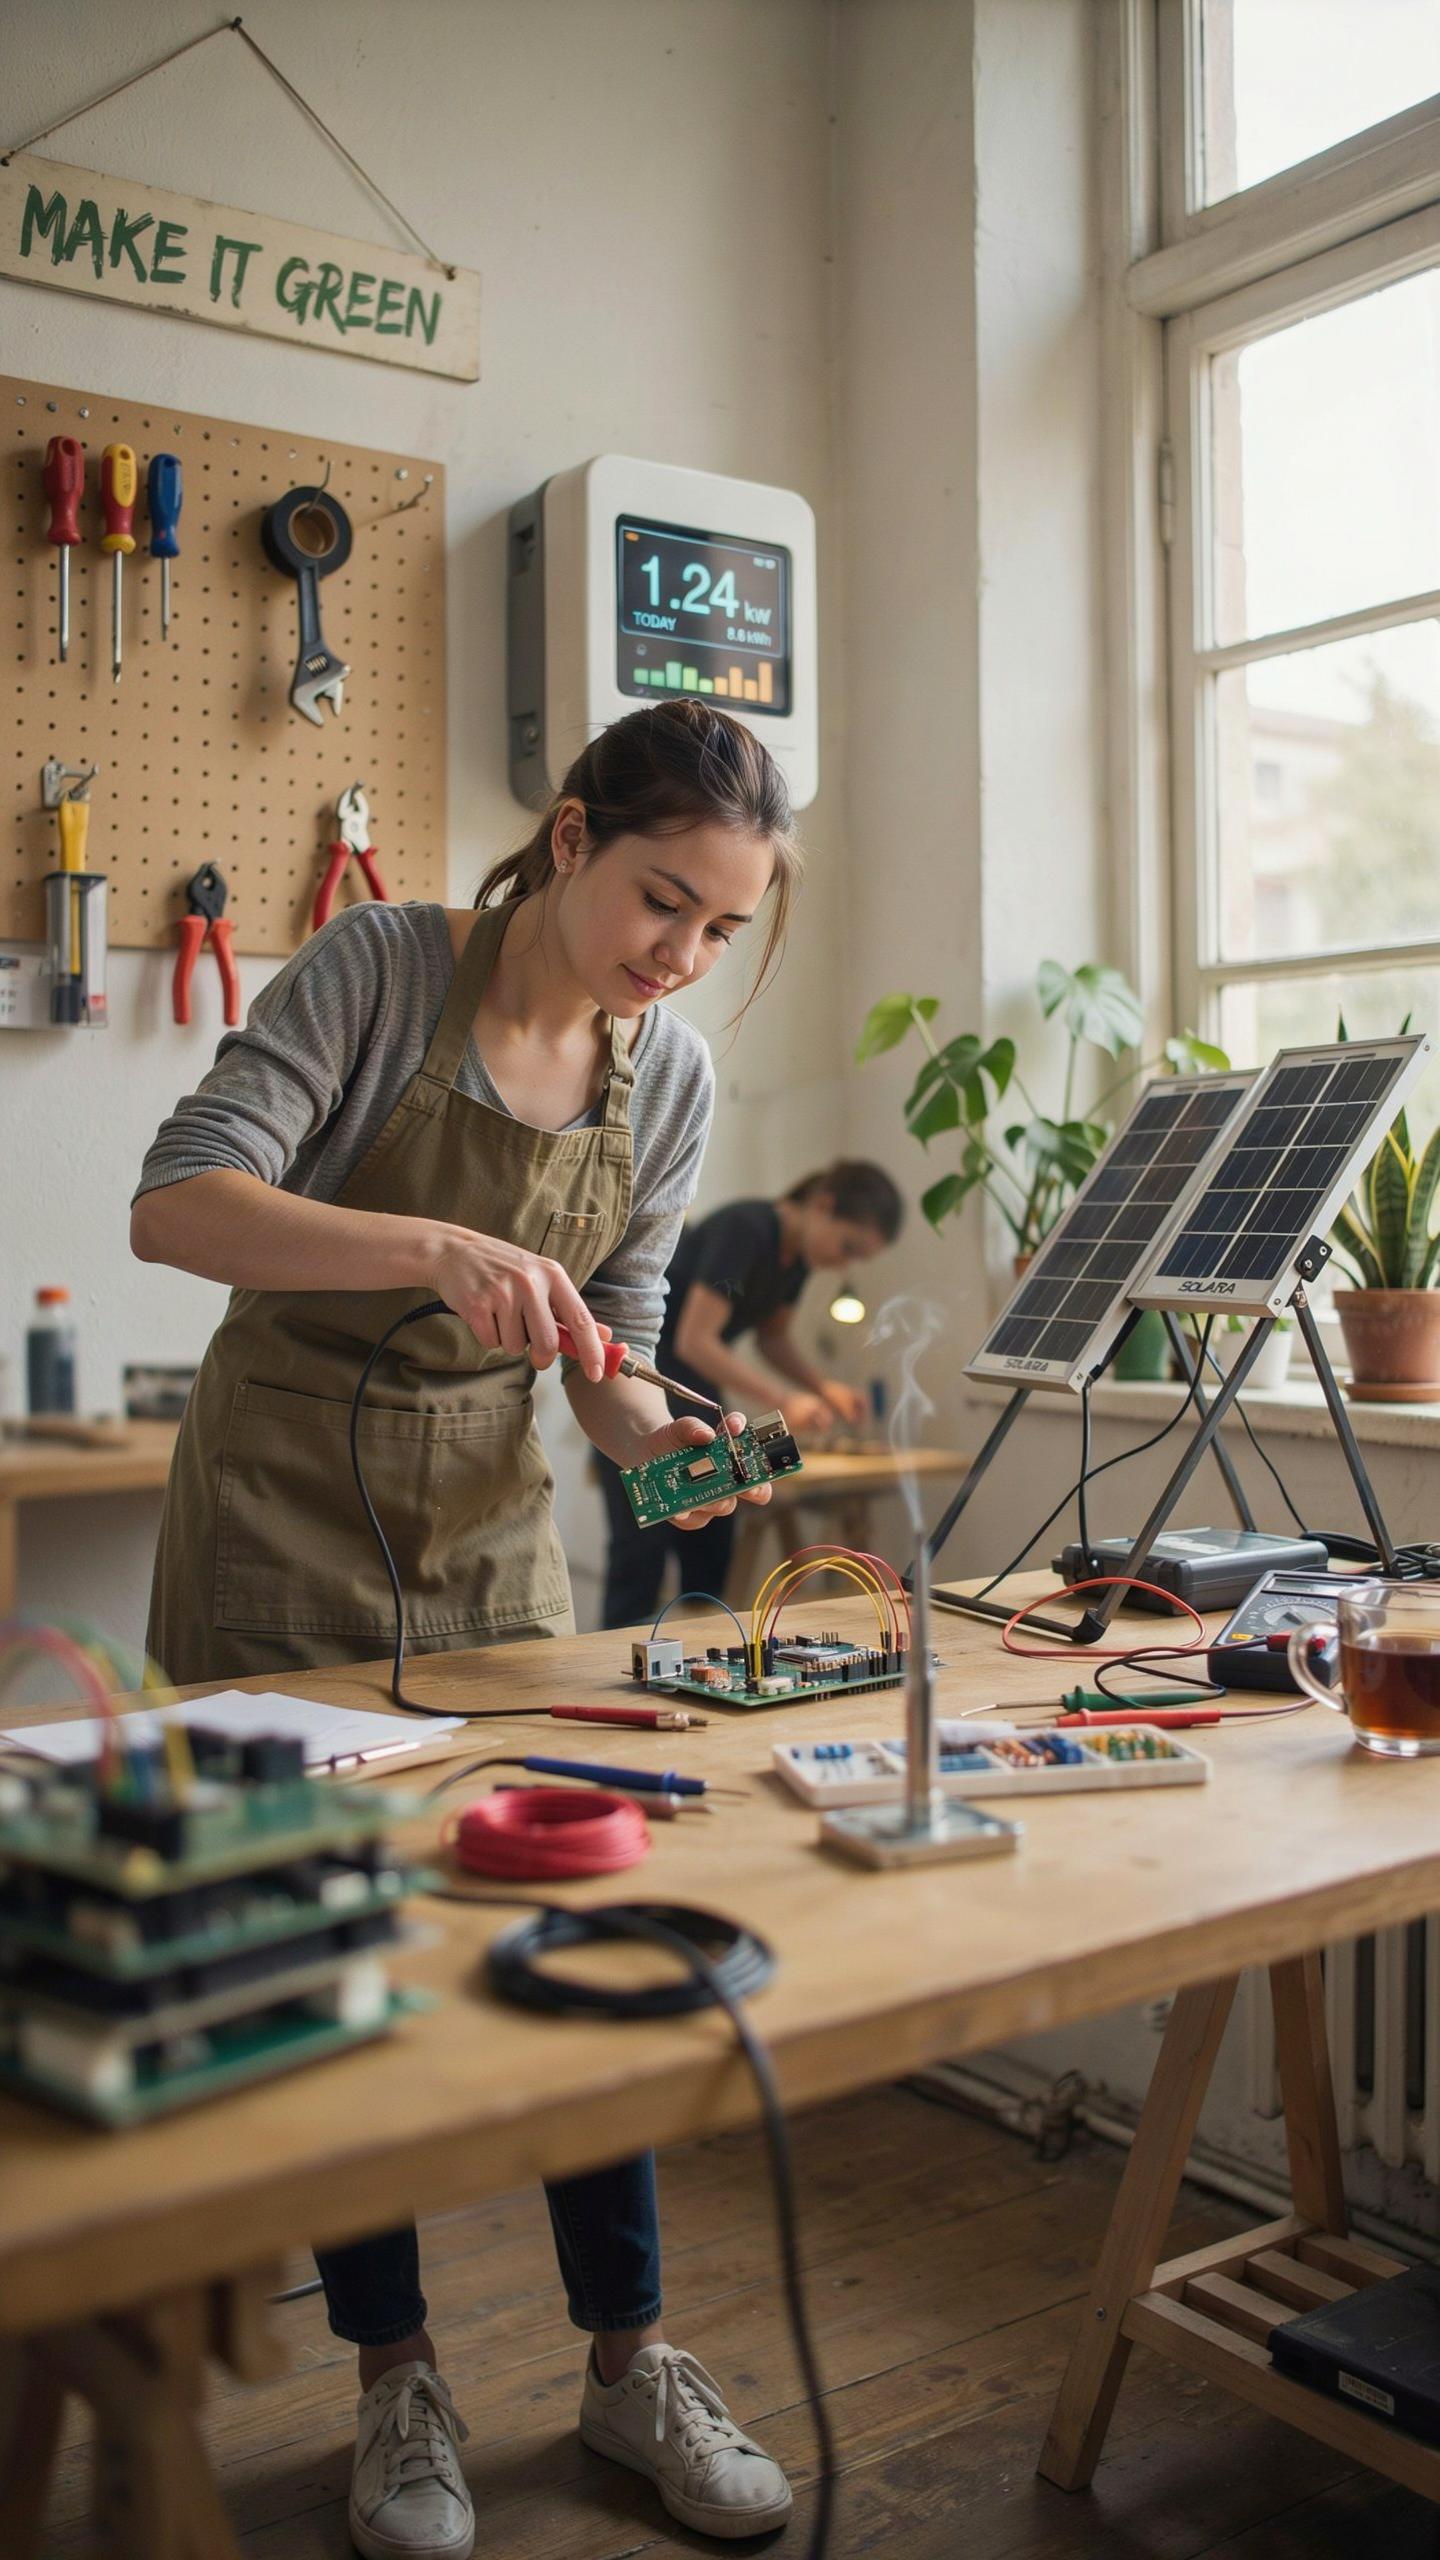
You need to know what your appliances actually consume. A simple energy monitor plugs between your outlet and device, measuring real-time watts and kilowatt-hours. Most models display consumption on an LCD screen. This data reveals your power hogs fast and costs between $15-30 per unit. No technical skills required to operate it.
Start with your biggest appliances: refrigerator, water heater, air conditioning, and heating system. Track each for one week to establish baseline usage. Write down the numbers daily. This creates a concrete record you can reference later. Beginners often discover their actual consumption differs drastically from assumptions, making this step essential before installing automated controls.
Identifying Energy Saving Opportunities
Your monitor shows consumption patterns. High consumption during specific hours signals opportunity for behavior change or automation. Compare weekday usage to weekends. Note when devices run unnecessarily. A refrigerator running 24/7 is normal, but a space heater left on in an empty room wastes money. This data becomes your action plan foundation.

Use the information to set automation rules. Program smart plugs to cut power to devices during peak rate hours if your utility offers time-of-use pricing. Schedule water heater operation for off-peak times. Shift laundry and dishwasher usage to lower-cost periods. The monitor quantifies savings, showing you exactly which automations justify their cost versus manual control alone.
Security Enhancements With Robotics Projects

Project 5: Entry Level Motion Detection Alarm
A PIR sensor detects infrared radiation from moving objects. When motion occurs, the sensor triggers an output signal that you connect to an Arduino or Raspberry Pi microcontroller. This setup costs under 50 dollars and requires basic soldering skills. The sensor operates on standard power and outputs a simple high or low signal that your code processes instantly.
Wire the PIR sensor’s output pin to a digital input on your microcontroller. Program logic to trigger a buzzer or LED when motion activates. Test the sensor’s detection range in your actual environment since walls and furniture affect performance. Most PIR sensors need 30 to 60 seconds of warm up time before they function accurately after power on.
Integrating With Notification Services
Connect your microcontroller to WiFi using a ESP8266 or ESP32 module. These boards send HTTP requests to free notification services when motion triggers. IFTTT and Pushbullet offer free tiers that deliver alerts to your phone instantly. Set up a webhook that activates when your Arduino sends a signal, routing the notification through their systems.

Use email alerts as a backup notification method since SMTP is reliable and free. Configure your microcontroller to send emails through Gmail or another provider using their API credentials. Test notifications at various times to confirm delivery speed and consistency. Stack multiple notification services so you receive alerts even if one service experiences downtime.
Expanding Your DIY Industrial Automation Project Skills

Beyond The Basics: Intermediate Home Automation Concepts
Home hubs serve as the central processing point for your automation system. They receive commands from multiple devices, process logic, and execute actions across your network. Popular options include SmartThings, Home Assistant, and Apple HomeKit. A hub eliminates the need for each device to connect directly to your internet router, improving response times and reliability.
Voice control integration connects your automation system to voice assistants like Amazon Alexa, Google Assistant, or Apple Siri. These platforms translate spoken commands into actionable automation routines. You configure trigger phrases that activate specific scenes or device sequences. Voice control works best when your hub and devices support the same ecosystem, though bridges can connect incompatible systems.
Troubleshooting And Community Resources
Start debugging by checking network connectivity first. Restart your hub and devices if they stop responding. Review log files in your automation app to identify which commands fail. Test each device individually before combining them into complex routines. Most failures stem from dropped WiFi connections, incorrect device pairing, or conflicting automation rules rather than hardware defects.
Online communities provide rapid solutions to common problems. Reddit communities like r/homeautomation and r/smartHome host active users who answer configuration questions daily. GitHub hosts open source home automation projects with documentation and user forums. Local maker spaces and electronics clubs often include members with hands on experience. These resources cost nothing and connect you directly with people solving identical problems in real time.
Future Proofing Your Home Automation Journey
Scalability And Modularity In Design
Build your system around platforms that support expansion without forcing complete overhauls. Choose hubs and protocols like Zigbee or Z-Wave because they handle new devices without replacing existing infrastructure. Design your wiring and placement with future additions in mind. Avoid locking yourself into single-brand ecosystems that limit your options when better technology emerges at lower price points.
Start with core automation zones rather than trying to automate everything at once. This modular approach lets you add smart lights, locks, or sensors incrementally as budget allows. Each addition should integrate seamlessly with what you already have. Document your setup thoroughly so you understand what you’ve built and can troubleshoot or expand without confusion.
Staying Updated With New Technologies
Follow tech blogs and forums focused on affordable home automation to catch price drops and new budget friendly releases. Join communities on Reddit or dedicated smart home platforms where users test and share real world results. These spaces highlight genuine breakthroughs versus marketing hype. Set a quarterly review cycle to evaluate whether new affordable options outperform your current setup.
Compatibility matters more than chasing every new product. Before adopting new technology, verify it works with your existing hub and devices. Adopt updates to your hub firmware and apps promptly since these often add support for emerging affordable devices. Resist the impulse to replace working equipment just because something newer exists. Replace gear only when it fails or when a significant upgrade justifies the cost.



