
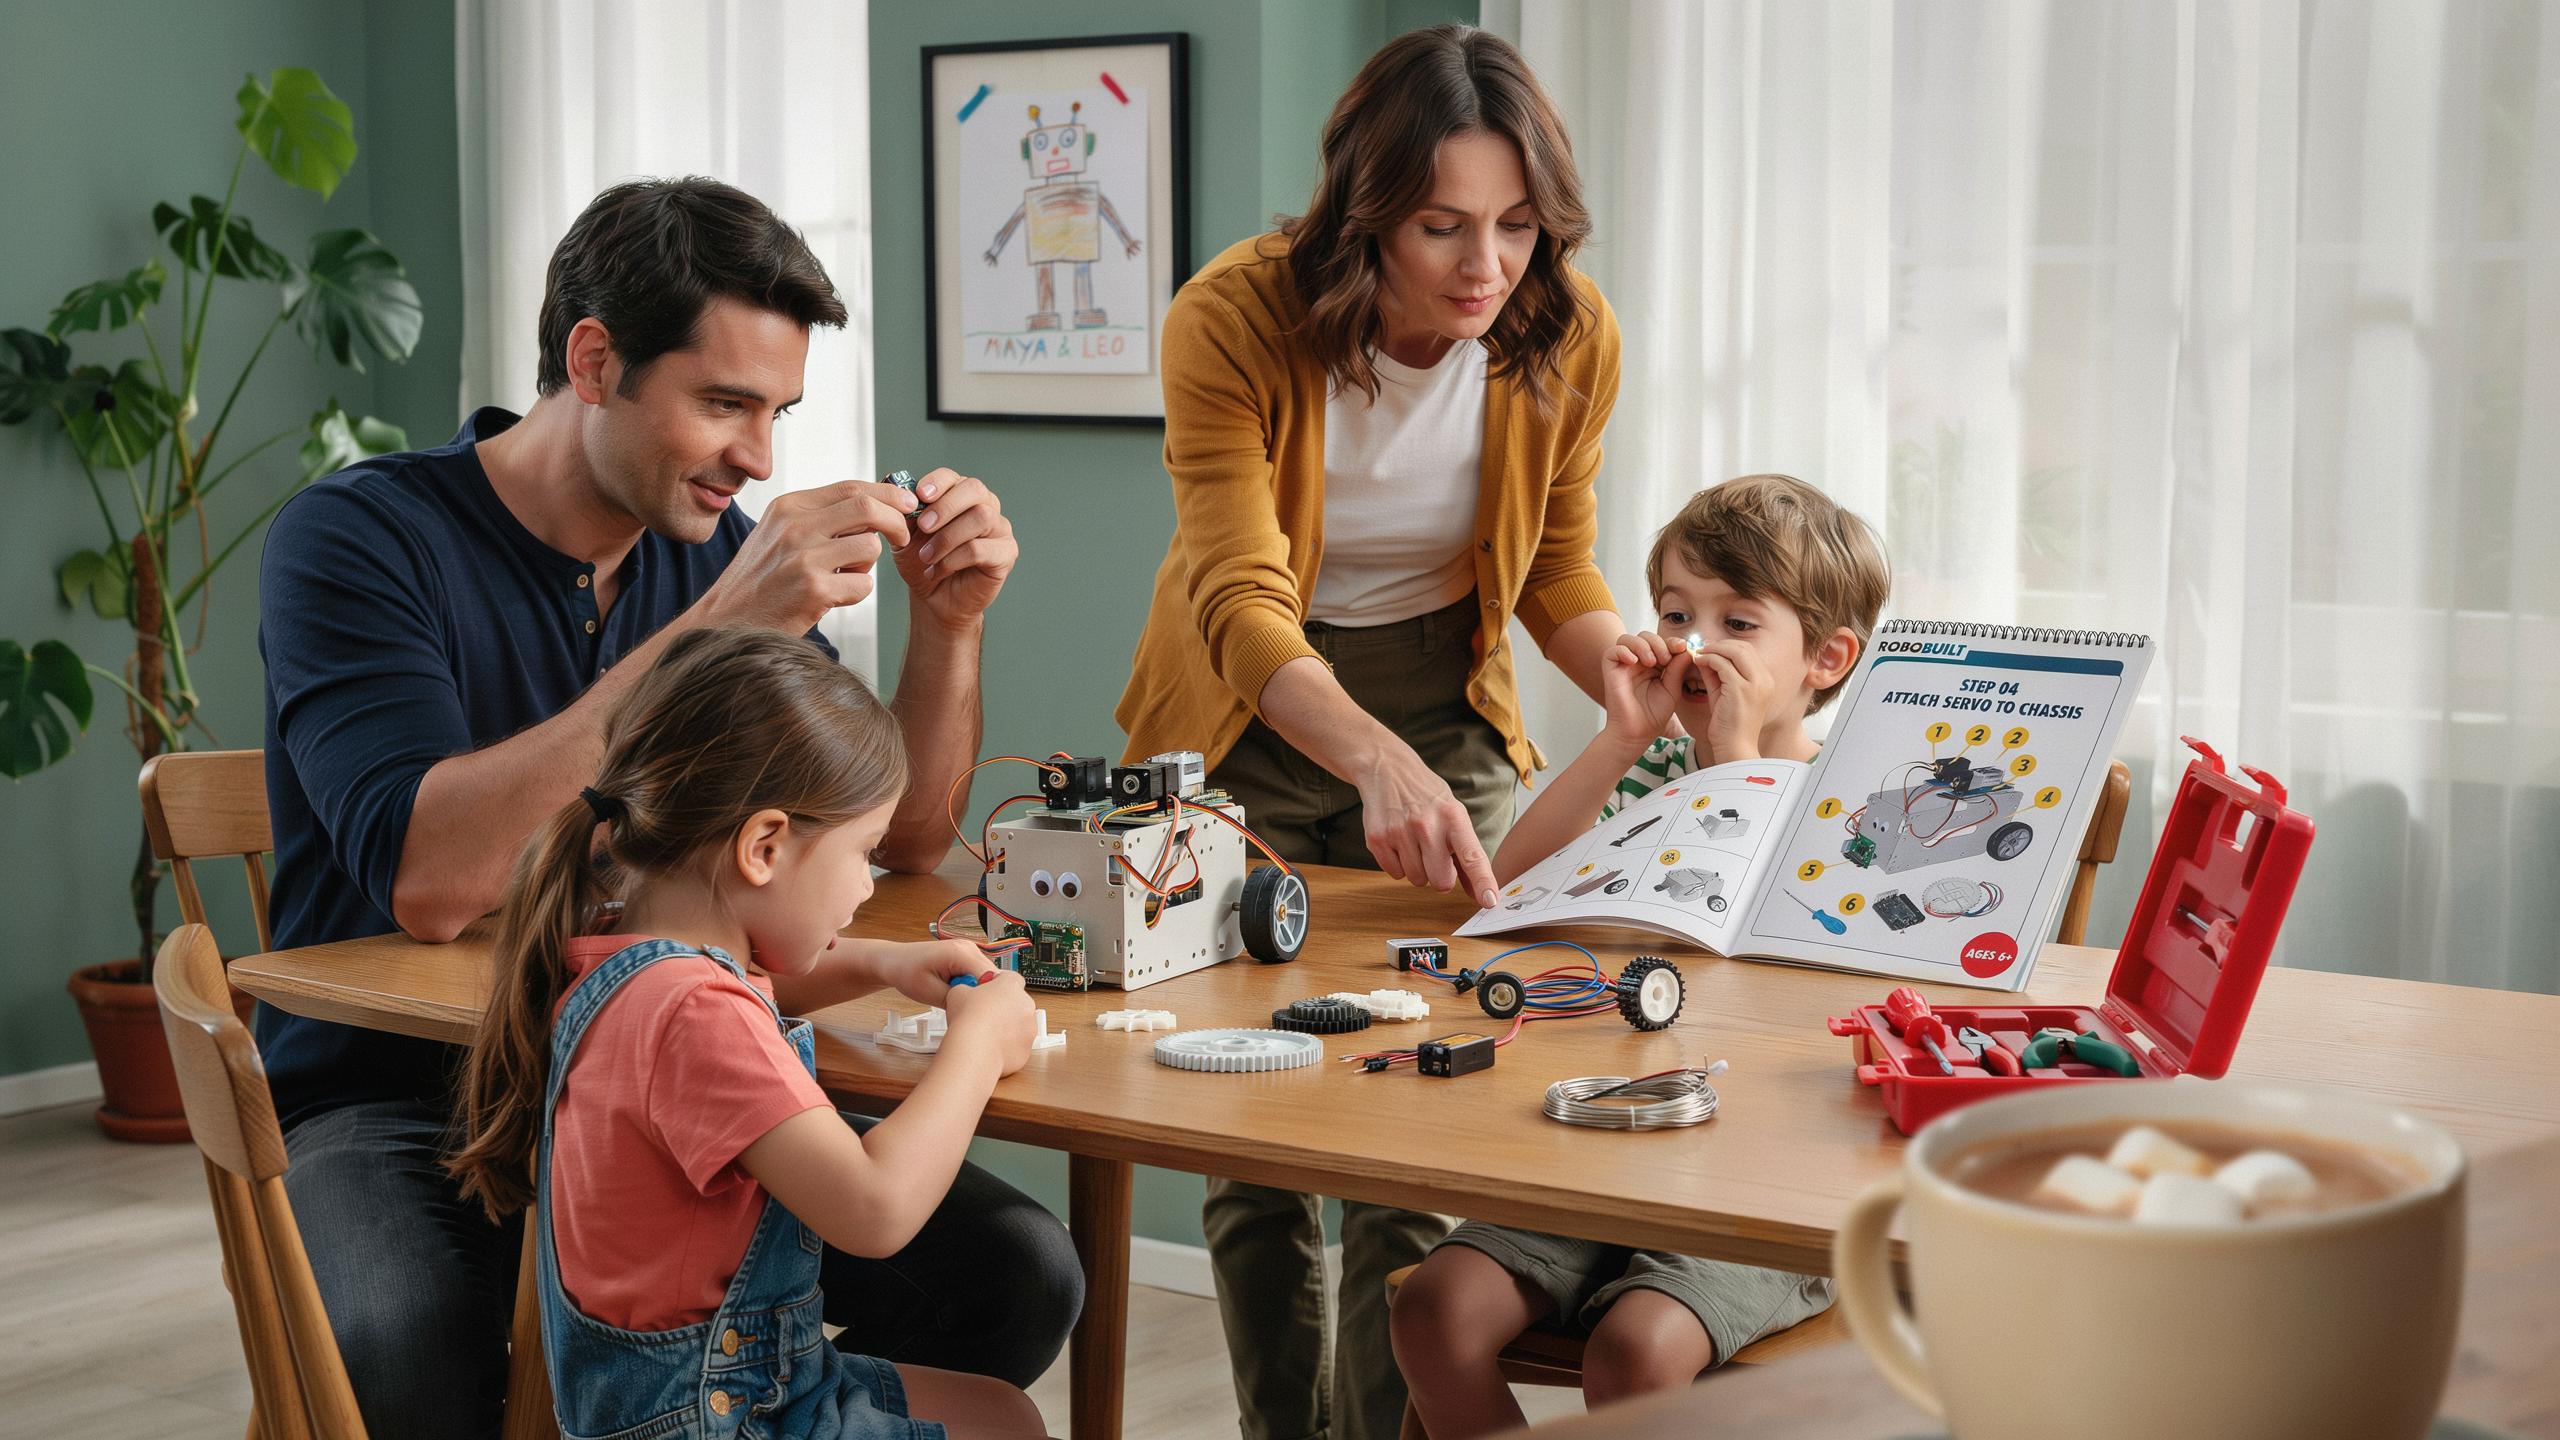
Why A DIY Robot Kit Is Your Next Family Adventure
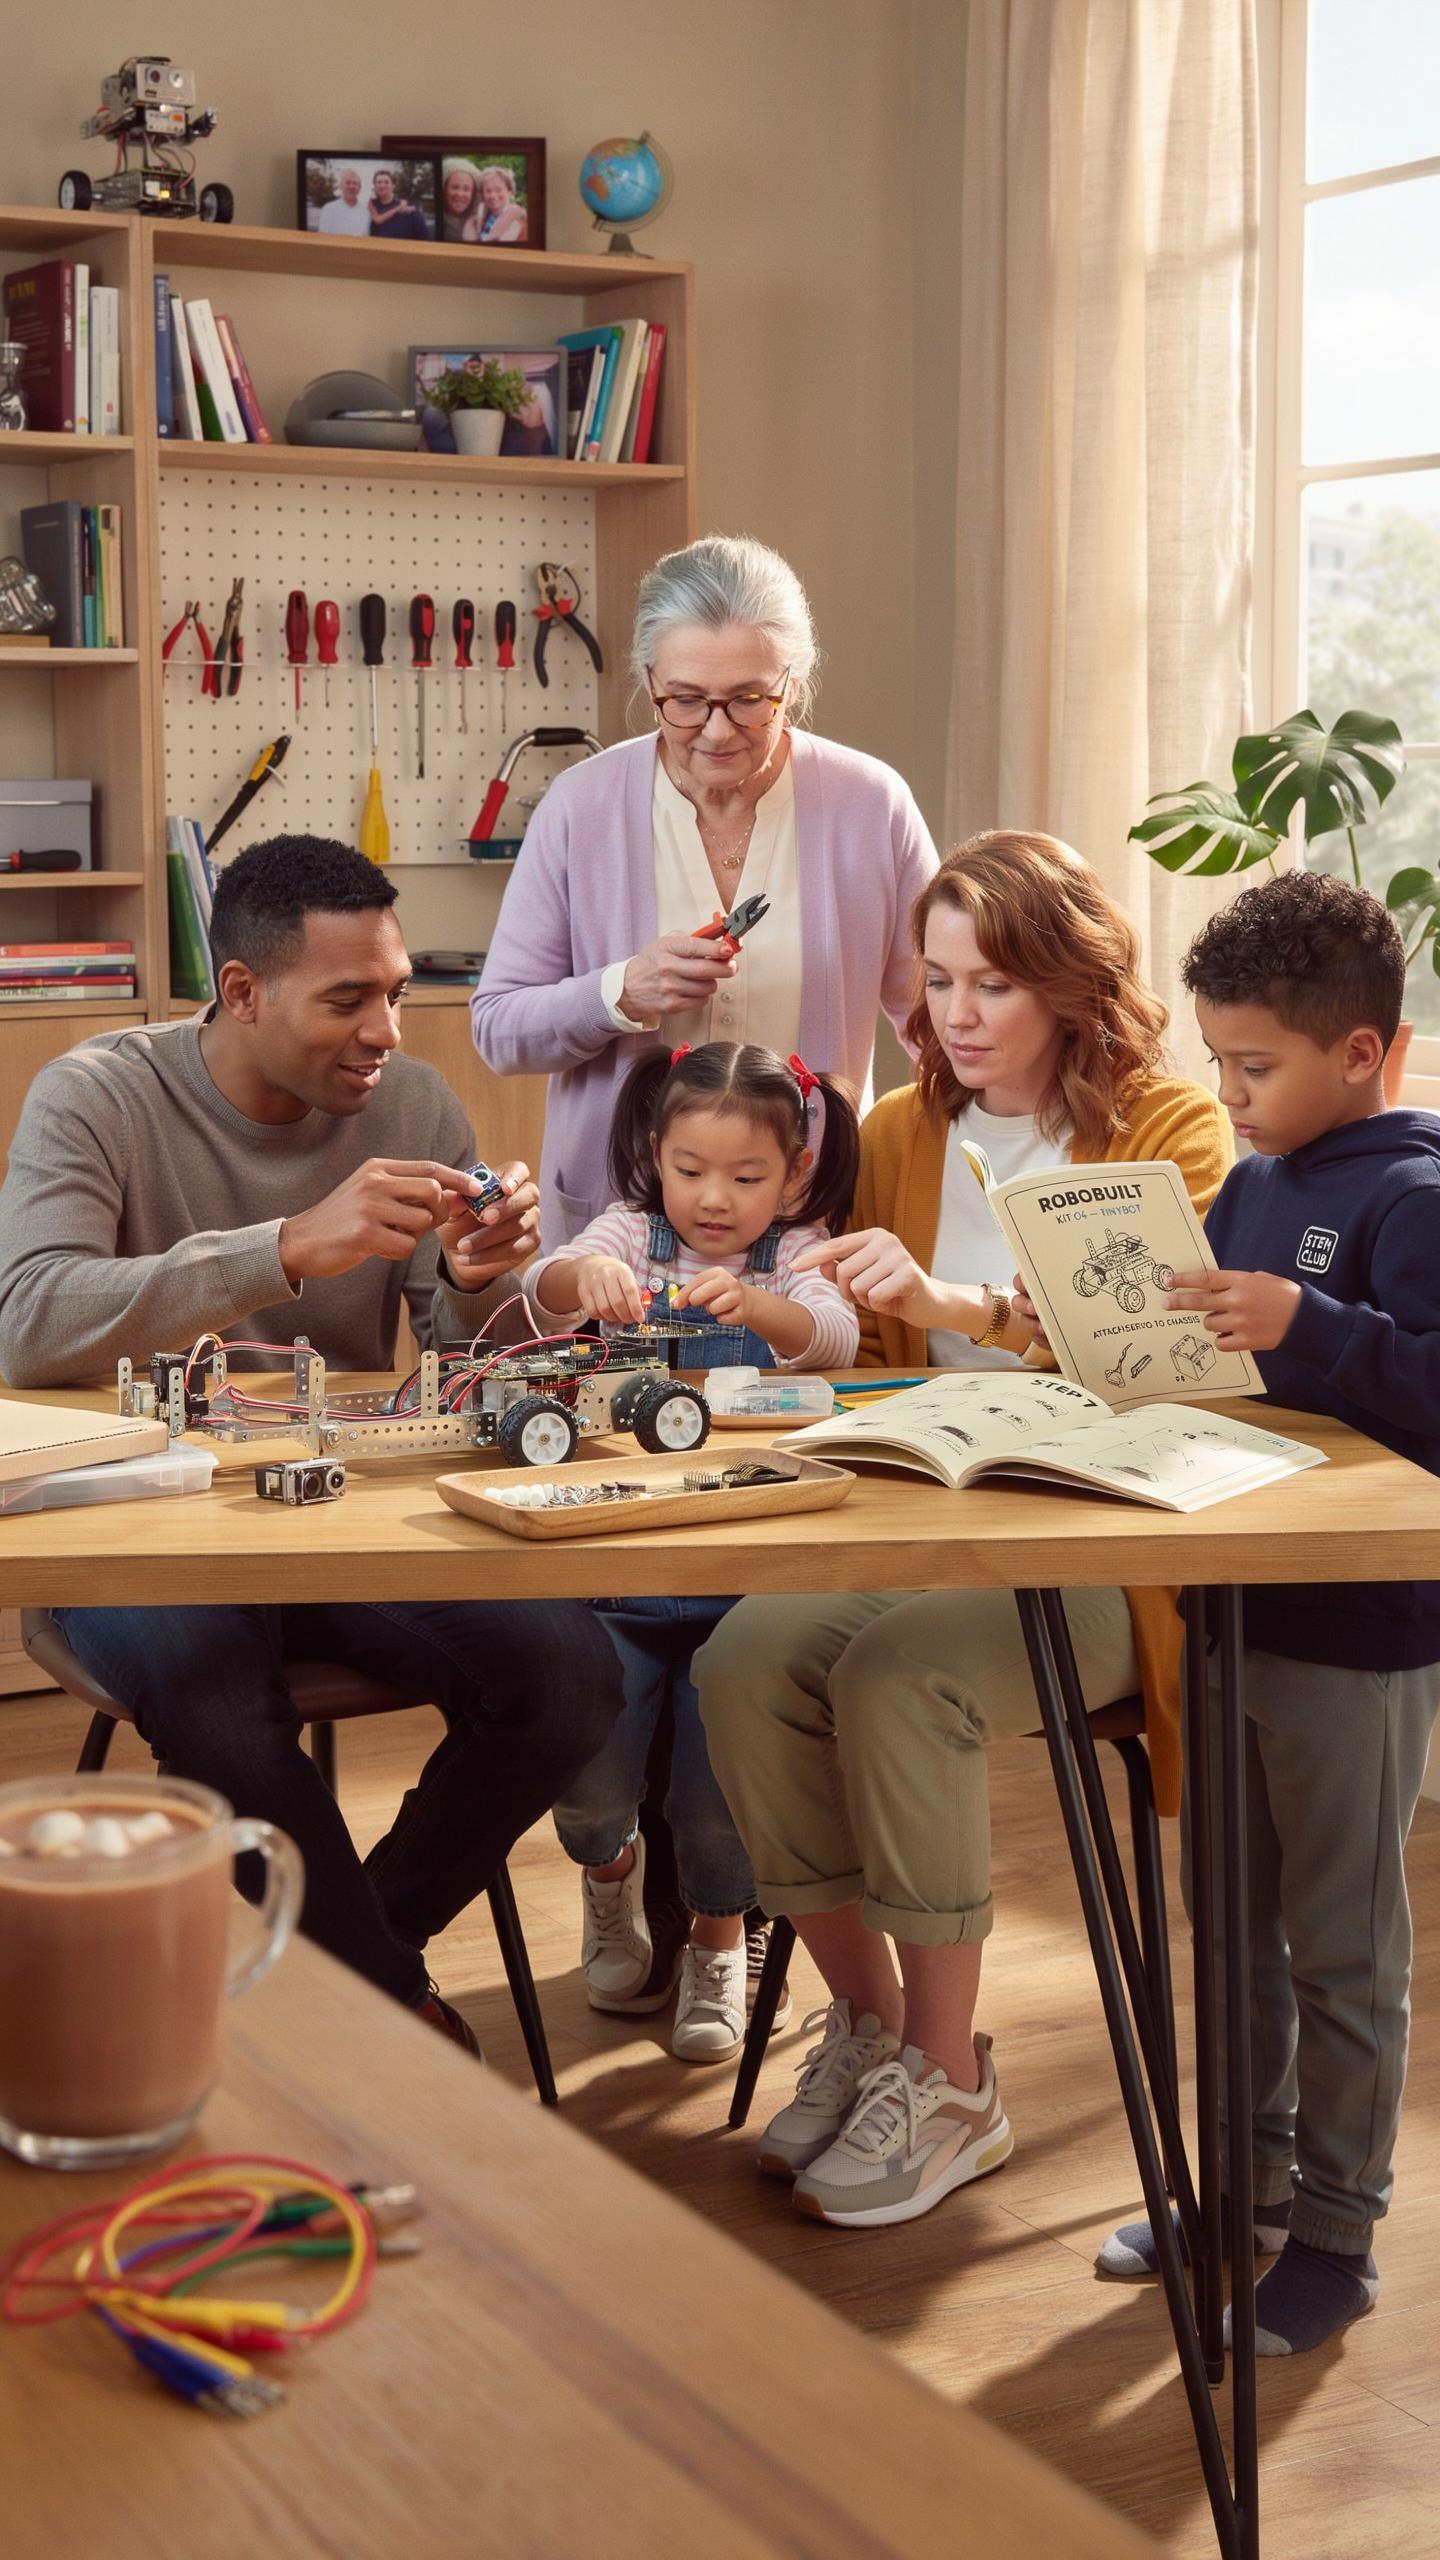
Shared Experience
Building a robot kit as a family removes the isolation of individual screen time. Everyone contributes. One person reads instructions while another sorts components. Someone else handles assembly while the fourth troubleshoots problems. This division of labor forces communication and exposes each person to different skill sets within a single project.
The problem-solving happens in real time. When a motor doesn’t spin or a sensor fails to respond, the family huddles around the problem together. Kids watch parents debug issues methodically instead of giving up. Parents observe how kids think through obstacles differently. This shared struggle builds connection faster than passive activities ever could.
STEM Learning
Robot kits teach fundamental concepts through immediate application rather than theory alone. Building the frame introduces basic physics and structural design. Wiring components demonstrates electricity flow and circuits. Programming the behavior forces logical thinking and sequencing. Each component the family installs serves a purpose they can test and verify instantly.
The learning sticks because children engage multiple senses simultaneously. They hold the parts, see how pieces fit together, feel resistance when components jam, and observe results when code executes. This hands-on approach embeds concepts deeper than watching videos or reading textbooks. Families grasp why these principles matter because they apply them within minutes of learning about them.
Choosing The Right Diy Robot Kit For Your Family
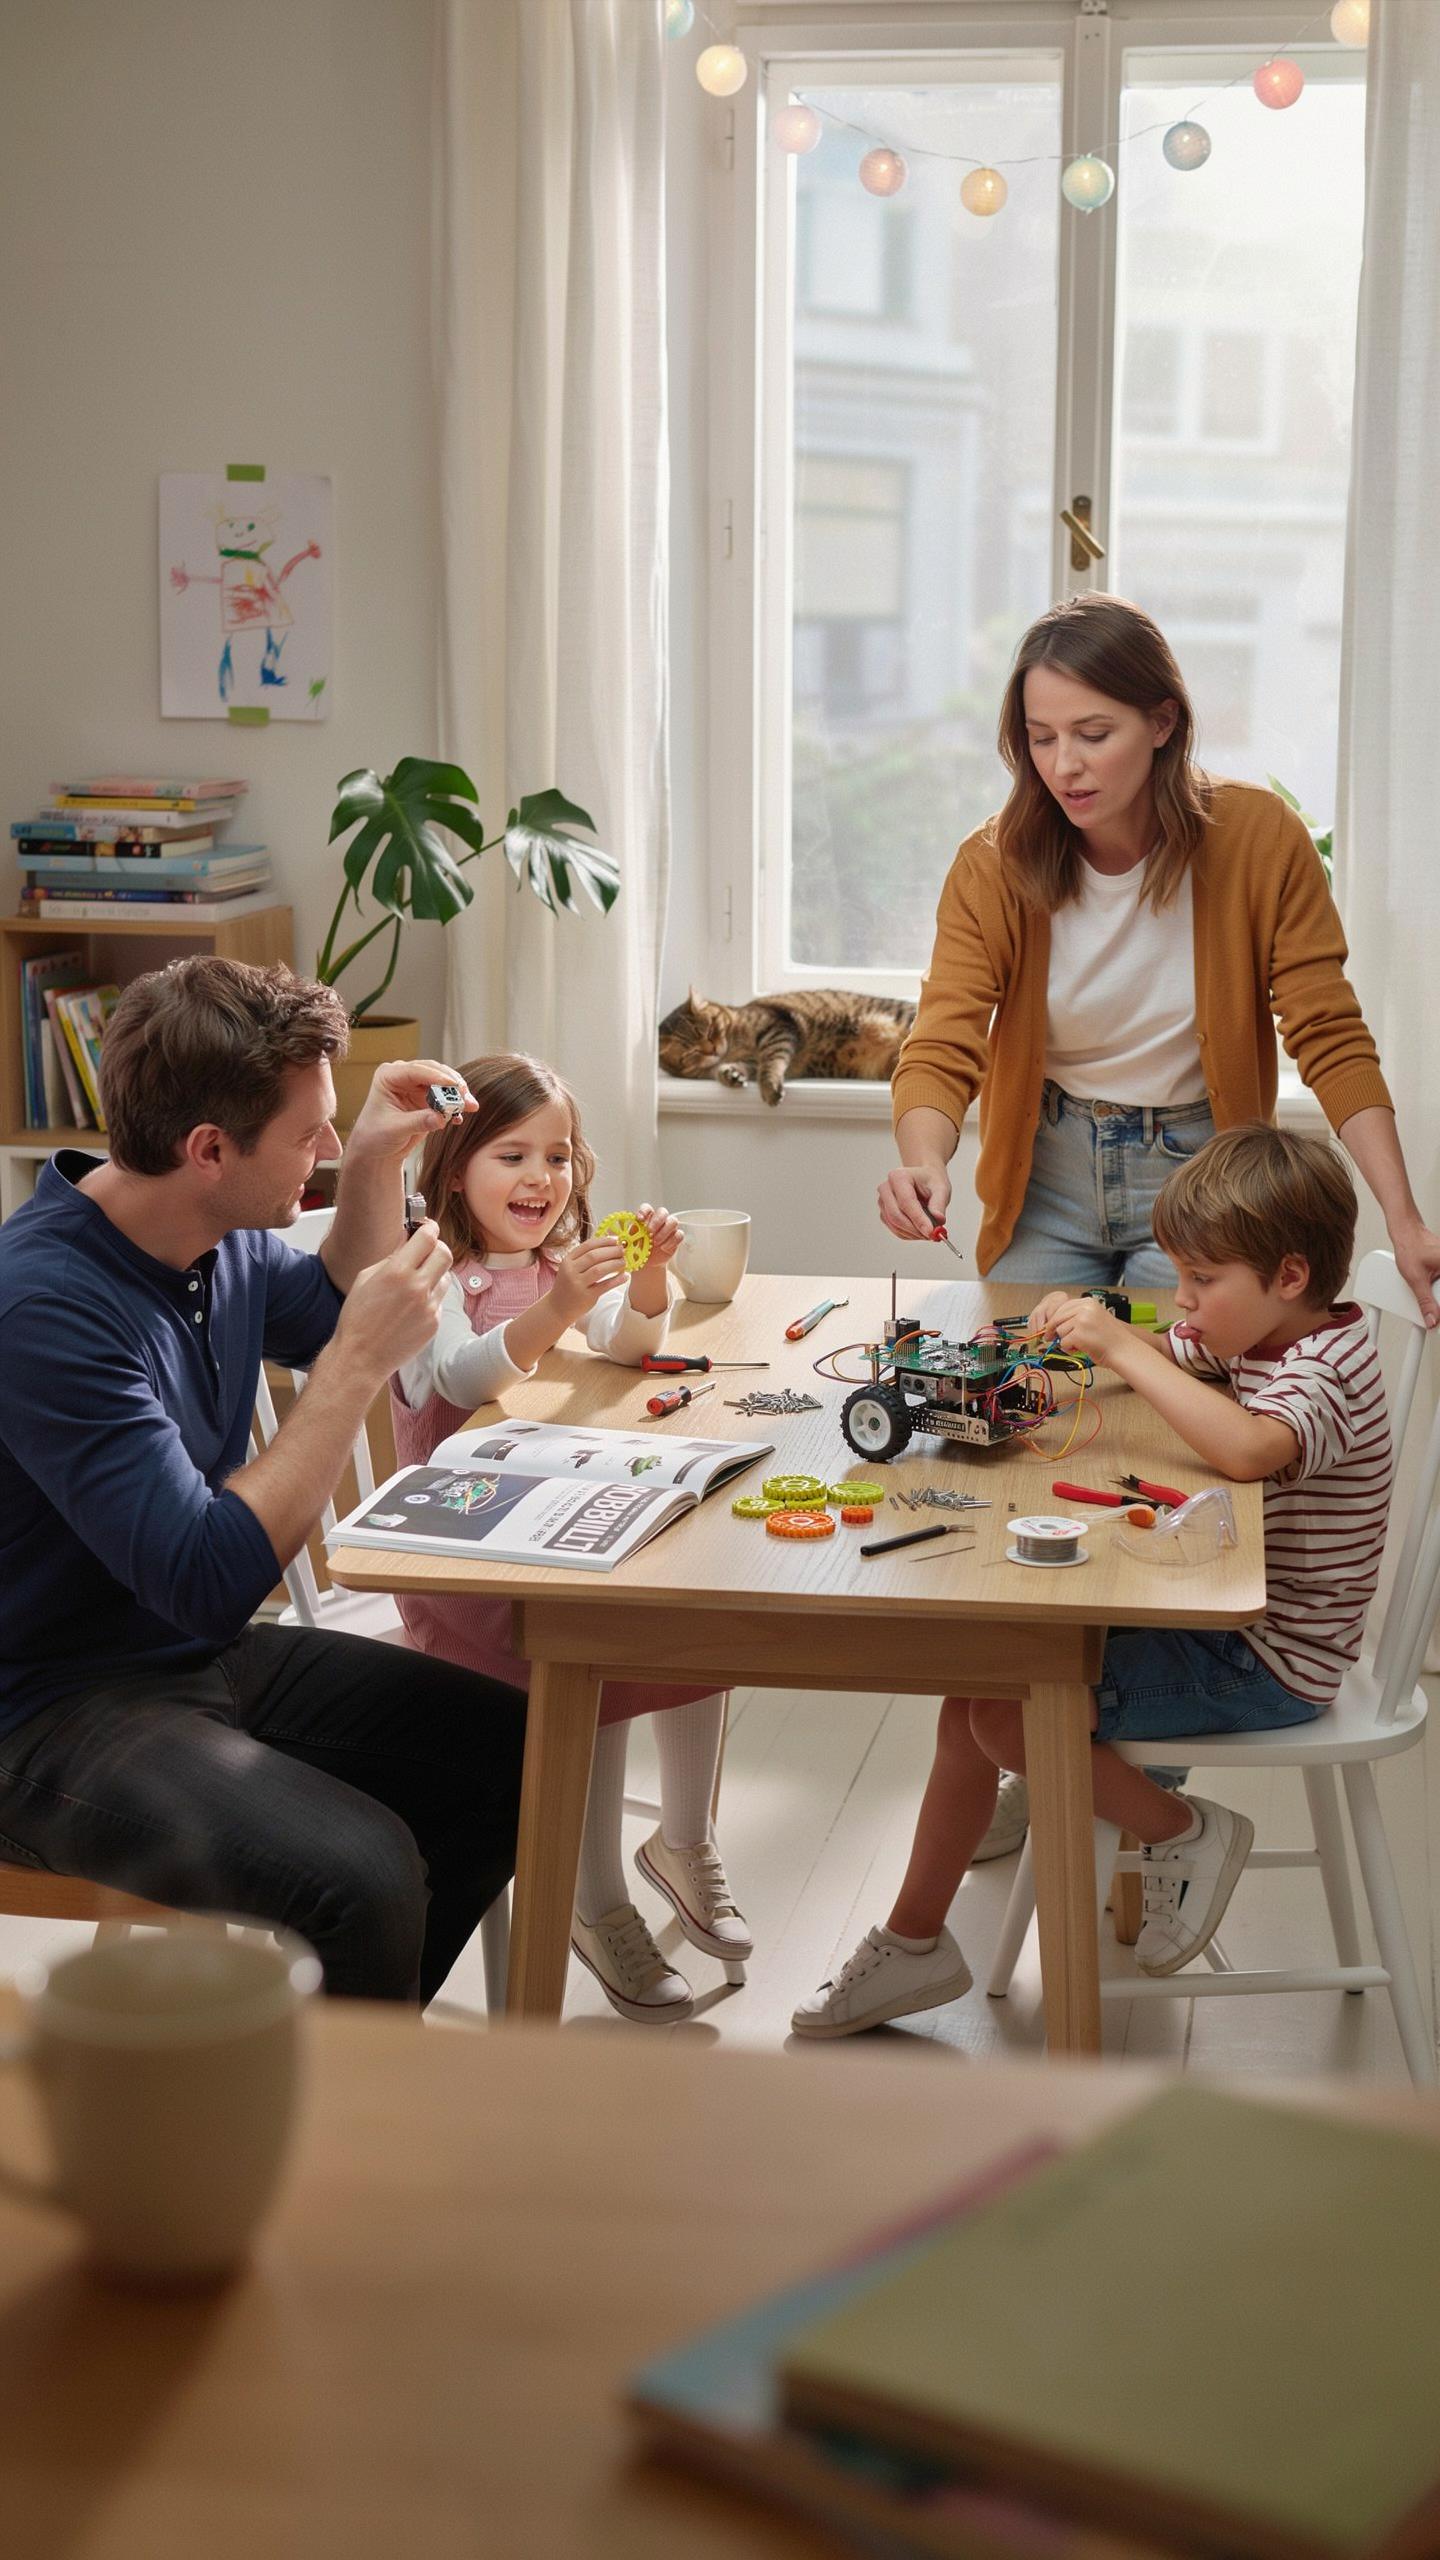
Age Appropriateness
Kids aged 5 to 7 need kits with large, chunky pieces and simple assembly steps. These kits focus on basic concepts like movement and light. No soldering or coding required. Instructions use pictures instead of text. Completion time runs 30 to 60 minutes. Parents provide hands-on guidance throughout the build.
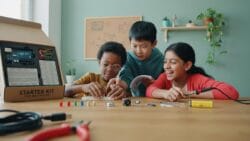
Ages 8 to 11 handle moderate complexity well. Kits introduce basic coding through block-based programming or simple sensors. Assembly requires screwdrivers and minor problem-solving. Kids work more independently with occasional parent support. Projects take 1 to 3 hours. These kits balance challenge with achievable results for this age group.
Teens aged 12 and up manage advanced kits with confidence. They work with circuit boards, coding languages, and mechanical design. Kits demand sustained focus and troubleshooting skills. Assembly involves tools and technical reading. Projects span multiple hours or days. This age group handles failure and iteration as part of learning.
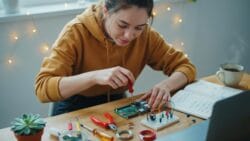
Adults and experienced builders pursue specialized kits for specific goals. These include robotics for competition, programming drones, or building custom machines. Complexity matches individual skill levels. No upper limit exists on sophistication. These kits often lack guided instruction, assuming builder knowledge and resourcefulness.
Kit Types
Wheeled robots represent the entry point for most families. Kits include motors, wheels, and basic sensors. Assembly focuses on connecting pre-made parts. Coding controls movement and light responses. These kits teach cause and effect. They run $30 to $100 depending on features and build quality.
Humanoid robots mimic walking or arm movements. Kits contain servo motors and structural frames. Building requires understanding joint mechanics. Programming controls limb sequences and balance. These projects take longer and cost more. Families gain insight into biomechanics and motion planning.
Robotic arms teach precision and control. Kits feature multiple joints and gripping mechanisms. Assembly involves mechanical assembly and programming coordinated movements. Learners understand how industrial robots function. These kits cost between $75 and $300. They suit older kids and teenagers with sustained focus.
Drone and flying robot kits introduce aerial dynamics. Kits include motors, propellers, and stabilization electronics. Building requires careful balance and weight management. Programming or remote control determines flight patterns. These kits demand outdoor space for testing. Prices range from $50 to $200 for beginner models.
Soldering kits combine electronics building with circuit assembly. Families solder components directly onto boards. This teaches fundamental electronics knowledge. Kits include safety training and proper tools. Assembly demands focus and steady hands. These projects suit kids 10 and up with parental supervision.
Sensor and environmental kits measure and respond to conditions. Robots detect light, temperature, distance, and motion. Programming creates conditional responses to sensor input. Families explore how machines perceive their surroundings. These kits build logic and problem-solving skills. They typically cost $40 to $120.
Fun Robotics Projects For Beginners Getting Started
Simple Assembly
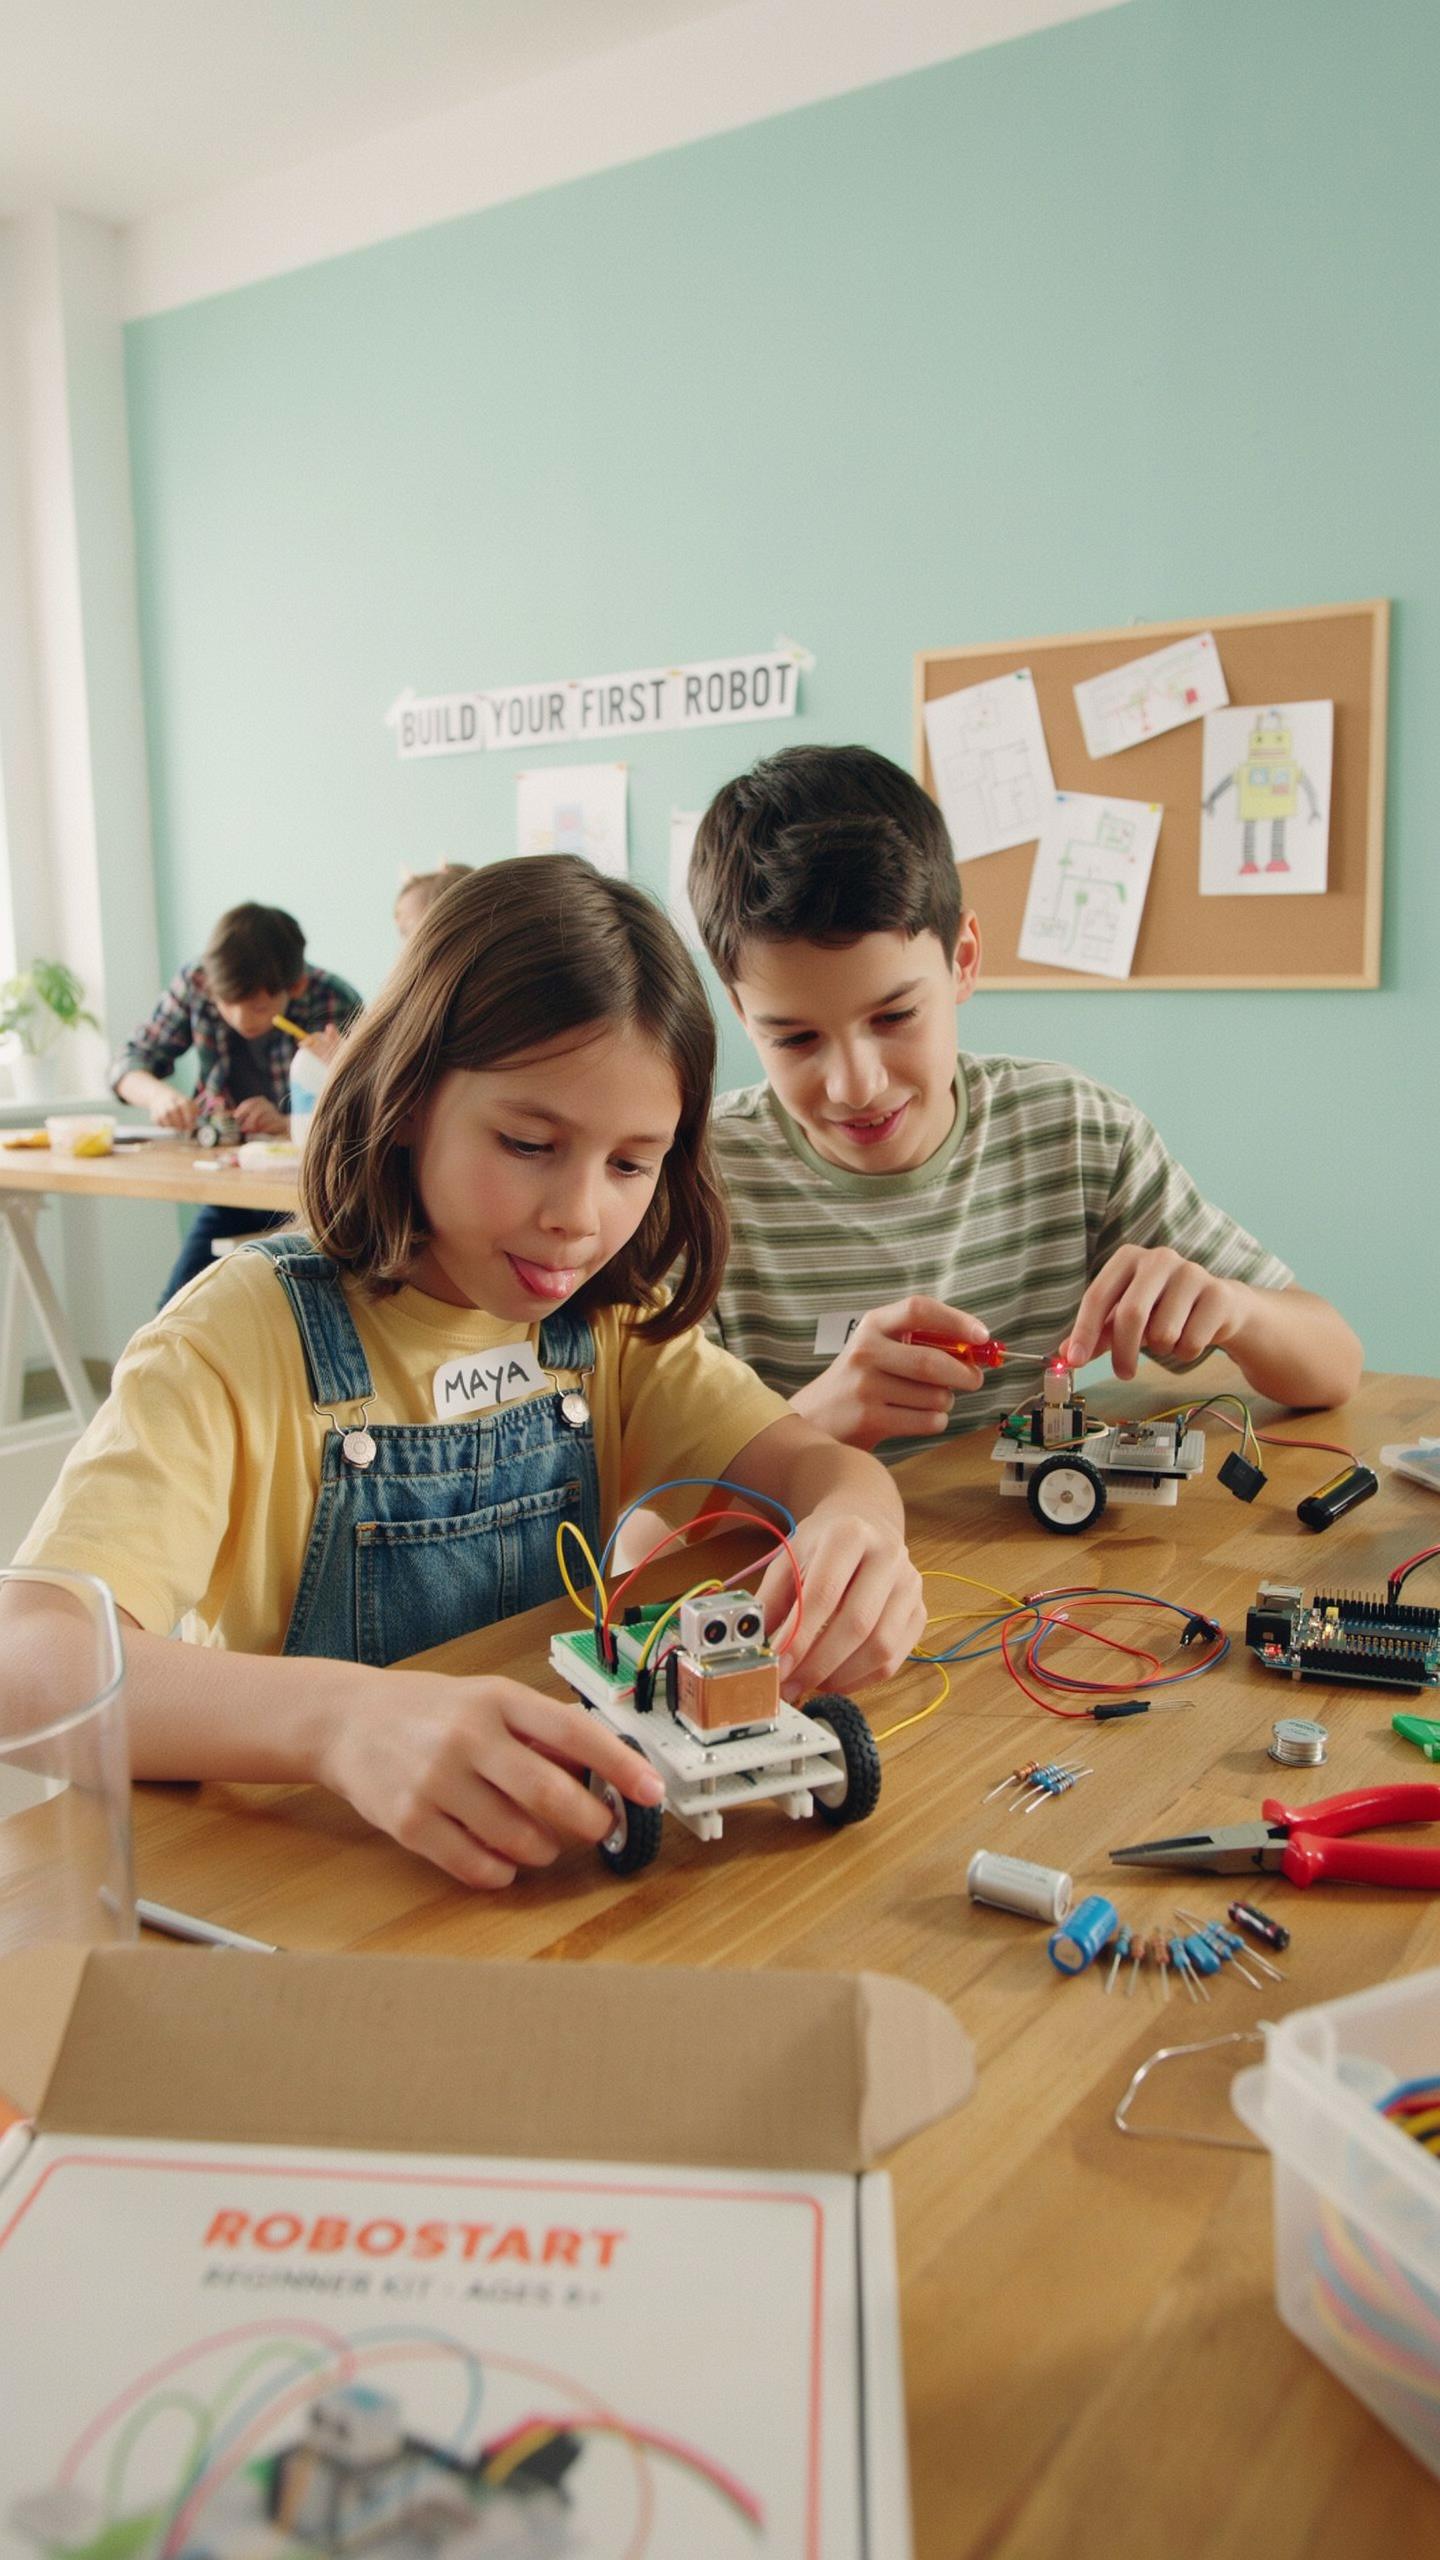
Most beginner robot kits use pre-cut parts and snap-together designs to eliminate assembly friction. Manufacturers intentionally reduce the number of tools required, often limiting you to a screwdriver or nothing at all. This approach keeps build time between two and four hours, making it realistic for a weekend. Clear instruction manuals with numbered steps and labeled components guide you through each stage without ambiguity.
The engineering behind these kits prioritizes standardized connectors and color-coded wiring. You plug components into designated slots rather than soldering or crimping. Motors, sensors, and control boards attach via friction fits or simple fasteners. This design philosophy removes barriers that frustrate newcomers and keeps focus on learning robotics fundamentals rather than wrestling with construction challenges.
First Steps Programming
Beginner robot kits ship with block-based or visual programming environments that eliminate syntax errors. Platforms like Blockly or proprietary graphical interfaces let you drag commands into sequences without typing code. Your robot then executes those commands directly. This removes the steep learning curve of traditional programming languages while teaching core logic: loops, conditionals, and sequencing.
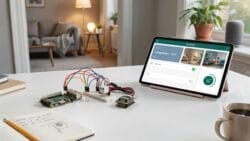
Most kits connect via USB cable or wireless modules to your computer or tablet. Upload your program and watch the robot respond immediately to your instructions. This instant feedback loop reinforces cause and effect learning. Trial and error becomes efficient because testing takes seconds. You iterate quickly, adjusting logic and rerunning tests within the same session.
Diy Robotics Projects Beyond The Basic Build
Adding Features
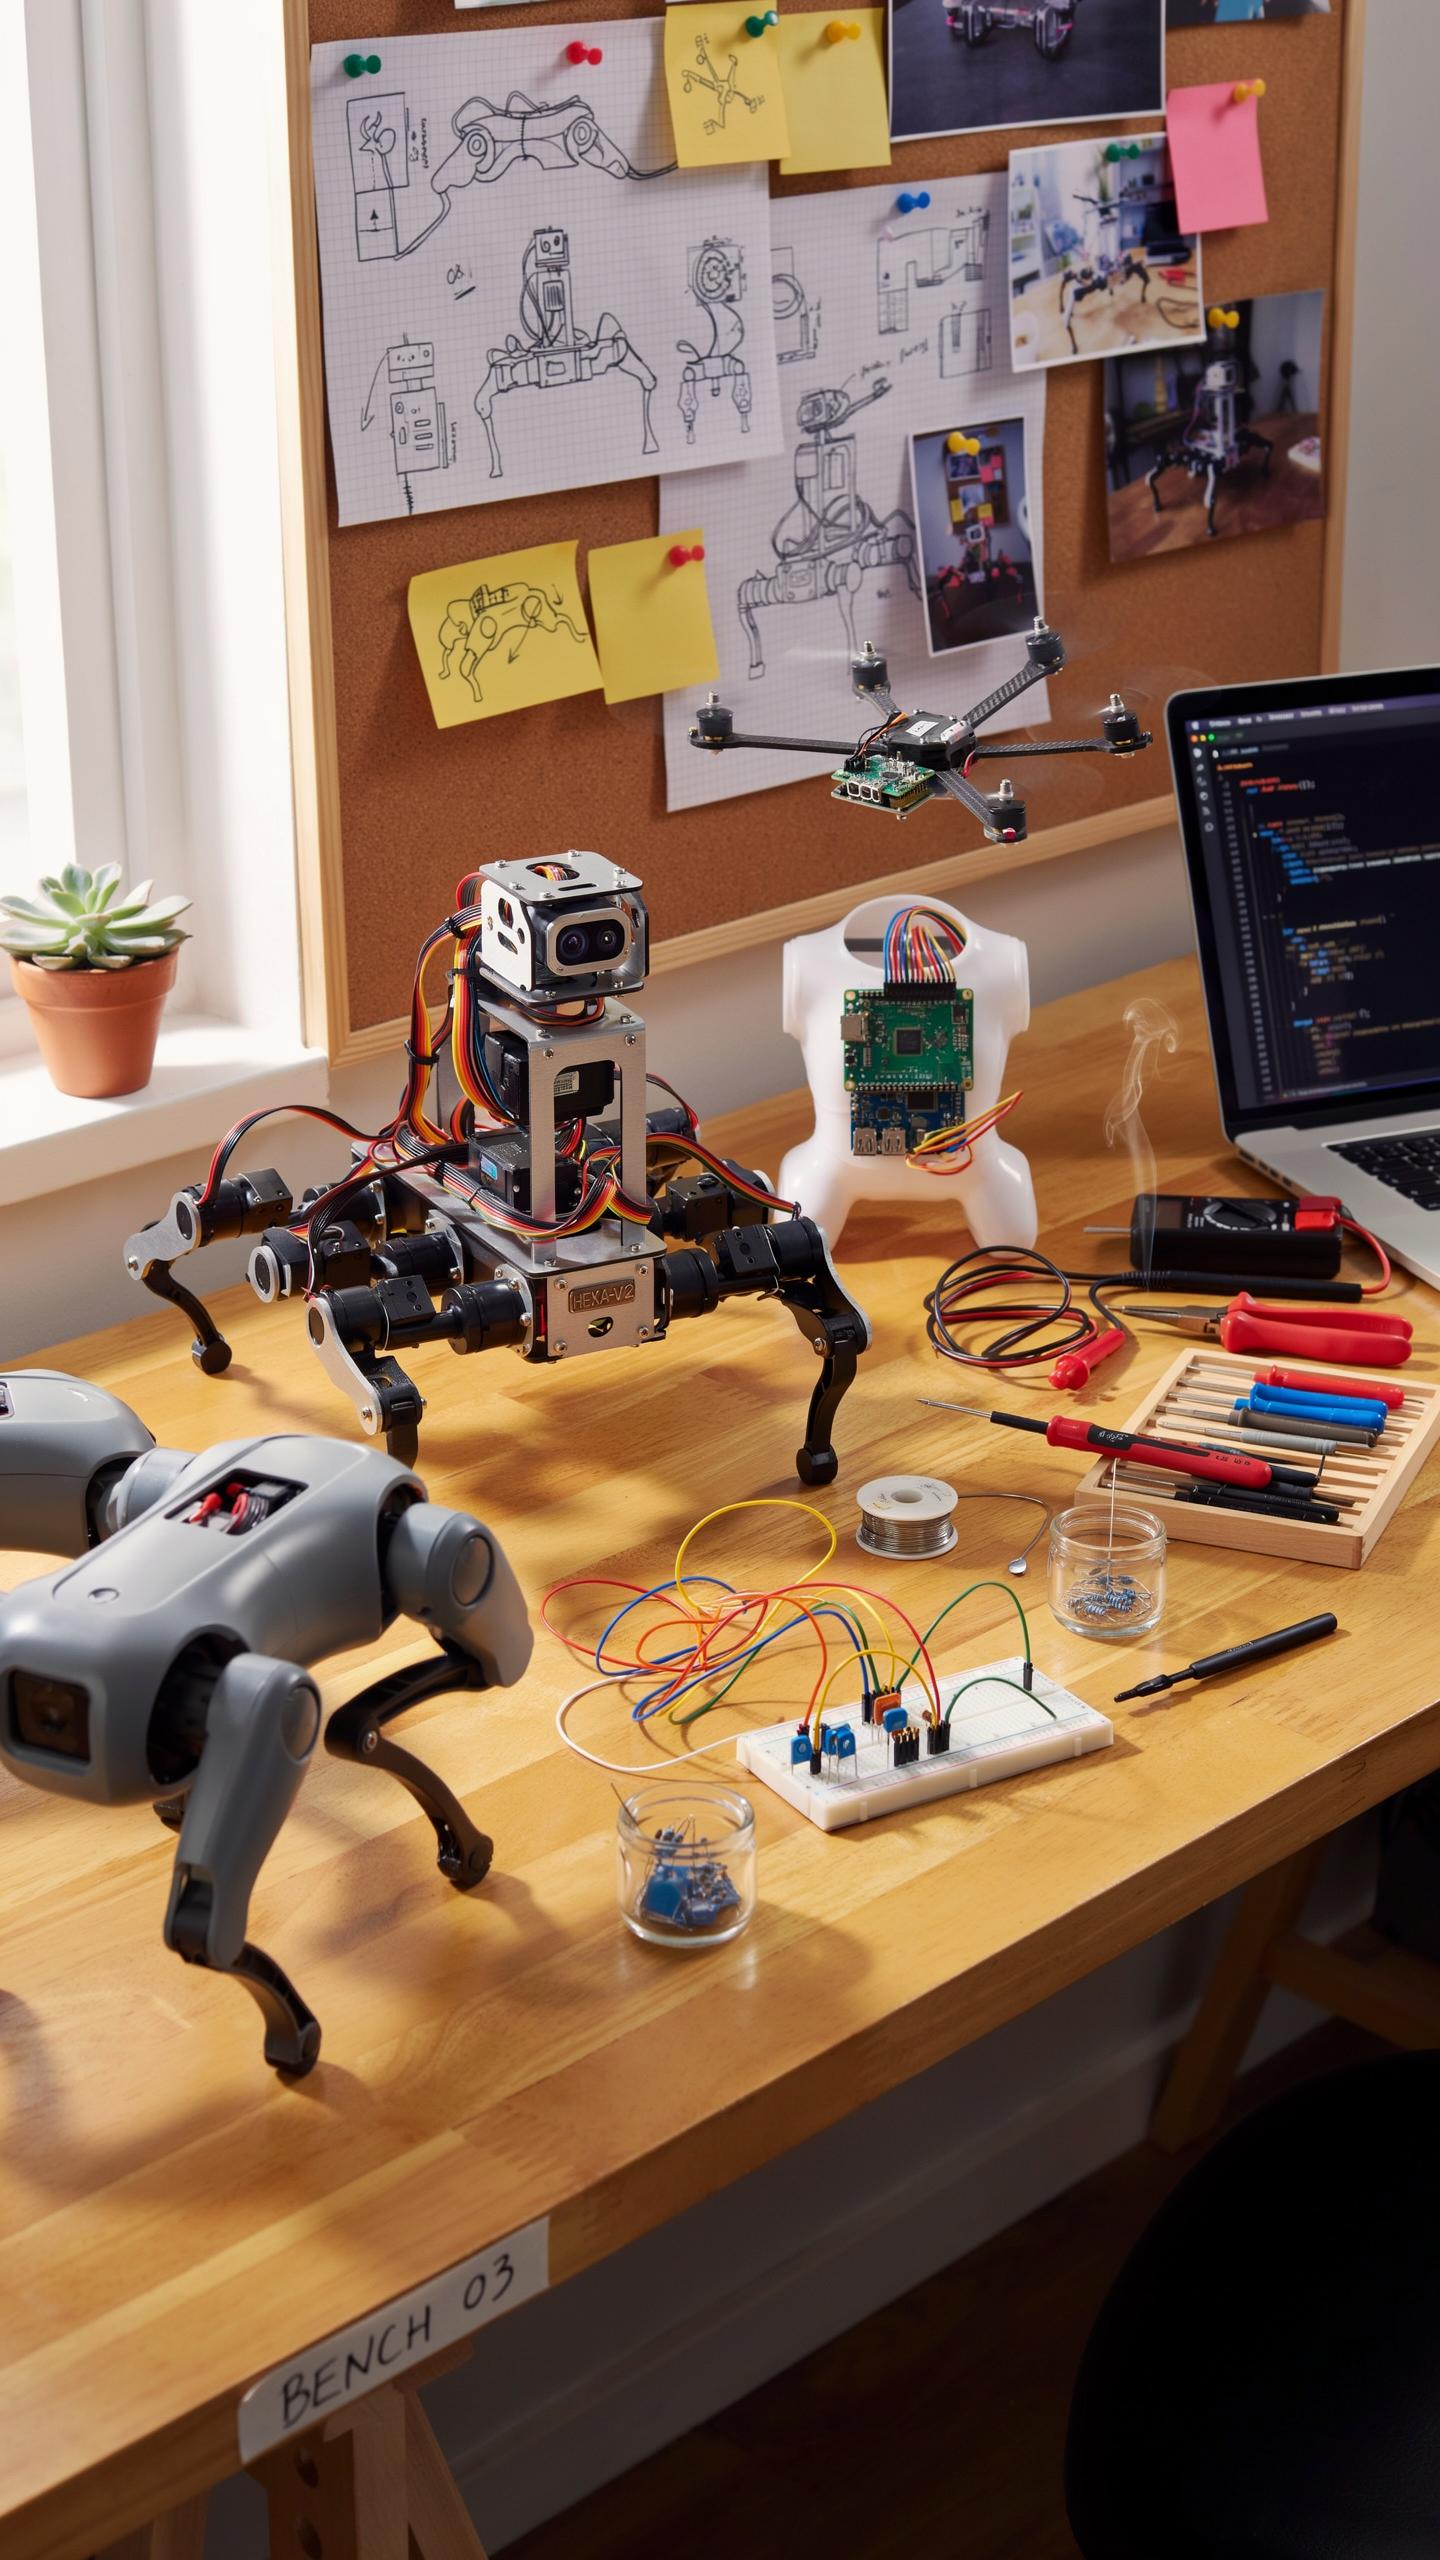
Stock robot kits provide a foundation, but customization determines what your robot actually does. Most kits support additional sensors without major rewiring. Ultrasonic sensors add obstacle detection. Light sensors enable line-following behavior. Temperature sensors unlock environmental monitoring. Each component plugs into existing ports on the controller board. Research your kit’s documentation first to confirm compatibility.
Your choice of sensors depends on what problem you want solved. Line-following competitions require infrared or camera modules. Maze navigation needs ultrasonic distance sensing. Weather monitoring demands temperature and humidity probes. Start with one sensor addition before stacking multiple components. Too many sensors drain battery power and complicate code quickly.
Troubleshooting Tips
Build failures stem from predictable sources. Test before you assume something is broken.
- Motor not spinning: Check battery voltage first. Verify motor connections are seated fully in the controller. Test the motor with fresh batteries before replacing it.
- Code won’t upload: Confirm USB cable connections are secure. Update your software to the latest version. Restart both the computer and robot controller.
- Sensor readings seem random: Calibrate sensors in your target environment. Dust and reflective surfaces cause false readings. Place sensors away from light sources or interference.
- Robot moves in circles: Wheel sizes may differ or motors have unequal power output. Adjust motor speed values in code to balance movement. Check wheels for debris or flat spots.
- Battery drains fast: Multiple sensors and motors consume power quickly. Reduce sensor polling frequency in code. Use higher capacity batteries rated for your kit’s voltage.
Document every change you make during troubleshooting. A simple spreadsheet prevents repeating failed fixes. Your family learns faster when you track what worked and what didn’t.
Diy Robot Programming Bringing Your Robot To Life
Coding Platforms
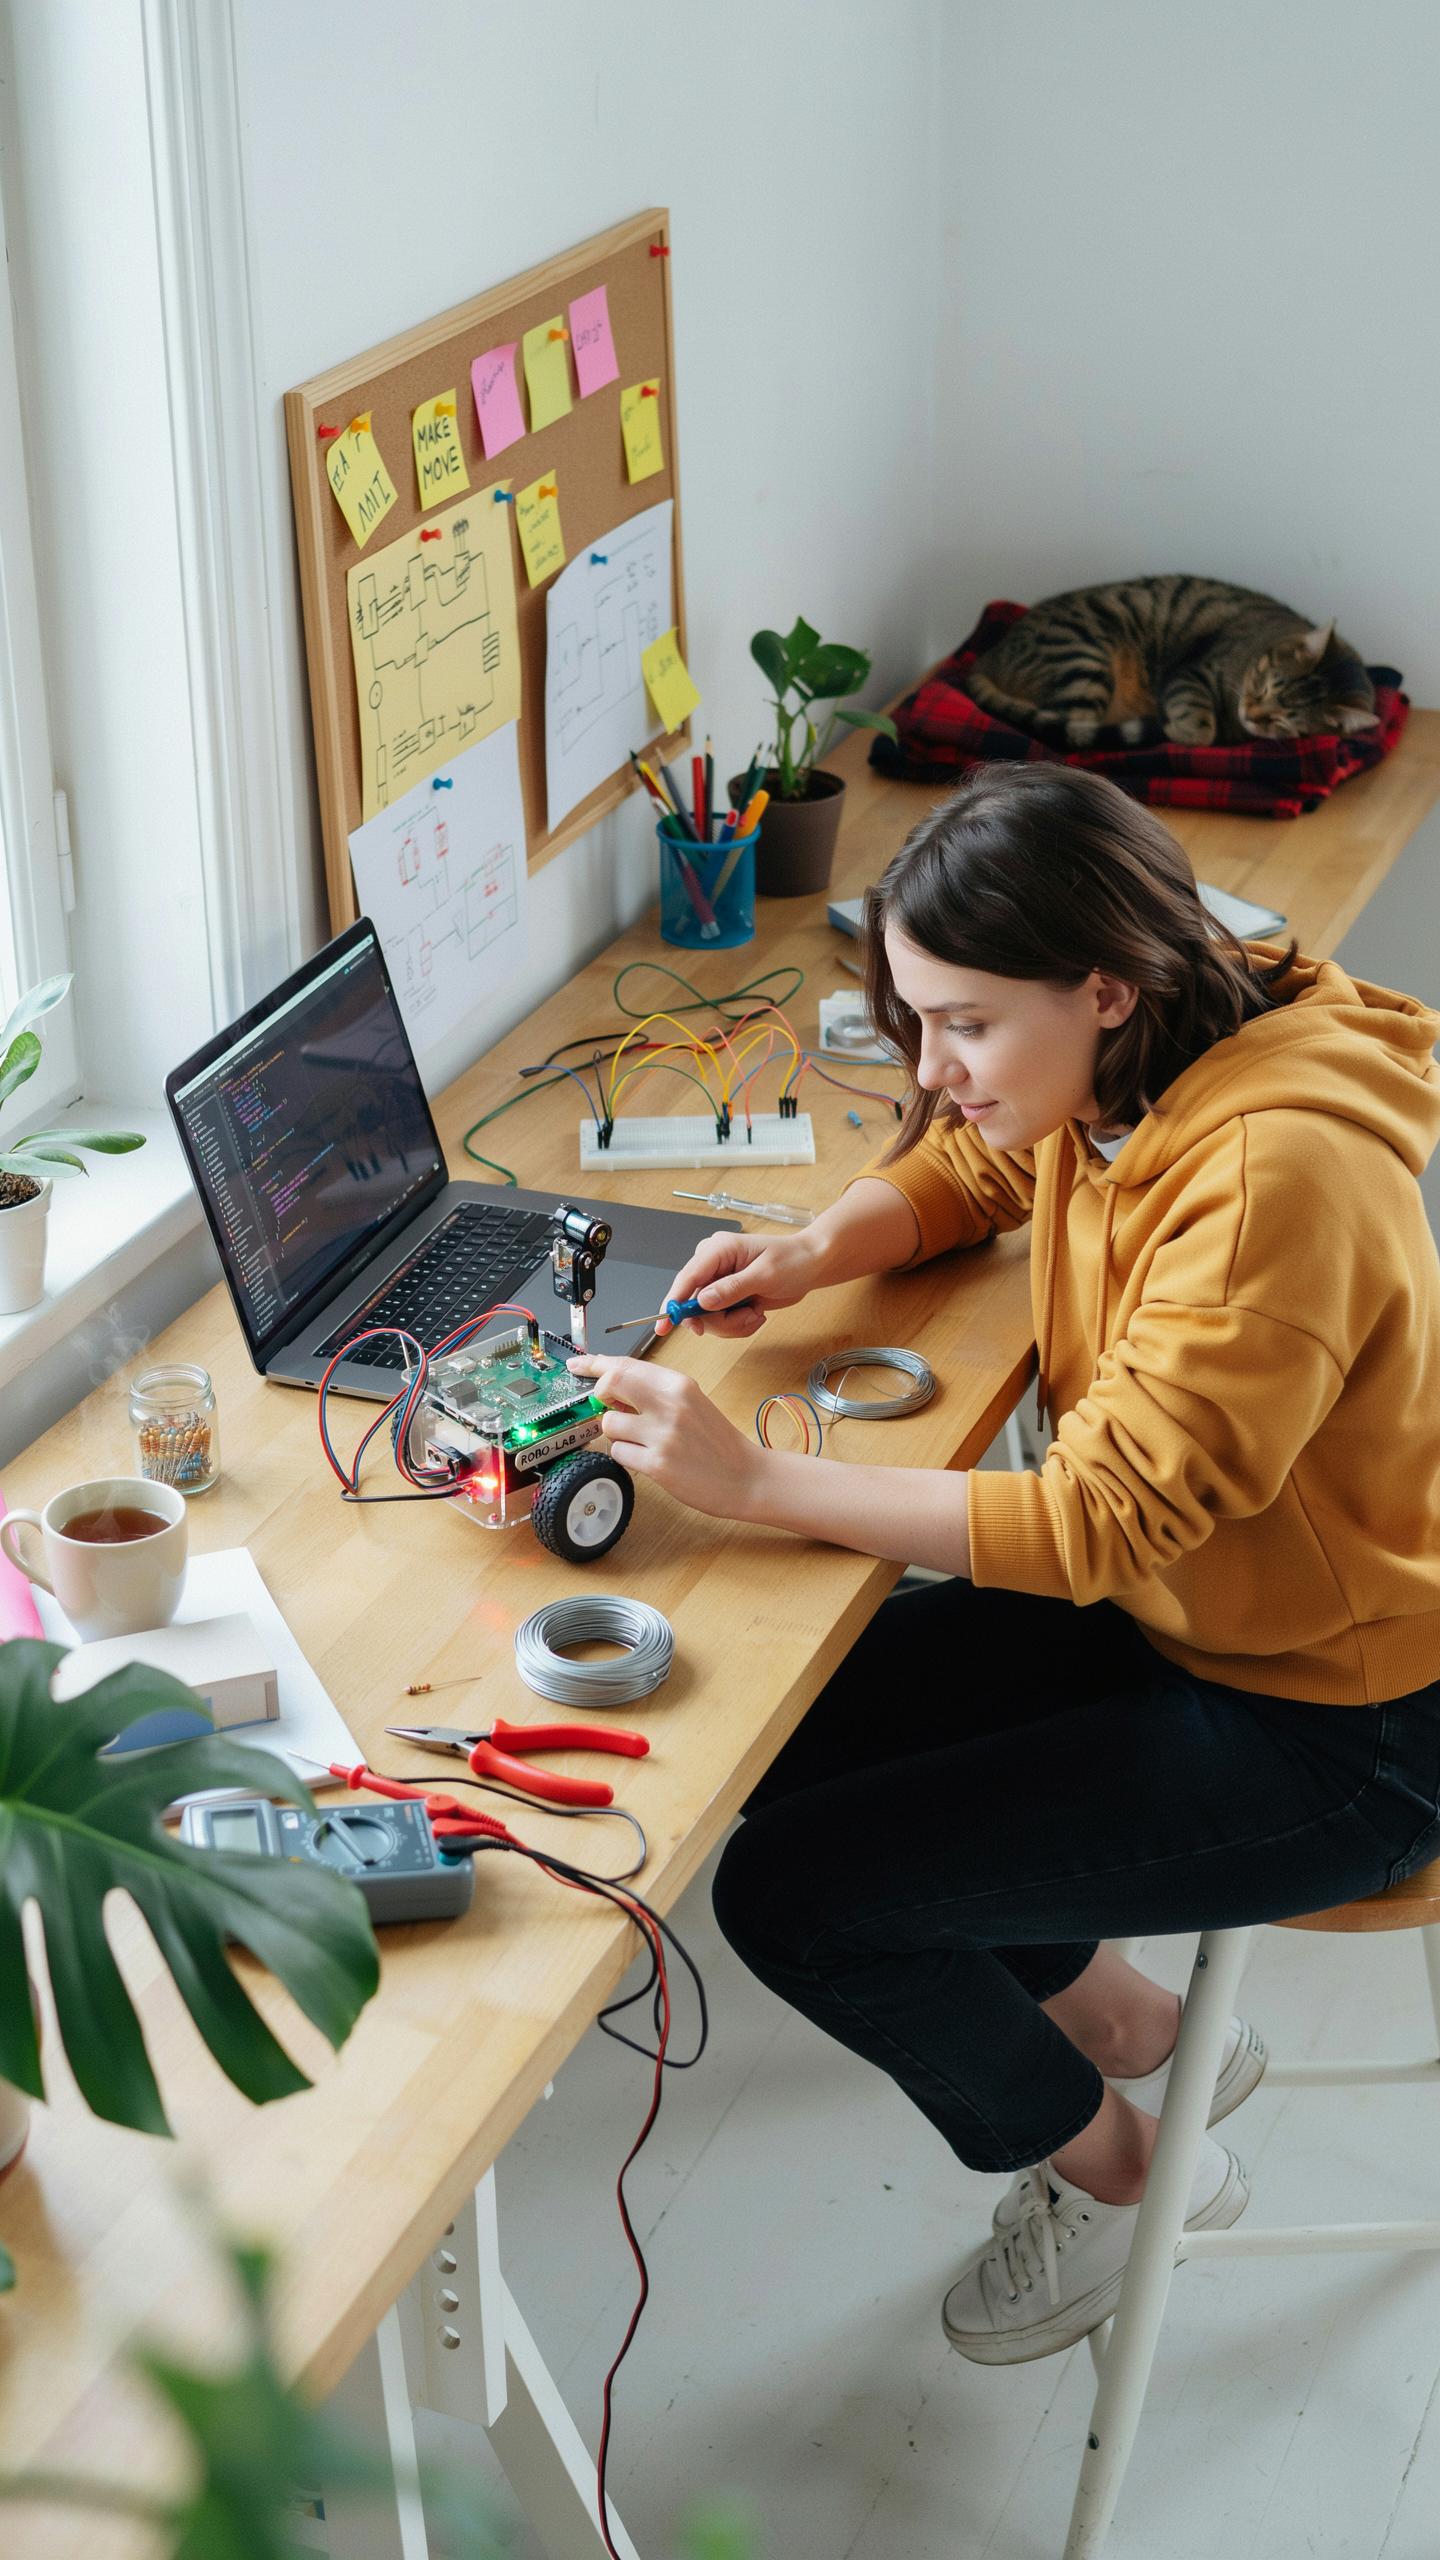
Most beginner robot kits use block-based coding environments. Scratch and MIT App Inventor let you drag code blocks together without typing syntax. These platforms teach programming logic through visual feedback. Your robot responds immediately to commands you create. This approach removes the barrier of memorizing complex code rules while building actual skills.

Visual coding platforms work on the same principles as professional programming languages. They enforce proper logic sequences and variable handling. Kids and adults alike learn conditional statements, loops, and functions through direct experimentation. The robot becomes your testing ground for every idea you code.
Building
— Unknown
Basic Commands
Robot movement commands control motors and servos. Forward, backward, turn left, and turn right are your foundation moves. You send these commands through your coding platform to the robot’s control board. Timing matters here. A robot spinning in place for three seconds requires different code than one that pivots once.
Sensor commands teach your robot to respond to its environment. Light sensors detect brightness changes. Distance sensors measure how far objects are. Touch sensors register contact. Your code reads these sensor values and triggers appropriate responses. This creates robots that navigate obstacles, follow lines, or stop at walls instead of mindlessly executing preprogrammed sequences.
Diy Robot Building Project Creative Customization Ideas
Design Elements
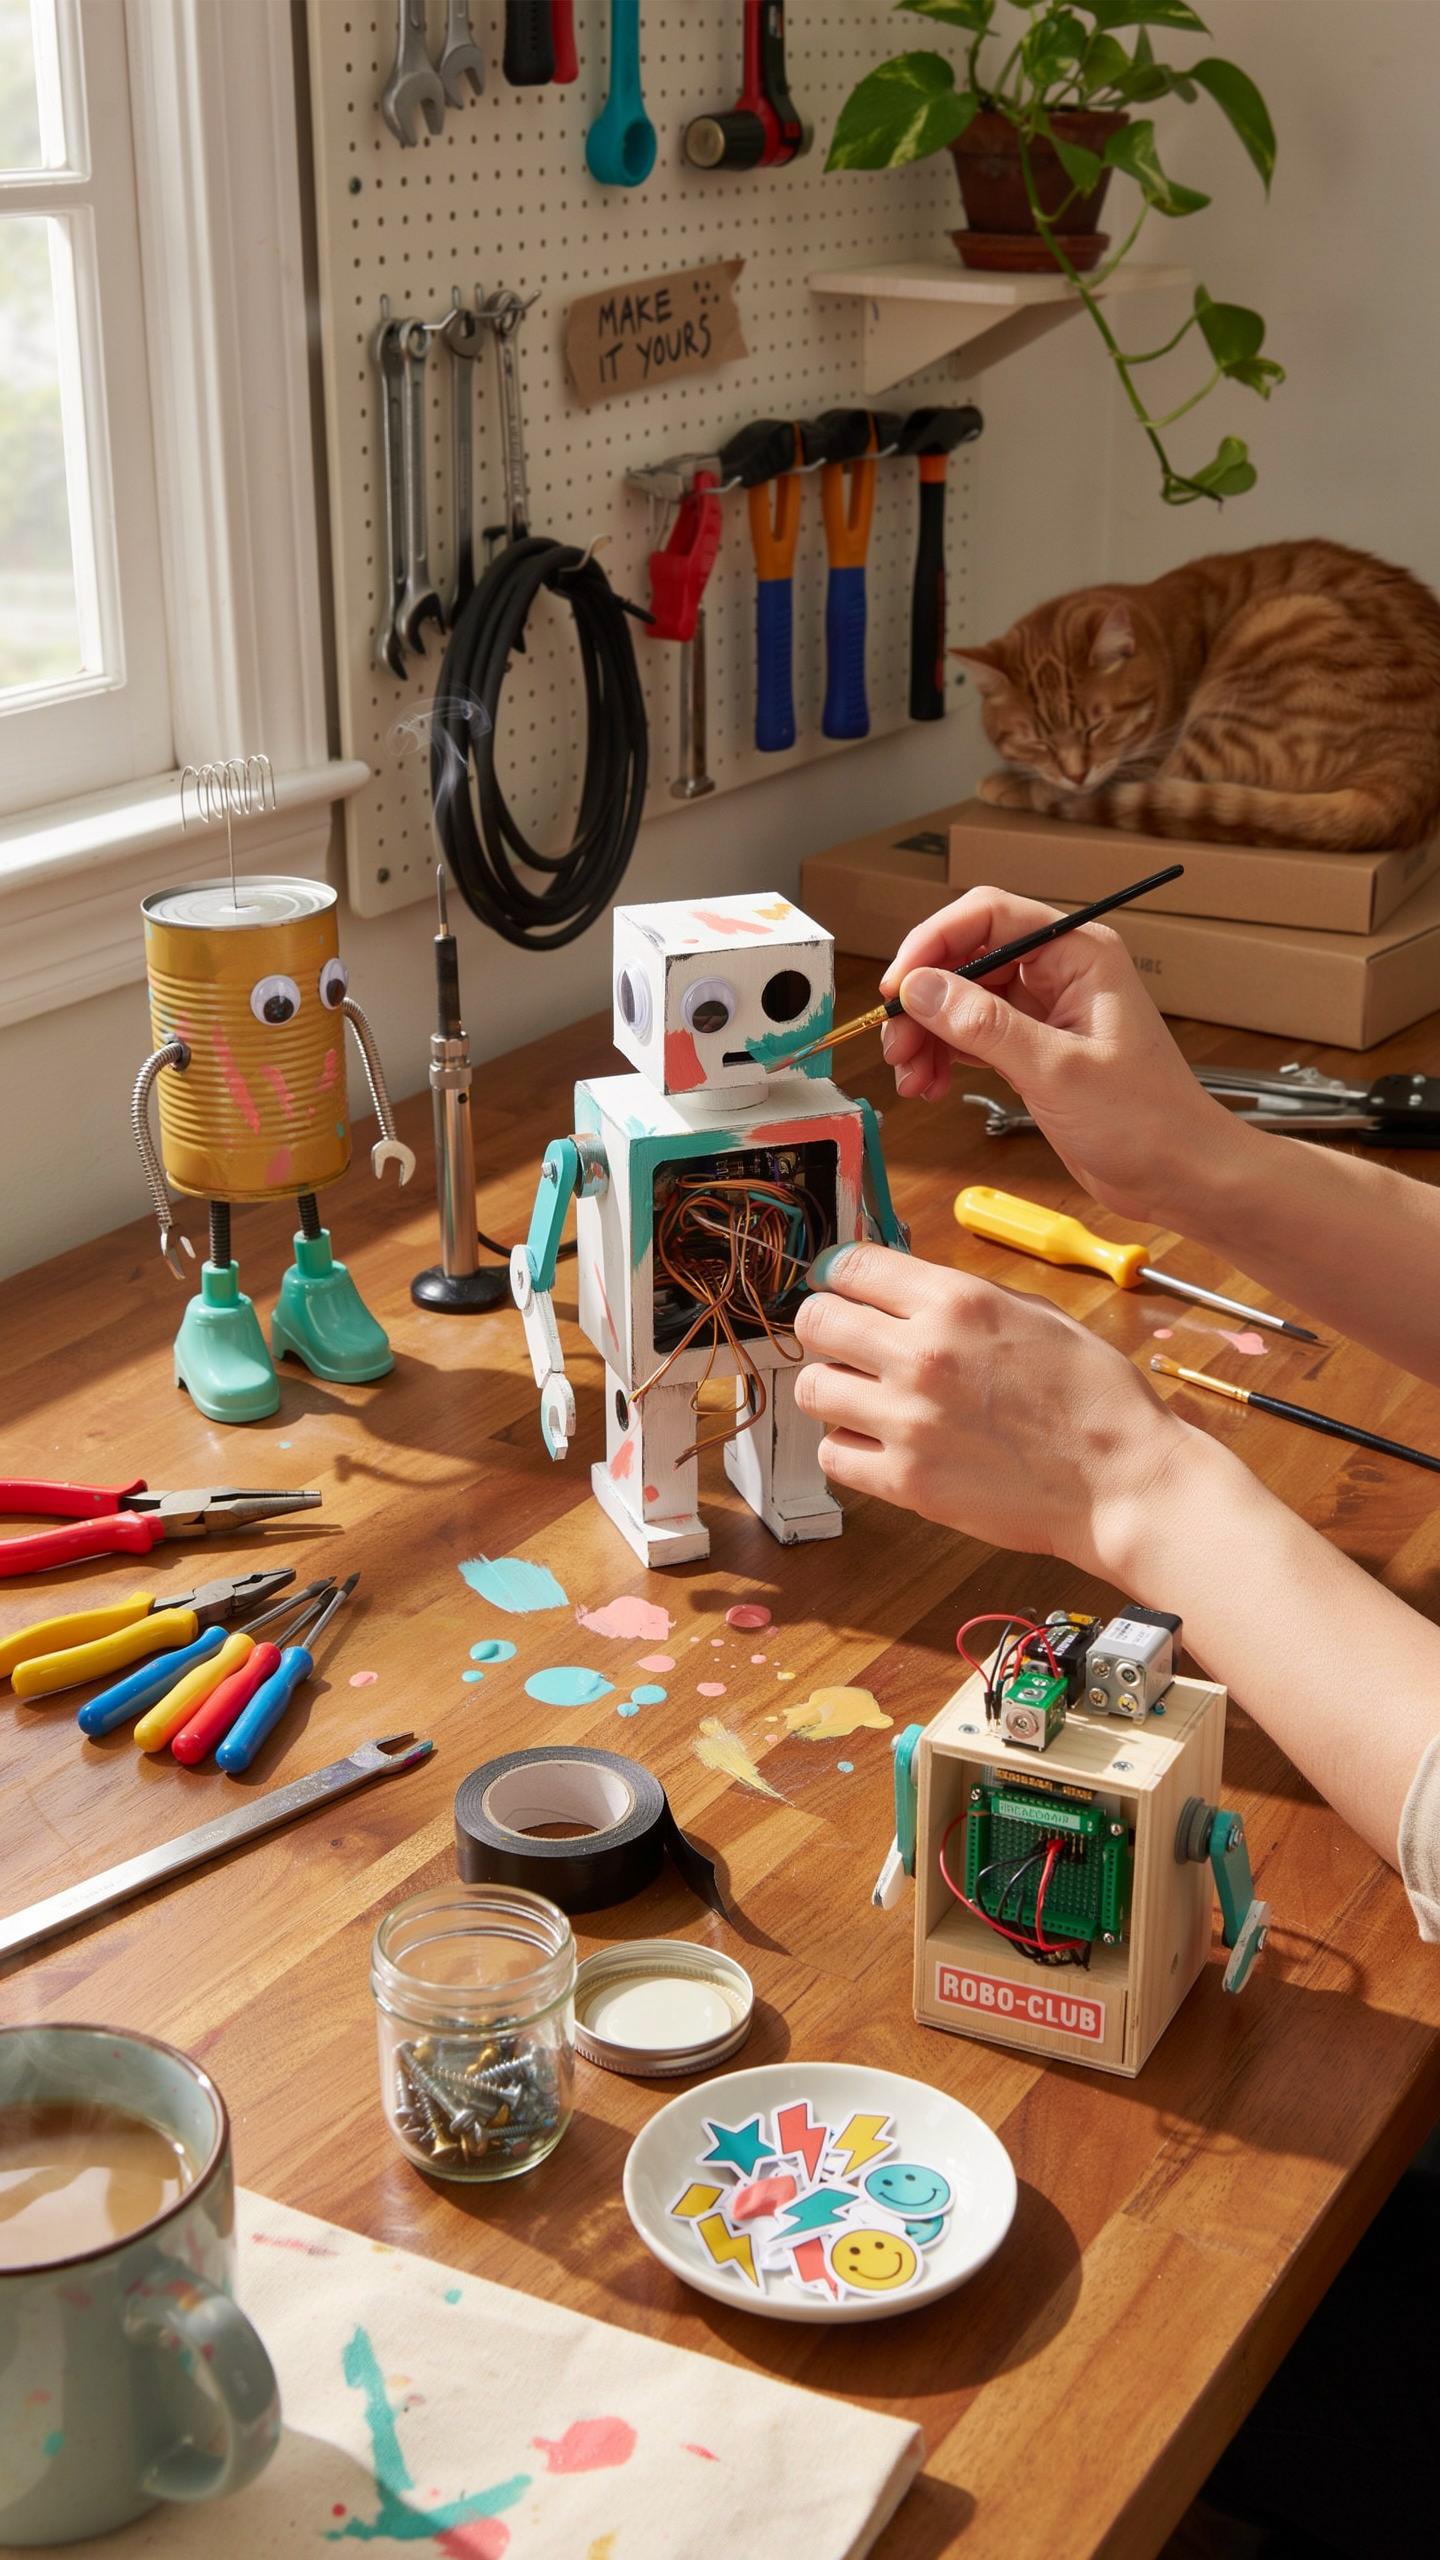
Your robot’s appearance directly impacts how your family engages with the project. Most kits ship with basic plastic frames and standard wheel assemblies. You control the visual outcome by choosing paint colors, adding decals, or swapping components. Function follows form here: changing wheel types alters speed and terrain capability. A tracked base handles rough surfaces better than wheels. Gear ratios determine torque output and movement speed.
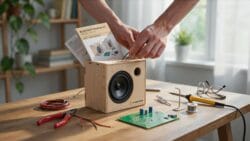
Sensor placement affects both performance and aesthetics. Mounting ultrasonic sensors on articulated arms lets your robot scan environments more effectively. LED indicators serve dual purposes: they provide feedback on operational status while making the robot visually compelling for younger participants. Motor speed controllers can adjust brightness levels, turning basic LEDs into communication tools. Test sensor positioning before final assembly to avoid redesigning later.
Upcycling Materials
Household items reduce costs and teach resourcefulness. Aluminum foil, plastic bottles, and cardboard boxes become structural components. Bottle caps work as wheel alternatives. Rubber bands provide tension for moving parts. Plastic bags become bumpers or protective coverings. This approach requires honest assessment: recycled materials have different weight distributions and durability compared to manufactured parts.
Integration demands mechanical testing before committing components to your robot. Tape a bottle cap wheel prototype and run it through motion tests. Cardboard reinforced with duct tape can support motor weight if layered correctly. Aluminum foil wrapped around metal frames improves heat dissipation from motors. The key tactic is building small mockups first, validating material properties, then scaling up to full assembly. Your family learns material science through hands-on failure and iteration.
Wooden Robot Kit A Unique Building Experience
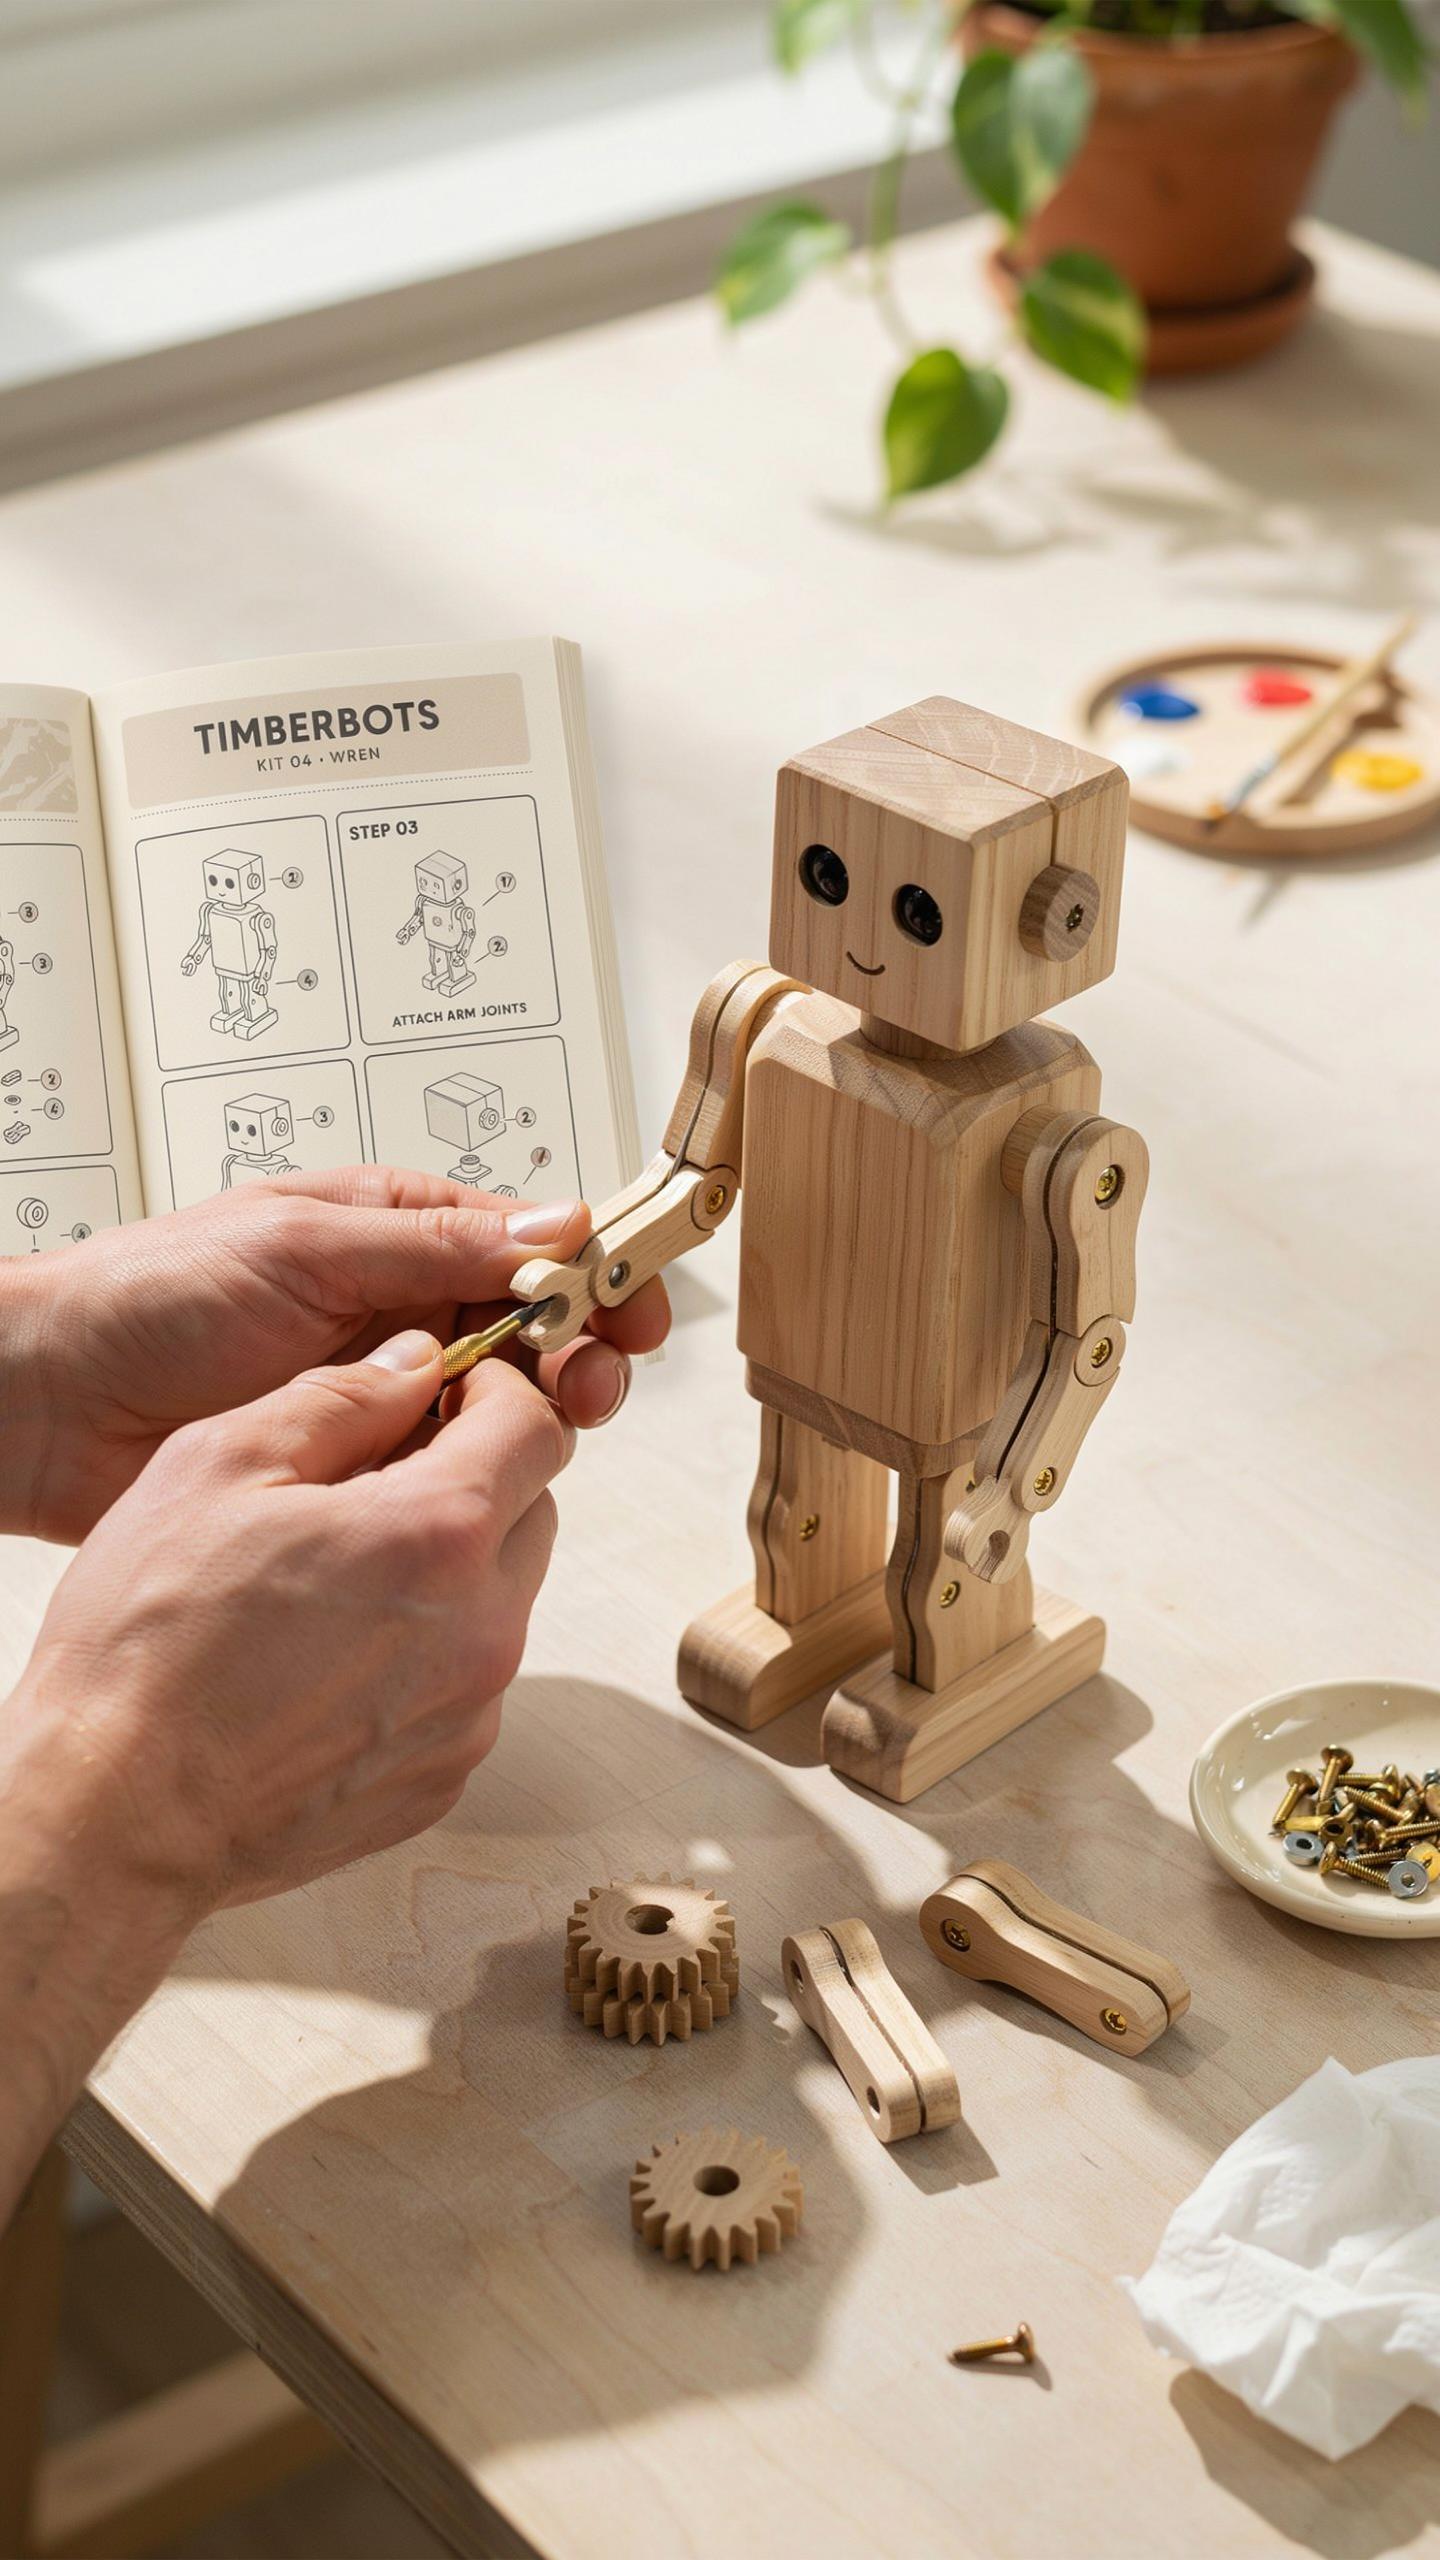
Eco Friendly Options
Wooden robot kits use renewable materials that reduce plastic waste in landfills. Wood comes from managed forests and breaks down naturally over time. Manufacturers can source timber sustainably without depleting ecosystems. This matters for families who want their weekend projects to align with environmental responsibility. The material choice directly impacts your household’s carbon footprint.

Wooden kits teach children material science through hands-on experience. Kids learn how different wood types have varying densities and strengths. They understand why builders choose specific materials for specific functions. This knowledge transfers to real-world engineering decisions. Families invest in education while supporting environmentally conscious companies.
Aesthetic Appeal
Wooden robot designs age gracefully and develop character over time. Unlike plastic, wood shows wear patterns that reflect actual use and family memories. The grain patterns and natural color variations make each kit visually distinct. Kids recognize their specific robot among others because of these unique characteristics. This durability means the robot survives multiple projects and outlasts typical plastic alternatives.
Wooden robots fit any home decor style without looking out of place. They work as functional toys or display pieces on shelves. The material connects to traditional craftsmanship while maintaining modern design functionality. Parents appreciate keeping the finished robot visible rather than storing it away. The aesthetic value extends the kit’s lifespan as a meaningful family artifact.
Fun Robotics Projects For Kids Engaging Young Minds
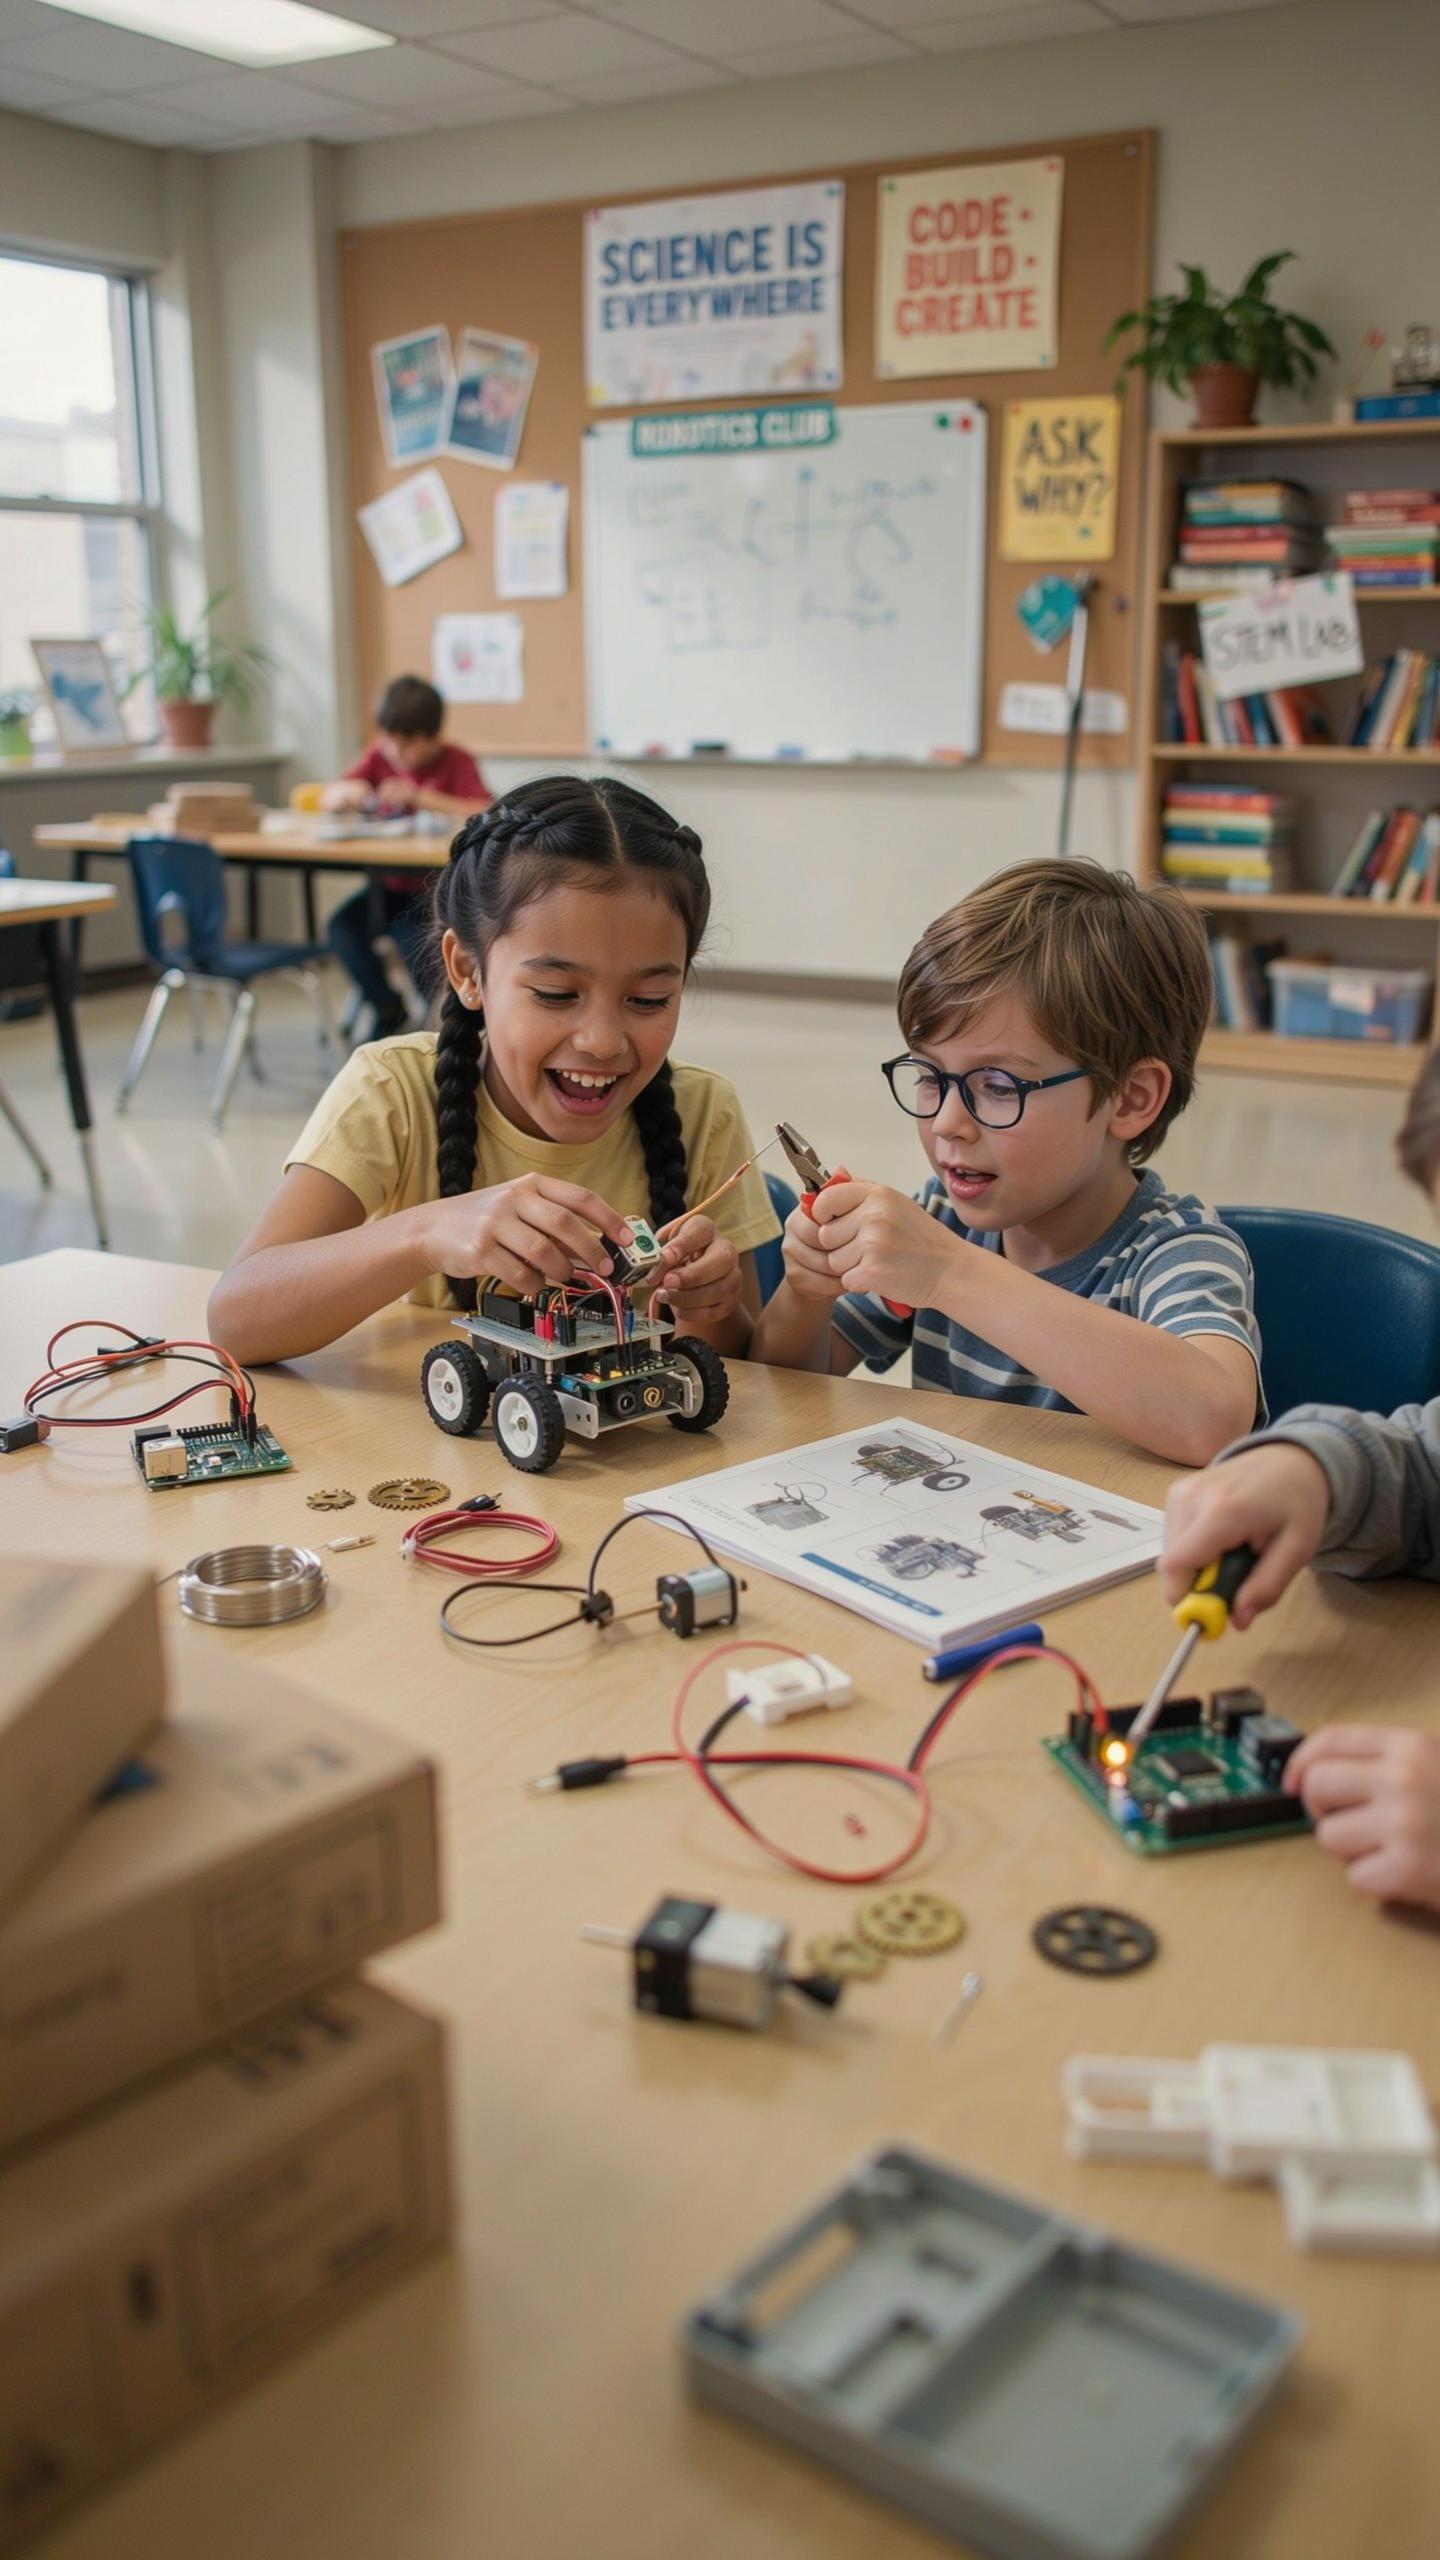
Storytelling With Robots
Robots become narrative tools when kids program them to act out scenes or move through environments they create. A basic robot kit lets children write simple code that makes the robot move in patterns, trigger sounds, or activate lights at specific moments. This approach teaches sequencing and logic while kids focus on the story they want to tell rather than abstract programming concepts.
The robot becomes a character in the child’s imagination. Kids design obstacle courses, create dialogue, or build sets where their robot performs. This bridges creative thinking and technical skills. Children see immediate results when their code brings a story to life, reinforcing that programming is a tool for expression, not just computation.
Robot Games Challenges
Turn robot kits into competitive activities by setting up challenges like obstacle courses, target-hitting competitions, or speed races. Kids program their robots to navigate mazes, knock over objects, or reach finish lines. These challenges have clear win conditions, which keeps engagement high and gives kids measurable feedback on whether their code worked.
Competition between family members or friends drives motivation. Kids debug their code faster when they want to beat a time or outperform another robot. Challenges also reveal what works and what doesn’t in real time. Rotating different challenge types keeps the activity fresh across multiple weekends and prevents the novelty from wearing thin.
Wall E Robot Diy Recreating A Classic
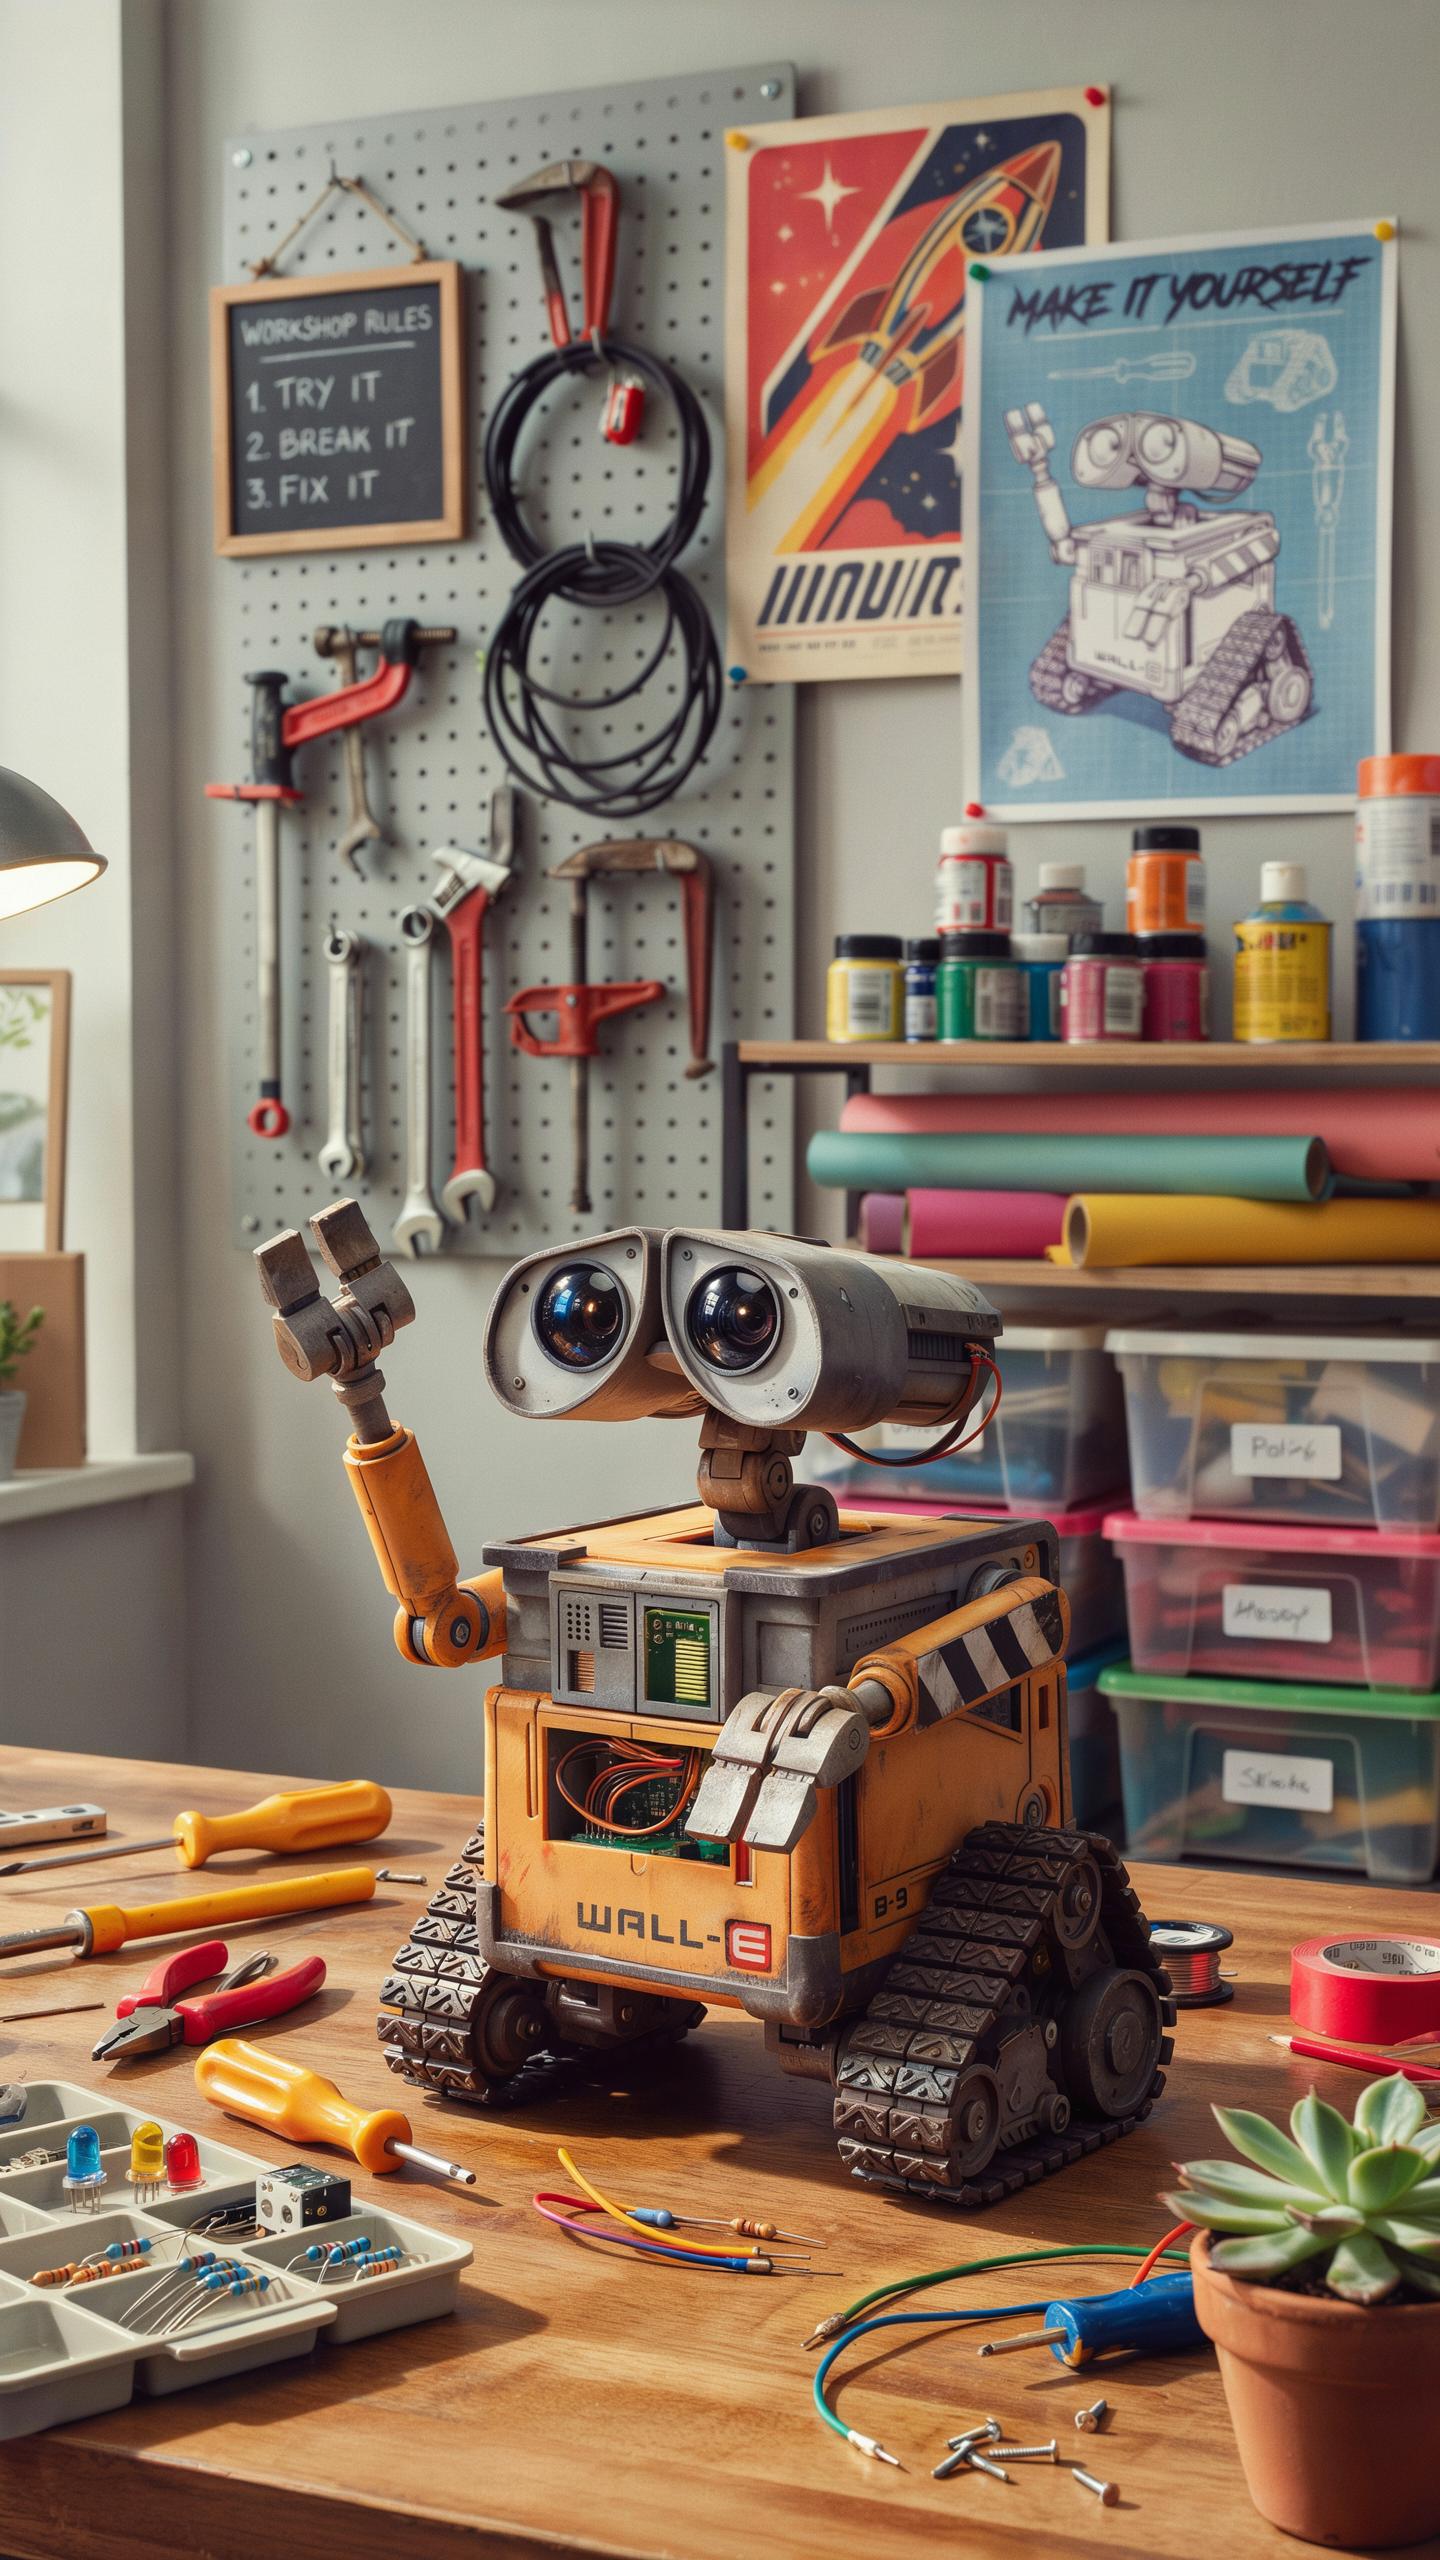
Inspiration From Film
Wall-E, the 2008 Pixar film character, serves as a practical design reference for DIY robot builds. The character’s simple cubic body structure, tracked movement system, and expressive design elements translate directly into buildable projects. Families can extract core mechanical principles from the film without needing advanced engineering knowledge. The robot’s basic geometry makes it an ideal starting point for weekend construction projects using standard materials and components.
The film’s design focuses function over complexity. Wall-E moves on treads, performs basic tasks, and demonstrates personality through limited movements. This aligns perfectly with beginner robotics kits that emphasize fundamental mechanics. You can replicate the tracked locomotion using servo motors and track kits readily available in commercial DIY packages. The visual appeal of the character motivates families to complete projects that might otherwise feel abstract or disconnected from real-world applications.
Advanced Modifications
Creating a realistic Wall-E replica requires modifications beyond standard kit components. Start with the body shell using 3D printing or foam construction to match the film’s proportions. Add tracked locomotion using dual motor systems controlled by microcontroller boards like Arduino or Raspberry Pi. Incorporate sensor arrays for obstacle detection to simulate autonomous behavior. These modifications transform basic kits into functioning models that approximate the film character’s capabilities.
Expressive movements elevate the build from mechanical to character-driven. Implement servo-controlled arms or a rotating head to display personality. Add LED eyes using programmable light strips synchronized to movement patterns. Sound modules can emit beeps mimicking the film character’s communication style. These layers of customization require soldering skills, coding experience, and understanding electronics integration. Advanced builders typically spend several weekends testing and refining these systems for smooth operation and reliability.
Frequently Asked Questions

What exactly is a DIY robot kit for a weekend project, and why is it a good family activity?
A DIY robot kit for a weekend project provides all the parts and instructions needed to build a fully functional robot from scratch. It’s fantastic for families because it promotes teamwork, problem-solving skills, and offers a tangible, exciting result you can achieve together in a short timeframe.
What are some essential tips for making our DIY robot kit building experience successful and fun for everyone?
To ensure a smooth weekend project, designate roles for each family member, follow the instructions step-by-step, and don’t be afraid to take breaks. Embrace any challenges as learning opportunities, and celebrate every small victory. The goal is shared enjoyment and discovery!
Are there affordable options for a DIY robot kit that won’t break the bank for a family weekend activity?
Absolutely! Many manufacturers offer budget-friendly DIY robot kits perfect for a weekend project. Look for introductory kits often designed for younger builders, as these tend to be less complex and therefore more affordable. Online retailers and educational supply stores are great places to start your search.



