
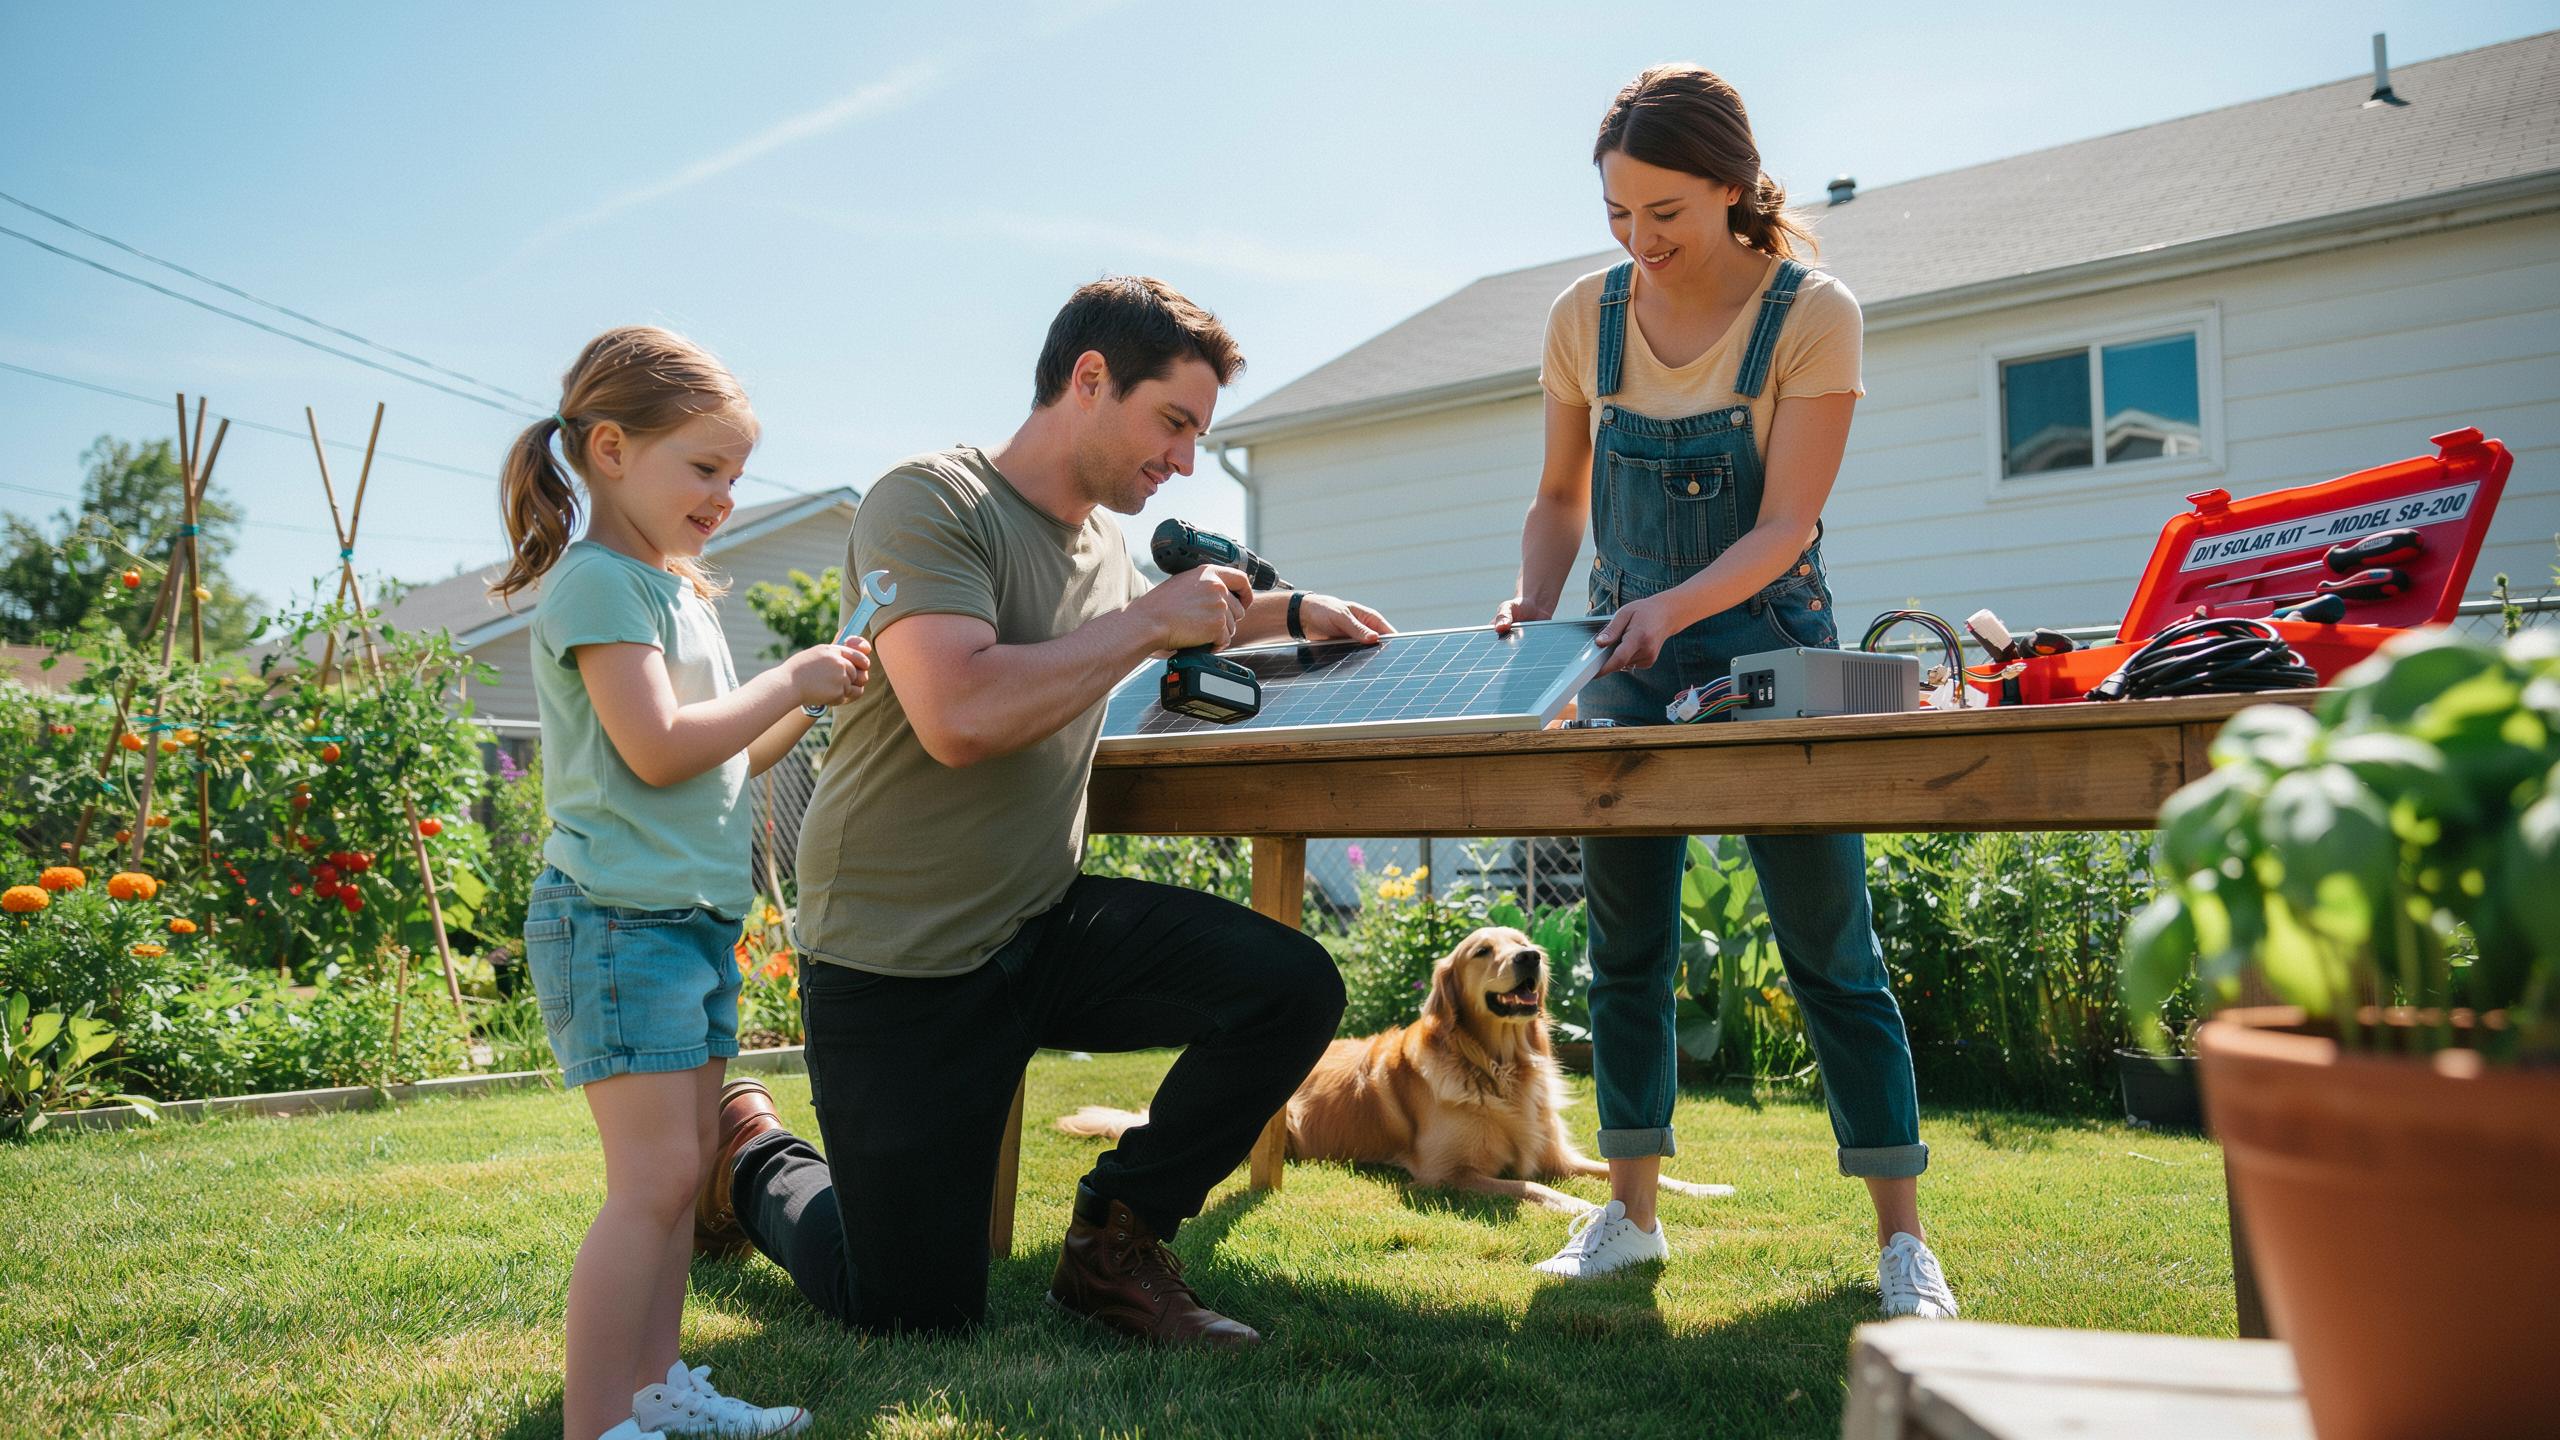
Understanding Solar Panels For Small Projects
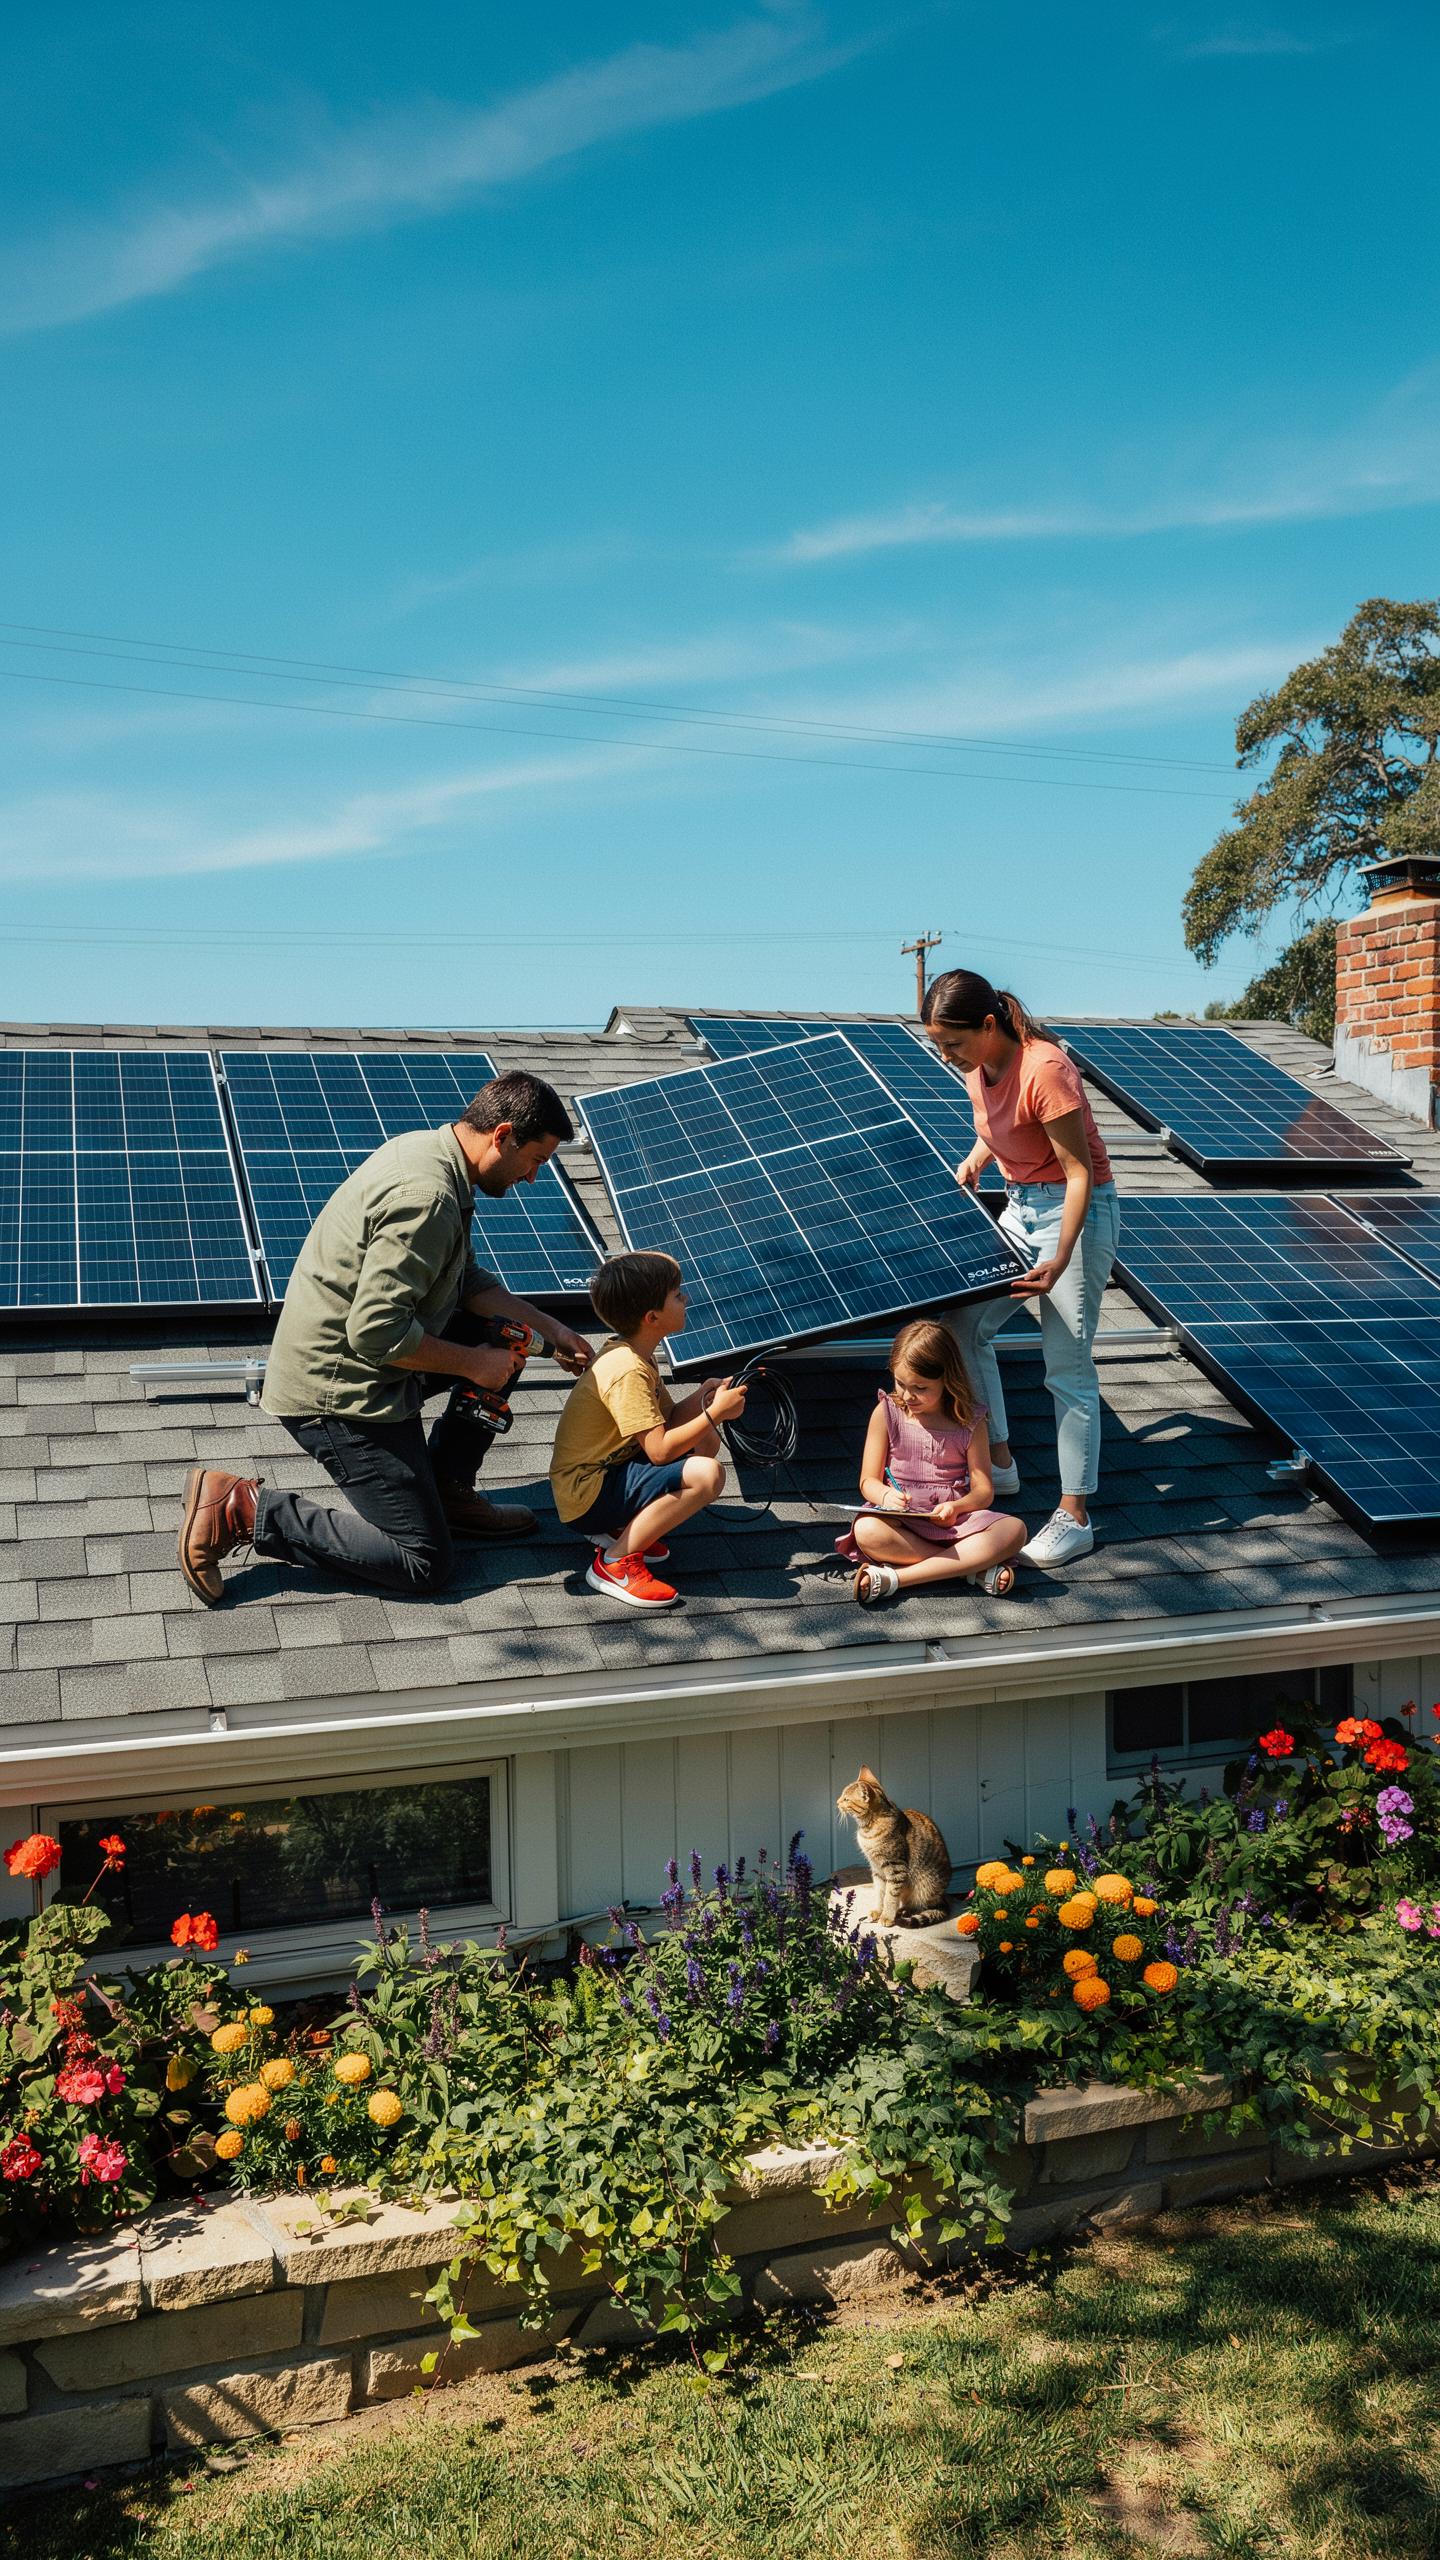
Basic Components Of A DIY Solar Kit
A DIY solar kit contains four core components that work together to convert sunlight into usable electricity. Solar panels capture photons and generate DC current. Charge controllers regulate voltage and current flowing from panels to batteries, preventing overcharge and damage. Batteries store energy for use when the sun isn’t shining. Inverters convert DC power to AC power for standard household devices.
Each component serves a specific function in the energy chain. Panels vary in wattage from 50W to 400W depending on project needs. Charge controllers come in two types: PWM and MPPT, with MPPT offering better efficiency at higher costs. Batteries may be lithium, lead acid, or gel depending on budget and cycle requirements. Inverters range from 500W to 5000W based on the appliances you plan to run.
Benefits Of Small Scale Solar
Small solar kits reduce energy costs by offsetting grid consumption for targeted applications. A 400W kit can power a garage, shed, RV, or cabin without monthly utility bills for that space. Installation is straightforward compared to full home systems, requiring no permits in most jurisdictions. Energy independence arrives faster with lower upfront investment and faster payback periods.
Environmental impact improves immediately when you shift from grid electricity to solar generation. These kits eliminate carbon emissions for their specific use case over their operational lifespan. Maintenance is minimal since panels have no moving parts and require only occasional cleaning. Scalability lets you start small and expand capacity later if needs change or budget allows.
Planning Your Diy Solar Powered House
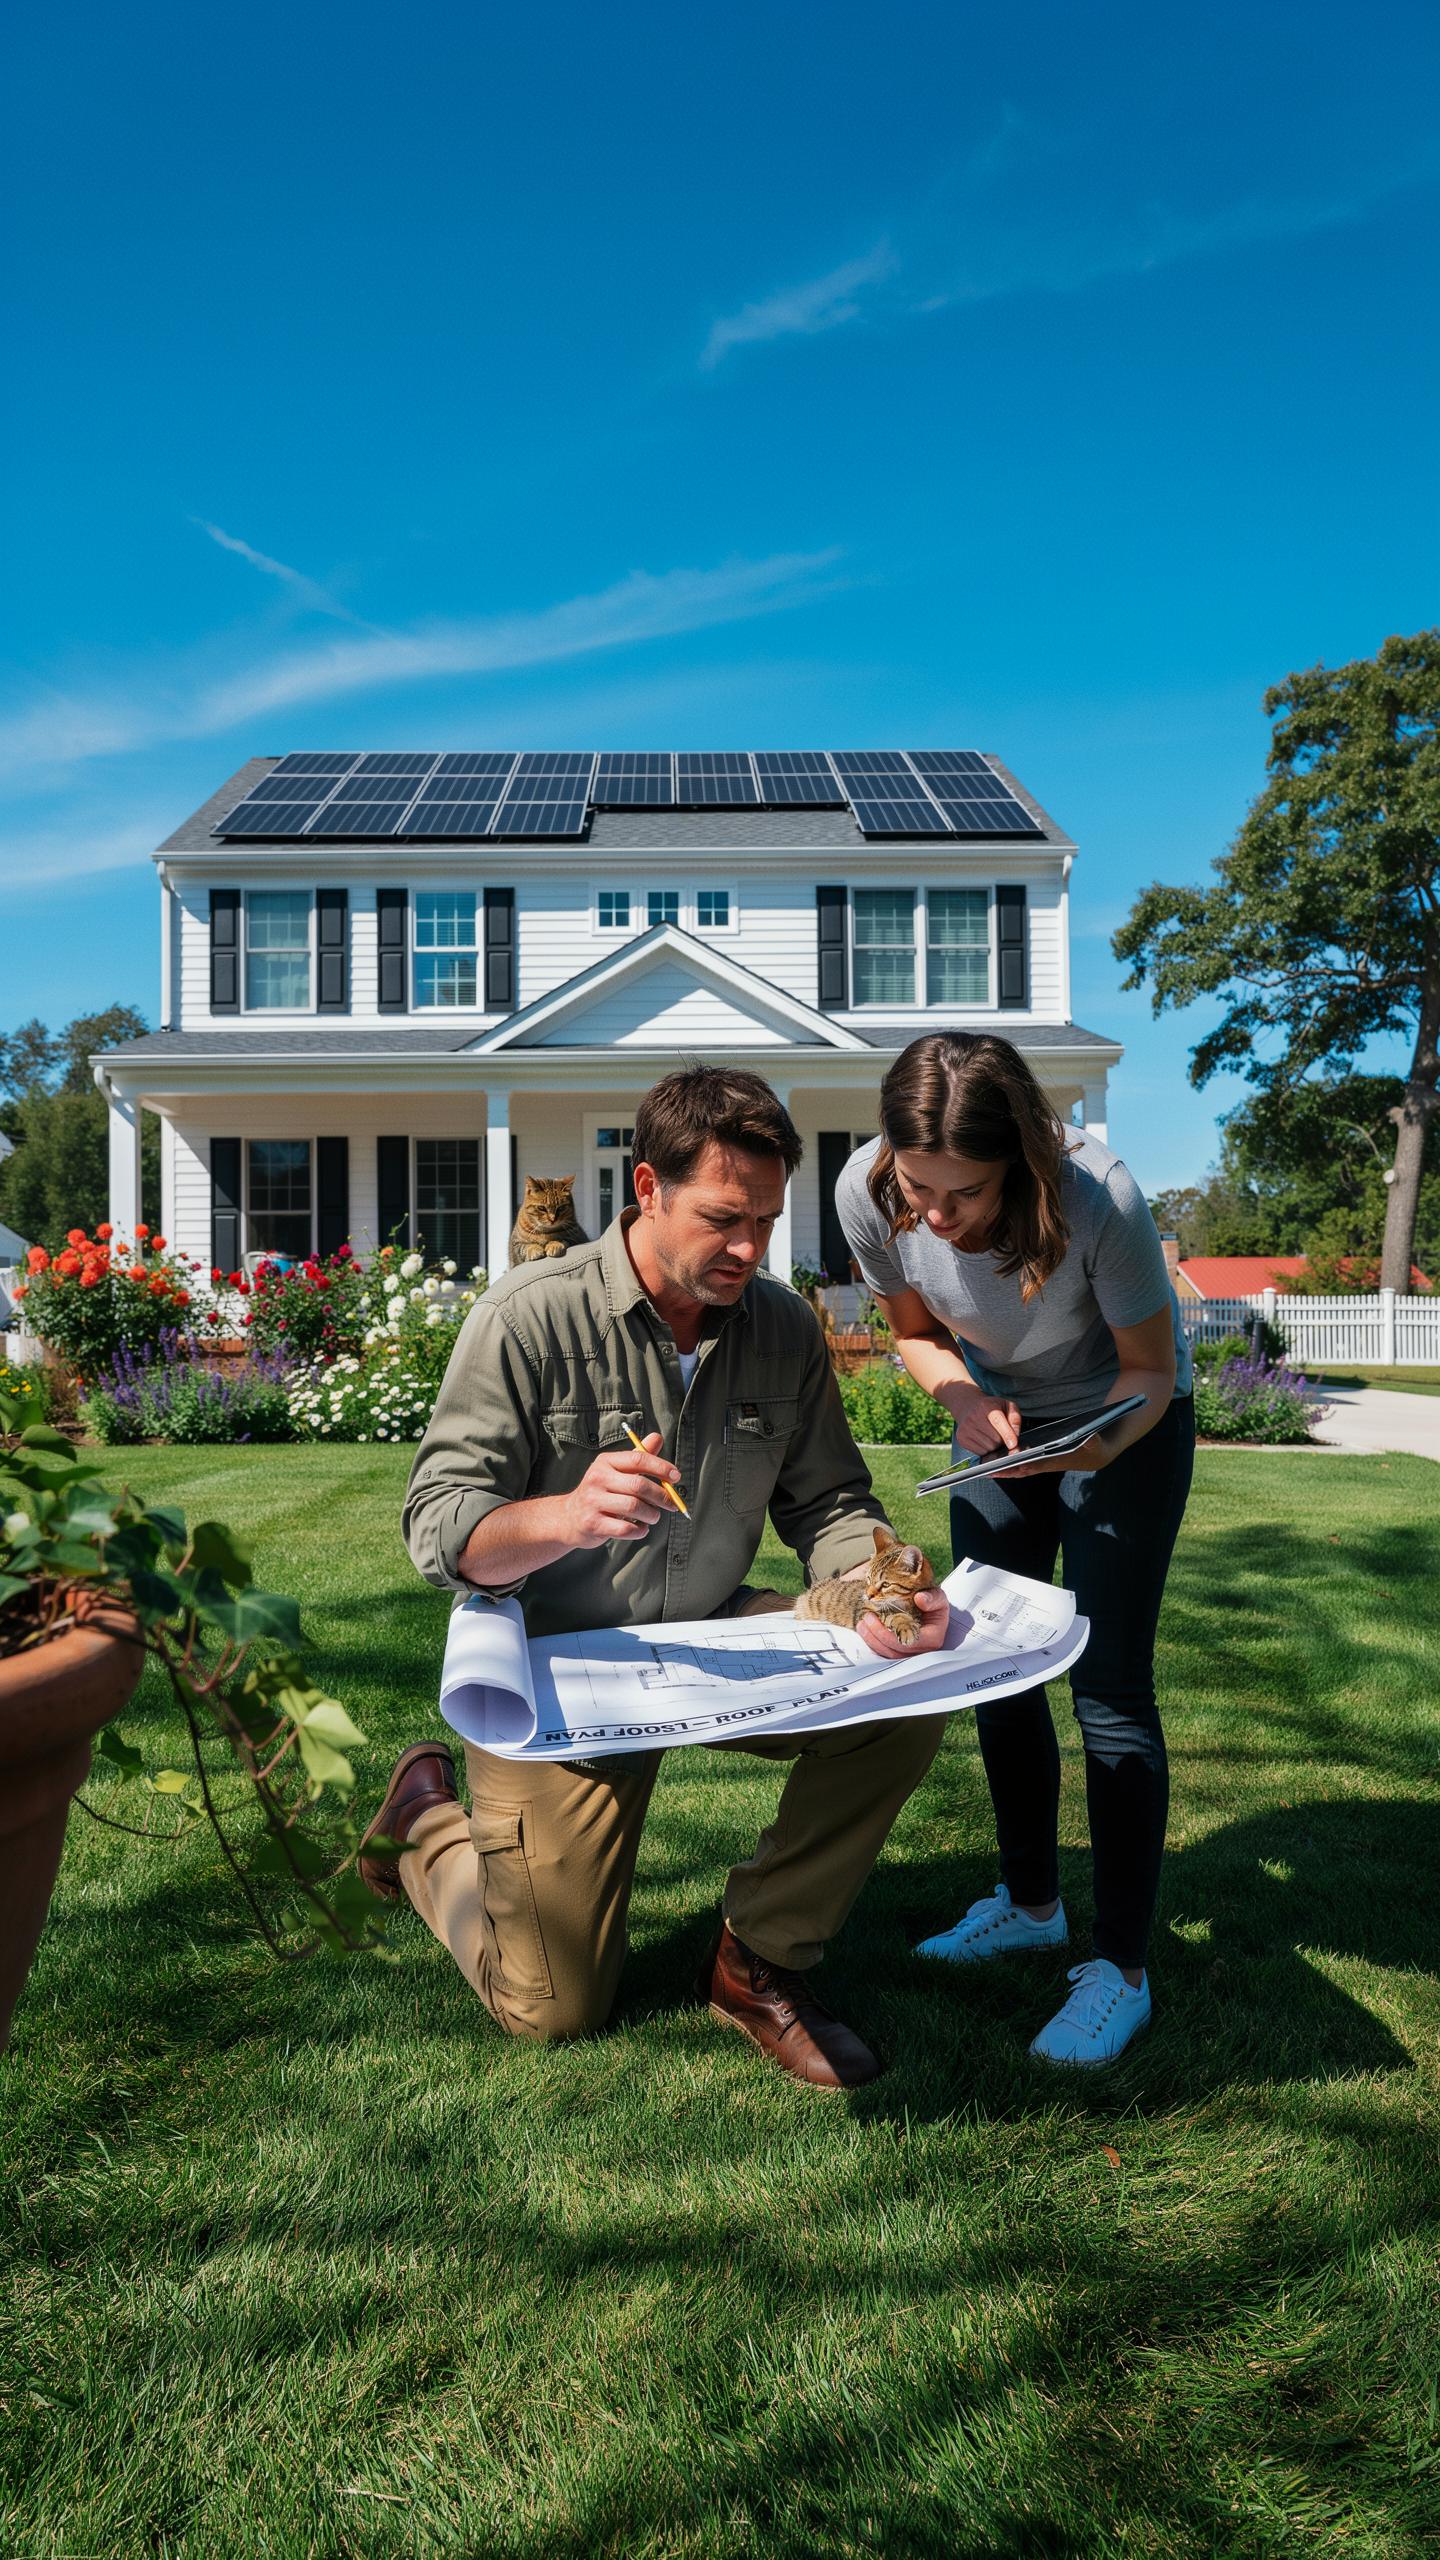
Identifying Suitable Projects
Start by identifying projects that run on low power and operate during daylight hours or early evening. Garden lighting, outdoor water features, phone charging stations, and small ventilation fans work well. These projects typically need 5 to 50 watts and demand minimal battery storage. Choose projects that sit in direct sunlight for most of the day without shade from trees or structures. Avoid high-draw appliances like air conditioning or electric heaters, which require oversized kits and expensive batteries.
The best starter projects have clear electrical needs you can measure. Outdoor lighting needs a specific number of lumens. A charging station needs a certain amperage. Water fountains require specific pump wattage. Define what your project must do before selecting a kit. Mismatch between kit capacity and actual needs leads to underperformance or wasted money on oversized systems.
Assessing Your Energy Needs
Calculate your project’s power consumption by multiplying voltage by amperage, which gives watts. Most DIY solar kits list their output in watts. If your project draws 20 watts and runs eight hours daily, you need 160 watt-hours of energy per day. Account for cloudy days by adding a 25 to 40 percent buffer to your calculations. Battery storage must cover nighttime operation or periods without sunlight.
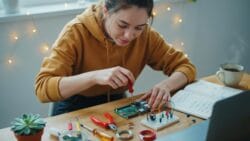
Determine runtime requirements before purchasing. Does your project need continuous power or only during specific hours? Continuous operation demands larger batteries and more panel capacity. Part-time operation cuts costs significantly. Document the season when your project runs most. Summer projects need less battery storage than winter projects because daylight hours are longer and solar intensity is stronger in most climates.
Easy Solar Panel Setup Guide
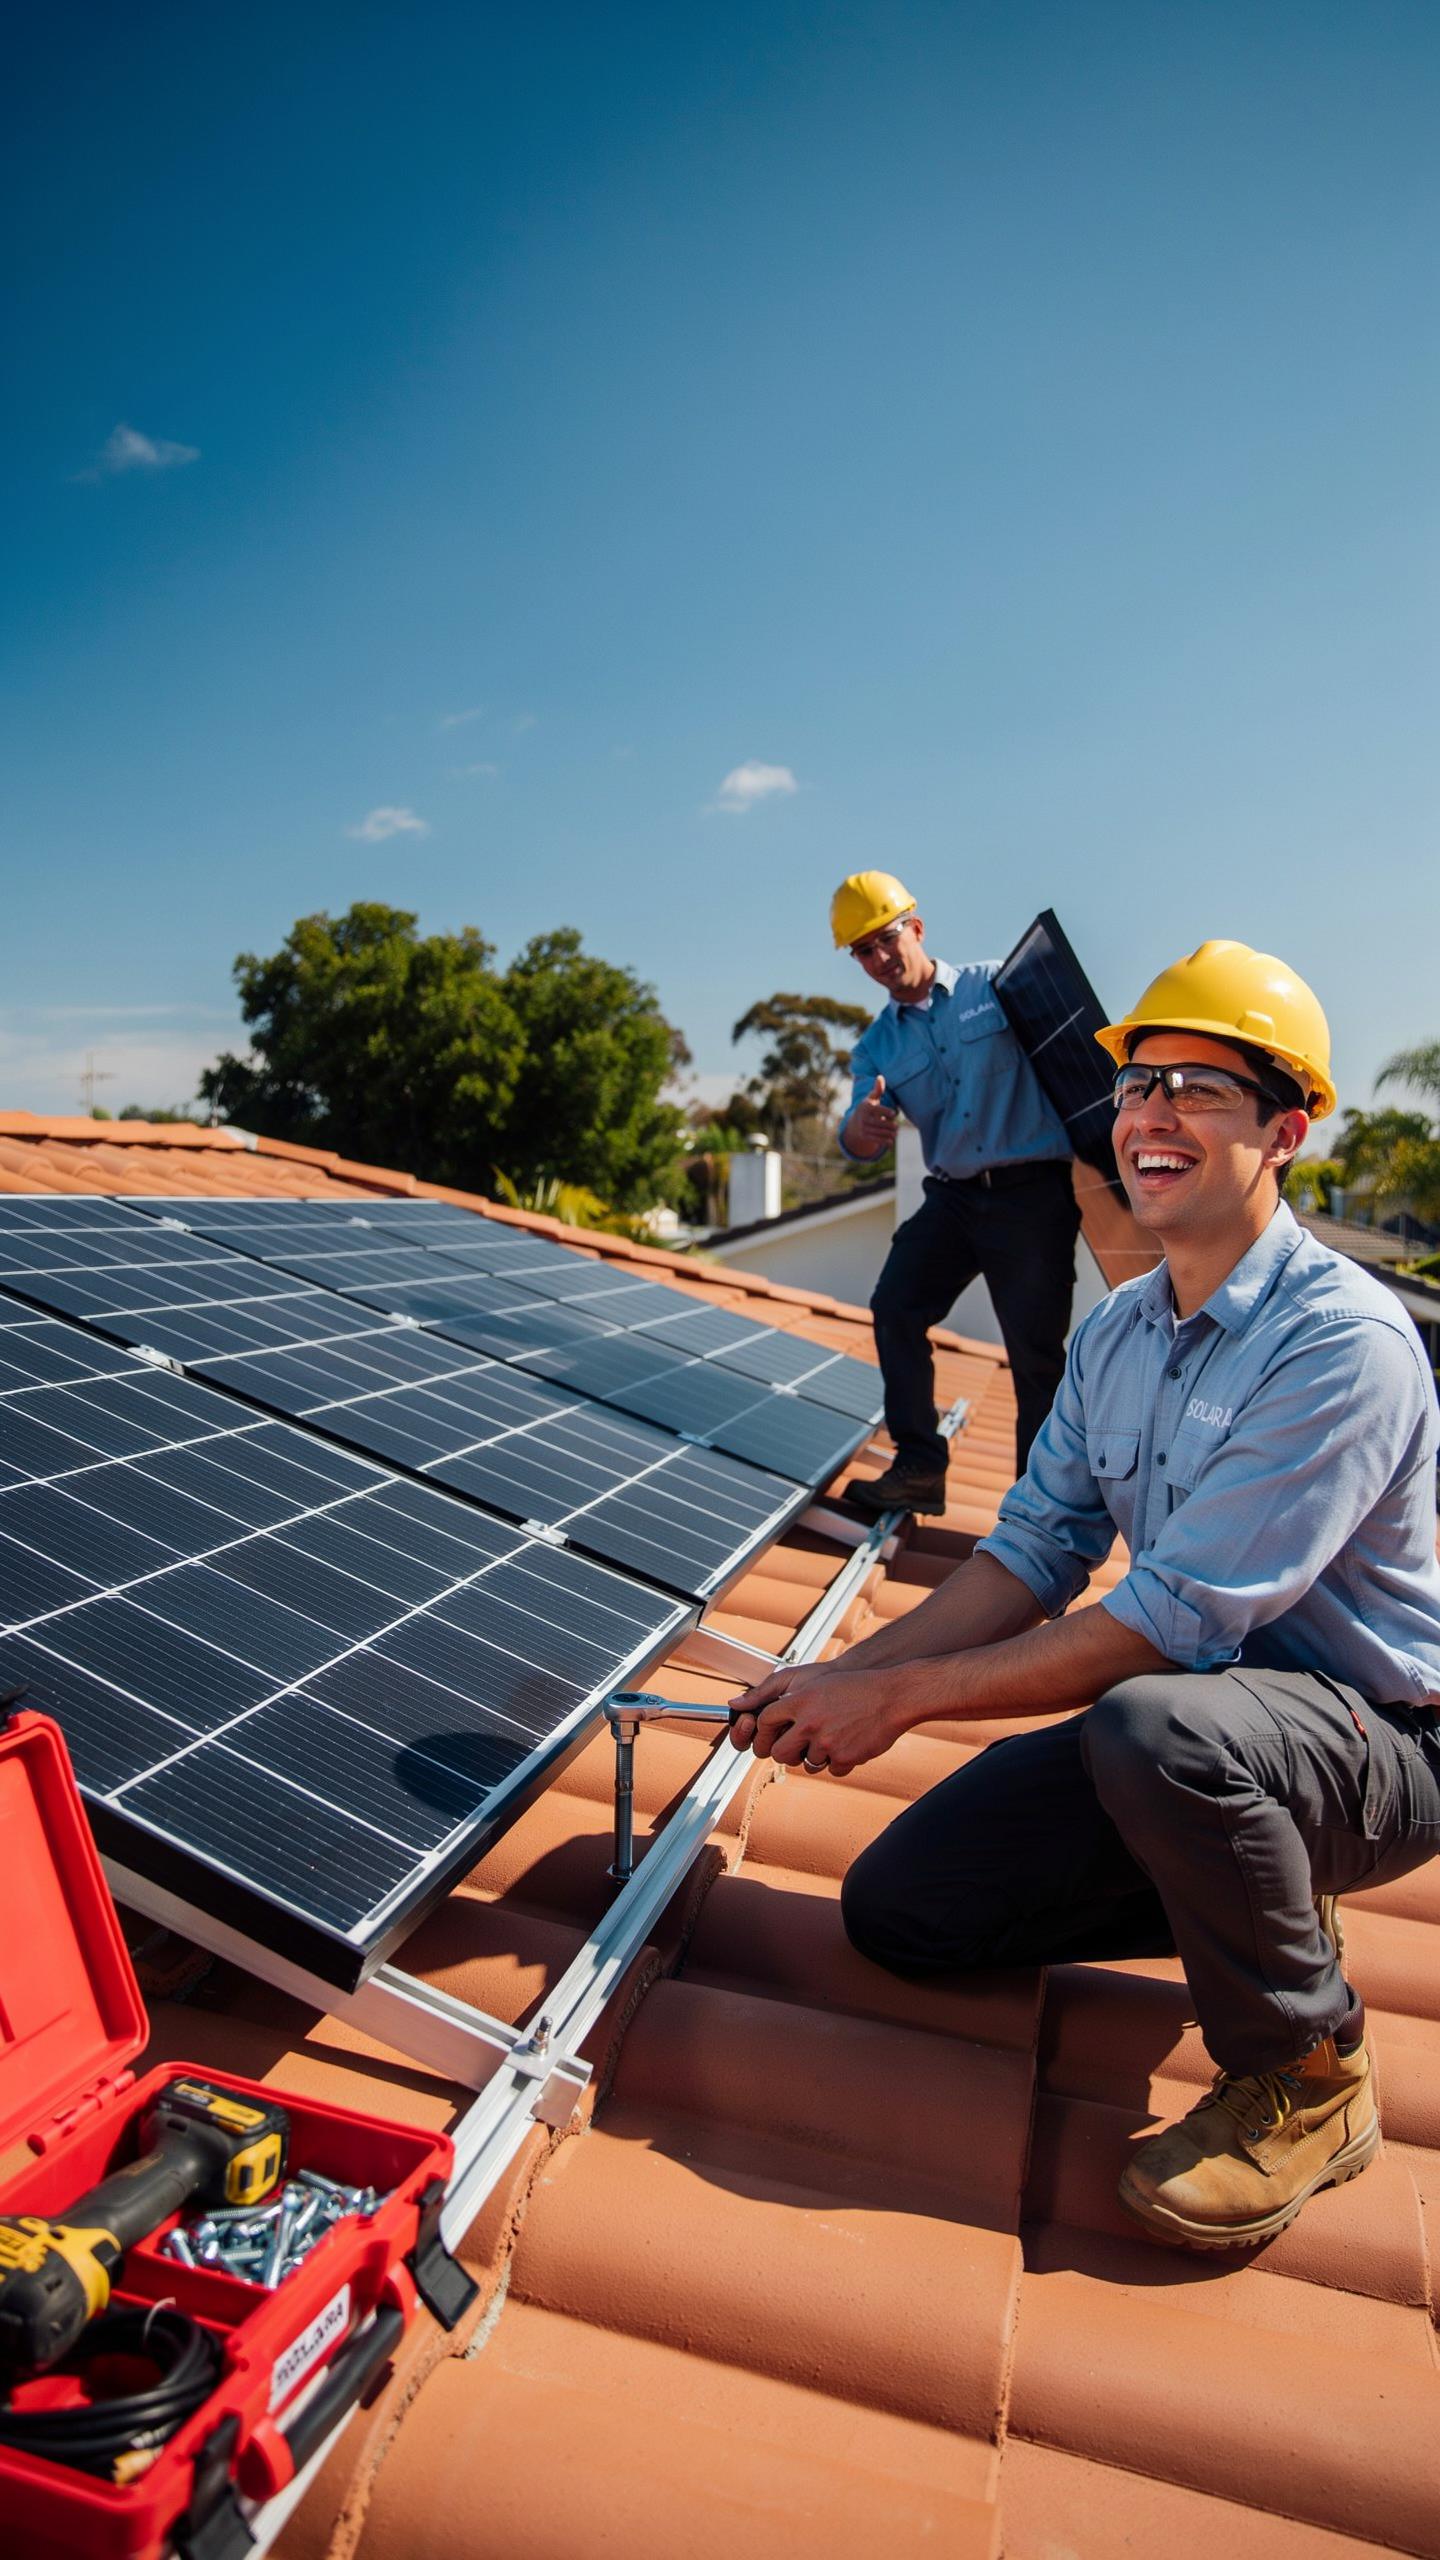
Step By Step Installation
Start by reading your kit’s manual completely before touching any components. Gather all required tools, typically a drill, wrench set, wire stripper, and multimeter. Shut off your home’s main electrical panel before connecting anything. Mount the rails to your roof or ground structure first using the provided brackets. Attach solar panels to the rails with clamps, keeping them secure and level. Install the charge controller in a dry location near your battery bank or inverter.
- Secure mounting rails first: Use lag bolts or concrete anchors depending on your surface type. Rails provide the foundation for everything else.
- Panel attachment with clamps: Tighten all clamps evenly to prevent stress on the panel frame. Uneven tension causes microcracks that reduce efficiency.
- Wire routing and protection: Run all cables through conduit to protect from UV damage and weather. Keep positive and negative wires separate.
- Battery connections: Connect batteries in series or parallel based on your voltage and capacity needs. Use the correct gauge wire for your system size.
- Inverter installation: Place the inverter near batteries and your main electrical panel. Keep it in a ventilated area since it generates heat.
Test every connection with a multimeter before energizing the system. Verify that voltage and polarity match your kit specifications. Document all connections for future troubleshooting and maintenance reference.
Mounting And Placement Tips
Panel angle directly impacts energy production throughout the year. In most US locations, aim for panels tilted between 30 and 45 degrees from horizontal. During winter, a steeper angle captures low sunlight better. During summer, a flatter angle prevents overheating and captures diffuse light effectively. Calculate your location’s latitude to determine the ideal angle for maximum annual output.

Avoid shade sources completely since even partial shadows reduce panel output significantly. Trees, buildings, and chimneys all block incoming sunlight. Check your site at different times of day and across seasons. South facing orientations in the northern hemisphere receive maximum sun exposure. East or west facing panels work for backup systems but produce less total energy. Mount panels where you can easily clean them, as dust reduces efficiency.
How To Make A Solar Panel Battery
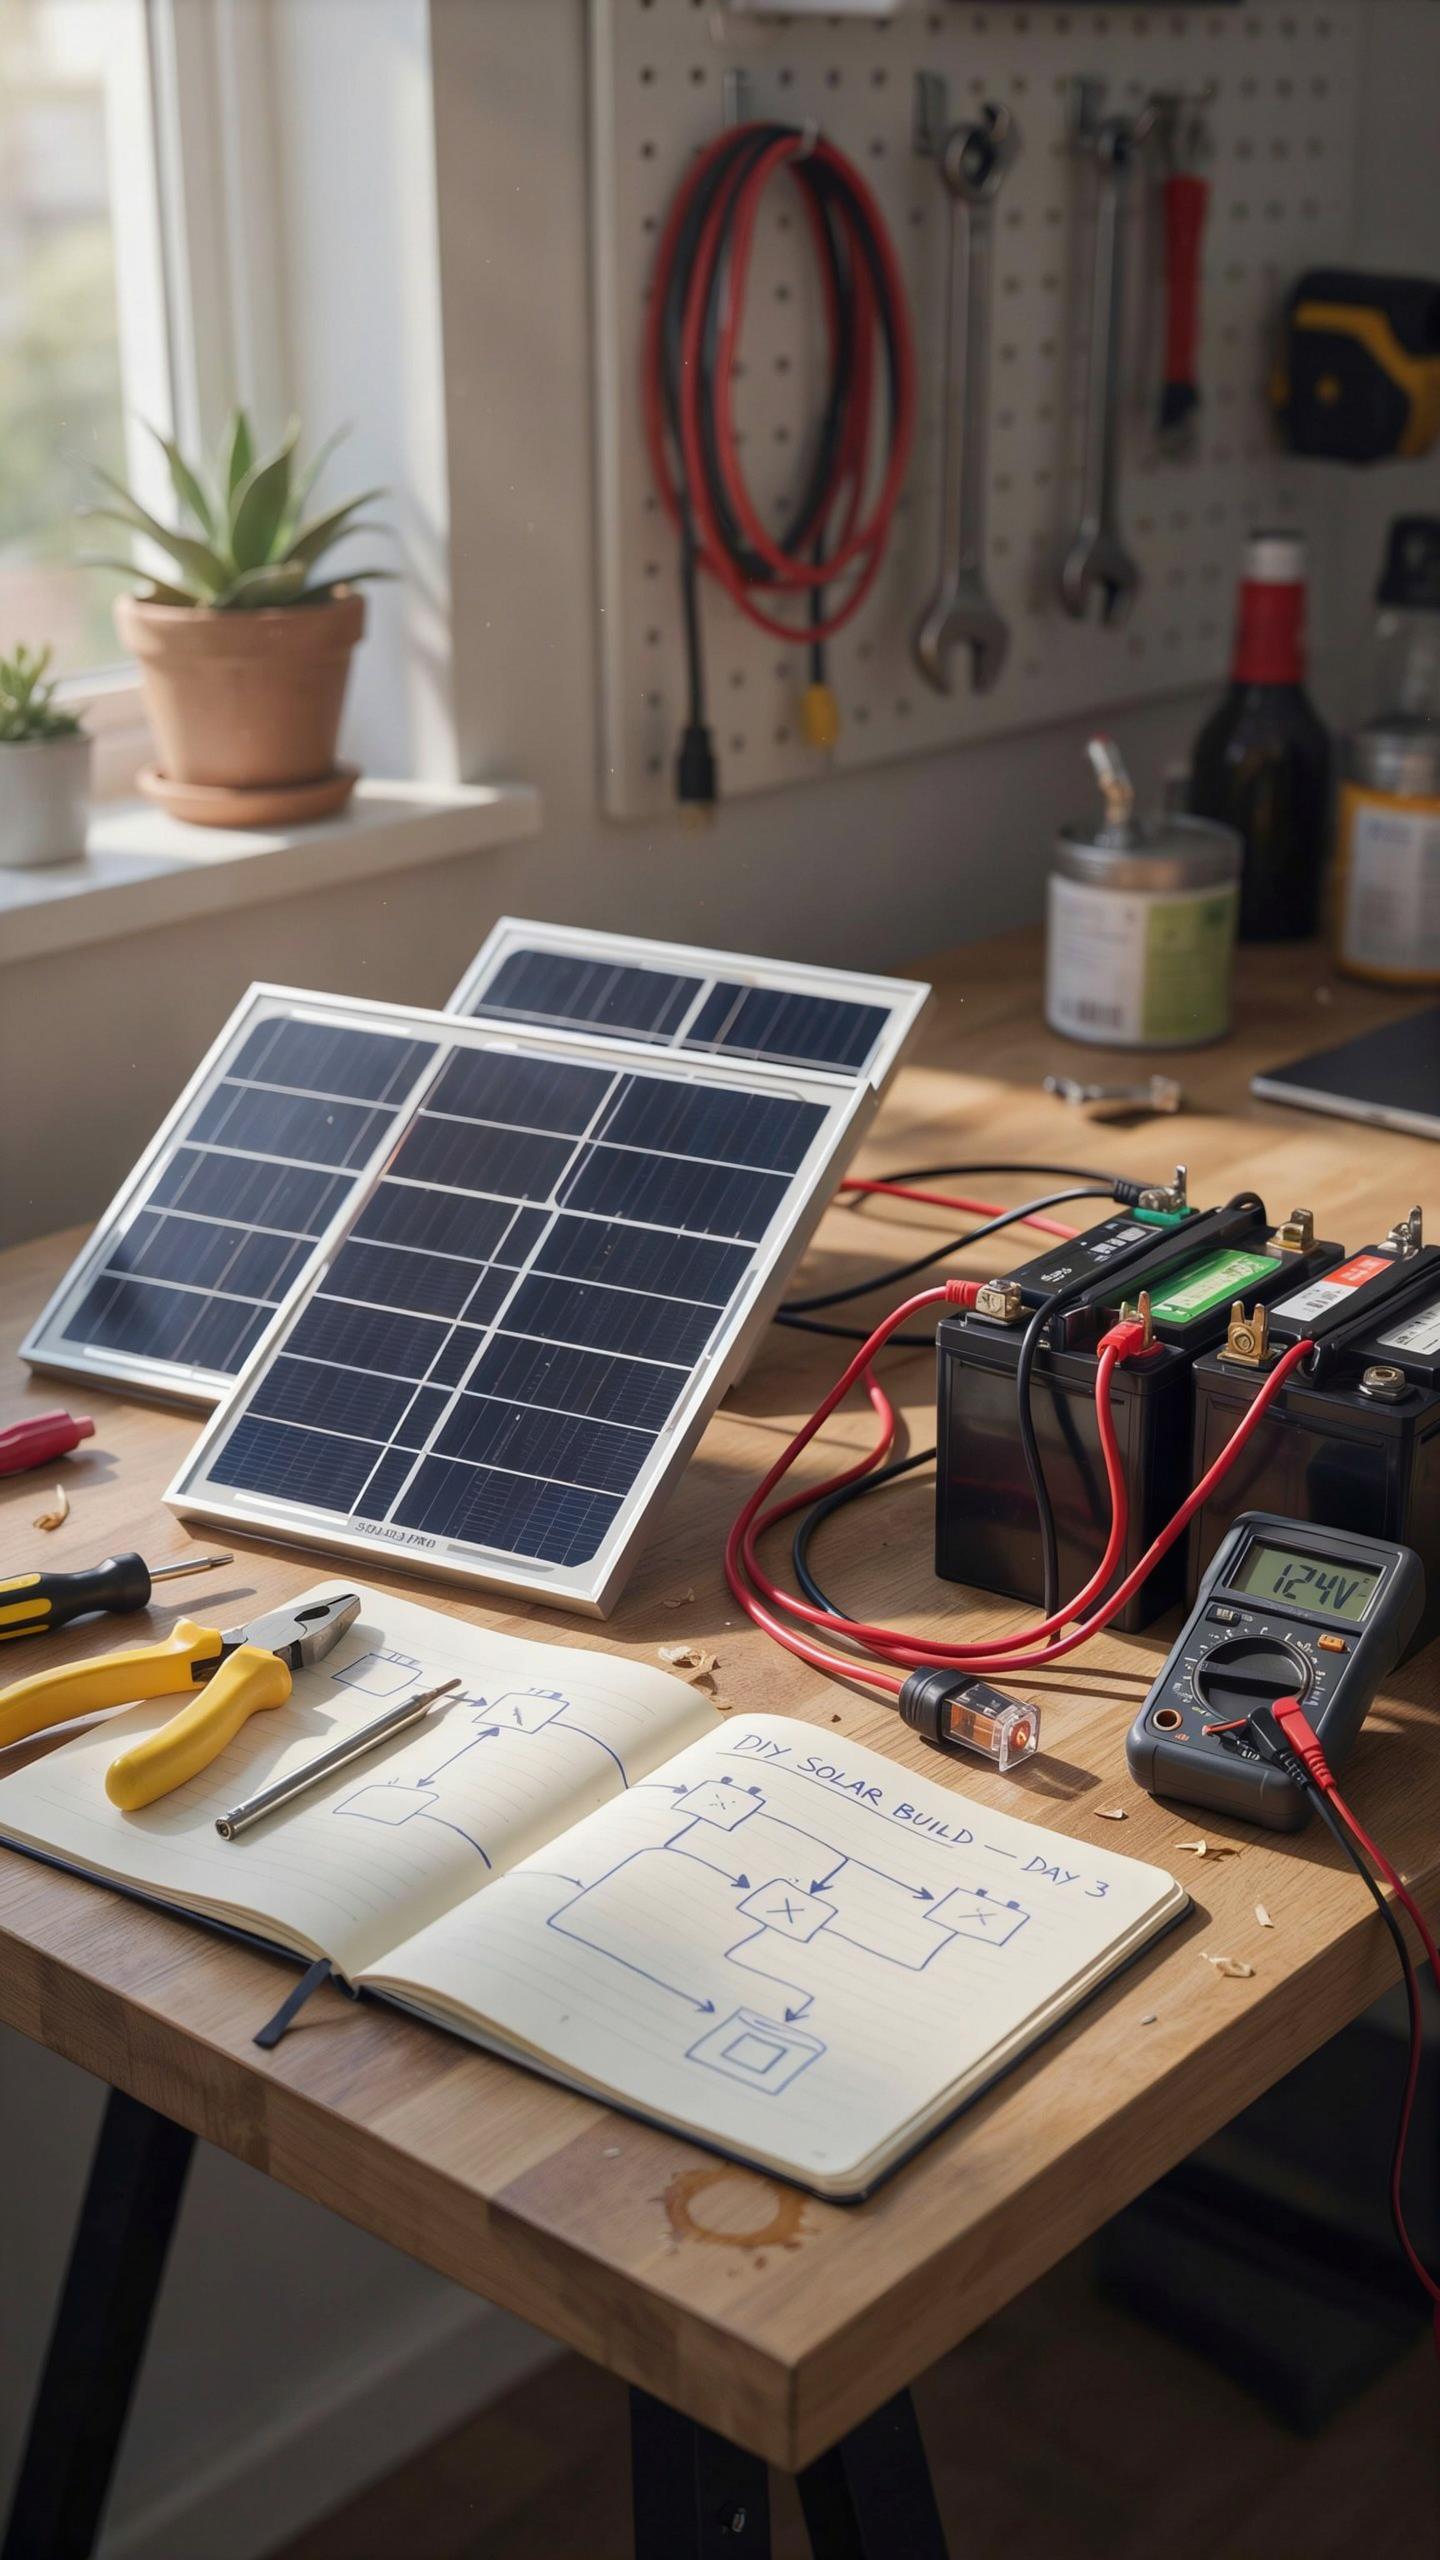
Battery Storage Solutions For DIY Solar
You need battery storage to capture power your panels generate during daylight hours. Without it, you lose all energy once the sun sets. Lead acid batteries work for small projects and cost less upfront. Lithium iron phosphate batteries store more power in smaller spaces but cost more. Choose based on your budget and available space.
Lead acid batteries require regular maintenance and replacement every five to ten years. Lithium options last fifteen years or longer with minimal upkeep. For small projects under five kilowatt hours of daily use, lead acid delivers acceptable performance at lower cost. Lithium makes sense if you want fifteen plus years of operation without replacement headaches.
Imagine the simpler times, generating your own light and warmth right from your backyard; these little solar kits bring that self-sufficiency home.
Connecting Batteries To Your Solar System
Wire your battery to the solar panel through a charge controller. The controller prevents overcharging and manages power flow from panels to battery. Use properly sized wiring based on your system’s amperage to prevent fire risk. Undersized wires generate excessive heat and create dangerous conditions. Calculate wire gauge requirements before purchasing materials.
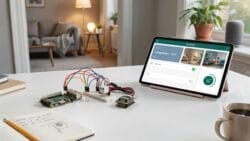
Connect your battery’s positive terminal to the charge controller’s battery positive input. Connect the negative terminal to the negative input. Run solar panels to the charge controller’s panel inputs using the same approach. This setup ensures safe power flow in one direction only. Test all connections with a multimeter before running the system under load.
DIY Solar Panels For Electricity
Generating Off Grid Power
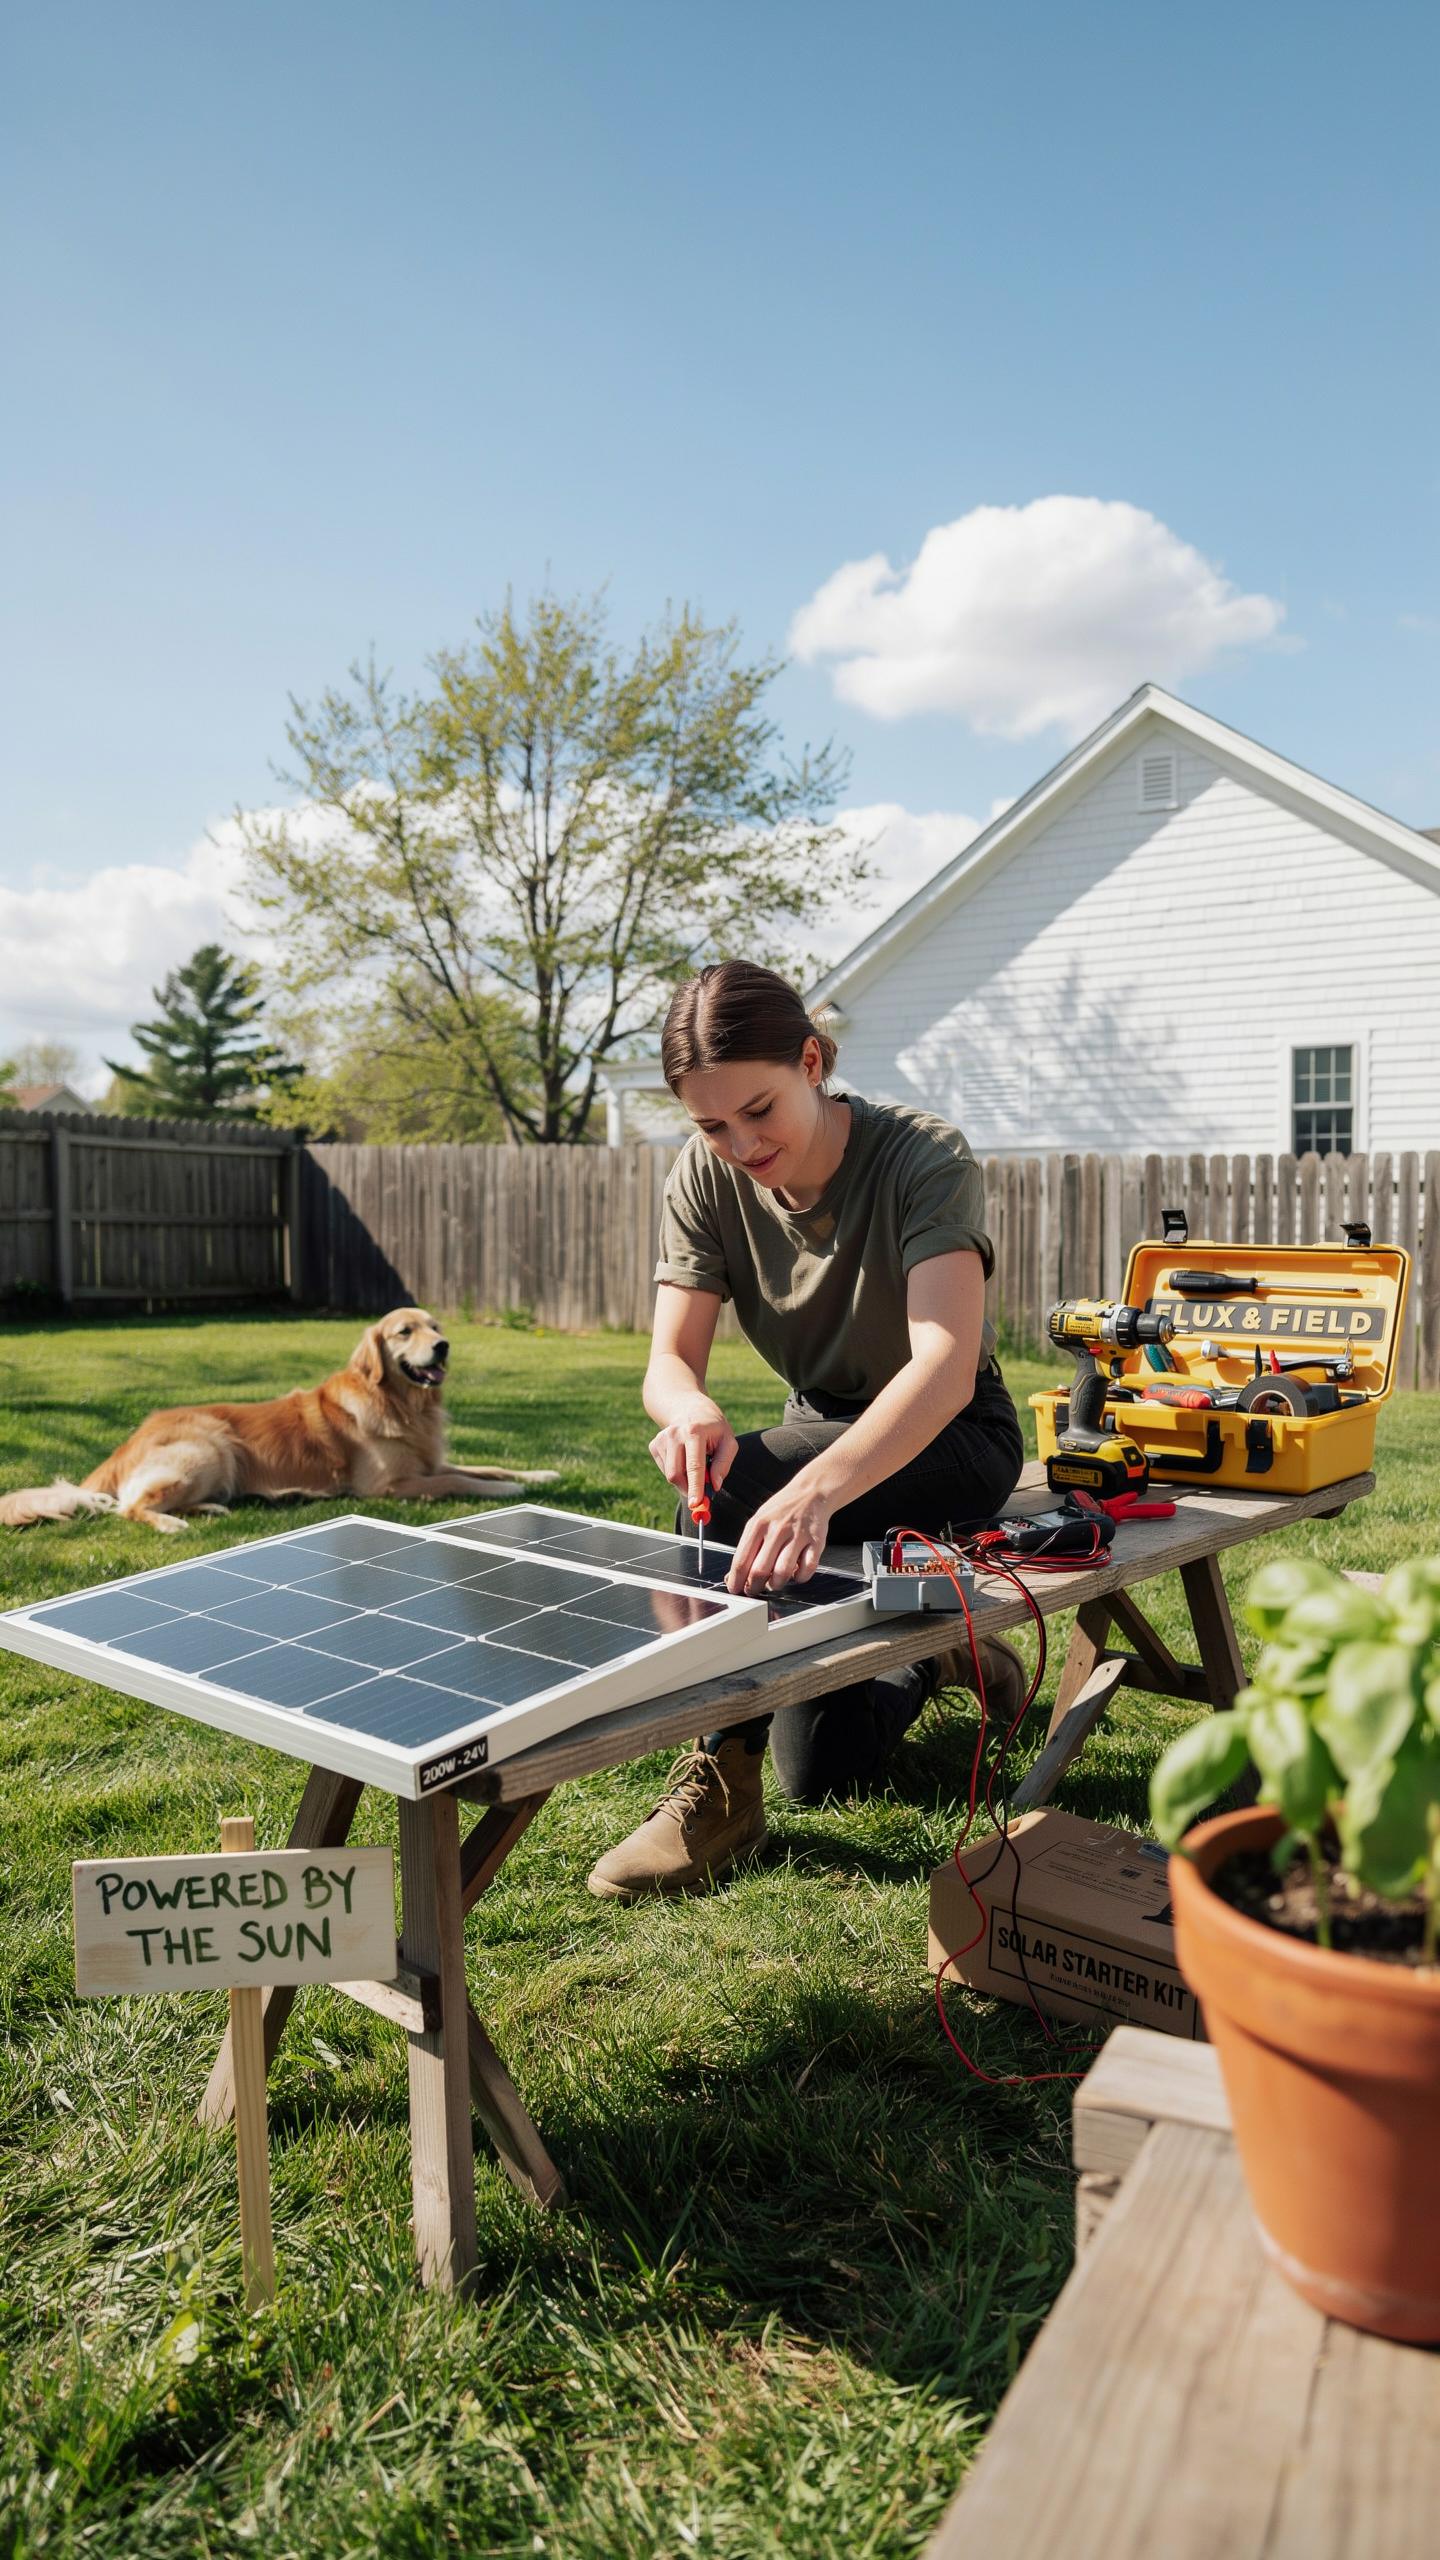
Small DIY solar setups power specific appliances and outdoor areas without grid connection. A typical kit produces between 100 to 400 watts depending on panel count and quality. You mount panels in direct sunlight, connect them to a battery bank, and run power through an inverter to devices. This approach works for sheds, RVs, remote cabins, and backup power during outages.
Off-grid systems require three core components: solar panels, batteries, and a charge controller. The charge controller regulates voltage from panels to prevent battery overcharge and damage. Battery capacity determines how long you can run devices after sunset. Most small projects use lithium or lead-acid batteries sized to store 1 to 10 kilowatt-hours of energy.
Understanding DC And AC Conversion
Solar panels generate direct current (DC) electricity. Most household appliances require alternating current (AC). An inverter converts DC power from your battery bank into AC power for standard devices like laptops, lights, and refrigerators. Without conversion, you cannot power normal home equipment from stored solar energy.
Inverter sizing matters. A 1000-watt inverter handles most small appliances, but high-demand devices like microwave ovens or power tools need larger units. Continuous power rating differs from surge capacity. A 3000-watt inverter can handle temporary spikes from motor-based tools while delivering steady 2000-watt output. Choose inverter capacity based on your largest simultaneous device load, not total wattage.
How To Make A Solar Charger At Home
Building A Simple Solar Charger
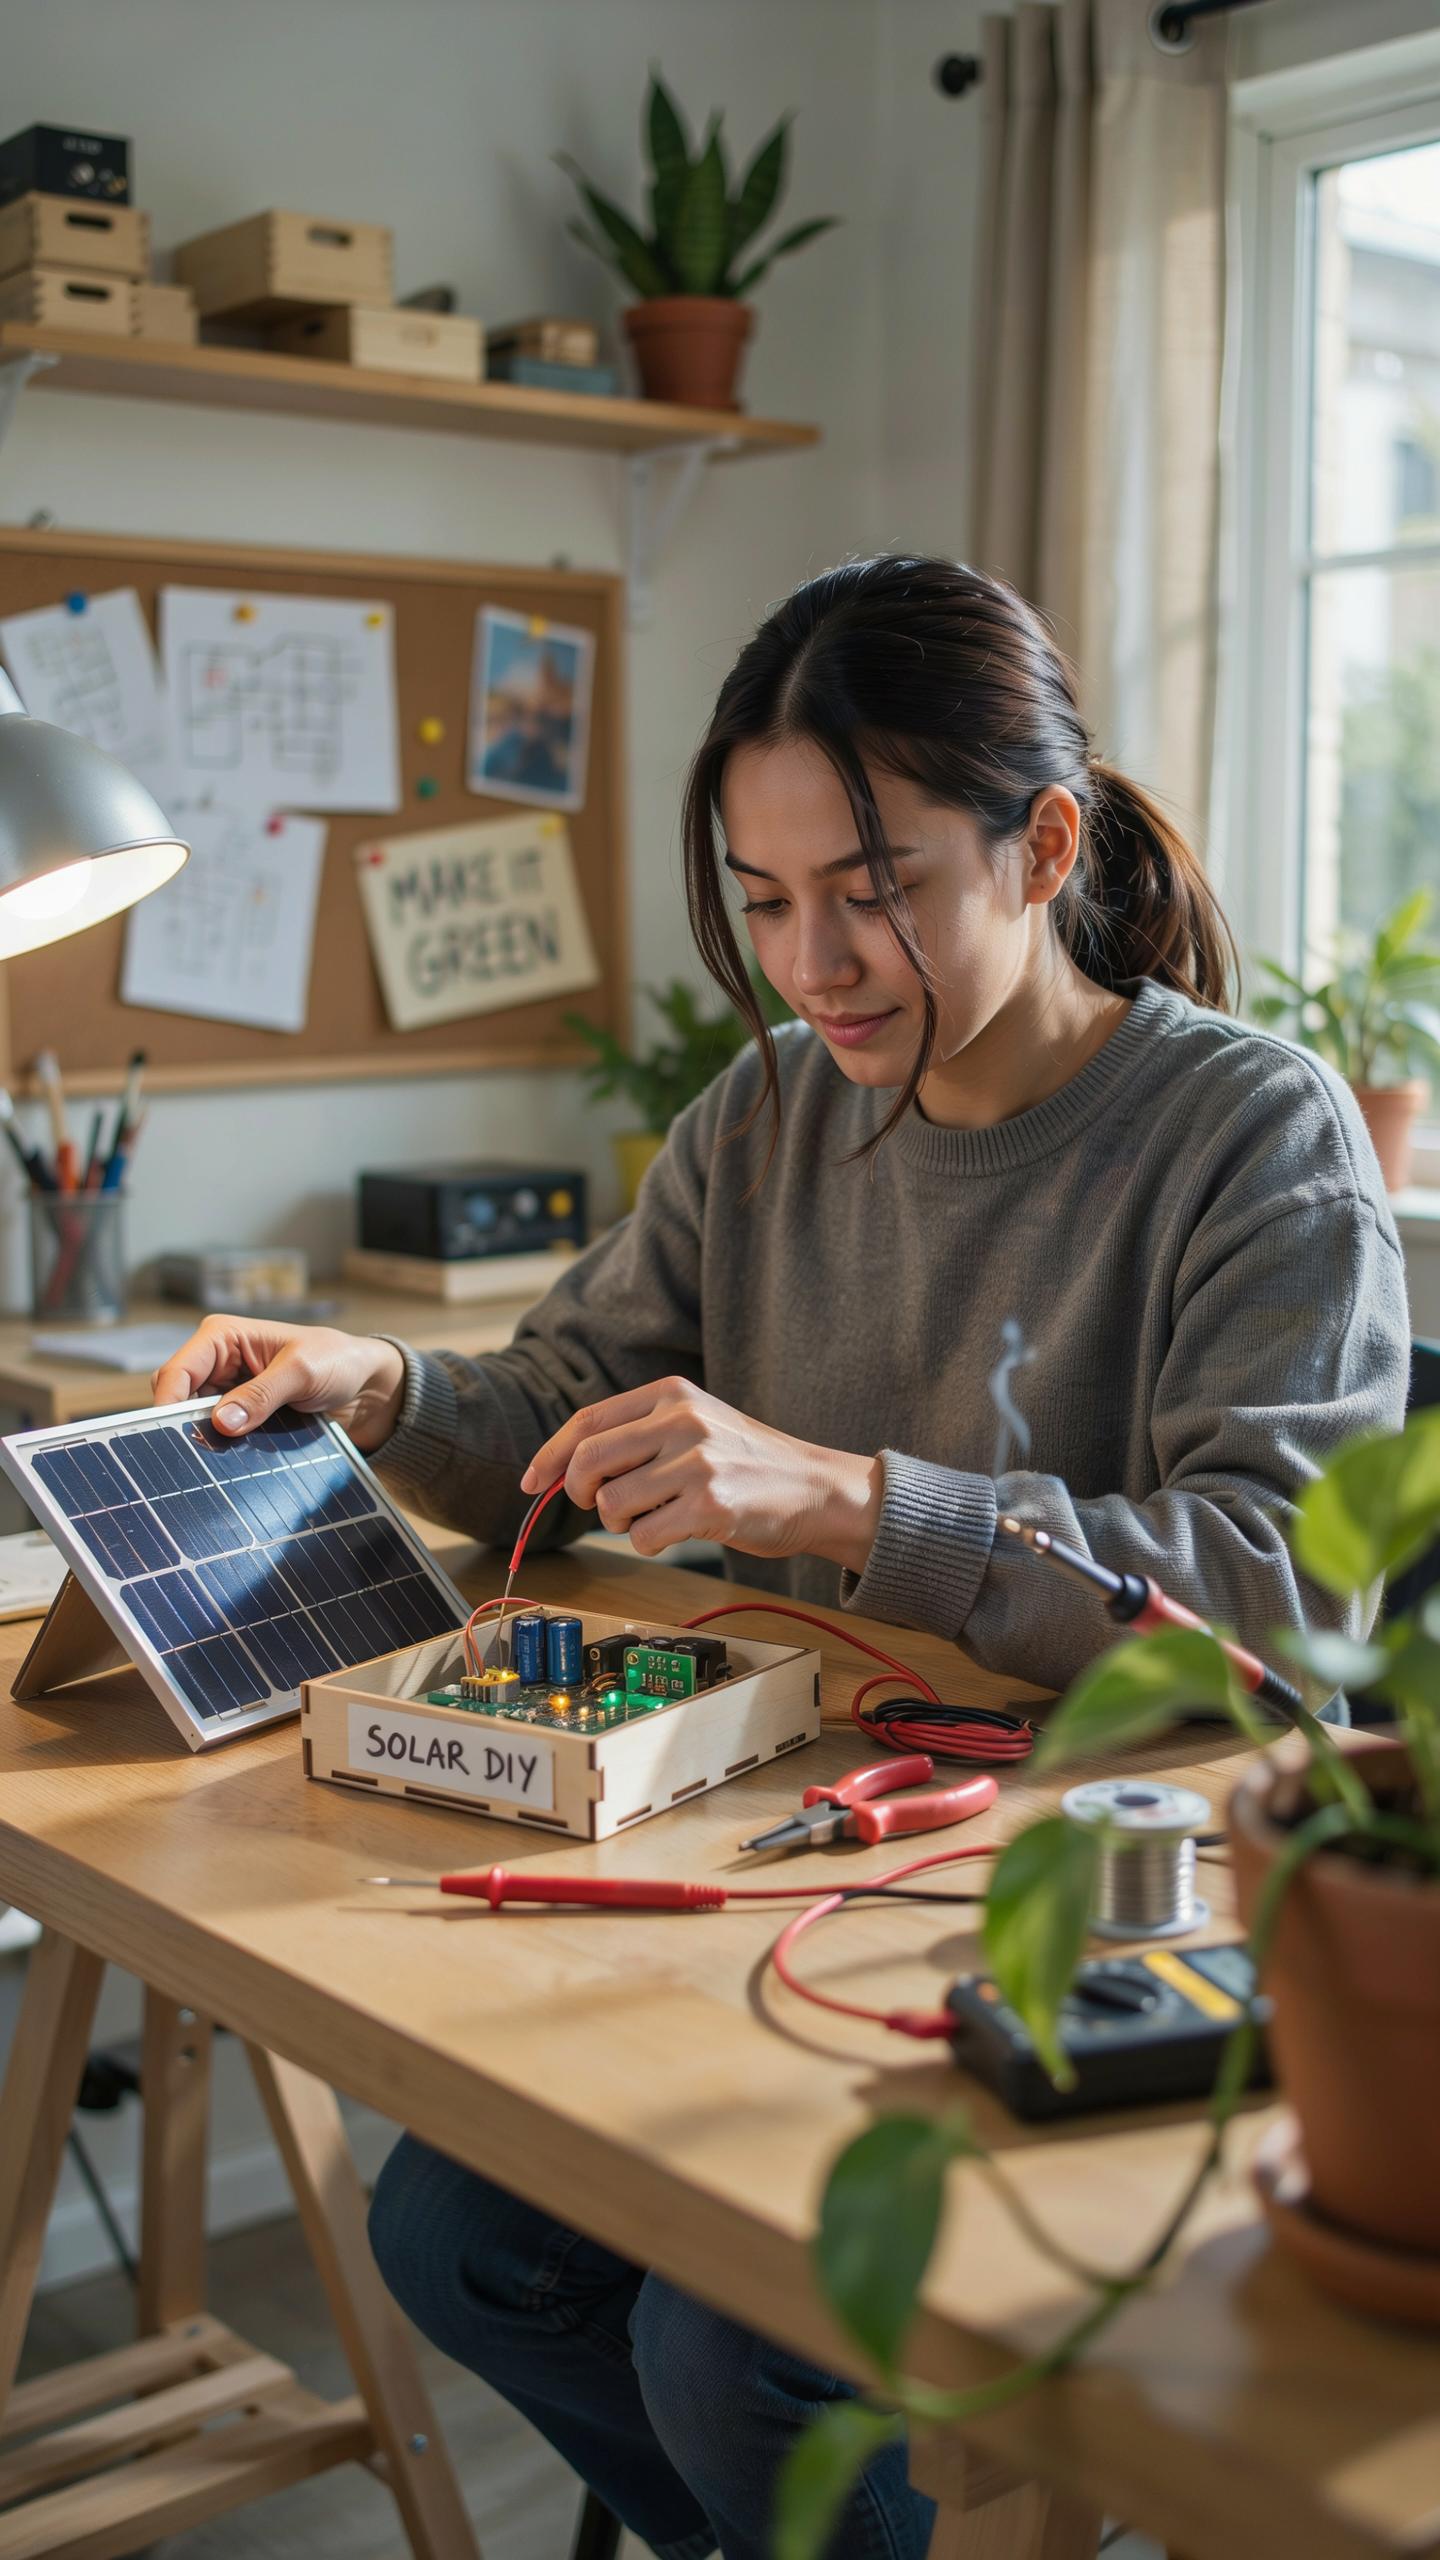
Start with a solar panel rated between 5 and 20 watts. Connect it directly to a charge controller to regulate voltage output. The controller prevents overcharging and damage to your devices. Wire the controller to a USB port or battery pack. Test all connections before connecting phones or electronics. This setup charges phones and portable devices in direct sunlight within hours.
Most home solar chargers work through a straightforward voltage conversion process. Your solar panel generates DC power. The charge controller steps down voltage to safe levels for devices. A battery pack stores energy for cloudy periods or nighttime use. Position the panel perpendicular to sunlight for maximum output. Start simple, then add storage capacity as needed.
Components For An Effective Charger
You need specific materials to build a functional solar charger. Select components rated for your target output power. Cheap components fail quickly and waste your investment. Match all voltage ratings throughout your system.
- Solar Panel (5-20W): Provides primary power generation. Higher wattage charges devices faster. Match panel size to your usage needs and space constraints.
- Charge Controller (PWM or MPPT): Regulates voltage and prevents battery overcharge. PWM controllers cost less but MPPT models capture more energy efficiently.
- USB Output Module: Converts DC power to USB standard charging. Allows direct phone connection without additional adapters or converters.
- Battery Pack (Optional): Stores solar energy for use when sun is unavailable. Capacity ranges from 10000mAh portable units to larger stationary batteries.
- Wiring and Connectors: Use 10-12 gauge wire for connections. Include fuses rated for your system’s maximum current output.

Component quality directly impacts charger reliability and lifespan. Buy from manufacturers with documented specifications and reviews. Test your completed system before depending on it for critical devices. Replace components showing damage or reduced output immediately.
Solar Panel Wiring And Safety
Basic Wiring Principles
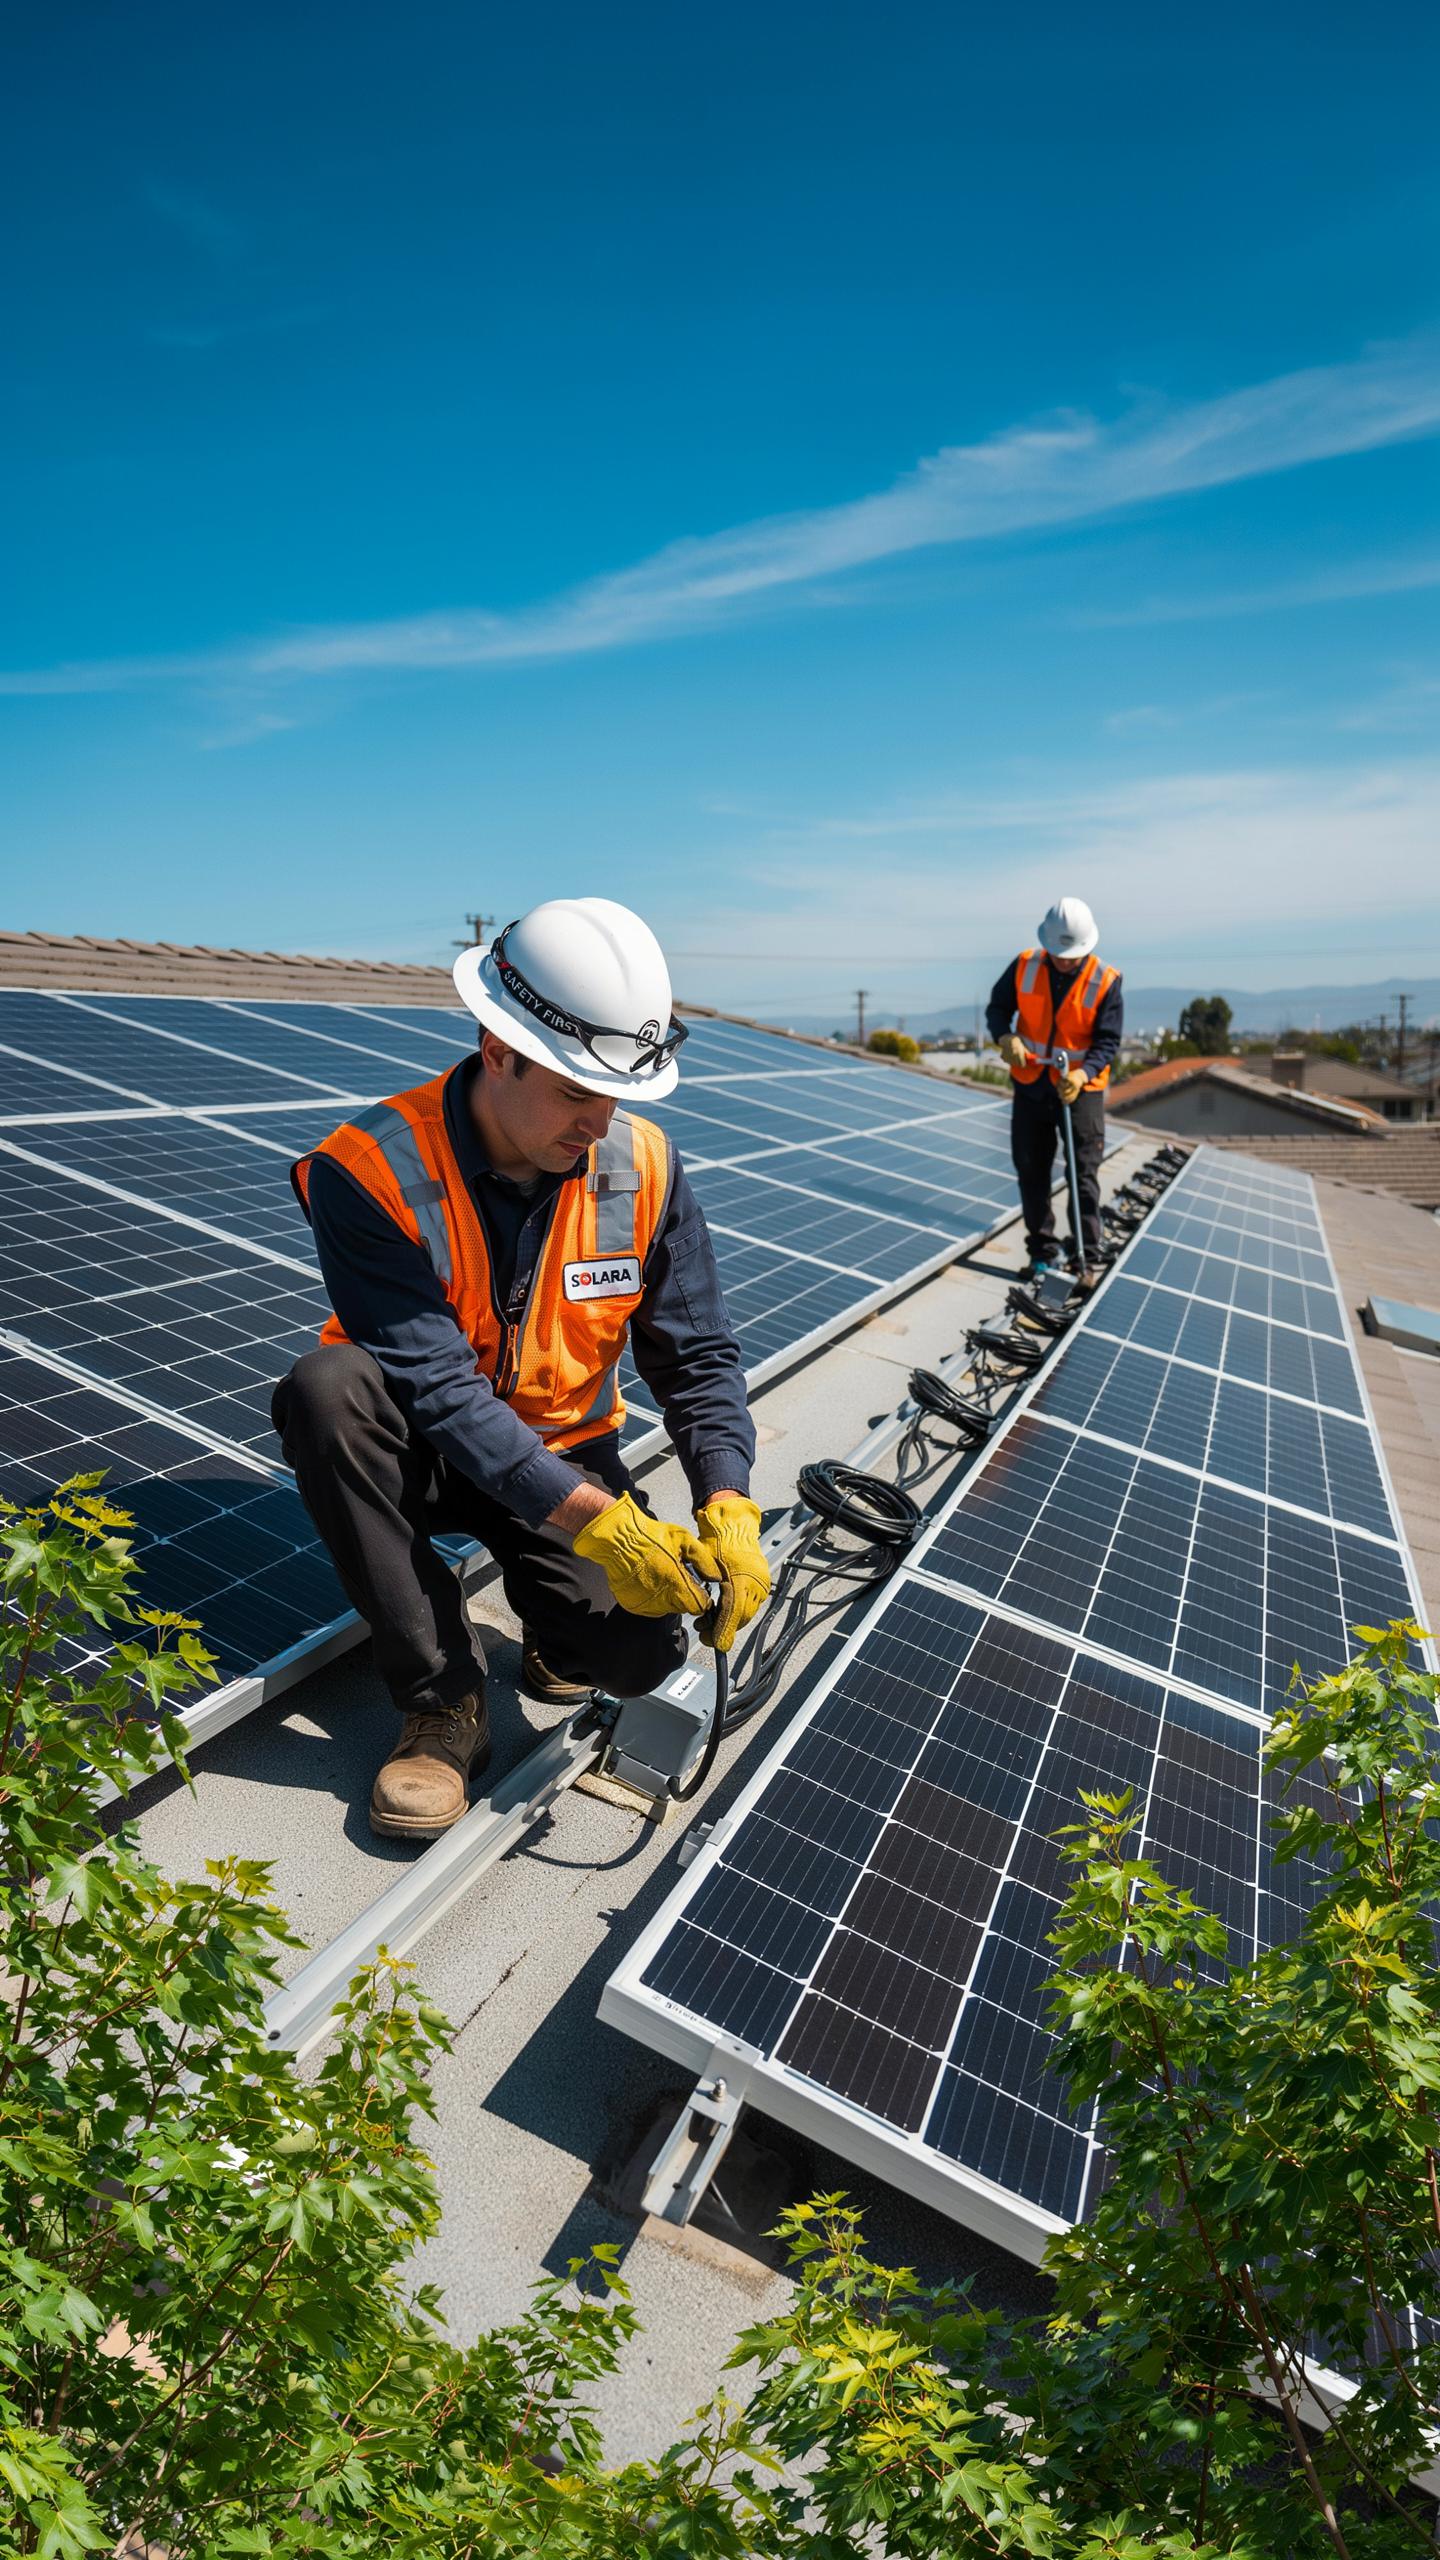
Solar panels generate direct current (DC) electricity. You connect panels in series to increase voltage or in parallel to increase current capacity. Series connections link the positive terminal of one panel to the negative terminal of the next. Parallel connections join all positive terminals together and all negative terminals together. Your system voltage and current requirements determine which configuration you need.
The charge controller regulates voltage flowing from panels to your battery bank. It prevents overcharging and protects battery lifespan. An inverter converts DC power to alternating current (AC) for household appliances. Wire gauge matters critically. Undersized wire creates heat and power loss. Use the National Electrical Code guidelines to select proper wire thickness based on your system amperage and distance from panels to components.
Safety Precautions For DIY Solar
DC electricity poses electrocution risk equal to AC power. Wear insulated gloves when working on live circuits. Always use a multimeter to verify panels are de-energized before touching connections. Cover panel surfaces with opaque material during work to stop power generation immediately. Never work alone on electrical systems.
Install a DC disconnect switch between panels and charge controller. Install an AC disconnect between inverter and your home electrical panel. These switches let you safely isolate components during maintenance or emergencies. Ground all metal frames and structures properly. Use appropriately rated breakers and fuses for each component. Improper grounding causes shock hazards and equipment damage. Read the manufacturer specifications for every component before installation.
Solar Panels Projects For School And Beyond
Educational Solar Projects
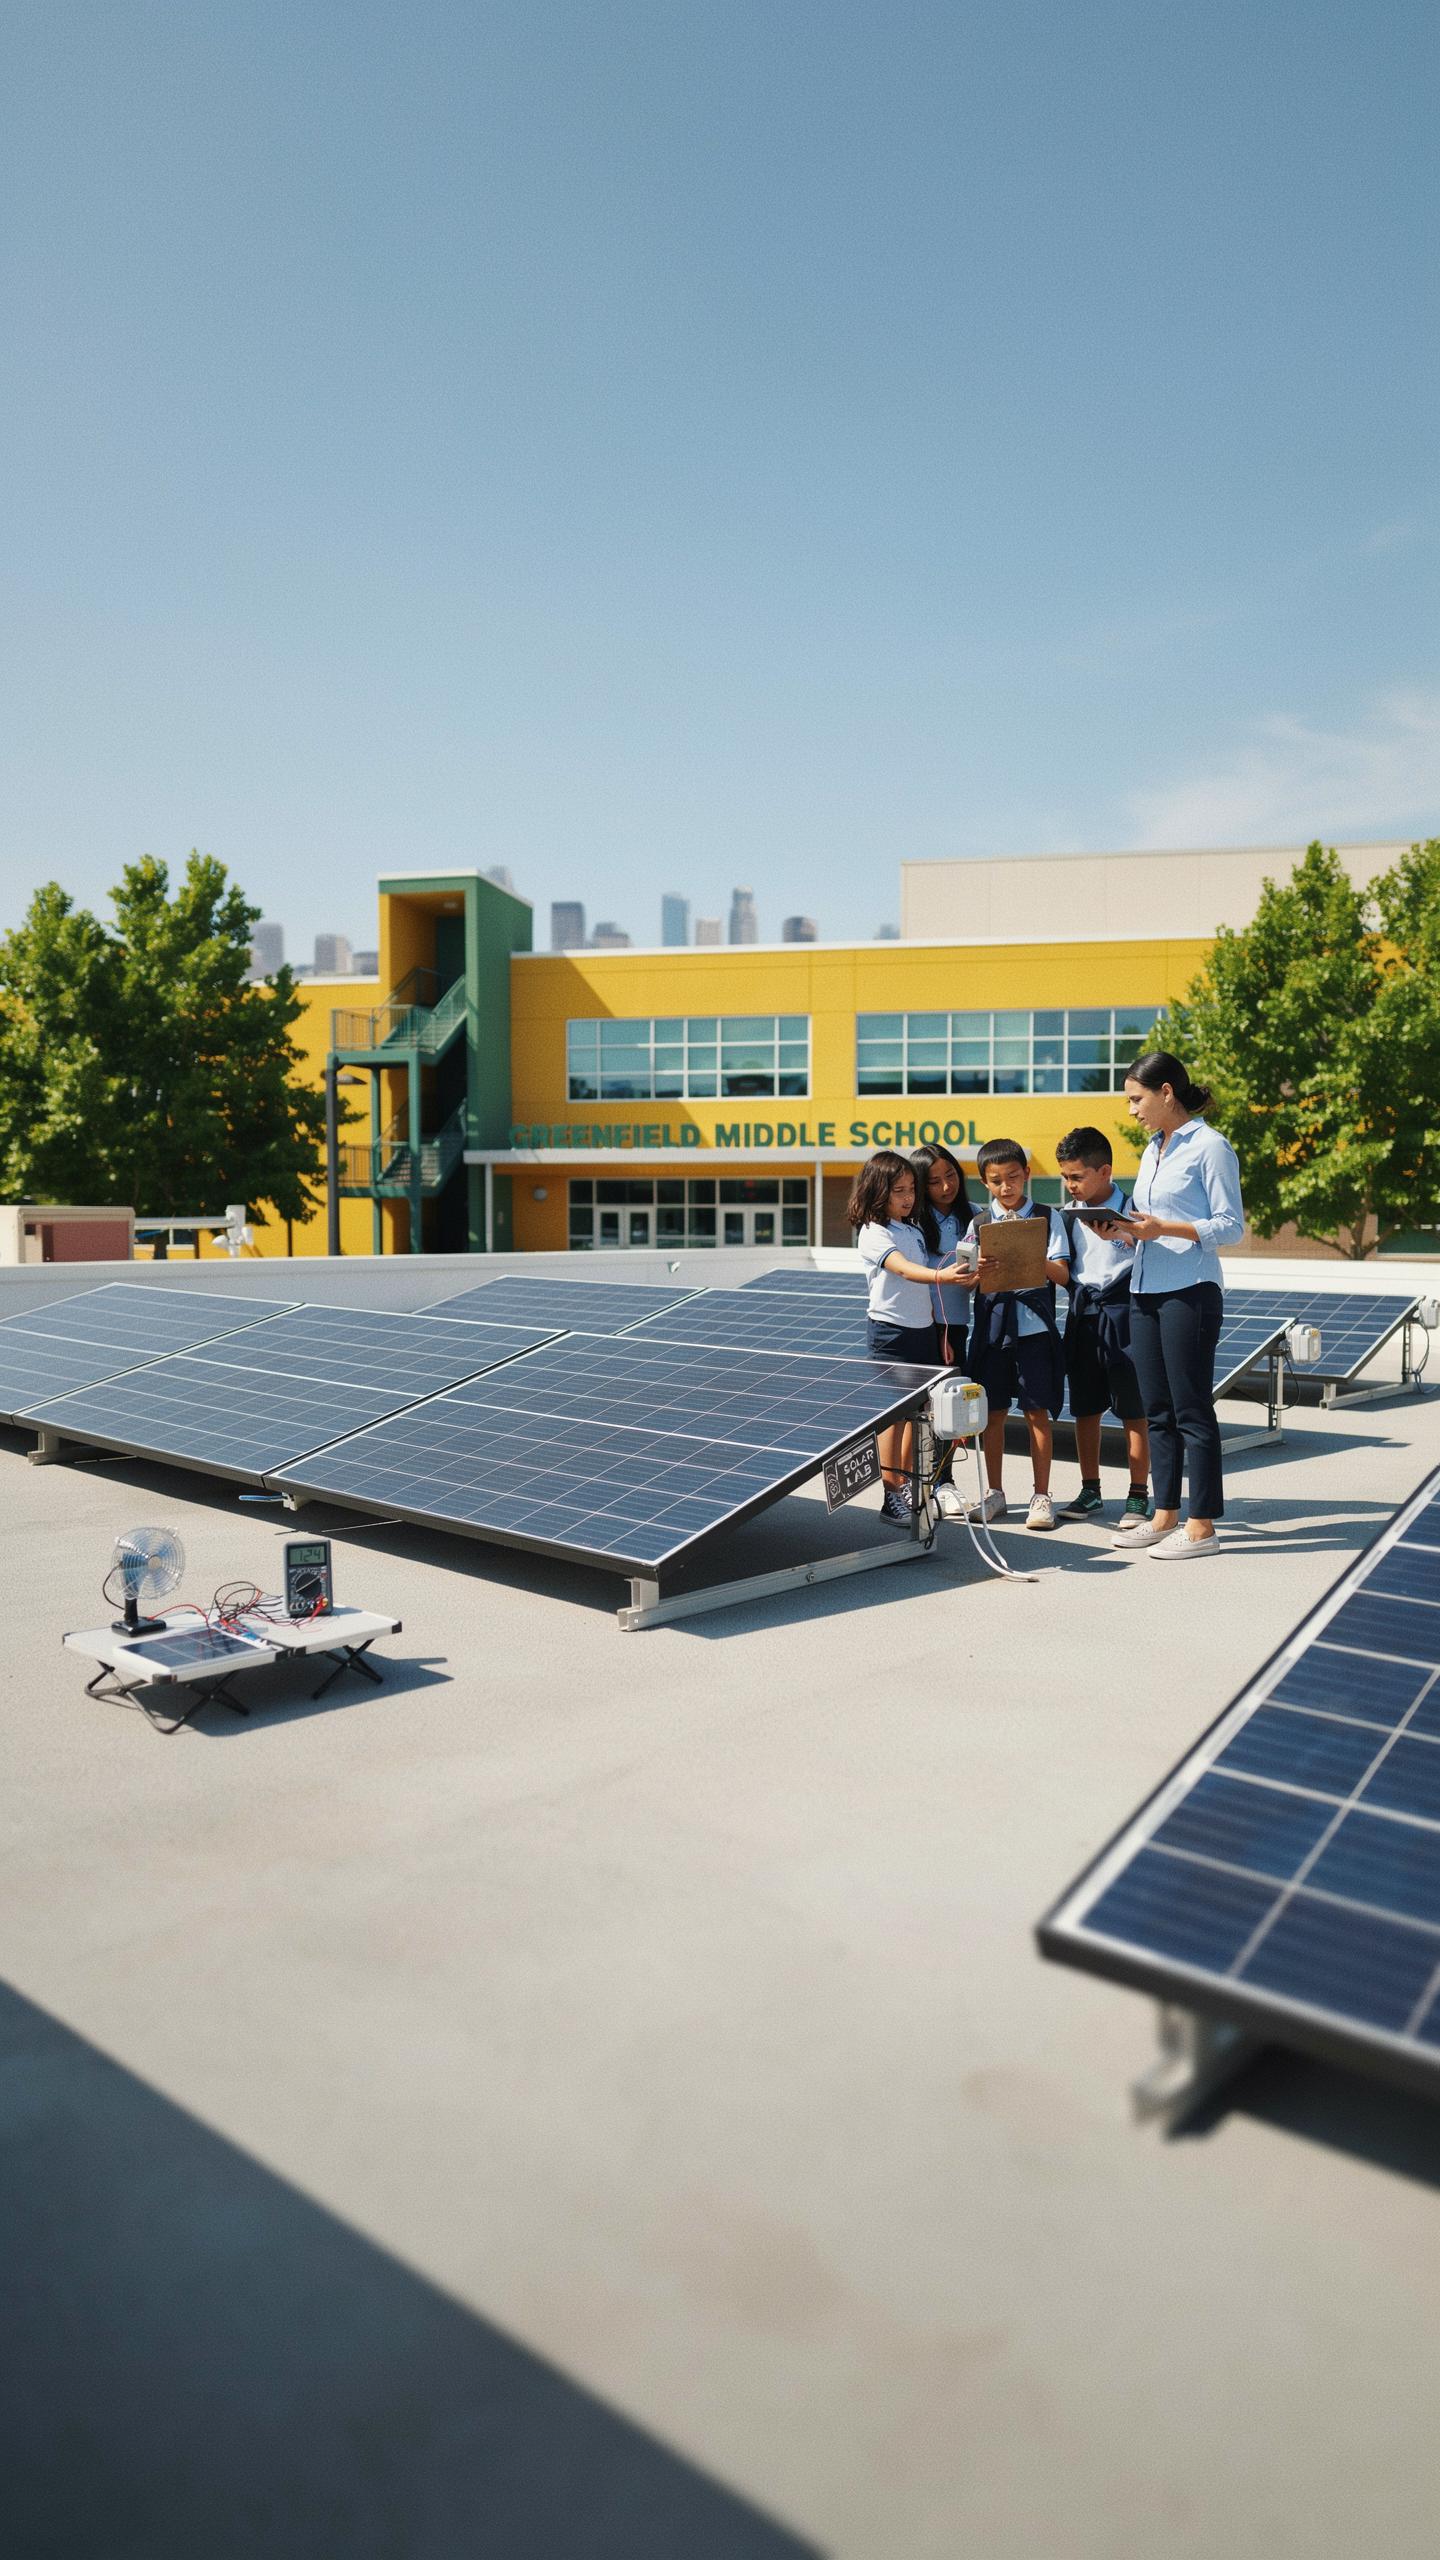
Schools use solar kits to teach energy conversion and electrical circuits. Students build working systems that generate real power. The hands-on approach makes abstract physics concepts tangible. Small DIY kits let students test solar cells under different light conditions and measure voltage output directly. This experiential learning sticks better than textbook definitions alone.
Science fairs benefit from solar projects because judges see students applying engineering principles to solve problems. A student can compare panel efficiency at various angles or test how shading affects output. These projects demonstrate the scientific method in action. Students document their process, collect data, and draw conclusions based on measured results rather than theory.
Expanding Your Solar Knowledge
After completing beginner projects, learners can pursue advanced topics like battery storage systems and charge controllers. Online courses from universities and technical institutions cover solar installation standards and electrical safety. Reading manufacturer specifications for components becomes essential as projects grow more complex. You gain knowledge by studying real equipment and understanding how professional systems integrate panels with inverters and monitoring equipment.

Communities often host maker spaces with tools and expertise available to members exploring renewable energy. Local solar companies sometimes offer workshops on installation techniques and system design. Joining forums dedicated to DIY solar lets you troubleshoot problems with experienced builders. These resources accelerate your learning curve beyond what solo experimentation provides.
Frequently Asked Questions

What exactly is a DIY solar panel kit for small projects, and what can it power?
A DIY solar panel kit for small projects bundles essential components like panels, an inverter, and wiring, designed for easy home installation. These kits are perfect for powering low-consumption items such as garden lights, phone chargers, small fans, or even remote shed lighting, offering a taste of renewable energy.
How involved is the installation process for a solar panel DIY kit for small projects?
Installation for a solar panel DIY kit for small projects is generally straightforward, making it accessible for most DIY enthusiasts. It typically involves mounting the panel, connecting a few wires to an inverter or charge controller, and then plugging in your devices. Clear instructions usually accompany these kits.
Are DIY solar panel kits for small home projects a cost-effective way to get started with solar?
Absolutely! DIY solar panel kits for small home projects are a very budget-friendly entry point into solar energy. They eliminate professional installation costs and allow you to gradually expand your system if desired. It’s a great way to save on electricity for small applications.



