
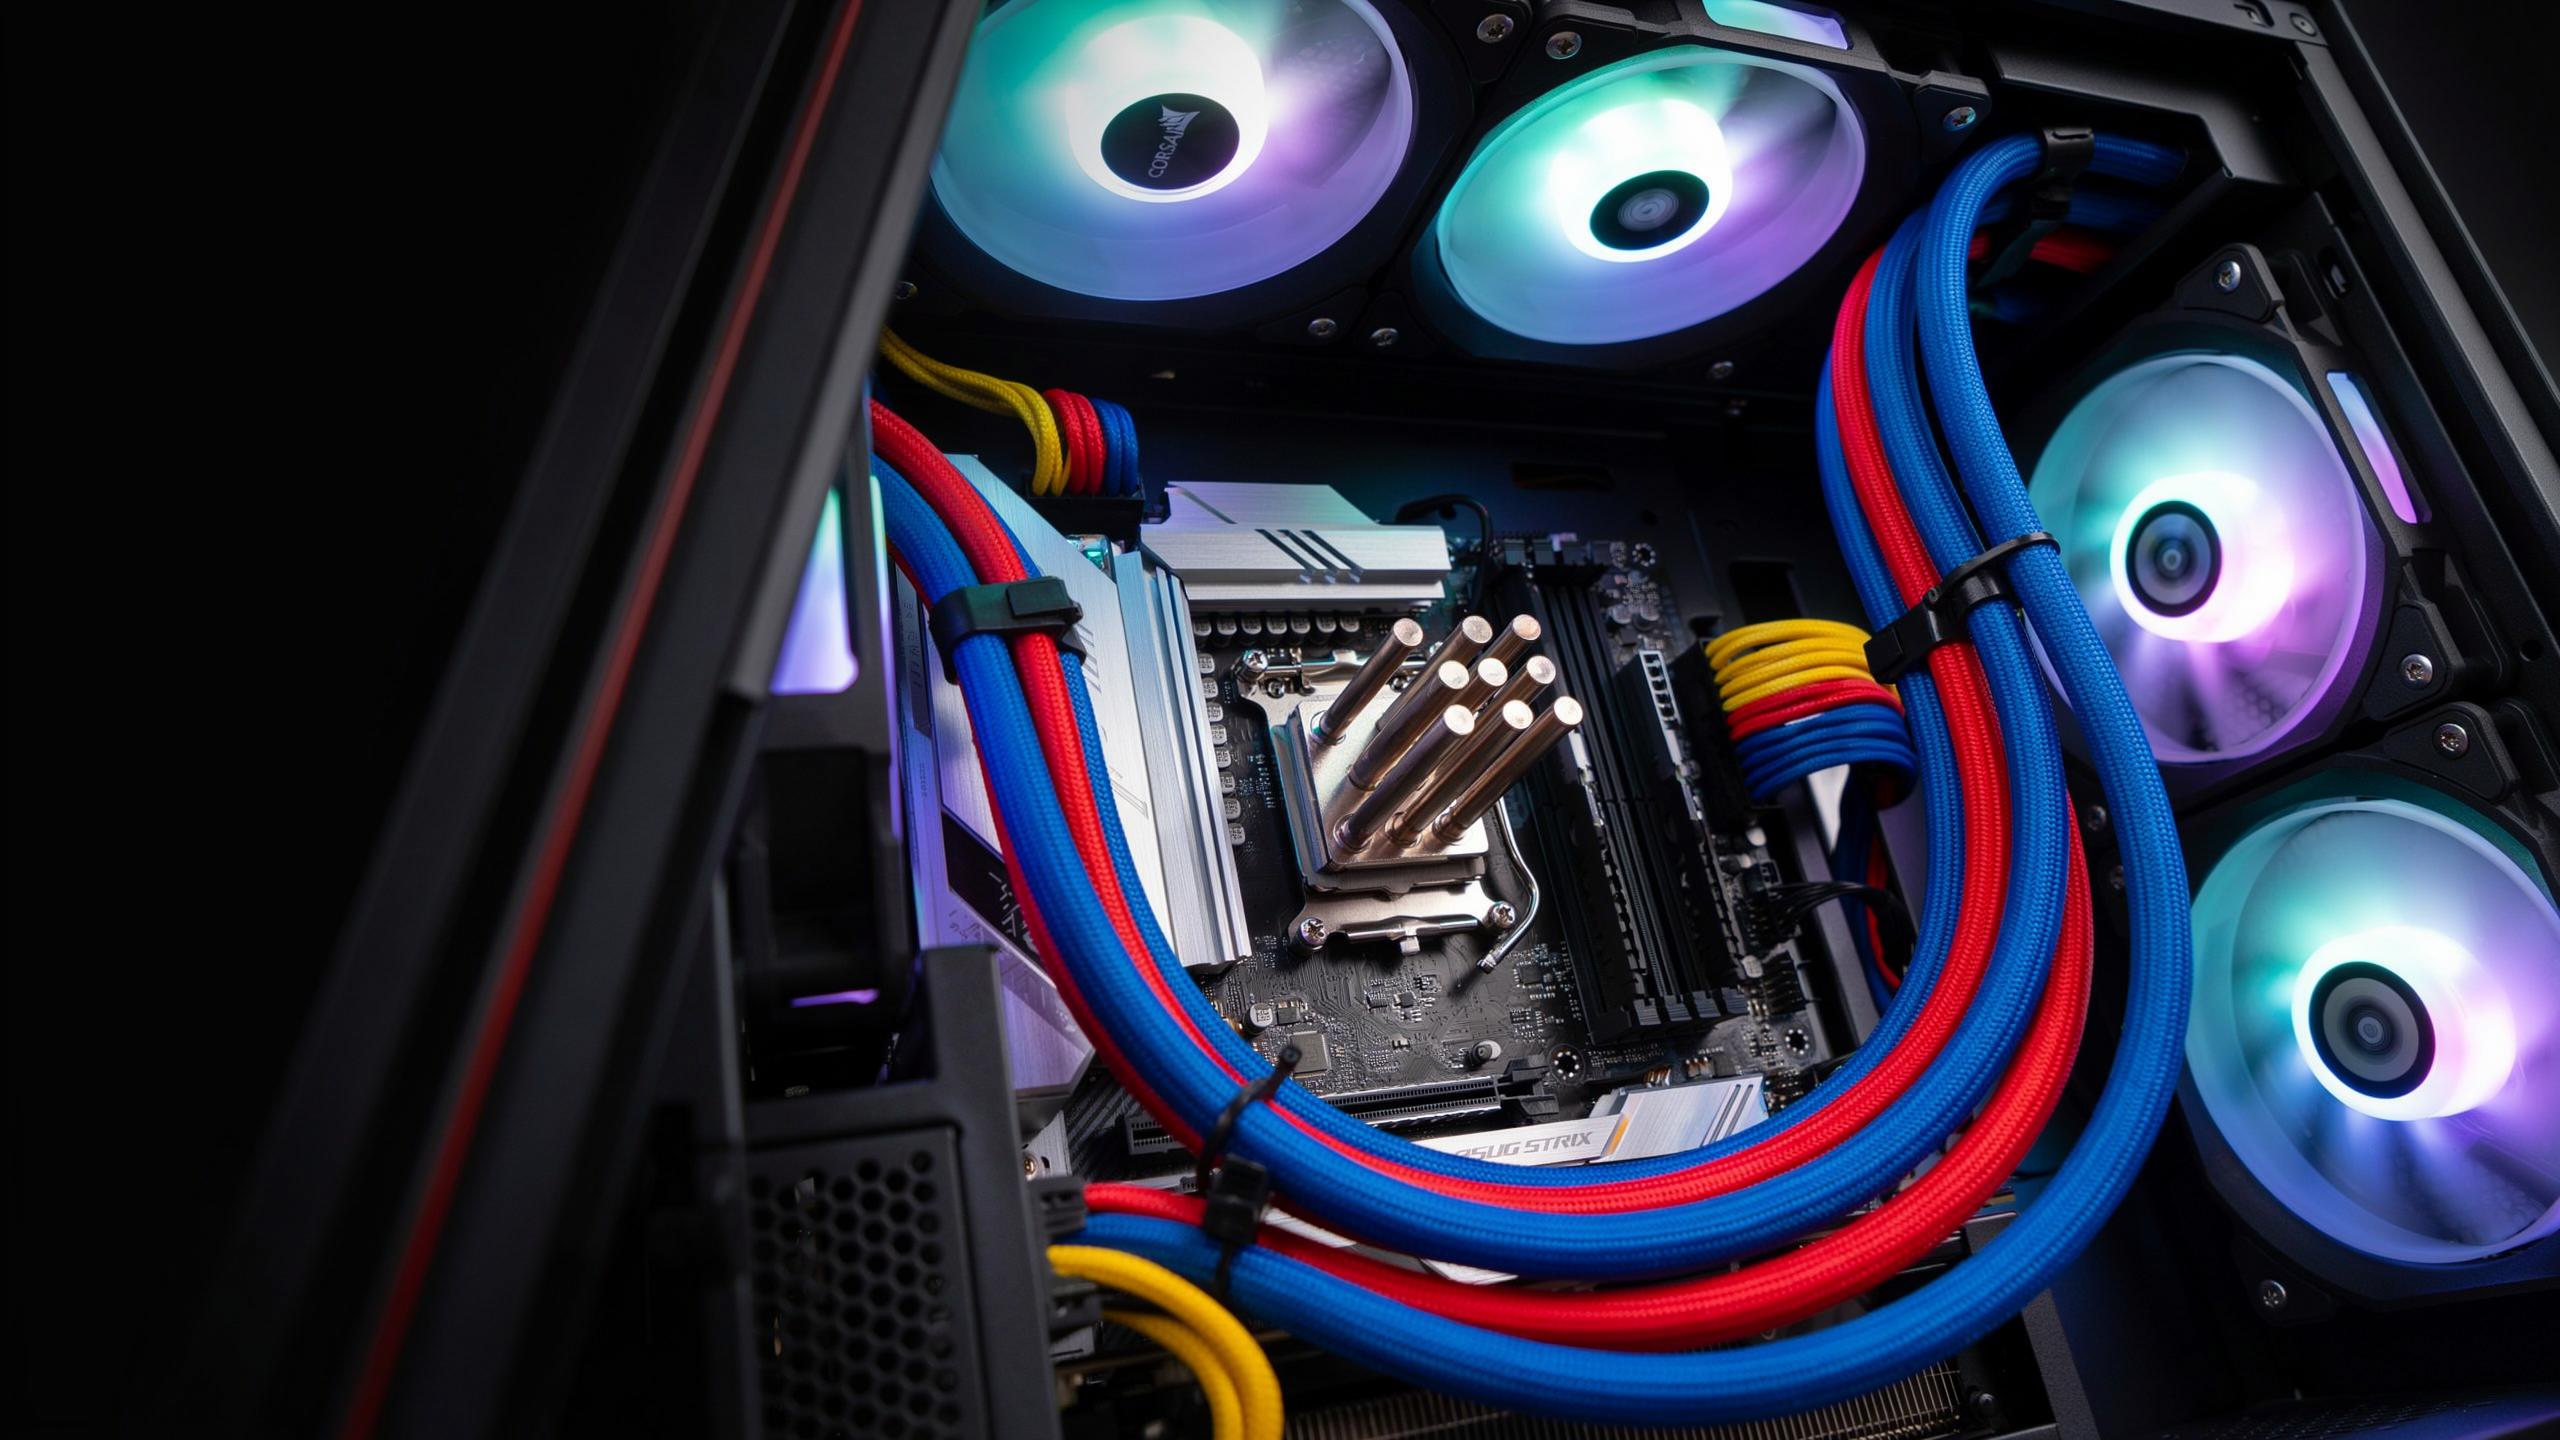
Understanding Pc Cable Sleeving Kits
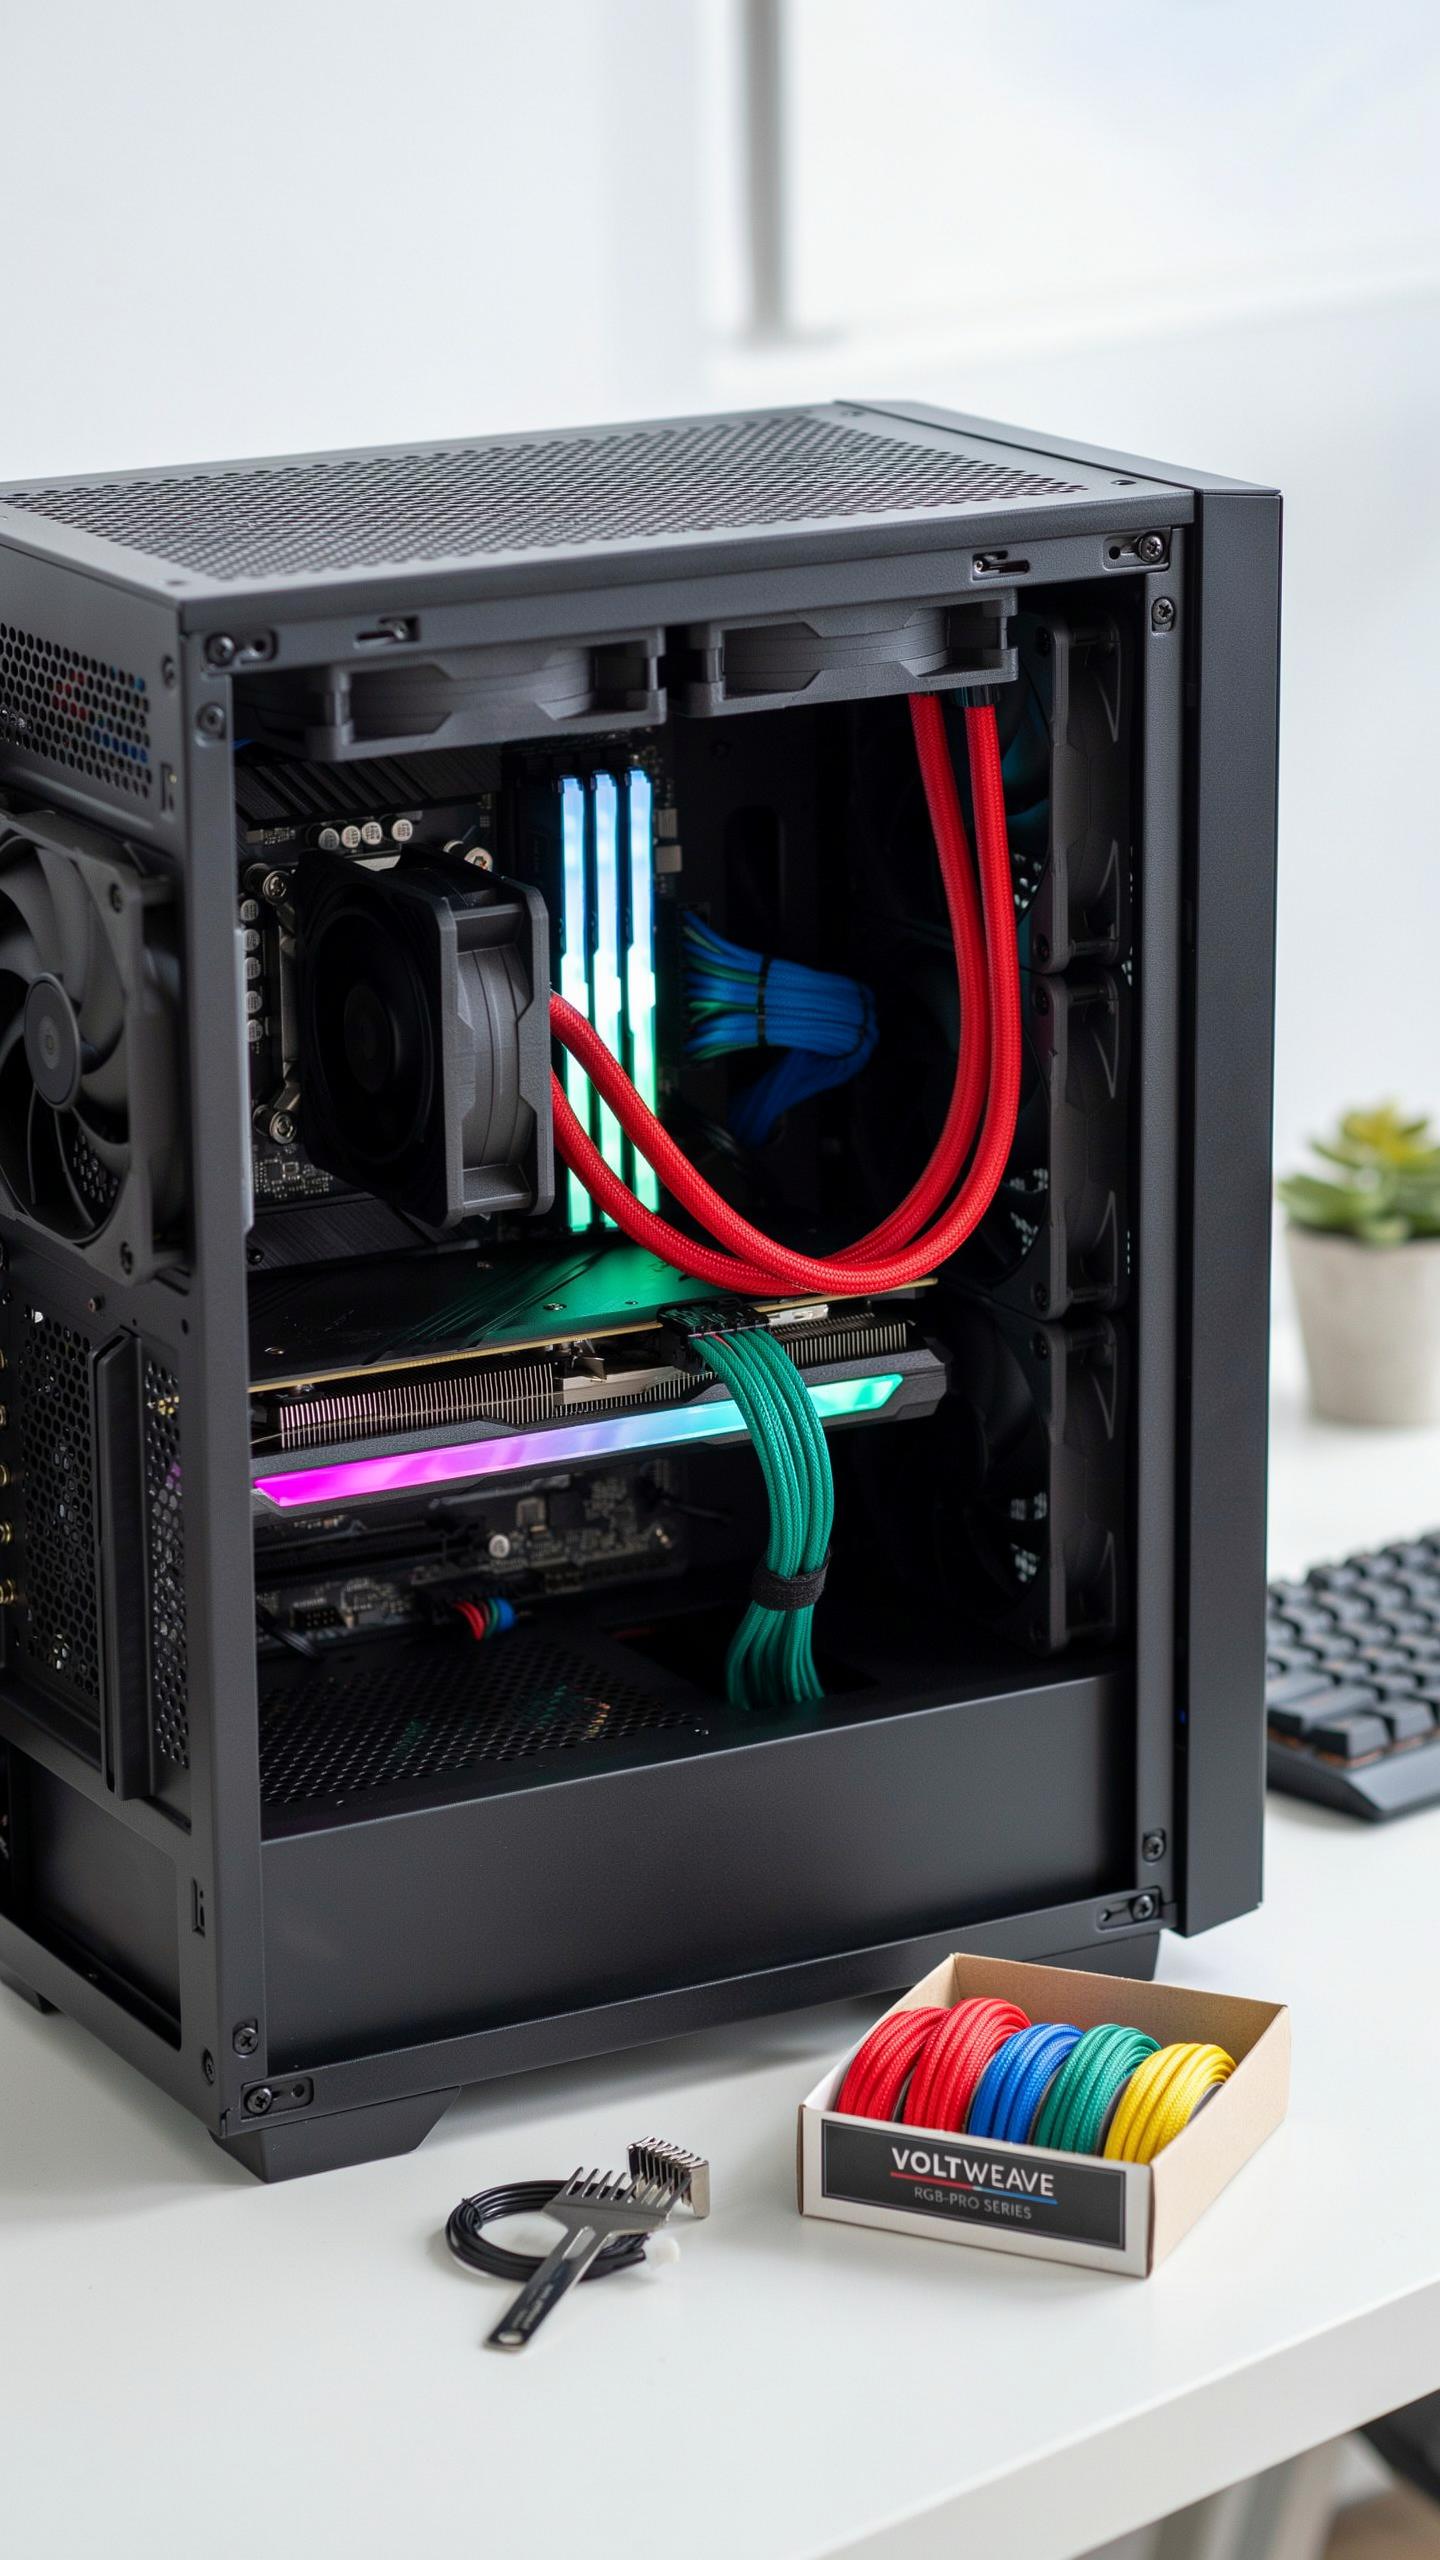
What Are Sleeving Kits
A PC cable sleeving kit wraps individual power and data cables in braided or woven sleeves. These kits replace the factory insulation with custom material, typically nylon, PET, or paracord. The sleeves slide over existing cables without modifying the connectors or electrical properties. Kits come with pre-cut sleeves, heatshrink tubing, and connectors ready for installation in your case.
Sleeving serves two core functions: containment and aesthetics. Contained cables occupy less physical space in your case, enabling better airflow around components. The visual result transforms cable runs from chaotic to organized, which appeals to users who value clean builds. Installation requires basic hand tools and takes one to four hours depending on cable count and your experience level.
Benefits Of Cable Sleeving For Your PC
Cable sleeving improves airflow directly by reducing obstruction behind motherboards and around components. Loose cables block air paths and force coolers to work harder. Organized sleeves bundle cables efficiently, creating clear passage for intake and exhaust fans. Better airflow means lower component temperatures and reduced thermal throttling during heavy loads.
Sleeving also protects cables from physical damage and degradation. The outer sleeve guards against sharp case edges, accidental kicks, and pet interference. This extends cable lifespan and prevents short circuits that destroy power supplies or damage components. Additionally, sleeved cables simplify future maintenance and upgrades since they move as coherent units rather than individual strands tangling around motherboard standoffs and fan mounts.

Why Cable Management Pc Build Matters
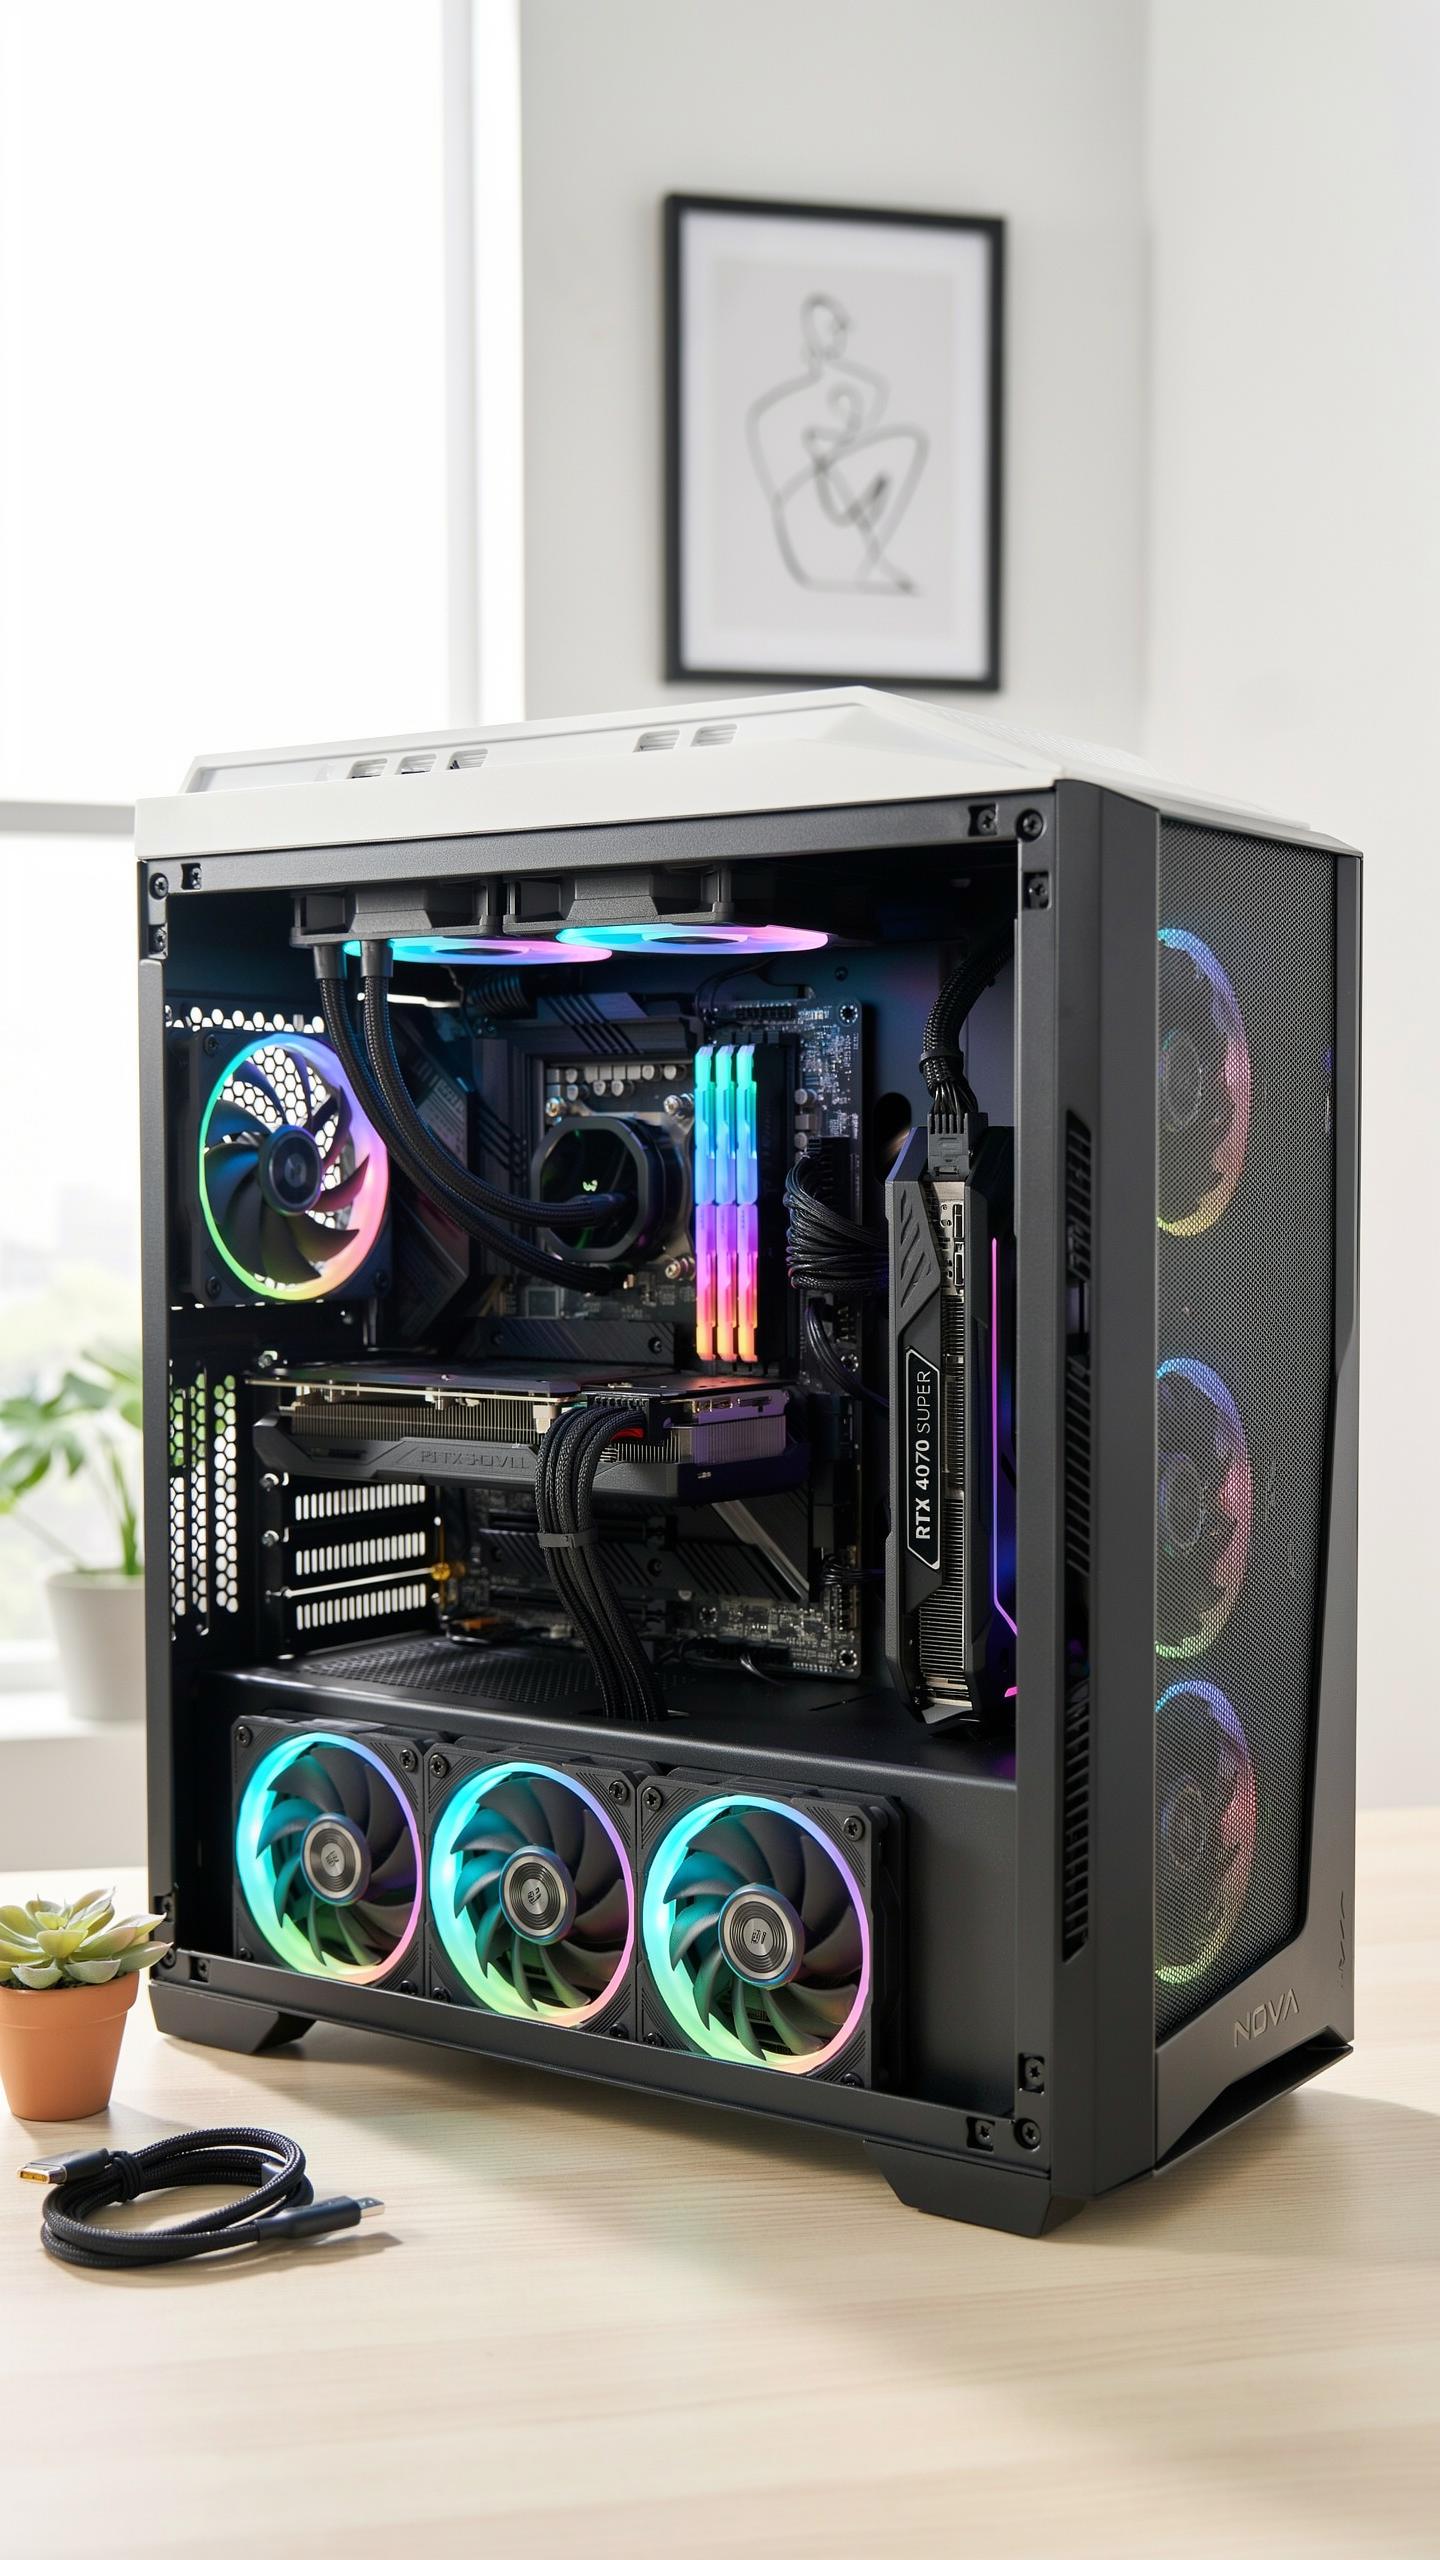
Aesthetics And Airflow
Clean cable routing removes visual clutter from your case interior and exterior. Bundled cables take up less physical space, leaving pathways open for air circulation. This direct path allows fans to move air efficiently through the chassis without obstruction. Better airflow translates to cooler component temperatures during operation and sustained performance under load.
A pc cable sleeving kit organizes bundles into cohesive runs along case edges and behind motherboard trays. Sleeved cables occupy defined zones rather than sprawling across the entire interior. Your build looks intentional and finished. The secondary benefit is measurable: reduced cable blockage lets intake and exhaust fans work without fighting around stray wires.
Impact On Component Lifespan
Organized cables reduce heat pockets inside your case. When wires block airflow, hot air gets trapped near GPUs, power supplies, and RAM modules. Components operating in elevated temperatures degrade faster over time. Strategic cable management moves these hotspots away from critical areas, lowering operating temperatures by several degrees Celsius.

Proper cable placement also prevents physical strain on connectors and internal wiring. Loose cables move with case vibration and fan rotation, creating micro-stress on solder joints and connector pins. Sleeved cables stay fixed in position, eliminating this movement. Your power supply, motherboard, and GPU connectors experience less mechanical wear, extending their functional lifespan significantly.
Customizing With Custom Pc Cables
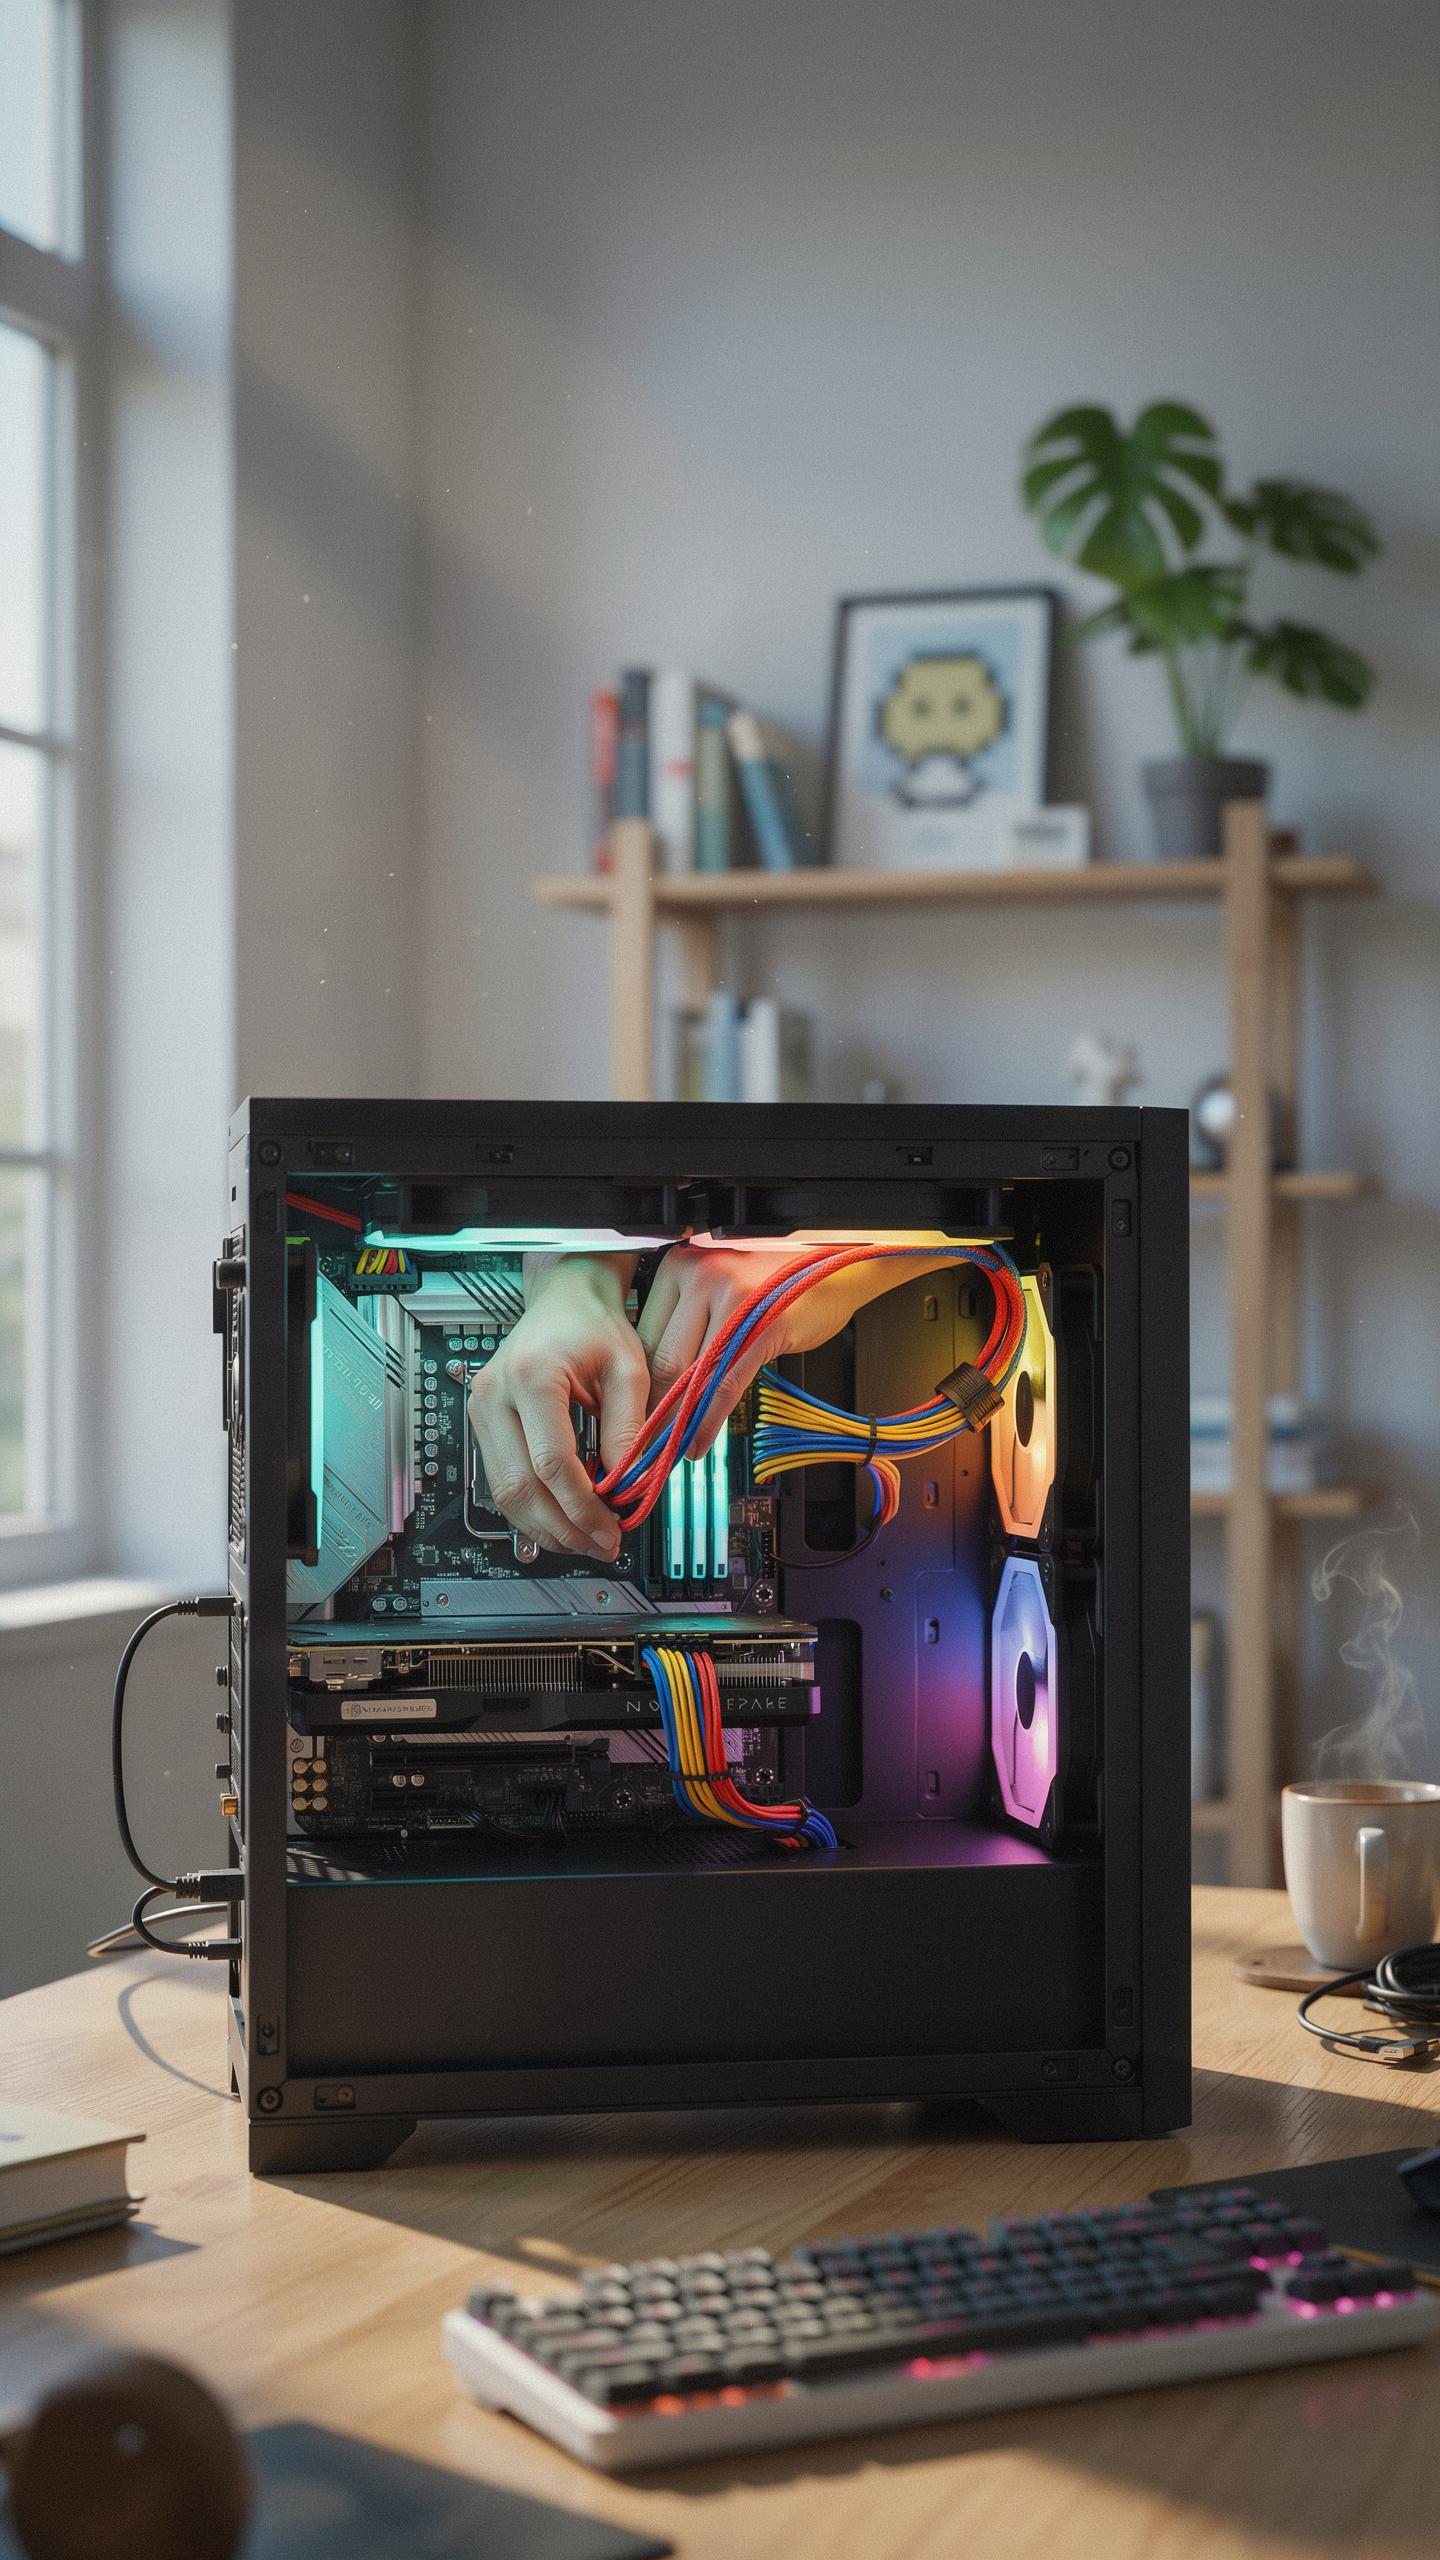
Personalization Options
Custom cables let you match your build’s color scheme and aesthetic direction. You choose sleeve colors, connector styles, and cable routing paths that align with your specific vision. This control eliminates the generic look of stock cables. Most sleeving kits offer color options ranging from solid blacks and whites to vibrant reds, blues, and greens. You can also mix colors within a single build for accent effects.
The real benefit is visual consistency throughout your case. Matching cables to your motherboard accent color, GPU shroud, or RAM heat spreaders creates intentional design. You gain complete control over what viewers see when they look inside your case. Stock cables force you to work around their limitations. Custom sleeving removes those constraints entirely.
Types Of Custom Pc Cables
Pre sleeved cables come fully assembled from the factory with braided sleeves already applied to each wire. These arrive ready to install without additional work on your part. They cost more than DIY kits but save significant assembly time. Popular manufacturers produce pre sleeved options in multiple color combinations. You simply connect them like standard cables.

DIY sleeving kits provide bare paracord or fabric sleeves that you slide onto individual wires manually. This approach costs less upfront but demands your time and precision during installation. You cut sleeves to exact lengths, feed them onto cables, and secure them with heat shrink tubing. This method offers maximum color customization since you control every aspect of the process. Both approaches produce professional results when executed correctly.
Tackling Complex Cable Management Challenges

Strategies For Challenging Builds
Modern PC builds demand routing cables through tight spaces where components sit inches apart. Dual radiators, multiple storage drives, and power distribution boards create obstacles that force cables into unnatural paths. Plan your cable route before sleeving begins. Measure distances between connection points and account for sleeve expansion when heat shrink tubing compresses. Test fit unsleeved cables first to identify pinch points and areas where sleeves might kink or fold.
Complex builds benefit from segmented sleeving approaches. Rather than sleeve entire cable runs at once, break them into manageable sections between components. This prevents sleeve bunching and allows tighter control over cable positioning. Use cable combs or routing guides to maintain separation as sleeved cables run parallel through the case. Secure sleeves at regular intervals using adhesive-backed clips or Velcro ties to prevent migration during installation.
Remember that satisfying click as each sleeve slid perfectly into place, transforming a tangle into a testament of orderly beauty; that meticulous effort wasn’t just aesthetic, it was an embrace of efficiency, letting your system breathe freely like the crisp morning air.
Tools And Techniques For Intricate Routing
A heat gun remains the essential tool for managing heat shrink tubing on sleeved cables. Standard hair dryers fail to reach the temperatures needed for consistent shrinking. Apply heat slowly and evenly, rotating the cable to prevent melting the sleeve material underneath. Keep the heat gun moving to avoid scorching any single section. Work in short bursts and check progress frequently, as overheating damages both sleeve and underlying insulation.

Invest in quality cable combs matched to your cable diameter and count. Combs hold sleeved cables in parallel alignment and prevent tangling during runs through cable channels. Rigid combs work better than flexible versions for maintaining permanent shape in tight spaces. Pair combs with adhesive-backed sleeves or self-adhesive routing channels to lock cables in position. This approach works particularly well for 24-pin motherboard connectors and PCIe power cables that require multiple conductors running together.
Pc Build Cable Management Tips For Beginners
Getting Started
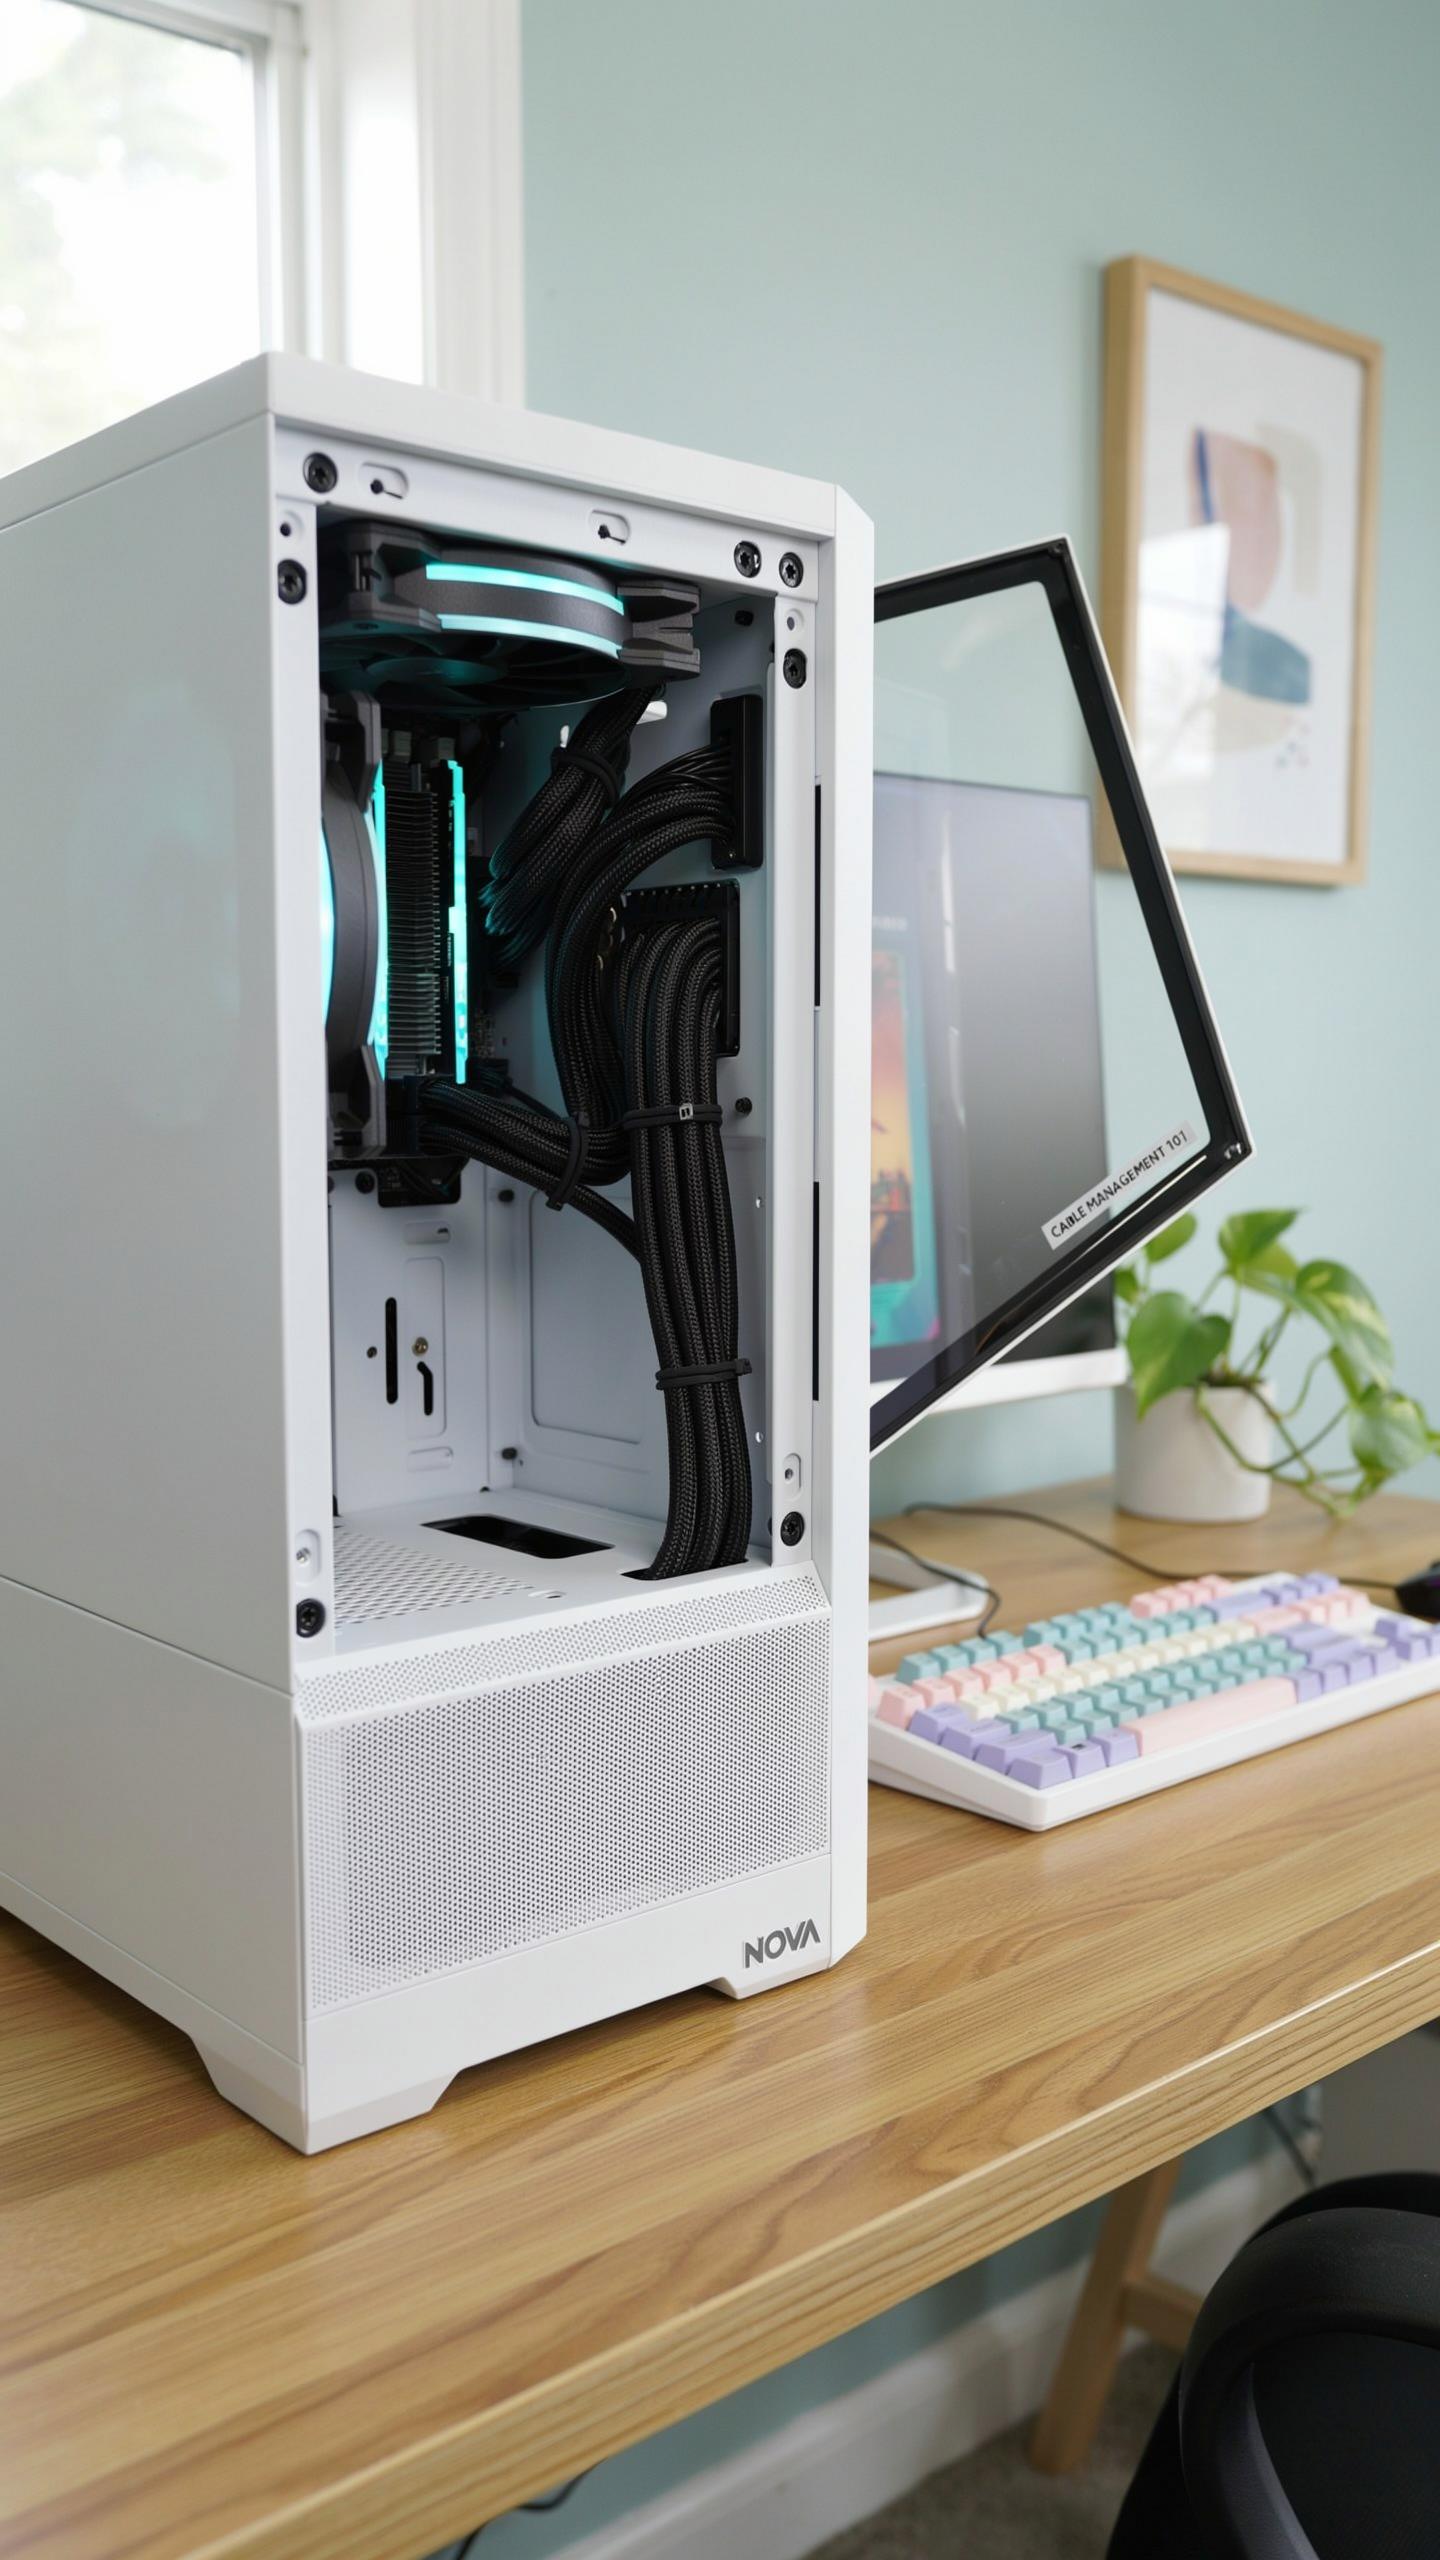
Start with a plan before you touch any cables. Map out where your power supply sits, where your motherboard connects, and where your storage drives mount. Know your case layout first. Most cases have routing holes behind the motherboard tray. Use them. Route cables behind the tray, not in front of components. This keeps airflow clear and your build functional.
A pc cable sleeving kit becomes useful once you understand basic routing. Sleeving improves aesthetics and protects cables from wear. But first, master the fundamentals. Use cable ties or velcro straps to bundle wires together. Group power cables separately from data cables. Keep cables away from fans and moving parts. Tension matters, so don’t cinch ties too tight, which can damage insulation over time.
Common Mistakes To Avoid
Builders often route cables directly across the motherboard. This blocks airflow and traps heat. Your components run hotter when cables obstruct air movement. Route everything behind the tray. If your case has no routing holes, run cables along the edges. Never compromise airflow for aesthetic appearance. A clean build that runs hot wastes money on cooling and shortens component lifespan.

Another mistake is over-tightening cable ties or using wrong fasteners. Tight ties crush insulation and create pinch points where wires break. Use velcro straps or reusable ties instead of one-time zip ties. They adjust easily if you need to swap components later. Cable sleeving kits work best when cables stay loose enough to move. Replace ties if they show signs of wear or damage to underlying wires.
N Case M1 Cable Management Ideas And Solutions
Unique Challenges In Small Form Factor Cases
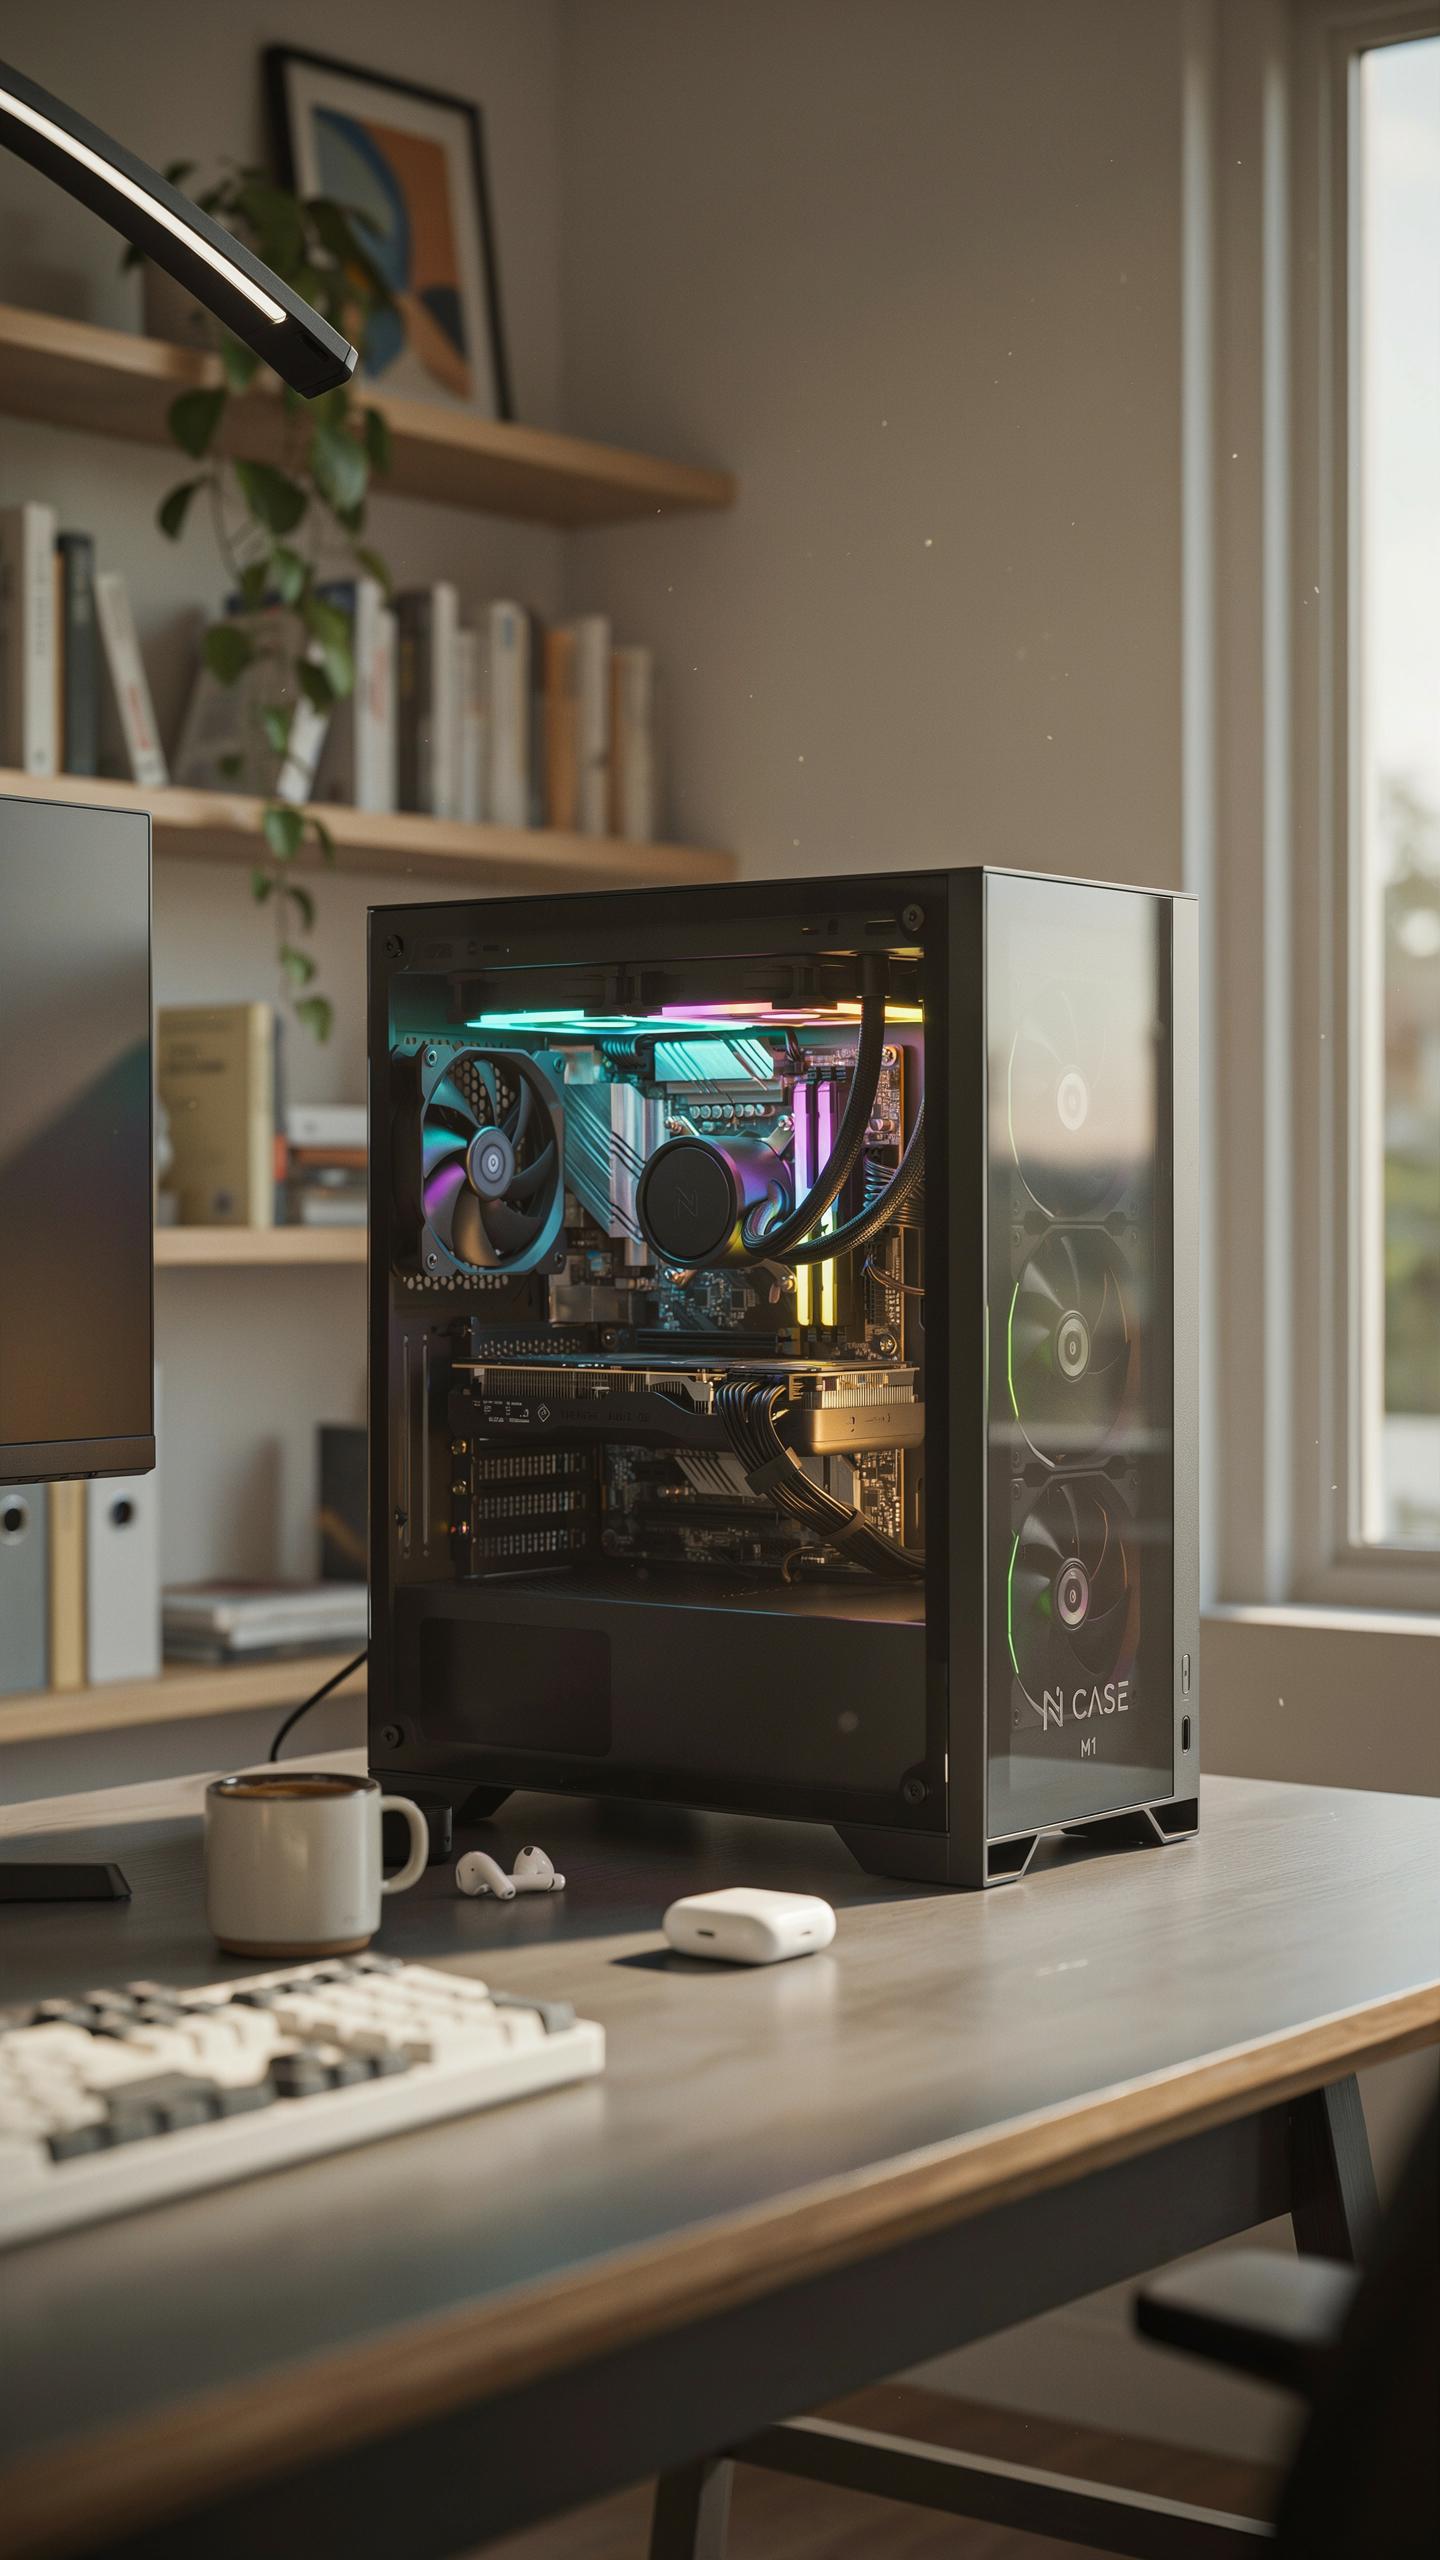
The N-case M1 operates within strict spatial constraints. This case measures approximately 20 liters and forces every component into tight proximity. Cable routing becomes tactical rather than optional. Standard cable management practices fail here because bend radius limitations conflict with component placement. Sleeved cables take up more physical space than bare cables, making material selection critical to maintaining airflow and component clearance.
The M1’s internal layout prioritizes motherboard and GPU positioning over cable pathways. Power delivery cables must navigate around the PSU without kinking or blocking air intake. The case design leaves minimal gap between the rear panel and internal components. Custom sleeving kits allow builders to reduce cable diameter through compression and material choice, but oversizing the sleeve defeats the purpose. You must measure twice and select sleeve gauges that compress cables without restricting internal wire movement.
Optimized Routing For Compact Builds
Route all power cables along the case perimeter rather than across the interior. This strategy keeps cables away from GPU fans and CPU cooler mounting areas. The M1 design includes minimal cable tray space, so routing becomes a three dimensional puzzle. Sleeved cables maintain their path better than loose cables when compressed along tight corners. Pre-planning your cable runs before installing components saves rebuilding time and prevents airflow obstruction.

Use individual sleeving rather than full wrapping for the M1 build. Grouping all cables together creates a bundle that competes for space with components. Separate power, data, and fan cables using different routing paths. This distribution prevents hotspots and maintains consistent airflow through the case. The M1’s compact design rewards precision. Every cable placement either improves or degrades thermal performance measurably.
Mastering Pc Wire Management Techniques
Effective Routing Strategies For A Clean Look
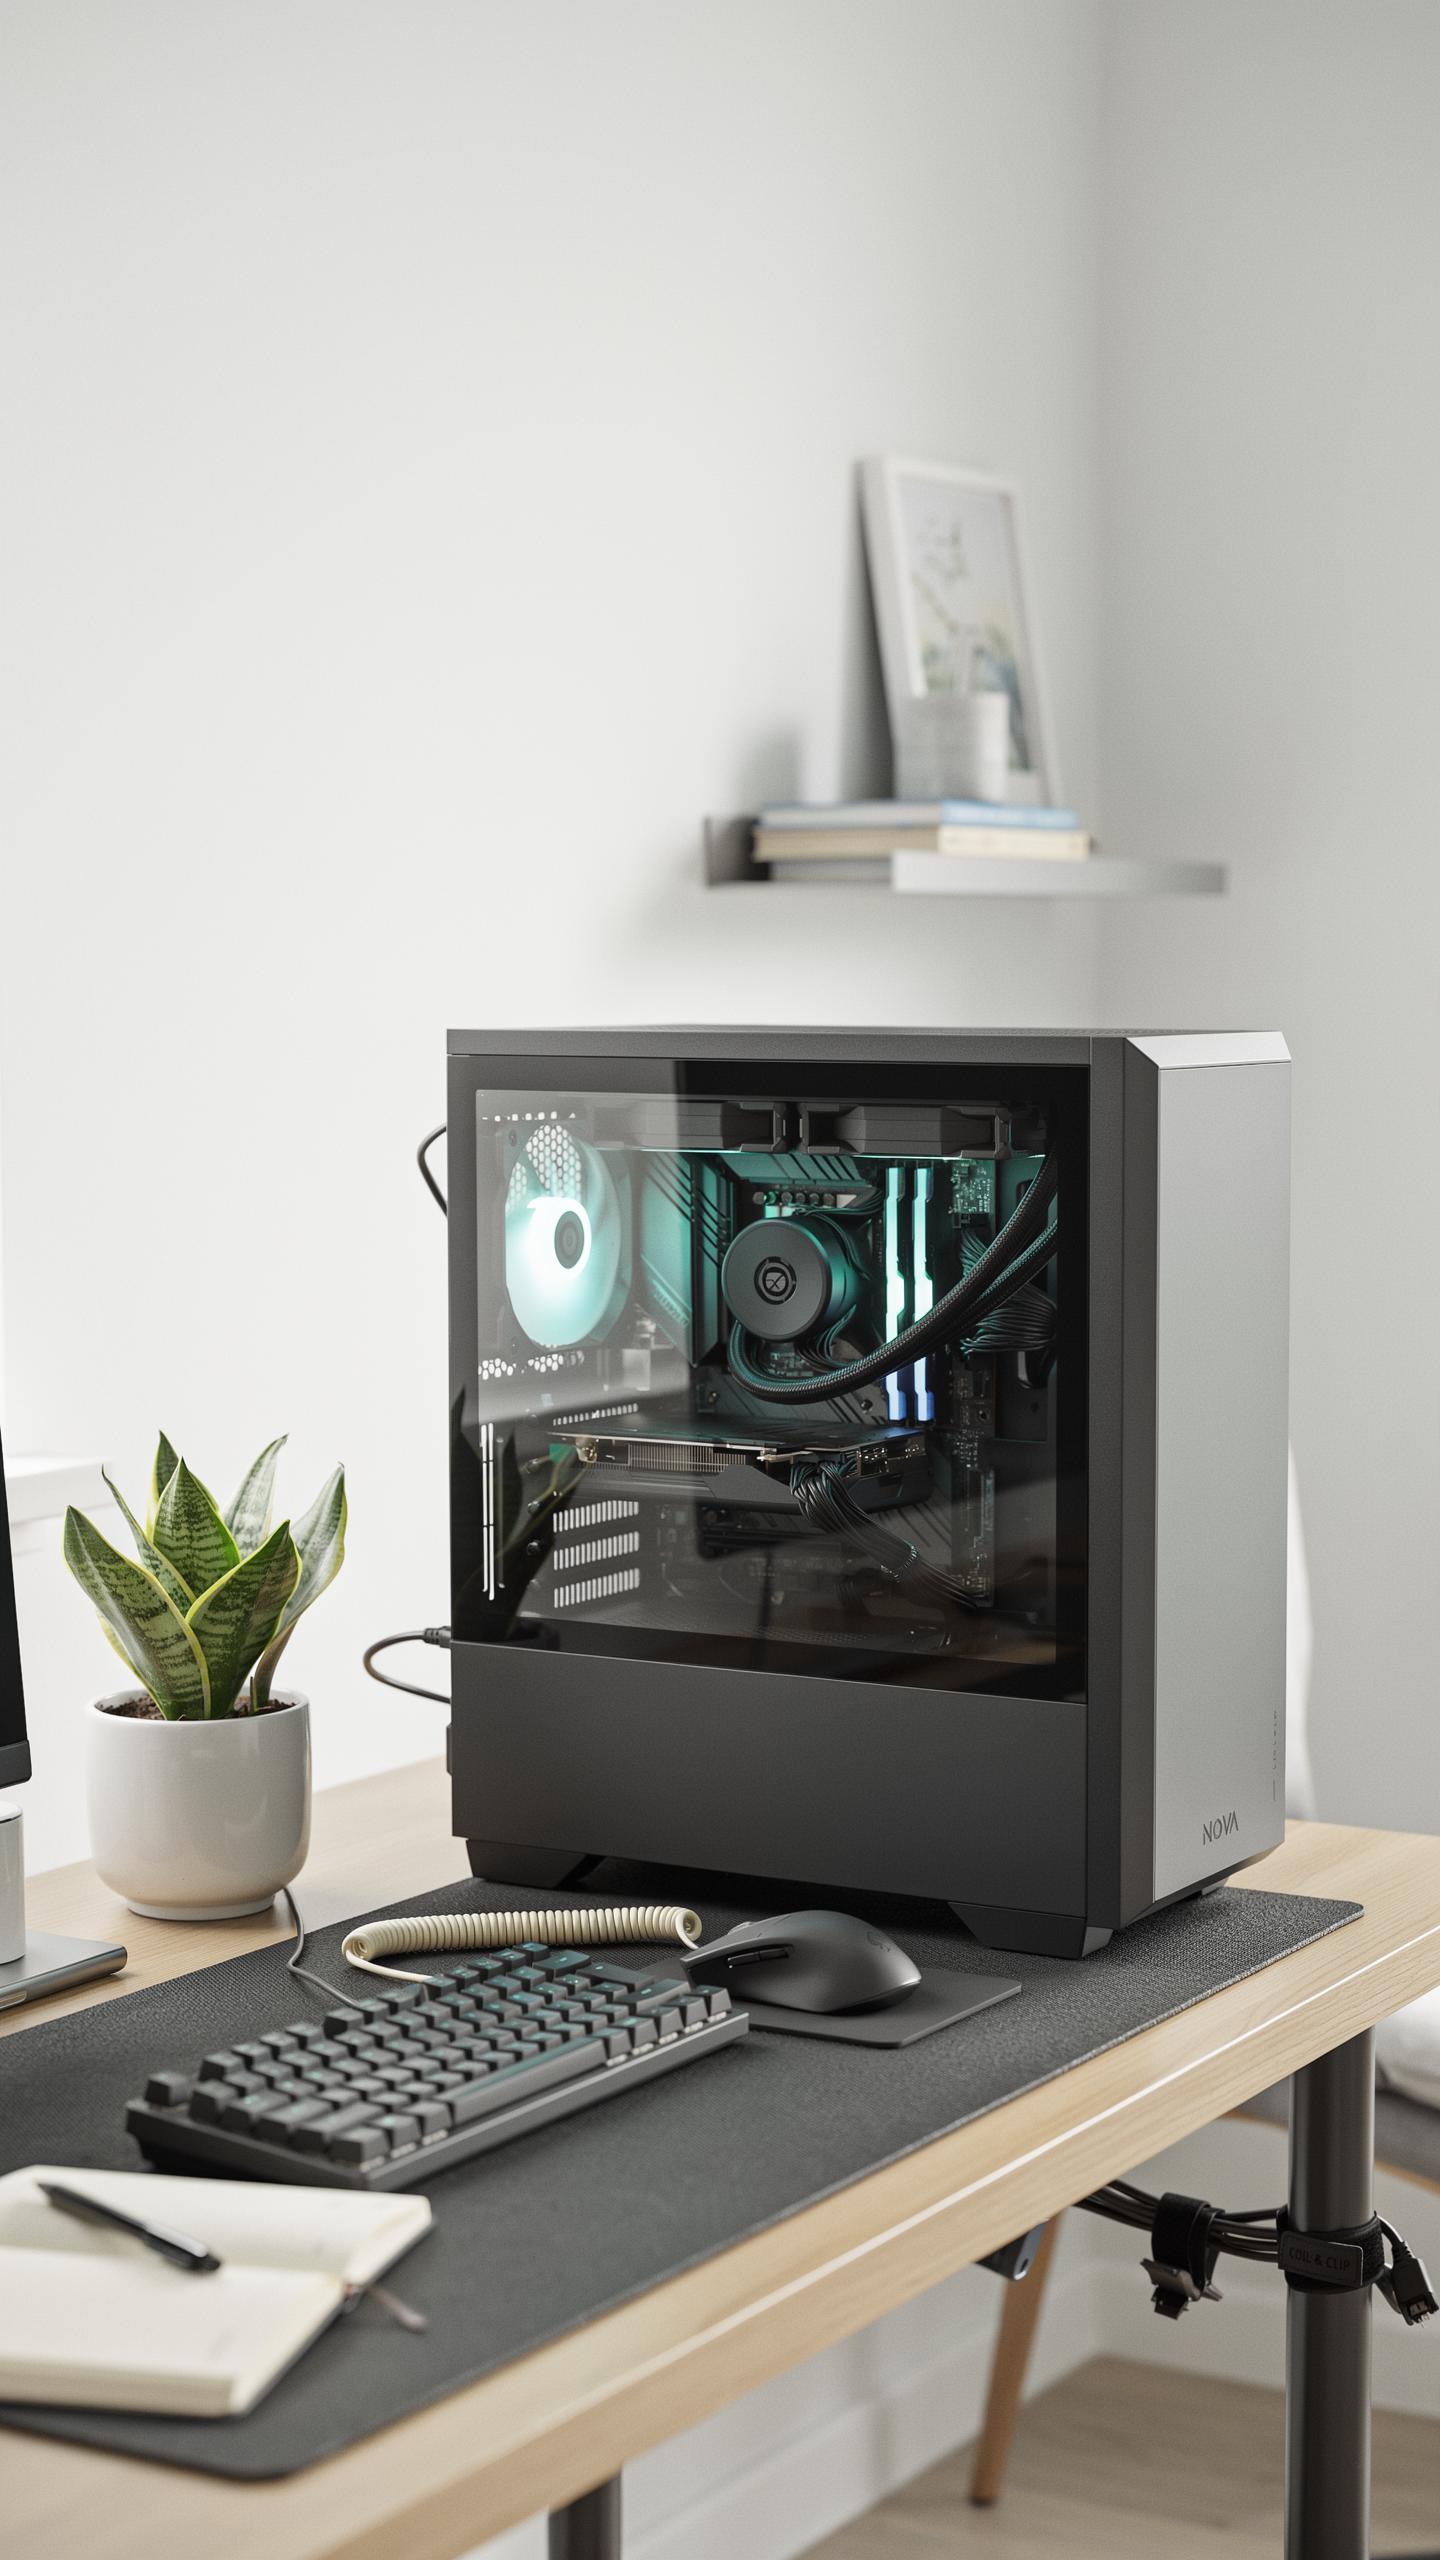
Route cables behind the motherboard tray whenever possible. This keeps wires out of airflow paths and away from components. Plan routes before installing components. Identify cable destinations and map the shortest, most direct path. Use the rear I/O area and cable management holes built into modern cases. Avoid routing cables across fans or near heat sources like GPUs and power supplies.
Group cables by function and destination before routing. Bundle power cables together, then data cables separately. This prevents tangled masses and makes future upgrades simpler. Route cables along case edges and use existing channels or grooves. Slack management matters here. Leave enough cable length to reach components without tension, but not so much that excess loops create air turbulence. Proper routing improves both airflow and system appearance.
Securing And Hiding Wires
Use cable ties strategically to anchor bundles at fixed points along the route. Velcro straps work better than zip ties because you can reposition them without cutting. Attach ties to case mounting points, not components. Space ties every six to eight inches to maintain bundle shape. Avoid over-tightening, which can damage cable insulation and reduce flexibility. Ensure ties don’t block airflow paths or create pressure points that could pinch wires.

Hide remaining visible cables in sleeves or behind cable shrouds provided with the case or sleeving kit. Most modern cases include channels or clips for this purpose. Position cables so case side panels close without pressure on wires. Test fit everything before final securing. Route excess cable length into dedicated storage areas at the rear of the case or use velcro straps to coil slack neatly. This keeps the interior clean while maintaining easy access for future maintenance.
The Importance Of Pc Case Cable Management
Behind The Motherboard Tray
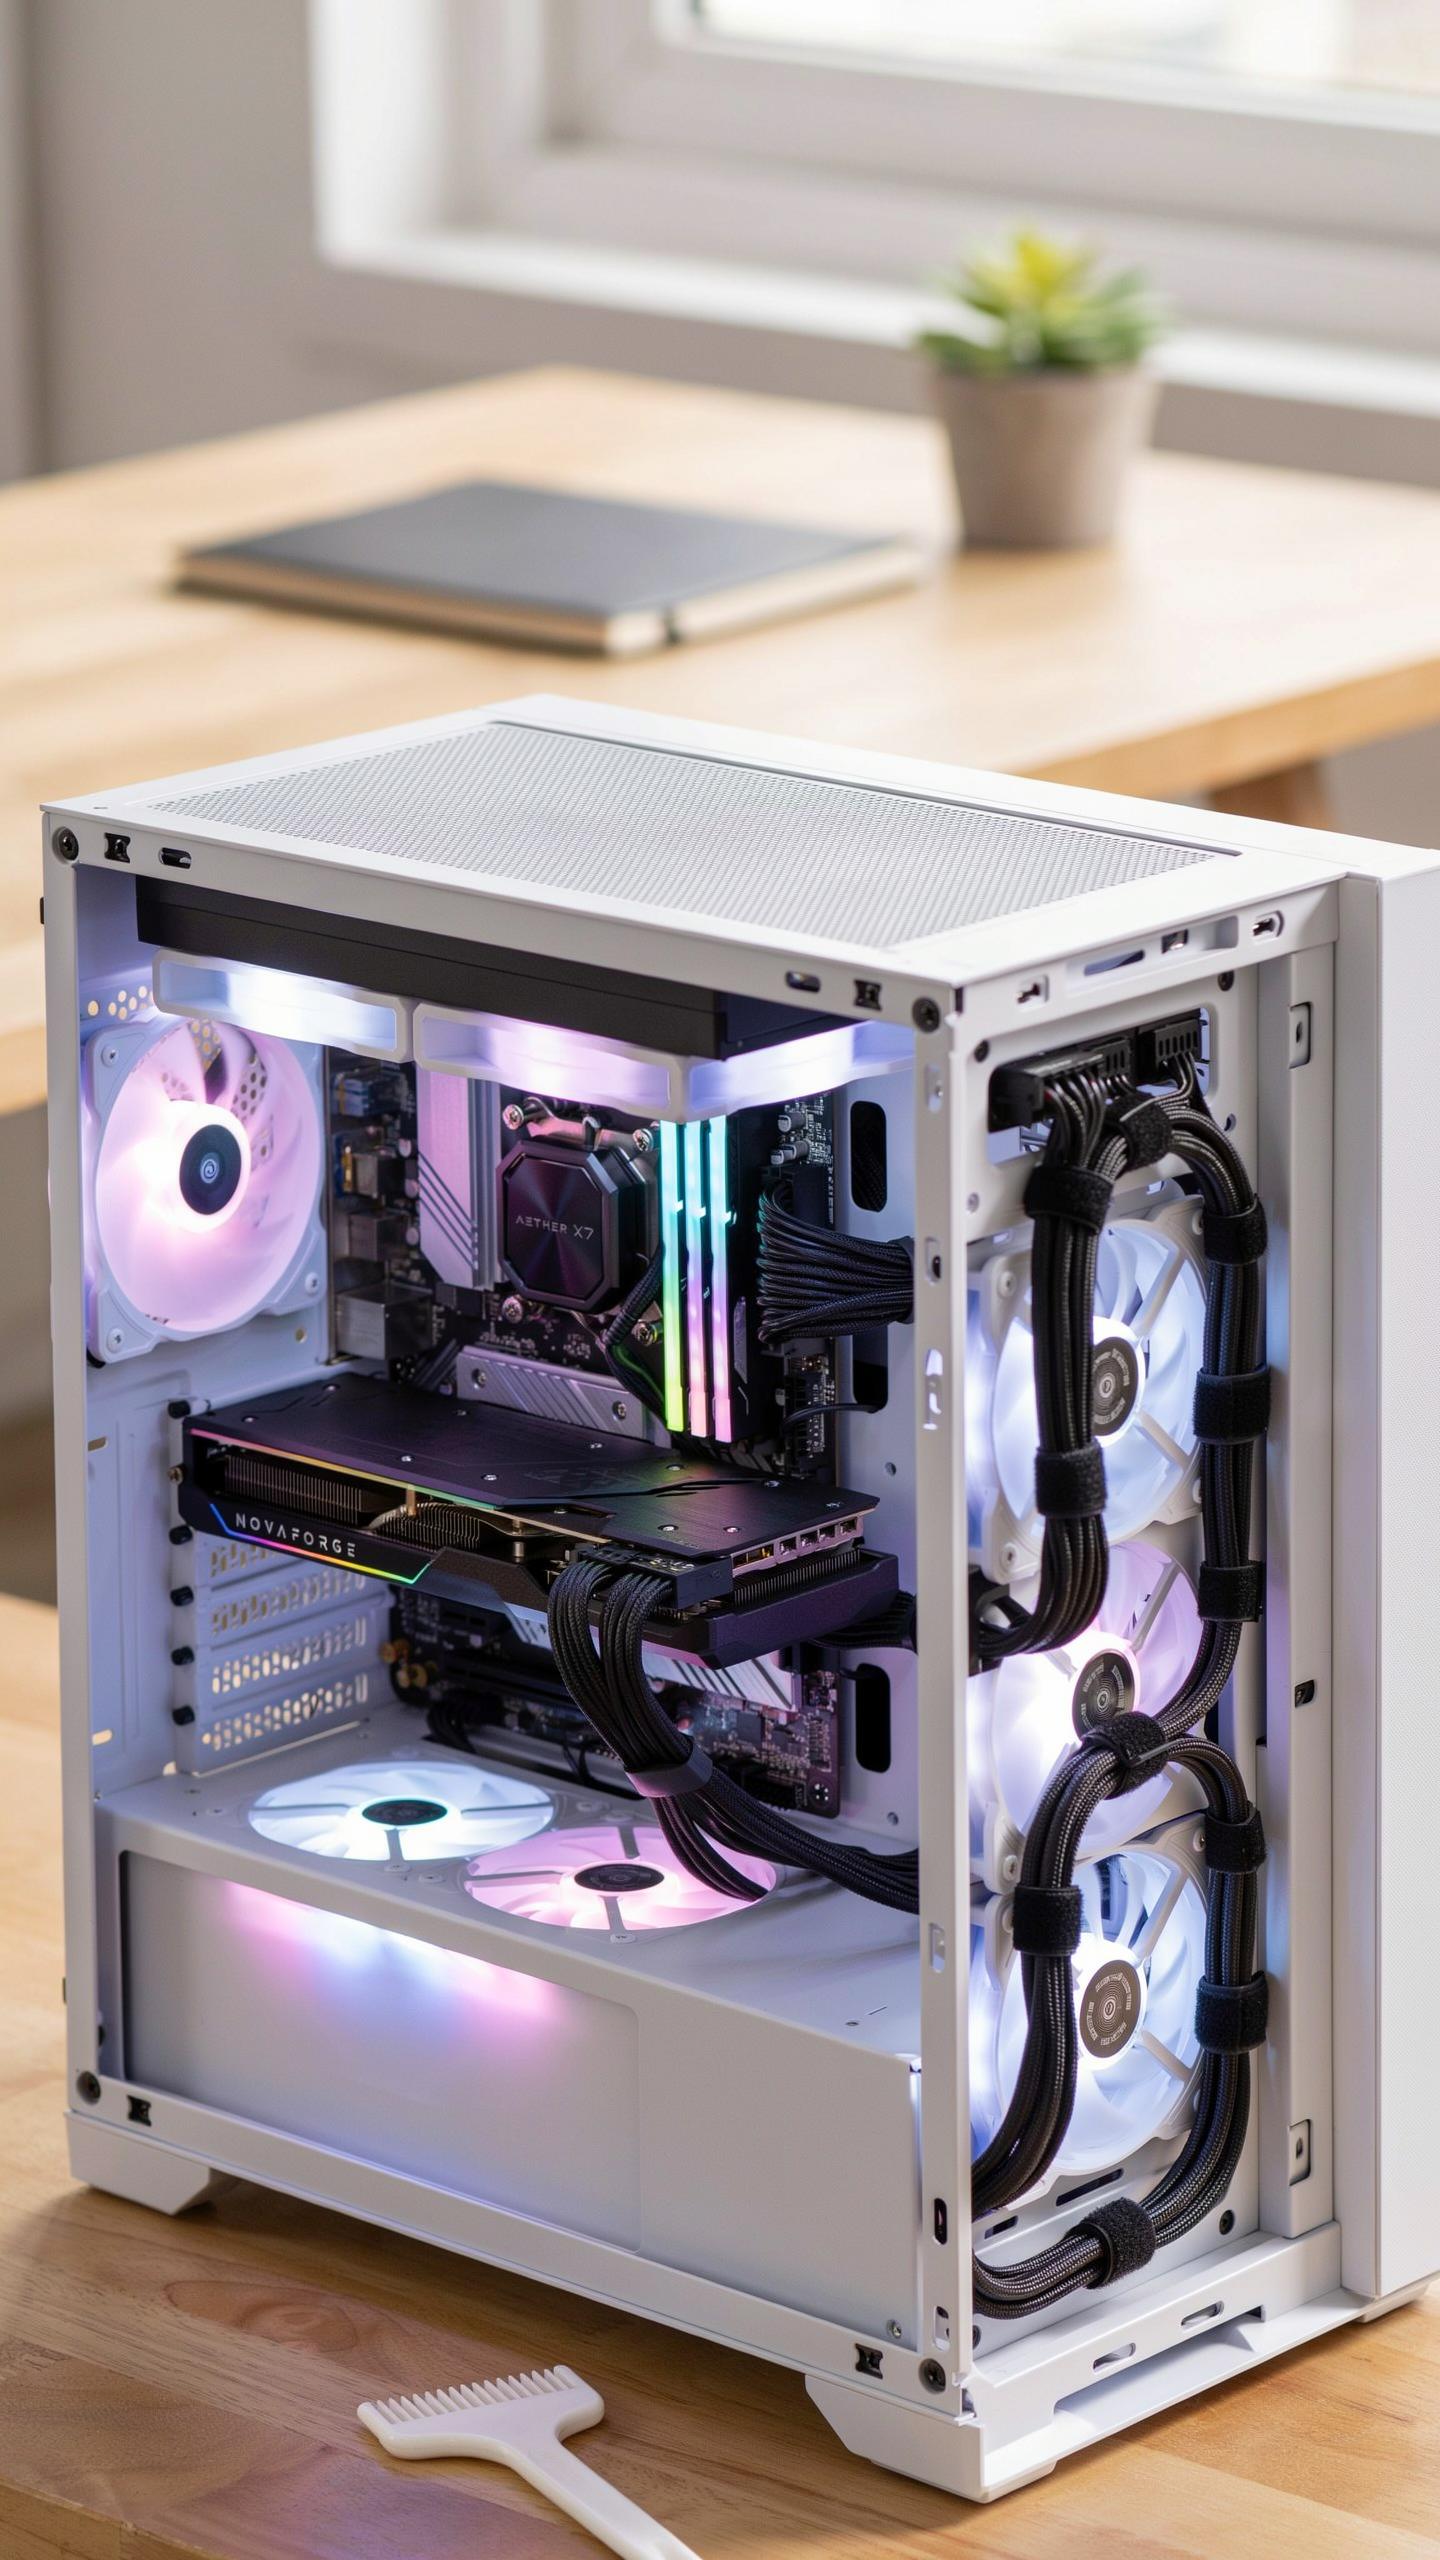
Cable routing behind the motherboard tray determines whether your build stays clean or becomes a tangled mess. This space serves a specific function: it keeps cables out of the main chamber where fans pull air. Sleeved cables take up more physical space than bare wires, so you need to plan routing carefully. Route power cables, SATA leads, and front panel connectors through this area first before connecting components.
A pc cable sleeving kit makes routing behind the tray straightforward because sleeved cables hold their shape. You can bundle them together and secure them to existing tie-down points using velcro straps or cable combs. Tight bundling prevents cables from drifting into the airflow path. This approach keeps the visible chamber clean while maintaining proper organization throughout the case.
Airflow And Dust Reduction
Unorganized cables create turbulence and dead zones where dust settles inside your case. Sleeved cables route cleanly along the frame perimeter, allowing intake and exhaust fans to move air in predictable patterns. You eliminate obstacles that slow or redirect airflow. Cleaner airflow paths mean your cooling system works more efficiently without fighting cable clutter.

Dust accumulation happens faster when cables block airflow and create stagnant pockets. Sleeved cables let you position dust filters more effectively because airflow follows a planned route. You can identify exactly where air enters and exits your case. This control reduces dust reaching your components, extending maintenance intervals between cleanings.
Choosing The Right Pc Cable Sleeving Kit
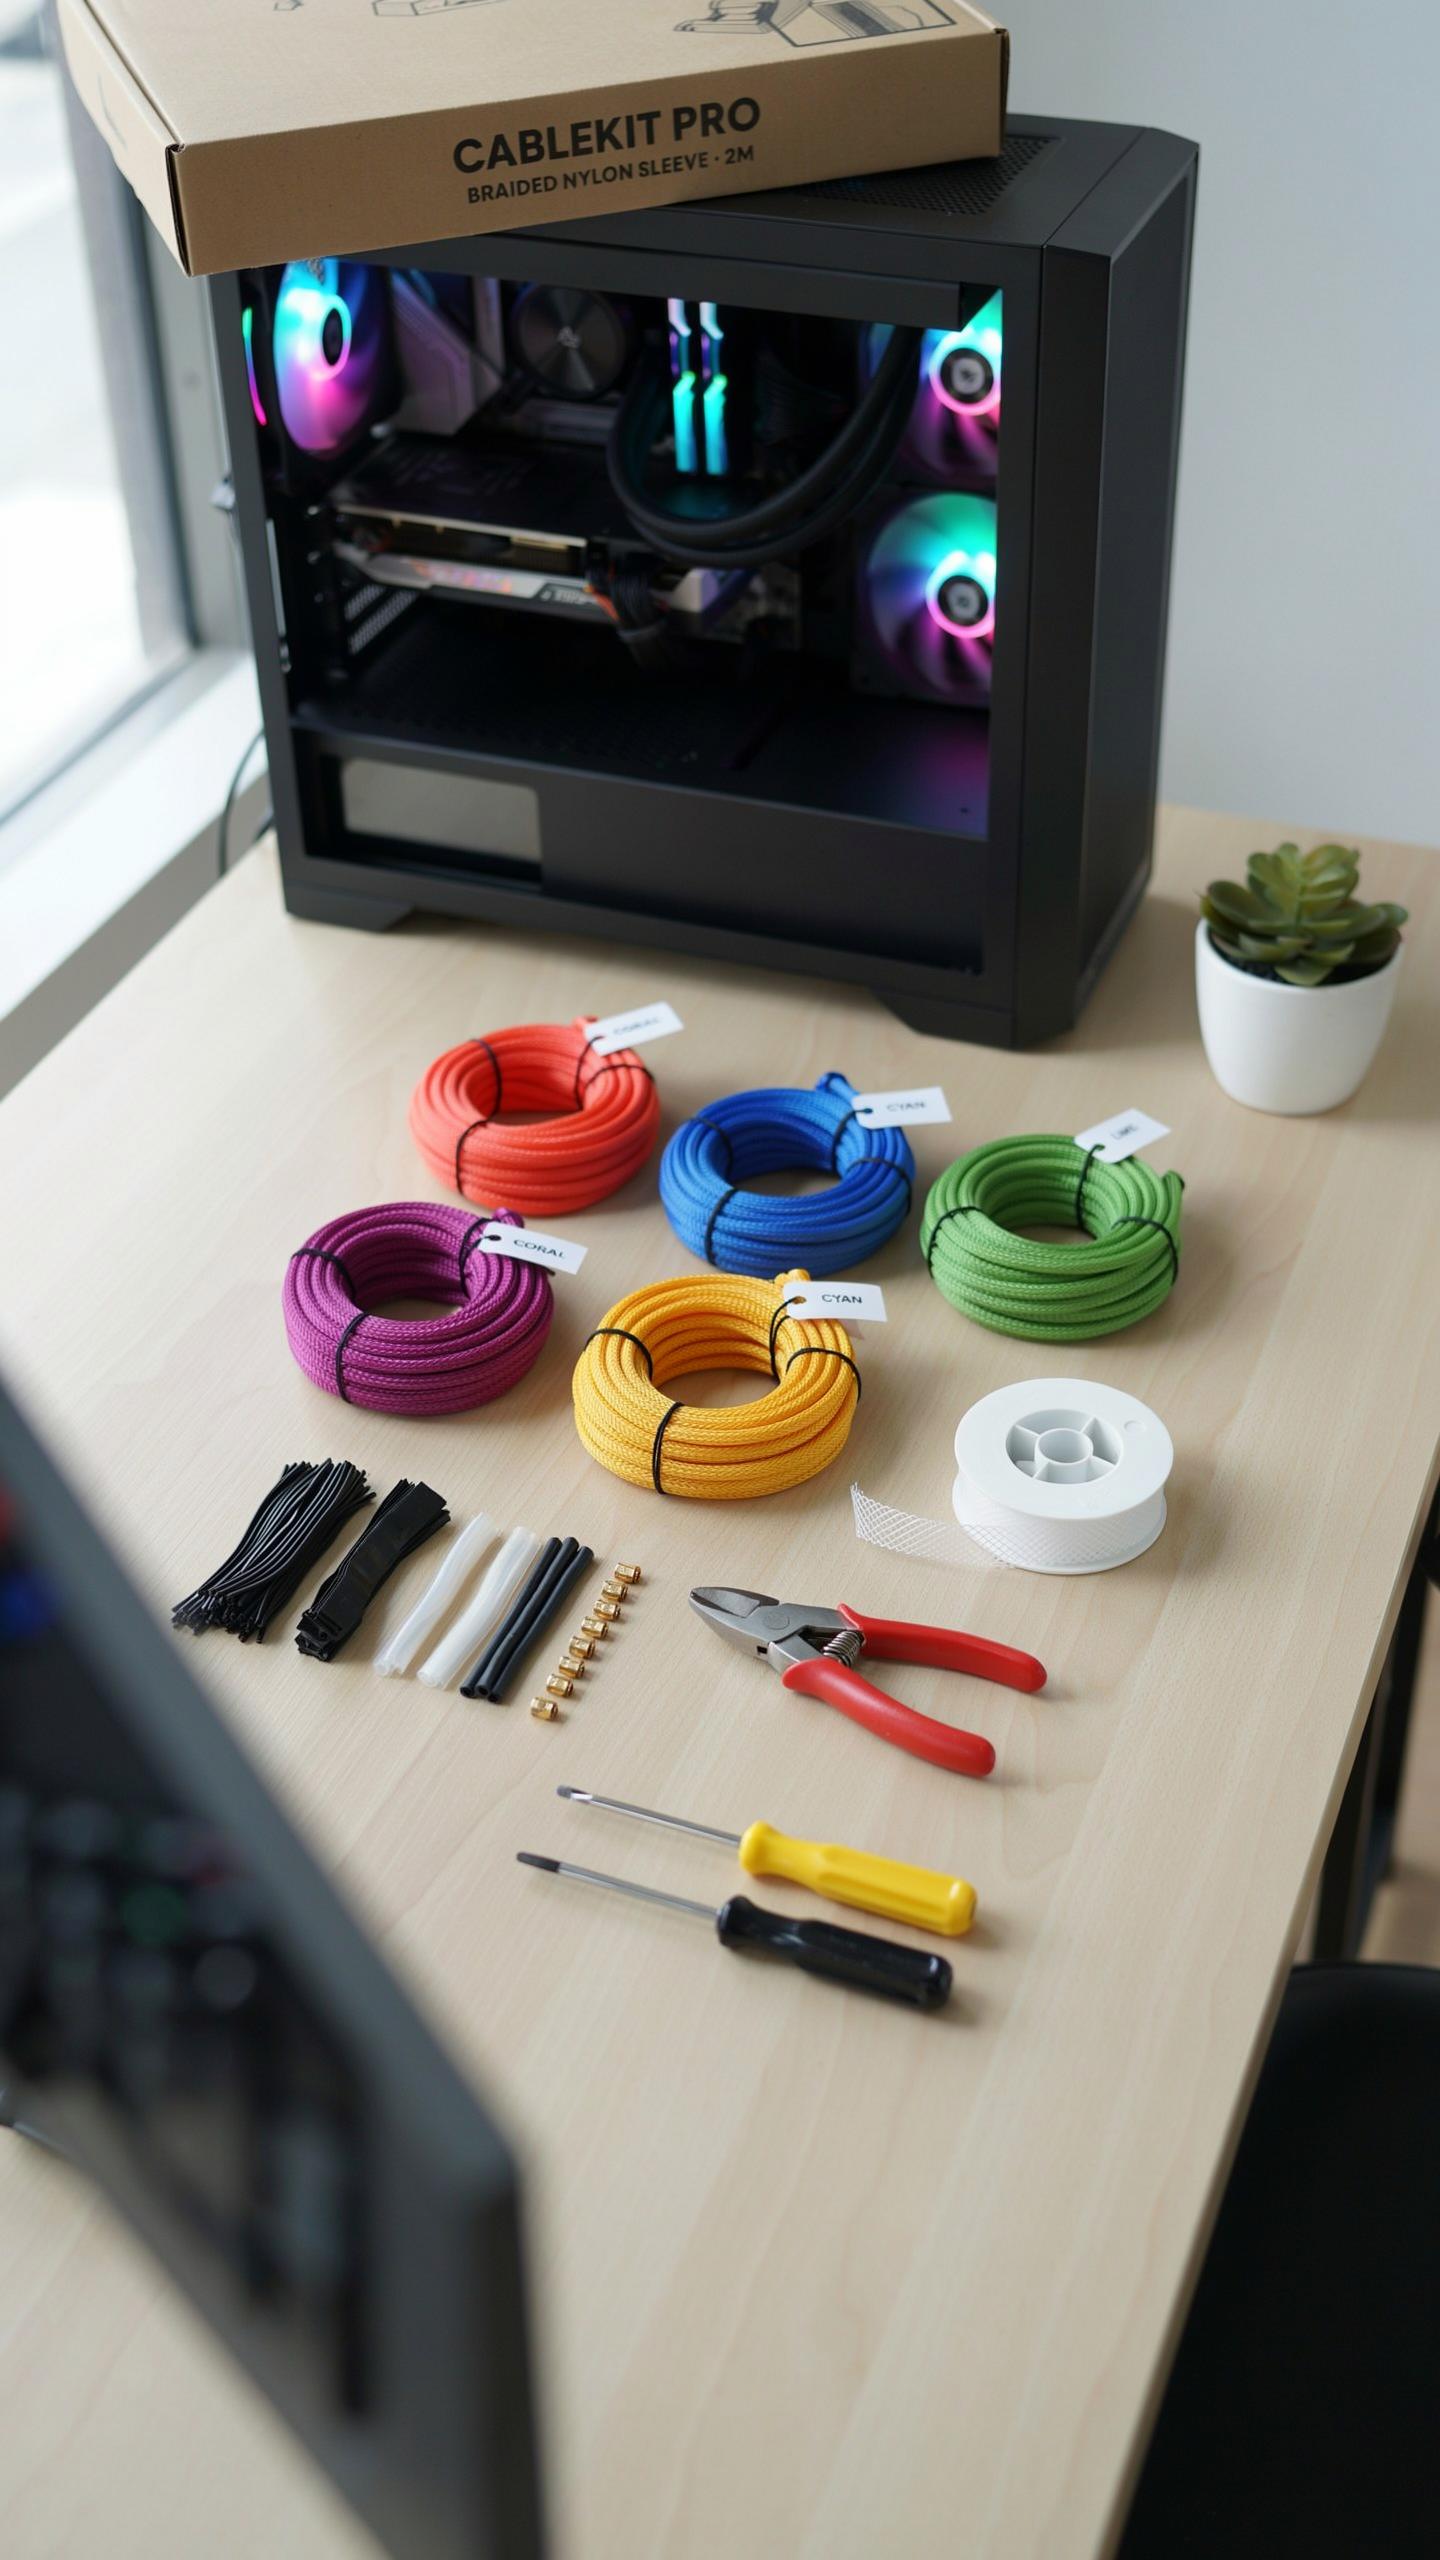
Factors To Consider
Cable diameter compatibility matters first. Sleeving kits come in specific sizes that match standard PSU cables. Measure your existing cables before purchasing. Most kits accommodate 16 AWG, 18 AWG, or 20 AWG wire gauges. Mismatched sizing wastes money and creates installation headaches. Check your PSU manual or measure cable thickness against kit specifications.
- Material Type: Nylon braided sleeves offer durability and flex. PET sleeves provide budget options but less protection. Paracord adds aesthetic appeal but increases bulk and complexity during installation.
- Color Options: Single colors simplify builds. Multi-color kits enable creative routing visualization. Neutral blacks and whites match most cases. Bright colors demand intentional design planning to avoid visual chaos.
- Heat Shrink Included: Quality kits include heat shrink tubing at cable ends. This prevents fraying and creates clean terminations. Missing heat shrink forces separate purchases and extends build time unnecessarily.
- Connector Type: Some kits include pre-sleeved connectors. Modular PSU builds benefit from pre-fitted connectors. Standard builds may not need them. Verify compatibility with your specific PSU before ordering.
- Quantity Per Cable: Premium kits provide excess material for mistakes. Budget kits include exact amounts with zero margin. Extra sleeves cost pennies but save hours if you miscalculate lengths.
Cable length matching prevents waste and installation errors. Measure from PSU to component endpoints. Add two inches for routing flexibility. Sleeves compress slightly when braided. Overshooting length creates bulky coils that obstruct airflow and look unprofessional.
DIY Vs Pre Sleeved
DIY sleeving kits cost 60 to 80 percent less than pre-sleeved alternatives. You gain complete control over colors, patterns, and routing. The trade-off is time investment and skill development. Expect 4 to 8 hours for a full system depending on cable count and experience level.
Pre-sleeved cables eliminate guesswork entirely. You install finished products directly into your case. Quality manufacturers handle precision work reliably. The cost premium reflects labor and material sourcing. Choose this route if time matters more than budget or if you lack soldering confidence for custom connectors.
Frequently Asked Questions

What exactly is cable sleeving, and why should I consider it for my PC?
Cable sleeving involves encasing your PC’s power supply and component cables in a protective, often braided, material. It elevates your build’s aesthetics by creating a much cleaner, more organized look, eliminating messy wires. Beyond looks, a well-sleeved build also improves airflow within your case, potentially leading to better cooling performance for your components.
How difficult is it to use a pc cable sleeving kit for clean builds if I’ve never done it before?
Using a pc cable sleeving kit for clean builds can seem daunting, but it’s very achievable for beginners. Kits often come with all the necessary tools and instructions. Start with simpler cables, watch some online tutorials, and take your time. With a little patience, you’ll be able to transform your PC’s internal appearance.
Are there affordable options for a pc cable sleeving kit, or is it a high-end upgrade?
Absolutely! You can find a pc cable sleeving kit at various price points. While premium custom kits exist, many budget-friendly options offer excellent aesthetics and functionality. You can also start by sleeving just your visible cables, which is a cost-effective way to achieve a cleaner look without needing a full, expensive kit.



