The Illusion Of The Perfect Cut: Why Most Stripping Fails

Where Your Technique Actually Fails
You want clean circuits because you’re afraid a bad strip will ghost you later with intermittent failures. The real mechanism is simple: you’re not stripping the wire. You’re crushing it. Most people press the stripper handles together like they’re opening a jar, applying force perpendicular to the blade edges. This creates compression damage to the copper strands before the insulation even separates. The copper work-hardens and micro-fractures start forming instantly. Consistent light pressure with a slight twist—not squeeze—is what actually cuts insulation without damaging what’s underneath.
The common advice says use the right stripper size for gauge. That’s incomplete. Size matters, but technique matters more. A $2 stripper with proper hand mechanics beats a $40 automatic stripper used with brute force. The insulation peels away cleanly when you let the blade do the work rather than forcing it. Most people spend money on tools and ignore the motion that actually determines outcome.
Micro Fractures: Where Resistance Hides
Physics calls this work-hardening, and it applies directly to wire stripping: repeated mechanical stress degrades the material’s structural integrity even before visible damage appears. Every time you over-compress a copper strand during stripping, you’re creating internal lattice disruption. These micro-fractures are invisible under casual inspection but they increase resistance in that section of wire. A 0.01-inch crushed segment on a single strand can add measurable impedance to a 12-inch circuit run. You don’t see the problem until the connection fails under load or generates heat.
The fractures compound when soldered. Heat expands the damaged areas unevenly, creating stress points. Solder fills voids but doesn’t restore conductivity to fractured copper. The joint fails prematurely even though the solder joint itself looks solid. Prevention requires understanding that every compression mark you create during stripping becomes a permanent weak point in that wire. Strip with controlled release tension, not clamping pressure.
Beyond The Tool: Material Science Dictates The Strip
What Your Insulation Is Actually Made Of
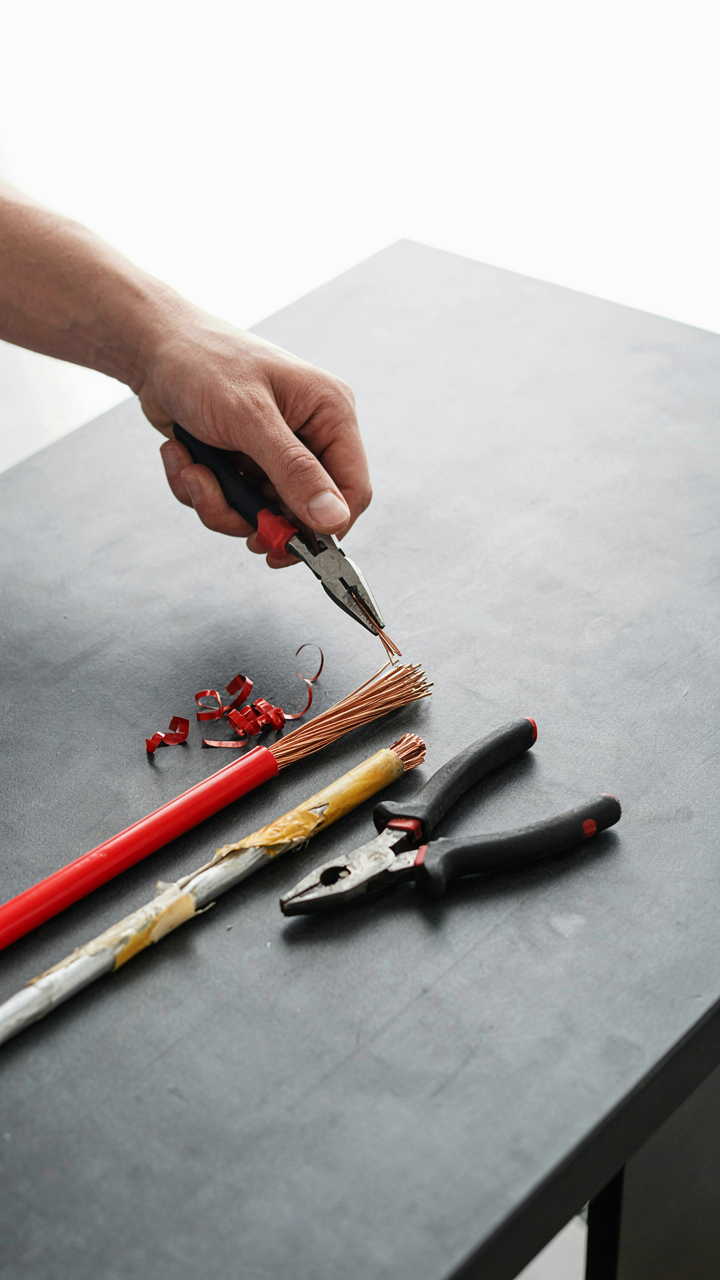
You want to strip wire cleanly because you think it proves you know what you’re doing. The real reason you care is that bad strips create unreliable connections, and unreliable connections mean debugging hell later. Most insulation fails at the molecular level, not the mechanical one. PVC, polyethylene, and fluoropolymers each have different breaking points. Your stripper doesn’t cut through them equally. The tool matters less than understanding what you’re cutting through.

PVC dominates residential and light industrial wire because it’s cheap and handles temperature swings reasonably. It bonds to copper through van der Waals forces, not glue. When you strip it, you’re disrupting those forces by applying shear stress. Strip too slowly and you heat the insulation, which makes it stick harder. Strip too fast and you nick the conductor underneath. The mechanism here is thermal and mechanical competition. You need enough force to overcome the molecular bonds without generating enough friction heat to soften the jacket.
Copper Alloys And What Breaks First
Conductor metallurgy determines whether your wire stays intact or splinters during the strip. Most residential wire uses pure copper or copper with trace tin for solderability. These metals are highly ductile, which means they deform rather than fracture. But ductility becomes a liability when you over-strip. The copper stretches under your stripper’s grip, thinning the remaining conductor and creating stress points where failure starts.
Aluminum conductors, used in larger applications and some older installations, behave differently. Aluminum is more brittle than copper. It fractures instead of deforming under pressure. This means your stripper technique must change completely. Less grip pressure, faster motion, different angle. Many people use identical stripping pressure for both materials and wonder why aluminum wires separate or crack internally. The real lever is matching your pressure profile to the alloy’s actual mechanical properties, not treating all conductors as interchangeable.
The “Conductor’s Cadence” Method: A 3 Step Precision Strip

Calibrate Depth Through Visual And Tactile Feedback
You want clean circuits because you’re afraid of shorts and rework. Here’s what matters: depth control is a feedback loop, not a guess. Borrow from machining—operators use both visual and tactile cues simultaneously to hold tolerances. With wire stripping, your eyes confirm jacket removal while your fingers feel resistance change the moment blade touches conductor. That shift in pressure is your calibration signal.

Most people strip wire the same way every time and blame their tools. The reality is simpler. Your blade depth changes based on wire gauge, jacket material, and how the wire sits in the stripper. You must adjust for each condition.
- Gauge-to-depth mapping: Thinner gauges (28-24 AWG) need shallower blade depth to avoid nicking strands. Thicker gauges (10-16 AWG) tolerate deeper cuts but still require control to preserve conductor surface.
- Resistance feedback: As blade contacts jacket only, resistance stays constant. The moment it touches copper, resistance drops noticeably. Train yourself to feel this and stop advancing.
- Visual confirmation: Position the wire so light hits the stripped section at an angle. You’ll see the jacket separate cleanly from conductor before you complete the stroke, not after.
- Trigger pressure calibration: Spring-loaded strippers require consistent squeeze force. Too hard damages strands; too soft leaves jacket on. Find the pressure that seats the blade without bottoming the handle.
- Staging strip length: Strip no more than 0.25 inches at first until you feel the tool’s response. Longer strips give you nothing but more damaged wire and rework time.
The mechanism is proprioception applied to a hand tool. Your nervous system learns to recognize the exact moment blade meets conductor and stops the stroke. This takes three to five minutes of conscious practice per tool. After that, it becomes automatic.
Rotate Versus Score: Minimizing Strand Damage
Conventional wisdom says rotate the wire in the stripper. Wrong. Rotation works only for large gauges where the margin for error is wide. For anything 18 AWG and smaller, you’re introducing unnecessary variables. The mechanism is friction distribution. A single smooth motion concentrates cutting force in one plane. Rotation spreads that force around the circumference unevenly, causing the blade to bite deeper on one side than others.
The better approach is a single controlled score followed by a gentle twist to separate the jacket. Score means one full rotation of the stripper handle around the wire without any lateral movement. The blade cuts through the jacket uniformly without touching strands. Then you rotate the wire itself—not the tool—to pop the jacket free. This separates the cutting phase from the separation phase, eliminating the variable of tool rotation speed or pressure variance. One clean cut beats a blur of contact every time.
Wire Stripping Machine Vs. Hand Tools: The Efficiency Trap

When Automation Undermines Subtle Control
You want the machine because you think speed solves the problem. It doesn’t. Wire stripping machines apply consistent force across all wire gauges and jacket materials, but consistency is the enemy when your circuit demands precision. Think in terms of pressure regulation from fluid dynamics: a pump delivers constant flow, but your system needs variable pressure at different points. Hand tools let you modulate force in real time. Your fingers feel resistance before the insulation tears. A machine can’t feel anything.

Automatic strippers excel at production runs where every wire matches exactly: same gauge, same insulation type, same length. They fail the moment variation enters the equation. Solid core versus stranded wire requires different technique. Older cloth-wrapped insulation strips differently than modern PVC. Delicate gauge 28 wire demands touch that no preset machine jaw can replicate without crushing the conductor underneath. The machine saves minutes per hundred wires but costs you circuit reliability when edge cases show up.
Manual Stripping Mastery: Irreplaceable For Unique Scenarios
Hand stripping isn’t slower when you factor in rework time. The consensus says machines are faster overall, but that math ignores the wires you have to re-strip because the machine damaged the conductor or left insulation fragments that cause shorts. A sharp stripper in experienced hands removes jacket cleanly without scoring copper, period. You control blade depth, angle, and pressure simultaneously. No machine can match that feedback loop.
Specialized scenarios demand manual technique: aerospace-grade Teflon insulation requires specific blade temperature and angle or it gums up. Vintage cloth and paper insulation shreds if you strip too aggressively. Mixed-gauge harnesses need different stripping depths on adjacent wires. Hand tools let you adjust on the second wire instead of stopping production to recalibrate. Develop a three-finger grip where your index finger controls blade pressure, your thumb guides the wire angle, and your middle finger stabilizes the jacket. This gives you the proprioceptive control that separates clean circuits from marginal ones.
How To Strip Cables Safely: The Unseen Hazards Of Neglect

Know Your Circuit Before You Touch It
You’re reading this because you want to avoid looking stupid in front of someone who knows better, or worse, because you’re afraid of electrocution without admitting it. The mechanism is simple: electricity doesn’t care about your intentions. It flows wherever it finds a path, and your body conducts it well. Before you strip a single wire, you must confirm the circuit is dead using the same protocol electricians use to avoid becoming a cautionary tale.

A multimeter set to voltage mode tells you what matters: whether current actually flows through the conductor. Test the circuit under load first, then test again after cutting power at the breaker. Never assume a wire is dead based on visual inspection or someone’s word. Touch the multimeter probe to both the conductor and ground, then to the conductor and neutral. If the meter reads zero volts both times, the circuit is dead. This takes ninety seconds and prevents permanent injury.
Repetition Strain Kills Faster Than You Notice
Ergonomics borrowed its framework from biomechanics, which maps force and repetition onto tissue damage over time. Your wrists and forearms experience cumulative stress with every strip, and by the time you feel pain, the damage is already building. Most stripping advice ignores this because people focus only on not cutting themselves that day. They miss the mechanism: small repeated angles and gripping pressures compound into tendonitis or nerve compression that sidelines you for months.
Strip with your wrist straight and your elbow at ninety degrees. Hold the wire stripper lightly, using the tool’s mechanical advantage instead of grip strength. Rotate your forearm and shoulder to move the stripper, not your wrist. Take breaks every fifteen minutes. If you’re stripping dozens of wires in one session, you’re building an injury. Batch the work across days, maintain neutral wrist position throughout, and stop the moment your hand tires.
DIY Wire Stripping: From Scrap To Scrupulous
When Efficiency Destroys What You’re After
You want maximum copper yield without thinking about the cost of degrading it. Here’s the mechanism: stripping speed and heat are inversely related to copper purity. Thermal damage occurs around 300°C, where oxidation accelerates and surface contaminants bond to the wire. Most people strip fast and hot, then wonder why their copper won’t sell or conduct properly. Slow stripping preserves the metal’s crystalline structure and prevents oxide buildup that reduces electrical conductivity and resale value.

Temperature control during stripping is borrowed from metallurgy: annealing versus work hardening. You’re choosing between controlled heating that maintains material integrity or rushed removal that work hardens and embrittles the copper. Manual stripping tools keep temperatures low because friction stays localized. Mechanical strippers and flame methods introduce uncontrolled heat zones that compromise the entire wire segment. The rule is simple: if the insulation peels without smoke or smell, you’re doing it right.
Turning Stripped Copper Into Actual Money
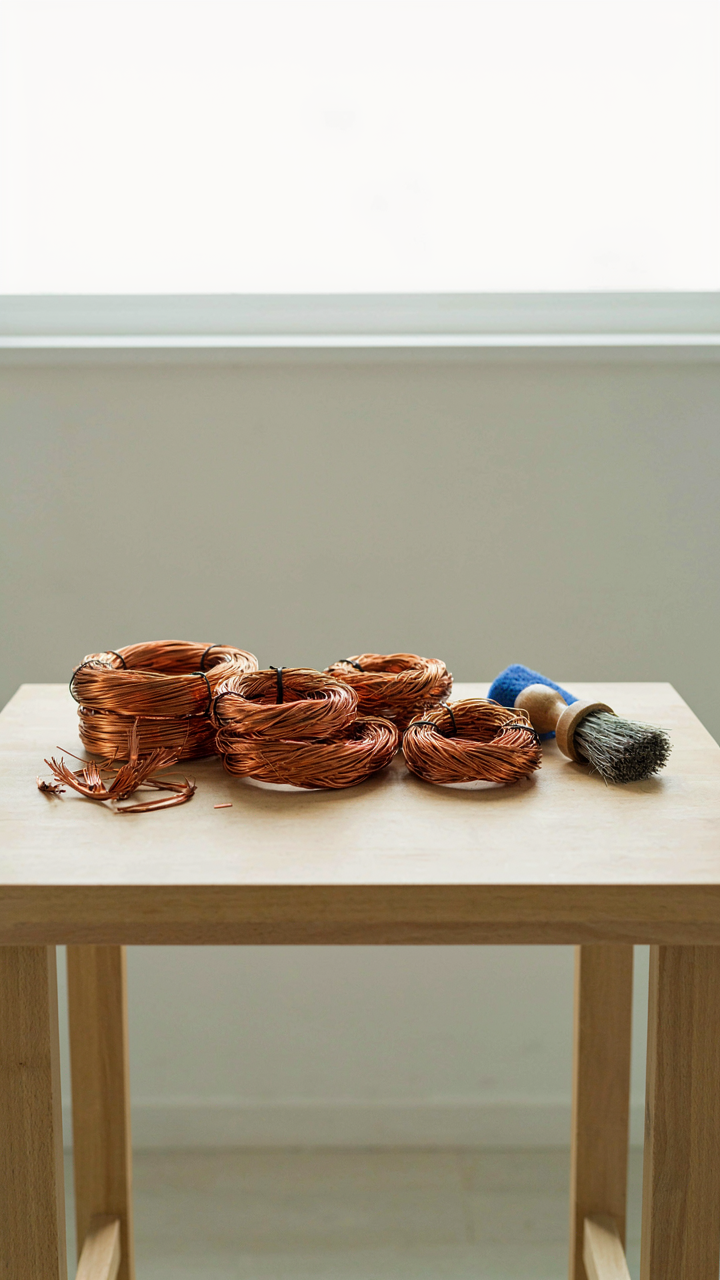
Most people leave money on the table by mixing wire gauges and not bunching properly. Scrap buyers pay per pound, and contamination cuts your rate by twenty to forty percent. You need to separate by gauge because thinner wire oxidizes faster and commands lower prices when mixed. Bunching identical gauges together shows buyers you understand what you’re selling, which moves your material faster and avoids haggling.
Cleanliness determines price per pound more than volume. After stripping, a wire brush removes remaining insulation particles and oxide without damaging the copper surface. Let stripped copper cool to room temperature before bunching to avoid re-oxidation. Bundle by gauge using tight wire wraps, then store in a dry space. When you deliver to a scrap buyer with organized, clean bundles sorted by gauge, you eliminate their sorting work and they pay the higher rate reserved for prepared material.
The Entropy Minimization Principle For Wire Ends
Why Copper Strands Stay Bound
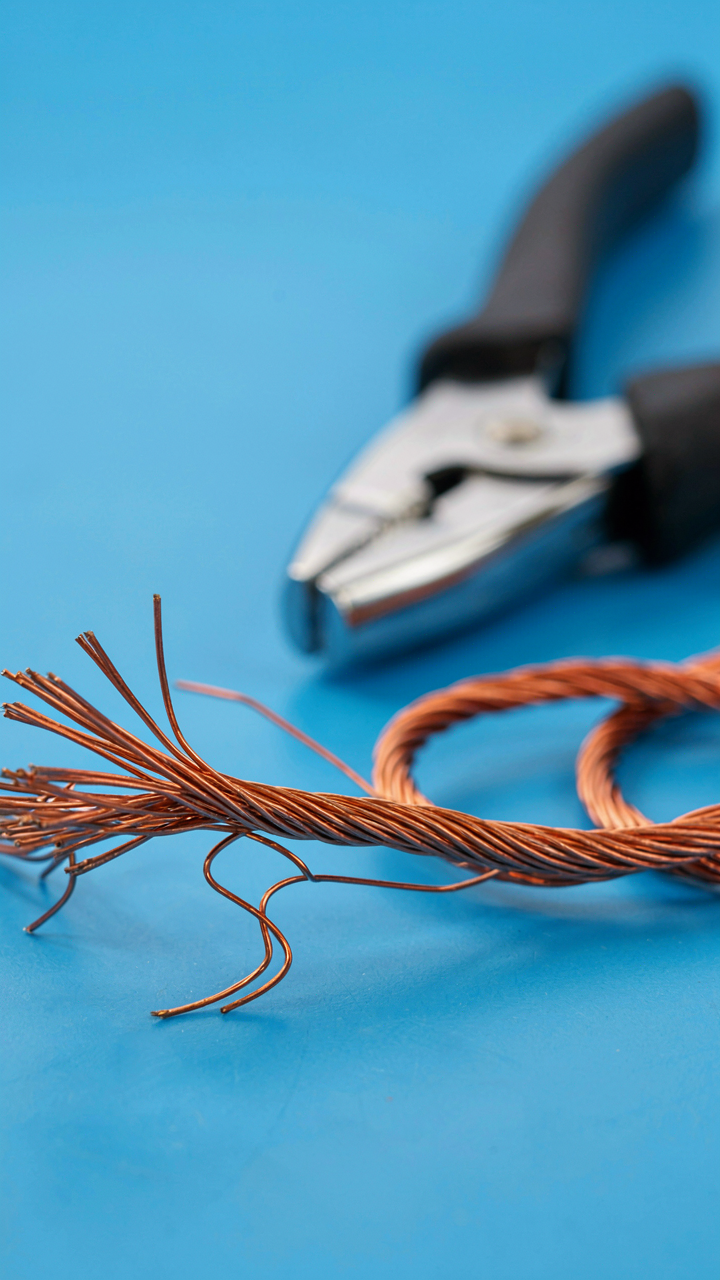
You care about this because a frayed wire end signals incompetence to anyone who inspects your work. Here’s the mechanism: biology uses the concept of cellular cohesion to prevent degradation, and wire strands operate on the same principle. Individual copper filaments want to separate. They do this naturally once the insulation is removed because they’re no longer constrained. Your job is to arrest that process before it starts.

The moment you cut through insulation, you expose bare copper to air and mechanical stress. The strands begin oxidizing and spreading outward immediately. Prevention beats repair every time. Twist the exposed strands clockwise before they fully separate, which realigns their geometry and creates mechanical compression. This single step determines whether your joint fails in six months or holds for years. Twisted strands resist pull-apart forces because they lock against each other under tension.
Surface Tension Holds The Geometry
Physics teaches us that surface tension operates at interfaces where two mediums meet, and solder exploits this exact property at the copper-solder boundary. Most people think solder just fills gaps. Wrong. Solder wets to copper because of molecular attraction at that interface. If your wire end is oxidized or dirty, solder cannot establish proper surface tension contact, and the joint becomes mechanically weak regardless of how much solder you apply.
Strip back only what you need, never more. Extra bare copper oxidizes while you work, degrading that surface tension window. Use a fresh stripping tool with sharp edges to cut cleanly in one pass. Dull strippers crush the insulation and smear it across the copper, creating a contamination layer that blocks solder wetting. Clean the stripped end immediately after exposure by wiping it on a damp sponge or running it across fine sandpaper. This removes oxides and keeps the copper surface ready for solder contact the moment you need it.
Easy Way To Strip Copper Wire: The Myth Of Effortless Perfection
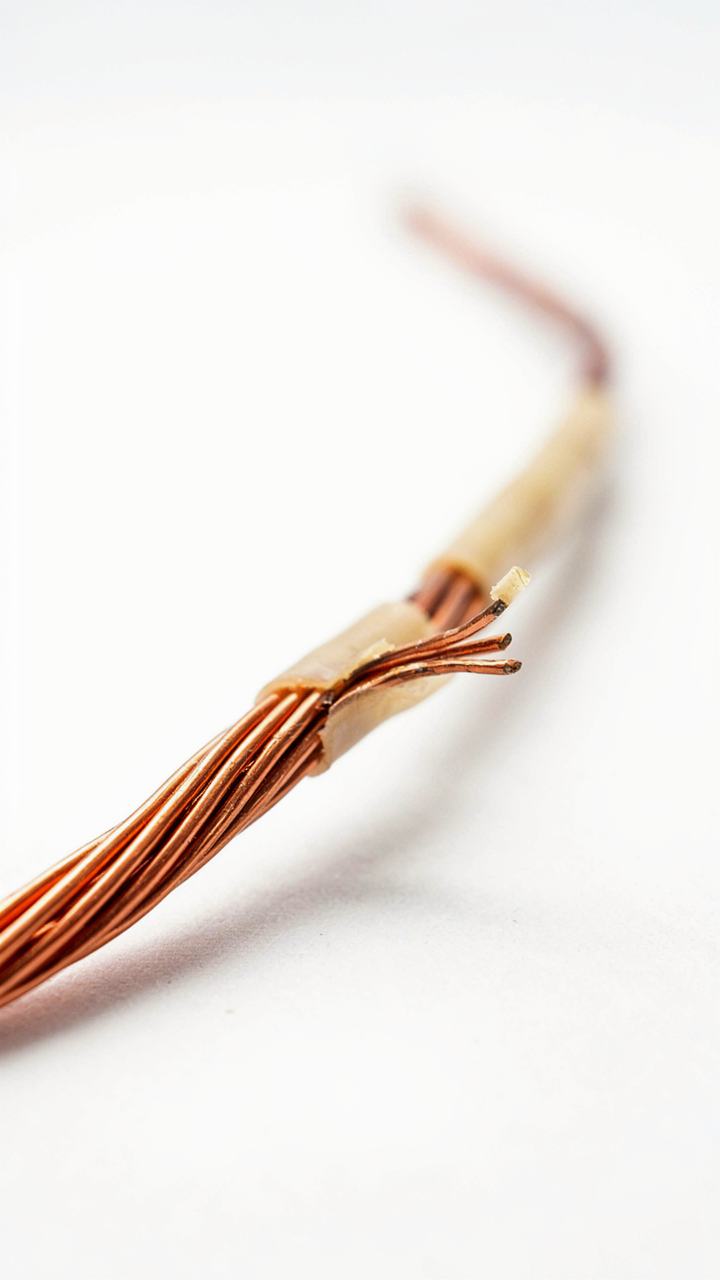
The Speed Trap That Kills Solder Joints
You want the stripped wire done fast because you think it means you’re efficient. It doesn’t. The mechanism is simple: pressure and angle determine whether insulation separates cleanly or crushes into the copper. Rush the process and you create micro-fractures invisible to the eye. These fractures become oxidation points. Oxidation prevents solder from bonding properly to the wire.

Most people strip wire by squeezing harder, not by understanding how the tool actually works. The blade needs to bite at exactly ninety degrees to the insulation thickness you’re removing. Angle it even five degrees off and you either leave insulation behind or score the copper itself. A scored wire weakens under thermal cycling. This is how circuits fail months after assembly, not days.
The Hidden Cost Of Skinned Copper
Economics has a concept called deferred cost. You pay now with convenience or pay later with failure. Wire stripping shortcuts embed this cost directly into your circuit. When you nick the copper strand while removing insulation, you reduce the wire’s cross sectional area at that point. A smaller cross section means higher resistance at precisely one spot.
That resistance generates heat. Heat accelerates corrosion inside solder joints and attracts oxidation on bare copper. Solder joints fail because the stress concentrates at the weakest point. Use a proper stripping technique that removes only insulation without touching copper and you eliminate this vulnerability before it starts. Strip slowly, keep the tool perpendicular, and inspect the bare copper under light before soldering.
How To Strip Copper Wire: Beyond The Cut, Into Connection

What You Actually See Matters
You care about this because a bad strip looks invisible until your circuit fails under load. The real mechanism is simple: copper oxidizes the moment you expose it to air, and the oxidation layer blocks current flow at the termination point. Most people strip wire and move on. They don’t inspect what they actually created. A clean strip shows bare copper with no nicks, burns, or insulation fragments caught in the strands. Use a magnifying glass or your phone camera zoomed in. You’re looking for uniformity across all visible strands and a sharp line where insulation ends and bare copper begins.

Continuity testing catches what your eyes miss. Use a multimeter set to resistance mode and touch one probe to the stripped section and one to the wire’s end. Zero or near-zero resistance means the strip preserved conductor integrity. Any reading above that signals severed strands or a partially stripped section. The strips that pass visual inspection but fail continuity tests are the most dangerous because they’ll work fine at low current, then fail when real demand hits. Strip, inspect visually, test continuity. Do all three or accept that failure is in your timeline.
Connection Integrity Decides Everything
Termination quality mirrors mechanical tolerance in engineering: small errors compound into system failure. The wire strip must match the terminal size precisely. Too much bare copper creates exposed conductor that corrodes or creates unintended connections. Too little forces you to strip further, which weakens the wire or damages insulation you need. A proper strip leaves exactly the amount of bare conductor the terminal requires, typically between 0.25 and 0.5 inches depending on your connector type. Measure before you strip. Cut once. Strip once.
The connection point under load generates heat. Heat accelerates oxidation at the contact surface. Your strip quality determines how fast that oxidation layer builds resistance. A rough or jagged strip edge creates microgaps where oxide builds faster than a smooth edge. Use sharp strippers and a single smooth pull rather than multiple passes. If you nick the copper, that nick becomes a stress concentration point where the wire fails first under vibration or thermal cycling. The mechanism is direct: poor strip quality means higher contact resistance, which means more heat, which means faster failure.
The Real Obstacle Isn’t The Wire; It’s Your Rushed Assumption That Tools Dictate Precision, Not Understanding

Most people buy better strippers and expect better results. Wrong move. You strip clean circuits by understanding what you’re actually doing to the wire, not by throwing money at equipment. Your hands know when you’ve hit the right pressure. Your eyes know when the insulation separates cleanly. Stop outsourcing your precision to a tool and start trusting your attention. Strip one wire today using only steady pressure and observation. You’ll immediately see what sloppy stripping looks like, and you’ll never make the same mistake twice.



