
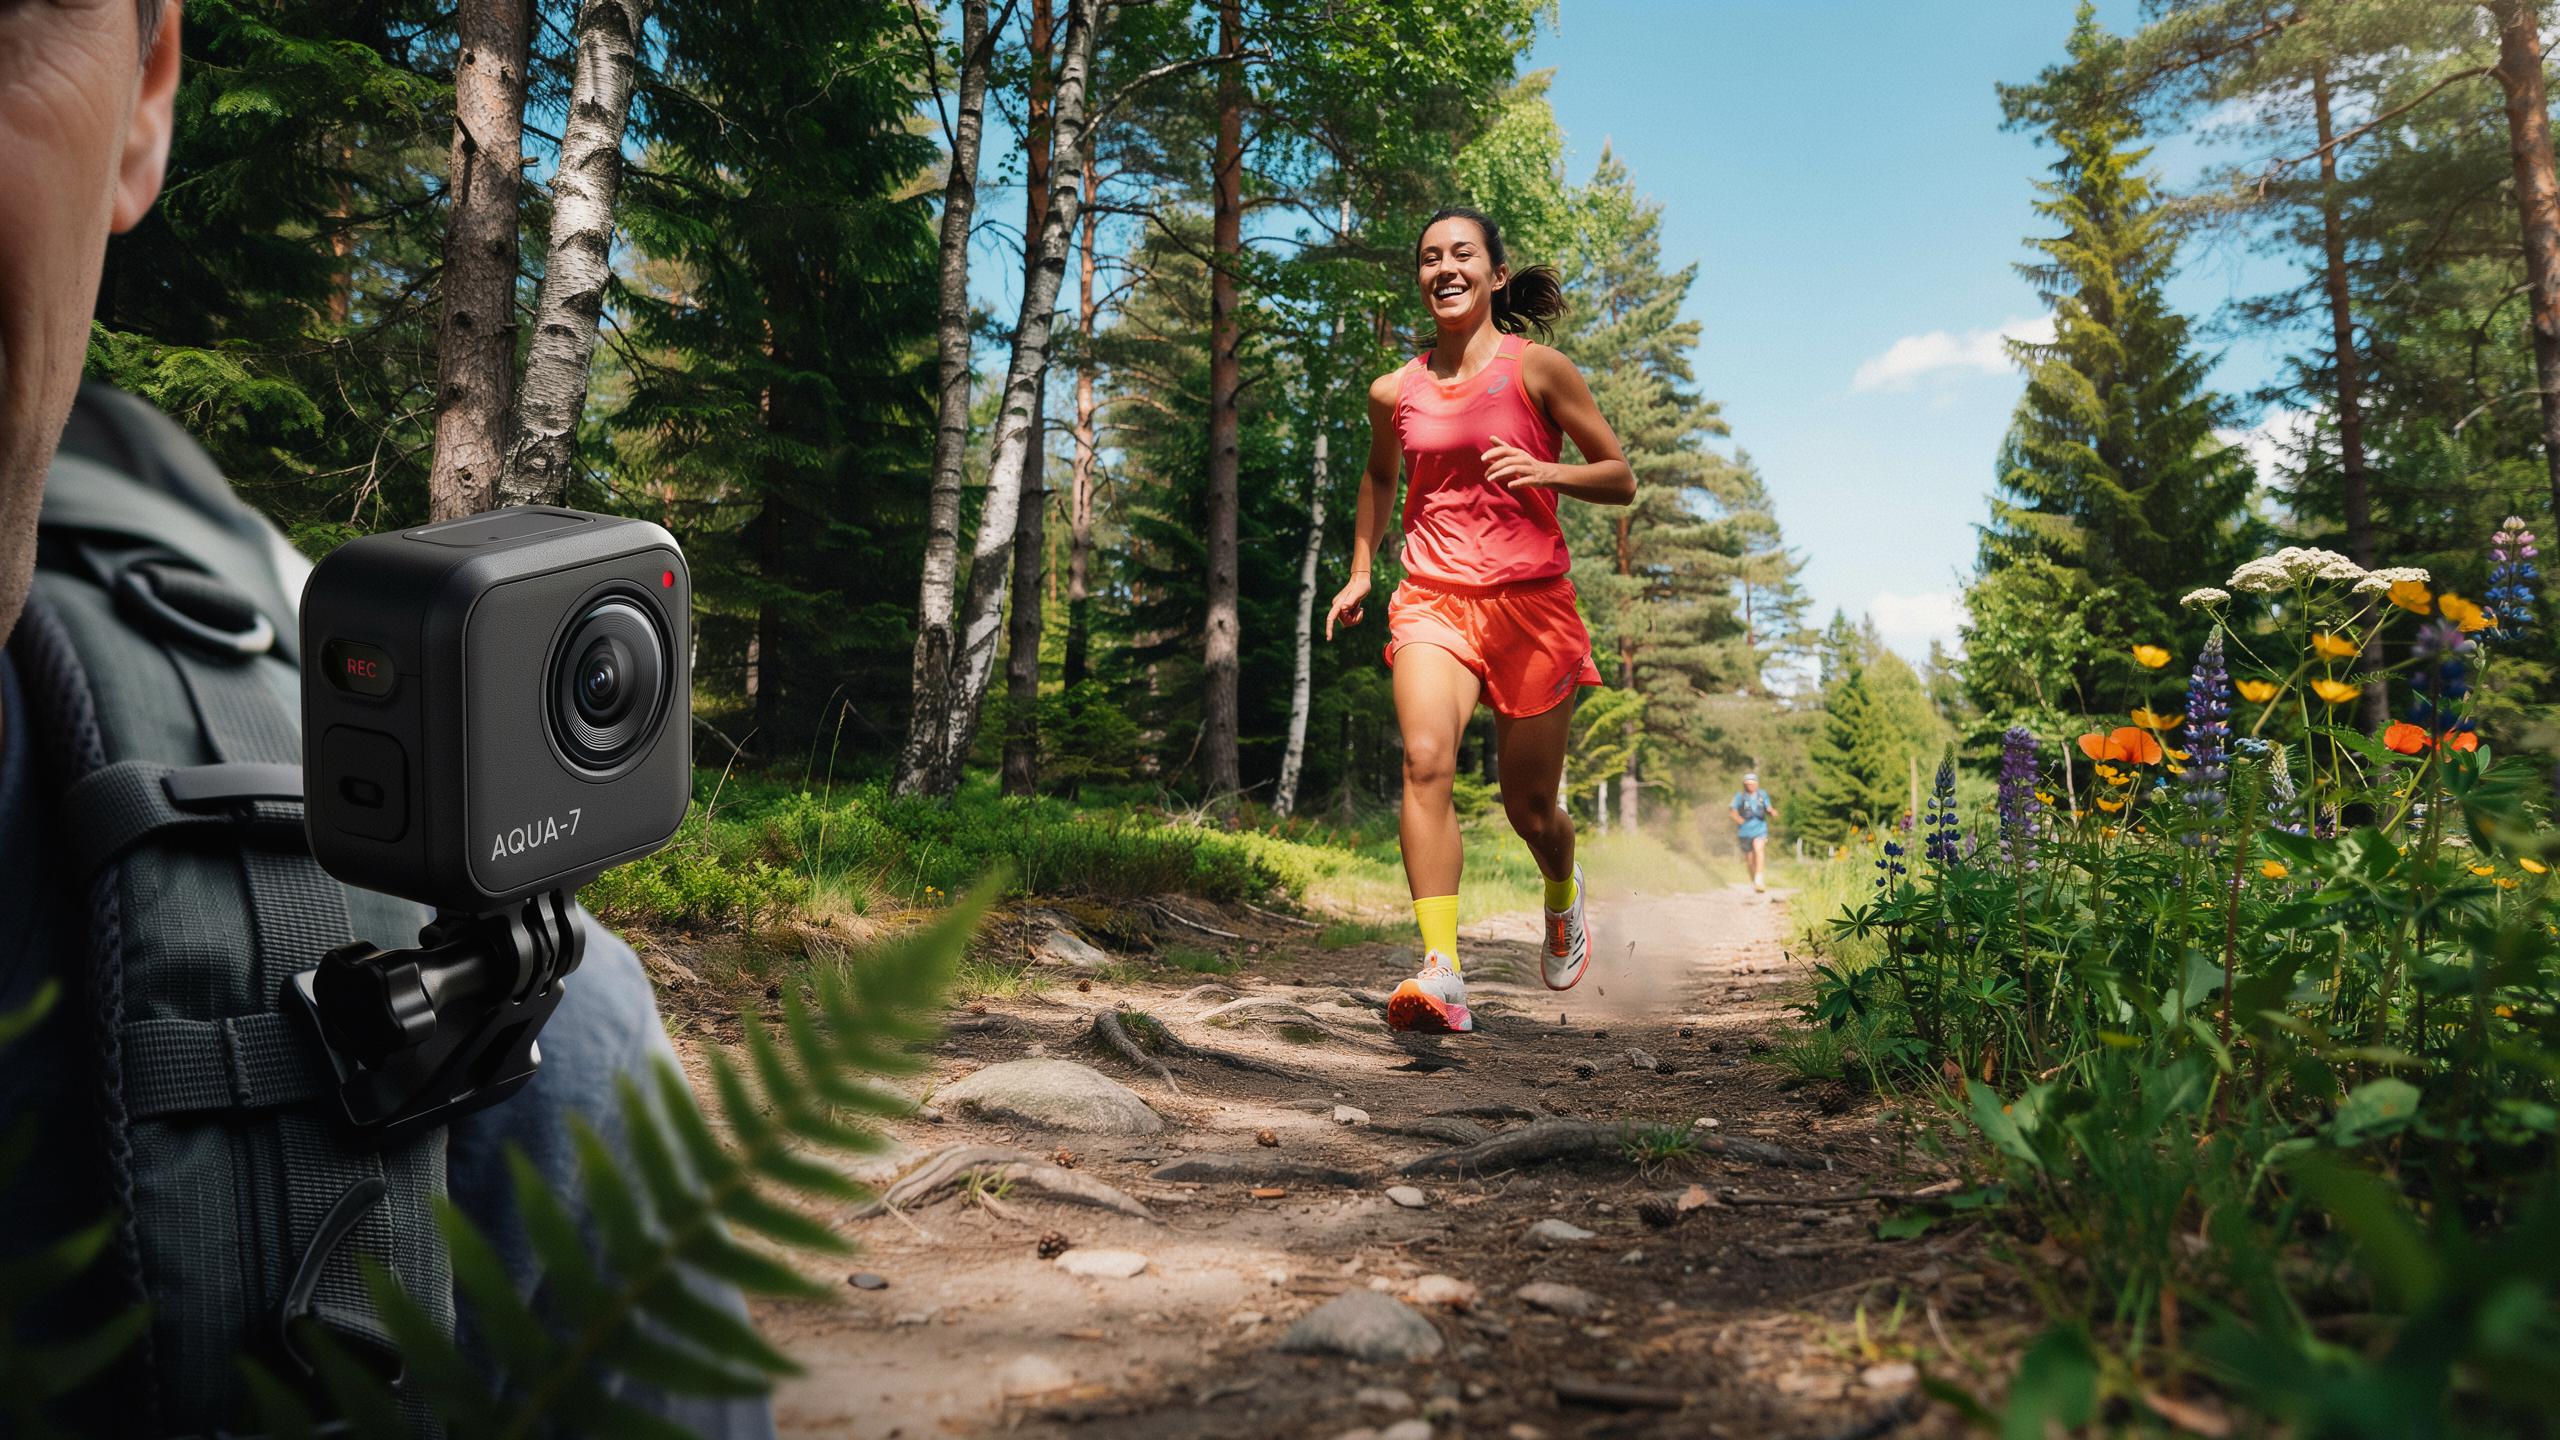
Why A Waterproof Action Camera Is Essential For Hiking
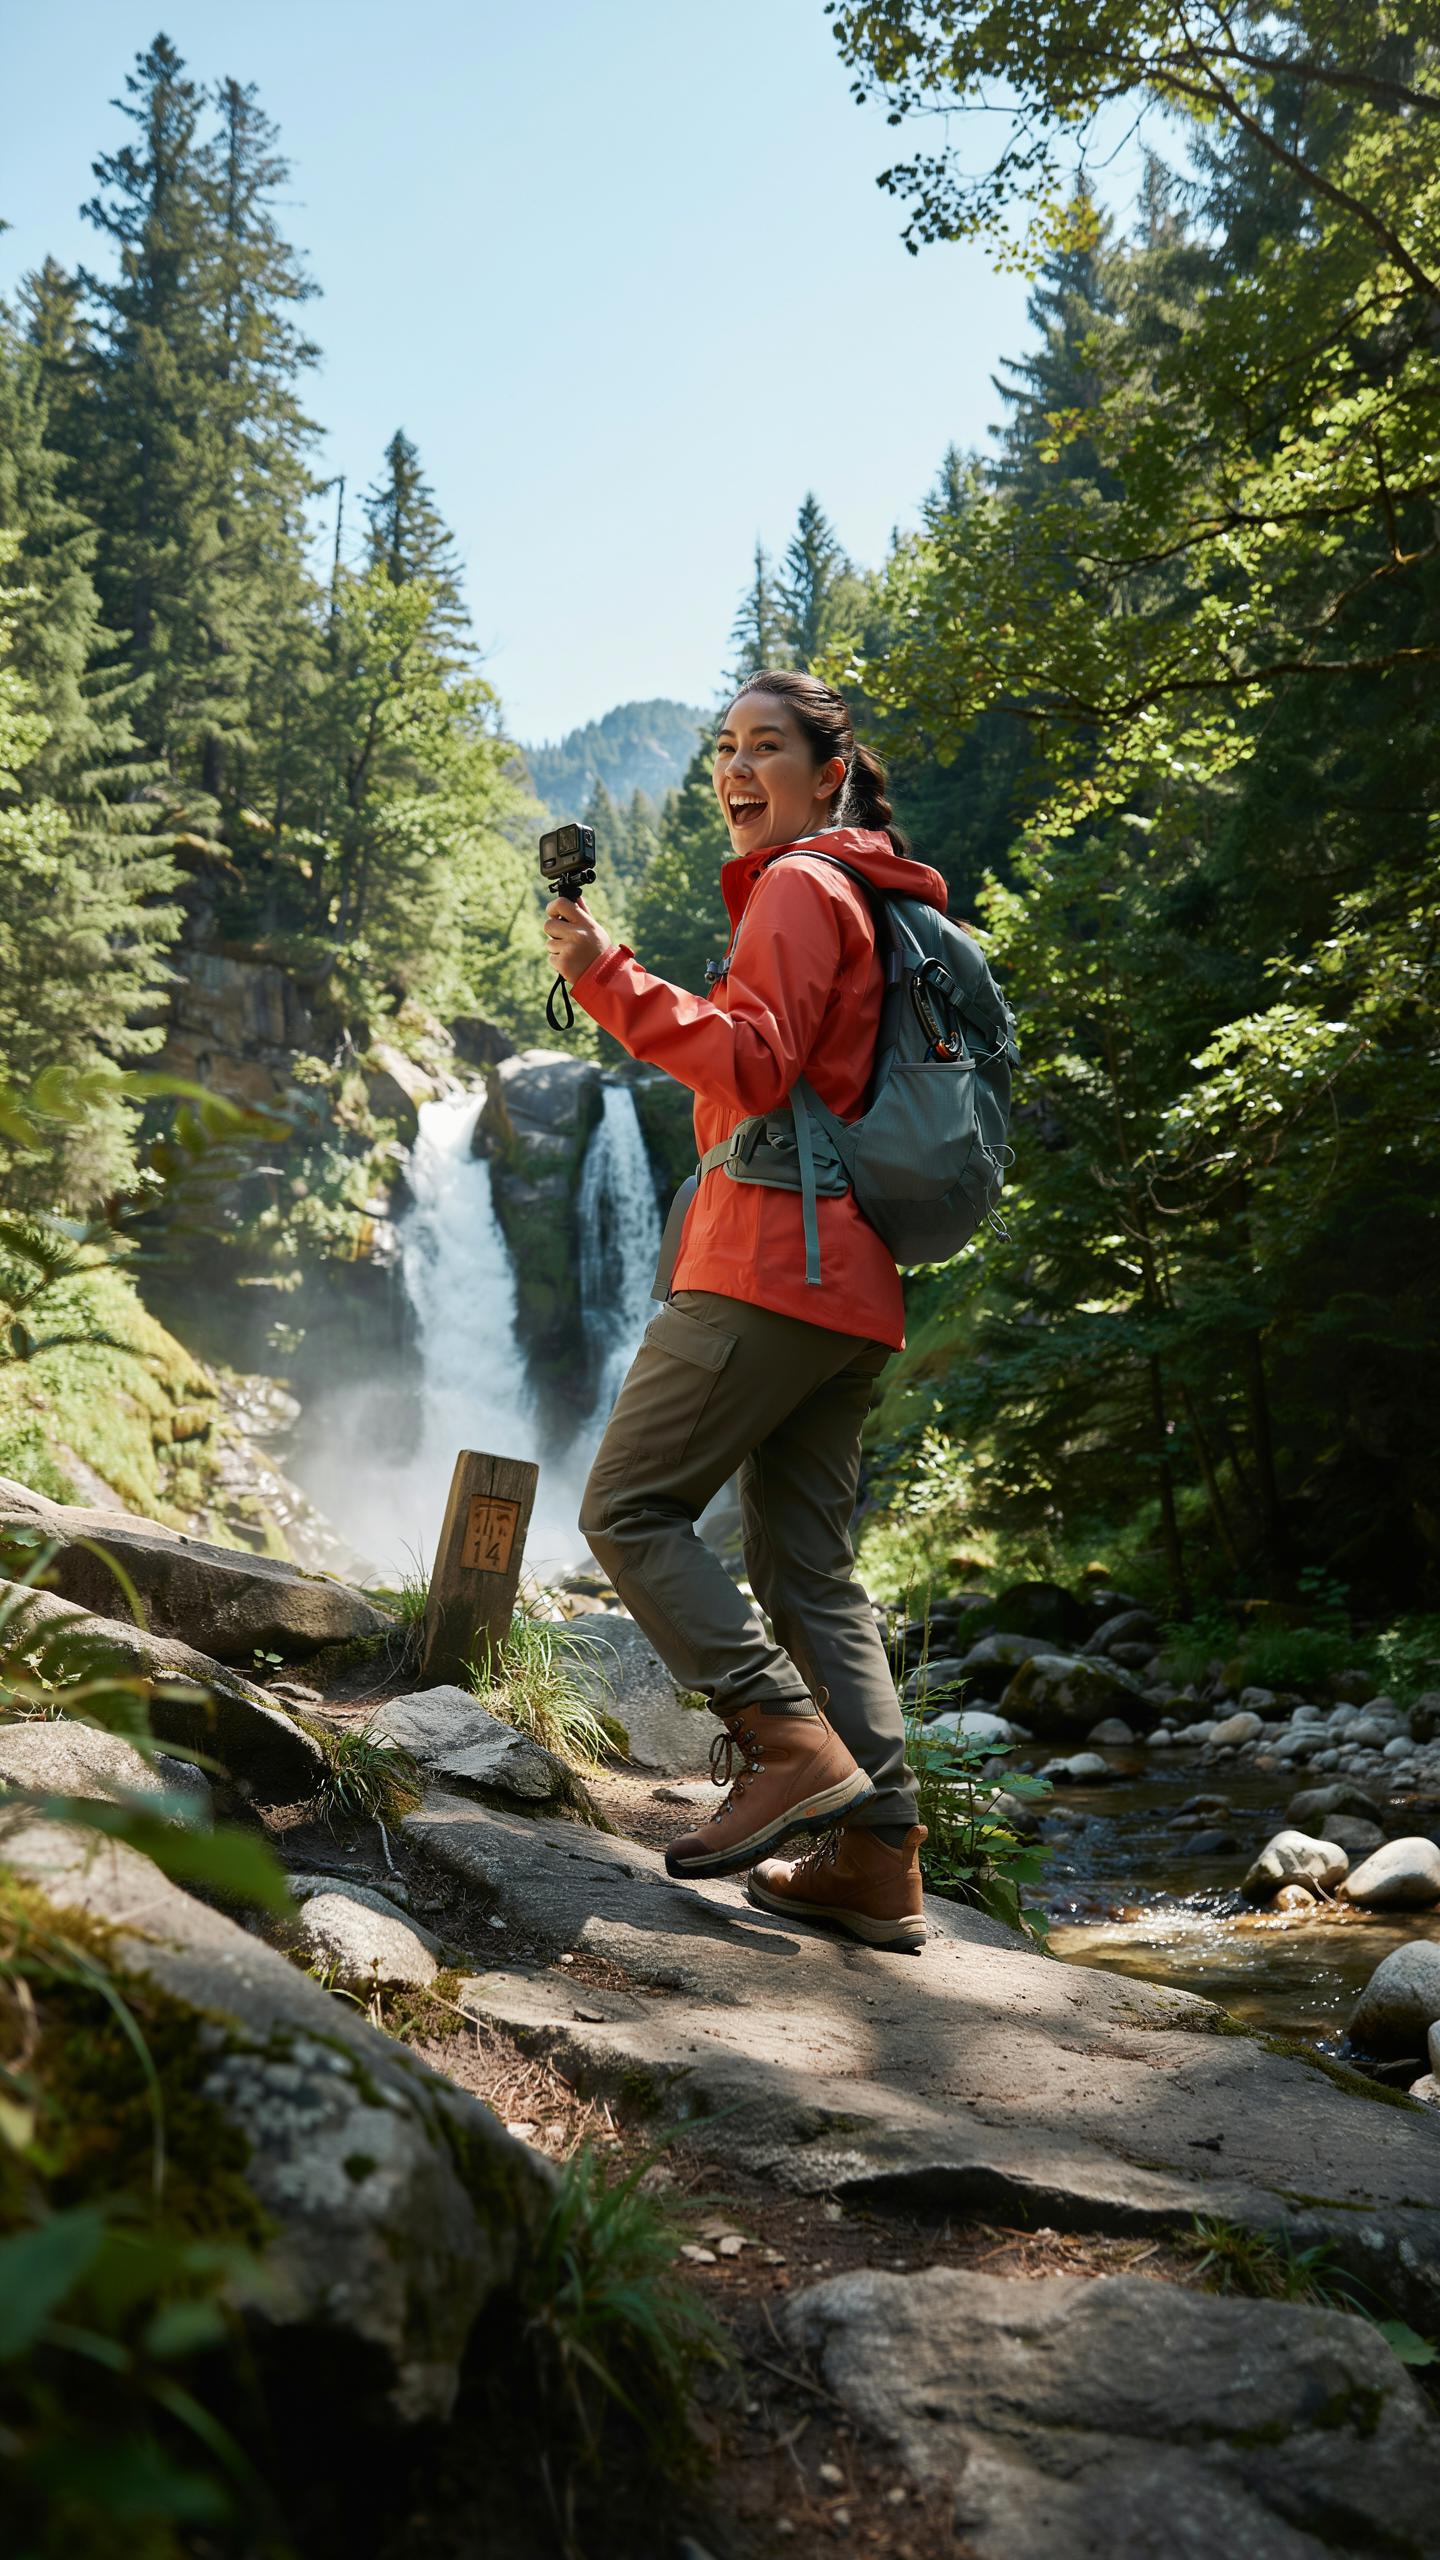
Durability In The Wild
Hiking exposes gear to rain, dust, mud, and temperature swings. A waterproof action camera survives these conditions without failing. Standard cameras break under moisture exposure. Waterproof models feature sealed components and protective housings that keep water out. You get reliable footage regardless of weather.
Weather changes fast on trails. Streams, fog, and unexpected storms occur regularly. A waterproof camera keeps working when conditions turn hostile. You don’t need protective cases or worry about moisture damage. The camera performs its job without interruption or maintenance during hikes.
Capturing Dynamic Moments
Action cameras record footage while you move. Their compact size attaches to helmets, backpacks, or chest mounts. You capture perspective and movement that stationary cameras cannot. Fast-paced trail running and steep descents become viewable content. The camera documents your experience hands-free.
Wide angle lenses on action cameras show expansive trail views and environmental context. Fast frame rates handle quick movements without blurring. You record authentic moments as they happen. The camera keeps pace with your activity level and terrain changes without losing video quality or stability.

Key Features To Look For In A Hiking Action Cam
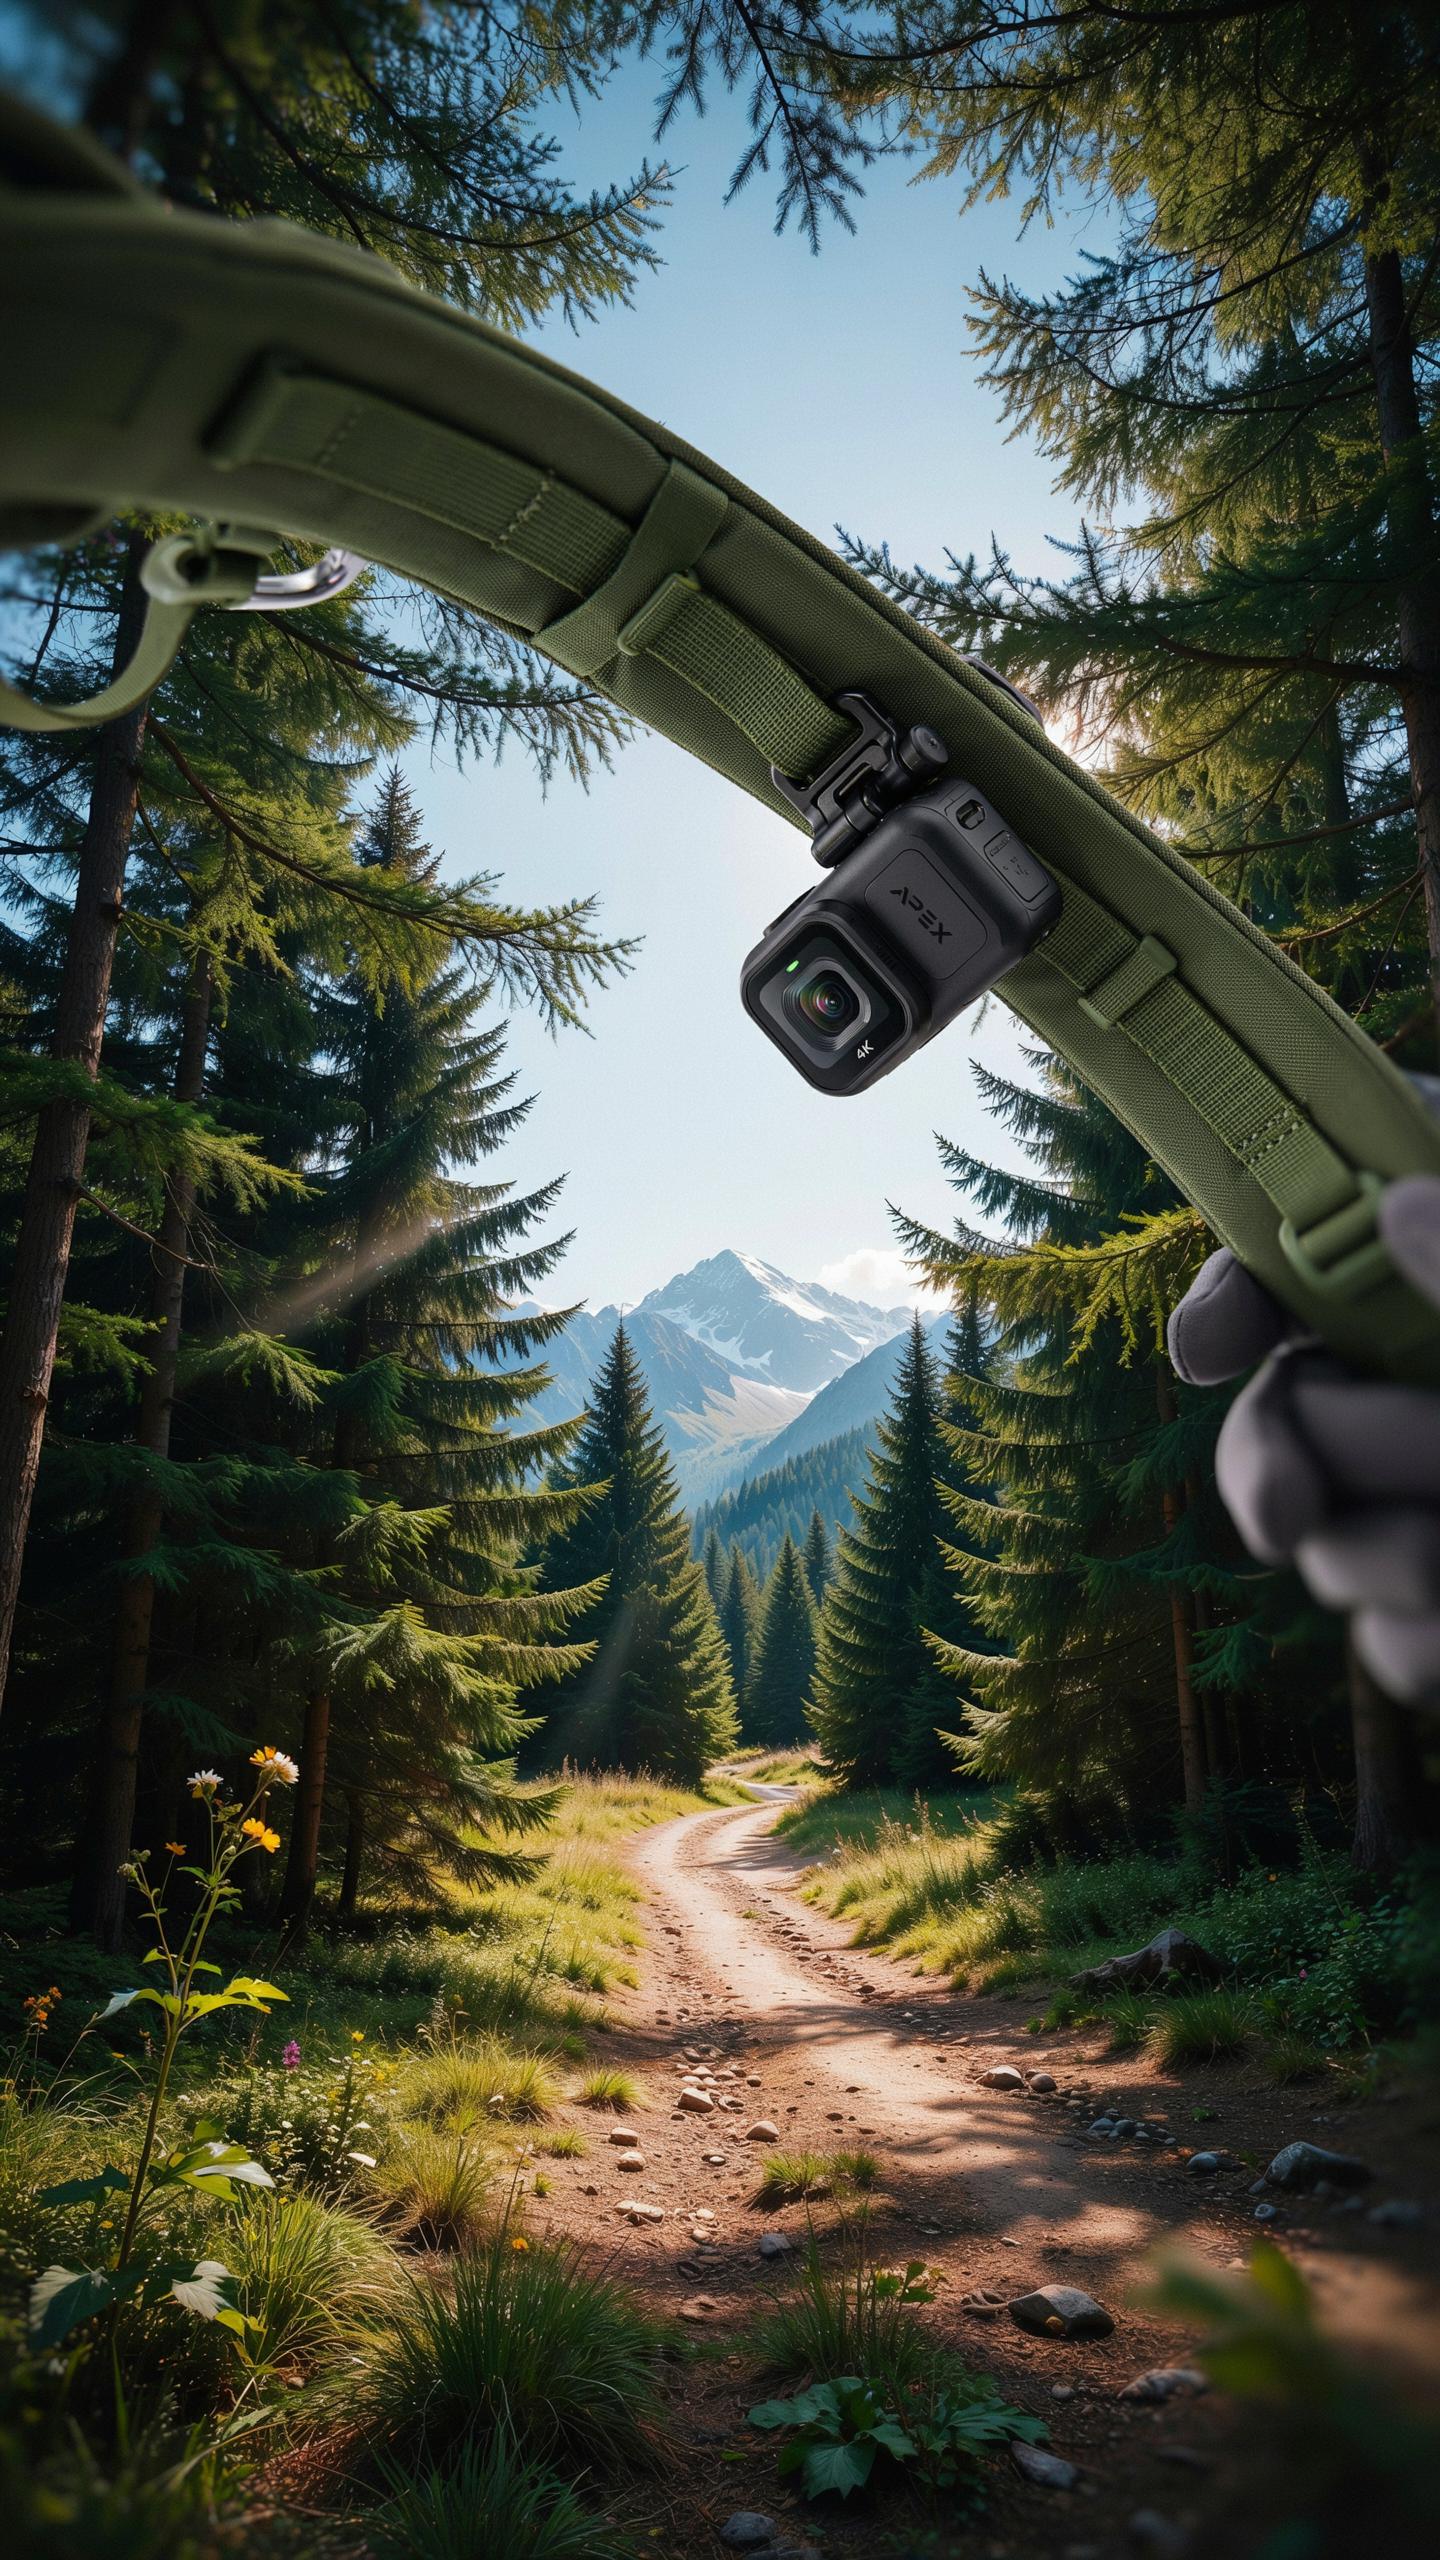
Waterproof Rating And Durability
IP ratings tell you exactly how much water and dust a camera can handle. IP67 means the camera survives dust and temporary water submersion up to one meter. IP68 pushes further, allowing deeper submersion for extended periods. Hiking demands both ratings because you face dust storms, rain, and potential water crossings. Check the actual rated depth in meters, not just the IP number alone.
Build quality determines survival in rough terrain. Cameras use rugged plastics, aluminum frames, and reinforced seals to withstand drops and impacts. Most hiking action cameras survive 10-foot drops onto rock. Lens protection matters too, so verify if the unit includes a protective cover or housing. Durability specs should list impact resistance ratings alongside waterproof certifications.
Image Stabilization And 4K Camera Capabilities
Electronic image stabilization corrects camera shake from movement and terrain vibration. Hiking produces constant motion from your body, uneven ground, and hand tremors. Modern action cameras use either electronic stabilization or mechanical gimbal technology. Both reduce blur significantly, but electronic versions consume more battery power. Test footage in real conditions before committing, as stabilization quality varies between brands and models.

4K video captures detail that 1080p cannot match. Higher resolution helps when you need to crop footage during editing or zoom on distant landmarks. However, 4K demands more storage space and faster memory cards to record without dropping frames. Most hiking scenarios use 1080p or 2.7K since batteries last longer and file sizes stay manageable. Choose 4K only if your workflow actually requires that resolution and your power management supports extended recording.
Top Waterproof Action Camera Brands GoPro Vs DJI Osmo
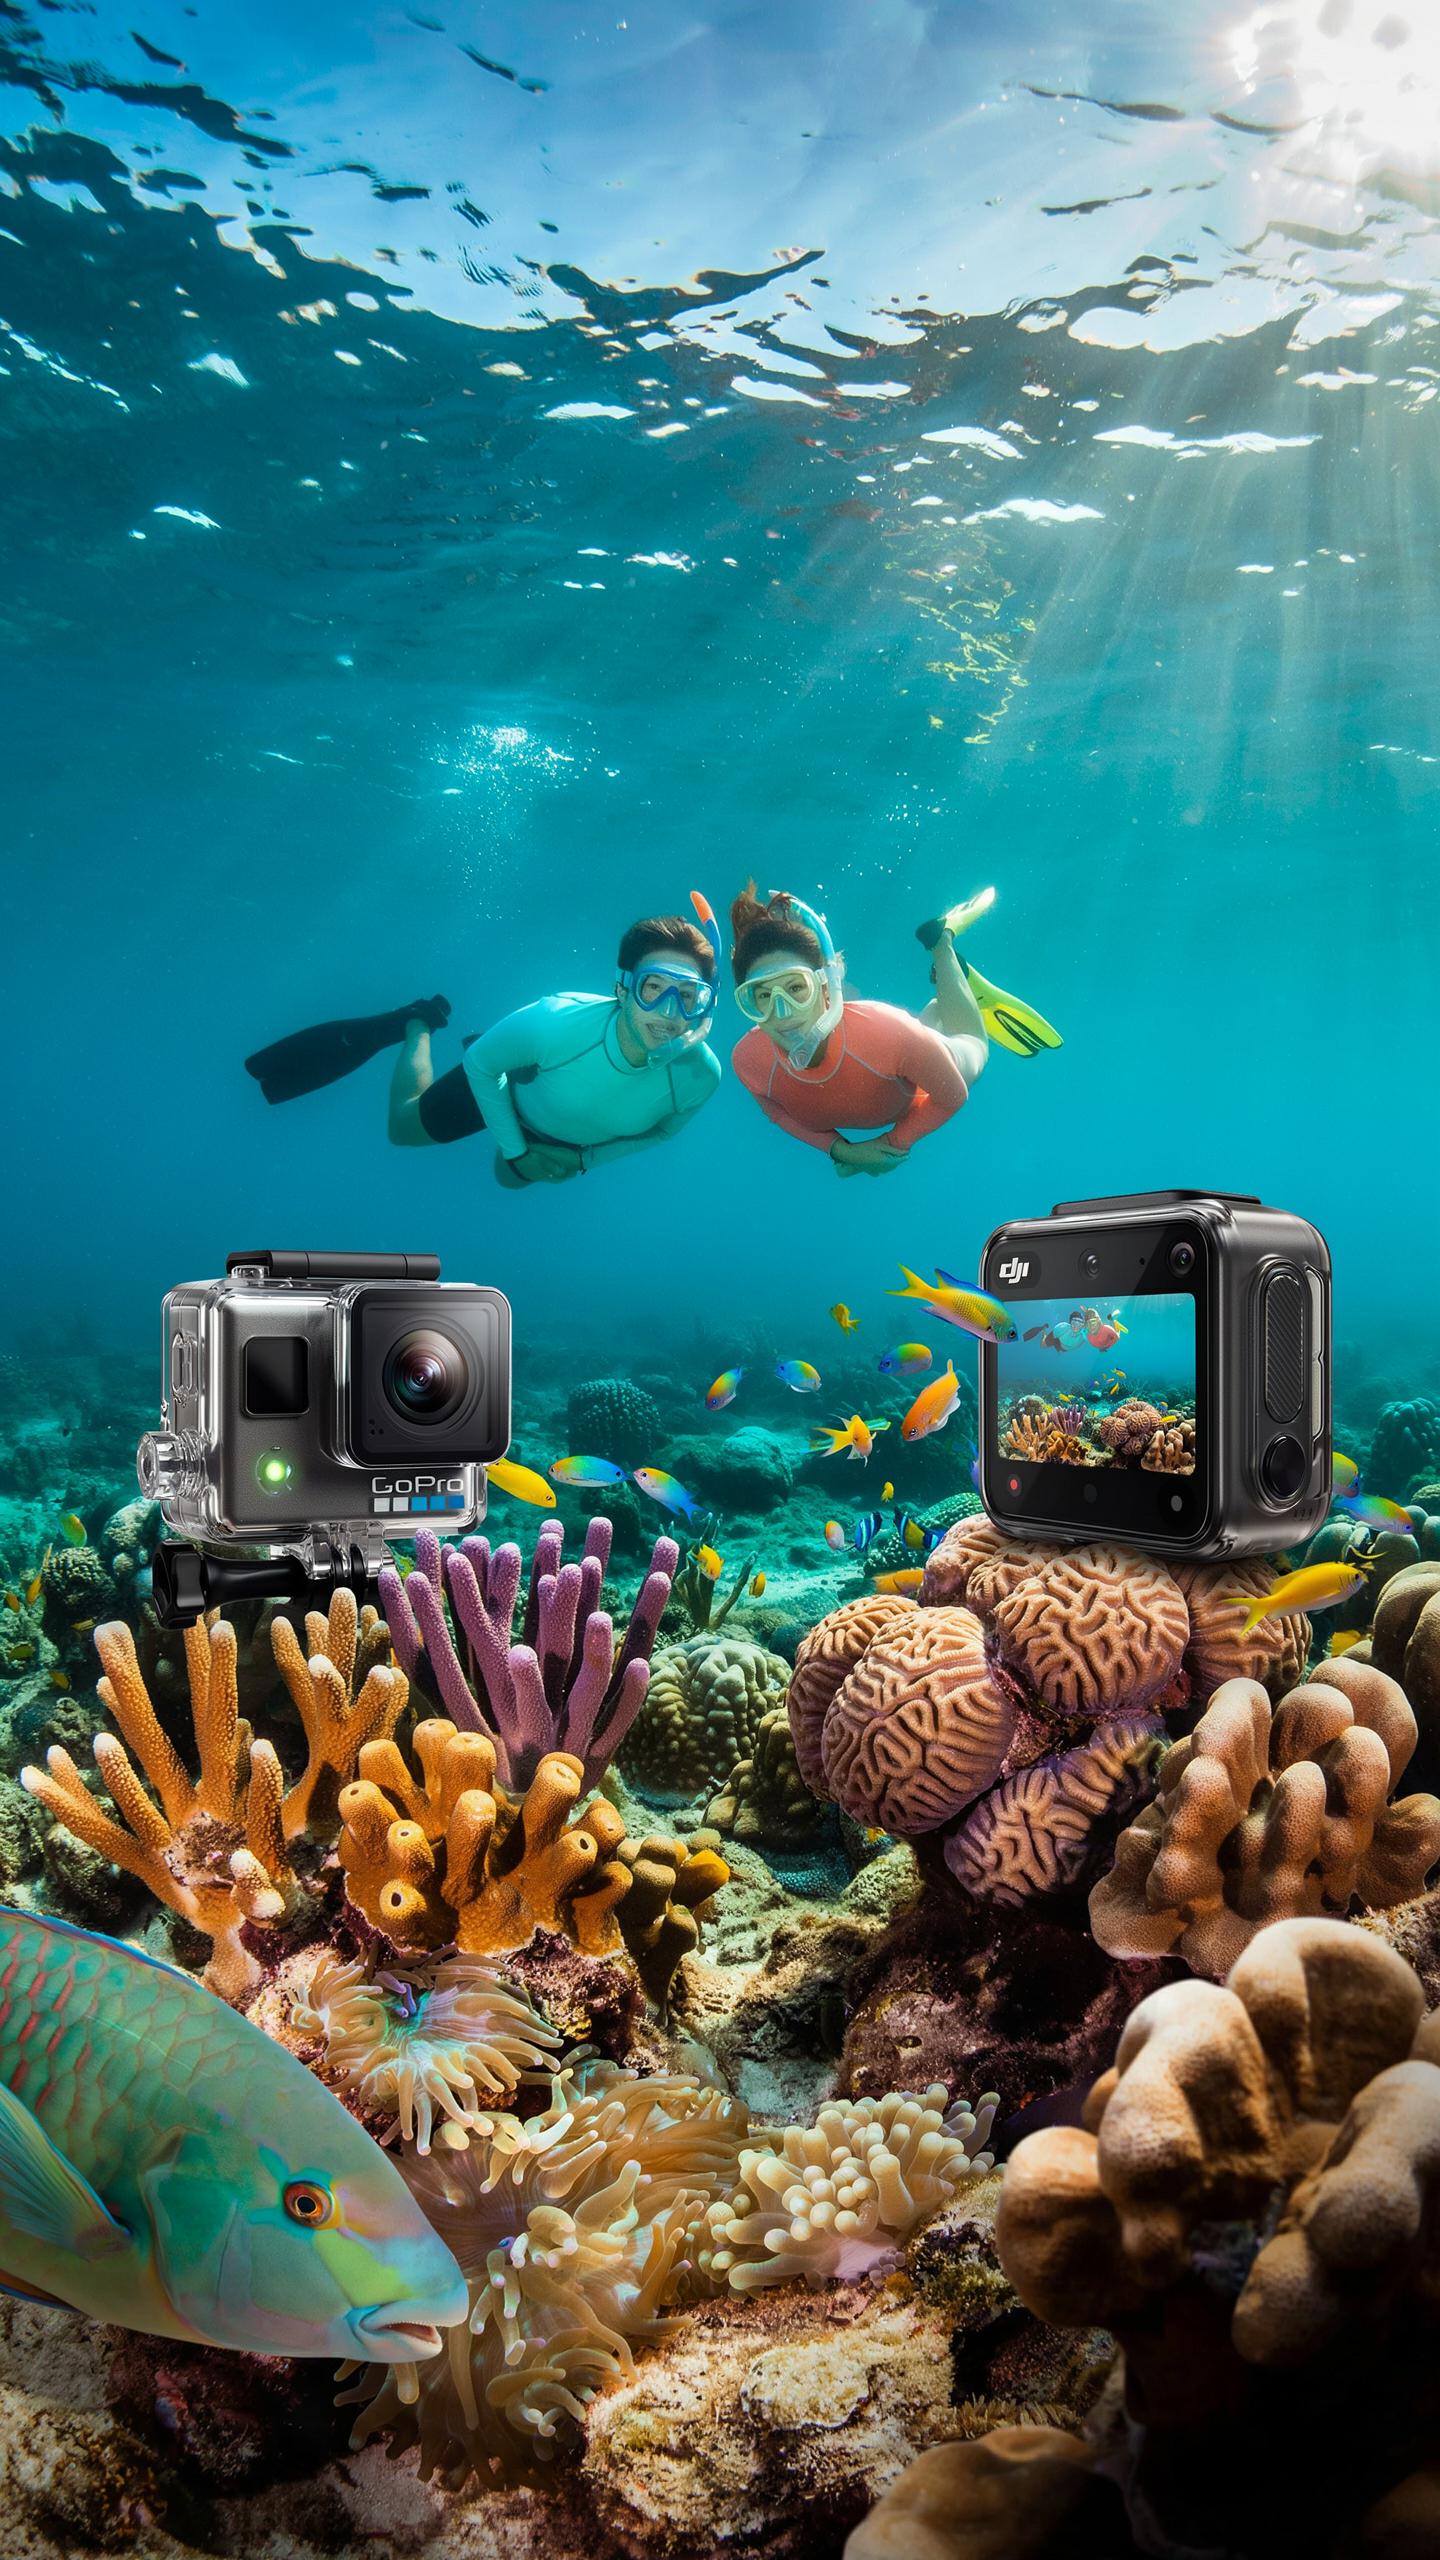
GoPro: The Industry Standard
GoPro dominates the action camera market because it delivers reliable performance for hiking and trail documentation. The Hero 11 and Hero 12 models shoot 5.3K video, stabilize footage effectively, and withstand water submersion to 33 feet without a housing. Battery life reaches approximately two hours of continuous recording. The company built its reputation on durability and compatibility with thousands of third-party mounting accessories designed for outdoor use.
GoPro’s software ecosystem gives hikers practical advantages. The GoPro app syncs footage to your phone for quick sharing on trail. Hypersmooth stabilization compensates for movement on uneven terrain. The modular design lets you attach the camera to helmets, chest harnesses, or trekking poles depending on your shooting angle. For hikers prioritizing ease of use and proven performance, GoPro remains the tactical choice.
DJI Osmo Action: A Strong Contender
DJI Osmo Action 4 offers competitive specs at lower price points than GoPro’s flagship models. It shoots 4K video at 60fps, handles water to 33 feet, and includes RockSteady stabilization for smooth trail footage. The dual-screen design gives you a front-facing display for selfie-style hiking content. DJI positions this camera as a cost-effective alternative without sacrificing core functionality for backcountry documentation.
The Osmo Action lacks GoPro’s accessory ecosystem depth, which matters for serious hikers seeking specialized mounting solutions. However, the camera performs adequately with standard mounts on most gear. DJI’s slower software updates and smaller user community mean fewer third-party innovations compared to GoPro. Choose Osmo Action if budget constraints drive your decision and you accept fewer mounting customization options.
Recording In Challenging Conditions With Your Action Camera
Low Lights Performance
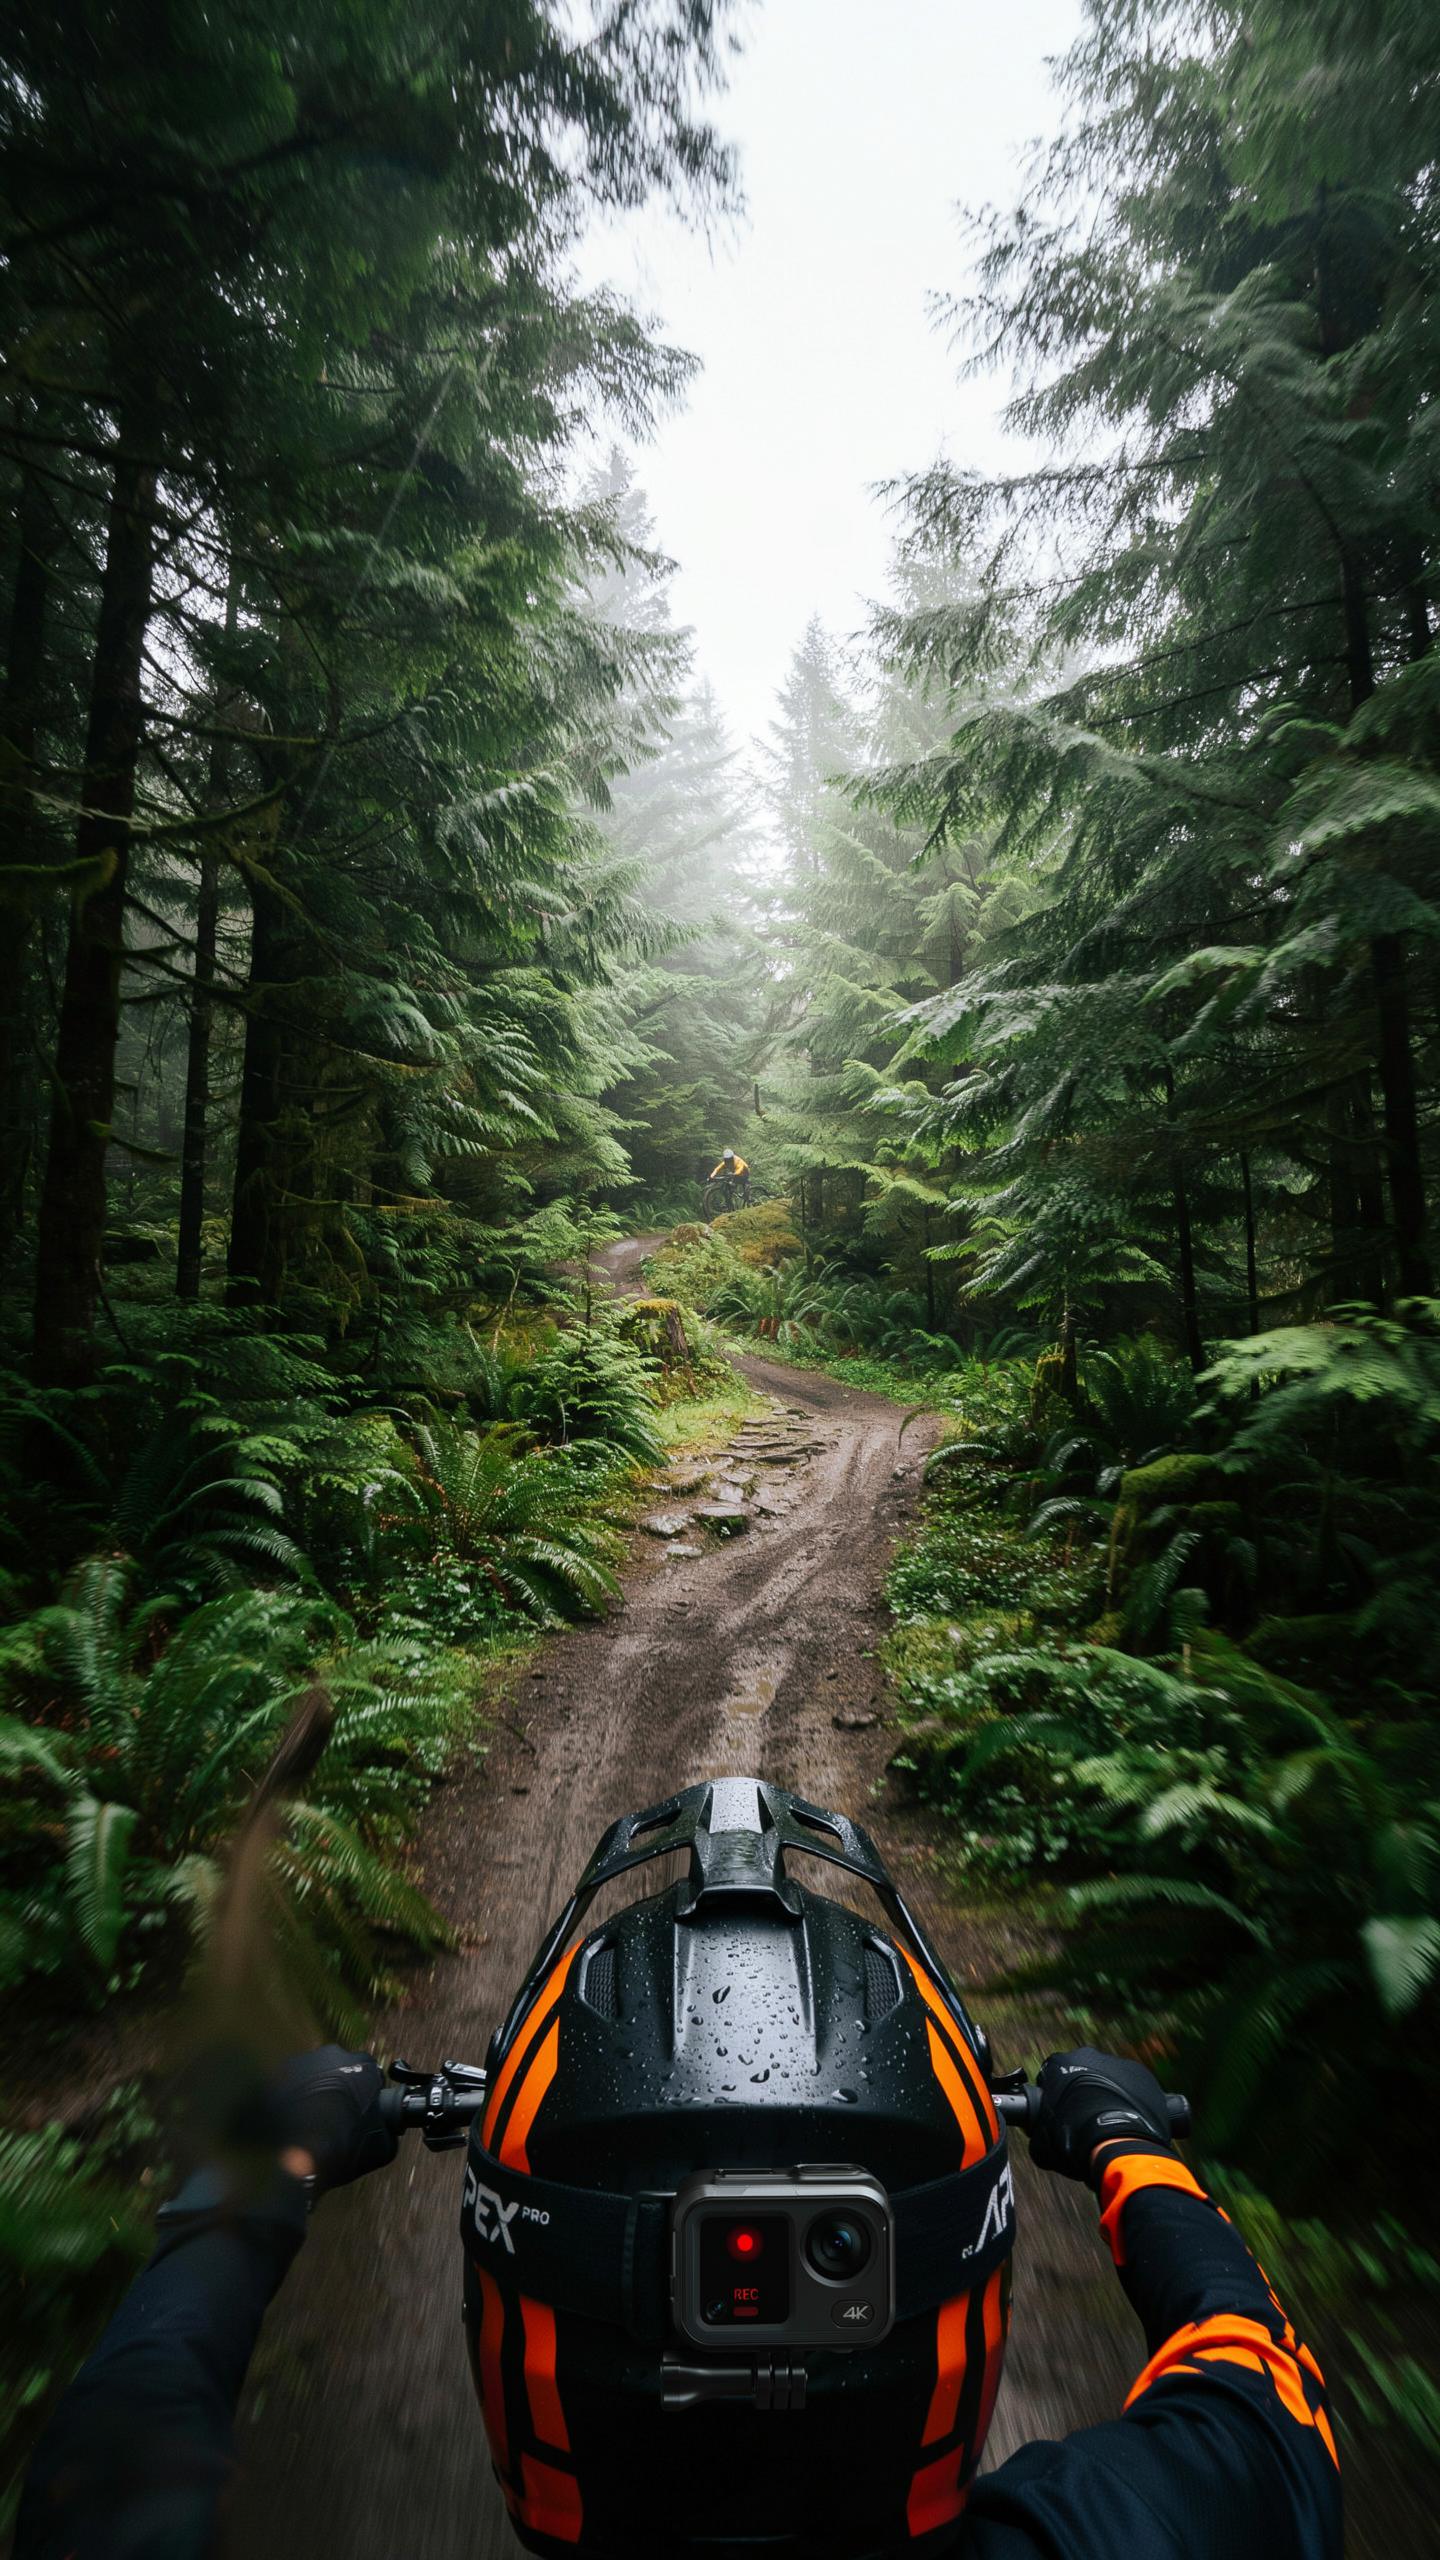
Most action cameras struggle in low light because their sensors are small. Increasing ISO amplifies the signal but introduces grain. Reduce frame rate from 60fps to 24fps or 30fps to let each frame capture more light. Open the shutter wider if your camera offers manual controls. Forests and dawn trails demand these adjustments to produce usable footage.
Use a lower resolution setting to improve light sensitivity. Shooting at 1080p instead of 4K captures more light per pixel on smaller sensors. Underexposure beats the alternative: a camera that captures nothing. Scout your trail beforehand. Know which sections lack light so you can plan your settings before you arrive on site.
Wind Noise Reduction And Audio Quality
Wind noise dominates audio recordings during trail runs and hikes. External microphone attachments with foam windscreens reduce turbulence around the mic capsule. Most action cameras mount these easily. A quality windscreen costs ten to twenty dollars and eliminates the grinding sound wind creates against bare microphones. This upgrade matters more than most people realize.

Lower your camera’s microphone sensitivity if wind persists. This sacrifices some ambient detail but removes the hissing and roaring that makes footage unwatchable. Position your camera to shield the mic from direct wind when possible. Keep microphone foam clean and dry. Wet or compressed foam loses its noise cancellation ability. Replace it seasonally if you record frequently in wet conditions.
Essential Accessories For Your Waterproof Camera
Water Proof Case And Mounts
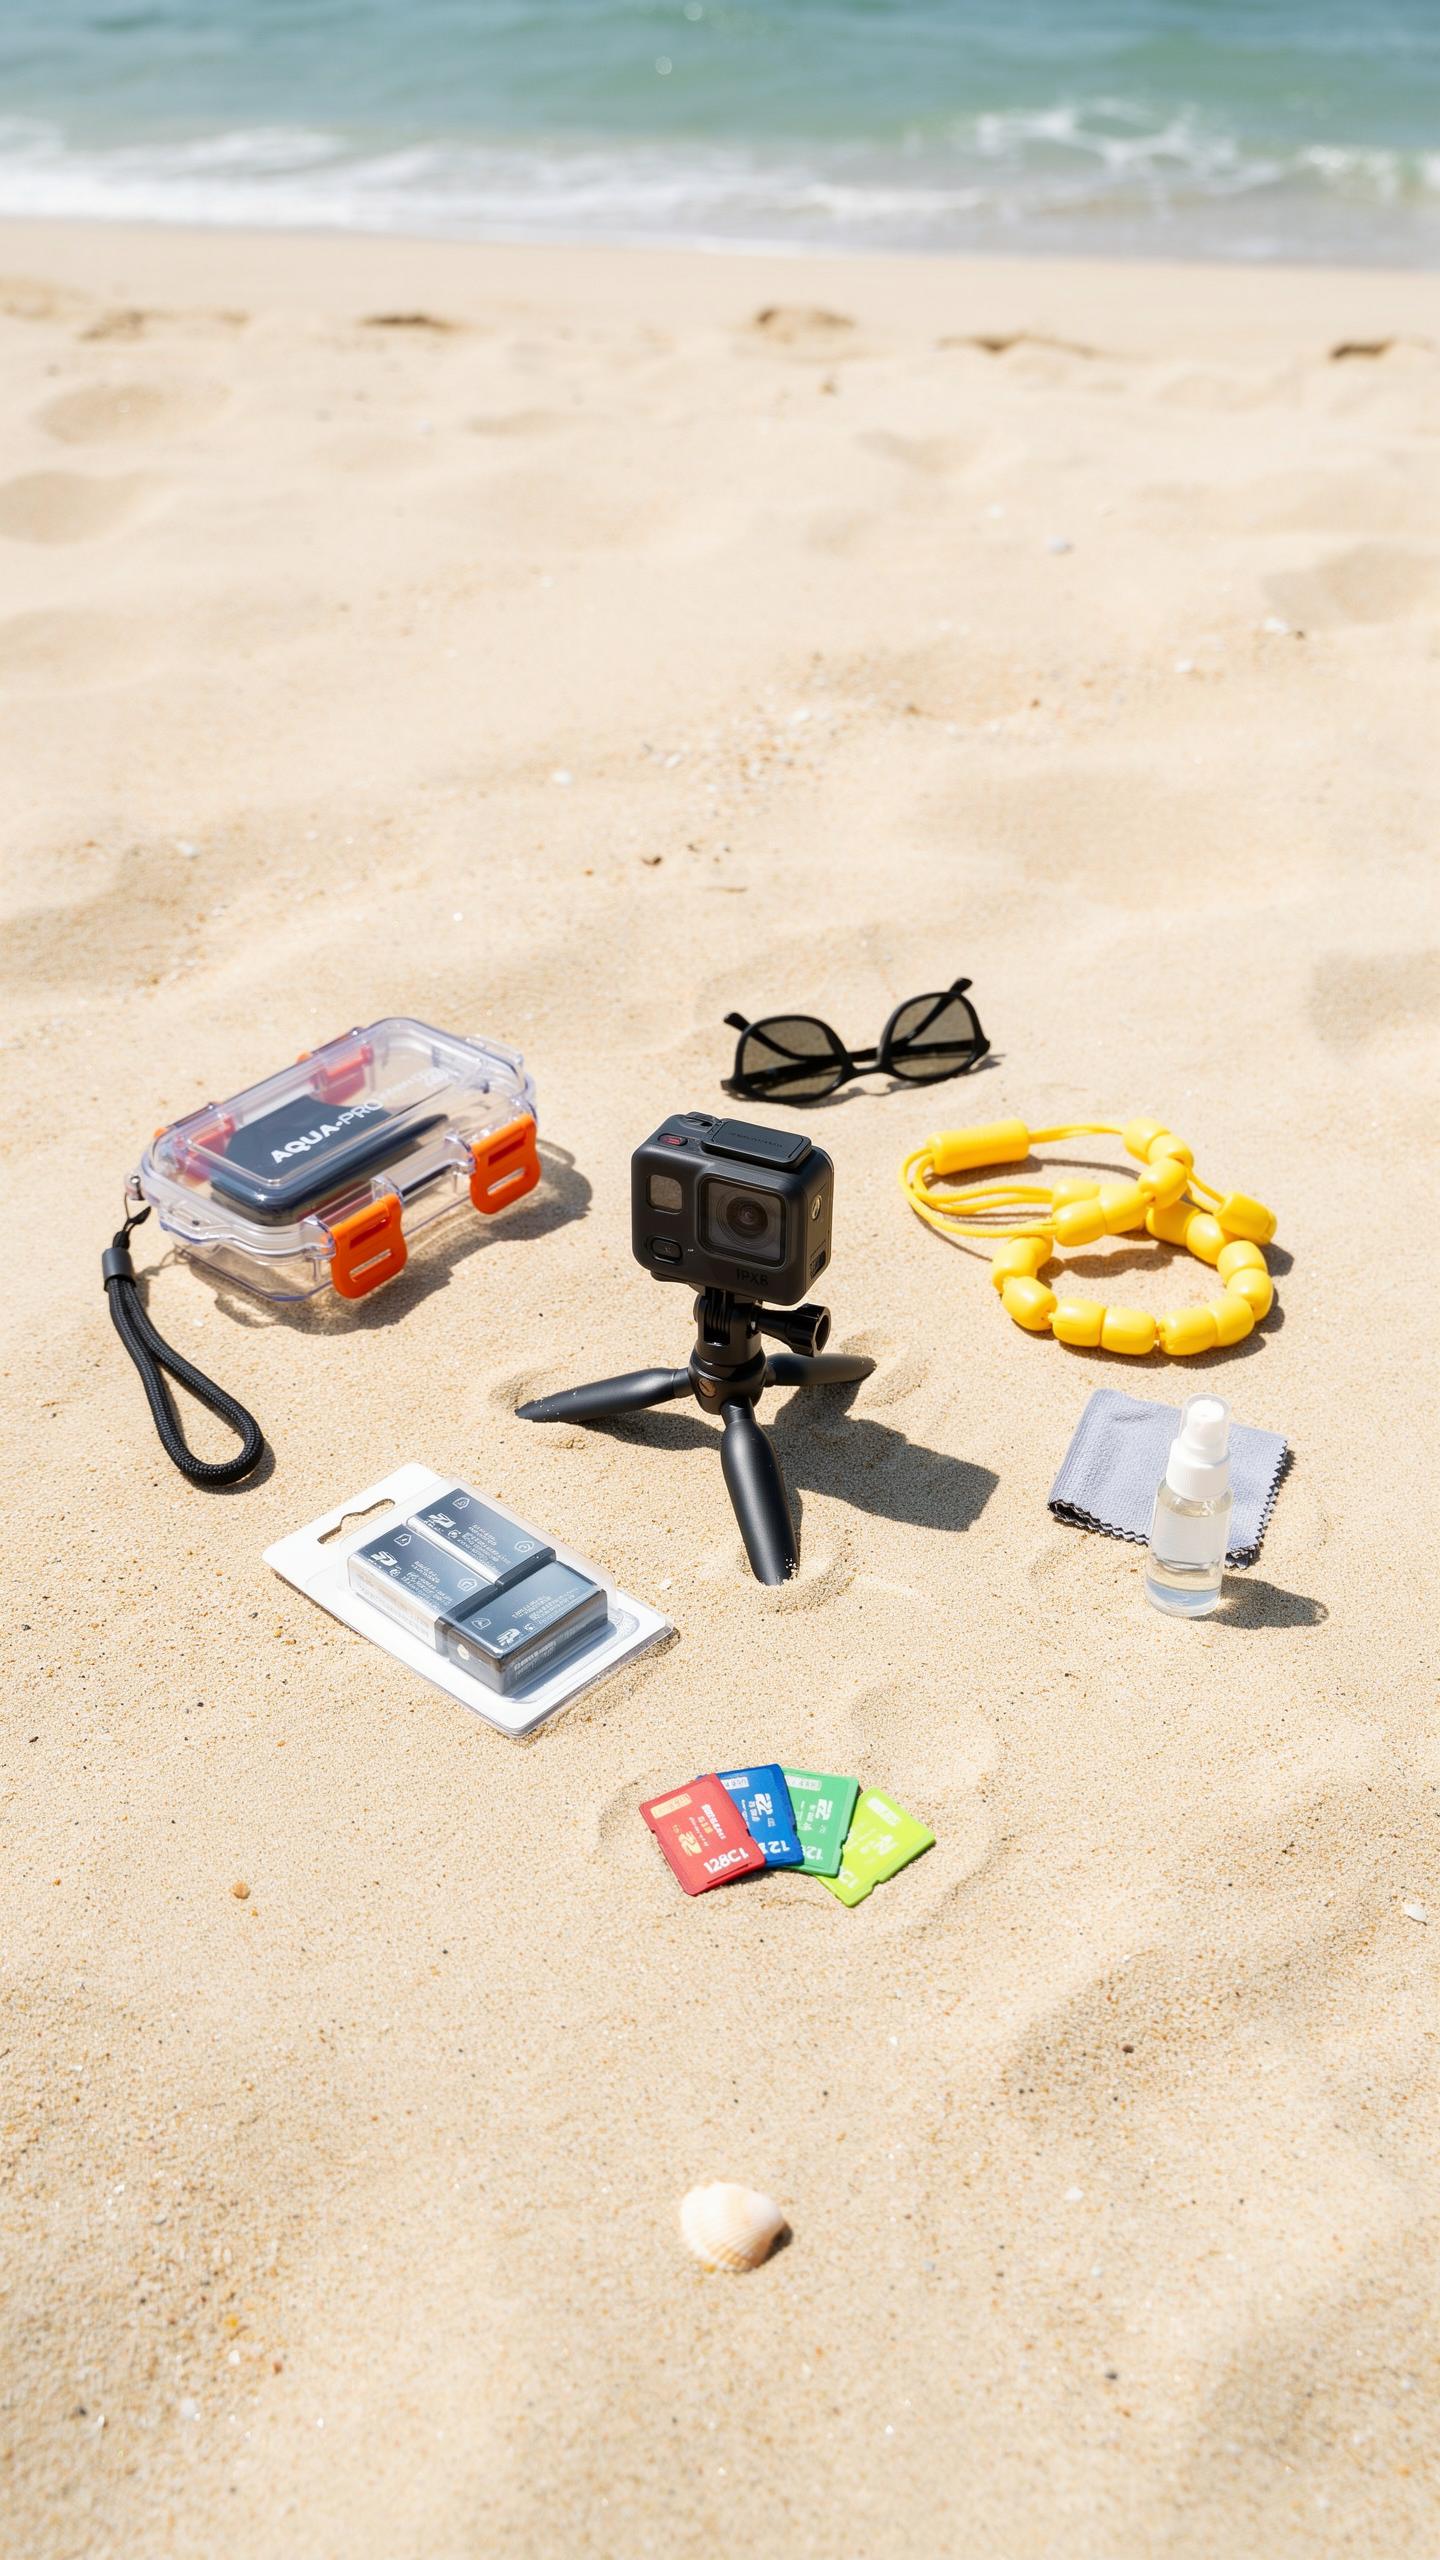
Your camera’s housing protects against water damage, but you need the right case for your specific terrain. Standard waterproof cases offer rated depth protection up to 30 feet or more. Rugged cases add shock absorption for rocky trails. Choose based on your typical hiking elevation and water exposure risks.
- Hard Shell Cases: Protective rigid containers with foam inserts. Prevent crushing damage during backpack transport. Add weight but ensure maximum protection for storage and travel between hikes.
- Soft Neoprene Sleeves: Lightweight cloth bags with padding. Fit easily in hiking pockets. Provide basic protection but not full waterproofing for submersion scenarios.
- Helmet Mounts: Fixed brackets that attach to climbing or bike helmets. Capture first-person perspective during technical terrain. Keep hands free while recording steep climbs.
- Chest Harness Mounts: Body-worn straps that position the camera at torso level. Deliver stable footage on flat trails. Reduce arm fatigue during long runs.
- Flexible Tripod Mounts: Bendable leg stands with ball joints. Secure the camera on uneven ground without tripod weight. Allow precise angle adjustments for static shots at rest stops.
Mount selection depends on your hiking style and footage goals. Helmet mounts work for technical climbing. Chest harnesses suit distance running. Tripod mounts work for landscape shots at scenic overlooks. Test each mount type before committing to longer expeditions.
From rocky paths to sun-drenched trails, may your waterproof lens forever capture the golden hues of adventures past, keeping those exhilarating moments alive in your heart.
Extra Batteries And Power Banks
Long hikes drain camera batteries faster than casual use. A standard action camera battery lasts 60 to 90 minutes of continuous recording. Trail runs covering 10+ miles need multiple charge cycles. Extended trips demand backup power solutions.

Carry extra branded batteries in insulated cases to maintain optimal performance in cold weather. Portable power banks rated 10,000 mAh or higher charge depleted batteries during trail breaks. Solar chargers eliminate dependency on outlets but require clear skies and patience. Calculate your total recording time before departure and bring 50 percent more battery capacity than you estimate needing.
Maximizing Your Footage Techniques For Hiking Videos
Framing Your Shots In Nature
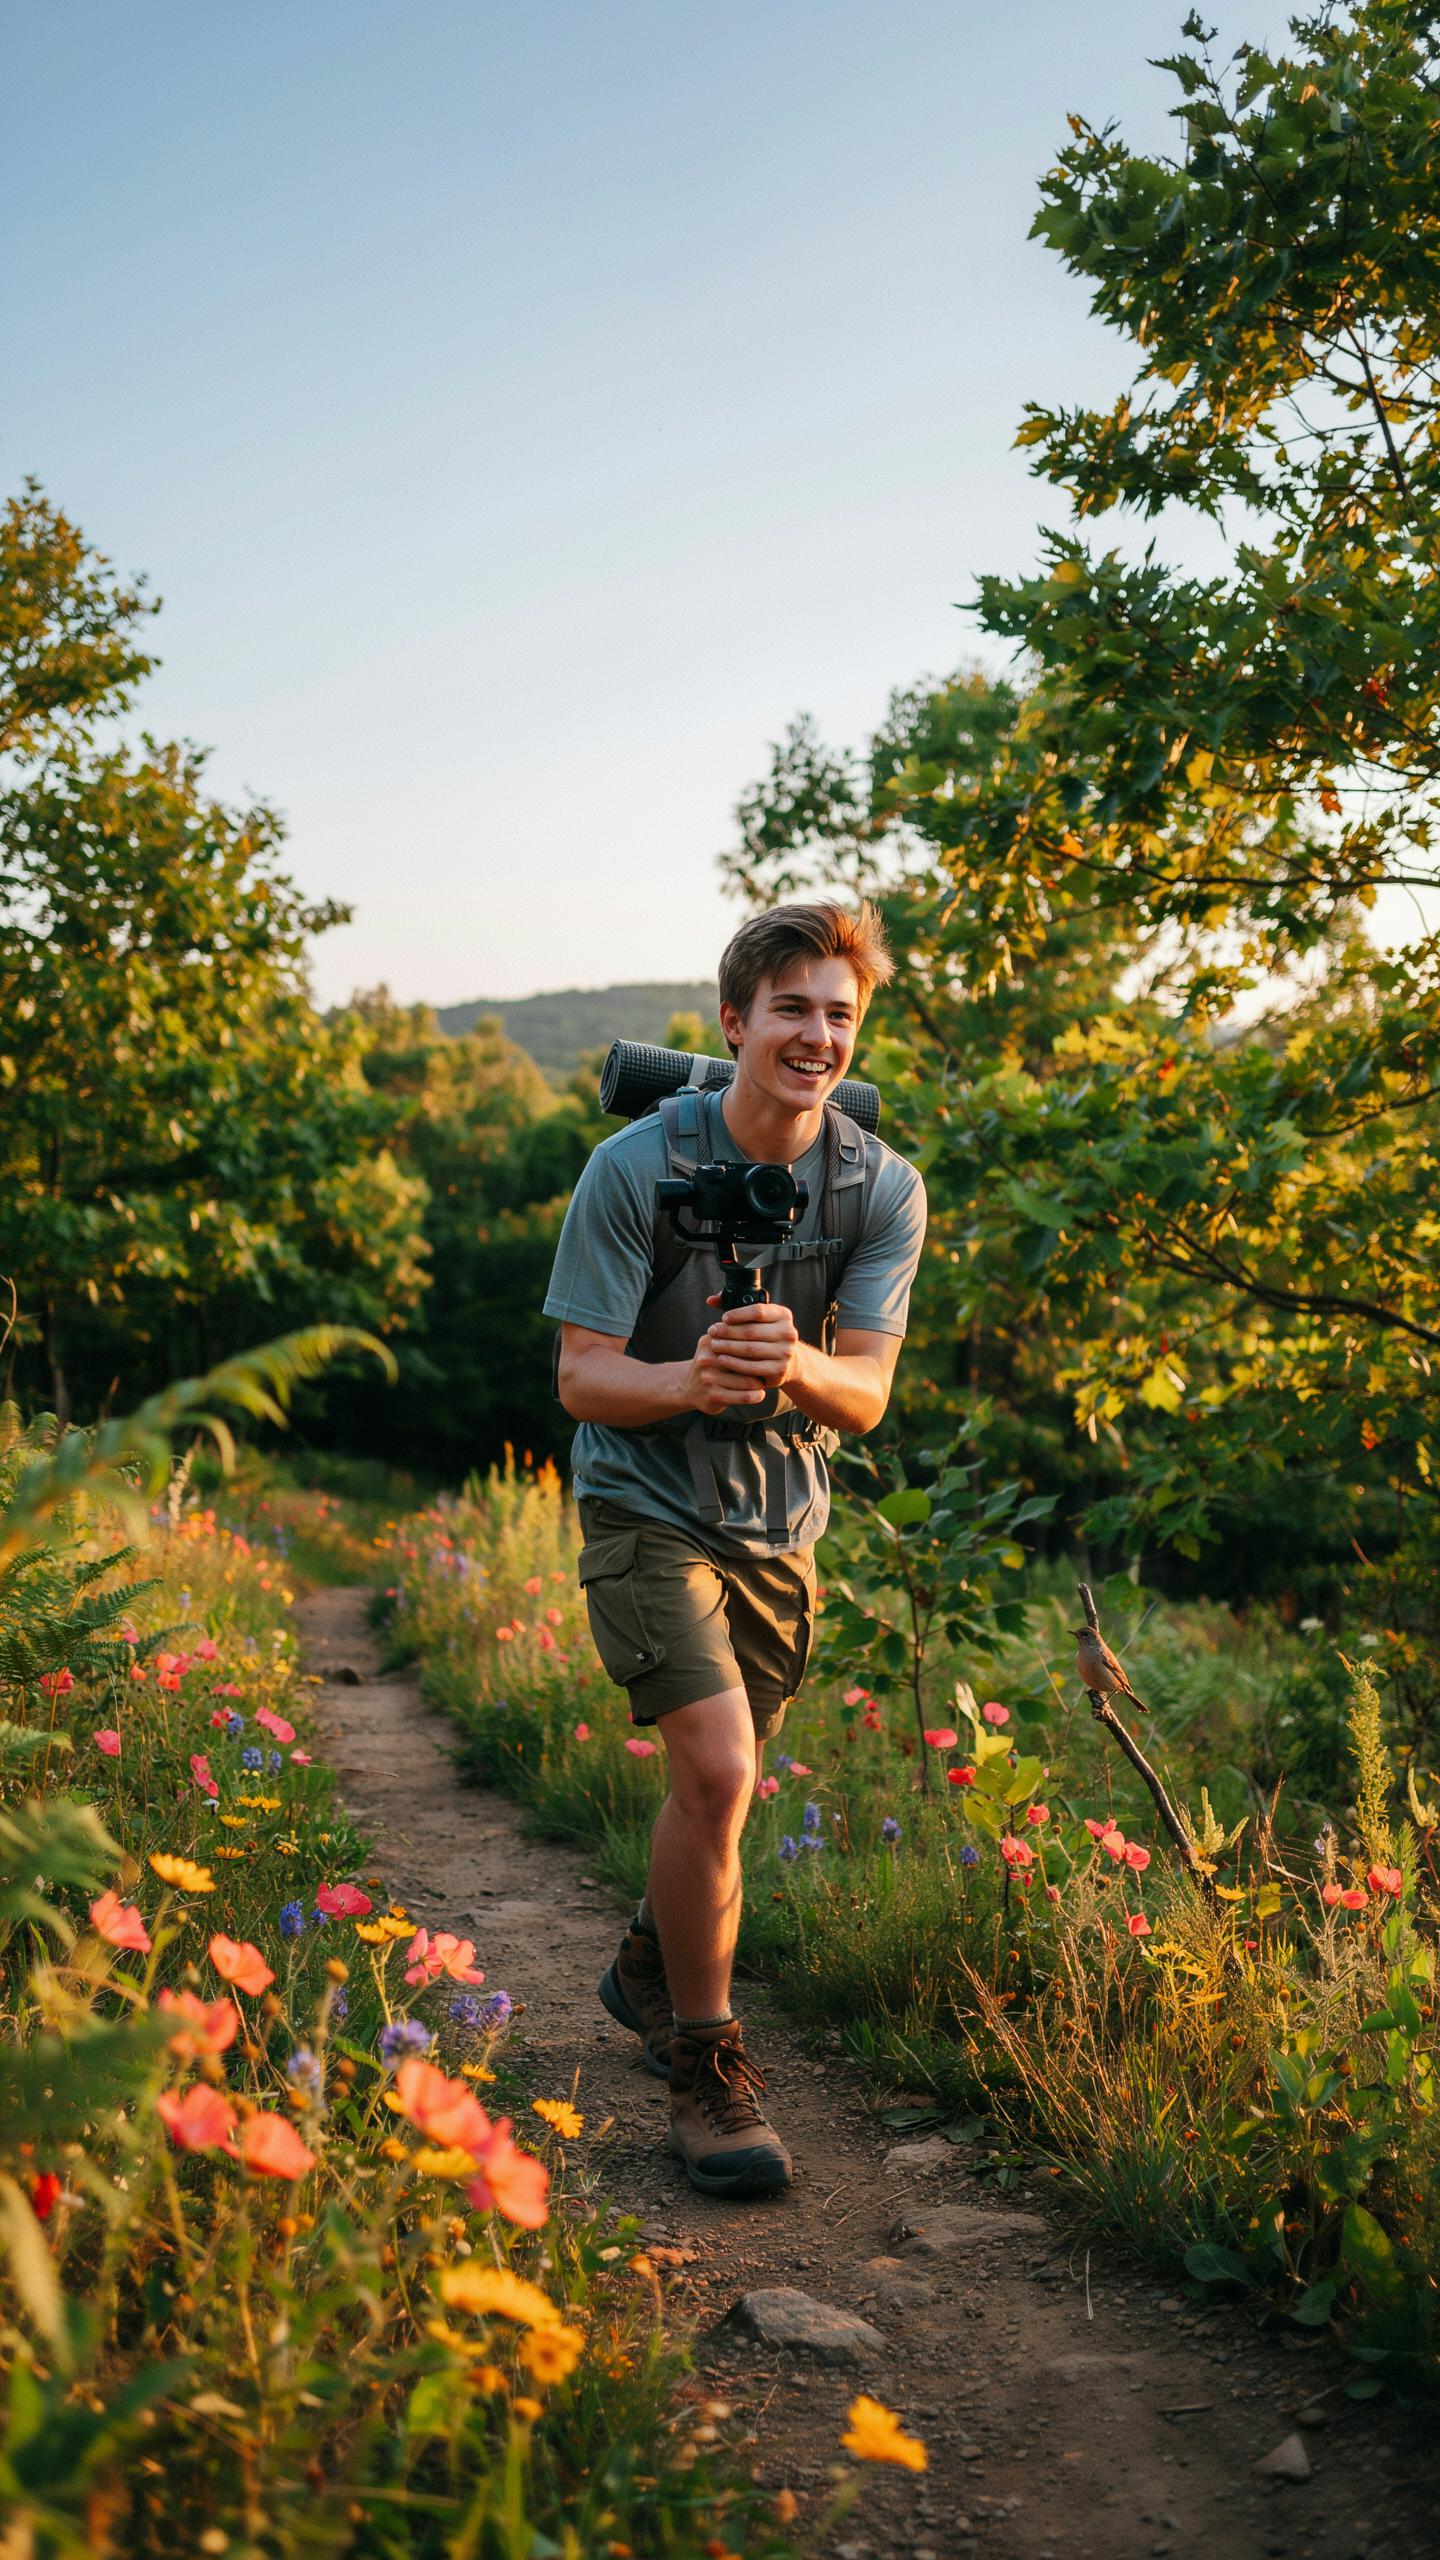
Position your camera to capture depth. Use foreground elements like rocks or vegetation to anchor the shot and lead the viewer’s eye into the landscape. Place the horizon line in the upper or lower third of the frame, not the center. This creates visual tension and holds attention. Mount your action camera at chest or helmet level to show terrain and obstacles you encounter. This perspective connects viewers to the actual hiking experience rather than distant observation.
Anticipate movement and position your camera accordingly. Film approaching weather, distant wildlife, or your hiking partner cresting a ridge. Use camera movement sparingly and with intention. A slow pan across a valley works better than shaky handheld footage. Steady mounting options like chest straps or helmet mounts eliminate unnecessary motion. Capture wide shots of expansive views, then transition to detail shots of trail features, water, or geological formations to build visual variety into your sequence.
Utilizing Time Lapse And Slow Motion
Time-lapse compresses long events into seconds. Use it for cloud movement, sunrise or sunset progression, or your entire hike across a ridge. Most action cameras offer 2x, 5x, or 10x time-lapse intervals. Set intervals based on your scene duration. A 30-minute sunset needs shorter intervals than a 2-hour summit push. This technique transforms passive waiting into dynamic content. Clouds become fluid. Light shifts noticeably. The passage of time becomes your narrative device.
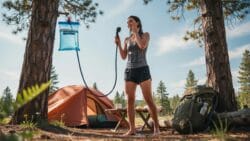
Slow-motion isolates critical moments and emphasizes impact. Use 60fps or 120fps recording for water crossings, trail obstacles, or elevation gains. Play back at standard 24fps or 30fps to stretch one second into two or four seconds. This slows viewer perception and highlights technical trail sections or dramatic terrain. Combine slow-motion clips with real-time footage to create rhythm. Real-time shows progress and efficiency. Slow-motion emphasizes difficulty and achievement. This contrast keeps viewers engaged and communicates the actual experience of hiking.
Post Production Tips For Your Sports Camera Footage
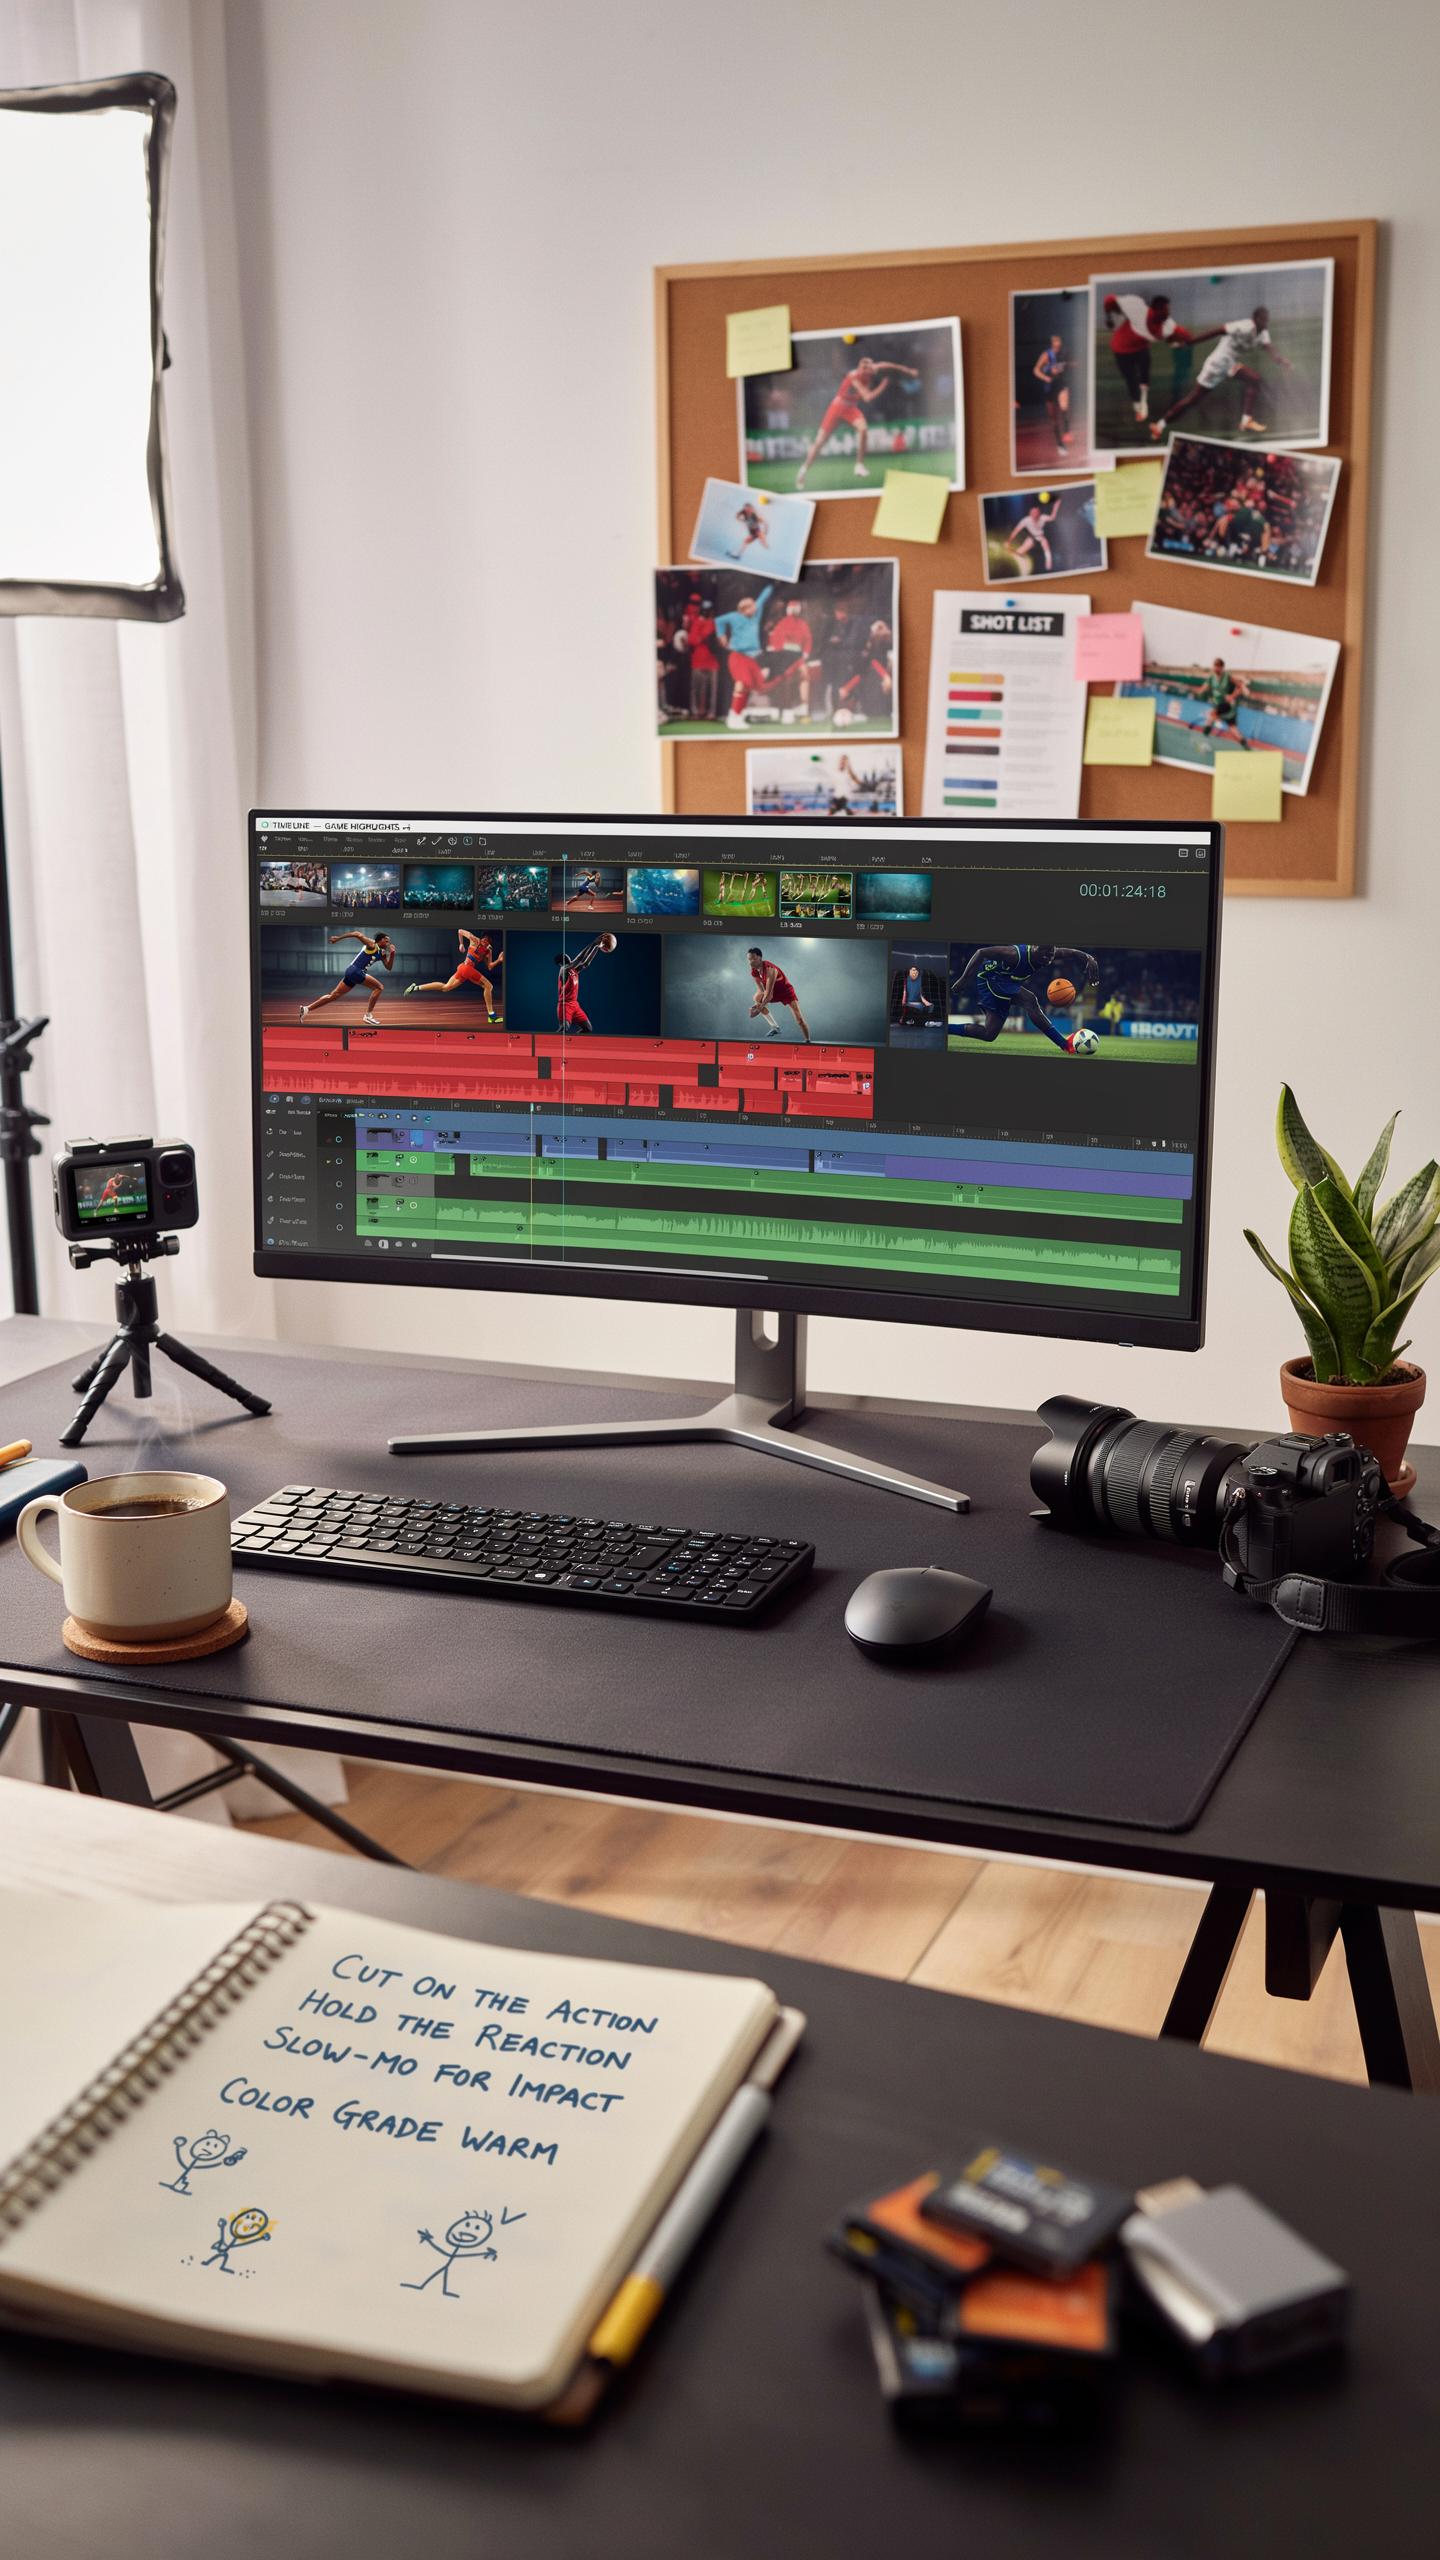
Editing Software For Outdoor Footage
DaVinci Resolve handles 4K footage from action cameras without requiring expensive subscriptions. The software stabilizes shaky trail footage through built-in algorithms that work on most clips without manual adjustment. Adobe Premiere Pro works well if you already use Creative Cloud, though it costs more upfront. Final Cut Pro suits Mac users who want fast rendering times on large hiking video files.
GoPro Quik strips away complexity by auto-editing your clips into finished videos in minutes. It syncs automatically to your camera and generates cuts matched to music beats. This matters for quick social content, though you sacrifice creative control. Choose based on your workflow. If you need speed, use Quik. If you need precision, use DaVinci Resolve.
Color Grading And Audio Enhancement
Outdoor footage shot in bright sunlight often clips highlights and loses detail in shadows. Use curves adjustment to pull down bright skies while lifting shadows in forested sections. Adjust white balance manually if your camera recorded inconsistent color temperature across different elevations or terrain types. This corrects the blue cast that appears in shade and the warm tones in direct sun.

Trail noise creates audio problems that derail otherwise good footage. Use noise reduction tools in your editing software to cut wind rumble without making audio sound artificial. Add subtle background music underneath to mask remaining ambient noise and maintain viewer engagement. Normalize audio levels so dialogue or voiceovers sit consistently throughout your entire video without sudden volume jumps.
Maintaining Your Waterproof Action Cam

Cleaning And Storage Best Practices
Rinse your camera with fresh water immediately after exposure to salt water, sand, or mud. Salt corrodes seals and connectors. Dry the camera completely with a soft cloth before storing. Leave the battery door open to allow moisture to escape. Store in a cool, dry location away from direct sunlight.
Check seals and rubber gaskets every month for cracks or deformation. Replace damaged seals before they fail. Store your camera in a protective case with silica gel packets to absorb humidity. Never store with the battery installed if you won’t use the camera for extended periods. Battery corrosion damages internal circuits.
Software Updates And Firmware
Manufacturers release firmware updates to fix bugs, improve stabilization, and enhance sensor performance. These updates address compatibility issues with newer devices and operating systems. Connect your camera to your computer or smartphone regularly to check for available updates. Most action cameras allow updates through dedicated mobile apps or manufacturer websites. Install updates before heading to challenging terrain.

Outdated firmware can cause connectivity failures between your camera and mounting accessories. Battery drain issues often resolve after updating to the latest version. Improved autofocus performance and color accuracy frequently arrive through firmware patches. Skipping updates leaves your camera vulnerable to crashing during critical footage. Make updates part of your pre-trip maintenance routine.
Making The Right Choice Your Ultimate Action Camera For Hiking
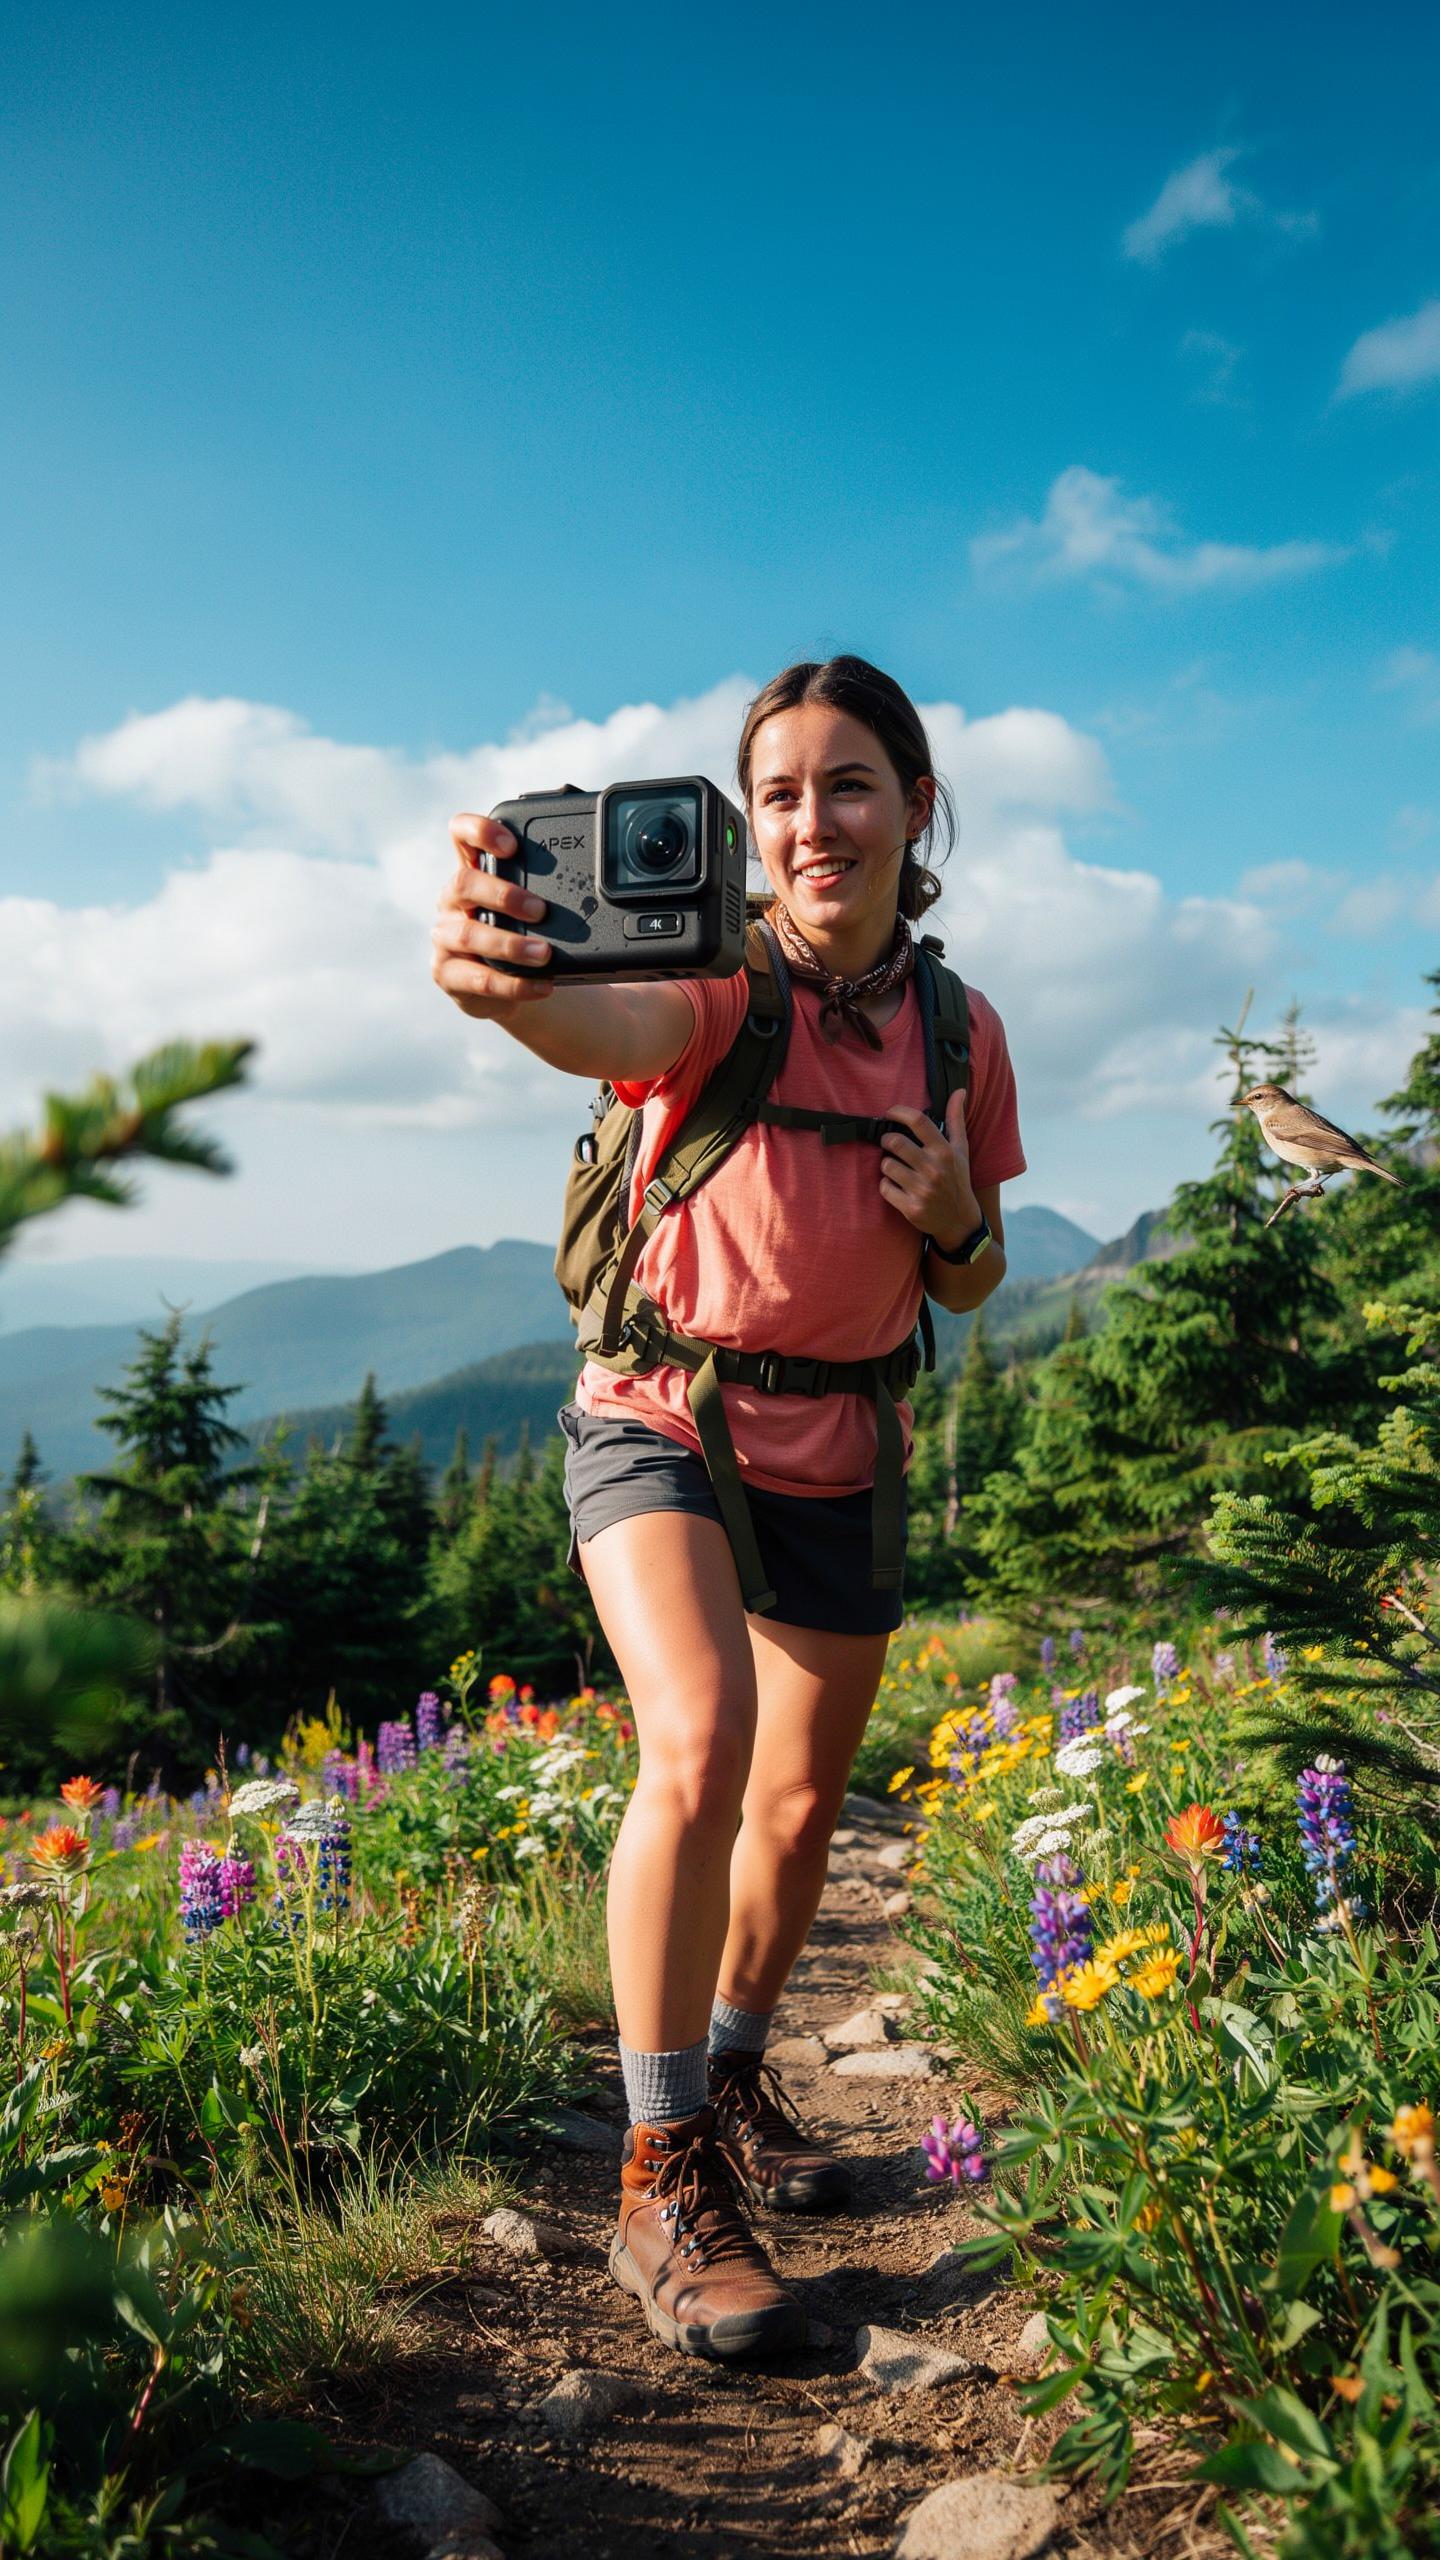
Considering Your Specific Needs
Define your primary use case first. Day hikes with stable trails demand different specs than technical scrambles or trail running. Resolution matters less if you shoot short clips on flat terrain. Ruggedness becomes critical on rocky routes. Battery life determines whether you capture the full loop or just highlights. Stabilization prevents unusable shaky footage during movement. Mount compatibility dictates where you actually attach the camera to your body or gear.
Match camera weight to your trip duration. A 200-gram camera adds burden on eight-hour hikes. Compact models under 150 grams suit speed-focused runners. Screen visibility in bright sunlight affects real-time framing. Waterproof ratings matter only if you cross streams or expect rain. Audio quality becomes relevant when you narrate footage. Start with your specific terrain and duration, then work backward to features.
Budget Vs. Features: Finding The Balance
Entry-level cameras from 150 to 300 dollars handle basic 1080p and 2.7K recording with solid waterproofing. Mid-range options between 300 and 600 dollars add 4K capability, improved stabilization, and longer battery life. Premium models above 600 dollars offer 4K 60fps, advanced stabilization, and modular accessories. Your actual spending should match frequency of use, not aspirational gear goals. Casual hikers shoot twice monthly. They waste money on 4K and advanced specs. Regular trail runners justify mid-range investment.
Calculate annual cost per use. A 200-dollar camera used twenty times costs ten dollars per outing. A 600-dollar camera needs sixty uses yearly to justify the spend. Most hikers underestimate realistic usage. Test borrowed or rental equipment before committing large budgets. You discover actual needs through real footage, not speculation. Stabilization and battery life drive practical value more than raw resolution for trail work.
Frequently Asked Questions

Why should I consider a waterproof action camera for hiking and trail runs?
A waterproof action camera for hiking allows you to capture stunning footage without worrying about rain, splashes, or even accidental submersions. It’s built tough to withstand the rigors of the outdoors, ensuring you don’t miss any breathtaking moments on your adventures, whether crossing streams or encountering unexpected downpours.
How do I ensure my waterproof action camera is truly protected during a challenging hike?
Always double-check that all port covers are securely closed and sealed before heading out. For extra protection on particularly challenging trails, considering a protective frame or additional waterproof housing for your action camera can further safeguard it against impacts and prolonged water exposure, especially if you’re navigating rough terrain.
Are there affordable options for a reliable waterproof action camera for hiking?
Absolutely! While high-end models exist, several reputable brands offer excellent entry-level or mid-range waterproof action cameras that deliver great performance without breaking the bank. Features like 4K recording and good image stabilization are increasingly accessible, making a dependable waterproof action camera for hiking attainable for most budgets.



