The Myth Of Modern Speaker Superiority
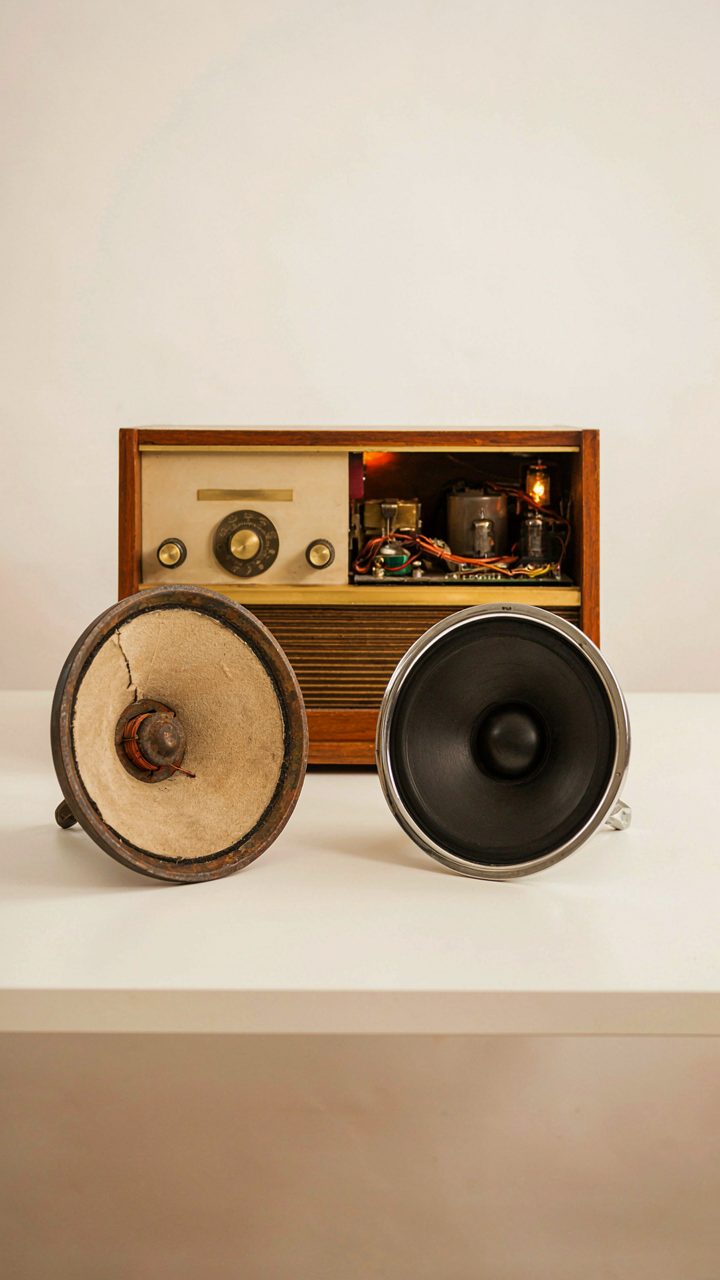
Why New Speakers Often Disappoint
You’re hoping a fresh speaker from a big-box retailer will magically restore your radio to life and prove you made the right call buying vintage in the first place. It won’t. Most modern replacement speakers marketed for vintage radios are engineered for cost, not context. Manufacturers build them to fit standard mounting holes and move air. They ignore the acoustic environment the original radio was designed around, which means impedance matching, cabinet resonance, and frequency response all go sideways the moment you drop in something new.
The core mechanism is simple: vintage radio cabinets were built as acoustic systems, not just boxes. A 1940s console radio’s wood thickness, internal bracing, and speaker cone material worked together to shape the final sound. Modern speakers come from a supply chain optimized for portability and profit margin. They’re typically lighter, use synthetic surrounds instead of cloth, and have plastic frames instead of cast metal. Plug one into a period-correct radio and you’re not upgrading the system. You’re replacing an integrated design with a component that doesn’t speak the same language.
Vintage Speaker Design Vs Modern Audio
Borrowed from acoustical engineering, vintage speaker design operated on the principle of impedance matching. This isn’t about wattage or “power handling.” It’s about the resistance the speaker presents to the radio’s output transformer, which determines how efficiently energy transfers from amplifier to cone movement. A mismatched impedance wastes power and distorts the signal before it ever reaches sound.
Vintage speakers were designed with specific impedances, cone materials, and magnet types selected to complement the transformer characteristics of the era’s radio circuits. They used paper cones with cloth surrounds that aged predictably, cast aluminum or steel frames that added acoustic mass, and alnico magnets that delivered consistent magnetic field strength. Modern speakers use plastic surrounds that don’t break in the same way, neodymium magnets with different force curves, and thinner frames optimized for weight reduction. The radio’s output transformer expects the old signature and gets confused when it sees the new one. To replace a vintage radio speaker correctly, you must match impedance first, then verify the cone diameter and mounting configuration before considering tone color or frequency response.
The Transducer Truth: Engineering Beyond Hype
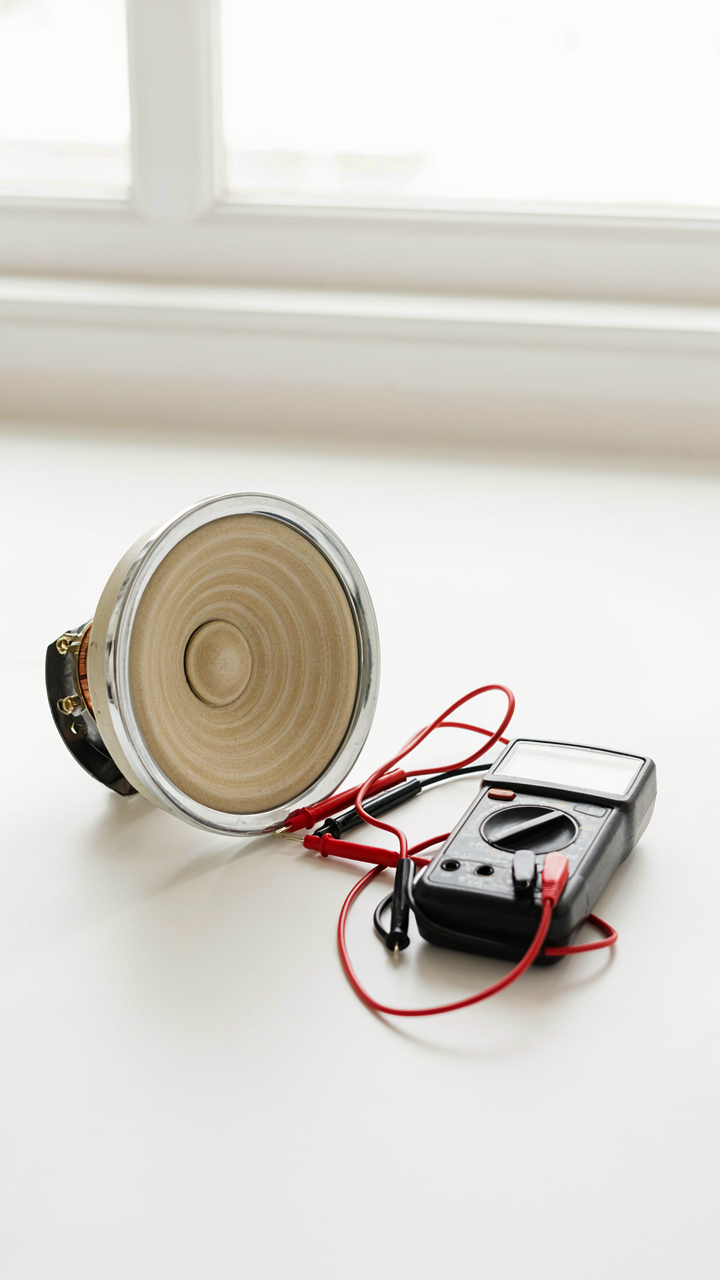
Why Impedance Matching Actually Matters
You want to know this because replacing a speaker wrong kills the amp without anyone blaming the amp. Impedance is electrical resistance measured in ohms. Your vintage radio’s amplifier expects a specific load—usually 4, 8, or 16 ohms. Install a speaker with mismatched impedance and the amp runs hot, distorts early, or burns out the output transformer.

The mechanism is simple physics. Lower impedance than rated forces the amplifier to push more current than it can safely deliver. Higher impedance starves the amp of load, reducing power transfer and muddying the sound. You must match the speaker impedance to what the radio’s schematic specifies. Check the tube amp’s output transformer rating and cross-reference it against the original speaker specs or measure the voice coil resistance of any replacement candidate before installation.
Cone Material Determines Frequency Response
The cone is not decorative—it’s the load the voice coil moves against, and material choice defines what frequencies the speaker actually reproduces well. This is acoustic engineering, not art. Paper cones dominated mid-century radio design because they’re lightweight, cheap, and naturally dampen high frequencies. Cloth surrounds add compliance without adding mass.
Foam and synthetic materials absorb moisture and degrade over decades, which is why original paper cones in working condition often outperform newer replacements. Modern speakers use polypropylene or paper-fiber composites for durability, but they shift the frequency response signature away from the original radio’s intended sound. When replacing a cone, match the material type to the original unless you’re deliberately aiming for a different tonal character. The voice coil diameter and winding pattern must also align with the magnet strength to prevent rubbing or excessive gap clearance.
Decoding The Original Vintage Radio Speaker Component
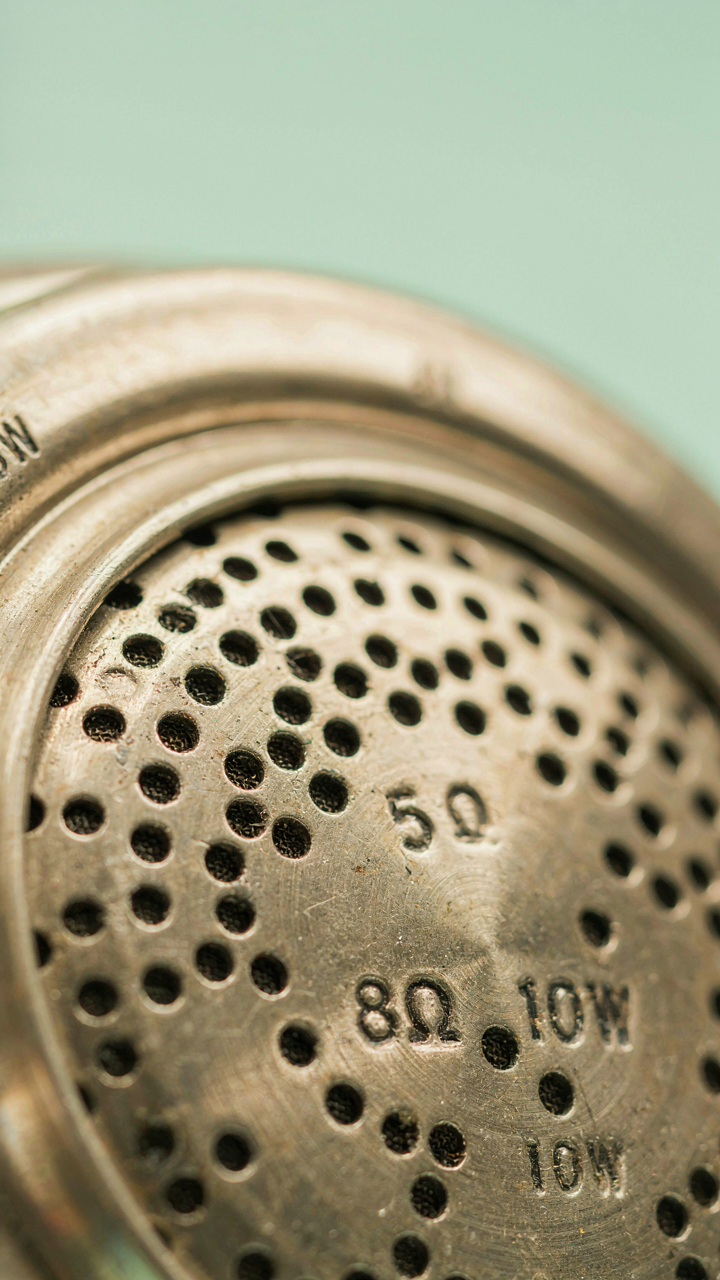
What The Manufacturer Actually Built
You want to know what’s inside that radio because you’re afraid you’ll replace it with something wrong and waste money. Here’s the mechanism: manufacturers changed speaker specifications constantly based on cost pressure and available materials, not consistent design philosophy. Sourcing a replacement requires reading the actual evidence inside the radio, not guessing from the brand name or era.

Open the radio and locate the speaker nameplate or markings stamped directly into the frame or cone. These markings state the impedance in ohms, the wattage rating, and often the manufacturer’s code. Radio makers sourced speakers from dedicated suppliers like Jensen, CTS, Magnavox, and Utah, then mounted them in chassis designed for those exact specifications. The impedance number is non-negotiable. A 4-ohm speaker in an 8-ohm circuit will distort. An 8-ohm speaker in a 4-ohm circuit will produce weak output and risk transformer damage.
Sound Quality Versus Structural Integrity
Most vintage radio advice ignores the real problem: the speaker cone and surround deteriorate on completely different timelines. The cone material degrades from moisture and age, cracking and flaking apart. The surround—the rubber or cloth ring connecting cone to frame—hardens, cracks, and splits from decades of heat cycling and UV exposure. These are separate failures requiring separate assessment. The surround failure alone can make sound impossible, even if the cone remains intact.
Inspect the surround first by running your fingernail gently along the edge where it meets the frame. If material crumbles, separates, or shows visible cracks, repair becomes necessary. The cone can tolerate small cracks if they don’t affect the acoustic chamber. Listen for rubbing noise when power is applied with volume low. If you hear scraping or grinding, the cone is touching the magnet assembly or frame. This means replacement, not repair. A speaker that passes both tests may simply need cleaning and can function adequately for years.
The “Good Enough” Rule For Antique Radio Audio

What You’re Actually Willing To Accept
You want the radio to sound better than it does now, but you don’t want to admit you’d accept mediocre if it meant keeping the thing working. Borrowing from audio engineering, we call this the signal-to-noise ratio problem: the gap between what the original radio could physically produce and what you’ll tolerate hearing. Most vintage radios were engineered for speech and AM broadcast, not fidelity. The speaker was a means to an end, not a destination.

Replacing a vintage radio speaker with a modern one creates a mismatch. The transformer, tubes, and cabinet were tuned to a specific speaker’s impedance and frequency response. A new speaker will sound different because it’s revealing what the circuit always produced but the old speaker masked. This isn’t better or worse. It’s a trade-off you need to see clearly before you make it.
Knowing When To Stop Chasing
The common advice says restore everything to original spec or upgrade to modern drivers. Both are wrong if you’re not measuring what you actually need. Vintage radios operate within physical limits. An 8-inch paper cone from 1952 won’t reproduce below 80 Hz. A modern 4-inch replacement won’t either, no matter the price tag. The cabinet size and port design dictate the floor, not the speaker brand.
Set expectations by listening to what the radio is supposed to do. AM radio peaks in the 2 kHz to 5 kHz range where human speech lives. If your replacement speaker reproduces that zone clearly without distortion at normal listening volume, you’ve won. Don’t chase flat response below 100 Hz or treble extension above 8 kHz. The original design doesn’t demand it, and you’ll waste money and degrade the vintage character that makes you want to fix it in the first place.
The Enclosure Effect: Radios As Acoustic Chambers
How Cabinet Material Shapes Resonance
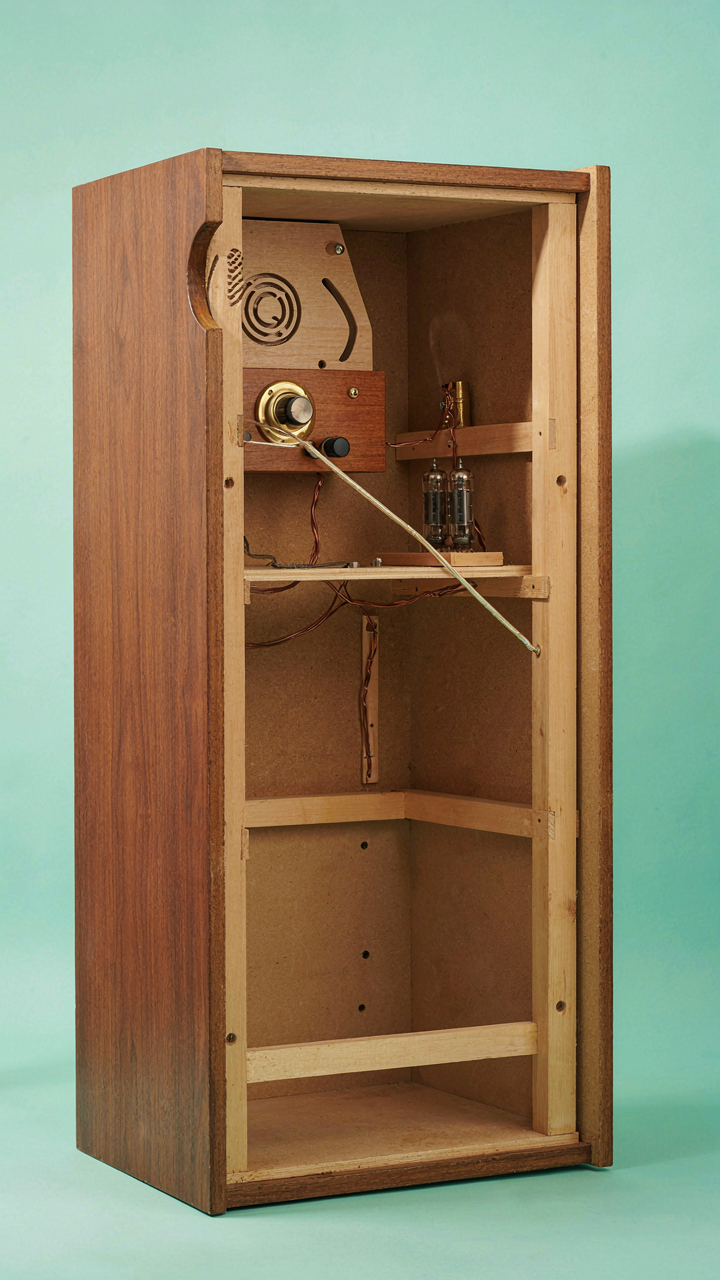
You want the speaker to sound “better” without admitting you’re chasing status through gear. Here’s what actually matters: the cabinet is an acoustic instrument, not a box. Borrow a term from mechanical engineering—damping—and you understand vintage radio design. Materials absorb vibration at different rates. Wood panels vibrate. Metal chassis vibrate. These vibrations become sound themselves, coloring everything the speaker produces. A thin plastic radio shell resonates at frequencies the driver can’t control. Thicker wood cabinetry from mid-century models absorbs those same frequencies instead of radiating them back into the room.

The material choice was never cosmetic. Manufacturers chose wood because it damped resonance naturally while remaining inexpensive to fabricate. Plywood and particleboard age differently than solid wood, absorbing moisture unevenly and developing internal dampening over decades. A 1950s radio with a solid wood cabinet will sound fundamentally different from a later plastic variant with identical drivers because the enclosure itself is the filter. When replacing a speaker, you’re not just upgrading the cone and magnet—you’re inheriting whatever acoustic environment that cabinet creates. The enclosure effect means no speaker upgrade fixes a poorly damped box.
Porting Versus Sealed Design Trade Offs
Ignore the consensus that porting always extends bass response. The real mechanism is pressure release. A sealed cabinet traps air behind the driver, creating acoustic resistance that controls excursion. A ported cabinet vents that air at a calculated frequency, allowing the driver to move more freely. Vintage radios rarely used ports because small drivers in tight spaces benefit from acoustic resistance, not freedom. The trade-off appears simple until you measure it: ported designs boom at their tuned frequency and roll off elsewhere. Sealed designs compress bass but maintain tonal balance across the range.
Most vintage radios operated sealed because designers prioritized flat midrange reproduction for speech and vocal clarity. Opening the back of a radio cabinet to add a port changes the entire acoustic load on the driver. You can increase bass output this way, but you’ll lose the controlled character that made the original design work. The driver’s suspension, magnet strength, and cone composition were engineered for sealed operation. When assessing a replacement speaker, verify whether the original radio was sealed or ported, then match that design. Changing the enclosure type without matching driver specifications produces coloration, not improvement.
The Speaker Sourcing Protocol: Finding The Right Fit

Evaluating Replacement Vintage Speakers
You want to avoid spending money on a speaker that sounds worse than what you started with. Here’s the mechanism: speaker performance isn’t determined by era or rarity. It’s determined by the relationship between the driver’s impedance, frequency response, and the radio’s output transformer. A 1950s speaker with shot cone material will sound worse than a correctly matched modern reproduction. Impedance mismatch causes distortion and power loss. Frequency response determines whether the radio’s midrange frequencies actually reach your ear or get absorbed by a cabinet designed for different acoustics.

Measure the original speaker’s impedance with a multimeter at a known frequency, typically 1 kHz. Check the radio’s output transformer specs, usually printed on the transformer itself or in the schematic. Match the impedance first. Frequency response comes second. A speaker rated 8 ohms at 1 kHz that dips to 4 ohms at 5 kHz will cause problems in a radio rated for flat 8-ohm output. The replacement speaker’s cone material matters less than its measured performance curve.
Finding Authentic Parts
Common advice says to hunt eBay and estate sales for period-correct speakers. That’s incomplete. Most speakers you’ll find have decayed cone material, corroded voice coils, or damaged surrounds. They’re relics, not functional components. The real strategy involves mapping three sources: specialists who rebuild vintage speakers using period-accurate materials, manufacturers producing reproduction drivers engineered for vintage radios, and documentation databases where you cross-reference original specifications.
Contact companies that specialize in vintage radio restoration. They maintain stock of reproduction speakers engineered to original specs but built with modern materials that last. Request the impedance curve and frequency response chart before purchasing. Verify the speaker mount diameter and depth match your radio’s cabinet cavity. Documentation from radio manufacturers or enthusiast forums often lists the exact speaker model number originally installed. Use that model number to find modern equivalents or contact reproduction specialists directly with the specifications.
Installation Imperatives For DIY Radio Restoration Project
The Wiring Setup That Actually Matters
You want your speaker to sound right because you’re tired of admitting the old one sounds like a tin can. Here’s the mechanism: speaker polarity determines whether sound waves from your driver and tweeter reinforce or cancel each other. Reversed polarity doesn’t break anything. It just collapses your midrange and kills stereo imaging. Match the positive terminal of your radio’s output to the positive speaker terminal. Mark the hot wire before you disconnect the old speaker.

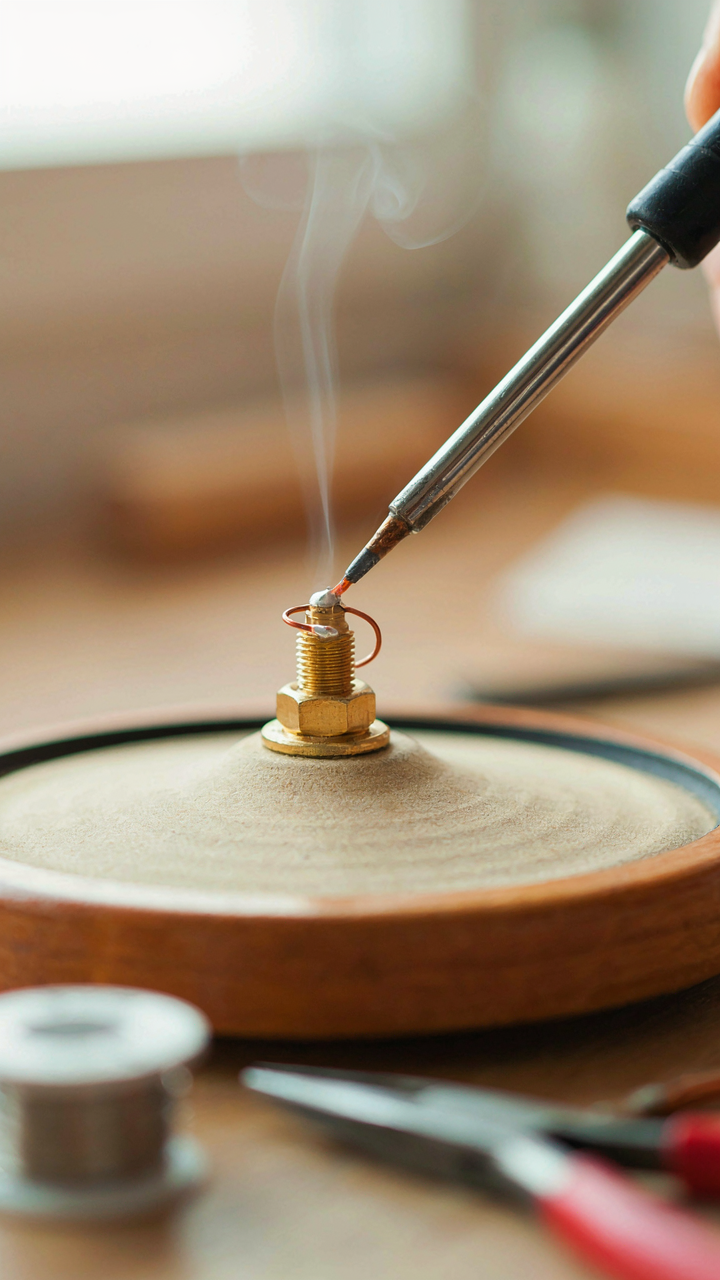
Most vintage radios used simple push terminals or solder lugs. Tin your wire ends before soldering to the speaker terminals. Use rosin core solder rated for electronics, not plumbing solder. Keep your iron at 350 degrees Celsius and off the terminal in under three seconds. Cold solder joints look dull and cause intermittent crackling. Test continuity with a multimeter before powering up the set.
Mounting And Isolation Strategy
Vibration isolation is borrowed from mechanical engineering, where damping reduces resonance transfer between systems. Your speaker cone vibrates at operating frequency. If that vibration travels directly into the radio’s chassis, you amplify distortion and rattle. Don’t just screw the speaker directly to the baffle. You’ll transfer every resonance into the wooden cabinet.
- Rubber isolating washers: Sandwich foam or rubber washers between speaker mounting holes and baffle to absorb vibration transfer without deadening high frequencies.
- Bitumen damping sheet: Apply self-adhesive bitumen to the inner baffle surface opposite the speaker to reduce cabinet resonance and standing waves.
- Mounting bracket angle: Angle the speaker slightly inward if the original baffle allows it to focus sound toward ear level rather than dispersing it uselessly upward.
- Baffle seal integrity: Seal gaps around the speaker flange with rope caulk or gasket material to prevent air leaks that degrade bass response.
- Wire strain relief: Secure speaker leads away from the cone with a small cable tie so vibration doesn’t stress the solder joints you just made.
Mount the speaker flush to the baffle with even pressure across all holes. Overtightening cracks vintage plastics and ceramic magnet housings. Snug the mounting screws in a cross pattern, quarter turn at a time. Listen for rattles at moderate volume before running at full power.
Beyond The Speaker: Amplification And Tone
Pre Amplifier Considerations For Radios
You want the speaker to sound better because you think better speakers exist. They don’t, not really. The speaker is the last domino. What matters is what happens before it hits the cone. Most vintage radios run signal straight from the tuner into the output stage with minimal gain shaping. This means the preamp section, if it exists at all, determines whether your speaker receives a clean, strong signal or a weak, distorted one.

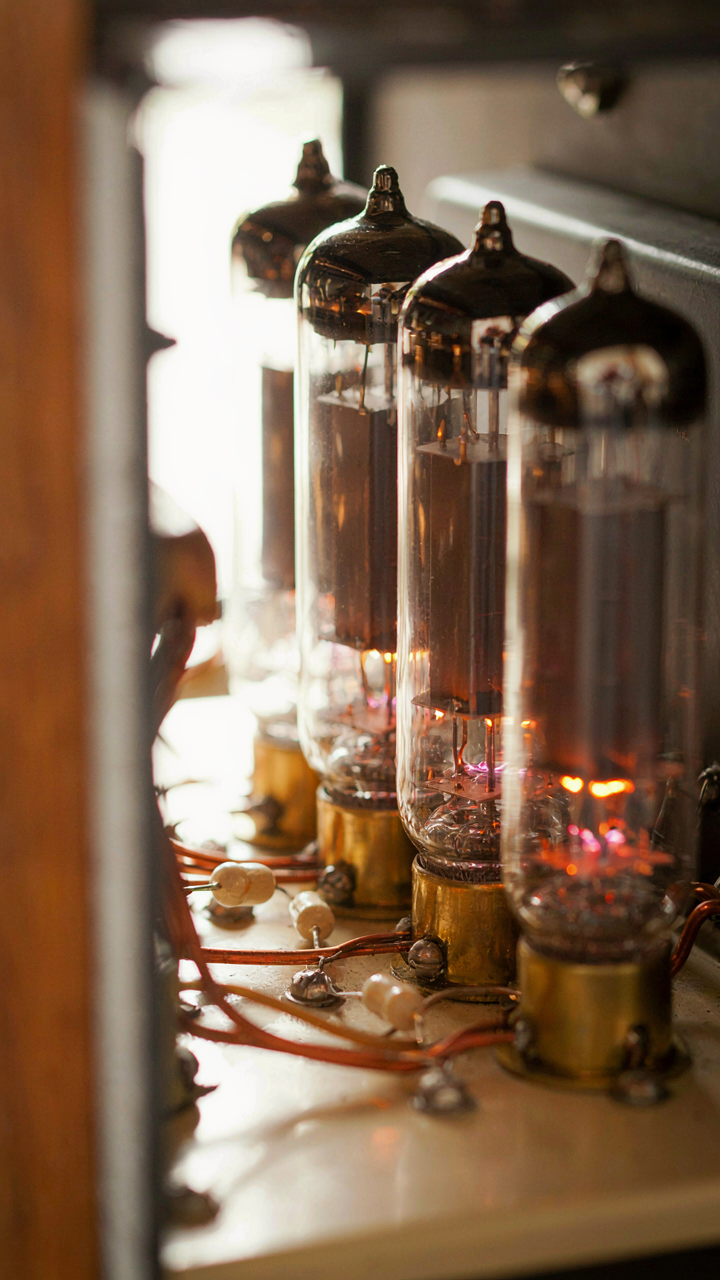
The preamp does two jobs: it boosts weak RF or audio signals to usable levels, and it shapes the signal’s character before power amplification. In older table radios and portables, the preamp is often a single tube stage. In console models, you might have multiple stages. When you replace a speaker, a weak preamp forces the output tubes to work harder to compensate, which causes them to distort before the speaker ever gets a chance to shine. Check your radio’s tube lineup first. If you see only one or two stages before the output tubes, you have a bottleneck, not an amplifier.
Tube Versus Solid State Characteristics
This is where most people get it backwards. Everyone assumes tubes sound “warm” and solid-state sounds “harsh,” which is lazy thinking borrowed from audio mythology, not physics. The real difference is harmonic distortion profile. Tubes compress signal gradually as they approach clipping, generating even-order harmonics that most ears perceive as pleasing. Solid-state circuits clip hard and fast, producing odd-order harmonics that sound thin and brittle when they distort.
Here’s the actual mechanism: a tube preamp stage will add subtle harmonic coloration even at normal volumes. Your speaker receives a signal that’s already shaped. A solid-state preamp stays transparent until it clips, then it falls apart. Vintage radios almost always used tubes in the preamp, which means your speaker replacement won’t sound right if you bypass or remove that stage. The speaker expects that harmonic signature. Replace the speaker first, then listen through the original tube chain. If the amp is the problem, you’ll know because no speaker fixes a broken signal path.
The Psychology Of Sound: Perception Vs. Reality

Your Ears Lie To Your Brain
You want to believe the speaker swap fixed your radio because admitting you wasted money on something that didn’t matter is harder than admitting you’re susceptible to influence. Here’s the mechanism: your brain predicts what it expects to hear before sound waves hit your ears. Neuroscience calls this predictive processing. In vintage radio speaker replacement, this means your expectation of “new speaker equals better sound” literally rewires your auditory interpretation in real time. You don’t hear the speaker. You hear your prediction about the speaker.

When you install a replacement speaker, your brain has already decided the outcome before you flip the power switch. This isn’t weakness. It’s how perception works. The replacement speaker may have slightly different frequency response or impedance matching than the original, but your brain amplifies those micro-changes into perceived transformation. Your attention narrows on evidence that confirms the upgrade worked while dismissing contradictions. This confirmation bias operates at the neurological level, not the conscious level, which is why you can’t think your way out of it.
The Replacement Ritual Effect
The common advice says “trust your ears” when comparing speakers. That’s incomplete. Your ears are honest. Your brain’s interpretation of those ears is a storytelling machine. Psychology research on placebo effects shows that ritual, investment, and expectation produce measurable changes in perception. Installing a vintage radio speaker replacement involves all three. You spent money. You performed an action. You told yourself it would work.
The placebo effect doesn’t mean the speaker produces no actual acoustic change. It means your brain amplifies whatever change exists beyond what the hardware alone can deliver. A speaker with slightly warmer midrange response becomes “dramatically richer” in your perception. A minor efficiency gain in treble reproduction becomes “crystal clear highs.” Your brain is not defective here. It’s doing exactly what evolution designed it to do: prioritize survival-relevant patterns over raw acoustic data. When you want to believe the replacement worked, your auditory cortex cooperates. To account for this, use measurement tools alongside listening. Record the radio output before and after replacement on the same equipment, in the same room, at the same volume. Blind ABX testing cuts through perception bias faster than any amount of listening sessions ever will.
Maintaining Brown Vintage Radio Parts Longevity

Heat And Humidity Kill Speakers Faster Than Use
You want your restored radio to stay restored without constant fiddling. Heat and humidity are the real culprits nobody names. Treat this like materials science: wood, paper, and cloth in vintage speakers degrade when exposed to thermal cycling and moisture. Temperature swings cause components to expand and contract, stressing solder joints and loosening cone attachments. Humidity penetrates paper cones and causes rust on metal frames from the inside out.
Keep vintage radios between 50 and 70 degrees Fahrenheit and maintain humidity at 30 to 50 percent. Basements and attics are enemy territory. Store units in climate-controlled spaces away from direct sunlight, heat registers, and exterior walls. A speaker cone can last decades in stable conditions or fail in months under temperature stress. The mechanism is simple: moisture plus temperature swing equals material breakdown. Monitor your storage environment like you monitor your equipment.
Dust Filtration And Cabinet Sealing
The standard advice says dust is cosmetic. It’s not. Dust accumulates on speaker magnets and reduces acoustic efficiency while collecting moisture that accelerates corrosion. Dust also clogs ventilation paths in cabinets, trapping heat around components. Cabinet seals matter because they control what enters the speaker enclosure, where the acoustic environment is sealed and concentrated.
Check cabinet seals quarterly and replace felt or rubber gaskets when they harden or crack. Use a soft brush to clear dust from speaker grilles and magnet assemblies. Apply fresh cabinet seal material only if original seals are damaged, never just for appearance. If a radio sits unused for six months, dust accumulation accelerates oxidation on exposed metal parts inside the speaker cabinet. Replace seals with period-correct materials or modern equivalents that match original specifications exactly.
The Real Obstacle Isn’t The Speaker; It’s Your Attachment To Perfection In An Imperfect System
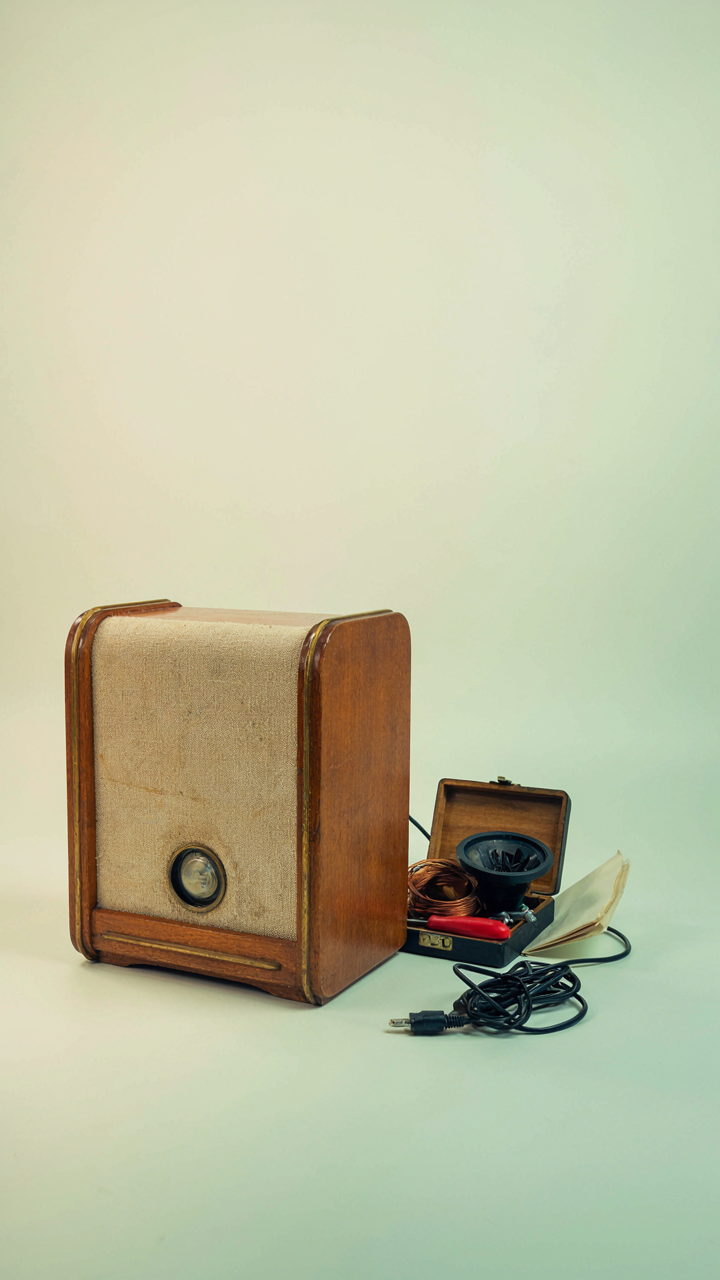
You’ll never restore a vintage radio to sound like a modern studio monitor. Stop chasing that ghost. The real win lives in accepting what the system is—a character piece, not a precision instrument—and upgrading it with intention. Pick a speaker replacement today. Listen to it for a week. You’ll discover something uncomfortable: the limitation was never the hardware. It was your refusal to work within constraints.



