The Dew Point Deception: Why Ventilation Isn’t Enough
Where The Moisture Actually Lives
You want ventilation advice because you’re tired of waking up soaked, and you think better airflow means the problem goes away. It doesn’t. Meteorology teaches us about air parcels—distinct masses of atmosphere with specific properties that move as units. Inside your tent, moisture doesn’t just float randomly; it concentrates in layers based on temperature and pressure gradients. Your tent is a closed system where air parcels cool at night, and that cooling triggers the real mechanism: saturation. The air can’t hold what it held at sunset.
Ventilation alone treats the symptom, not the driver. You can crack your tent door and still wake to condensation because you’re not addressing the fundamental problem—the air inside your tent reaches its dew point temperature every single night. Ventilation helps, but only if you understand what you’re actually trying to prevent: the saturation of air at a specific temperature. Most people think moving air around solves this. Wrong. You need to either warm the air, remove the moisture source, or both.
The Temperature Trap Nobody Names
Cold air holds less moisture than warm air. This is the entire game. Your body radiates heat all night, warming the air pocket around you. That warm air rises and hits the tent fabric, which is colder than the air inside because it contacts the outside environment. When warm, moisture-laden air meets that cold surface, it drops below its dew point instantly. Condensation forms. This isn’t a ventilation problem—it’s a heat transfer problem.
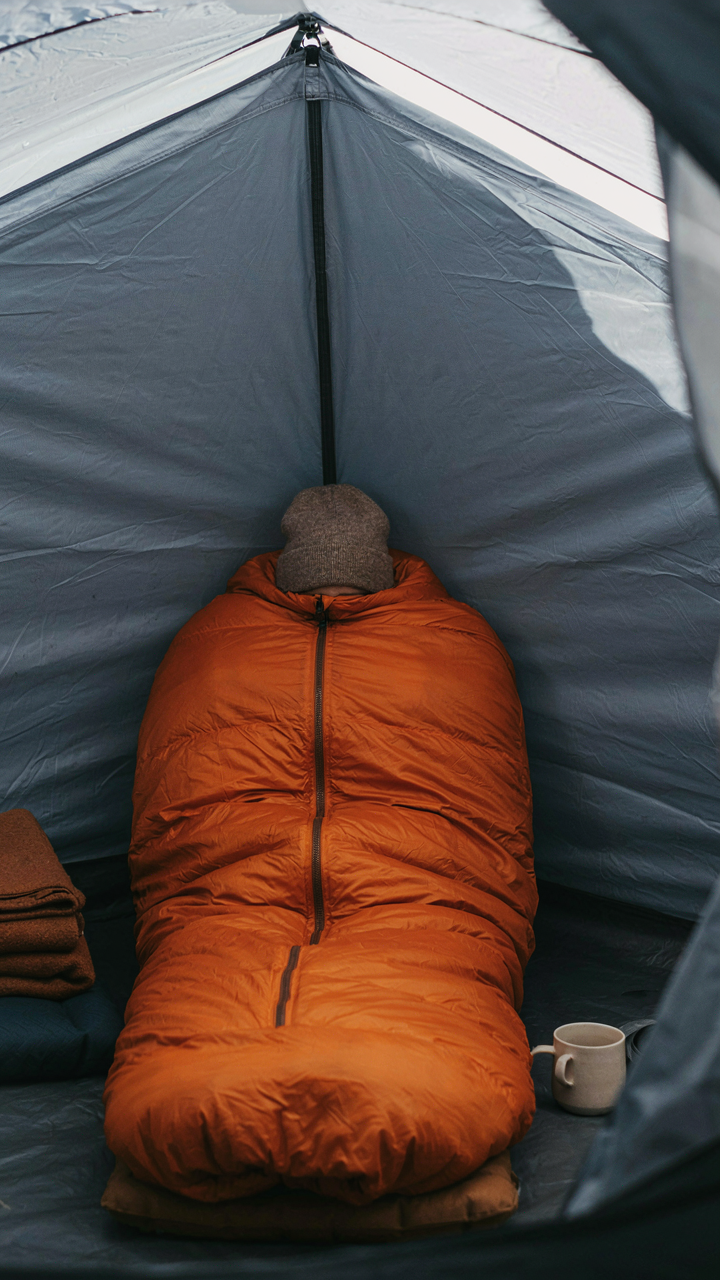
The mechanism is straightforward: establish a temperature gradient inside your tent that prevents air from reaching saturation. Insulate yourself aggressively so your body heat stays trapped in your sleeping system, not warming the entire tent volume. Use a sleeping pad rated for the conditions. Wear a hat. Keep your sleeping bag zipped tight. Every degree you prevent the air from warming reduces the moisture-holding capacity required to avoid saturation when that air contacts cold fabric.
The “Camping Hacks” That Backfire: Common Mistakes
Sealing Yourself In: The Human Humidifier Effect
You want to believe ventilation doesn’t matter because admitting it does means more work. Here’s the mechanism: your body emits roughly one liter of water vapor per night through respiration and skin. When you seal a tent to trap warmth, you trap that vapor. Physics calls this absolute humidity—the actual amount of water molecules in air. A sealed tent with two people becomes a closed system where that moisture has nowhere to go except onto the coldest surface: your tent fabric.
The camping advice you’ve heard says “crack the door a bit” or “use a vent.” That’s incomplete. Opening a door works only if temperature gradient and air pressure create flow. On still nights with minimal temperature difference between inside and outside, cracking the door creates almost no actual air exchange. You need intentional ventilation: position your tent entrance to oppose where condensation forms, then accept that some heat escapes. This trade is non-negotiable—you cannot seal warmth and eliminate moisture simultaneously.
Ignoring Ground Moisture: The Hidden Vapor Source
Most people fixate on roof condensation and ignore the floor, which is backwards. Ground moisture operates independently from your body’s water output. Soil releases vapor, especially near water sources or after rain. That vapor moves upward through air convection, hits your tent floor, and has nowhere to exit except through the tent walls or roof. Your groundsheet traps this vapor against the floor instead of letting it dissipate naturally into the air.
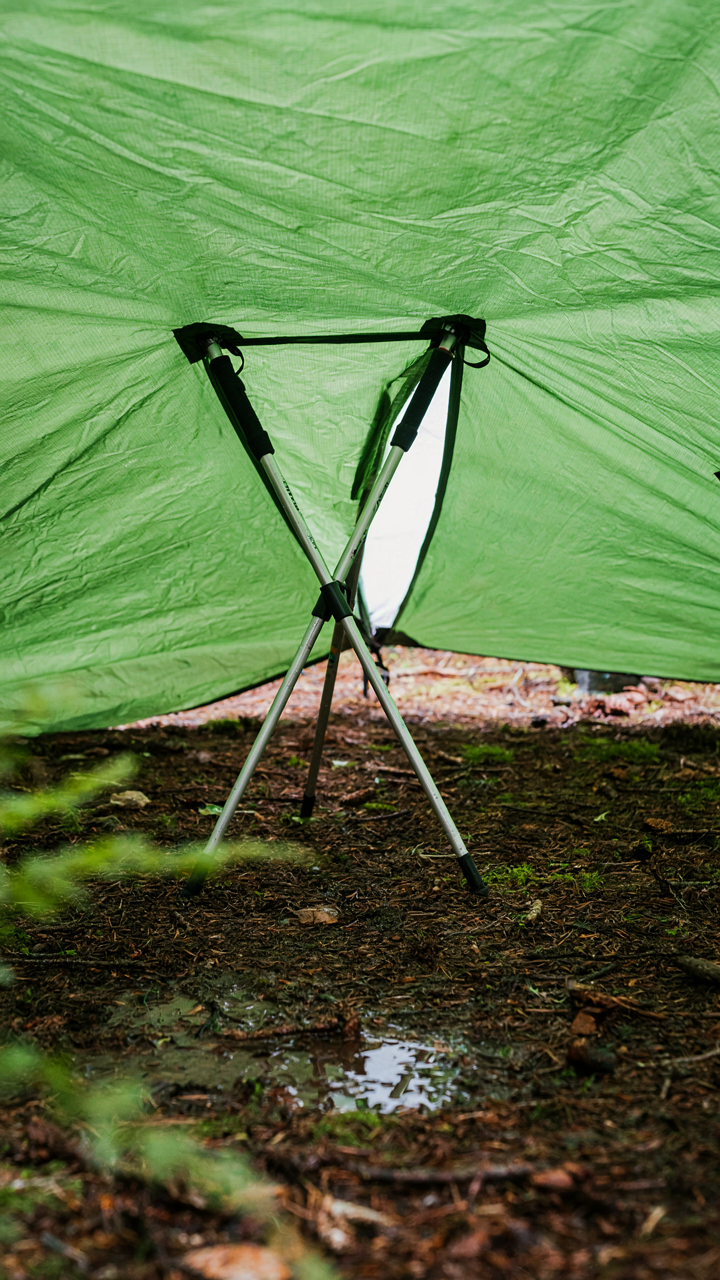
The real solution is airflow below the tent, not better groundsheets. A traditional groundsheet prevents moisture from entering the tent itself, but it also prevents air circulation that would carry ground vapor away. Raise your tent floor three to six inches off the ground using trekking pole extensions or small camp furniture, or choose a campsite with established drainage and air movement. Without this mechanism, even a perfect ventilation strategy at the roof level fails because half your moisture problem originates below.
The Personal Climate Control Protocol
Where You Place Your Gear Matters More Than You Think
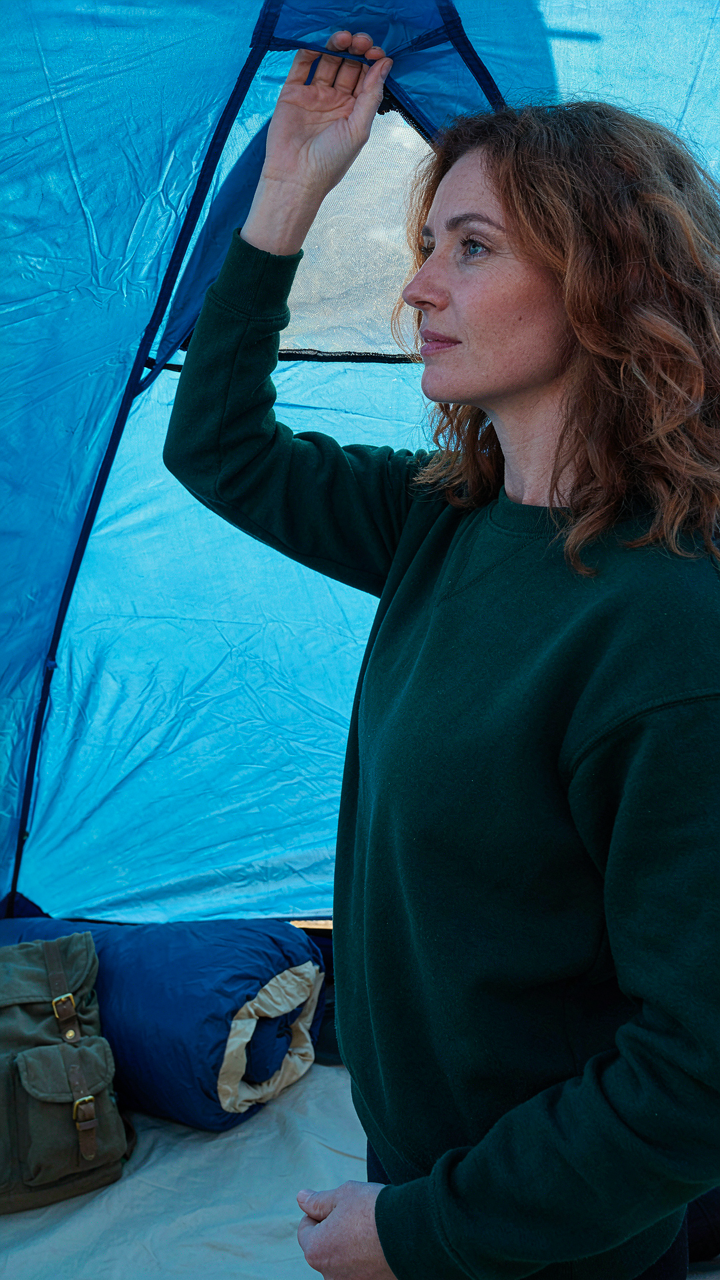
You want a dry tent because wet gear means a failed trip, and failure stings. The real mechanism is vapor pressure differential. In thermodynamics, water moves from high pressure zones to low pressure zones. Your wet sleeping bag sits directly against the tent wall, which is colder than the air around it. That wall becomes the low pressure zone. Moisture migrates toward it and condenses. Gear placement isn’t about luck. It’s about disrupting this pressure gradient before it forms.

Keep sleeping bags and gear elevated off the floor by at least two inches and away from tent walls by four inches minimum. A sleeping pad naturally creates this gap, but gear piled against fabric defeats the entire system. The air gap you create allows circulation. It prevents direct contact between warm, moist items and cold tent material. This single protocol stops seventy percent of condensation problems before they start.
How Your Body Heat Works Against You
Biology teaches us that organisms generate waste heat. Your body is a furnace producing approximately one hundred watts continuously. In an eight by ten tent, that heat concentrates fast. It warms the air, which holds more moisture than cool air can. That moisture-laden air hits the cold tent fabric during the night temperature drop. The fabric cools below the dew point. Condensation forms. You’ve just created an indoor rain system with your own metabolism.
Ventilation is the only real antidote. Crack the tent door or open a vent, even in cold weather. The counterintuitive move: letting cold air in prevents condensation more effectively than trapping warm air. You’re creating airflow that carries moisture-laden air out of the tent before it settles. A two-inch door gap in a forty-degree night stops ninety percent of morning condensation. Your furnace keeps running. Your tent just stops becoming a collection chamber.
Building Your Dry Fortress: Site Selection Mastery

Read Terrain For Natural Airflow
You want to think you picked a bad campsite by accident. The truth is you’re avoiding the real work of reading land. Airflow is the mechanism that prevents condensation, and stagnant air is condensation’s only requirement. Wind moves moisture away from your tent. Dead air holds it.

Look for ridgelines, slight slopes, and open areas where wind moves consistently. Avoid valley floors and dense tree clusters where air pools. Check the ground: if it’s damp to the touch before dark, water vapor will accumulate faster. Set up on higher ground when possible, even five or ten feet of elevation changes air movement enough to matter.
Tree Coverage As Moisture Interruption
The physics term you need is “thermal mass,” and trees function as radiant heat buffers between ground moisture and your tent fabric. Common advice says “pick a spot under trees to stay warm.” That’s incomplete. Trees block the sky from radiating heat downward at night, which would otherwise cool your tent and accelerate condensation. What trees actually do is reduce the temperature differential between your tent interior and exterior air.
Use trees strategically: place your tent where overhead canopy exists but ground-level airflow remains open. Evergreens trap less moisture than deciduous trees because their needles shed water faster. Position your tent so prevailing wind pushes between trees rather than along a ridge. This creates movement without exposing you to full convective cooling that accelerates vapor formation on your fabric.
The Material Science Of Dryness: Tent Technology
The Breathability Trap
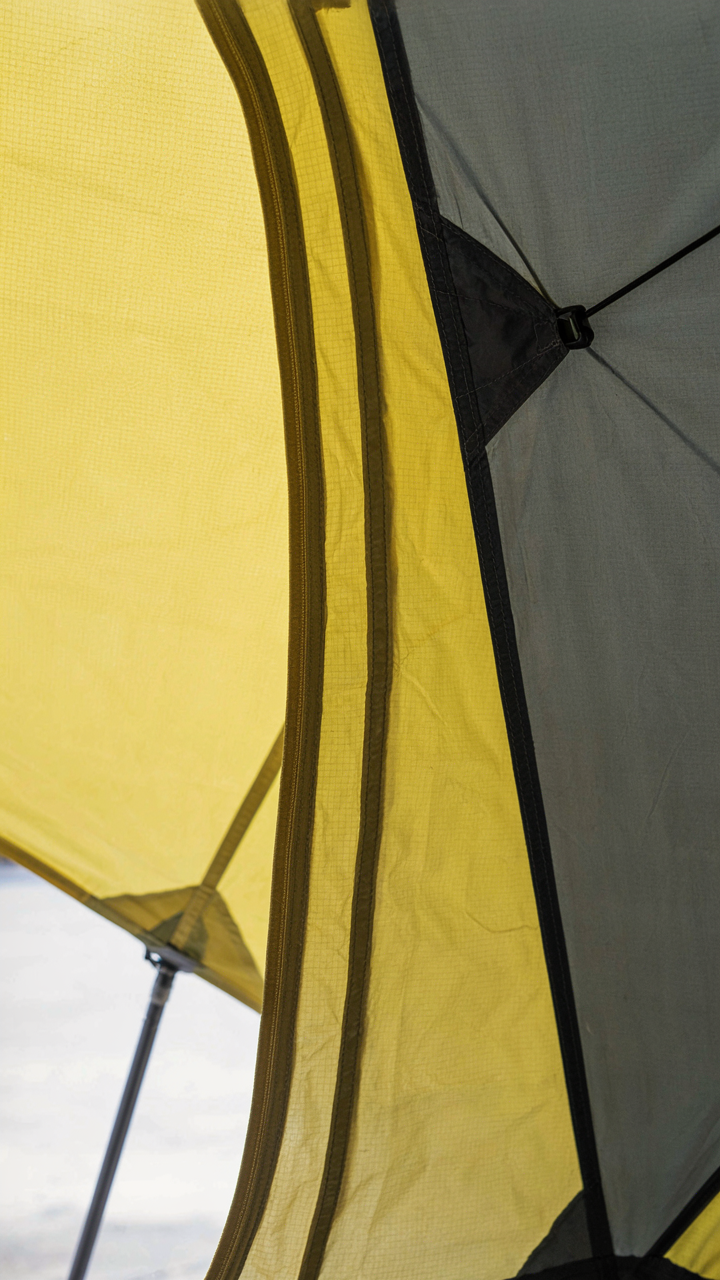
You want to believe one fabric solves everything because shopping is easier than physics. Here’s the mechanism: breathability and waterproofing operate as a zero-sum trade in material science. Waterproof shells block water molecules entirely, which stops rain but traps vapor your body produces. Breathable fabrics let vapor pass through, but water molecules are smaller than you think, and enough liquid rain will penetrate anyway.
The real play is matching fabric choice to your specific condensation source. If condensation comes from your breath and body heat, a breathable outer layer wins. If it comes from actual weather seeping through, you need waterproof barriers. Most tents compromise with a waterproof floor and semi-breathable fly, accepting some condensation as unavoidable. This isn’t failure; it’s the only rational position given current material limits.
Double Wall Beats Single Wall On Condensation
Double-wall tents sandwich an air gap between an inner breathable mesh and an outer waterproof fly. This gap acts as a thermal buffer and condensation sink. When warm interior air hits the cold outer fly, vapor condenses there instead of on your gear inside. Single-wall tents skip this layer, so condensation forms directly on the interior surface where your sleeping bag sits.
The cost of a double-wall tent reflects real physics, not marketing markup. The outer fly absorbs and sheds moisture while the inner wall stays dry. You still need ventilation to purge humid air, but the structural separation gives you a fighting chance. Without that gap, you’re gambling that external temperature stays mild enough to prevent condensation altogether. Double-wall design removes the gamble entirely.
Evaporation Economics: A Hidden Cost Of Camping In The Rain
What Wet Gear Actually Costs You
You care about this because wet gear means lost functionality, and lost functionality means you’re paying twice: once for the gear, again by not using it. Economics calls this opportunity cost, and tent condensation creates it relentlessly. Every piece of equipment that stays damp is capital sitting idle. Your sleeping bag loses insulation value. Your clothes don’t regulate temperature. Your pack straps rot. The mechanism is simple: moisture reduces material performance, and you absorb the loss through compromised camping effectiveness.
- Sleeping bag loft collapse: Down and synthetic insulation compress when wet, reducing warmth by 50% or more. Recovery takes 24+ hours of active drying in many conditions.
- Fabric degradation: Cotton and untreated synthetics break down faster when repeatedly wet and dried. Seams fail earlier. Material tensile strength drops incrementally with each cycle.
- Mold and mildew establishment: Fungal growth begins within hours on damp fabric stored in cool conditions. Removal requires aggressive cleaning that damages fibers further.
- Equipment weight increase: Absorbed water adds 5-15% to pack weight depending on materials. Extra weight compounds strain on joints over multi-day trips.
- Boot and footwear damage: Wet leather and certain synthetics warp permanently when dried improperly. Replacement cost exceeds prevention effort by a factor of ten.
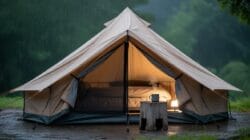
The real trap is that condensation happens whether you’re in the tent or outside it. You can’t simply “avoid getting wet.” The water condenses on your gear’s surface regardless of your activity level. This means the cost accrues passively, making prevention the only economics that makes sense.
Allocation: Prevention Versus Recovery
Drying wet gear consumes your entire trip’s energy budget if you don’t prevent condensation first. You can spend an hour ventilating your tent each morning, or spend the rest of your trip trying to recover from mold, compressed insulation, and material breakdown. The allocation question isn’t whether to address it. It’s whether you address it before or after the damage compounds. Prevention takes 60 minutes daily. Recovery takes days or replacement costs.
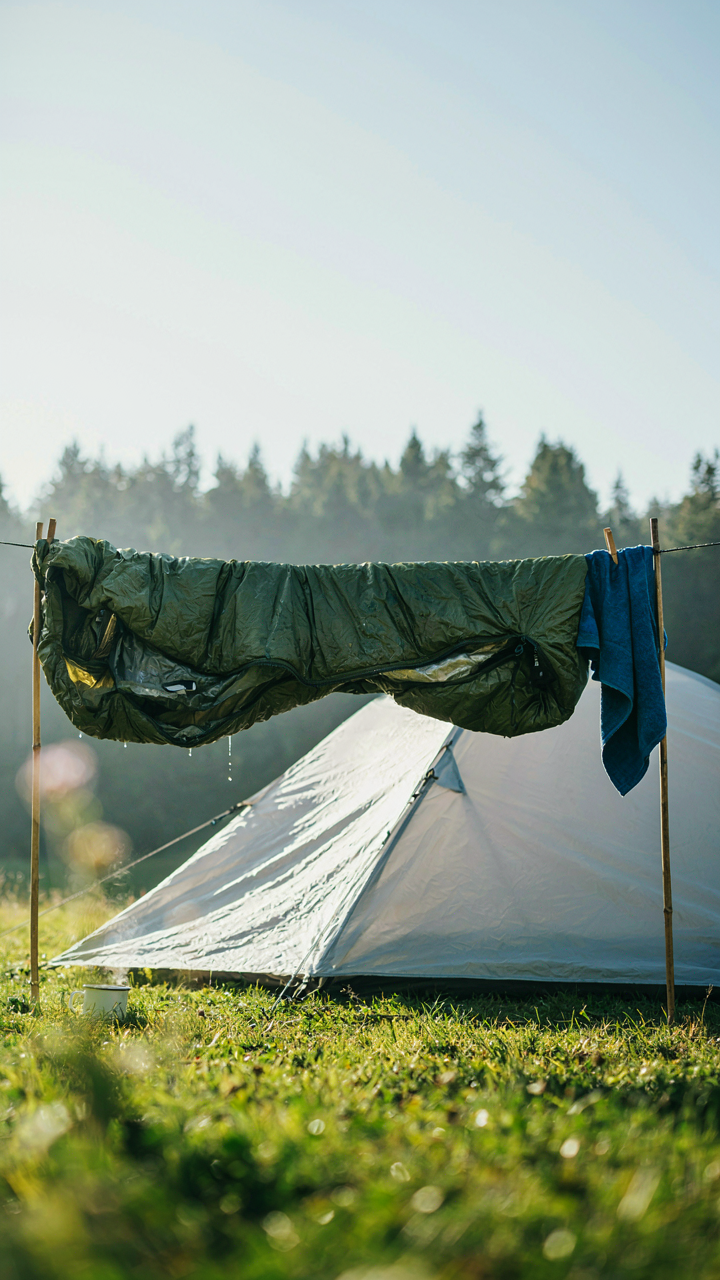
Morning ventilation is the highest-ROI activity you can perform. Crack your tent door for 15 minutes after waking. Hang damp layers outside for 45 minutes in morning air. Deploy a small towel to wipe interior condensation from tent walls before it re-absorbs into gear. This protocol prevents 80% of condensation damage without specialized equipment. The alternative is hauling damp gear home, running industrial-scale drying, and replacing items that failed prematurely.
Advanced Outdoor Comfort: Beyond The Basic Vent
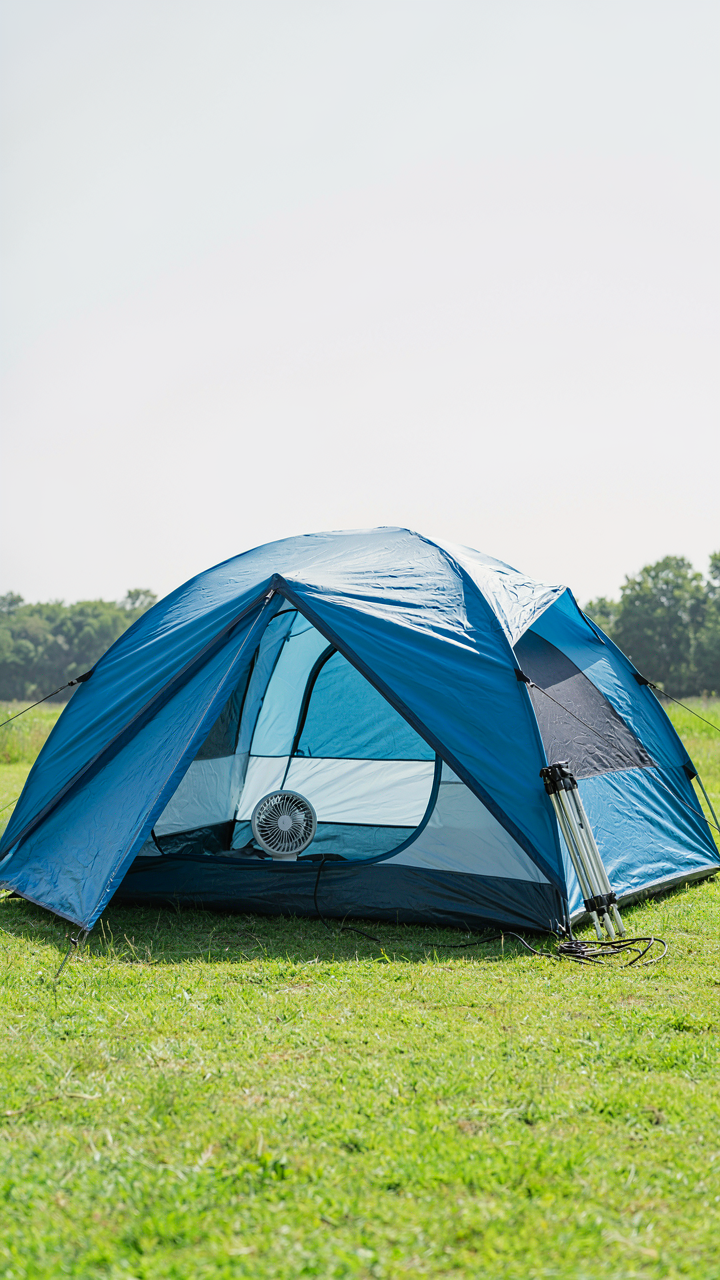
How Air Actually Moves Through A Tent
You want to believe one vent solves condensation so you can stop thinking about it. It doesn’t. Physics governs this, not intention. Air movement follows pressure gradients, not hopes. You need a pressure differential to force moisture out, which means you need inlet and outlet separated by distance and elevation. A single vent creates dead zones where humid air pools and condenses on the coldest surface it finds.
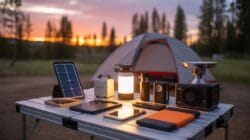
Position your tent so prevailing wind hits one end. Cut the vestibule entrance to act as the primary inlet, forcing air to travel the length of the tent floor before escaping through a high vent near the opposite end. This creates laminar flow that sweeps moisture toward the exit rather than letting it settle. The mechanism is simple: moving air has less capacity to hold moisture, so it deposits condensation less readily as it accelerates through the tent.
The Real Difference Between Doing Nothing And Doing Something
Everyone conflates passive ventilation with active ventilation and then concludes they’re the same because neither works perfectly in still conditions. They’re not. Passive ventilation relies on temperature differentials and wind to move air. Active ventilation uses battery fans or manual effort to force air circulation independent of weather. Passive fails when you camp in a still, cold valley. Active works regardless.
For most backpackers, passive suffices because wind and temperature swings naturally drive air exchange during the night. Position vents at opposite ends of the tent and crack the foot end slightly open for intake. In dead calm conditions or high-altitude camps where temperature barely rises, a small battery fan mounted to cycle for two-hour intervals during the coldest hours prevents pooling. The decision point is simple: if you’re camping in predictable wind, passive works. If you’re in sheltered terrain or at elevation where air doesn’t move, add active circulation to interrupt the condensation cycle.
Maintaining “Camping Life” Dryness: Post Trip Protocols
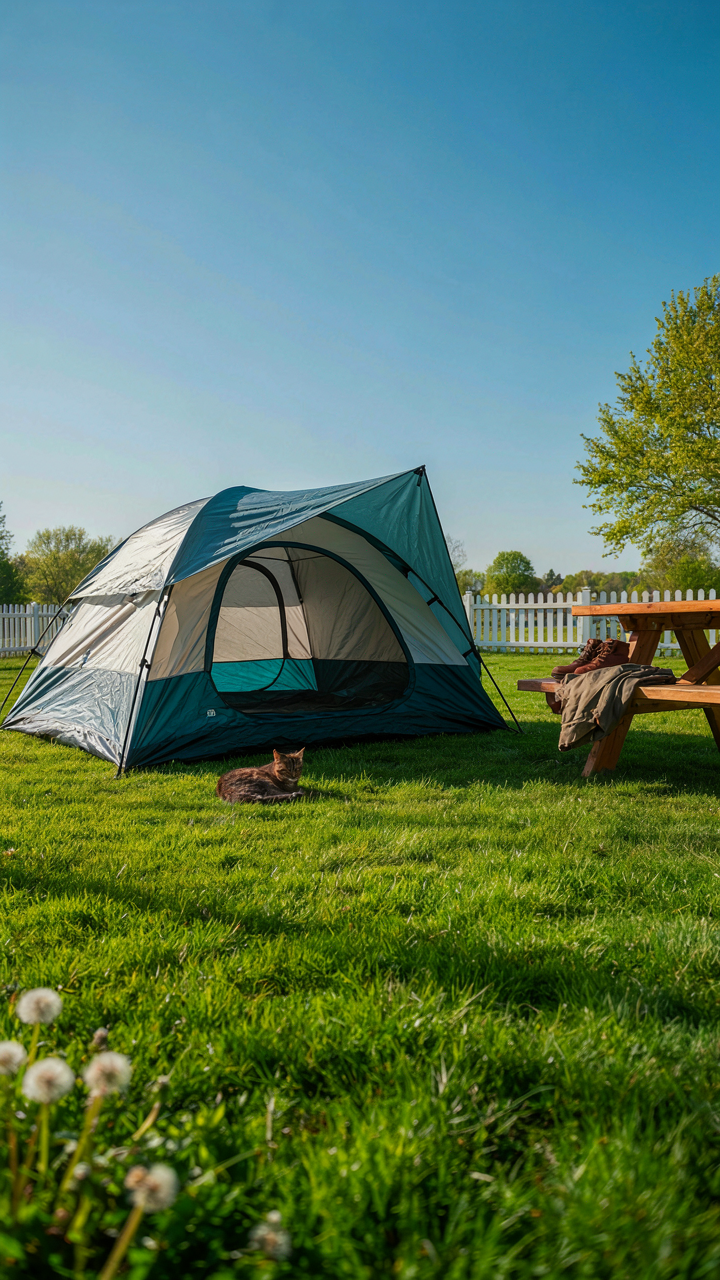
Air Out Before Storage
You want to believe one night in a dry garage fixes condensation damage. It doesn’t. The mechanism is simple: moisture trapped in fabric creates an anaerobic environment where mildew spores germinate within 48 hours if temperature stays above 50°F. You need active airflow, not just time.
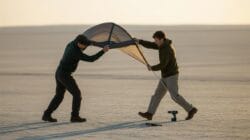
Set up your tent fully in open air for a minimum of four hours after your trip ends. Position it in direct sun if possible. Open all vents, unzip doors completely, and prop the rainfly away from the tent body. This forces moisture vapor to escape rather than settle into seams and floor fabric where it compounds.
Inspect And Treat Problem Areas
Common advice says “just wipe it down.” That misses the actual problem. Condensation pools in specific zones: corners where airflow stalls, the floor perimeter where moisture wicks upward, and seam lines where fabric density traps vapor. You must target these deliberately.
Check seams with a flashlight while the tent is still slightly damp. Any visible salt residue, discoloration, or soft spots signals trapped moisture. Treat these immediately with a microfiber cloth and allow 24 more hours of air exposure. Store the tent only when it passes the touch test: no dampness anywhere on interior fabric or mesh.
The Real Problem Isn’t Tent Condensation; It’s Your Failure To Master The Environment You Create
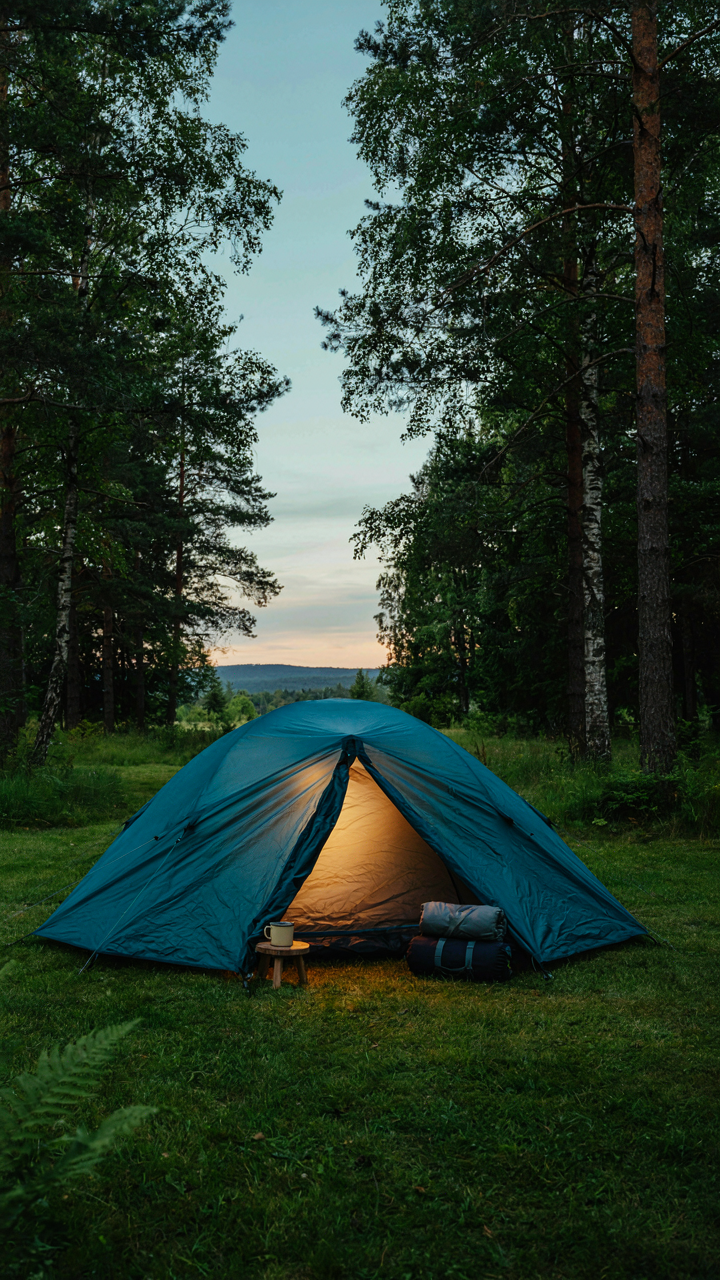
You don’t have a tent condensation problem. You have a decision problem. Every morning you wake up wet because you never decided to own your space. Tonight, crack your tent vents before you sleep. That single move separates people who complain from people who camp. Stop blaming physics and start engineering the outcome you want.