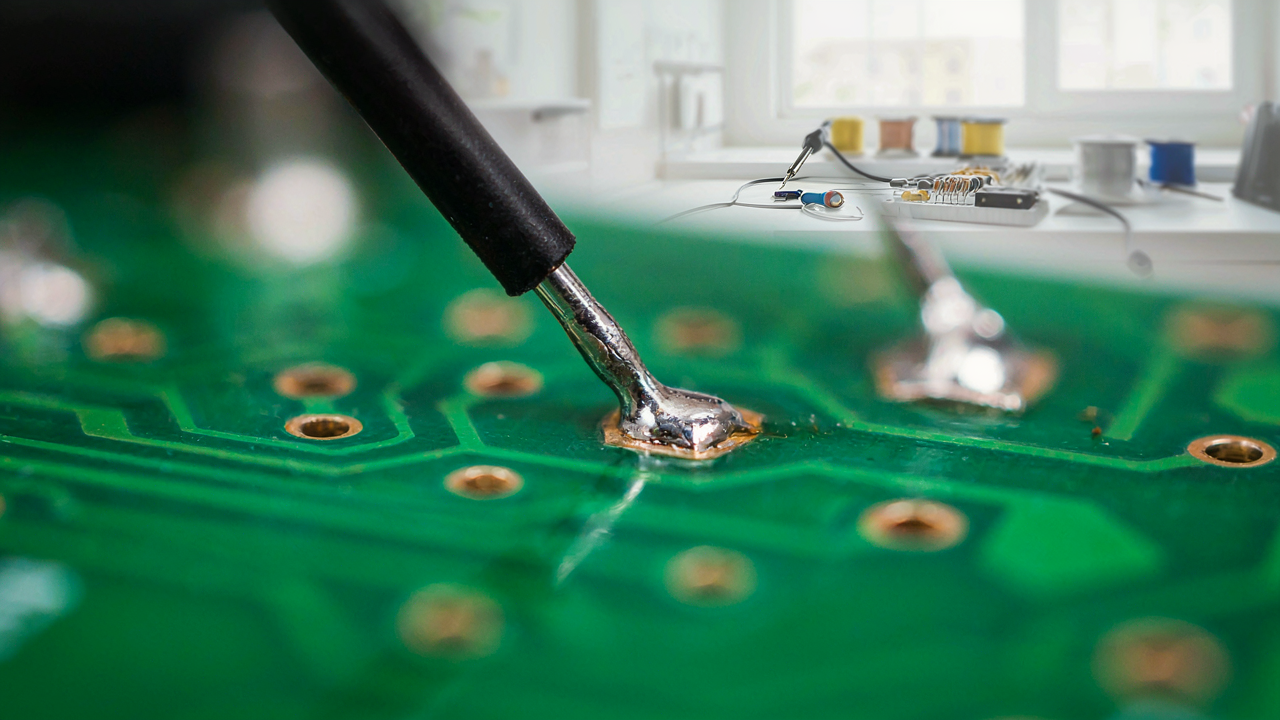
Beyond The Shine: What Does Flux Do In Soldering?
Oxidation’s Silent Sabotage
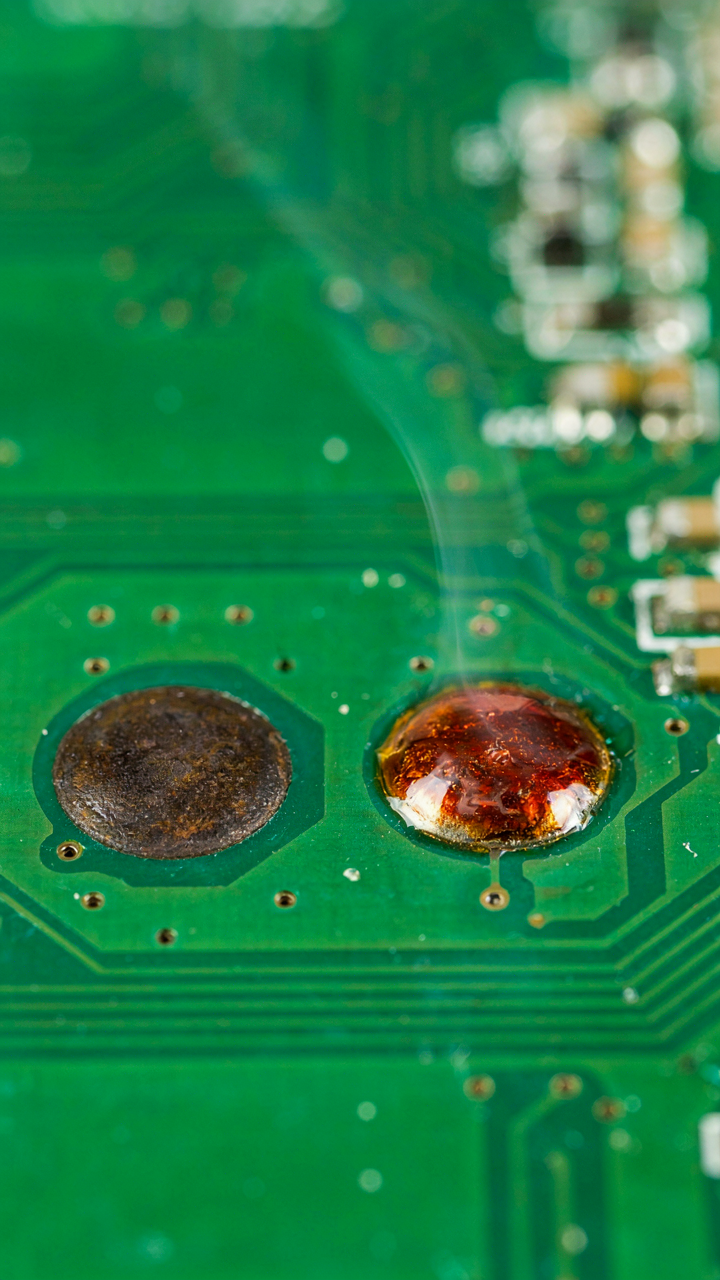
You want clean joints because you think that’s what matters. The real problem is oxidation is already eating your connection before you touch it with solder. Flux prevents oxidation by creating a chemical barrier on the metal surface. When copper or other metals heat up, oxygen in the air forms oxides on the surface. These oxides have a higher melting point than solder and block the molten metal from bonding to the base material. Flux dissolves these oxides and keeps new ones from forming while you work.
The flux’s active ingredient, typically rosin or an organic acid, chemically reduces the oxide layer. This happens at temperatures well below solder’s melting point, clearing a path for the solder to wet the base metal. Without flux, your solder sits on top of oxidized metal like water on wax. The joint looks fine but has almost no structural strength. Flux isn’t cosmetic—it’s structural.
Surface Tension: The Solder’s Enemy
Physics teaches us that liquids minimize their surface area through surface tension. Solder behaves the same way, which is why it beads up instead of spreading evenly across your joint. Flux lowers the surface tension of molten solder, forcing it to flow into crevices and around component leads instead of retreating into a ball. Without flux acting as a surfactant, molten solder naturally pulls away from edges and leaves gaps in the joint.
Solder naturally wants to minimize contact with the base metal. Flux changes the boundary condition by making the solder-to-metal interface energetically favorable. This is why you see solder flow smoothly across a fluxed surface but hesitate and ball up on a bare, oxidized pad. The difference between a cold joint and a good connection often comes down to whether flux lowered surface tension enough to let the solder reach the corners of your connection geometry. Apply flux generously to all surfaces before heating.
The Corrosive Truth: Types Of Solder Flux Explained
Rosin, No Clean, Water Soluble
You care about this section because you want to know which flux won’t leave residue that makes your board look cheap or fail inspection. The real mechanism: flux types differ by their active agent—the chemical that strips oxide from metal surfaces so solder can actually bond. Without the right active agent, you’re not soldering. You’re gluing metal together with a thin layer of oxidation still in between.

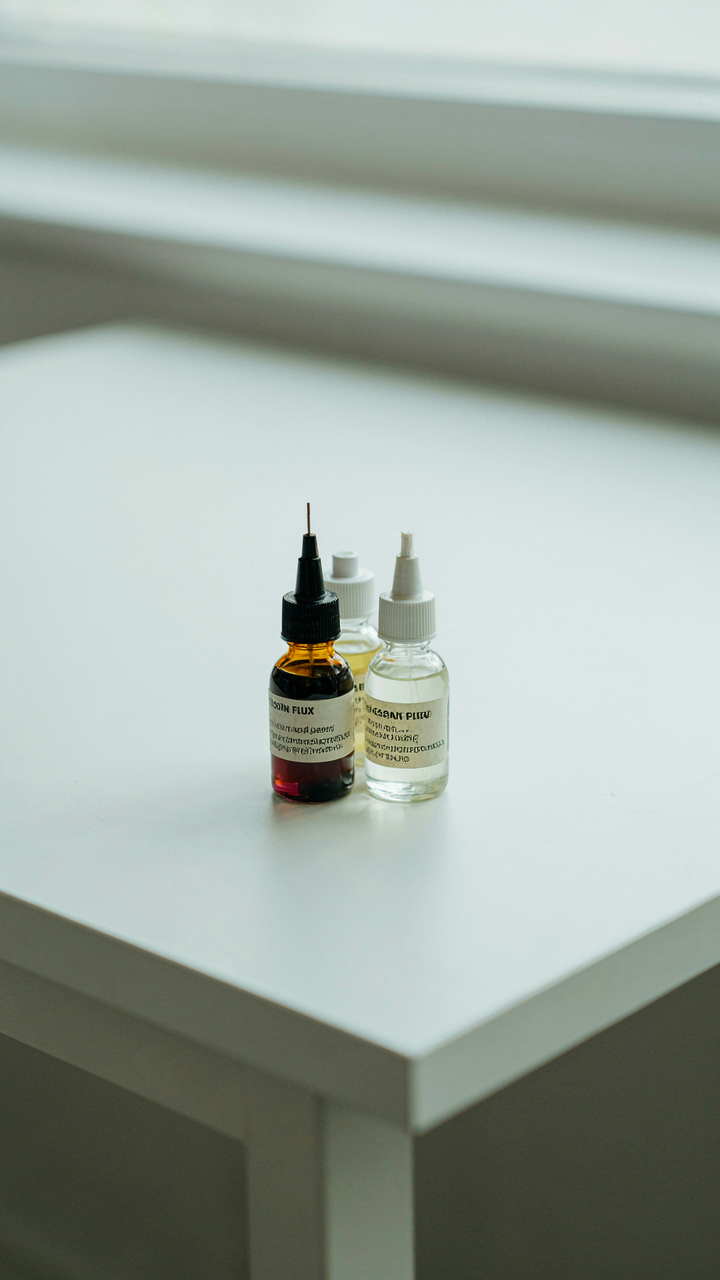
Rosin flux uses colophony, a pine tree resin, as its active agent. It works aggressively but leaves a dark, sticky residue that requires solvent cleaning. No-clean flux substitutes synthetic organic acids that evaporate or break down during the heating cycle, leaving minimal residue. Water-soluble flux replaces rosin entirely with organic acids and a different carrier, dissolving completely in water. Each type trades off cleaning effort, residue visibility, and cost.
The Chemical Hierarchy That Controls Your Results
Think like a chemist measuring acid strength. Rosin flux is the weakest active agent—it barely strips oxide but leaves the most visible evidence. No-clean formulations use stronger organic acids that finish their work during reflow, then decompose. Water-soluble flux sits at the top: aggressive organic acids do the cleaning, then water rinses everything away instantly.
The hierarchy isn’t about which is best. It’s about matching the flux strength to your process. High-temperature wave soldering on old boards with heavy oxidation demands rosin or water-soluble. Surface mount reflow on clean stencil-printed pads works with no-clean because the oven temperature and time let the weaker active agents finish the job. Pick the wrong one and you either leave residue or fail to wet the joint entirely.
The Flux Application Protocol: Beyond The Drip
How Much Flux Actually Matters
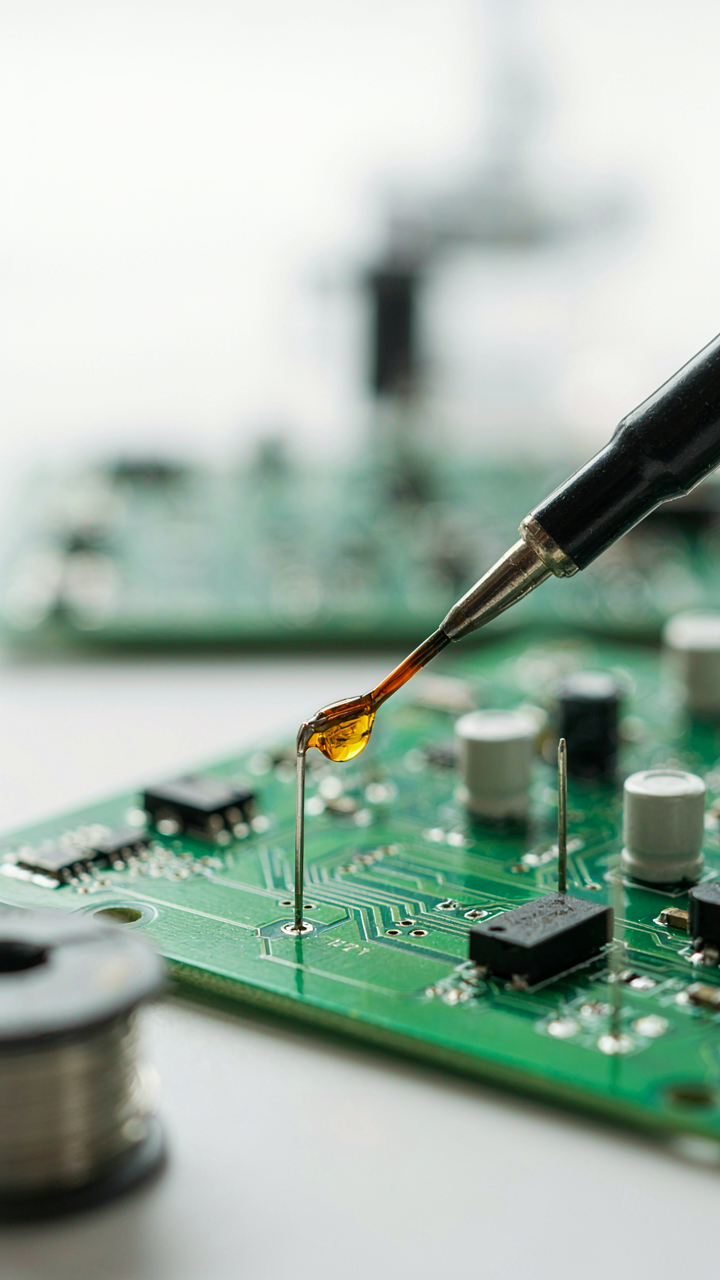
You want permission to stop overthinking this because you’re tired of getting inconsistent results. The mechanism is simple: flux volume determines how long the chemical reaction lasts and how far it spreads across the joint. More flux means longer activity window. Less flux means faster oxidation returns. The dosage isn’t about preference—it’s about controlling the window of time your solder can flow and wet the surfaces you need it to wet.

The common advice is to use “just enough.” That’s useless. What matters is matching flux volume to your joint geometry and heating speed. A large through-hole joint with slow heat input needs more flux because the oxidation layer reforms faster than your solder can flow. A small surface-mount pad needs less because the thermal mass is low and reflow happens quickly. Flux evaporates during heating, so underestimating volume leaves you with a dead zone midway through the joint.
Heat Timing Changes Everything
Thermal strategy—borrowed from materials science—treats flux like a reaction window with a predictable decay curve. Preheat the joint before applying flux, and you compress that window. Apply flux first, then heat, and you extend it. Most people reverse this sequence without knowing why, which costs them repeatability.
Preheat your pad and component lead to around 100-150°C before flux touches the joint. This slows oxidation reformation and gives flux more active time once solder begins melting. After reflow completes and solder solidifies, stop heating immediately. Continued heat oxidizes the flux residue and hardens it into an insulator, which traps flux under the solder ball and degrades electrical contact over thermal cycles. The protocol: preheat, flux, solder, cool.
How To Choose Flux For Soldering: The Unspoken Variables

Match The Base Metal To Your Flux Chemistry
You want the right flux so you don’t have to clean afterward, or so your joints don’t corrode in six months. That’s the real problem you’re solving, not just “getting flux.” The mechanism is chemical reactivity. Flux dissolves metal oxides, but different metals oxidize differently, and different fluxes have different activation temperatures and residual corrosiveness.

Copper and its alloys oxidize as a black layer. Lead-free solders on copper require a flux aggressive enough to break through that oxide, which usually means rosin-based or water-soluble flux with active components. Gold-plated components demand gentler flux because high-activity formulas can lift the plating or attack the underlying nickel. Silver and nickel require intermediate chemistry. Don’t just grab whatever flux is cheapest or most common. The metal underneath determines what chemistry will actually work without leaving corrosive residue or failing to wet properly.
Thermal Activation Is Your Real Constraint
Borrowing from thermal dynamics: activation energy is the threshold temperature where a chemical reaction accelerates. Your flux has an activation temperature, and your heat profile must exceed it, or the flux sits inert on the joint and does nothing. This is the mistake most people make. They assume flux works instantly at any temperature.
No-clean flux activates around 140-160 degrees Celsius. Rosin flux activates closer to 170-190 degrees. Water-soluble flux needs 180-220 degrees. If you’re hand-soldering with a 25-watt iron on a large ground plane, the joint temperature might peak at 280-300 degrees, well above activation threshold. But on a small SMD component with a lower thermal mass, you might only hit 210 degrees before the iron cools. That same flux now fails to activate fully, leaving you with poor wetting and weak joints. Check your iron temperature, the component thermal mass, and the flux datasheet activation range before you solder.
Solder Paste, Electrical Connection, And Flux Synergy
Flux As The Delivery Mechanism
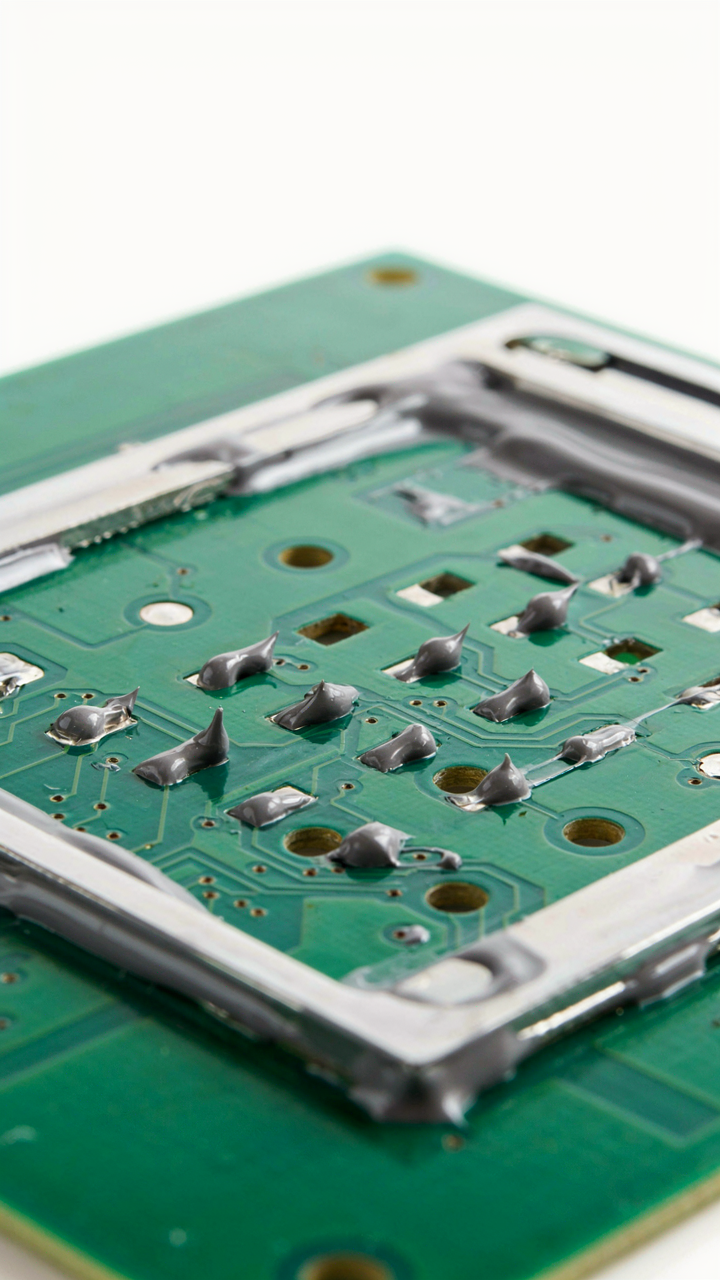
You want clean joints because you think it means better reliability, but what you’re really after is predictable electrical performance at scale. Here’s what nobody says plainly: flux isn’t the cleaning agent in solder paste. It’s the delivery system. Borrowing from chemistry, flux functions like a catalyst in a reaction—it doesn’t participate in the final product but enables the mechanism that creates it. The paste itself is metal particles suspended in flux. When you heat the joint, the flux liquefies first, wetting the surfaces and breaking oxide layers so solder can actually flow. The solder then displaces the flux as it solidifies. Flux residue left behind is a byproduct of the process, not the point.

The composition matters because different flux types have different activation temperatures and residue characteristics. Rosin-based flux leaves a tacky amber residue. No-clean flux formulations burn off almost entirely, leaving minimal residue. Water-soluble flux requires post-reflow cleaning but offers zero electrical conductivity risk. If you’re using a specific paste, you need to match your reflow profile to that flux’s activation curve, or you’ll either leave oxide on the joint or cook the flux away before the solder flows. The flux vehicle carries the metal particles to the right place at the right time, nothing more.
Corrosion And Electrical Continuity
The common advice here is wrong: flux residue doesn’t automatically damage electrical connections. What damages them is trapped ionic contamination that conducts electricity and accelerates galvanic corrosion between dissimilar metals. Rosin flux leaves a non-conductive residue when cooled. Water-soluble flux residue becomes conductive when exposed to humidity. That’s the real distinction. A circuit board operating at 5V with no moisture ingress can tolerate some residue. The same board in a humid environment or high-frequency RF application will degrade if ionic contamination sits at solder joints.
The mechanism is electrochemical. Moisture creates an electrolyte. Ionic residue provides the ions. Dissimilar metals in the joint create a galvanic cell. Current flows, corroding the anode (usually the base metal under the solder). This resistance increases over time, causing voltage drop, heat generation, and eventual failure. Clean flux residue off high-reliability boards by either selecting no-clean flux and validating your reflow profile, or using water-soluble flux and performing post-reflow wash within two hours of assembly. The action is immediate: audit your current process for residue presence under magnification, then choose cleaning or formulation change accordingly.
The Soldering Iron’s Role: Activating The Flux, Not Just Melting Solder

Temperature Calibration For Flux Activity
You want a perfect joint without cold solder failures that kill your reputation weeks later. The real mechanism here is chemical kinetics: flux doesn’t activate at room temperature. It needs heat threshold to break down its binder and expose the active chemical compounds underneath.

Most advice says “just get it hot enough to melt solder.” That’s incomplete. You need the iron hot enough to activate the flux chemistry before the solder melts, or you’re just spreading inert paste. Lead-free solder typically requires 250 to 260 degrees Celsius at the tip. Leaded solder activates lower, around 230 to 245 degrees. Hit the joint below these windows and flux sits dormant, oxidation remains on the pad, and your connection fails silently under thermal stress.
Tip Geometry Delivers Heat Where It Matters
Flat tips disperse heat. Pointed tips concentrate it. This is basic thermodynamics applied to metal contact area. A fine tip concentrates thermal energy into a smaller surface, reaching activation temperature faster and hotter in the exact spot you need it.
The chisel tip exists for a reason: it bridges the pad and lead simultaneously, delivering heat to both at once so flux activates uniformly across the joint. A round or blunt tip heats one element first, flux activates asymmetrically, and you end up with oxidized copper on one side still. Maintain tip geometry by wiping on wet sponge or brass wool between joints. A degraded tip with buildup forces you to compensate with higher temperatures, which burns your flux away and ruins everything you’re trying to accomplish.
Post Solder Reality: The Solder Flux Removal Imperative
The Cleanup Paradox: Removing Residues
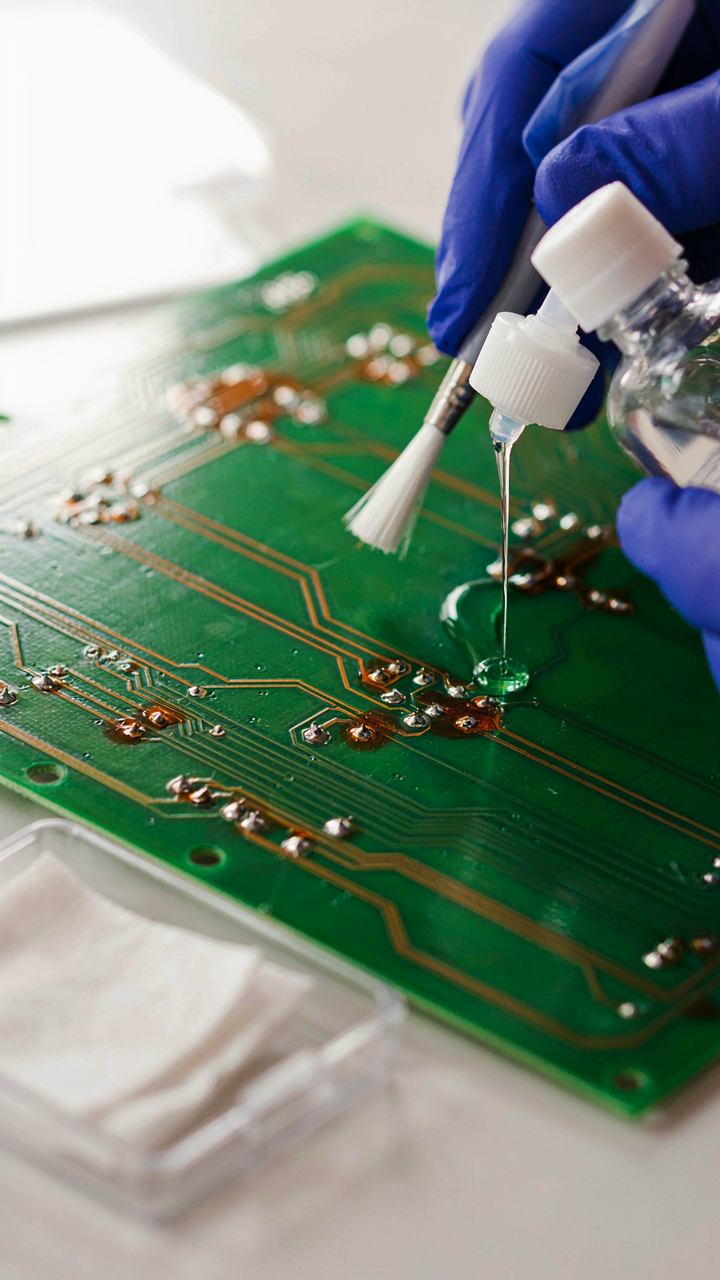
You want clean boards because you think they look professional. The real reason matters more: flux residue left behind conducts electricity in ways you didn’t plan for, and that kills reliability. Flux is a reducing agent in chemistry terms, meaning it strips oxides to enable bonding. After the solder cools, that same residue becomes an unwanted conductive path between traces. Leaving it behind isn’t laziness—it’s a design flaw you’re paying for later.

Most guidance says “just clean it.” That’s incomplete. The type of flux you used determines the cleaning method. Rosin flux, no-clean flux, and water-soluble flux all leave different residues that respond to different solvents.
- Rosin flux residue: Hydrophobic, requires isopropyl alcohol or specialized flux cleaners; water alone won’t touch it.
- No-clean flux residue: Engineered to be benign but still accumulates on high-density boards where moisture traps it between traces.
- Water-soluble flux residue: Dissolves in deionized water but leaves mineral deposits if tap water is used instead.
- Timing of cleaning: Remove residue within 24 hours of soldering before it hardens and becomes mechanically bonded to the board surface.
- Cleaning validation: Visual inspection under magnification misses ionic contamination; conductivity testing detects salts you can’t see.
The mechanism is straightforward: residue + humidity + voltage difference equals leakage current. You clean to interrupt that circuit before it starts. Use deionized water for water-soluble flux, isopropyl alcohol for rosin flux, and apply it within the first day of assembly.
Corrosion Prevention: Long Term Reliability
Flux removes oxides so solder wets the joint. But if residue stays on the board, those same ionic compounds accelerate corrosion under thermal cycling and humidity. Copper traces oxidize faster in the presence of flux salts, and silver migration becomes a real failure mode in high-voltage designs. This isn’t theoretical—it’s the reason aerospace and automotive boards mandate residue removal.
The common narrative blames the environment. Partially true, but incomplete. A clean board survives harsh conditions that would kill a flux-covered one in months. The residue acts as a hygroscopic layer, pulling moisture directly to copper and solder joints. Removing it breaks that mechanism. After cleaning, apply a conformal coating if the application demands it. That coating protects against future contamination, but it works only on a clean substrate. If you coat over flux residue, you’ve just sealed the problem underneath.
The “What Is Flux Used For In Soldering” Lie
What Flux Actually Does
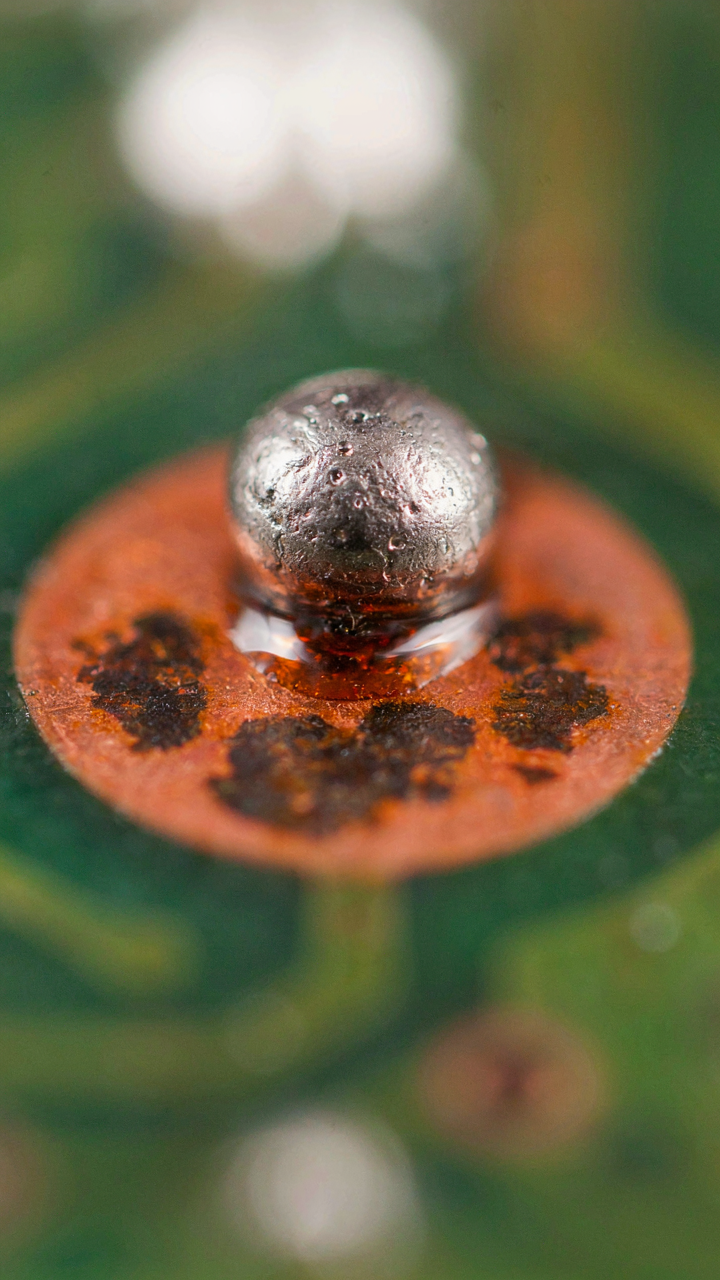
You want to think flux is just a cleaner. It’s not. Flux removes oxides from metal surfaces so solder can wet them properly, but that’s the surface-level answer everyone repeats. The real mechanism is chemical: flux contains mild acids or halides that dissolve the oxide layer before heat can do anything useful. Without it, solder sits on top of oxidized metal like water on wax. You get a cold joint that looks fine until vibration or thermal cycling breaks it.

The common narrative is incomplete. Flux does clean, but it’s also a chemical intermediary that makes solder flow where it physically cannot flow otherwise. Molten solder has high surface tension. Oxides block contact. Flux lowers the activation energy for wetting by attacking the oxide barrier directly. The joint strength depends on metallurgical bonding between solder and conductor, not on mechanical adhesion. Flux enables that bonding by removing what blocks it. Apply flux before heating, not after. Heat activates its chemistry.
Connections Decay Without Opposition
Entropy applies to solder joints like it applies to everything else. Oxidation is the system moving toward disorder, and your joint degrades the moment solder cools. Flux prevents this decay during assembly, but here’s what matters after the joint is made: residual flux activity and joint design determine long-term stability. A clean joint with good wetting resists oxidative creep. A marginal joint with minimal wetting invites it.
The mechanism is oxidation under thermal and electrical stress over time. Copper and tin oxidize in air and moisture. Solder flux fights entropy only during the assembly window. Once cooled, you need physical barriers: conformal coatings, encapsulation, or low-moisture environments. Thermal cycling accelerates the decay. Vibration can fracture weak bonds. A properly fluxed joint with complete wetting has higher resistance to both because the metallurgical bond is solid, not just superficial. Design your assembly process so flux does its job completely the first time.
The Real Obstacle To Perfect Solder Is Not Technique, But Your Refusal To Master The Unseen Forces Of Corrosion
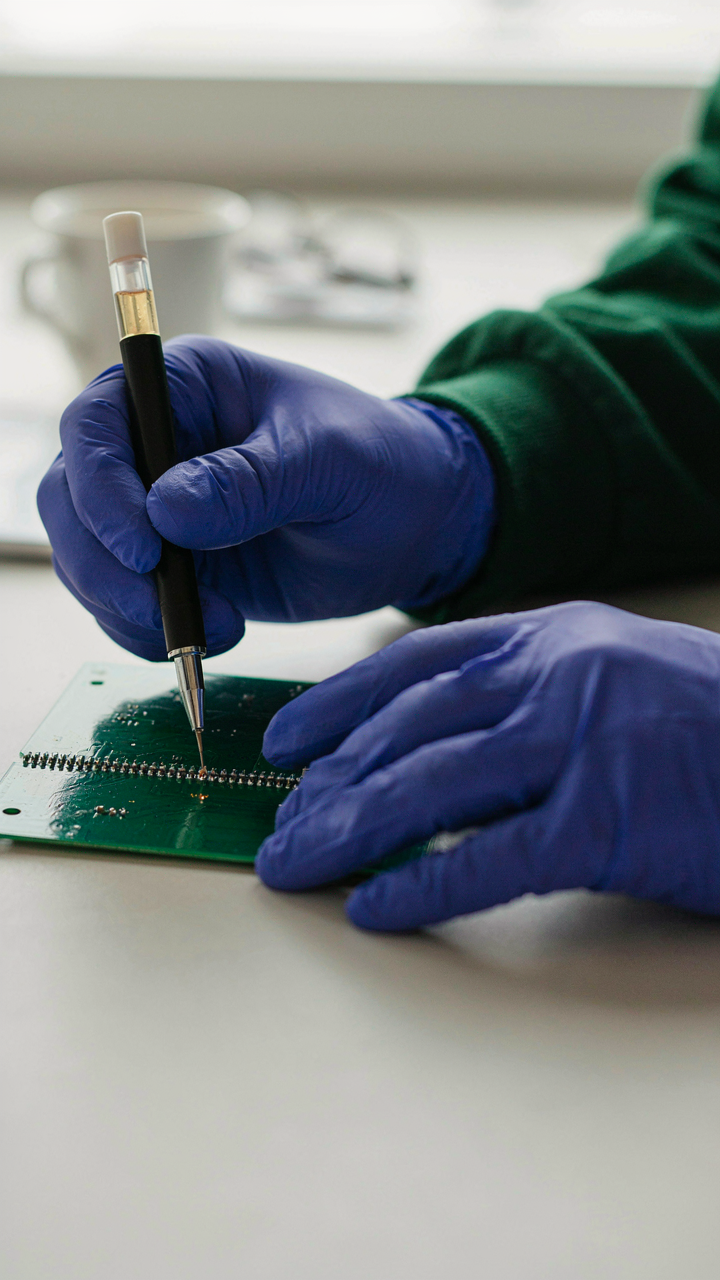
Most people blame their hands when joints fail. They blame shaky fingers or bad timing. The real culprit sits invisible on your board: oxidation. Flux isn’t a bonus layer you apply after the fact. It’s the foundation that determines whether your connection lives or dies in six months. Stop treating it like an afterthought. Buy one quality flux today and actually read what type matches your work. Your joints won’t improve until you stop fighting chemistry and start exploiting it.




