

Why Build A Mini Weather Station
Understanding Local Weather Patterns
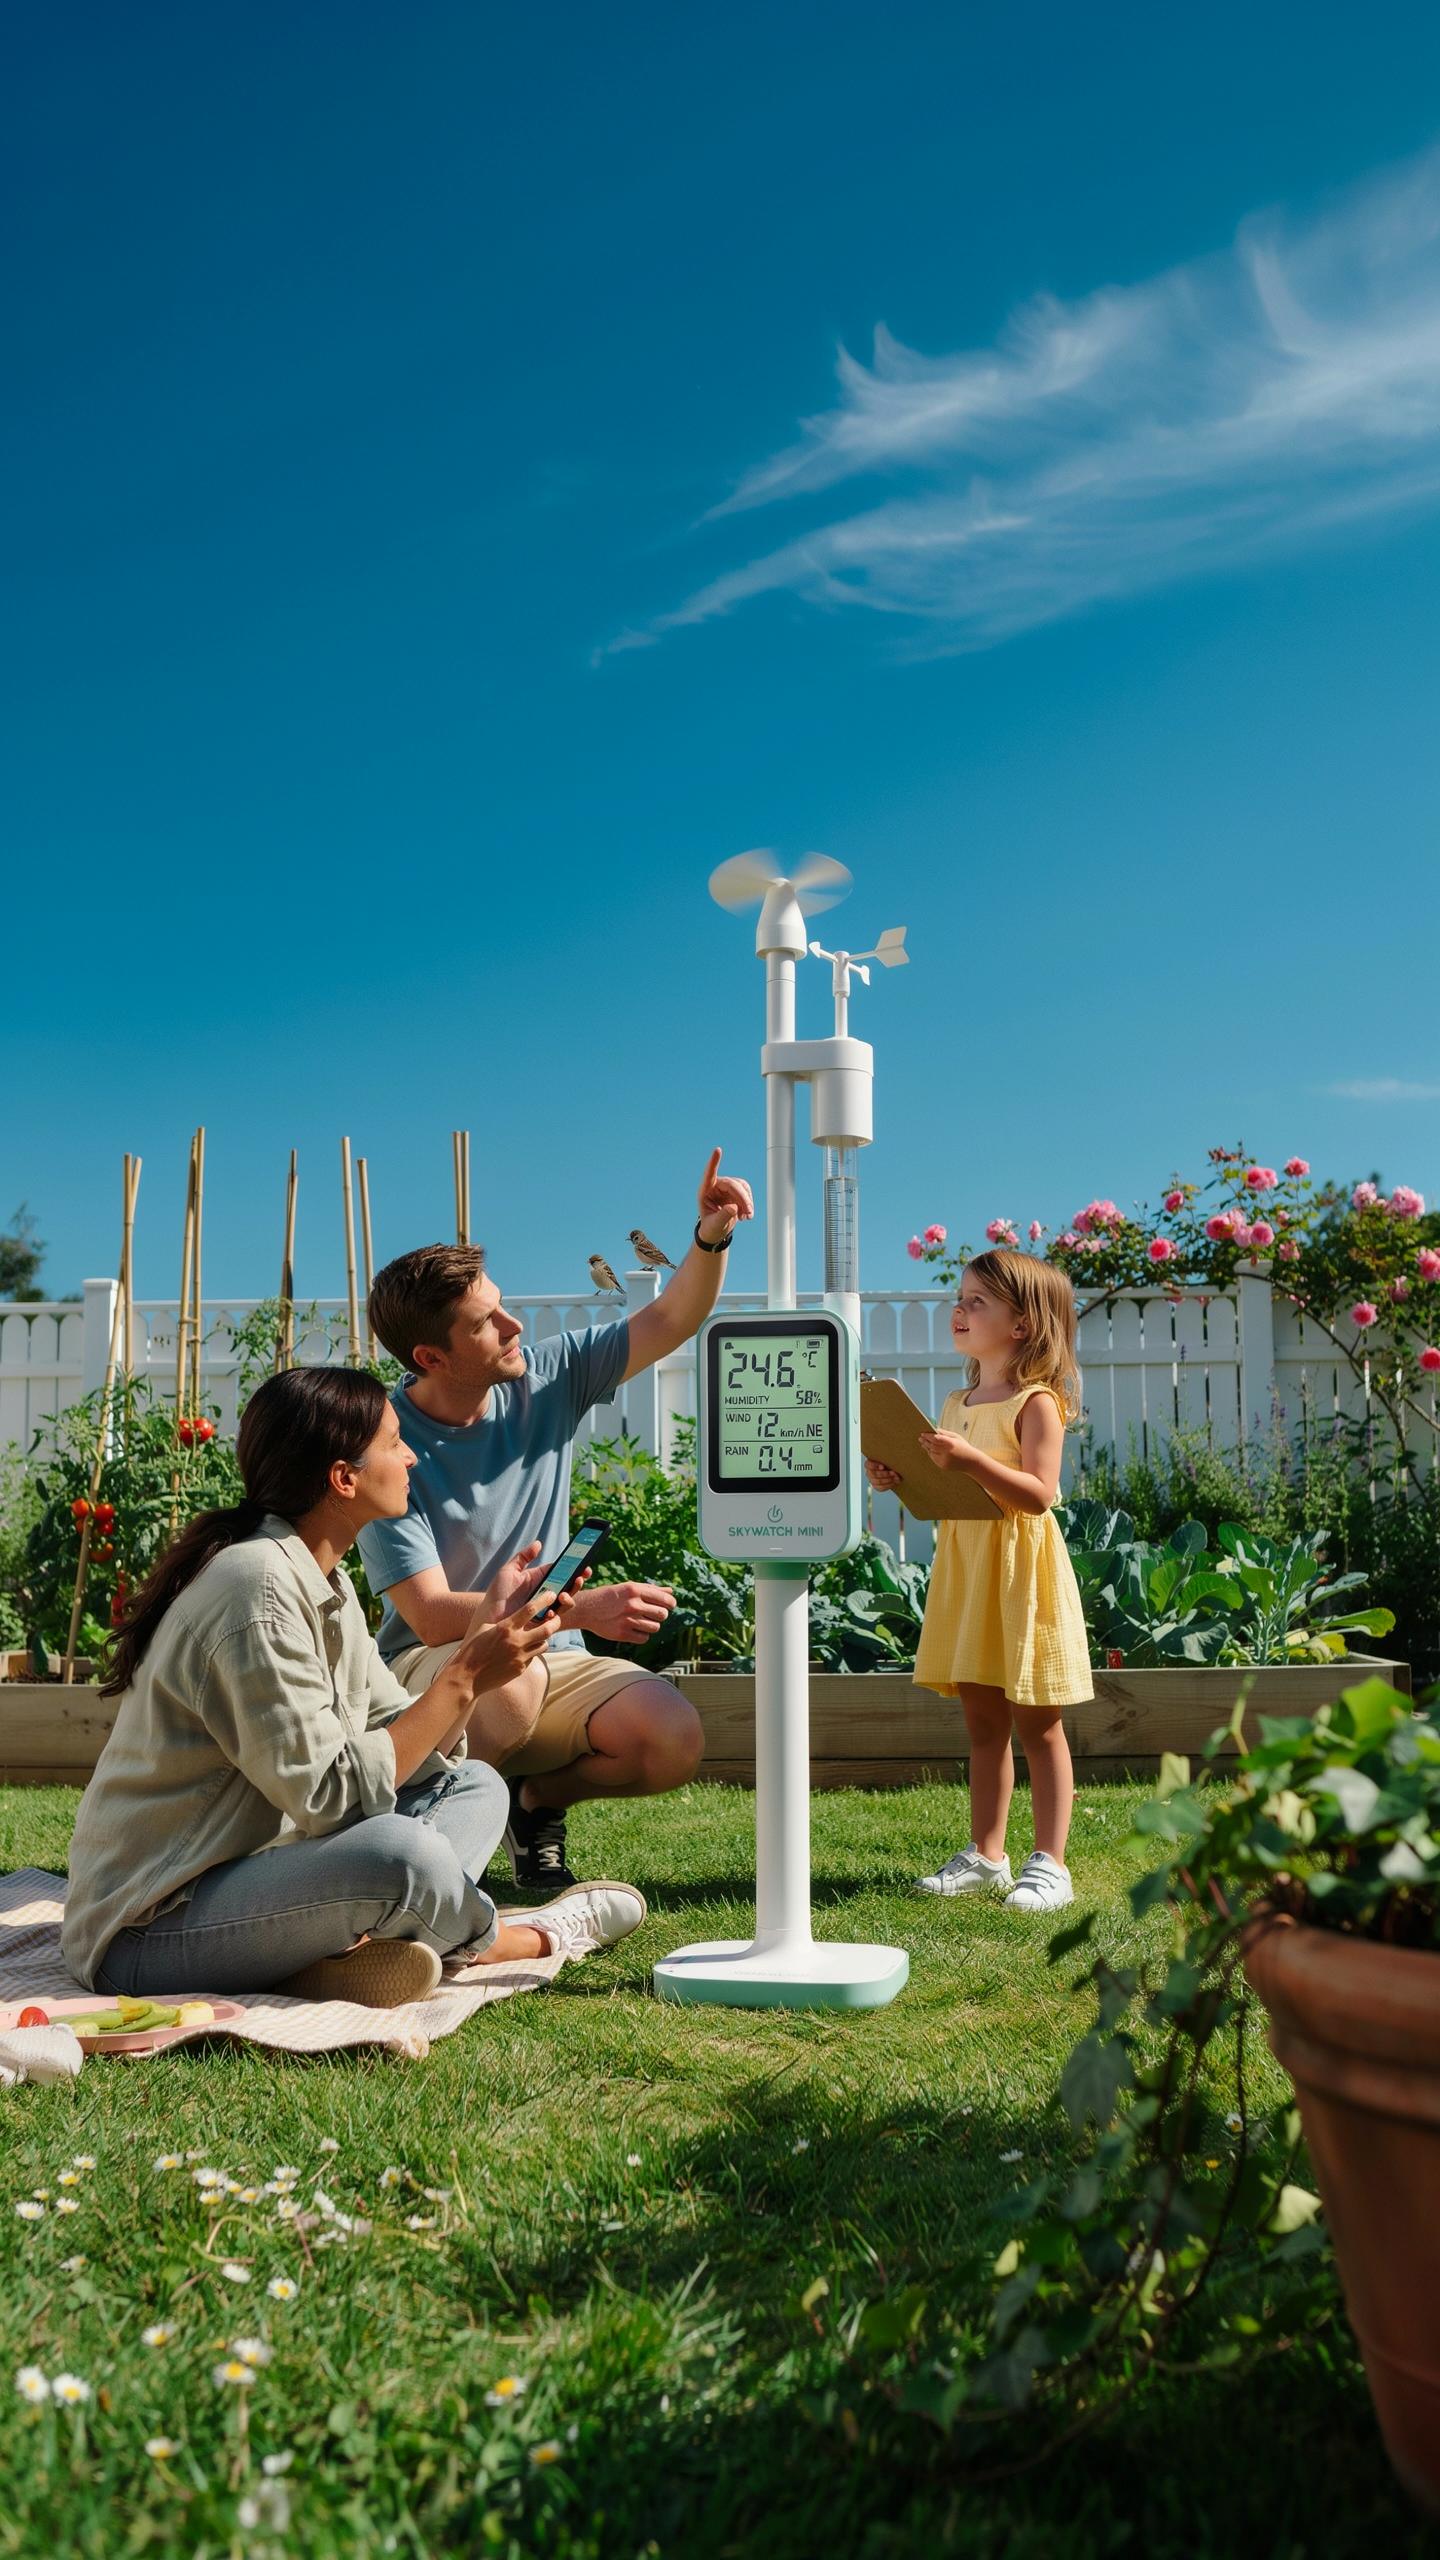
Weather forecasts from national services cover broad geographic areas. Your specific location experiences microclimates that general forecasts miss. A home weather station captures temperature, humidity, pressure, and precipitation exactly where you live. This data reveals patterns unique to your property. You discover how your yard differs from nearby areas. You track how buildings, trees, and terrain affect local conditions.
Accurate local data helps with practical decisions. You know when frost will hit your garden. You time outdoor projects based on real conditions, not predictions. You understand how wind patterns move across your property. This information directly impacts gardening, construction work, and daily planning. Local weather stations provide the specificity that mass forecasts cannot deliver.
Educational And Hobbyist Benefits Of A Weather Station Project
Building a weather station teaches applied science principles. You work with sensors, data collection, and measurement techniques. The project covers physics, electronics, and basic meteorology concepts. You learn how instruments detect and record atmospheric conditions. Assembling the kit reinforces understanding of how weather systems work. This hands-on approach beats reading about meteorology in textbooks.
Weather station projects offer ongoing engagement for hobbyists. You collect data consistently and analyze patterns over months and years. You compare your readings against official weather reports and other stations. Many hobbyists join weather networks that share data publicly. The project scales from basic temperature monitoring to sophisticated multi-sensor setups. You develop skills in electronics, data analysis, and troubleshooting along the way.
Essential Components For Your Weather Station Diy
Core Sensors Temperature Humidity And Pressure
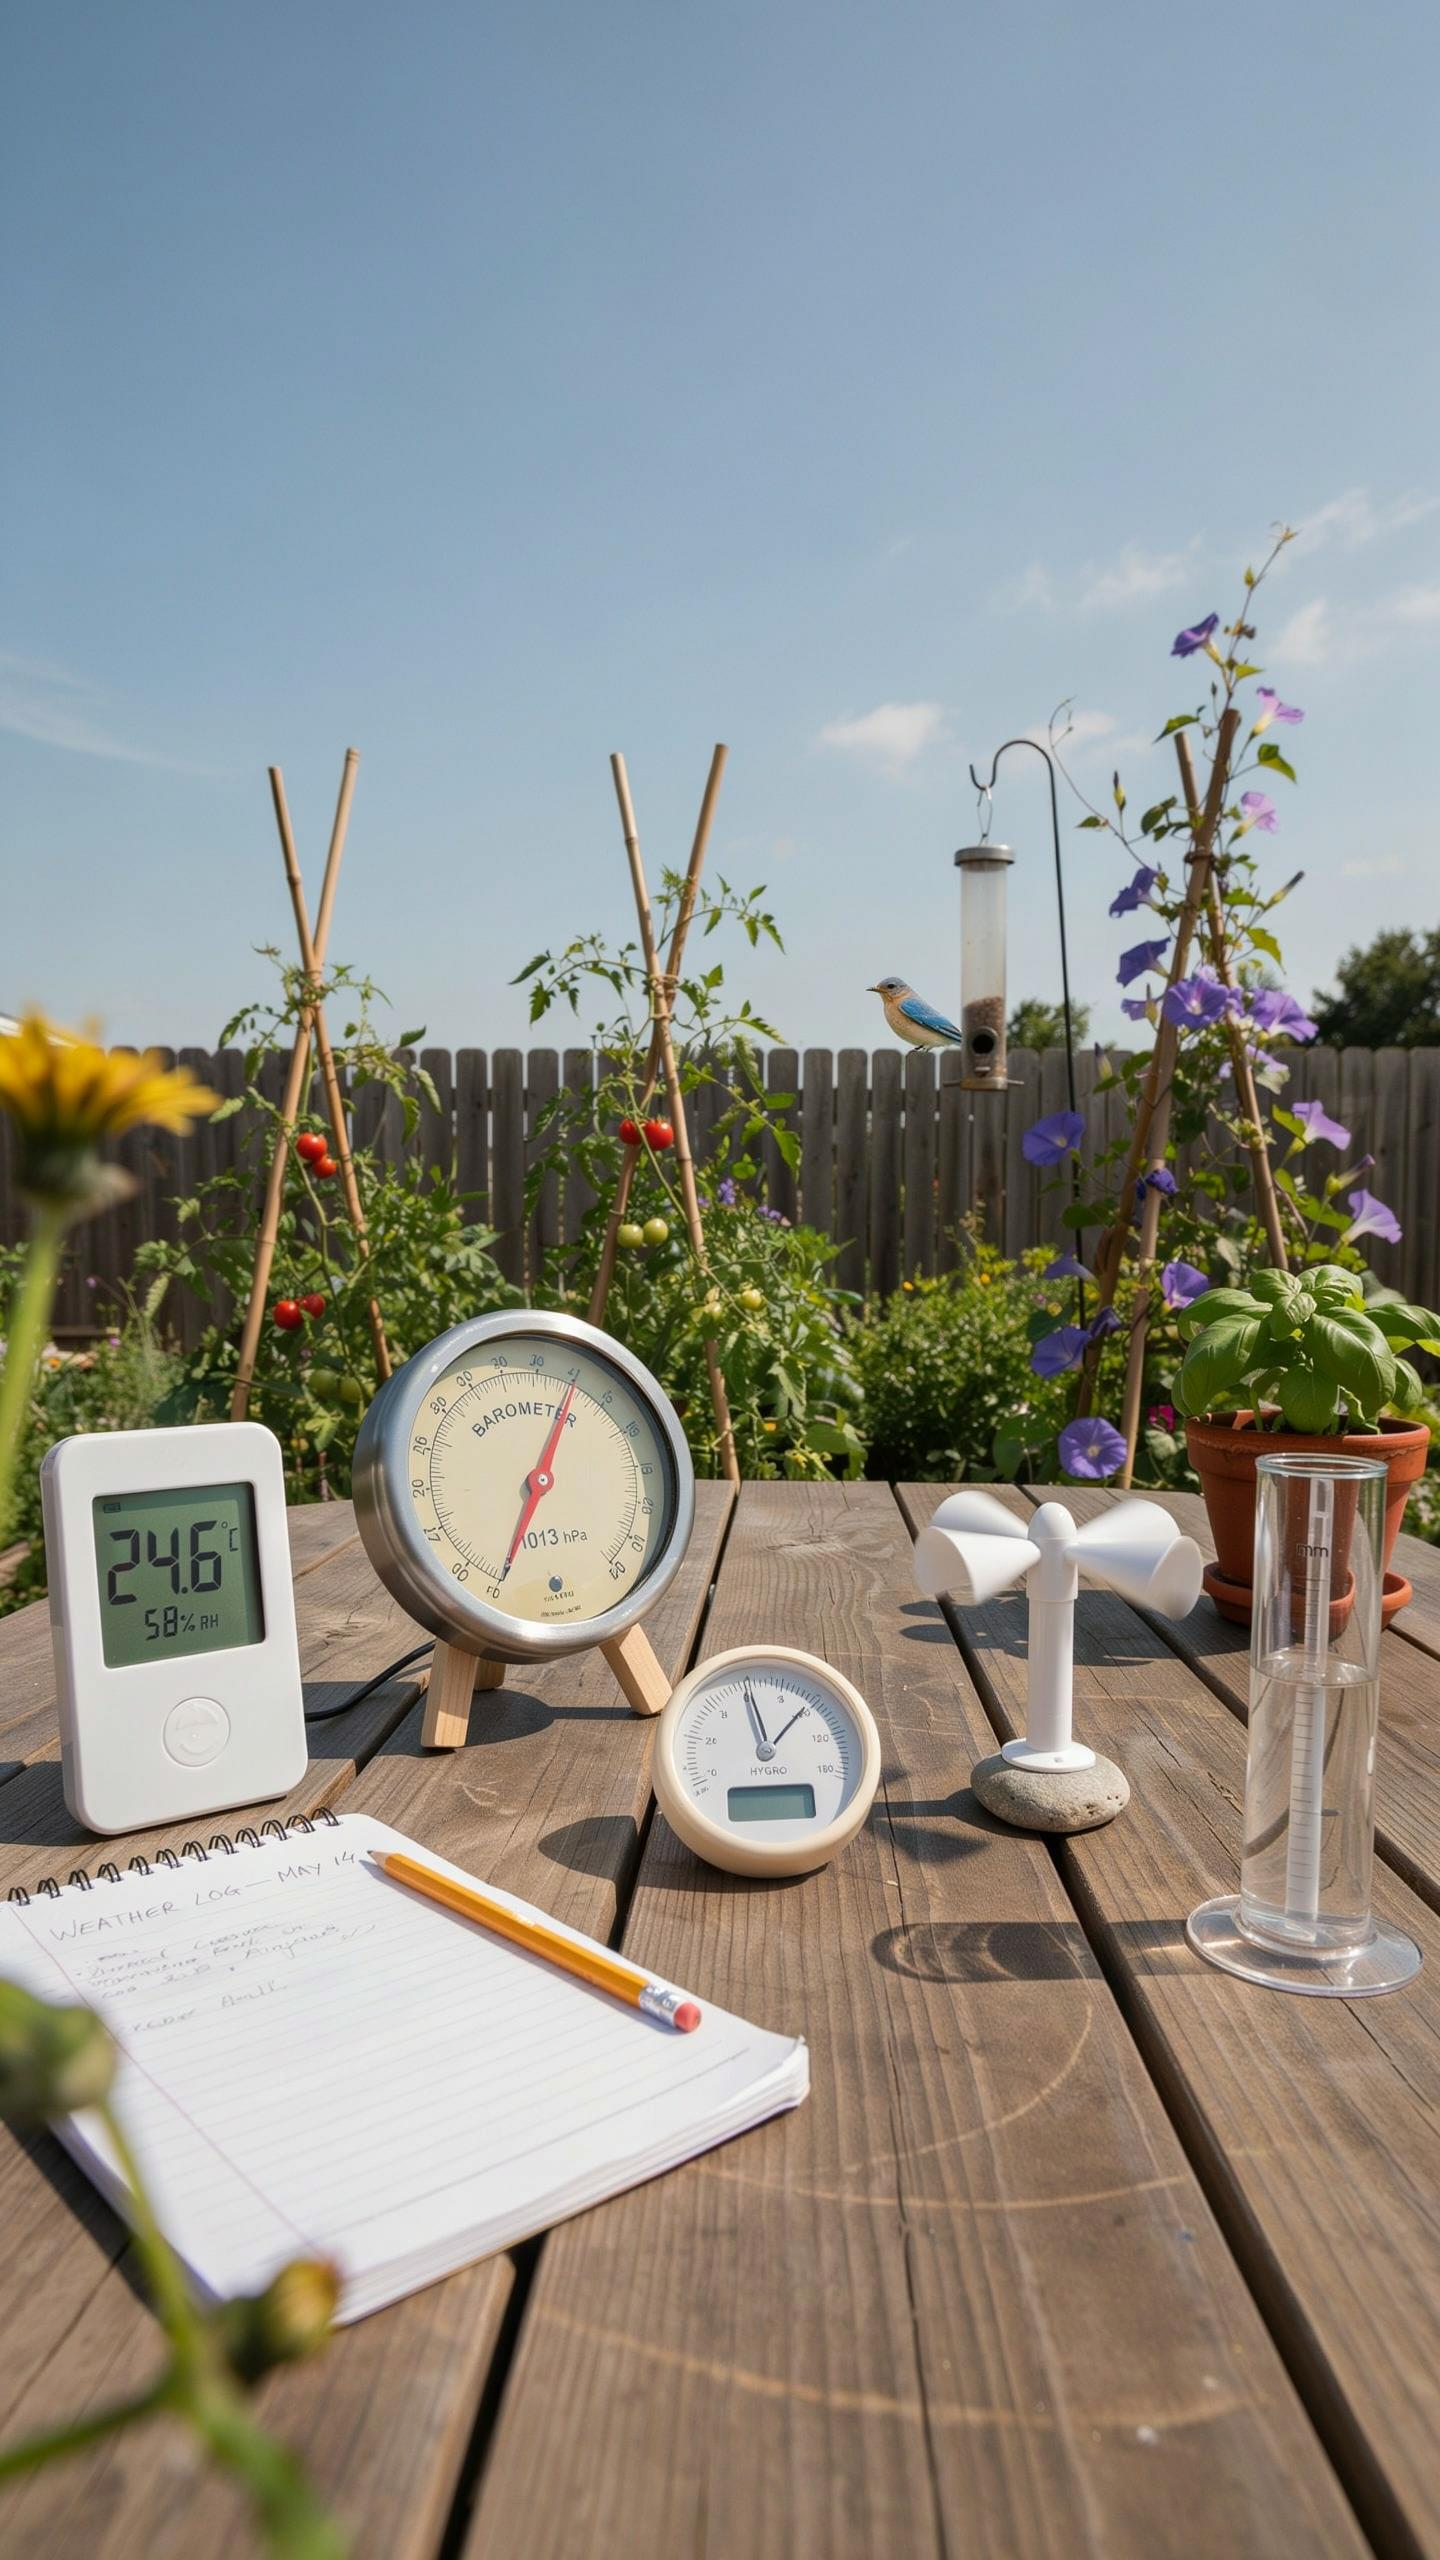
A weather station needs three foundational sensors to capture actionable data. The temperature sensor measures ambient air conditions. The humidity sensor detects moisture levels in the air. The pressure sensor tracks atmospheric pressure changes that indicate weather patterns. These three sensors work together to give you the core readings you need.
Each sensor serves a specific function in your station. Temperature sensors use thermistors or resistance temperature detectors to convert heat into electrical signals. Humidity sensors measure water vapor using capacitive or resistive methods. Pressure sensors detect air density shifts. You select sensors based on accuracy requirements and your budget constraints.
Microcontroller Boards Arduino And Esp32 Weather Station Project
Arduino boards process sensor data and store readings. The Arduino Uno uses an ATmega328P microcontroller with 14 digital pins and 6 analog inputs. It reads voltage signals from your sensors and converts them into usable measurements. Arduino runs open source software that you can modify for your setup.

The ESP32 offers more power than Arduino with built in WiFi and Bluetooth connectivity. The ESP32 processes data faster and includes more memory for complex operations. Choose ESP32 if you want to send data to cloud platforms or mobile apps. Both boards cost under fifty dollars and work with standard weather sensor modules available online.
Choosing The Right Kit For Your Diy Weather Station

Beginner Friendly Kits Vs. Advanced Setups
Beginner kits measure temperature, humidity, and rainfall with minimal assembly. They connect to apps via WiFi or Bluetooth and require no coding. These units cost between 50 and 150 dollars. They deliver reliable data without overwhelming technical demands. Start here if you lack electronics experience or want quick results.
Advanced setups include barometric pressure, wind speed, UV sensors, and data logging. They demand soldering, programming, and network configuration. These systems run 200 to 500 dollars or more. They feed data into weather databases and support custom analysis. Choose this path only if you have electronics skills and specific measurement needs.
What To Look For In A Simple Weather Station Kit
Verify the kit includes all necessary sensors for your tracking goals. Check compatibility with your smartphone or computer operating system. Confirm the manufacturer provides cloud storage or local data recording. Test battery life specs against your maintenance tolerance. Read user reviews specifically for reliability and customer support quality.

Examine the sensor accuracy ratings against your requirements. Weather station sensors typically have accuracy margins of plus or minus 1 to 3 degrees Fahrenheit for temperature and 3 to 5 percent for humidity. Ensure the display shows data in real time. Confirm the warranty covers at least one year. Verify you can replace batteries or components without excessive cost.
Step By Step Guide How To Make A Weather Station

Assembling Hardware Components
Start with your sensor kit components. Most entry-level kits include a thermometer, barometer, hygrometer, and anemometer. Lay out all parts and verify against the manual before starting. Connect the thermometer to the main circuit board using the provided connectors. Push connectors firmly until they seat completely. Loose connections cause reading errors and waste troubleshooting time.
Mount the anemometer on the highest point available. This captures wind speed accurately without obstructions. Secure the barometer indoors away from direct sunlight and temperature fluctuations. Place the hygrometer in a shaded outdoor location. Use weatherproof enclosures for components exposed to elements. Cable connections between sensors and the main unit should run through conduit to prevent water damage and UV degradation.
Observing the earth’s whispers from your own backyard, a tiny scientific adventure awakens the wonder of a curious child once more. To understand the world, even a small corner of it, is to truly begin—a beautiful journey of discovery.
Basic Programming And Sensor Calibration
Calibration determines accuracy. Start by comparing your thermometer reading against a known accurate thermometer. If readings differ by more than two degrees, adjust the calibration offset in your device settings. Most kits have a calibration menu accessible through buttons or software. Document your baseline calibration values for reference. This establishes your reference point for future measurements.

Connect your weather station to power and load the manufacturer’s software. Input your location coordinates and elevation into the system settings. This data affects pressure and altitude calculations. Run a 24-hour test cycle before trusting the data. Monitor all sensors for consistent readings. Download recorded data and compare trends against actual weather patterns in your area for validation.
Making Your DIY Wireless Weather Station

Integrating Wi Fi Modules With How To Make A WiFi Weather Station
WiFi modules connect your weather station to your home network. Common options include ESP8266 and ESP32 microcontrollers. These chips cost between 5 and 15 dollars. They handle sensor data collection and wireless transmission. Install the module into your station’s main enclosure near your sensors and power supply.
The module requires firmware to function. Download Arduino IDE or MicroPython to program it. Connect sensors like DHT22 for temperature and humidity directly to the module’s GPIO pins. Configure your network credentials in the firmware code. Once programmed, the module joins your WiFi network automatically and stays connected.
Data Transmission To Cloud Platforms
Your WiFi module sends sensor readings to cloud services like OpenWeatherMap, Thingspeak, or Weather Underground. These platforms store your data and display it on dashboards. Set up an API key from your chosen platform. Enter this key into your firmware so the module knows where to send information.
Transmission happens at intervals you set, typically every 5 to 10 minutes. Faster intervals drain power faster if you use batteries. Cloud platforms keep historical records for analysis and trends. You access this data from any device with internet connection. Some platforms offer free tiers with limited data storage.
Powering Your DIY Home Weather Monitoring System
Battery Solutions And Solar Power Options
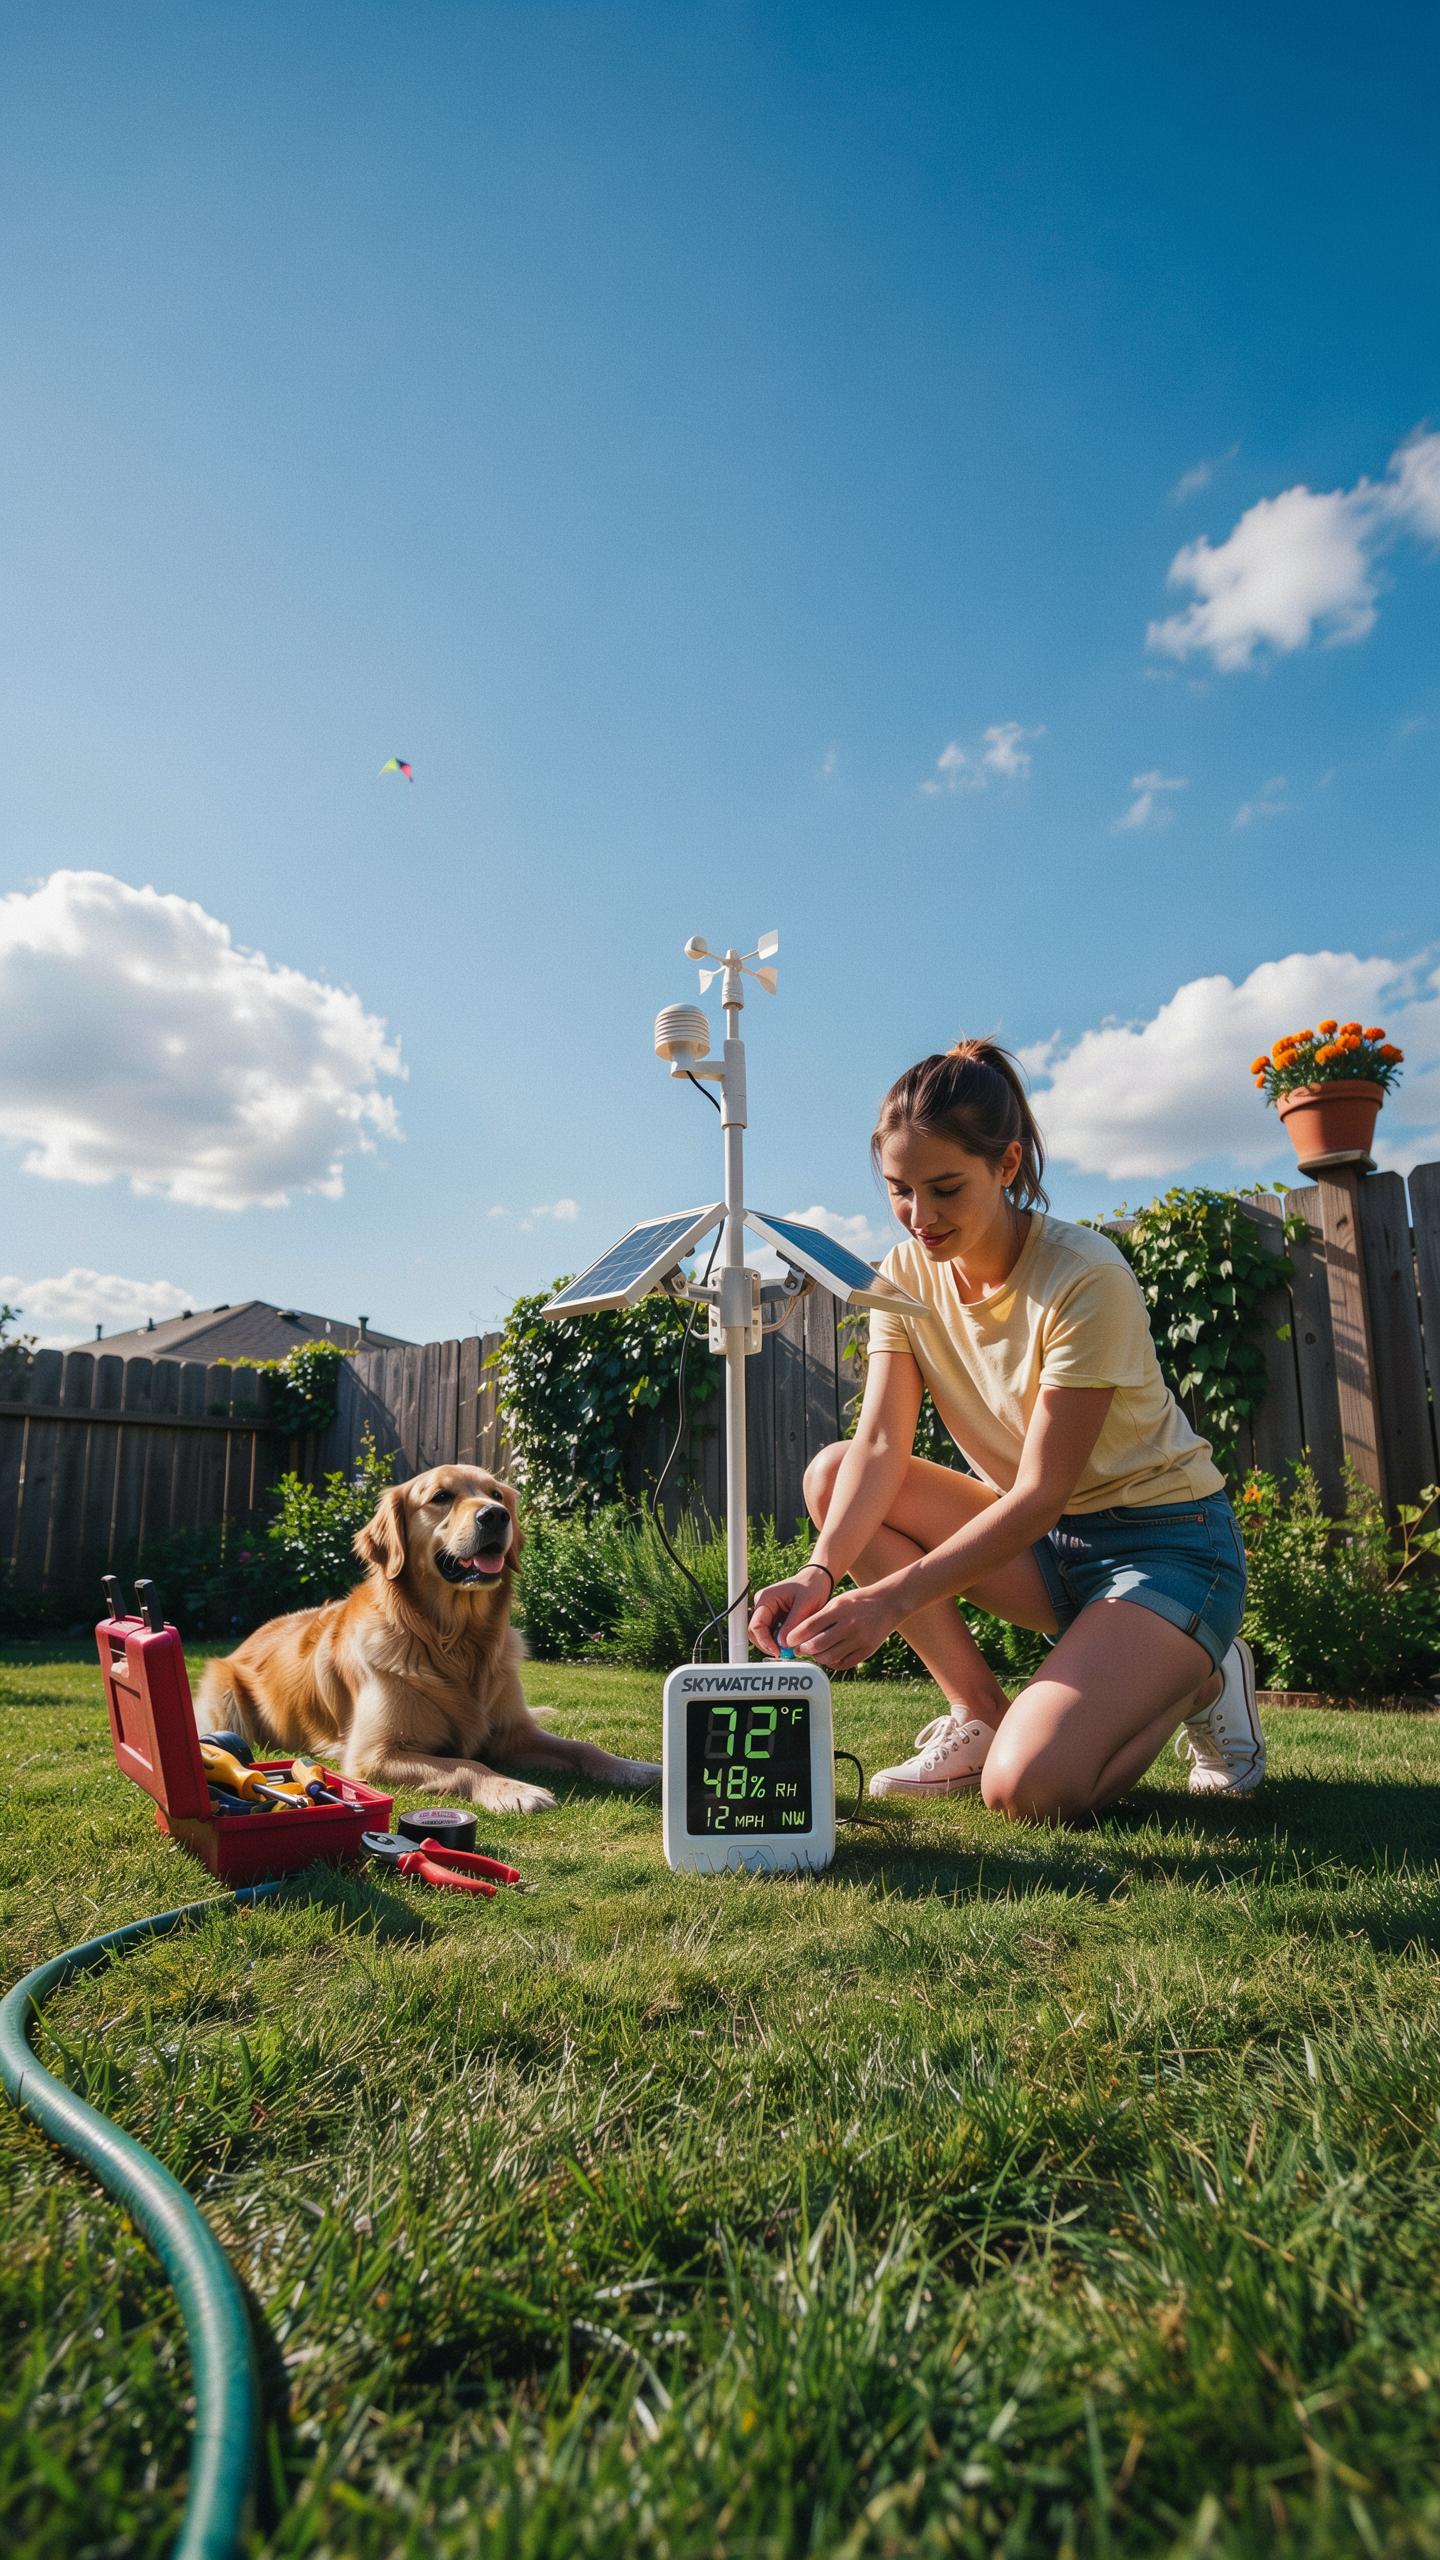
Most DIY weather stations run on AA or AAA batteries. These power the sensors and wireless transmitter for weeks or months depending on usage frequency. Battery life depends on transmission intervals and sensor activity levels. Alkaline batteries cost less upfront but require regular replacement. Rechargeable NiMH batteries reduce long-term costs and environmental waste, though they need charging infrastructure nearby.
Solar panels eliminate battery replacement cycles for outdoor sensors. Small solar cells paired with rechargeable batteries create a self-sustaining power loop. Mount solar panels facing south in the northern hemisphere for maximum sun exposure. Even cloudy climates generate enough charge to power basic weather sensors year-round. This approach requires upfront investment but pays dividends through reduced maintenance.
Ensuring Continuous Operation And Data Collection
Data gaps destroy weather trends. Set up your system to log readings even when the receiver loses connection. Most kits store data locally on the sensor unit or console for later sync. Check your kit’s memory capacity before deployment. Small gaps matter less than consistent collection over weeks and months.

Battery backup for your indoor console prevents data loss during power outages. Uninterruptible power supplies or backup batteries cost under fifty dollars. Position your base station on a dedicated outlet away from extension cords. Test your power setup monthly by disconnecting primary power and confirming backup activation. This catches failures before they disrupt your data collection routine.
Displaying Your Weather Data
Local LCD OLED Displays
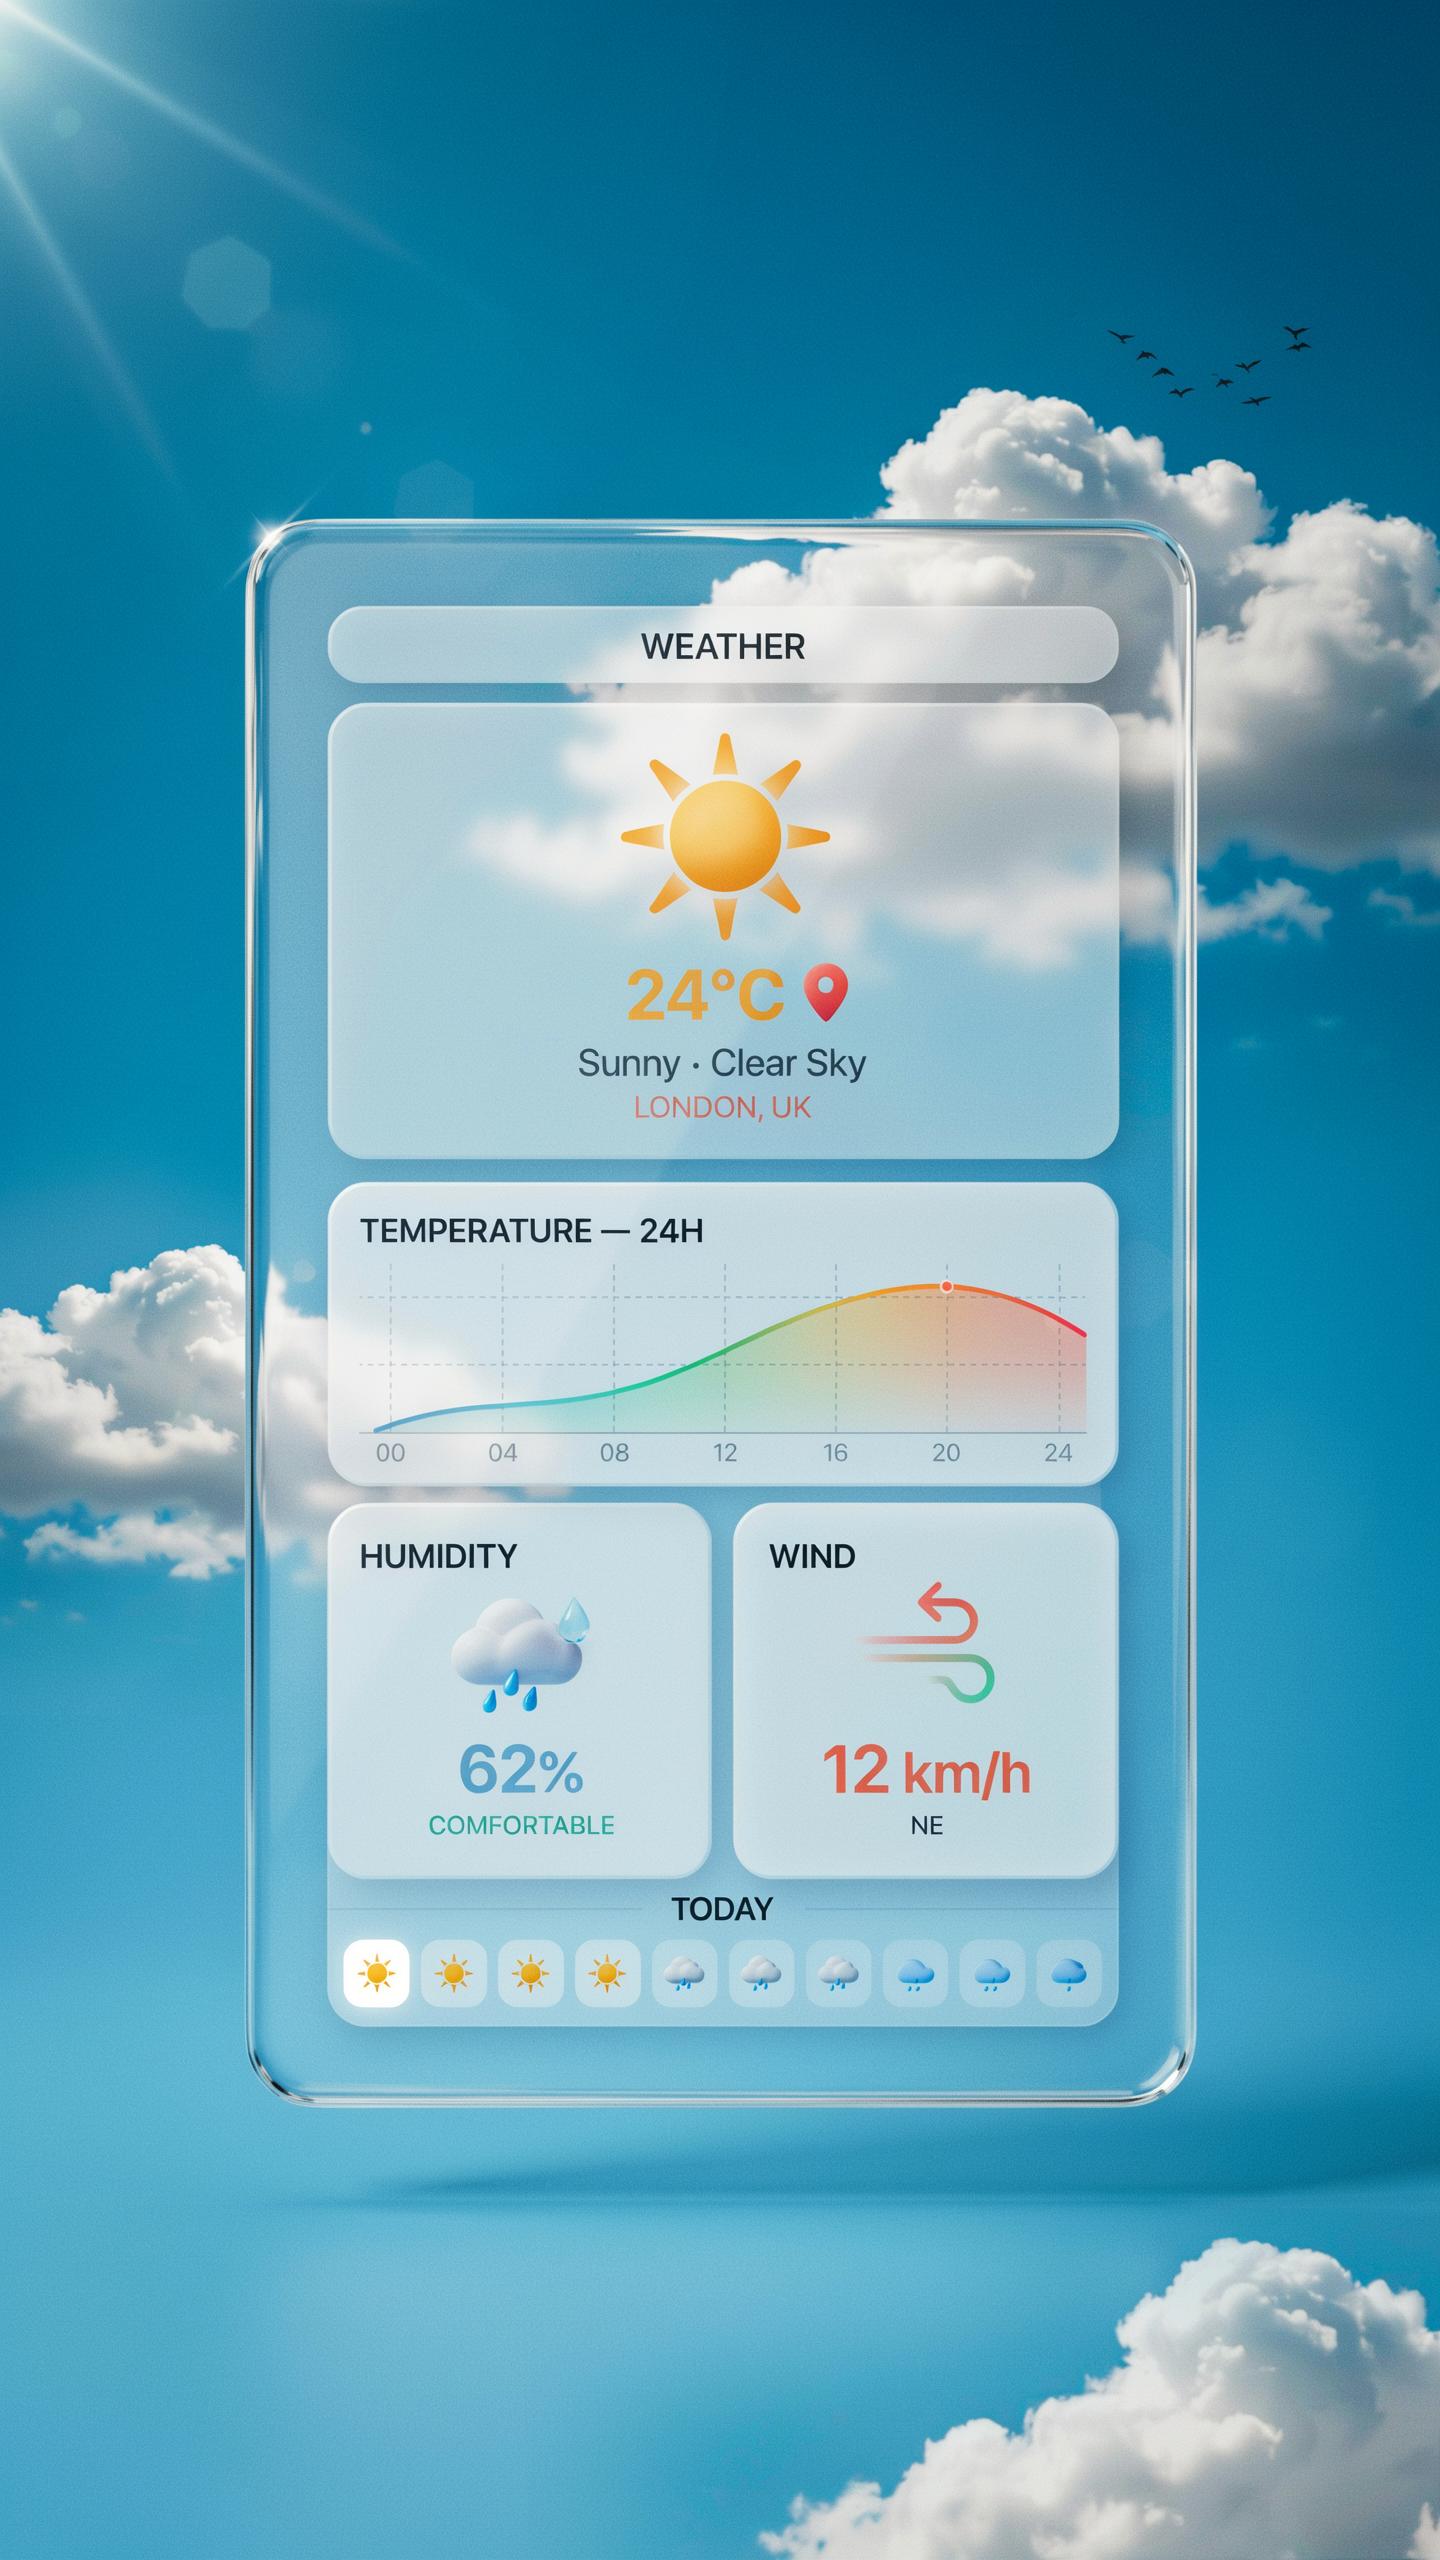
Most mini weather station kits include a display unit that connects directly to your sensors. This local display shows temperature, humidity, pressure, and other readings in real time without requiring internet access. LCD screens work reliably in bright sunlight. OLED displays offer better contrast and use less power but cost more. Choose based on where you’ll mount the display and how often you check it.
The display unit mounts indoors on a shelf, wall, or desk near your living space. You position the base station within range of wireless sensors, typically 100 to 300 feet depending on obstacles and interference. Battery powered displays need replacement or recharging every few months. Wired units eliminate battery hassles but require outlet access. Check your kit’s specifications for refresh rates, which determine how quickly data updates on screen.
Web Interfaces And Mobile Apps
Many mid range and premium weather station kits sync data to cloud servers and push readings to smartphone apps. This setup lets you check conditions remotely from anywhere with internet connection. Apps typically display hourly and daily forecasts, data history, and trend graphs. Some platforms store years of historical data for analysis and comparison.
Setup involves connecting your base station to your home WiFi network during initial configuration. You create an account with the manufacturer’s platform and link your station to that account. The app then retrieves your station’s data from their servers in real time. Most services offer both free and premium tiers, with premium versions adding features like advanced analytics, extended data storage, or alert notifications for specific weather conditions.
Advanced Features And Customization For Your Weather Station Project
Adding Rain Gauges And Anemometers
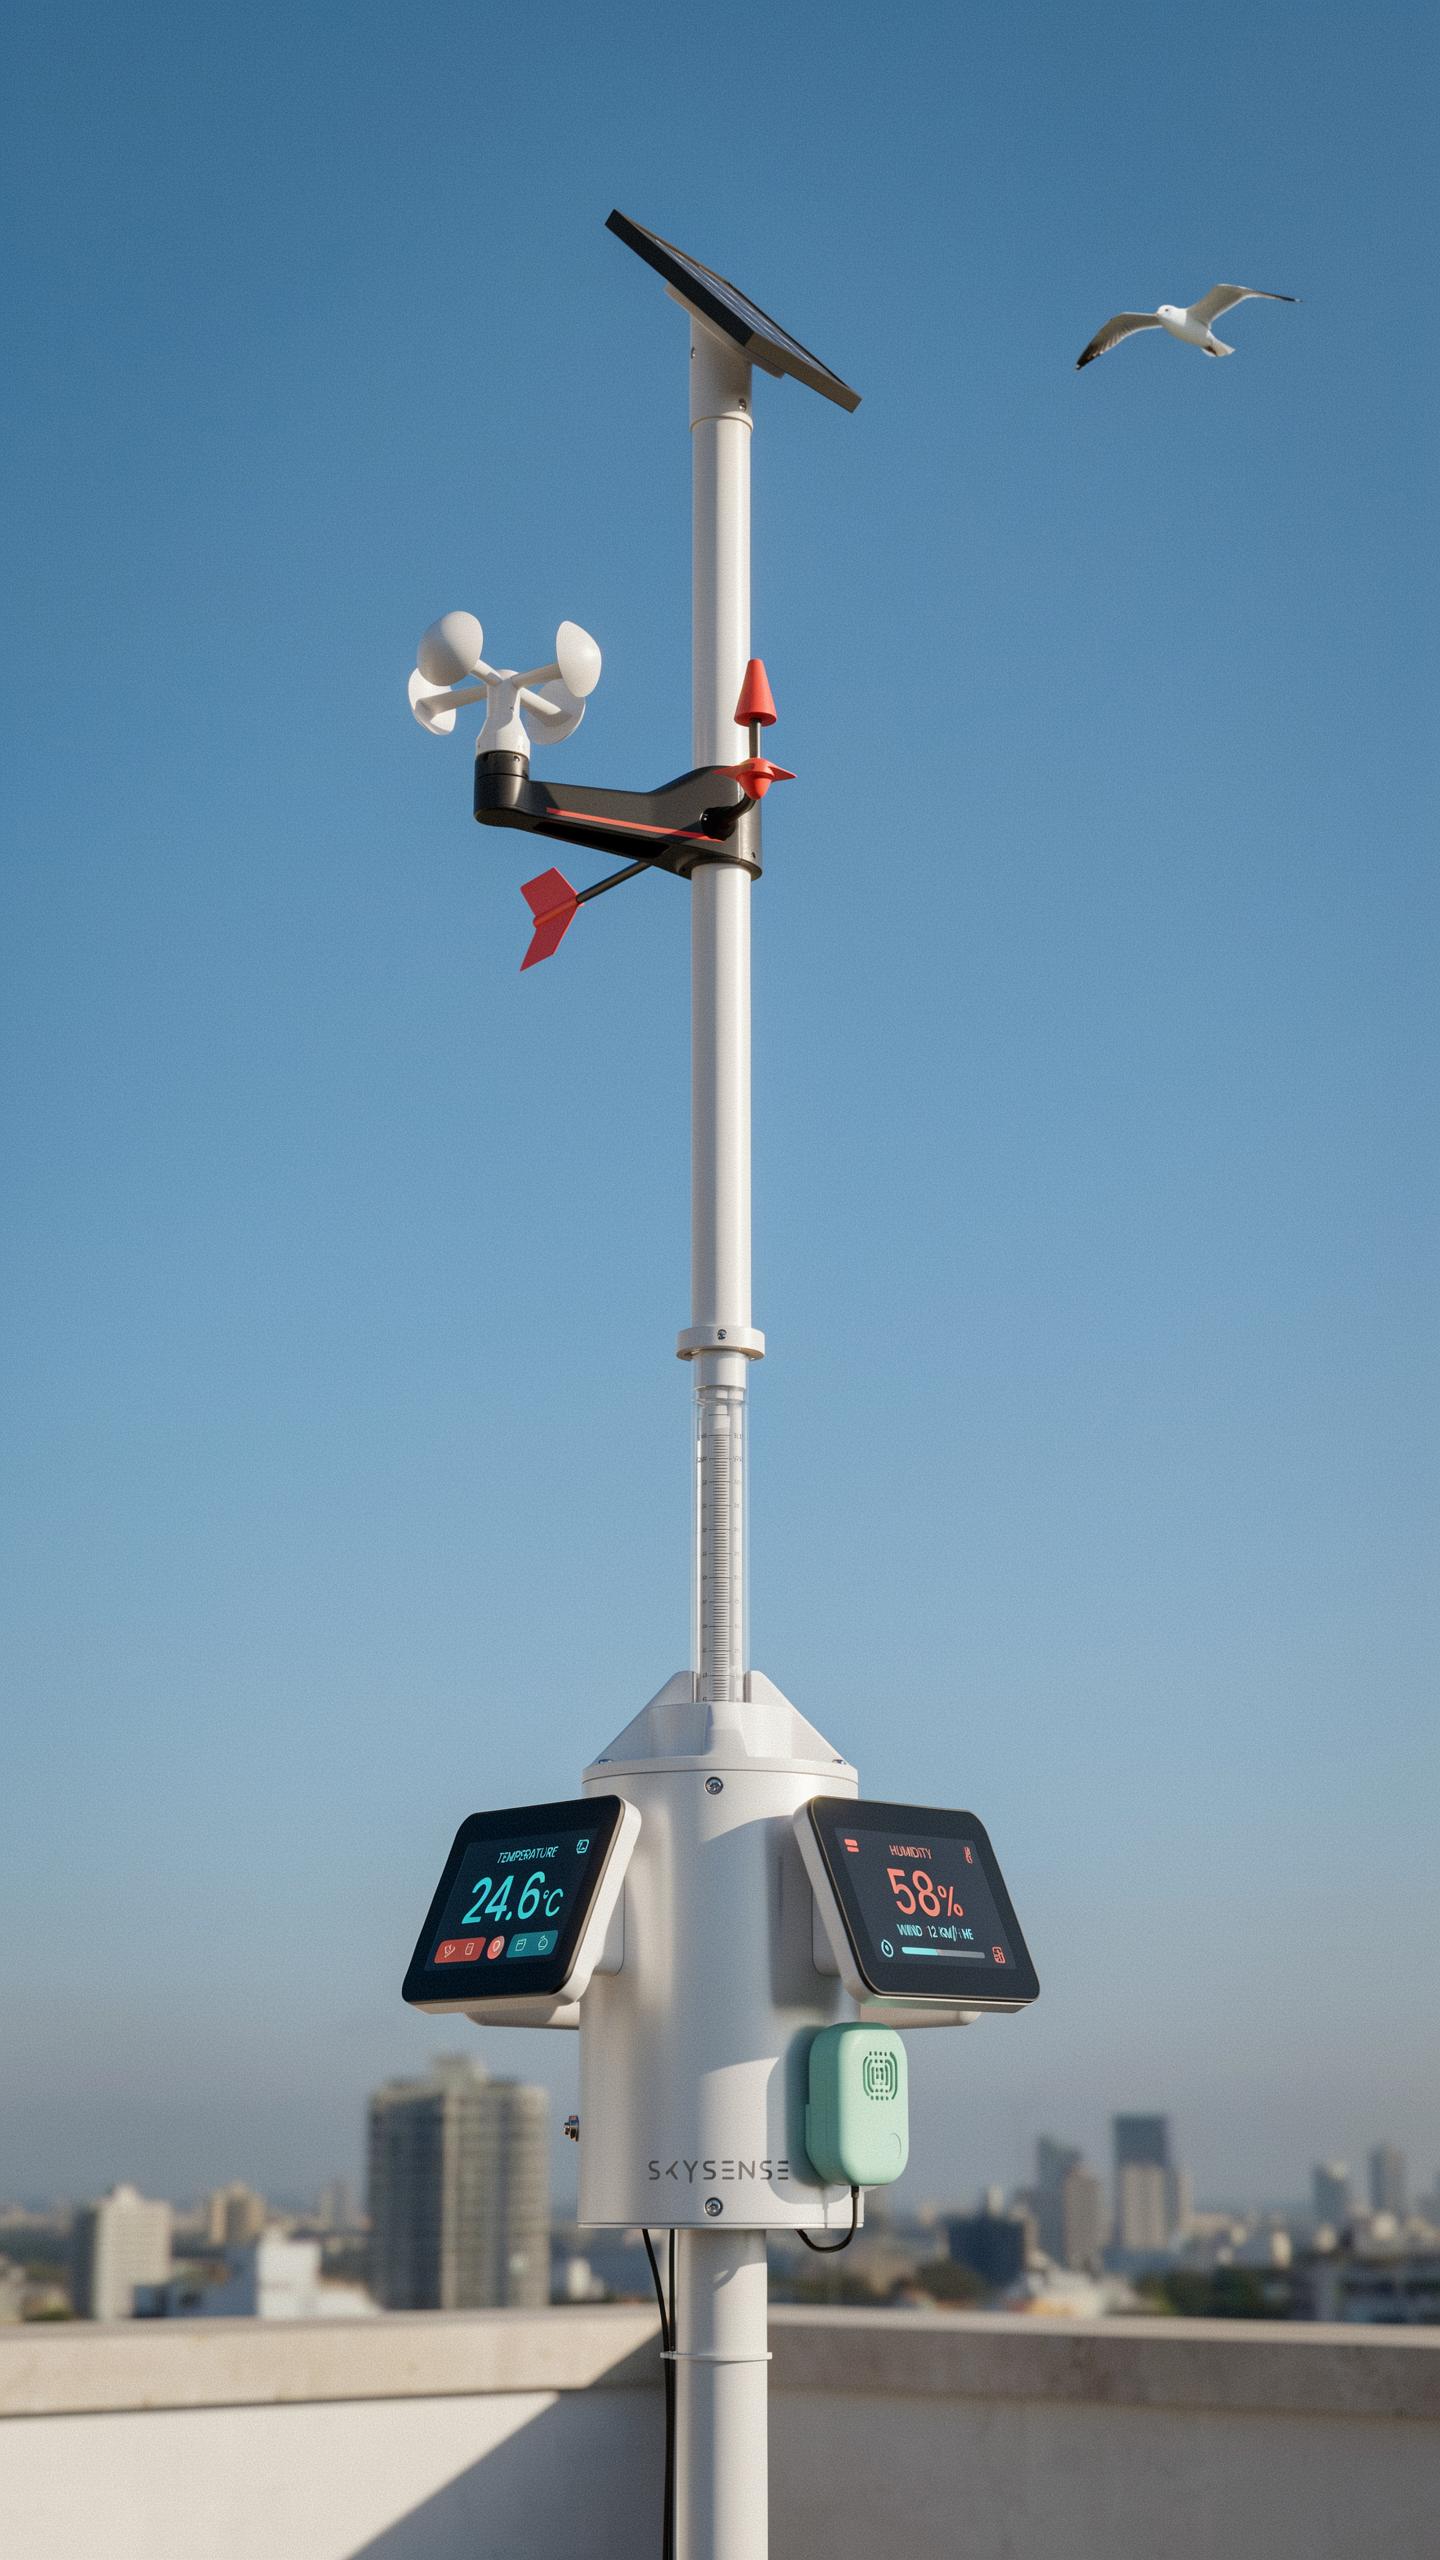
Rain gauges measure precipitation by collecting water in a calibrated bucket. The bucket tips when it reaches 0.01 inches, triggering a sensor that records the event. This tipping bucket design provides accurate rainfall data without manual measurement. Most kits use electronic sensors that connect directly to your display console or data logger for real-time readings.
Anemometers measure wind speed using three or four cups mounted on horizontal arms. The cups catch wind and rotate around a vertical axis. A sensor counts rotations per minute and converts that data into wind speed measurements. Cup anemometers work reliably in most conditions and require minimal calibration after installation on your weather station mast.
Integrating With Smart Home Systems
Weather station data flows into smart home platforms through WiFi or Bluetooth connectivity. Your station connects to systems like Home Assistant, SmartThings, or local network protocols. Data syncs automatically to dashboards and mobile apps. Integration allows automation rules based on real-time conditions, such as closing awnings during high winds or adjusting irrigation based on rainfall.

Most modern weather station kits offer API access or cloud connectivity for third-party integration. You can push data to weather networks like Weather Underground or PWS Weather. Local network integration avoids cloud dependency and keeps your data private. Setup requires basic network configuration and authentication, but manufacturers provide documentation for standard platforms.
Troubleshooting And Maintenance Of Your Simple Weather Station
Common Issues And Quick Fixes
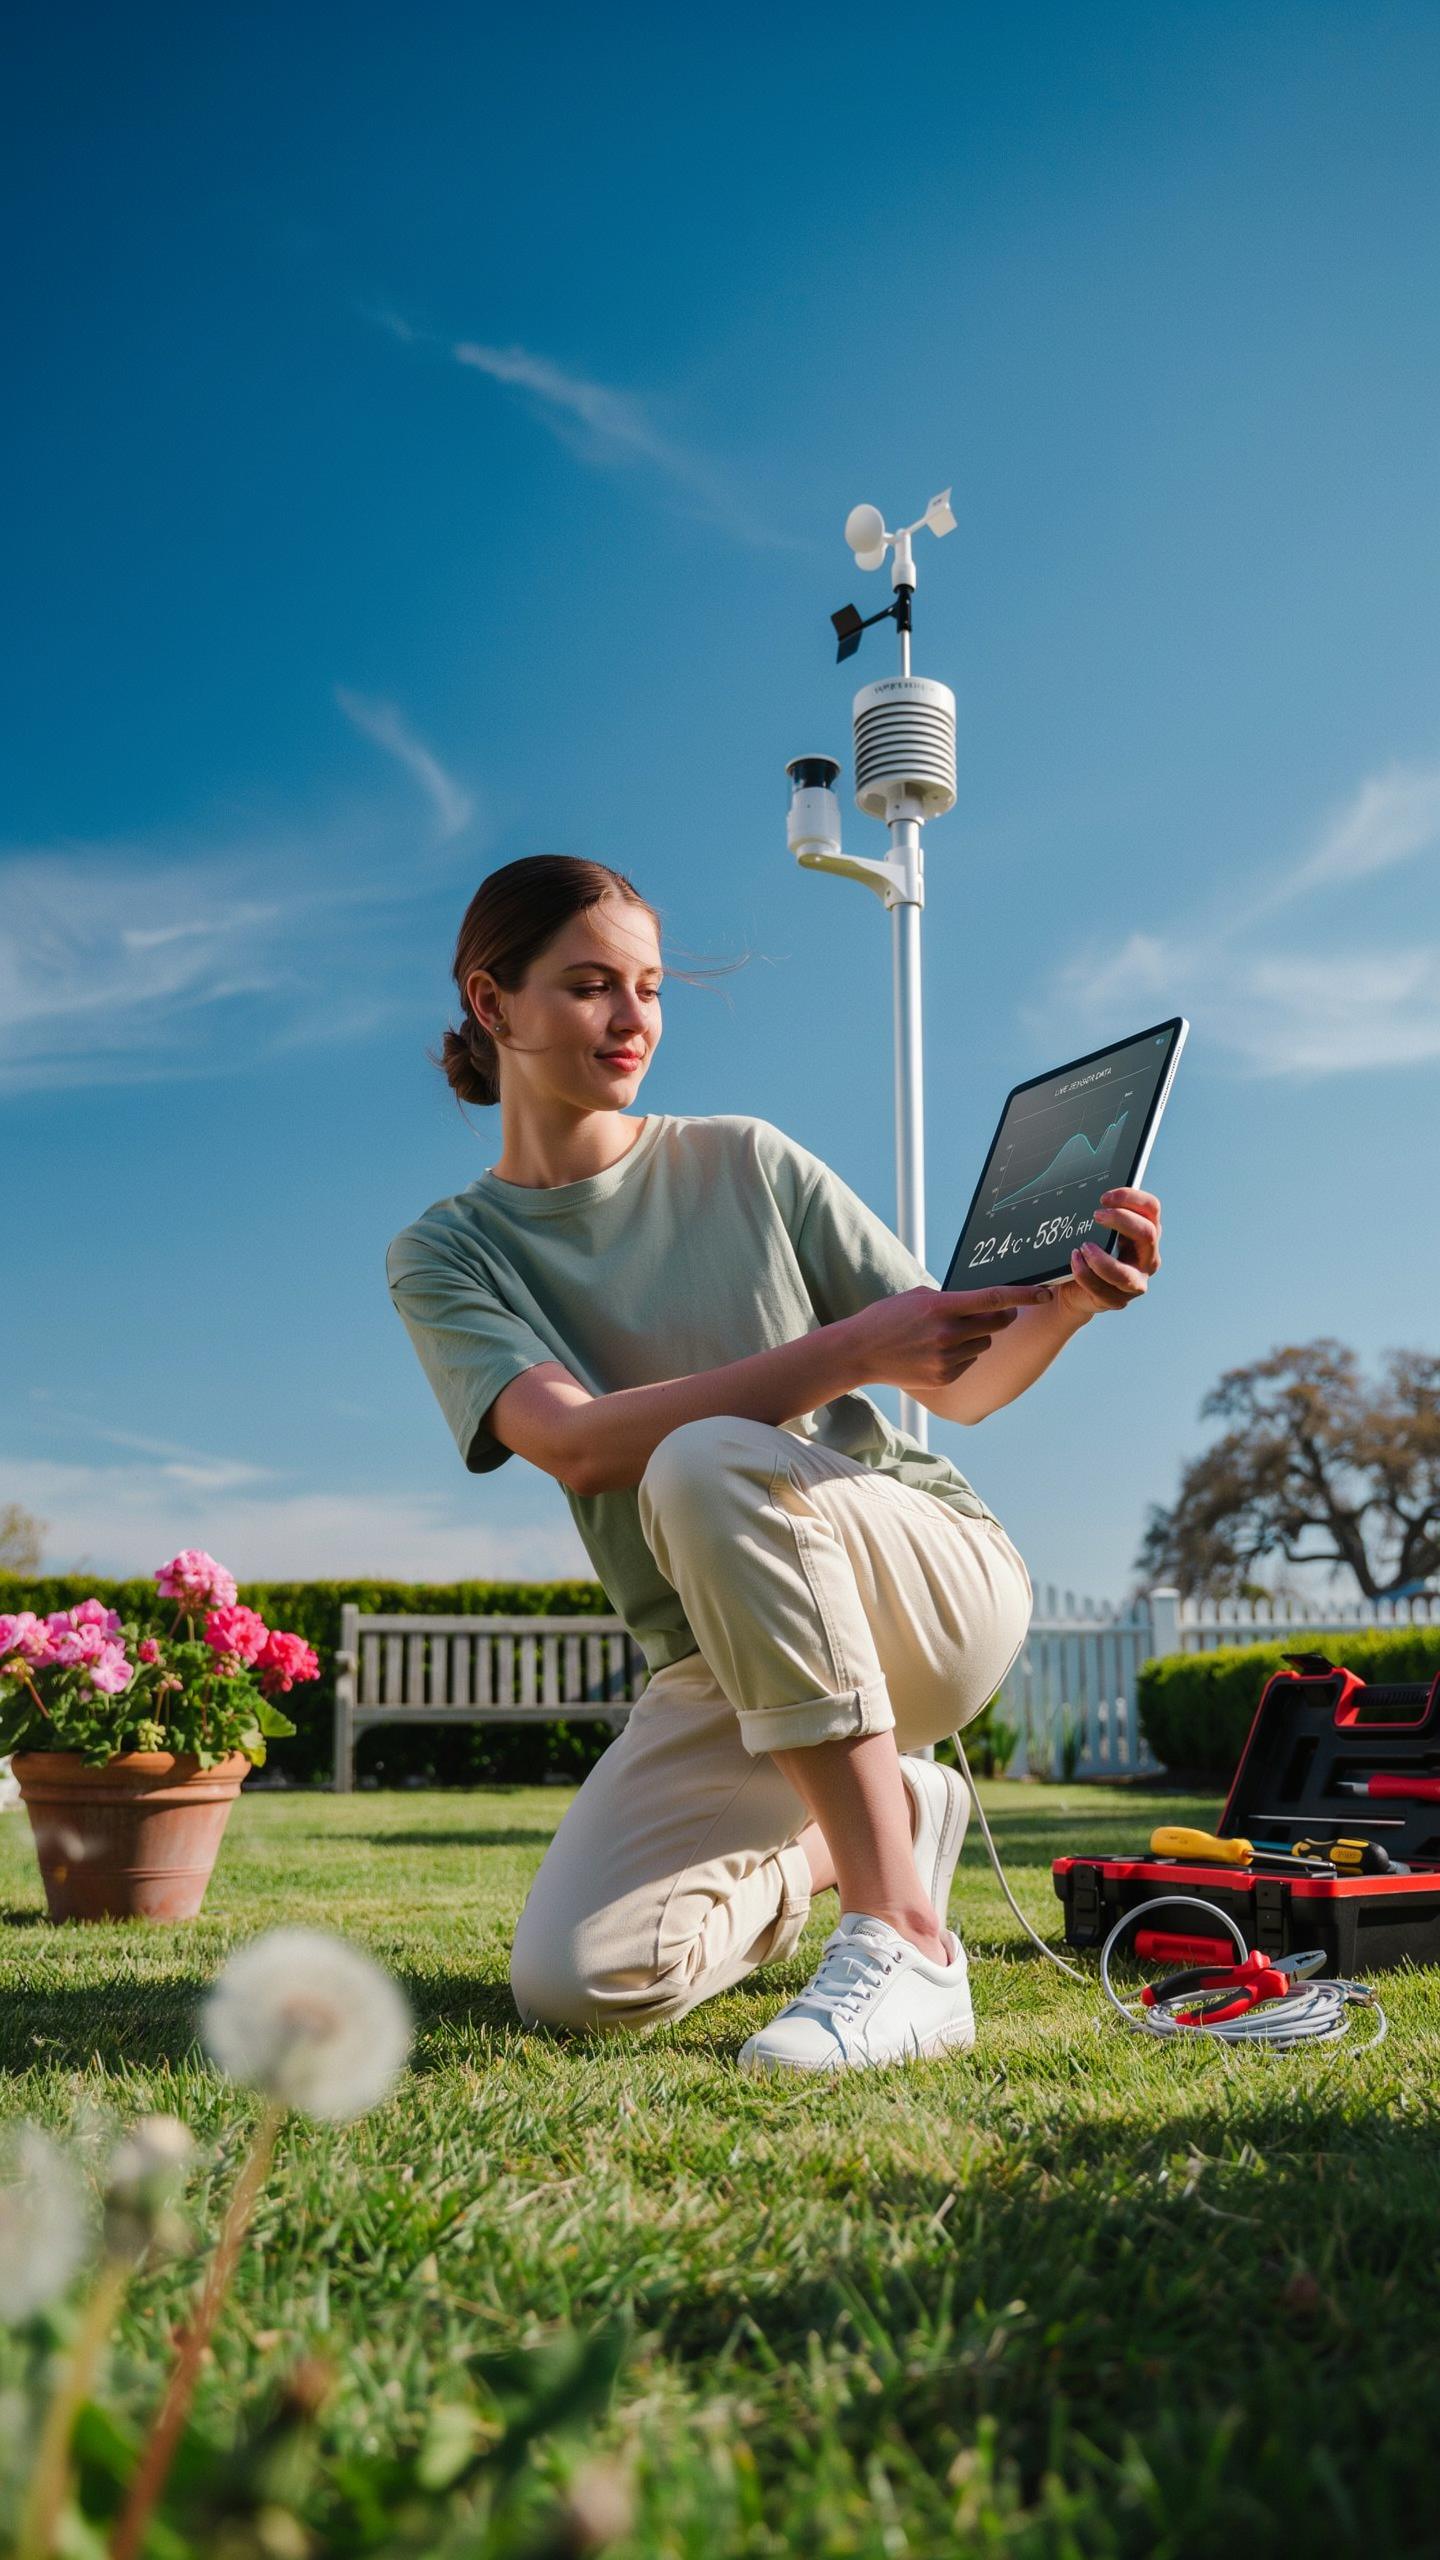
Your weather station stops reporting data for one reason: the sensors lost connection or power failed. Check your power source first. Verify batteries are fresh or your USB cable delivers power. Confirm your wireless connection settings match your network credentials exactly. Restart the device by unplugging it for thirty seconds, then reconnect.
Display screens show incorrect readings when sensors get dirty or misaligned. Wipe sensor surfaces with a soft, dry cloth monthly. Ensure the rain gauge opening faces straight up without obstruction. Verify the anemometer spins freely without debris caught in the cups. Most accuracy problems trace back to basic cleaning neglect or physical obstruction.
Regular Maintenance For Longevity
Your weather station survives years of use through scheduled cleaning and inspection. Clean external surfaces every two weeks using only water and soft cloth. Never use harsh chemicals that damage plastic housing or corrode circuit connections. Check all cable connections quarterly to catch loose wires before they cause shorts. Replace batteries before they drain completely to prevent leakage damage inside the unit.
Environmental factors wear equipment faster than manufacturing defects do. Rain, UV exposure, and temperature swings degrade electronics over time. Keep your station away from direct water spray and intense afternoon sun when possible. Document your readings monthly to spot sensor drift early, which signals replacement needs.
Frequently Asked Questions

What exactly is a mini weather station, and why would I want one at home?
A mini weather station is a compact device or kit that allows you to measure local atmospheric conditions like temperature, humidity, and sometimes even wind speed. It’s a fun, educational project to build a mini weather station at home, offering practical insights into your immediate environment and a deeper connection to nature.
What are the basic steps involved in assembling a simple mini weather station kit?
Most simple kits come with clear instructions. Generally, you’ll connect sensors to a central module, often involving basic wiring or snapping components together. Then, you’ll power it up and configure any display or data logging features. Building a mini weather station at home is a rewarding, hands-on experience, even for beginners.
Are these home weather station kits expensive, and do I need special tools to build one?
Not at all! You can find very affordable kits to build a mini weather station at home, ranging from basic models to more advanced options. Most simple kits require only a few common household tools, like a small screwdriver, making them accessible for almost anyone interested in this fun project.



