
Beyond R Value: The Real Insulation Mechanism Of A Camping Sleeping Pad
Ground Heat Loss Is Conduction, Not Magic
You want to know the R-value number so you can feel like you’ve solved the problem. You haven’t. Here’s what actually happens: your body radiates heat in all directions. The ground below you is colder than your body. Heat moves from warm to cold through direct contact, which physicists call conduction. Your sleeping pad blocks that path. R-value measures resistance to conductive heat flow, but the number is useless without understanding the mechanism it describes.
Most pads use closed-cell foam or air chambers because both interrupt the conductive chain. Air itself insulates poorly, but when you trap it in small pockets, it can’t circulate and carry heat away through convection. Foam works similarly—the material structure forces heat to travel through more material, slowing the transfer rate. Ground contact kills insulation value faster than anything else. A thin foam pad touching cold earth conducts heat like a bridge. The pad’s job isn’t to warm you; it’s to force heat to take the longest, slowest route possible down into the ground.
Compression Destroys The Barrier You Paid For
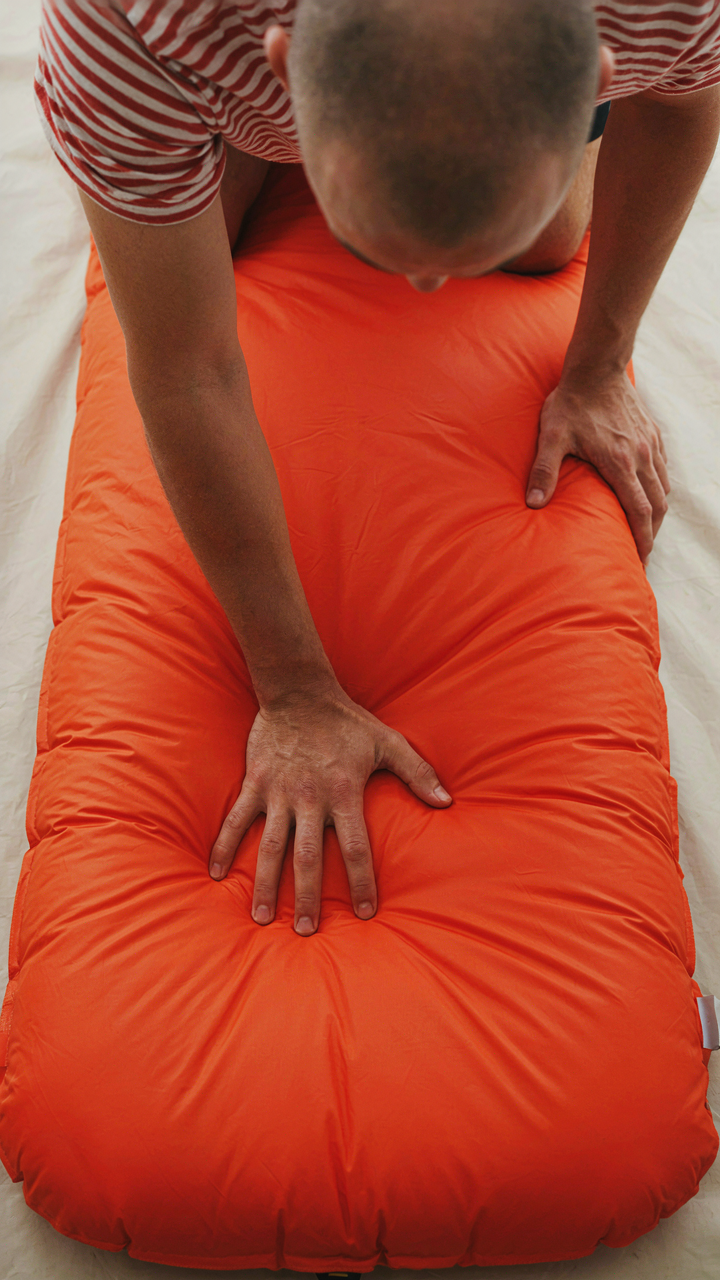
Lying on your pad compresses whatever insulation sits beneath your heaviest points. This is where most people lose half their pad’s rated protection without noticing. When foam or air gets pressed down by your body weight, the insulating structure collapses. The compressed section conducts heat faster than the uncompressed areas around it. Your hips and shoulders become thermal weak points, not because the pad failed, but because pressure changed its physical properties.
The fix is counterintuitive: you need a pad thick enough to handle your body weight without full compression, or you need to reduce contact pressure through positioning or supplemental padding. A thin, high-R-value pad compressed under your hip is worse than a thicker, moderate-R-value pad that stays structurally intact. Test this by feeling the pad thickness under your pressure points after lying down for thirty seconds. If it feels half as thick as the edges, you’re losing insulation value where you need it most.
The Kinetic Distribution Protocol: Mastering Weight Displacement On Your Sleeping Pad

Where Pressure Actually Concentrates
You want to believe a pad is a pad. That comfort is just a matter of thickness. It’s not. Your body doesn’t distribute weight evenly across a surface, and pretending it does costs you sleep. Pressure distribution is borrowed directly from engineering’s load-bearing principle: concentrated force at contact points creates localized failure. On a pad, this means your hips and shoulders crush insulation faster than the rest of your body, creating cold spots and sag within months. Most advice ignores this entirely.

Your heaviest mass sits in your hips and shoulders. These two points carry roughly 60 to 70 percent of your weight when you sleep on your side. A pad with uniform firmness can’t adapt to this reality. The material under your hips compresses more than the material under your ribs, which means less loft in the exact spot where you lose heat fastest. Thicker doesn’t solve this. Better pad design does. Look for pads with differential R-value layers or segmented support zones, not homogeneous foam.
Repositioning Before Your Body Settles
The common move is to lie down and stay put. That’s how pads fail under you. Your body reaches full compression equilibrium about eight to twelve minutes into lying down. By then, your hips have sunk into their resting state and the pad has lost significant loft in that zone. If you reposition yourself within the first five to seven minutes, you distribute the compression load across different pad regions and allow already-compressed foam to begin rebounding.
Small movements matter more than big ones. Shift your hips two to three inches laterally every five to ten minutes during the first phase of sleep. Rotate your shoulder position. Tilt your pelvis slightly. These micro-repositionings interrupt the deepening compression curve and preserve overall pad thickness. After twenty minutes, your body reaches stable compression and the pad adapts fully. The repositioning window closes. A pad that takes this abuse across the full sleeping surface lasts years longer than one absorbing concentrated force in the same zones all night.
Inflation Fallacy: Why Max Pressure Ruins Your Sleep
Your Spine Doesn’t Care What The Valve Says
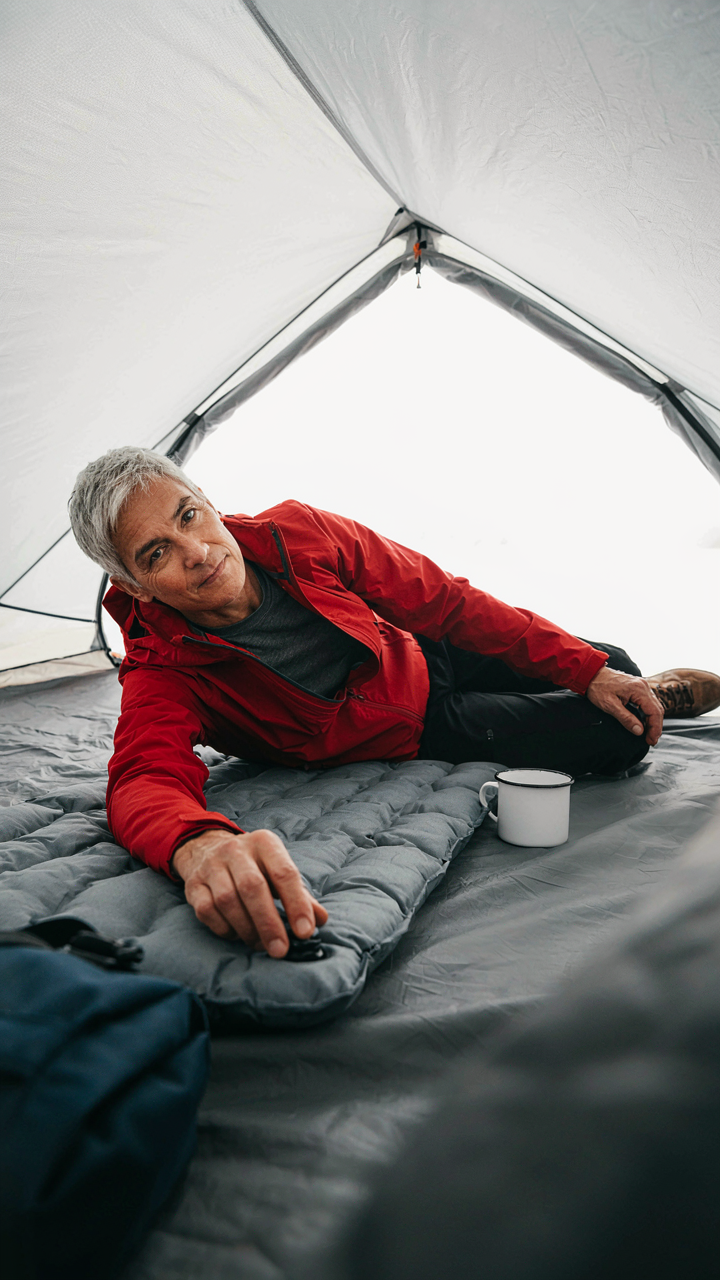
You pump the pad to maximum because you think firmness equals support, and support equals a good night. It doesn’t work that way. Borrow a term from engineering: load distribution. Your spine needs the pad to spread pressure across its full contact surface, not concentrate it. Maximum inflation compresses the foam unevenly, creating hard spots under your shoulders and hips while leaving gaps at your lower back. This kills spinal alignment faster than a thin pad ever could.

The real mechanism is simple. When you overinflate, you’re fighting the pad’s core design. Most modern pads use a combination of foam and air chambers. Air responds to pressure by pushing back harder. Foam resists compression gradually. Overinflation turns the air into a spring that bounces your body onto the foam’s surface instead of cradling it. Your spine arches. Your muscles contract to compensate. You wake stiff. Start at 60 to 70 percent of maximum pressure, then adjust from there based on how your back feels, not what feels firm to your hand.
The Test You Actually Need To Run
Testing firmness means lying down, not poking the pad with your thumb. Generic advice says find your comfort zone, which tells you nothing. The real test takes five minutes and reveals what your body actually needs under load. Lie on your pad in your normal sleep position. Have someone slide their hand under your lower back. If their hand fits with light pressure, your inflation is close. If their hand slides through easily, you’re too soft. If you can barely fit a finger, you’re too firm.
This method works because it measures actual contact between your spine and the pad, not theoretical firmness. Do this test in the evening when your spine is hydrated and has its full range. Then sleep on it. If you wake without lower back tension and your hips don’t sink past your shoulders, keep that pressure. If your back aches or your shoulders bear all your weight, adjust by 5 to 10 percent and test again the next night. You’ll find your personal threshold in two to three iterations.
Terrain Reading: Your First Line Of Defense For Camping Sleeping Pad Placement

Identifying Natural Contours And Depressions
You want to believe that a good pad fixes everything, so you skip this step. It doesn’t. Terrain reading is applied physics: you’re looking for the path of least resistance where gravity pools water and creates compression zones. Your pad sits on top of the ground, not inside it. Find where the earth naturally slopes away from where your body will rest.

Scan the campsite before dark. Walk the perimeter and feel for slight depressions with your boot. Look for areas where moss grows thicker or vegetation clusters—both indicate moisture collection points you want to avoid. High ground doesn’t mean a hilltop; it means the subtle rise that keeps moisture from pooling beneath your pad during the night.
Pre Sleep Ground Preparation Techniques
Common advice says “clear rocks and sticks.” That’s incomplete. You’re not trying to make the surface flat; you’re trying to remove protrusion points that compress your pad unevenly and transfer ground cold directly into it. A small rock under your pad isn’t just uncomfortable. It creates a thermal bridge.
Use your hand, not your boot, to sweep the area. You’ll feel lumps your eyes miss. Remove anything larger than a pea that sits proud of the soil surface. Then compress the soil lightly by pressing down with your palms across the sleeping zone. This settles loose topsoil and creates a stable base. Your pad needs consistent contact with the ground, not gaps where air circulates underneath.
Biometric Alignment Principles: Re Engineering Your Sleep Posture On A Backpacking Bedroll

Your Spine Doesn’t Care About Comfort
You want to think a pad is just about feeling good, but what you actually fear is waking up broken. Ergonomics borrowed from occupational medicine identifies cervical and lumbar support as the load-bearing points where spinal compression either gets distributed or concentrates. Your neck and lower back are where ground pressure either transfers through or stacks into injury.

A pad’s R-value tells you insulation but nothing about support topology. The real mechanism: your body’s natural curves need positional anchoring. Without it, your spine flexes into compression at the C5-C6 vertebrae and the L4-L5 junction. Pad thickness alone doesn’t solve this. Strategic placement of secondary support under the neck and lumbar curve does. Use a stuffed compression sack or folded fleece layer under your lower back while lying on your side. Place another under your head to maintain neutral cervical alignment. This costs nothing and resets your sleep quality on hard ground.
Load Distribution Through Opposition
Physics calls this load-bearing redundancy: forces spread across multiple points instead of concentrating at one. Your pad becomes load-bearing infrastructure the moment you add external structure. Skeletal integrity on hard ground depends on opposing forces, not surface softness.
Pad compression is inevitable. What matters is preventing your body weight from creating a hammock effect where your pelvis sinks and your shoulders stay high. Bridge your lumbar curve by placing your pack under your knees when lying supine, or stack a secondary pad layer under your hips on side-sleeping positions. This simple opposition prevents the single-point collapse that leaves you sore. The hard ground stays hard, but your skeleton no longer bears the load alone. Distribute weight across three to four contact zones instead of two, and you reset the pressure equation entirely.
The Unseen Predator: Minimizing Condensation For A Dry Sleeping Pad
When Your Breath Becomes Your Enemy
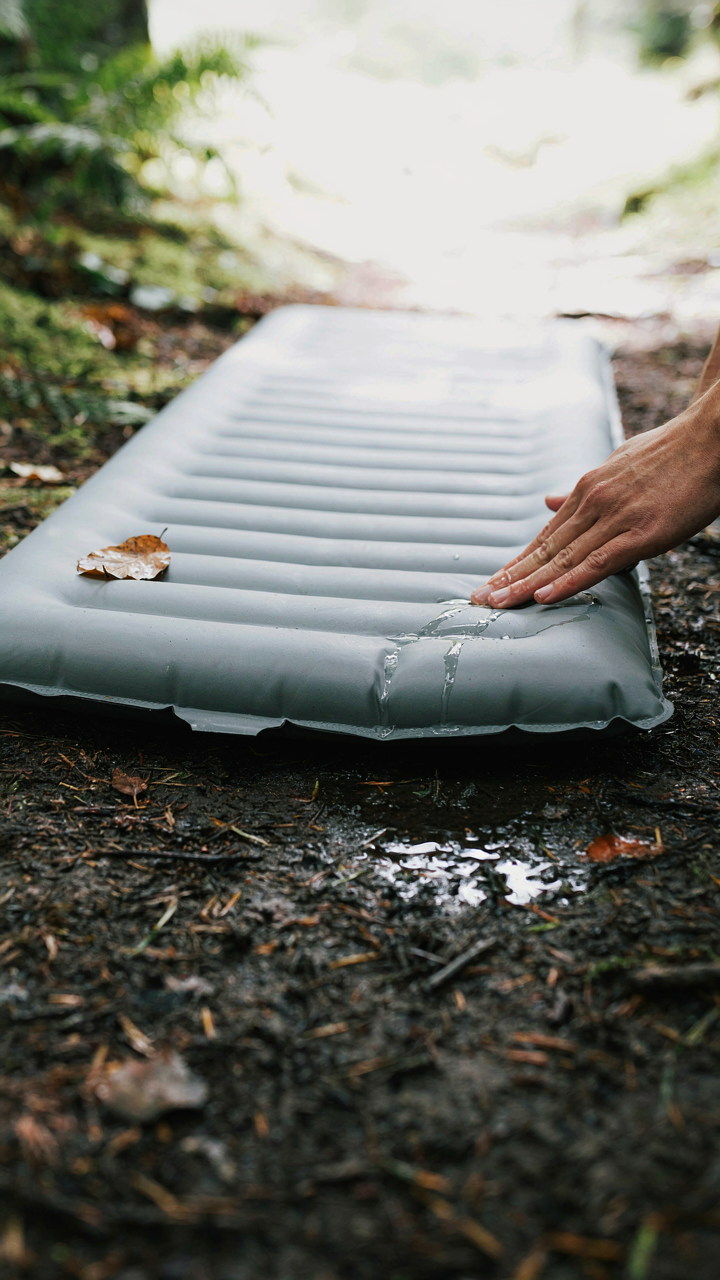
You’re worried about this because you’ve woken up damp and felt like you wasted money on a pad that promised comfort. Here’s what nobody tells you: condensation isn’t random. It’s physics. Your body radiates heat. That heat warms the air inside your sleeping system. Warm air holds more moisture than cold air. When that warm, moist air contacts the cold bottom of your pad, it releases that moisture as liquid water. This is the dew point mechanism from thermodynamics, and it applies to sleeping pads the same way it applies to airplane windows. You can’t stop it. You can only control where it happens.

The barrier between your pad and the ground matters more than the barrier between you and the pad. Most people focus on insulation value when they should focus on vapor transmission. A sleeping pad with low R-value insulation but high vapor permeability will dry faster than a high R-value pad that traps moisture inside the system. The ground beneath you is always colder than your body heat. Position your pad so air can move underneath it. Never seal it against the tent floor. Dead air trapped under a pad becomes a condensation collection zone within hours.
Air Movement Changes Everything
Stop thinking of your sleeping system as sealed. It’s not. Ventilation strategy from architecture applies here: cold air sinks, warm air rises. Crack your tent door or window, even slightly, especially at ground level where moisture accumulates. This creates passive air exchange. The cold exterior air enters low, displaces the warm moist air upward and out. Your sleeping bag becomes part of this flow, not a barrier to it.
The second layer of this is material choice. Open-cell foam in sleeping pads allows air to pass through. Closed-cell foam blocks it. Inflatable pads with synthetic materials sit between these extremes. If your pad has a vapor-permeable top and bottom cover, moisture can migrate through and evaporate rather than pooling. Test this: run your hand along the underside of your pad after a night. If it’s wet, your ventilation strategy failed. Adjust tent opening size and pad positioning the next night until the underside stays dry.
Beyond The Pad: Integrating Your Sleep System For Survival Essentials

Temperature Ratings Versus Loft: Which Actually Matters
You’re reading this because you want to know if you’re buying the right gear without looking stupid to people who camp more than you do. Here’s the mechanism: temperature ratings measure the threshold where your body stops losing heat faster than it generates it. Loft measures dead air space. A sleeping bag with high loft but a low temperature rating traps air effectively but doesn’t retain warmth in cold conditions. A bag with moderate loft and a high rating uses denser insulation that works harder per cubic inch. Your pad’s R-value interacts with both—it blocks ground heat loss, which the bag’s rating assumes will happen. If your pad has an R-value below 3, a bag rated for 20 degrees might only perform at 30 degrees because the cold ground is siphoning heat your bag never accounted for. Temperature ratings assume an R-value of roughly 2 to 2.5 under the sleeper.

The common advice says “just pick a bag rated 10 degrees colder than you need.” This is incomplete. That math only works if your pad matches the rating’s assumptions. The real move: add your pad’s R-value to the bag’s design context. A 3-season bag (typically 20-degree rating) paired with an R-value 5 pad performs like a bag rated 10 degrees colder than its label claims. Loft matters only insofar as it correlates with insulation type and compressibility. Down lofts higher but compresses; synthetic holds loft longer but weighs more. Pick your bag based on the insulation type that survives your storage conditions and your pad based on ground temperature, then verify they work together.
Pillow Solutions: Neck Support Without Dead Weight
Most people think a pillow is optional camping gear, then wake up with their neck torqued at an angle that ruins the next day. The biomechanics are simple: your cervical spine wants neutral alignment whether you’re on a couch or hard ground. A sleeping pad compresses under your head, dropping it below shoulder height. Without correction, your neck flexes, muscles tighten, and you lose sleep quality without knowing why. A pillow restores the alignment your pad erases.
You don’t need a dedicated camping pillow. Stuff sacks, dry bags, or compression bags filled with your own clothes work. The mechanism is mass and height, not material. Your head needs about 4 to 6 inches of loft depending on your shoulder width and sleeping position. Fill a compression bag with a fleece and t-shirt, cinch it tight, and you’ve got a pillow that weighs nothing and packs flat. Side sleepers need more height than back sleepers because the shoulder creates a gap. Test your setup at home first by measuring the gap between your ear and the pad when lying down, then build your pillow to fill exactly that space.
The Overlooked Barrier: Protecting Your Sleeping Pad From Punctures And Wear
Ground Cloth Necessity: Material And Placement
You’re afraid of ruining an expensive pad because replacement feels like failure. The real mechanism is simple: a ground cloth absorbs the friction that kills pads, not just the sharp objects. Most people think it’s just about thorns and broken glass. Wrong. The constant micro-abrasion from sand, dirt, and rough terrain does more damage than a single puncture. A ground cloth sits between your pad and the ground, turning your pad into a protected asset instead of a consumable.

Polyethylene or nylon ground cloths work best because they’re slick enough to let your pad slide without catching. Place it directly under your pad, aligned with the pad’s edges or slightly larger. The placement matters: if cloth sticks out beyond your pad, you’re creating edge exposure where punctures happen. Thinner is often better than thicker because too much bulk adds weight and traps moisture. A standard ground cloth weighs two to four ounces and costs ten to twenty dollars, protecting a pad that costs one hundred or more.
Field Repair Kits: Proactive Maintenance For Camping Hacks
Military logistics teaches us about forward positioning: you deploy resources where failure costs the most. A repair kit in your pack is forward-positioned defense against a puncture that would end your trip. Most people carry nothing, discover the leak on day three, and spend the night on hard ground. By then it’s too late. A basic kit takes up less space than a water bottle and prevents that scenario entirely.
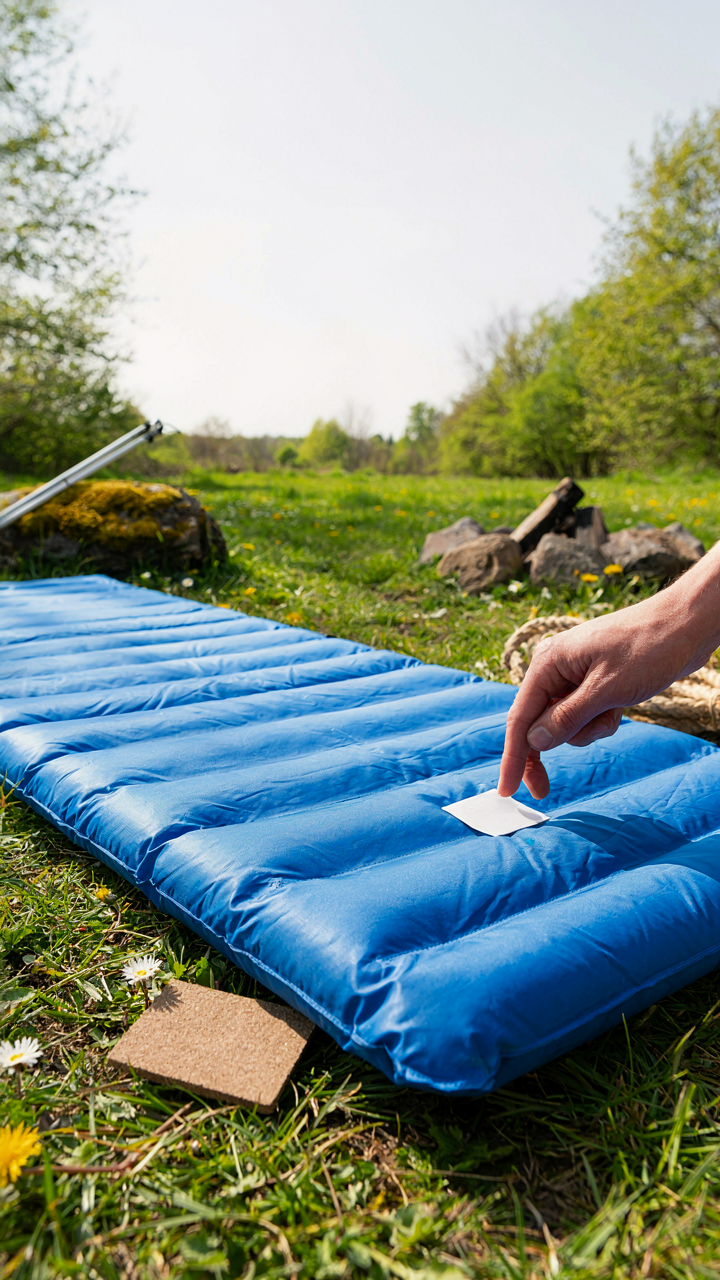
Your kit needs a vinyl adhesive patch set, sandpaper to rough the surface, and a valve repair tool if your pad uses a removable valve. Apply patches while the pad is clean and dry, ideally before the trip starts on any suspicious areas. Test the patch by listening for air leaks or using soapy water to spot bubbles. A properly applied patch holds for months of heavy use. The protocol: identify leak, clean area, rough surface, apply adhesive, press patch for one minute, wait two hours before using the pad.
Mind Over Mattress: The Mental Game Of Camping For Beginners Sleep

Build Your Sleep Ritual Before Dark
You want to believe your discomfort is temporary and manageable, which means you need a real protocol to prove it to yourself. Sleep onset uses the same neural pathways whether you’re in your bed or on a pad—context triggers the cascade. Your brain doesn’t distinguish between “real” mattresses and camping gear; it responds to repetition and signal consistency.
- Eat your last meal two hours before sleep: Digestion keeps your nervous system engaged. A settled stomach triggers parasympathetic activation faster than an active one.
- Dim light one hour prior: Your eyes reset melatonin production when ambient light drops. Headlamps on full brightness work against this mechanism.
- Same pad setup sequence every night: Unfold, layer, inflate in identical order. Your body learns the sequence as a sleep cue, not just a chore.
- Temperature check at minus one hour: Adjust layers before you’re already cold. Shivering interrupts sleep onset faster than any discomfort from hardness.
- Five minutes of deliberate breathing: Extend exhales longer than inhales. This shifts your heart rate variability toward parasympathetic dominance before contact with the pad.
The ritual matters more than the quality of each individual step. Your nervous system calibrates to predictability, not comfort. Execute the same sequence nightly and your body begins powering down before you even lie down.
Accept The Surface, Not The Struggle
You’ll hear advice that tells you to “embrace the experience” or “sleep through anything with mental toughness.” That’s incomplete. Acceptance isn’t mental fortitude—it’s cognitive reorientation, the same mechanism athletes use to separate pain from injury.
Your pad is hard. That’s a fact, not a problem to solve through willpower. The struggle starts when you resist the fact and spend mental energy fighting what’s happening under your body. Hard ground doesn’t prevent sleep; the internal narrative about hard ground does. You feel pressure points and immediately think “this is wrong.” That thought triggers cortisol. The cortisol prevents sleep. Hardness itself is neutral.
The protocol: When you notice discomfort, name it without judgment. “Pressure on my left hip” instead of “my pad is terrible and I’ll never sleep.” One is observation. One is resistance. Your nervous system can’t stay activated if you stop labeling the sensation as a threat. This reframing works because it cuts the emotional load that actually prevents sleep onset, while the pad underneath you does its job regardless.
The Minimalist’s Edge: Why Less Gear Means More Rest With Your Sleeping Pad
Your Pad Earns Its Weight
You want permission to buy less stuff. Here’s what actually matters: your sleeping pad only improves rest if it solves a specific problem—insulation, cushioning, or both. Everything else is drag. A pad that does one thing well beats a pad that does three things poorly. The mechanism is simple economics applied to gear: constraint forces specialization. When you force a pad to serve multiple roles, you compromise its core function on hard ground, which is thermal and pressure barrier. Stop treating your sleep system like a bag of possibilities and start treating it like a single tool with one job.
A pad sitting in your pack unused is dead weight. The question isn’t what your pad could theoretically do. It’s what your pad will actually do on the nights you need it. Most people overestimate how often they’ll use their pad as a seat or insulation for their back. They underestimate how often they’ll just need to sleep. Strip the fantasy. Buy a pad built for sleeping on hard ground. If you need a seat, carry a sit pad designed for that. If you need back support, that’s a separate problem solved by a separate tool. The division of labor applies to gear as much as it applies to factories.
Pack Smart, Sleep Better
Padding bulk doesn’t correlate to better rest—pack efficiency does. The real constraint in backcountry sleep isn’t comfort. It’s whether you’ll actually carry your pad to where you need it. A self-inflating pad compresses smaller than an open-cell foam pad of equal thickness. A closed-cell foam pad weighs less than either but rolls larger. The trade-off is mechanical. You pick two: weight, packed size, and durability. Most people chase all three and end up with mediocre padding that they resent carrying. Your pad only works if it’s with you when you sleep.
The protocol here is brutal simplicity. Measure your current sleeping system’s packed volume and weight. Then decide your actual constraint. Are you hiking five miles on foot? Minimize weight. Are you car camping but space-limited? Prioritize packed size. Are you using the same pad for three years? Durability matters most. Once you name the real constraint, you eliminate options. A lightweight ultralight pad sacrifices durability. A durable closed-cell pad sacrifices packed size. Accept the trade-off instead of pretending one pad solves all three. This clarity is what separates people who sleep better from people who just own better gear.
Your True Struggle Isn’t Finding The Perfect Sleeping Pad; It’s Abandoning The Illusion That Comfort Is A Product, Not A Practice
Most people chase the next gear upgrade instead of fixing how they actually use what they have. Tonight, sleep on your current pad but change one thing: your breathing. Slow it down. Notice where your body touches ground. Do this for three nights before buying anything else. Comfort isn’t something you purchase. It’s something you build.



