
The Myth Of Plug And Play Servers

Why Off The Shelf Solutions Trap You
You want this to work without learning anything, because admitting you need to understand your own infrastructure feels like failure. Here’s the mechanism: pre-built media server solutions hide complexity behind a GUI, which means when something breaks, you’re locked into their troubleshooting path, their update schedule, and their abandonment timeline. The Raspberry Pi’s strength isn’t convenience. It’s control.
Commercial media server software treats the Pi as a constraint they tolerate, not a platform they optimize for. They bundle features you don’t need, run bloated processes in the background, and throttle performance to make their paid tiers look better. You buy into their ecosystem, and suddenly you’re dependent on their support forums and their release cycles. The real cost isn’t the software license. It’s the lock-in.
The Hidden Costs Of Convenience
Economics calls this the time cost of switching. On a Raspberry Pi media server, switching costs are brutal because the software layer is thick and interdependent. When you choose a pre-built solution, you’re not just choosing software. You’re choosing an entire maintenance burden, a dependency on their infrastructure decisions, and the likelihood that in three years, they’ll sunset the product or pivot to a different market.
A self-managed setup requires initial friction, but that friction protects you. You build only what you need. You understand every layer of your stack. You can fix things at 2 AM without waiting for a support ticket. The hidden cost of convenience is permanent dependence on someone else’s priorities. The mechanism is simple: less control means more future compromises, and on a device as resource-constrained as the Pi, compromises compound fast.
Your Raspberry Pi: The Unseen Powerhouse

What The Pi Actually Does
You want to believe a forty-dollar computer can replace your expensive media setup because admitting otherwise means you wasted time researching. Here’s the mechanism: the Pi runs software that streams video files from a hard drive to other devices on your network. It’s not magic. It’s a small Linux machine with enough processing power to decode video formats and push them across your local network without buffering. The Pi doesn’t need to be powerful because it’s not doing heavy lifting. The files already exist. Your TV or phone does the rendering. The Pi just reads from storage and ships packets.

The Pi’s actual strength is thermal efficiency and power consumption, not raw speed. It draws five watts under load while a desktop pulls five hundred. It stays silent. It sits in a closet for years without maintenance. Most media server tasks are I/O bottlenecks, not CPU bottlenecks. Your network speed and storage speed matter far more than processor cores. The Pi handles standard video formats without strain because video decoding is a solved problem. Its ARM processor isn’t competing with your laptop. It’s competing with doing nothing at all.
The Spec Sheet Lies By Omission
Everyone quotes the Pi’s gigahertz count and RAM size because those numbers feel legitimate on a resume. They mean almost nothing for media serving. The real constraint is USB bandwidth and network throughput. A Raspberry Pi 4 has one gigabit ethernet port. That’s your ceiling. You can’t saturate it with a single 4K video stream from local storage because the file doesn’t exist on the Pi yet. It lives on an external hard drive plugged into USB, which has its own bandwidth ceiling. USB 3.0 maxes at around 400 megabytes per second in real conditions. A single 4K H.265 stream uses roughly 25 megabytes per second. The math works. The specs don’t tell you this because they don’t sell boxes that way.
Storage speed is what actually determines whether your media server feels responsive or frustrating. A cheap external USB drive with a 5400 RPM spindle will cause visible lag when you browse large libraries. The Pi’s processor can sit idle while waiting for the drive. The network can sit idle. Everything stalls at the storage layer. Most people don’t test this before buying hardware. They run benchmarks that assume the bottleneck is CPU or RAM, which it isn’t. Plug a fast NAS or SSD enclosure into the Pi’s USB 3.0 port, and responsiveness jumps immediately.
The “Media Monolith” Fallacy: Decentralize Everything
Why A Single Media App Is A Liability
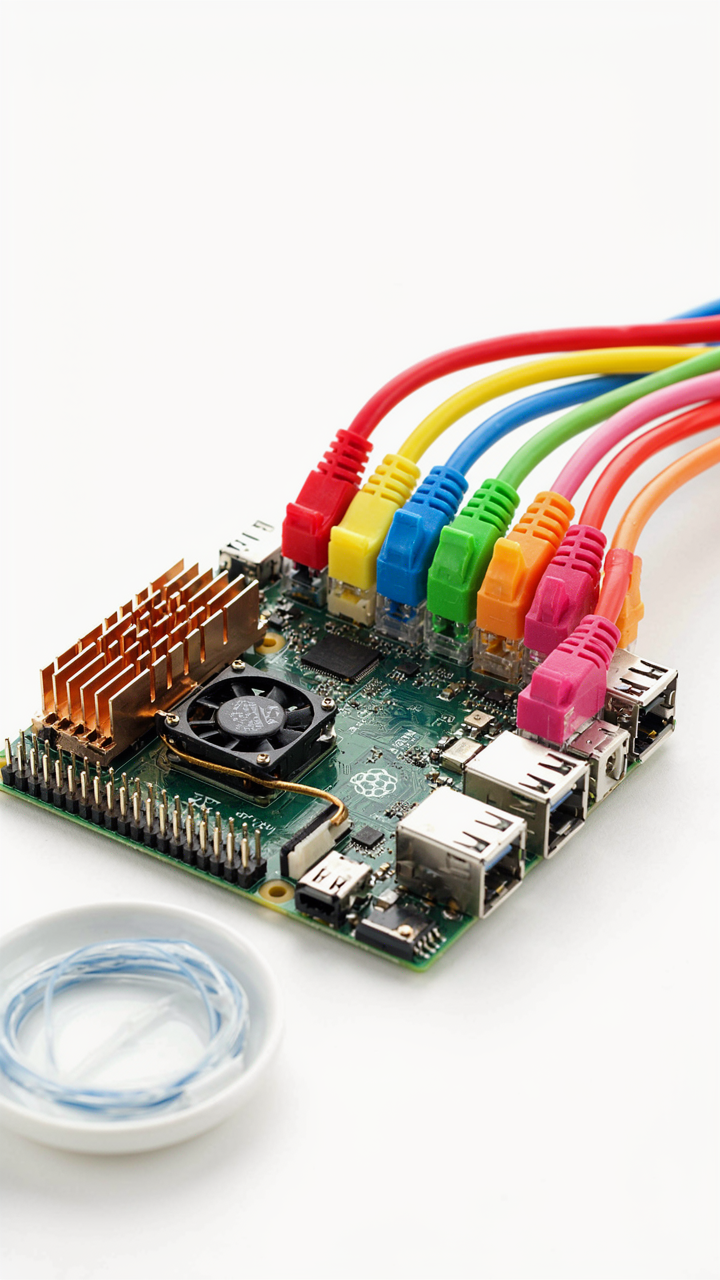
You want one app to handle everything because you think it means less maintenance. It doesn’t. It means one failure takes down your entire video library. Borrow the concept from systems engineering: redundancy is resilience. A monolithic media player on your Raspberry Pi is a single point of failure masquerading as simplicity. When Kodi crashes, Plex goes down, or Jellyfin chokes on a large library, you lose access to everything simultaneously. The constraint isn’t compute power on a Pi. The constraint is architectural fragility.

Most people run one media server app and call it done. That’s lazy design, not practical design. Separate your playback layer from your serving layer from your storage layer. Use lightweight services instead of bloated all-in-one platforms. Kodi handles display logic, a separate transcoding service handles format conversion, and your actual media database lives independently. This architecture survives when components fail. One service going down doesn’t mean you can’t access your movies at all. You lose functionality, not everything.
Modularity Over Monolithic: Services Vs Apps
Application monoliths bundle UI, database, caching, and logic into one process. Services separate concerns. On a Raspberry Pi with 2-4GB RAM, this difference decides whether your media server stays responsive or grinds to a halt. Think of it in terms of economics: you’re allocating limited resources across competing processes. A monolithic app allocates them all internally, invisibly. Service-based architecture lets you control exactly what gets CPU and memory.
Run Jellyfin or Emby as a standalone service, not as part of a larger system. Use nginx as a reverse proxy layer to handle connections separately. Store metadata in SQLite, kept distinct from the media files themselves. This setup lets you restart the web interface without losing access to backend transcoding. You can update the service without shutting down playback. Each layer scales independently when your library grows or more people connect to the server simultaneously. The Pi’s job becomes simpler: manage one process at a time, not orchestrate a tangled dependency chain.
The “Set It And Forget It” Delusion

Automation Demands Constant Vigilance
You want to believe your Raspberry Pi media server runs itself so you can stop thinking about it. It doesn’t. The moment you treat a home media setup as fire-and-forget, it starts degrading. Hard drives fail silently. Network configurations drift. Library metadata corrupts. File permissions lock you out of your own content. The real mechanism is simple: any system managing data requires active observation, not passive hope.

Most people skip this part of the setup conversation entirely. They imagine automation means zero work. It means the opposite. Automation handles repetitive tasks, but it creates new failure modes that only reveal themselves under specific conditions your Raspberry Pi will eventually hit. You need to monitor three things constantly: storage health, network connectivity, and library integrity. Without these checks, your server becomes a black box that fails when you need it most.
The Feedback Loop That Fixes Itself
Cybernetics teaches us that stable systems require negative feedback loops, where outputs inform inputs and correct drift before it compounds. Your Raspberry Pi media server needs the same mechanism. Without it, small problems cascade into total failure. A single corrupted file doesn’t trigger an alert. It propagates through your library database. Disk space doesn’t trigger a warning until capacity hits 95 percent and writes begin failing.
Build explicit feedback into your setup. Check disk usage weekly through a cron job that logs to a file you actually read. Monitor service status with Healthchecks or a simple bash script that pings your server and reports failures. Verify library scans complete without corruption by logging the Plex or Jellyfin scan output and reviewing errors. The system doesn’t self-correct without your input. You are the corrective force. Set the monitoring protocol first, before you add a single video file.
Emby Setup On Raspberry Pi: Beyond Basic Playback

The Features That Survive Contact With Reality
You want Emby on a Pi because you’re tired of paying for streaming services, but you’re actually after control—knowing your media stays yours and works when you want it. The mechanism is simple: Emby’s server separates storage from access. Your Pi becomes the engine that transcodes video on demand, manages user accounts, and serves content over your network or remotely without needing a subscription layer.

Not all Emby features run well on a Raspberry Pi. The server syncs metadata, builds libraries, and handles simultaneous streams, but hardware limits force you to choose what matters. Remote access works reliably because Emby handles NAT traversal without exposing ports directly. Live TV tuner support exists but demands additional USB hardware and configuration. Focus on core features: library organization, playback across devices, and basic user management. Skip the premium features that require heavy processing on weak silicon.
Transcoding Without Killing Your Pi
Processing video in real time on a Raspberry Pi isn’t a computing problem—it’s an economics problem from operations research. You’ve got limited CPU cycles as your scarcest resource, so you must decide whether to transcode at all or force direct playback on clients that support your native formats.
Emby’s software transcoding on a Pi 4 maxes out at one 1080p stream before stuttering. The Pi 5 improves this slightly but still bottlenecks fast. The real move is hardware-accelerated encoding through the GPU, which Emby supports via MMAL on Pi hardware. Configure Emby to use H.264 encoding with the GPU encoder enabled in settings. Store your media library in H.264 or H.265 formats natively so direct playback happens without transcoding overhead. When a client requests playback, Emby checks format compatibility first and only transcodes when necessary, not by default.
The Data Hoarder Trap And How To Avoid It

When Less Library Beats More Storage
You’re building this because you want to feel like you’ve solved the problem of access. The mechanism is simpler: you think storage capacity solves for usability. It doesn’t. A Raspberry Pi media server with five terabytes of unwatched content creates friction, not freedom. You scroll endlessly. Nothing plays. The system slows under its own weight because the Pi’s processor spends cycles indexing garbage you’ll never touch.

The real constraint isn’t drive space. It’s your attention. Every file you add to the server increases decision fatigue. You start curating only when you hit a wall and realize you’ve wasted money on drives for content you forgot existed. Front-load the discipline instead. Keep only what you’ve watched or what serves a specific need: family archives, reference material, rotating seasonal content. Everything else is just digital clutter paying rent on your hardware.
Drive Stacking Without The Slowdown
Think of your storage like a supply chain in logistics: you don’t stock everything at the distribution center. You tier it. The mistake everyone makes is treating all storage the same, expecting a Raspberry Pi to handle multiple large external drives without performance collapse. It will choke. USB bandwidth becomes the bottleneck before capacity does.
- Primary Internal MicroSD or SSD: Boot drive only, 64GB minimum. Keeps the OS and Plex database separate from media files, preventing I/O contention.
- Single External USB 3.0 Drive: 4-8TB capacity. One fast drive outperforms multiple slow ones. Attach via powered hub to avoid voltage drop on the Pi’s USB ports.
- Network Attached Storage (NAS): If you exceed one external drive’s capacity, add a dedicated NAS device on your local network instead of stacking USB drives. Eliminates the USB bottleneck entirely.
- Cold Archive Drive: Keep a separate drive disconnected except for backups. Rotate it monthly. Protects against drive failure without forcing the Pi to manage redundancy it can’t handle.
- Automated Pruning Rules: Set up a script that flags files older than 18 months without playback activity. Review quarterly and delete. Prevents the collection from expanding on autopilot.
The scaling decision is binary: stay under one drive’s capacity or move to networked storage. A Raspberry Pi cannot efficiently manage more than one active external drive without degrading stream quality. Choose your ceiling now, not after you’ve bought three drives and discovered your setup stutters at 4K transcoding.
Raspberry Pi Network Player: Master Your Streams
Wired Connection Beats Wifi Every Time
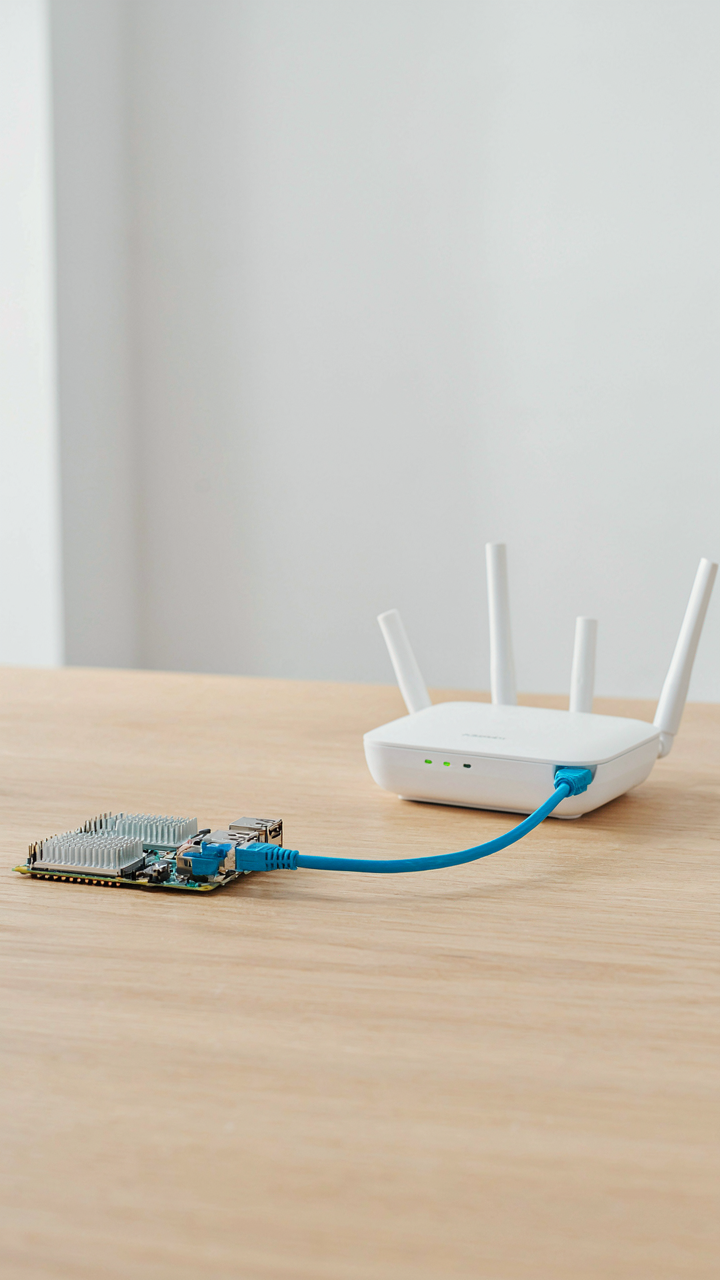
You want your setup to work without thinking about it. That’s not laziness—it’s the only sane way to run media in a home. The real mechanism here borrows from signal theory: interference compounds exponentially over distance, and wifi operates on shared spectrum that your neighbors are also using. A wired ethernet connection to your Pi eliminates that variable entirely.

Run a Cat6 cable from your router to the Raspberry Pi. The difference between wifi and wired isn’t theoretical—it’s the difference between a stream that buffers during peak hours and one that doesn’t. Your Pi has a gigabit ethernet port on most models. Use it. This single decision removes 80% of playback problems before they start. Don’t stream over wifi and then blame your hardware when it chokes.
Managing Bandwidth Without Bottlenecks
Most advice says to “optimize your bitrate” without explaining what that actually means in practice. Bandwidth bottlenecks aren’t about speed—they’re about sustained throughput under load. Your home network shares pipes with every other device pulling data simultaneously. A 4K movie file might demand 25-50 Mbps continuously, but if your router is also handling security cameras, gaming consoles, and phone uploads, that demand competes for the same channel.
Store your media files on a dedicated network-attached storage device rather than the Pi itself. The Pi’s microSD card isn’t the constraint—your network’s ability to stream consistently is. Use wired connections for both the Pi and the NAS. Disable wifi on devices that don’t need it. Then run a single playback session at a time during initial setup. This reveals your actual available bandwidth before you scale to multiple simultaneous streams or add 4K content to your library.
The “Security Through Obscurity” Lie

Your Server Isn’t Hidden Because You Want It That Way
You think running your Raspberry Pi media server on a non-standard port makes you safe. It doesn’t. You’re betting that attackers won’t find you because you’re small, because you’re home, because nobody cares about your movies. They do care. Not about your movies. About your device as a foothold. Obscurity is denial dressed up as strategy. The real mechanism comes from network security, borrowed from military defense doctrine: you need defense in depth, not a single perimeter. Your Pi is the castle with one gate. Attackers don’t need to breach the gate if they can flood it, proxy through it, or use it to attack your neighbor’s network.

Your default SSH port, your UPnP broadcast, your unencrypted API calls—these aren’t secrets. They’re visible the moment traffic leaves your network. Shodan indexes devices by their banners. Your Pi announces itself. Port scanning takes seconds. The only time obscurity works is when combined with actual security layers, and even then it’s a bonus, not the foundation. If your server relies on “nobody will find it,” you’ve already lost the game.
What Actually Stops Attacks From Working
Assume your Raspberry Pi media server gets discovered. It will. Now the question is whether an attack succeeds or fails. Authentication stops it. Encryption stops it. Rate limiting stops it. Patching stops it. Firewalling stops it. These aren’t nice-to-have extras. They’re the difference between a probe that bounces off and one that takes your network offline. The common advice says “just keep it local.” That’s incomplete. Some of you need remote access. Telling you to stay local is like telling you not to drive because accidents happen.
Implement SSH key authentication only—disable password login entirely on port 22, or move it to a non-standard port with fail2ban rate limiting set to block after three failed attempts within ten minutes. Enable UFW firewall rules to allow only the ports your media service actually uses. Keep your Raspberry Pi OS and all packages updated weekly. Run Jellyfin or Plex with HTTPS enforced, self-signed certificates acceptable initially but replaced with valid certificates afterward. This stack doesn’t make you invisible. It makes you not worth the effort.
Raspberry Pi 2 File Server: The Unsung Hero
What Your Pi Actually Does When Idle
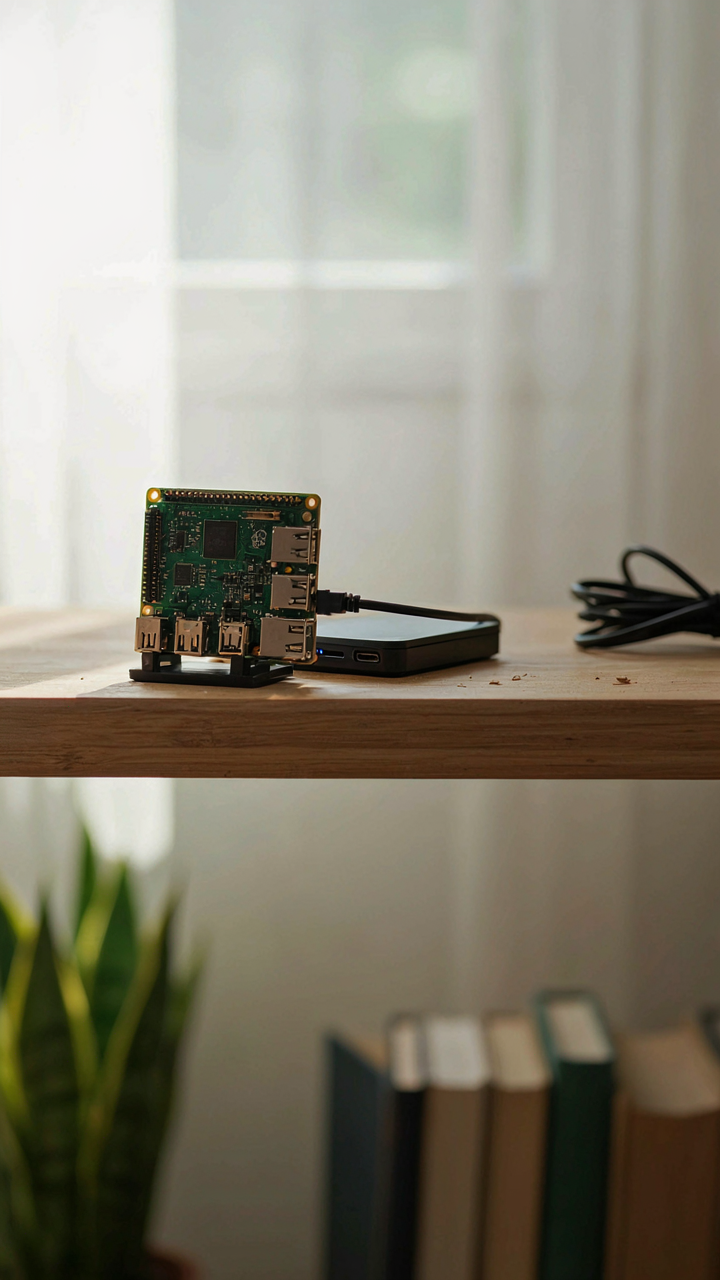
You want to feel like you’re not wasting the hardware sitting in a drawer. That’s the real reason you’re reading this. But the mechanism is simpler: a Raspberry Pi 2 has enough CPU headroom and network capability to handle file serving without breaking a sweat, which means you stop buying external drives and start controlling your own data flow.

The Pi 2’s quad-core ARM processor and gigabit ethernet adapter make it viable for storing and retrieving files across your home network. It won’t compete with NAS boxes designed for that job, but it trades performance for something better: you already own it. Install something like Samba or NFS, point it at a USB drive, and the hardware transforms from decoration into infrastructure. The cost difference between letting it collect dust and deploying it is zero.
Extracting Real Value From Spare Capacity
People say “repurpose your hardware,” which is vague advice that accomplishes nothing. The real work is mapping what you actually have to what you actually need. A Raspberry Pi 2 has two constraints: limited storage bandwidth and modest processor speed. Neither matters if you’re storing backups, archiving old documents, or hosting files that don’t demand simultaneous high-speed access from multiple users.
Set the Pi up as a backup target first. Attach external storage, enable SSH, and run automated backups from your main machine on a schedule. This solves a real problem most people ignore until disaster forces it. Once backups run stable, layer on media sharing or document hosting if you want. The key is starting with a mechanism, not starting with a romantic idea of what the device could theoretically do.
The “Future Proof” Illusion: Build For Adaptability

Design For Swap Out Parts Not Permanence
You want to believe your setup will work unchanged for five years. It won’t. You’re really asking how to avoid rebuilding from scratch when hardware fails or formats shift. The mechanism is borrowed from engineering: design for modularity, not monolithic integration. A Raspberry Pi media server survives because storage, software, and hardware layer independently. If your OS fails, your content library remains accessible. If your Pi dies, you move the drive to another Pi. This separation prevents total collapse.
Most setups fail because people treat their Pi like a sealed appliance instead of a stack of interchangeable components. Store your media on external USB drives or network storage separate from the Pi’s operating system. Use standard file systems like ext4 or NTFS that read on any Linux machine. Document which version of Kodi, Jellyfin, or Plex you run and where your configuration files live. When hardware fails, you restore settings from backups, not rebuild from memory.
Iterative Upgrades Over Big Rewrites
Small incremental changes beat waiting for the perfect moment to overhaul everything. A Pi 4 can handle 1080p streaming for years, but the Pi 5 added better CPU and RAM efficiency. You don’t swap immediately. You test new software on a second Pi first, then migrate. This reduces risk. The real cost of a rewrite isn’t hardware. It’s downtime, lost configurations, and the days spent troubleshooting what used to work.
Start with a working baseline now. Version your setup in a text file: Pi model, OS date, which packages you installed, storage paths, and user accounts. When an update comes, stage it on spare hardware before touching production. Your media server should evolve through tested steps, not panic-driven jumps. The mechanism that prevents waste is this: every component change gets validated before it replaces the old one.
The Only Thing Holding Back Your True Media Sovereignty Is Your Willingness To Build It

Most people rent their media instead of owning it. You just proved you’re different by reading this far. A Raspberry Pi media server isn’t a hobby project. It’s you taking control back. Stop waiting for the perfect setup. Buy the hardware today, plug it in tonight, and start moving one movie file over tomorrow. Everything else you’ll figure out as you go. Ownership beats convenience every single time.



