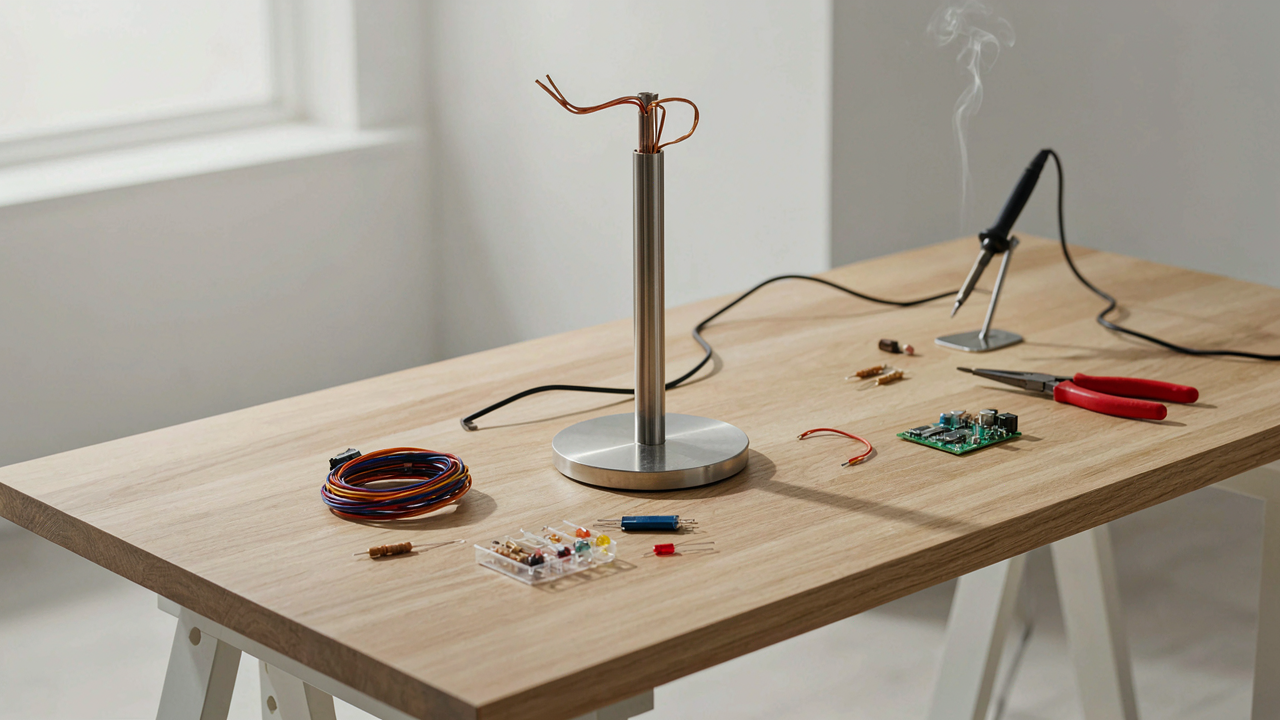
The Illusion Of Easy DIY Touch Lamp Kits
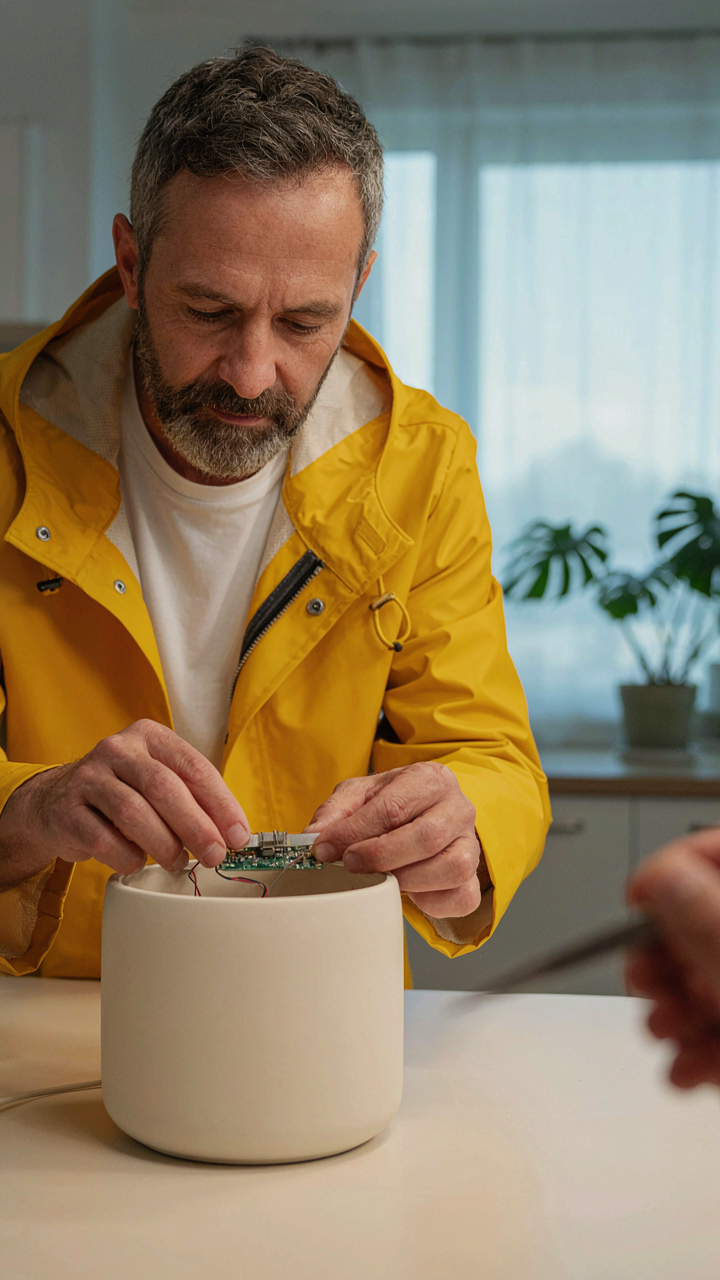
What The Marketing Doesn’t Show You
You want to believe a kit makes this simple because admitting complexity means admitting you might fail. Here’s what actually happens: Touch lamp kits rely on capacitive sensing, the same field that powers smartphone screens. A capacitive sensor detects changes in electrical charge when your finger approaches or touches a conductive pad. The kit manufacturer strips this down to its bare circuit, but they hide the real problem—noise and false triggers plague cheap implementations because they skip proper shielding and grounding.
Most kits advertise assembly in thirty minutes. They show you solder three wires, snap in a bulb, done. What they omit is that the touch sensor requires careful tuning to your specific lamp body and materials. Metal near the sensor causes crosstalk. High-impedance components pick up electromagnetic interference from phone chargers and WiFi routers. You’ll spend hours debugging phantom touches or dead zones where the sensor won’t respond.
The Gap Between Spec Sheet And Reality
Cheap kits fail because manufacturers prioritize cost over signal integrity. They use single-layer PCBs, minimal filtering, and unshielded wiring. The capacitive sensing circuit itself is often a basic 555 timer variant or a throw-away IC with no compensation for environmental drift. You get a component that works in the factory under lab conditions, then fails in your bedroom where RF noise and humidity fluctuate.
The real cost is your time troubleshooting. You’ll replace capacitors, add shielding tape, rewire ground connections, and test repeatedly. Cable routing matters. PCB placement matters. The lamp’s material—ceramic, metal, plastic—changes the sensor’s behavior. A kit that costs fifteen dollars might require twenty dollars in additional parts and eight hours of iteration to function reliably. That’s not simplicity. That’s deferred complexity disguised as a product.
Beyond Aesthetics: Understanding The Touch Mechanism
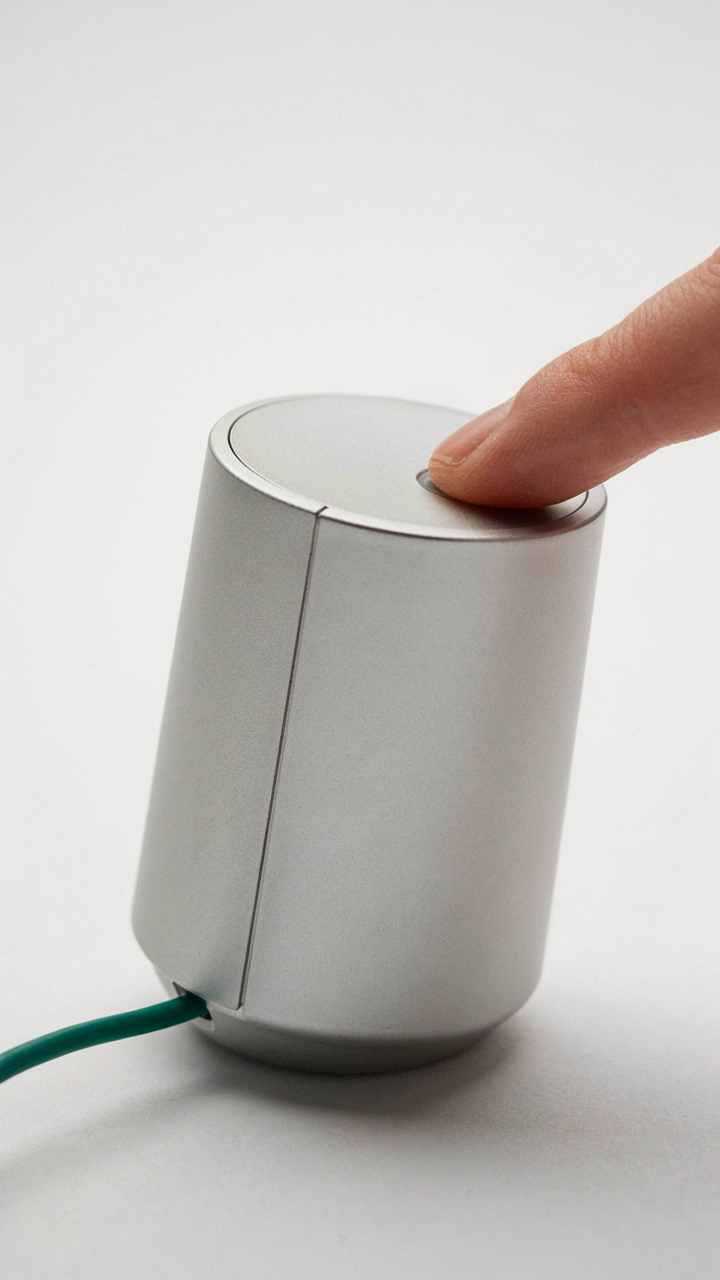
Two Sensing Approaches That Actually Matter
You want this to feel premium. That’s the real reason you care about how the touch mechanism works. The mechanism determines whether your lamp feels responsive or like you’re fighting it. Capacitive and resistive touch are the two sensing approaches that dominate DIY touch lamps, and they work on opposite physics.

Capacitive touch detects the electrical properties of your finger. When you touch a conductive surface, you change the capacitance of the circuit. A capacitive sensor measures this shift and triggers the lamp. Resistive touch requires pressure. Two conductive layers separate by air. Your finger presses them together, completing a circuit. Capacitive is more responsive and requires no force. Resistive is cheaper and works through gloves or wet fingers. For a bedside lamp, capacitive feels better because you need almost no contact pressure.
The Actual Electronics You Cannot Skip
Most DIY guides skip the hard part and tell you to “just add a touch sensor module.” That’s incomplete. A reliable touch lamp needs three core components working together, not one magic chip doing everything.
The touch sensor IC detects the input. Common choices include the TTP223 or similar capacitive sensor chips. These measure capacitance changes and output a digital signal. The second component is your switching element, usually a MOSFET or relay, which handles the lamp load. The third is debouncing logic, either built into the IC or added via software, which prevents false triggers from electrical noise. Without debouncing, a single touch registers multiple times and the lamp flickers on and off. The IC handles detection, the switch handles power delivery, and debouncing eliminates the erratic behavior that makes DIY lamps feel broken. Wire the sensor output to the MOSFET gate, connect your lamp between the MOSFET drain and power supply, and add a 10 microsecond debounce delay in your code.
The “Minimum Viable Lamp” Protocol
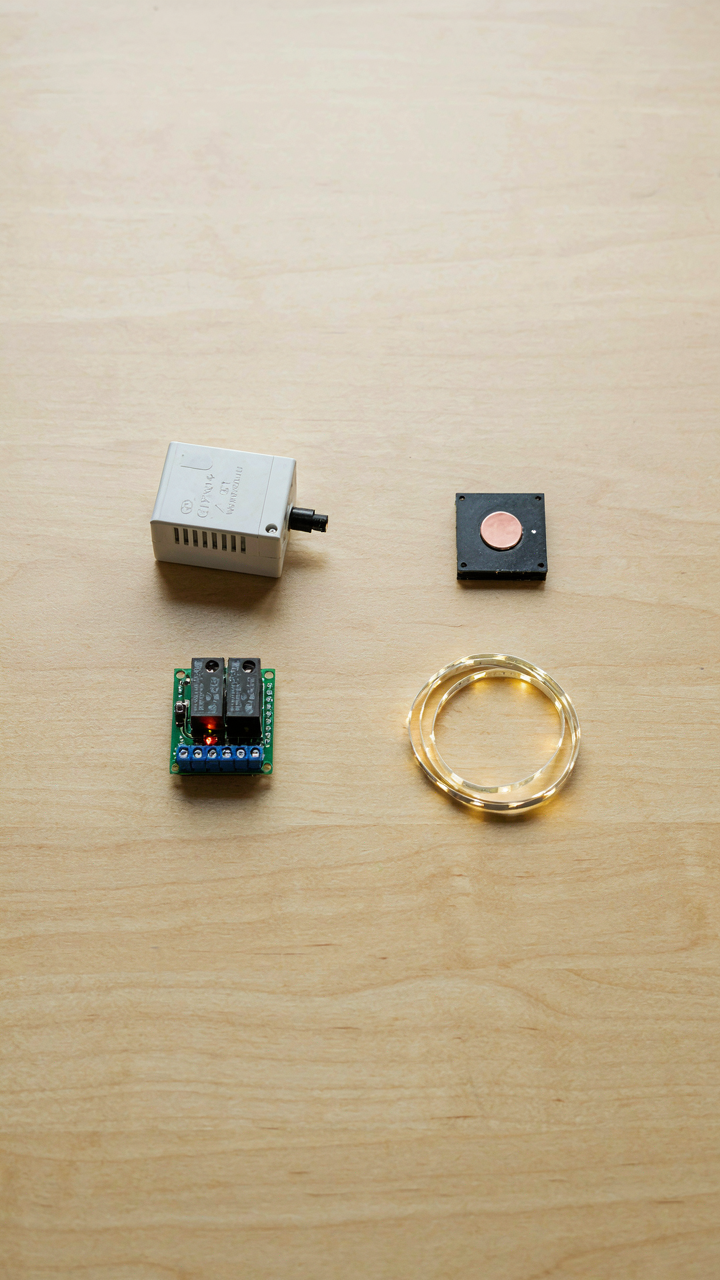
What Actually Goes Inside
You want to build something and feel like a maker. That’s fine. But the real reason you’re reading this is because you think a store-bought lamp is beneath you, or you want to prove you can do it cheaper. Neither works if you don’t know what goes in the box.

A touch lamp needs four irreducible parts: a power source, a capacitive sensor, a switching mechanism, and a light source. Skip any one and you have a paperweight. The capacitive sensor detects the electrical charge in your fingertip and triggers a relay or transistor to toggle the light on and off. No batteries, no circuit board, no light. This isn’t optional.
Build For Function First
The common advice says start with aesthetics. Wrong. Aesthetics trap beginners into buying expensive shade materials and decorative bases before the circuit even works. That wastes time and money on something that doesn’t do its job yet.
- Power Supply: Use a step-down transformer or USB adapter that outputs 5 volts. Standardized, replaceable, and safe. Avoid battery packs for initial builds unless you want to chase voltage sag issues.
- Capacitive Touch Module: Pre-built modules cost 8 to 15 dollars and eliminate circuit design headaches. They’re calibrated and reliable. Building one from scratch adds complexity with minimal payoff.
- Relay or MOSFET Transistor: A relay is bulletproof for beginners. It physically switches the light circuit on and off with no software involved. A MOSFET works too if you can read a datasheet.
- LED Array or Bulb: LEDs run cool, draw minimal power, and last for years. A simple 12-volt LED strip or a standard LED bulb rated for your power supply keeps variables low.
- Wiring and Connectors: Use solid-core wire rated for your voltage. Avoid mystery wire from old electronics. Label everything with electrical tape as you build, not after.
Wire the capacitive module to trigger the relay, wire the relay to switch power to your LEDs, connect the power supply, and test before you touch the base or shade. Functionality first means you know the core works before you decorate it.
Powering Your Creation: The Unsexy Truth
Voltage, Current, And The Physics Nobody Names
You want to skip this section because math feels optional when you’re building something that “just works.” It isn’t. Physics is the real constraint here, not your preferences.

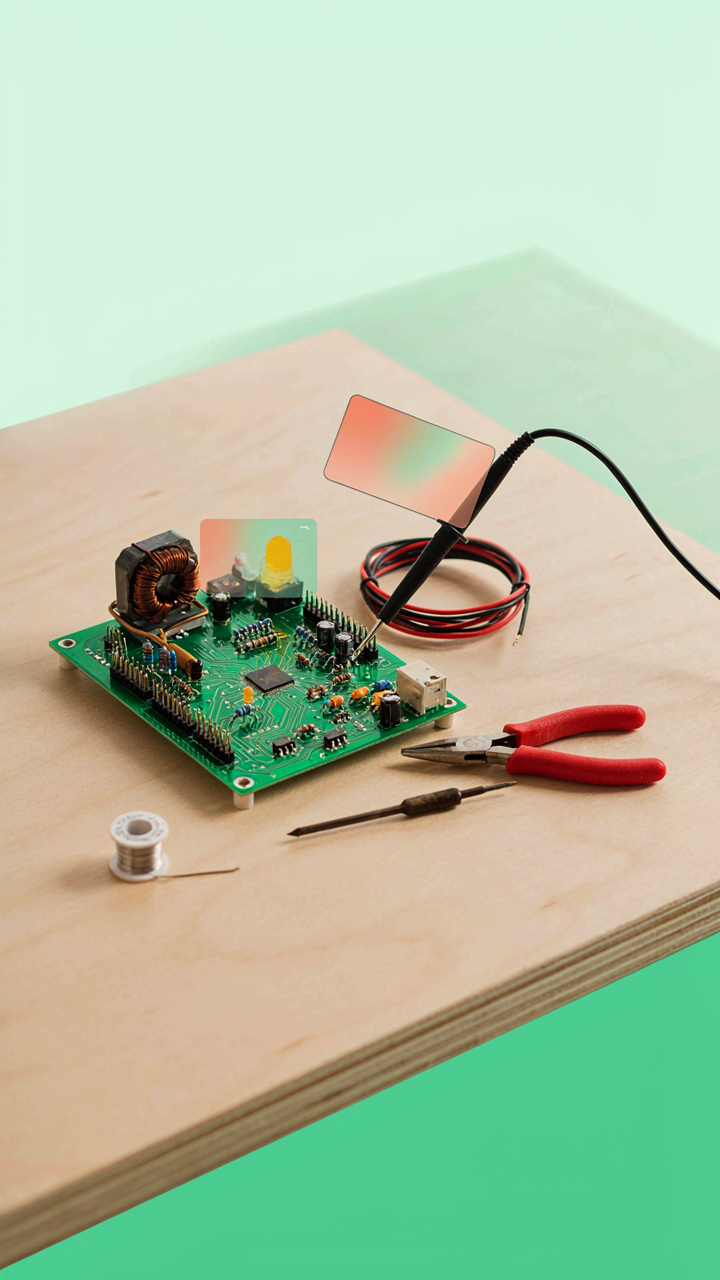
Voltage is electrical pressure. Current is the actual flow of electrons. Wattage is the product of both, measured in watts. A touch lamp circuit needs all three in conversation. If you run 12 volts through a 5-ohm resistor, you get 2.4 amps of current draw and roughly 29 watts of power consumption. Get that math wrong and your power supply either overheats or your circuit fails mid-touch.
The touch sensor itself demands low voltage to operate safely and prevent capacitive interference from mains current. Most DIY touch lamps use between 5 and 12 volts for the sensor circuit, then step up voltage only for the LED or incandescent bulb consuming actual power. This separation matters. A single power supply trying to handle both creates noise that makes your touch sensor unreliable.
Matching Supply To Your Actual Load
Most builders grab whatever wall adapter they have lying around and wonder why their lamp behaves like it has a mind of its own. Your power supply must deliver both the rated voltage and enough amperage for peak draw without drooping.
Calculate total current first: touch sensor pulls roughly 10-50 milliamps depending on design complexity. An LED bulb draws 300-800 milliamps. A 60-watt incandescent draws 5 amps at 12 volts. Add these together, then round up 30 percent for margin. If you’re running LEDs on 12 volts, a 2-amp supply gives you breathing room. If you’re driving a traditional bulb, you need a 6-amp supply minimum. Undersizing kills performance silently.
Buy a power supply rated higher than your calculated peak. A 12V 3A supply running at 2.4A operates cooler and lasts longer than a 12V 2.4A supply at full capacity. The extra capacity isn’t wasted expense, it’s reliability insurance. Check the supply’s ripple voltage spec too—anything under 50 millivolts keeps noise away from your touch sensor circuit.

Wiring With Intent: Avoiding Common Failures
Secure Connections And Insulation For Safety
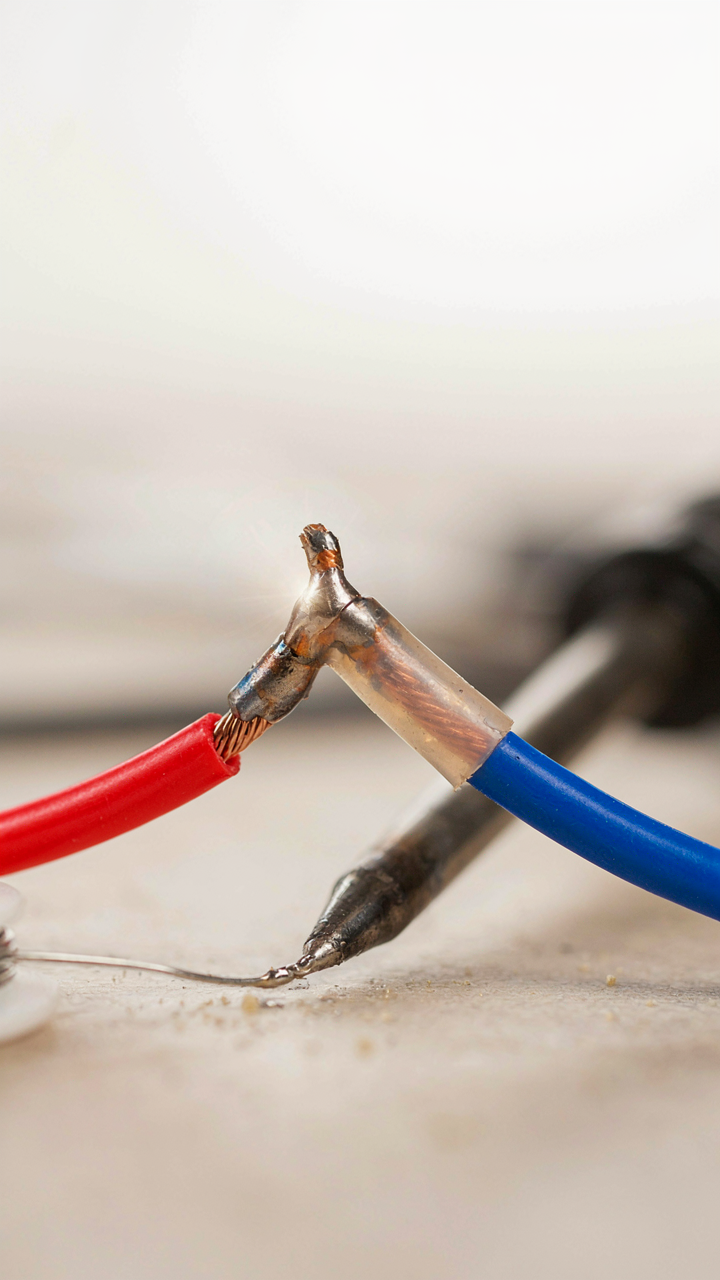
You want this project to work without burning your house down. Here’s the mechanism: electricity finds the path of least resistance, and a loose connection creates heat instead of light. Thermal energy accumulates in confined spaces. Solder every joint, don’t crimp. Use heat shrink tubing over exposed wire, not electrical tape. Tape peels. Heat shrink stays sealed and blocks moisture from corroding the joint over months.
The touch sensor circuit runs low voltage, typically 5V to 12V depending on your design. The lamp itself runs higher voltage through a relay or transistor that switches the load. Never let these voltage lines cross in the same wire bundle without shielding. Route signal wires away from power wires. A stray capacitive coupling between them triggers false touches and phantom on-off cycles. Secure connections mean no movement, no friction, no degradation.
Diagnosis When Your Lamp Stops Responding
Most people assume the touch sensor failed. It didn’t. The real culprit sits where you never look: the solder joint at the battery terminal or the connection point where the relay clips into the breadboard. Borrowing from electronics diagnostics, treat this like a circuit topology problem. A break in series kills everything downstream. You test the sensor first because it’s visible. You should test the power rail first because it’s foundational.
Use a multimeter set to continuity mode. Touch the probe to the positive battery terminal, then trace forward through every connection point to the lamp. Listen for the beep. When it stops beeping, you found the break. Continuity testing takes ninety seconds. It saves an hour of reinstalling components. Check every solder joint under magnification. A cold solder joint looks grainy, not shiny. Reheat it. That single step fixes most failures in DIY touch lamps before any other troubleshooting begins.

Enclosure Design: Function Dictates Form

Material Choices For Heat And Durability
You want your lamp to look intentional, not like a science experiment that might fail. The real constraint isn’t aesthetics—it’s thermal management. Touch sensors and LED drivers generate heat. Without proper dissipation, components fail early and unpredictably.
Aluminum is the standard for DIY touch lamps because it conducts heat away from electronics efficiently. A 6061-T6 aluminum tube or box casing pulls thermal energy through its walls faster than plastic ever could. If you’re using a plastic enclosure, you need active ventilation holes or you’re just building a slow oven. Thermodynamics doesn’t negotiate. Wood looks good but traps heat. Avoid it unless you’re willing to add cooling mechanisms your bedside lamp doesn’t need.
Ergonomics And Placement For Function
Nobody sits down and thinks about where their hand naturally falls on a bedside lamp. Then they build it wrong, get frustrated, and abandon the project. The touch sensor placement determines whether the lamp becomes muscle memory or an annoyance.
Mount the touch pad on the side of the lamp at thumb height when your hand rests on the nightstand, roughly 4 to 6 inches from the base. This mimics how people interact with existing touch lamps—muscle memory transfers instantly. If you place it on top or buried on the back, you’re forcing new motor patterns every single time someone uses it. The enclosure shape itself should taper slightly toward the top so your hand wants to grip it naturally. Keep the cord exit at the back, not the side. This prevents the cord from becoming a physical reminder of your poor planning every time you reach for the lamp.

Beyond Basic On/Off: Advanced Diy Table Lamp Controls

Dimming Circuits And Color Temperature Adjustment
You want this because dimming makes you feel like you have control over your environment, but the real reason is that light quality directly affects your circadian rhythm and alertness. The mechanism is simple: a dimmer circuit reduces voltage to the bulb, lowering brightness. Color temperature adjustment works through a different principle entirely. Warm light (2700K) comes from longer wavelengths. Cool light (5000K+) comes from shorter wavelengths. Your touch lamp needs either separate warm and cool LED circuits that blend together, or a single tunable LED that shifts its internal color mix based on your input.
Most DIY guides skip the circuit design and jump to “just buy a dimmer module.” That’s lazy. A real dimmer uses a potentiometer to control voltage through a MOSFET or PWM controller. For color temperature, you wire two separate LED strips (warm and cool) in parallel to different output pins on your microcontroller. When you touch the sensor, the firmware adjusts the duty cycle on each pin independently. This creates the blend you perceive. A TL072 op-amp or Arduino with PWM outputs handles this cleanly. The touch sensor triggers code, not just a relay.
Sound Reactive Lamps Without The Gimmick
Sound reactivity works on the same feedback principle as a thermostat uses temperature. The lamp reads the environment, processes input, and responds. Most sound-reactive lamps fail because they react to every noise randomly. A better approach uses a microphone input fed into an audio analysis circuit. You isolate specific frequency bands (bass, mid, treble) and map each to a different light response. Bass frequencies trigger brightness changes. Mid-range triggers color shifts. This requires an FFT (Fast Fourier Transform) algorithm running on a microcontroller like an Arduino or STM32.
The practical build uses an I2S microphone module connected to your controller. You sample the audio stream, run the FFT, and extract frequency data in real time. Most people skip this step and just use “loudness detection,” which makes the lamp useless because it flashes at conversation or traffic noise. Build in a sensitivity threshold and frequency filtering so the lamp only reacts to actual music, not ambient sound. Calibrate the response curve so dimming feels smooth, not jerky. This takes iteration on the firmware side, but it’s the only way to avoid a gimmick that annoys you within a week.

The Real Value Of A Homemade Lamp

You Built Something That Solves A Problem
You want to believe the time you spent matters more than what you could buy. Here’s the mechanism: ownership shifts when you solve the problem yourself instead of outsourcing it. A mass-produced touch lamp arrives functional but interchangeable. Your lamp arrives with the specific knowledge of why each component works the way it does in your space.
The real edge isn’t emotional. It’s practical. You know exactly what happens when the capacitive sensor fails because you wired it. You can repair it in five minutes instead of ordering a replacement and waiting. Mass production optimizes for cost and volume, not for your bedroom’s humidity or the specific voltage stability of your outlet. A homemade lamp gets built around your constraints, not around manufacturing minimums.
The Skills Transfer To Everything
This isn’t about the lamp. This is about decoupling from consumer dependency. Electronics is a language. Once you speak it, you stop treating electrical devices as black boxes that either work or don’t. You start seeing them as systems with readable inputs and outputs.
Building a touch lamp teaches you three transferable mechanisms: circuit tracing, solder joints under pressure, and troubleshooting by elimination. Those three skills apply to phone chargers, power supplies, control systems, and any low-voltage project. You now own the ability to ask “can I fix this or build this myself” instead of accepting the default answer of no. That shift in agency compounds across every problem you encounter.

The Real Obstacle Isn’t The Wiring; It’s Your Fear Of Genuine Creation
Most people never build a DIY touch lamp because they’re terrified of breaking something. That fear keeps them buying mass-produced garbage that breaks anyway. You’re not afraid of the circuit. You’re afraid of owning your creation. Stop waiting for perfect instructions and buy the components today. The only way through is forward, and a broken lamp you made beats a working one you didn’t.



