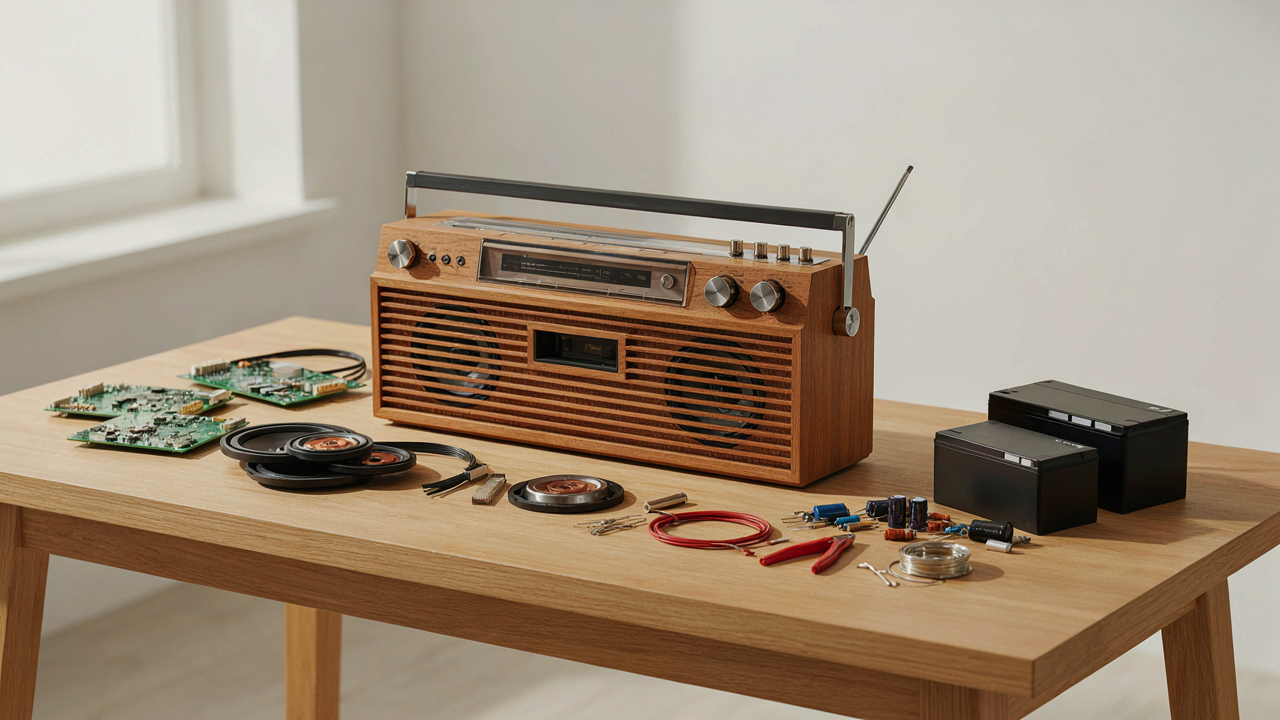
The “Authenticity” Trap: Why Your Vintage Quest Is Misguided

Modern Fidelity Vs. Nostalgic Fallacy
You want vintage parts because you think they prove something about your taste. Here’s what actually matters: your ear can’t tell the difference between a 1980s capacitor and a modern one if both work. The mechanism is simple. Nostalgia triggers emotional reward in your brain, not audio improvement. A boombox is a speaker system. Speaker systems move air. Air doesn’t know when the components were manufactured. Modern parts deliver measurable specs: lower distortion, tighter tolerances, better reliability. Vintage parts deliver a story you tell yourself.
The real trap isn’t choosing modern over vintage. It’s confusing authenticity with function. A 1982 Sony boombox sounded good because of its driver design and cabinet tuning, not because the year stamped on the chassis carried sonic weight. You can recreate that sound today with modern drivers, modern amplifiers, and modern power supplies that actually won’t fail. Swap the internals, keep the shell if you want the look, but don’t pretend the vintage guts matter to the output.
The Aesthetics Versus Performance Split
People frame this as a binary: stay true to the era or go modern. That’s lazy thinking. You’re not building a museum piece. You’re building a tool that plays music. The performance lever has nothing to do with how it looks. A boombox with modern components inside and a 1980s aesthetic outside performs identically to one with all vintage parts, but it runs cooler, lasts longer, and costs less to repair. The visual experience happens in your perception. The audio experience happens in physics.
What actually matters is cabinet design and speaker driver quality. A shoebox with bad drivers sounds bad regardless of when you built it. A well-designed enclosure with quality modern drivers outperforms its vintage equivalent. The cosmetics are a separate decision. Pick your aesthetic, then optimize the internals for reliability and output. Don’t let nostalgia masquerade as engineering. When you finish the build, your only job is this: measure the frequency response and SPL output. If it hits your targets, the vintage parts accomplished nothing except cost you money.
Beyond The Cardboard Boombox Template: Design As Engineering, Not Craft

Why Your Box Shape Actually Matters
You want this thing to look cool and sound good without understanding why those goals fight each other. The real mechanism: enclosure design is applied acoustics, and acoustics obeys physics rules that don’t care what you want. A sealed box resonates at a frequency determined by its internal volume and the speaker’s parameters. Get the volume wrong and you amplify mud or kill bass entirely. Most DIY builds use arbitrary dimensions based on “what looks retro,” which is why they sound thin or boomy. Internal volume controls what frequencies your drivers actually reach the listener’s ear with, not the speaker’s rated output. Calculate your target frequency using the Helmholtz resonance equation: your box volume, port diameter, and port length all couple together. Skipping the math and just building a “cool looking” enclosure wastes the amplifier’s power and compromises every frequency band simultaneously.

The 1980s boombox engineers didn’t choose shapes for nostalgia. They chose them because specific volumes made dual cassette decks, radio tuners, and 4-8 inch woofers work together in a package you could carry. Their constraints created the aesthetic you’re chasing. Modern parts demand you honor the same rigor or you’ll have a decorative object that plays music poorly. Measure your speaker driver’s Thiele-Small parameters before cutting wood. If you’re not willing to run the numbers, you’re building based on Instagram images, not function.
Damping Materials Do One Job, Not Ten
The common advice says “add foam to tighten the bass and control resonance.” That’s incomplete. Foam absorbs sound energy and converts it to heat, but where you place it determines what you’re actually absorbing. Materials science calls this frequency-dependent absorption: different materials kill different frequencies based on their density, thickness, and airflow resistance. A 2-inch open-cell foam absorbs midrange and treble more than bass. Bass needs mass and air gaps, not foam, because long wavelengths pass through thin materials unchanged. Your enclosure walls reflect internally. Those reflections create standing waves that muddy the sound. Strategic damping breaks those reflections at specific points, not everywhere.
The mechanism: internal reflections corrupt the driver’s output before it leaves the box. Bass-reflex designs use ports to time-align reflected energy constructively at the target frequency. Sealed designs use damping. Choose one strategy and apply materials accordingly. If you’re building a sealed box, place rigid fiberglass or rockwool near the rear wall where bass-frequency reflections originate. Don’t pad the entire interior like you’re soundproofing a room. Place your damping material by layer and distance from the driver, not by guesswork. Measure the resulting frequency response with a tone generator and microphone if you want proof your choices worked.
The “Scavenger Hunt” Delusion: Optimizing For Modern Components
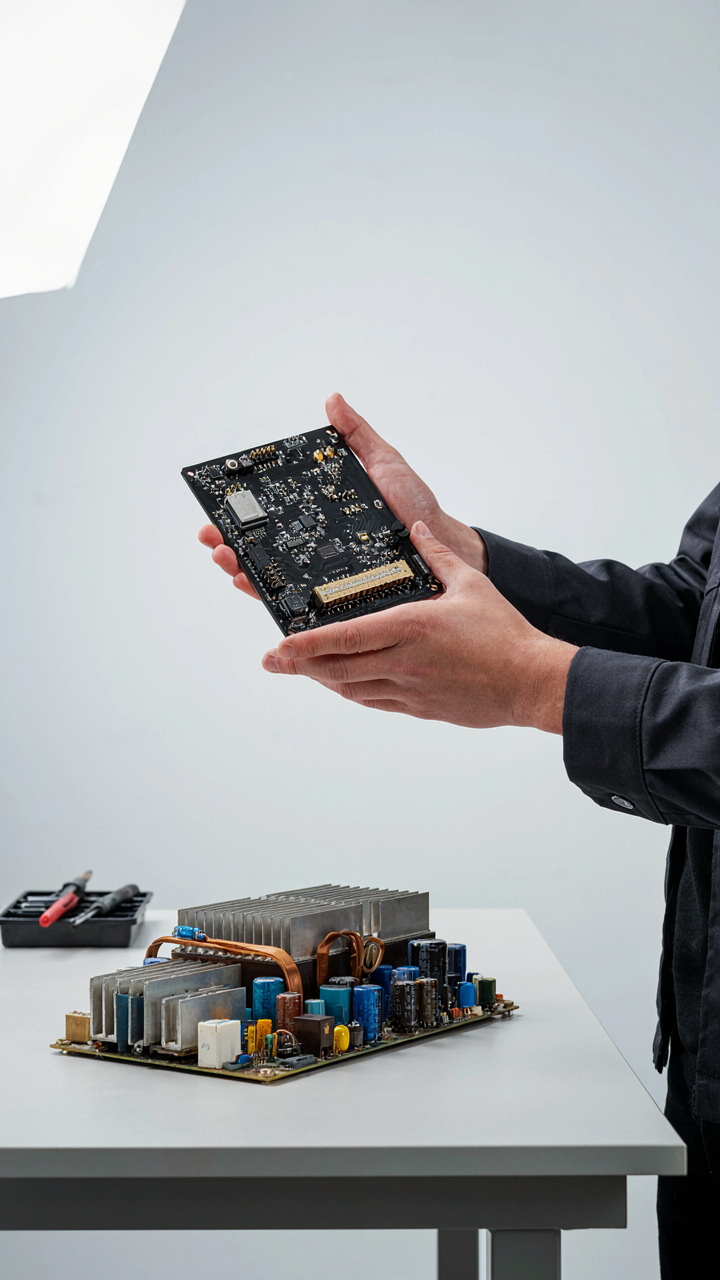
Why Class D Amplifiers Win The Efficiency Game
You want vintage sound without vintage problems. That’s the real tension here, and most builders pretend it doesn’t exist. Thermodynamics settles this: Class-D amplifiers operate on pulse-width modulation, switching transistors on and off at ultrasonic frequencies to approximate your audio signal. Traditional linear amplifiers (Class-A, AB) waste 50-70% of input power as heat. Class-D wastes 10-15%. This isn’t preference. This is physics.

A modern Class-D board rated 20-50 watts runs cool enough to mount directly to a wood enclosure without thermal management. Vintage tube or transistor designs demand heat sinks, fan considerations, and compromise your layout. Class-D boards from reputable manufacturers like Infineon or TPA chipsets deliver flat frequency response across 20Hz-20kHz. You’re not sacrificing fidelity. You’re eliminating the engineering debt vintage amps carry. Select a Class-D module with input sensitivity adjustable to line-level or preamp-level, then stop second-guessing the choice.
Battery Capacity Beats Nostalgia Every Time
Nobody wants to swap AA batteries after ninety minutes. That’s not authenticity, that’s poor engineering disguised as retro charm. Energy density matters here: modern lithium-ion cells store 3-5 times the energy per unit weight compared to alkaline batteries from the 1980s. A single 18650 cell holds roughly 3000-3500 mAh. Four of them wired correctly deliver 12V at 3500 mAh, powering a 25-watt Class-D amp for 4-6 hours minimum. That’s a functional device, not a novelty.
The hidden trade-off isn’t batteries versus style. It’s portability versus practicality. A wooden boombox with six D-cell holders weighs 15+ pounds and dies fast. A compact lithium setup weighs 5 pounds and runs all day. Use a dedicated 4-cell 18650 carrier with integrated charging protection. Buy cells from Panasonic, Samsung, or LG only. Cheap knockoffs fail catastrophically. This becomes your non-negotiable decision point: commit to lithium architecture now, design your enclosure around it, and move forward.
The “Plug And Play” Fallacy: Integrating Smart Tech Seamlessly

Why Bluetooth Actually Fails On Your Terms
You want to drop a module in, hit power, and have it work like the ads promised. It won’t. Bluetooth 5.0 pairing fails on boomboxes because the protocol assumes a phone-to-headphones relationship, not a speaker broadcasting to multiple devices in an outdoor or high-RF environment. The real mechanism: Bluetooth uses adaptive frequency hopping across 2.4GHz, but old wood enclosures and metal grilles scatter that signal unpredictably, forcing your module into constant re-negotiation with the host device.

The pairing itself isn’t the bottleneck. The bottleneck is range stability after pairing. Most Bluetooth 5.0 modules ship with default transmit power set to 0dBm. A boombox needs sustained connection across 30+ feet in real conditions. You either increase transmit power to 8dBm in firmware, or you accept dropouts. Most builders skip this and blame the module. The fix sits in the configuration registers you never read.
Voice Commands Need A Cold Chain, Not Just An API
People think voice assistant integration means bolting in an Alexa module and routing commands through the cloud. That’s the trap. Voice assistants require three things in sequence: wake-word detection running locally on the device, audio streaming to the cloud service, and result parsing back to your audio output. Break one link, and the whole system stalls. Most DIY boomboxes fail because builders connect the wake-word module to internet-dependent APIs without fallback architecture.
The real play is this: use a local wake-word engine like Porcupine or PicovoiceHotwordDetector on a Raspberry Pi Zero, which runs without internet, then route verified voice data to your API of choice. Your boombox then has latency under 200 milliseconds and still works offline. You’ll need to handle audio preprocessing before sending to the cloud service, which means buffering chunks and managing sample rates. That’s the protocol nobody mentions because it requires actual engineering work.
The “Quick Build” Myth: The Law Of Diminishing Returns In DIY Boom Box Cardboard
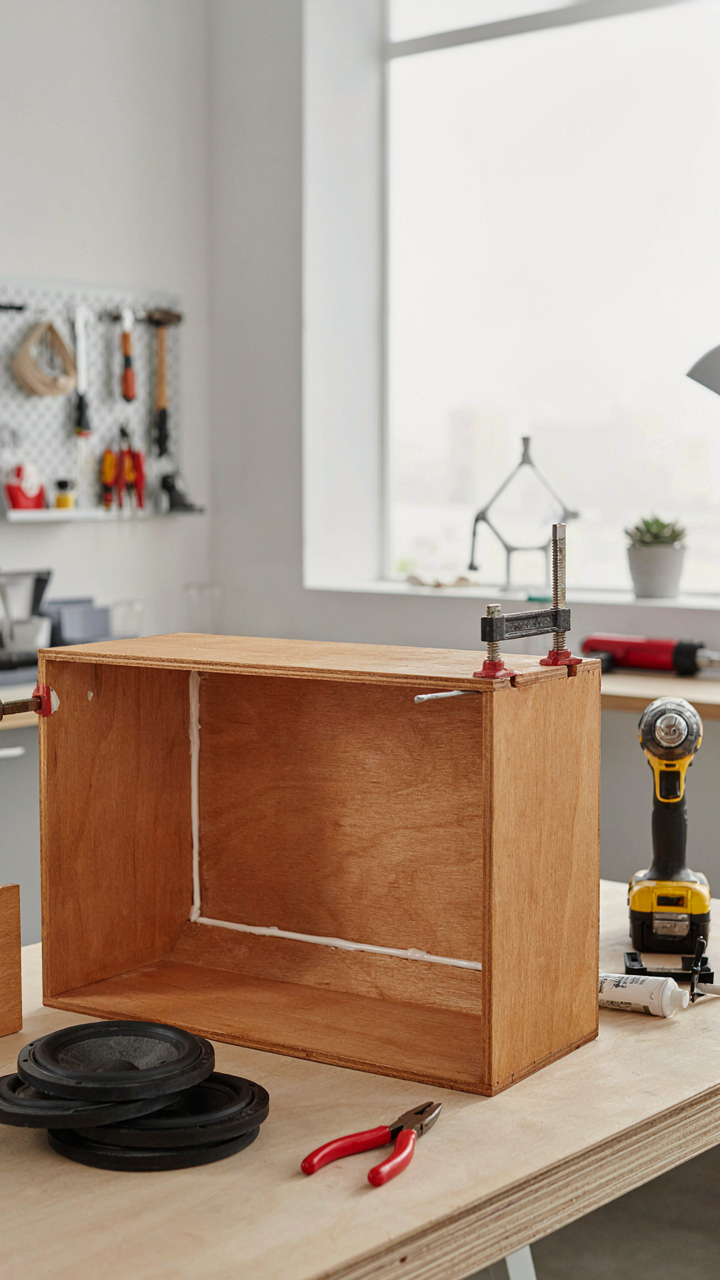
Time Investment Versus Sound Quality Output
You want to believe you can skip steps and still get a finished product worth showing people. The mechanism is simple: audio quality compounds with labor, but not linearly. Spend five hours on cabinet bracing and driver mounting, and you get sixty percent of the sonic ceiling. The final forty percent demands three times that effort. Most builders quit at the five-hour mark, confused why their box sounds thin.

Economics calls this diminishing returns. You add input and output keeps climbing, but the curve flattens. A sealed enclosure with no bracing costs you eight hours. Add internal cross-bracing every six inches and you lose two more hours but gain real bass control and cabinet resonance reduction. Skip it, and you’ve wasted the entire project because the box becomes a resonator instead of a speaker container.
Where The Work Actually Lives
Everyone says finish your boom box in a weekend. That’s incomplete and dishonest. The real time sink happens in three places: cabinet construction, driver integration, and acoustic tuning. Cabinet construction means cutting, joining, and sealing without gaps that kill bass response. Driver integration means mounting woofers and tweeters so they’re mechanically isolated from cabinet movement. Acoustic tuning means testing, measuring with real music, and adjusting crossover settings or internal damping.
Skip acoustic tuning and you own a box that plays loud but lacks definition. The 80/20 framework from project management tells you this: eighty percent of your final sound quality comes from twenty percent of your tasks. That twenty percent is always the tedious stuff. It’s sealing every seam with caulk. It’s measuring driver response curves before final mounting. It’s running the same song through five times to catch phase issues. Spend the extra six hours here or accept mediocre output.
The “Aesthetic First” Trap: Form Follows Function (The Pareto Boombox Method)

Minimal Design Principles For Durability
You want your boombox to look period-correct because you’re afraid a utilitarian box won’t justify the build time and money you’ll spend. That’s the real motive here. The mechanism underneath is this: every design choice that doesn’t serve audio performance or structural integrity becomes a failure point. Industrial design teaches us the concept of “constraint as clarity.” In boombox building, constraint means: remove everything that doesn’t protect the speaker, amplifier, or power delivery. A recessed handle that looks clean? It collects debris and stresses the enclosure. A curved faceplate that photographs well? It diffuses internal bracing and creates acoustic reflections you can’t predict. The boombox that lasts is the one where every line on the exterior maps directly to something structural underneath.

The 1980s boom boxes that survived didn’t win because of their paint jobs. They survived because manufacturers like Panasonic and Sanyo built heavy plastic housings with reinforced corners, flat internal walls for bracing, and simple cable routing. Copy that logic. A flat top lets you run power cables without kinks. Straight sides let you add internal bracing without fighting compound angles. Symmetrical control placement mirrors internal component layout instead of fighting it. Every aesthetic choice should have a structural or functional answer. If you can’t name why a design element exists beyond “it looks cool,” it’s weight and failure waiting to happen.
Control Placement And Ergonomic Logic
Bad advice tells you to arrange controls like the classic boom boxes did, as if nostalgia is structural engineering. It isn’t. The real principle: controls should cluster by function and sit where your hands naturally reach during operation. A person holding a boombox grips the handle with their dominant hand and needs volume and power within thumb reach of that grip. Tape eject, bass boost, and treble should sit lower, accessed with the free hand when you set the box down. This isn’t intuition. It’s ergonomics, the study of human-machine interaction, and it reveals why many vintage boxes were actually awkward to use once you owned them instead of just admiring them in photos.
Place the power switch on the back or side, not the front. You power on once, not repeatedly. Place volume control at thumb height on the grip side. Place input selection and EQ controls at chest height when the box rests on a surface. This layout reduces arm fatigue and prevents accidental adjustments while carrying. The secondary benefit: controls positioned this way naturally space themselves far enough apart that your fingers won’t trigger multiple switches at once. Stack controls by frequency of use, not by how they appear in advertisements. That spatial logic determines whether someone actually uses your boombox or leaves it on a shelf.
The “Copycat” Conundrum: Engineering A Unique Diy Retro Boombox Project

Why Every Builder Copies The Same Designs
You’re afraid your boombox will look like everyone else’s. That’s not actually your problem. In evolutionary biology, convergent evolution explains why unrelated species develop identical traits when solving the same environmental pressure. Your boombox design converges with others because you’re all solving identical physics: you need a box to hold speakers, amplification, and a power source. The shape repeats because the constraints are real, not because you lack originality.

Stop blaming yourself for landing on familiar proportions. The real mechanism at work is material availability and acoustic principles, not creative failure. A wooden enclosure with parallel walls and front-facing drivers works because it works. You’re not copying bad builders. You’re independently arriving at what physics demands. Accept this, and you unlock what actually differentiates builds: component selection and internal layout, not external silhouette.
Strategic Component Choices Beat Aesthetic Choices
Game theory teaches us that in competitive environments, payoff matrices shift based on what others choose. Apply this to your boombox: every builder grabs the same chip amplifiers and Bluetooth modules because the risk is lowest. Everyone buys the PAM8610 or similar because it’s cheap, available, and proven. But this creates the real convergence. Your competitive advantage isn’t the enclosure. It’s selecting components that others skip because they’re harder to source or integrate.
Choose amplifier chipsets based on your power budget and impedance requirements, not on forum popularity. If you want 20 watts RMS clean output into 4-ohm drivers, the PAM8610 works. If you want different sonic character or efficiency, source something else. Your Bluetooth codec choice matters more than your wood stain. LDAC, aptX, or basic SBC changes what gets transmitted. Most builders never even think about this. Here’s the protocol: define your acoustic goal first, then reverse-engineer components that achieve it, not the other way around.
The “Cheap Parts” Lie: Investing In Longevity
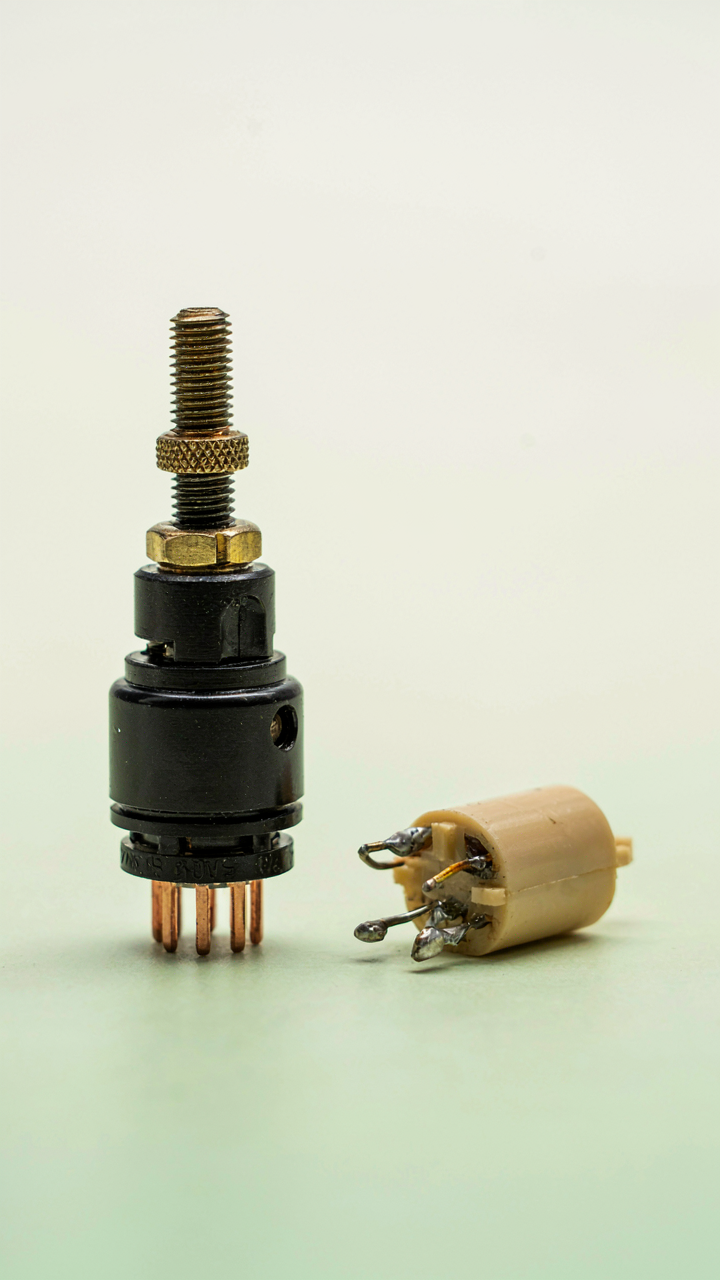
Component Failure Rates: Avoiding False Economy
You want to believe a fifty-dollar amplifier chip works the same as a one-hundred-fifty-dollar one because admitting otherwise means you miscalculated your budget. It doesn’t. Reliability follows an exponential decay curve: cheap components fail early, predictably, and often catastrophically. A ten-dollar potentiometer from unknown inventory fails within months. A quality potentiometer rated for ten-thousand cycles lasts years. The difference isn’t marketing spin—it’s materials science and manufacturing tolerance. Cheap parts cut corners on temperature stability, solder joint quality, and component binning.

The mechanism is simple: manufacturers sort components by performance tier. Rejects and marginal units flood the discount channels. You’re not saving money—you’re buying other people’s failures on installment. A boombox running daily encounters thermal stress, vibration from bass, and power cycling. These conditions accelerate wear on already-compromised parts. One failed speaker driver or amplifier stage kills your entire build. Rebuilding costs more than sourcing quality components upfront. Budget for reliability now or budget for replacement parts later.
Sourcing Reliable Suppliers, Not EBay Gambles
The common advice says “shop around and compare prices.” That’s incomplete. Real sourcing means tracing a component backward to its origin and verifying the supply chain hasn’t been compromised. Most eBay sellers resell untested bulk lots or pulls from dead equipment. Mouser and Digi-Key maintain actual inventory verification and batch testing. You pay more upfront, but you skip the Russian roulette of receiving a capacitor that leaked in someone’s storage unit three years ago.
- Mouser Electronics: Maintains strict stock rotation, batch traceability, and technical datasheets for every component. Prices reflect verified authenticity and storage conditions.
- Digi-Key: Same rigor as Mouser with domestic US fulfillment. Minimizes lead time and reduces exposure to international counterfeits common in gray market channels.
- Jameco Electronics: Older distributor with reputation in DIY circles. Lower overhead than Mouser but still maintains quality control standards.
- Adafruit and SparkFun: Premium pricing reflects component curation and technical accuracy. Useful for amplifier modules and pre-tested subassemblies where you want risk elimination.
- Local electronics repair shops: Paradoxically, old-school component dealers still stock NOS (New Old Stock) amplifier chips and transformers with verifiable history. Call first, verify before buying.
Build a spreadsheet: list every critical component, its failure mode, its cost from two sources, and its warranty. The supplier that honors returns on dead-on-arrival parts is the one you use. Don’t optimize for lowest price—optimize for cost per operational hour before first failure. That’s the only metric that matters on a daily-use device.
The “Completion” Fallacy: Your Boom Box Cardboard Is Never Done

Build In Layers, Not Endpoints
You want to hear “done” because finishing something feels like winning. The real mechanism is this: boomboxes built as one-shot projects fail because you can’t predict how components interact in a real enclosure until sound actually moves through it. Treat your build like software development treats shipping. Launch with working fundamentals, then iterate based on what the box teaches you.

Your first power-on reveals problems you couldn’t see in planning. Bass response might be boomy at certain frequencies. Tweeter placement might create dead zones. Cabinet resonance might color the midrange. None of this is wasted time. It’s data. The box isn’t broken—it’s communicating.
Test, Measure, Then Modify
Skip the advice about “getting it perfect before assembly.” That’s how you end up tearing everything apart three months in. Real diagnostics require the box closed, amplified, and playing music you know well.
Use a smartphone SPL meter app to map frequency response across the room. Play mono test tones at 100 Hz, 250 Hz, 1 kHz, 4 kHz. Note where peaks and dips appear. If bass bloats at 60 Hz, add a sealed port or dampen the enclosure floor. If treble sounds harsh, angle tweeters down five degrees or swap them for a lower-sensitivity driver. Amplifier gain, speaker placement, and cabinet tuning are all independent variables. Changing one reveals what the others need. Document every tweak with dates and audio samples. Your second build will be 40% faster because you have precedent, not guesswork.
The Only Real Obstacle To Your Dream Boombox Is Your Willingness To Confront Your Own Mediocrity

Most people won’t build a boombox because they’ve already decided it’s too hard. They’ll scroll past this article and forget it by tomorrow. You know what separates you from them? Stop researching and buy the parts today. Open your laptop right now. Add a Bluetooth amplifier board, a speaker driver, and a case to your cart. The difference between a builder and a dreamer is one stupid purchase decision. Don’t let yourself become the person who talks about building something instead of the person who actually does it.



