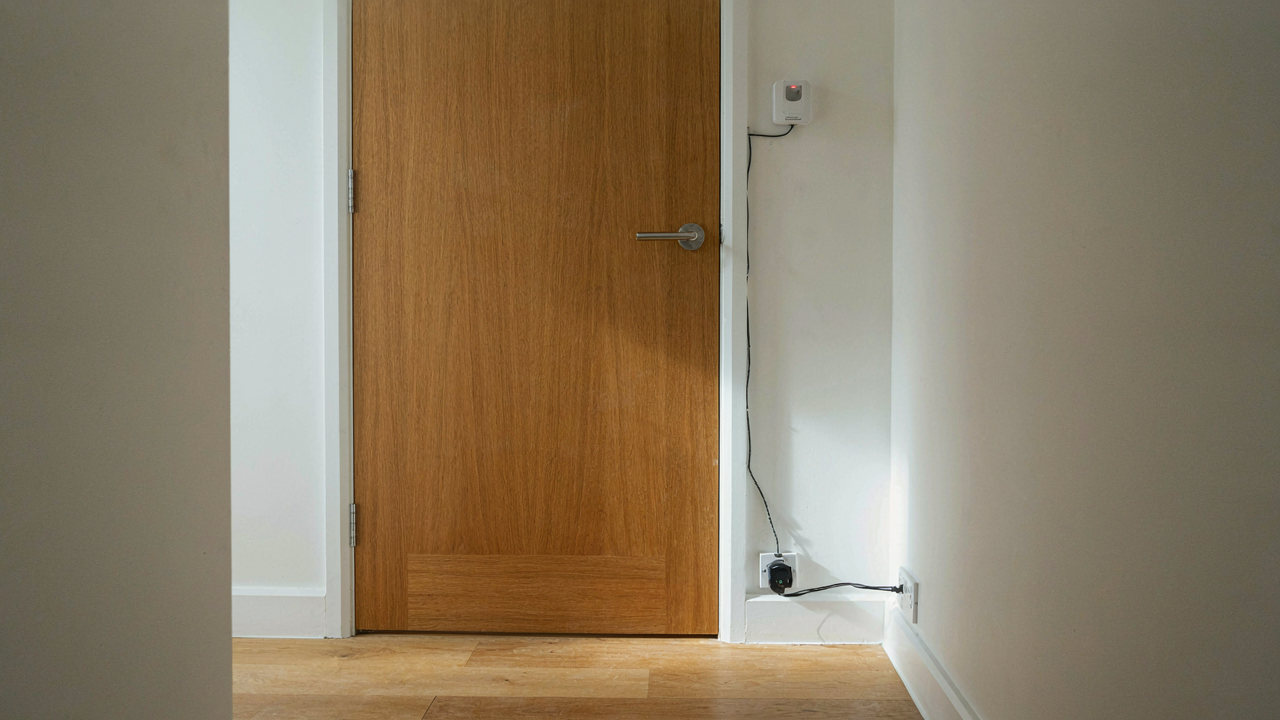
The Illusion Of Complex Security: Why DIY Trumps Retail

What Retail Alarms Actually Cost You
You want the peace of mind that comes from looking like you have your security handled. That’s the real reason you’re considering an alarm system. Retail security companies exploit this by bundling features you’ll never use into packages that cost three to five times what the actual protection is worth. Their model depends on you believing complexity equals safety. It doesn’t.
A monitored alarm system charges monthly fees that accumulate into thousands of dollars over a decade, yet a hardwired door sensor costs less than fifteen dollars and requires zero subscription. The profit motive is embedded into every layer: expensive installation, proprietary parts that only their technicians can service, and recurring fees that train you to accept ongoing costs as normal. The mechanism is simple: make the entry price seem reasonable while burying the total cost of ownership. DIY sidesteps this entirely because you own the hardware outright.
The Actual Circuit That Works
In electrical design, we call this threshold logic: a circuit triggers an output only when a specific condition is met. A DIY door alarm operates on the same principle. A magnetic reed switch mounted on the door frame stays closed when the door is shut. The moment the door opens, the magnet separates from the switch, breaking the circuit and completing a second circuit that powers a buzzer or alarm module.
The essential components are a normally closed reed switch, a small battery (9V works fine), a buzzer or piezo alarm module rated for your voltage, and wire. You connect them in series so that opening the door breaks the primary circuit and triggers power to flow through the alarm. This takes fifteen minutes to assemble and costs under thirty dollars total. The circuit requires no programming, no app, no cloud connection. It simply responds to the physical reality of your door opening. Mount it on any door in under an hour.
Deconstructing The Threat: What A DIY Door Alarm Actually Protects Against

Beyond Break Ins: Identifying Subtle Entry Points
You want a door alarm because the idea of someone entering your space uninvited terrifies you, and you’d rather not admit that. So you focus on “security.” The real mechanism at work is detection latency. A break-in happens in seconds. Your alarm collapses that timeline from “I didn’t know” to “I know now.” Most people miss the actual vulnerabilities because they fixate on forced entry, which is rare. The common entry points are different.

Doors fail through neglect, not just kicks. A door frame pulls away from drywall under repeated stress. Hinges loosen over months. Locks wear. Weather strips deteriorate and create gaps. A DIY door alarm detects movement, which means it catches the slow infiltration nobody notices until it’s already happened. You’re not building security theater. You’re building a notification system for what’s already compromised.
Psychological Deterrent: Visibility As A First Line
Visibility operates on the same principle as security cameras in parking lots: the threat model shifts the moment a barrier appears. Breaking into a space with a visible alarm requires conscious choice, not opportunity. The burglar sees the sensor, the wires, the control box, and recalculates risk versus return. This isn’t theory. It’s economics applied to crime.
The visibility works because it raises cost perception. A DIY door alarm with exposed wiring and a cheap battery-powered box signals “someone installed this themselves, so someone cares enough to notice.” Professional installations trigger more respect than no system at all. Mount your sensor where it’s obvious from outside. Run the wires visibly along the frame. The deterrent only functions if your target sees it before committing to entry.
The Minimalist Method: How To Make A Simple Door Alarm With Less
What You Actually Need To Buy
You want to feel like you built something without spending money like you’re buying a security system. Here’s the truth: most door alarm projects fail because people add components they don’t understand, and components you don’t understand become failure points. The mechanism is simple. A sensor detects motion or opening. A circuit completes. A sound plays. Everything else is noise.
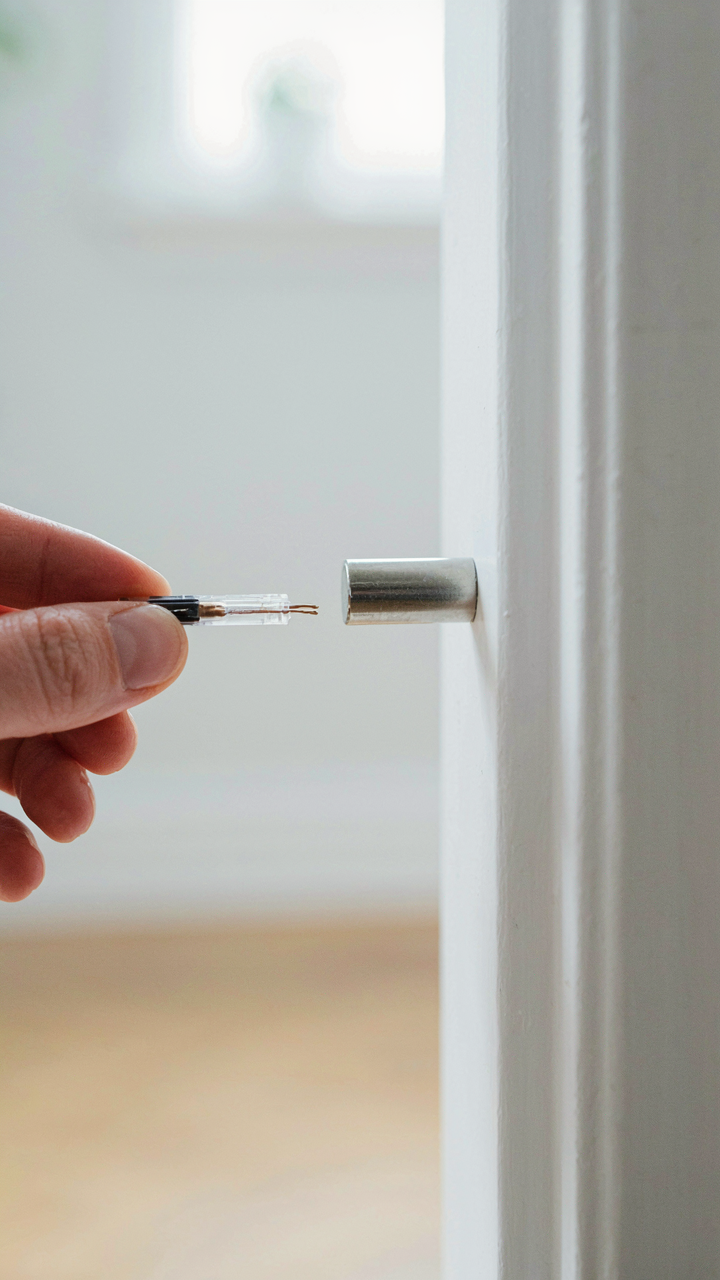
- Magnetic reed switch: Detects when a door or window opens by breaking magnetic contact. Costs under two dollars and works mechanically with zero software involved.
- 9-volt battery: Powers the entire circuit. One battery runs a basic alarm for weeks because the current draw is minimal when the alarm stays inactive.
- Piezo buzzer: Produces sound at high decibels without amplification. Buy the active type so you skip building an amplifier stage entirely.
- Resistors and a 555 timer IC: The 555 creates the pulse that drives the buzzer. Two resistors set the frequency. Total cost under five dollars for all components.
- Wire and solder: Connects everything. Solid core wire works fine for stationary builds. Solder joints are permanent unlike breadboards which fail when vibration loosens connections.

Every other component you see in online tutorials exists to solve problems you don’t have yet. Bluetooth modules, microcontrollers, relay circuits, multiple sensors—they’re feature creep disguised as sophistication. Strip them. Your alarm needs to detect opening, trigger sound, and keep running. That’s the specification. Build to the specification.
Deploy Sensors Where They Actually Matter
Military strategy teaches the concept of force concentration: put your resources where they create the most friction for an intruder. A door alarm is no different. One well-placed sensor stops more breaches than three poorly positioned ones because the attacker’s path becomes the decisive point, not random coverage.
Most people mount sensors randomly and wonder why their alarm misses openings. The real answer: the sensor placement determines whether an attacker even triggers it. Mount the reed switch on the door frame, aligned with the magnet on the door itself. The gap between them matters. Anything over half an inch breaks the magnetic field and triggers the alarm. Test the distance before final assembly. If the door opens partially or fully, the magnet separates from the switch, the circuit breaks, the buzzer fires. That’s the protocol. One sensor. One path. One outcome.
The Unignorable Alert: How To Make A Door Alarm Circuit That Works

Making Noise That Actually Works
You want people to hear it because you need them to react, not because sound is inherently interesting. Acoustics borrowed from speaker design tells us that frequency and decibels work together, not separately. A siren at 85 decibels at 2-4 kHz penetrates walls and cuts through ambient noise better than a higher pitch. Most people build circuits that are too quiet because they underestimate how much sound a tiny piezo buzzer actually loses in a room.

The real lever is matching output to your circuit’s power budget. A 9-volt battery driving a piezo buzzer maxes out around 85-90 decibels. A 12-volt supply with a small speaker pushes 95-100 decibels. Don’t confuse loudness with effectiveness. Choose 2-4 kHz as your frequency range, verify your component’s decibel rating on the datasheet, and test in your actual space before finalizing the build.
Battery Backup Prevents Dead Alarms
Power reliability means your alarm works when the main power fails, not that it works forever. Most DIY circuits fail here because builders ignore standby drain. A backup battery supplies current only when primary power drops, triggered by a relay or diode setup. Without this logic, your backup dies pointlessly while the main circuit runs.
Use a 9-volt backup battery with a blocking diode on your primary power line. When wall power is present, the diode prevents the battery from draining through the main circuit. If AC fails, the battery takes over instantly through the diode’s reverse path. Test this failover by unplugging your main power and confirming the alarm sounds within one second.
Beyond The Door: How To Make A Door Open Alarm For Windows & More
Windows Need The Same Treatment As Doors
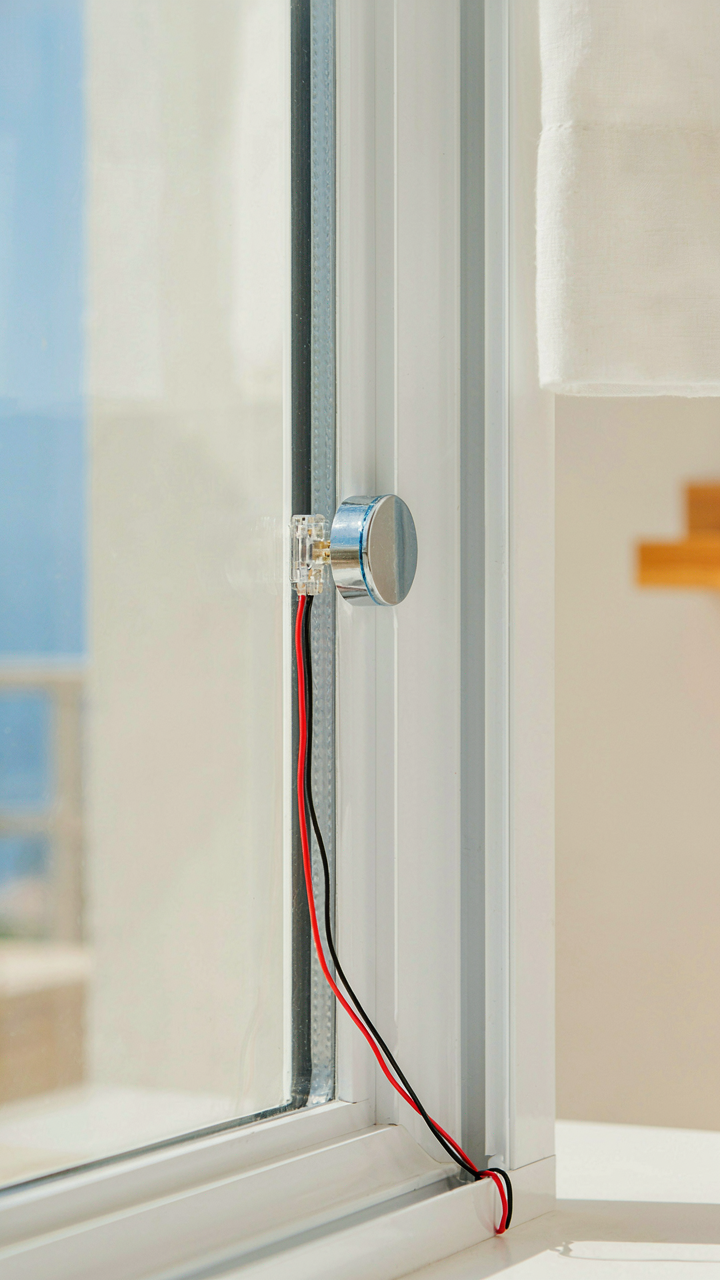
You want to feel like you’ve covered all your bases, but what you’re really avoiding is naming the weak point in your perimeter. Every entry point functions identically from a security standpoint: it’s an opening where contact can break, triggering your alarm. Windows operate on the same mechanism as doors. Install the same sensor setup on sliding windows, basement windows, and garage entries. The reed switch doesn’t care whether it’s monitoring wood or aluminum. Place the magnet on the moving frame, the sensor on the fixed frame, run the same two wires back to your alarm unit.

Most people treat windows as secondary, which is why they remain the easiest target. Your alarm’s range and response don’t change across different entry points. A two-part magnetic sensor costs the same whether it guards a bedroom window or a back door. Wire multiple window sensors into the same alarm circuit in parallel, meaning each sensor operates independently but triggers the same alert. This approach scales without complexity. You’ve now transformed a single-door alarm into a full perimeter defense with minimal additional parts.
Linking Multiple Units Into One Network
Network design borrowed from telecommunications teaches us something crucial: distributed systems beat single points of failure. Each alarm unit functions independently, but you can chain them so one triggered sensor alerts multiple units simultaneously. The mechanism is straightforward: run low-voltage wires between alarm units so that any sensor activation sends a signal through the entire chain.
Use the relay function on each alarm unit to achieve this. When one unit’s sensor opens, its relay closes, which completes a circuit that triggers the next unit in the sequence. This method works with basic alarm kits and doesn’t require wireless technology or programming. You control the sequence by physically routing the wires. Test the chain by opening each protected entry point and confirming every unit sounds. This protocol ensures coverage where a single failed alarm unit won’t leave your perimeter blind.
The Easy Door Alarm DIY: Common Pitfalls And How To Avoid Them

When False Alarms Become Your System’s Worst Enemy
You want the alarm to work when it matters, not every time wind hits your door. The real problem is that most DIY builders set sensitivity too high because they’re afraid the alarm won’t trigger at all. This kills the system’s credibility and trains you to ignore it. Sensitivity calibration is a control problem from engineering: you need the signal-to-noise ratio right, which means distinguishing actual door movement from environmental noise.

Start by testing your sensor in its actual mounting location before finalizing placement. A reed switch mounted near a vibrating window will false alarm constantly. Move it away from vibration sources. An accelerometer-based trigger needs threshold values tested across different door weights and closing speeds. Run fifty test cycles at the threshold you’ve set, recording false triggers. If you hit more than two false alarms in fifty cycles, lower the sensitivity or move the sensor. This is not negotiation: the system only works if you trust it enough to act on it.
Keeping Components Alive In The Real World
Weather destroys most DIY alarms because people treat indoor wiring standards as outdoor standards and get surprised when humidity eats the circuit. The mechanism is simple: water conducts electricity and corrodes solder joints. Your battery contacts oxidize. Your sensor fails. You need material protection, not hope. Enclosure selection matters more than circuit design for outdoor or high-humidity doors.
Use a sealed plastic or metal enclosure rated for outdoor use, not a breadboard or exposed perfboard. Apply silicone conformal coating to solder joints before assembly, or use a clear epoxy resin to pot the entire circuit board. For the sensor itself, keep the reed switch in a dry tube and seal the magnet mounting with waterproof silicone. Battery terminals corrode fastest: use gold-plated contacts or solder direct connections rather than relying on spring contacts in high-moisture environments. Test your enclosure’s seal by running it in a bathroom with the door closed for two weeks. If condensation appears inside, your seal failed and you rebuild before field deployment.
Your Personal Security Blueprint: How To Make A Door Alarm System Tailored

Matching Your Layout To Your Actual Threats
You want this system to feel custom because you think it proves you’re serious about security. Here’s what actually matters: your door alarm only works if it sits where intruders actually enter. Most people install sensors on front doors and skip side entries, garage doors, or windows that open onto decks. The mechanism is simple. Intruders take the path of least resistance. Your alarm blocks the obvious route, so they use the one you ignored.

Map your home’s entry points by asking one question per room: could someone unlock this from outside without a key? Window wells, sliding glass doors, basement hatches, and secondary exits matter more than your main entry. Don’t install sensors based on what looks balanced or symmetrical. Install them based on actual vulnerability. A garage-side door gets broken into far more often than homeowners expect because it sits out of sight and people treat it like a secondary concern.
Expandable Design Without Replacing Everything
The modular principle comes from electrical engineering: each component should work independently so you can swap or add without redesigning the whole circuit. Most people build a door alarm that dies the moment they want to add a window sensor or move the control panel. They wire everything directly together, creating one rigid system. That’s a failure of planning, not technology.
Use a central hub approach where each sensor communicates through the same protocol rather than running hard-wired circuits everywhere. Wireless sensors operating on a standard frequency let you add a second door, a garage entry, or a motion detector without touching your original installation. Keep your power supply sized to handle double your current load from day one. When you want to expand, you add sensors, not infrastructure. This costs more upfront but saves you from complete reinstallation when your needs actually change.
The Freedom Of Self Reliance: Why DIY Security Is The Ultimate Advantage

Taking Control Of Your Defense
You want this because paying monthly monitoring fees feels like admitting you can’t handle your own safety. The real mechanism is simple: a DIY door alarm removes the middleman between threat and response. You own the detection, the alert, and the decision. No company algorithm decides if your alarm matters. No call center delays your information. When you wire a magnetic contact sensor to a buzzer or microcontroller, you create a direct line from entry to awareness. That’s not paranoia. That’s sovereignty.

Building your own alarm forces you to understand your entry points. You map which doors actually matter. You decide what sound level works. You control when it arms and disarms. Most people never think through these details because they outsource the thinking. A DIY approach eliminates that passive dependency. You stop waiting for a company to protect you and start protecting yourself. The system only works if you build it, test it, and maintain it yourself.
Paying For Security Without The Markup
The common advice says DIY saves money. That’s incomplete. A commercial monitored system charges installation fees, equipment fees, and monthly service charges that compound over years. A DIY door alarm costs between fifteen and seventy dollars depending on sophistication. You buy a door sensor, a relay module or microcontroller, a buzzer or speaker, and wiring. That covers the hardware. No subscription. No contract. No price increase in year three.
The economics work in one direction: every month you don’t pay a monitoring company, you’ve already recouped your DIY investment. After six months, the savings compound into money you never spend. A commercial system with monitoring runs one hundred fifty to three hundred dollars monthly. A DIY door alarm costs nothing to operate after the initial build. Scale that across multiple doors and the gap widens further. You’ve removed recurring revenue from your budget and replaced it with owned infrastructure.
The Real Obstacle Isn’t The Alarm; It’s Your Willingness To Remain A Passive Consumer Of Security
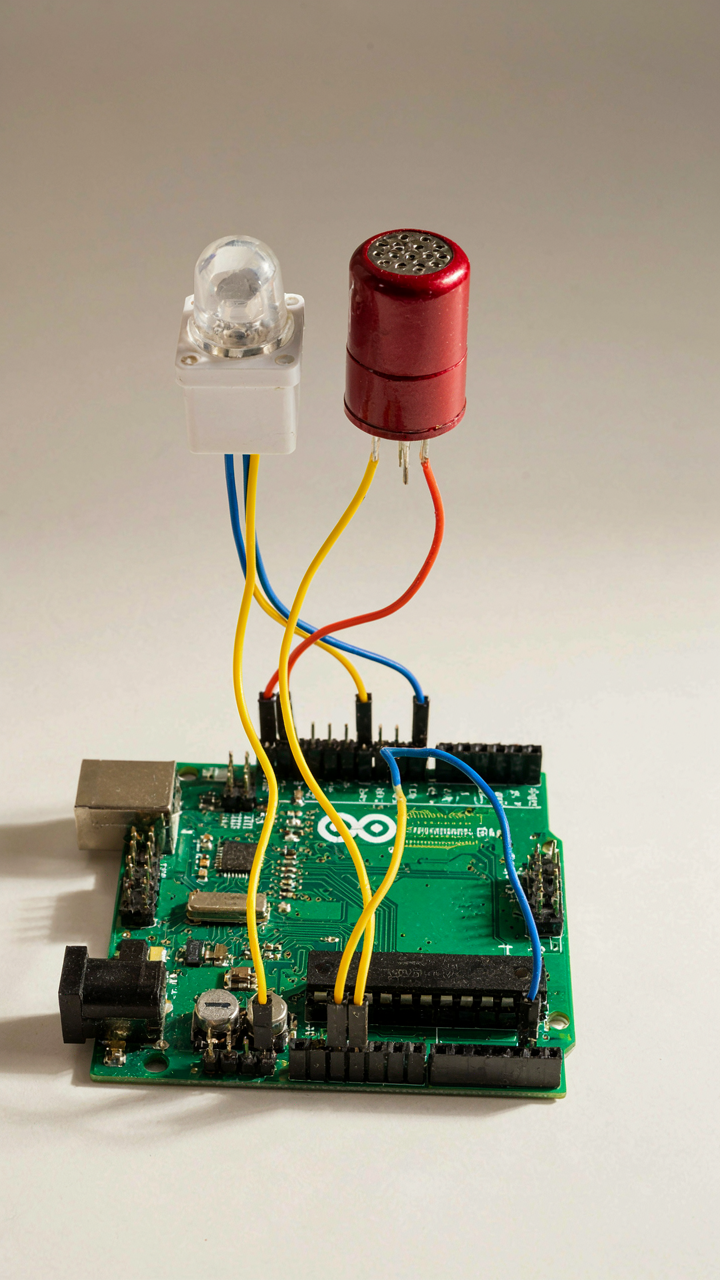
Most people won’t build a diy door alarm because they’ve outsourced their security brain to corporations. You’re waiting for permission, waiting for the “perfect” product, waiting for someone else to solve your problem. Building this alarm forces you to own your space. You stop being a victim of whatever Ring or SimpliSafe decides to charge you. Grab a motion sensor, a buzzer, and an Arduino today. Stop waiting. Your door doesn’t care about your excuses.




