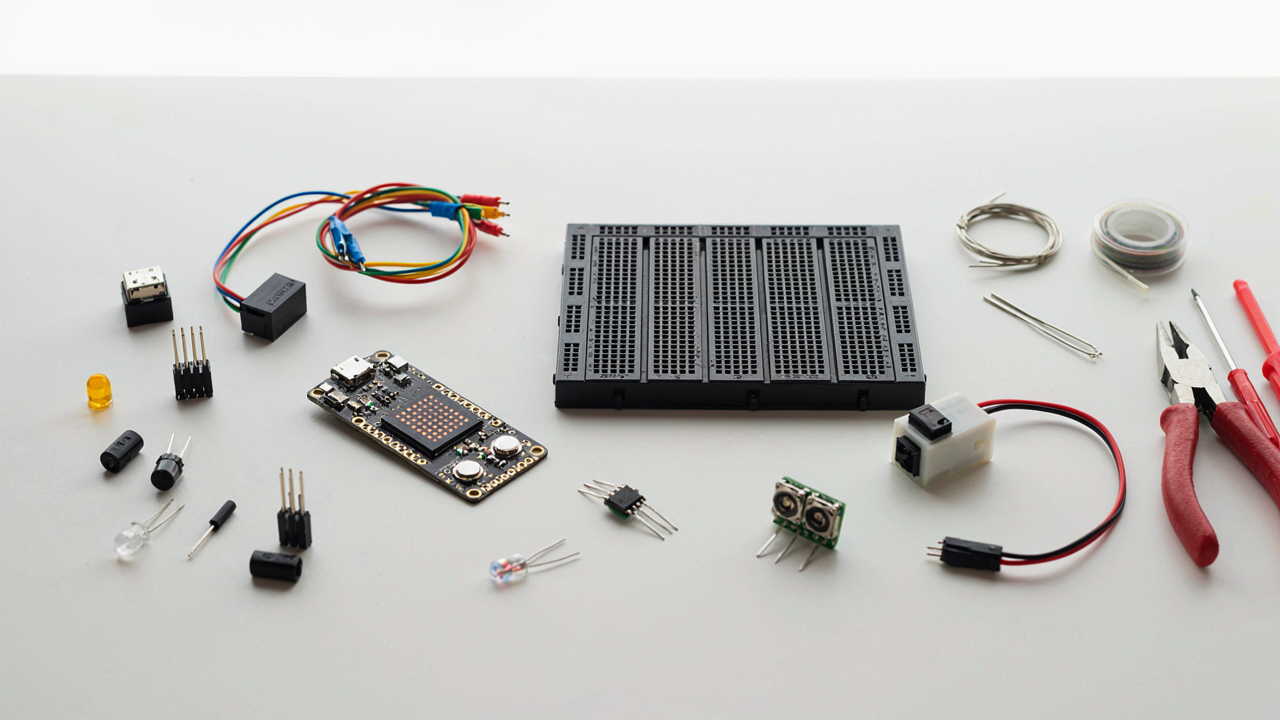
The Unseen Value Of Micro:bit Electronics Project: Beyond The Tutorial
What Your Sensor Actually Knows
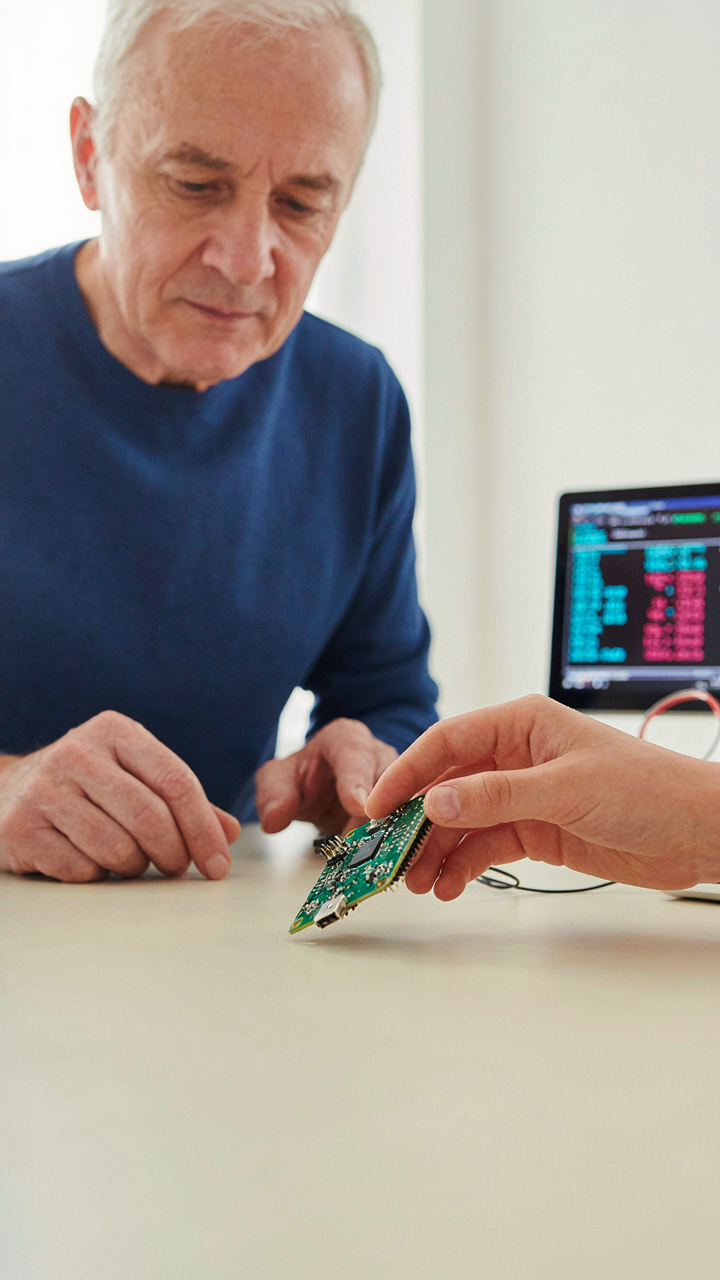
You want to think your kid is learning to code, but what you’re really after is proof they can build something real. Here’s the mechanism nobody states: sensors don’t just measure what’s in front of them. They measure state change. The micro:bit’s accelerometer doesn’t record “tilt.” It records acceleration vectors across three axes. That data tells you direction, speed, impact force, and rhythm. Most tutorials waste this by turning it into a basic tilt game. The real move is training kids to ask what question the sensor can answer that isn’t obvious.
When a motion sensor fires, you have raw numbers. A kid sees “tilt left” and stops thinking. An actual builder asks: can I detect a fall versus a jump? Can I measure consistency in how someone throws? Can I track whether someone’s walking or running by cadence alone? The micro:bit’s light sensor outputs 0 to 255. Tutorials use it for day-night detection. Real application: measuring the speed of an object passing in front of it by tracking how fast the light value changes. Start teaching kids to read the sensor data stream itself, not the simplified story tutorials tell about it.
Stacking Simple Outputs Into Compound Effects
The common advice is wrong here. Tutorials tell you to code one input, get one output. Press button, light LED. That’s not how systems work in the actual world. In control systems theory, a compound output is when multiple actuators respond to a single input based on conditional logic. The micro:bit’s LED matrix, speaker, and radio aren’t separate toys. They’re actuators you can chain together based on sensor input priority.
Stack outputs like this: if accelerometer detects a shake above threshold, play a sound AND flash the LEDs AND broadcast a signal to another micro:bit simultaneously. A kid who builds this understands state management. They learn that one real-world event often triggers multiple simultaneous responses. This is how alarm systems work. This is how game controllers create feedback. The protocol: define your input threshold, map it to a priority condition, assign all outputs to trigger on that condition simultaneously, then test latency. That’s not tutorial thinking. That’s design thinking.
Deconstructing “Fun”: The Game Design Matrix For Micro Bit Projects

Matching Mechanics To Hardware Reality
You want your kids to feel smart and in control, not frustrated by hardware limits. Here’s the mechanism: game design borrows from systems theory, which demands tight feedback loops between input and output. The Micro Bit’s five-button input (two side buttons plus tilt) and 25 LED grid output create a hard constraint. Don’t fight it. Map your game mechanics directly to what the board actually does well: directional movement, collision detection, score tracking via LED brightness, and state changes triggered by button presses.

Most advice tells kids to “dream big” then adapt later. That’s backwards. Start by listing what the Micro Bit executes without lag: GPIO responses, light sensing, accelerometer data, and simple math-based collision logic. Build games around these primitives instead of cramming a console game into five buttons. A snake game works because up-down-left-right movement matches button layout. A reaction-time game works because the accelerometer detects instant motion. A light-chase game works because you can read the light sensor and control LEDs in real time. The constraint isn’t a limit—it’s the design specification.
Rapid Cycles Beat Perfect Planning
Iteration speed is what separates games that stay boring from games kids actually replay. Game design uses prototyping loops to expose what works versus what’s just theory. Code a core loop in two minutes: buttons move a sprite, collision triggers a sound or LED flash, score updates. Test it immediately. Does the response feel snappy or laggy? Are the buttons too sensitive? Is winning too easy? Change one variable and test again. This cycle takes hours, not weeks.
The common mistake is writing fifty lines of code before testing. You get lost debugging instead of designing. Instead, build the smallest playable version first. A single LED dot controlled by tilt. Button presses that change colors. A score that increments. Add complexity only after the basic loop feels responsive. Use Python on the Micro Bit because it compiles fast and errors are readable. Every iteration should take minutes, not days. Record what changed and how it shifted play. When you stop finding problems, you’re done iterating.
The Feedback Loop Fallacy: Engineering Microbit Project Ideas For Autonomy
When Systems Correct Themselves
You want your kid to build something that works without constant intervention because that proves they understand how things actually function. Here’s what nobody says plainly: cybernetics, the study of control systems in machines and organisms, teaches us that self-correction happens only when the system receives real information about what went wrong. A microbit project needs sensors that feed data back to the logic, not just output that disappears.

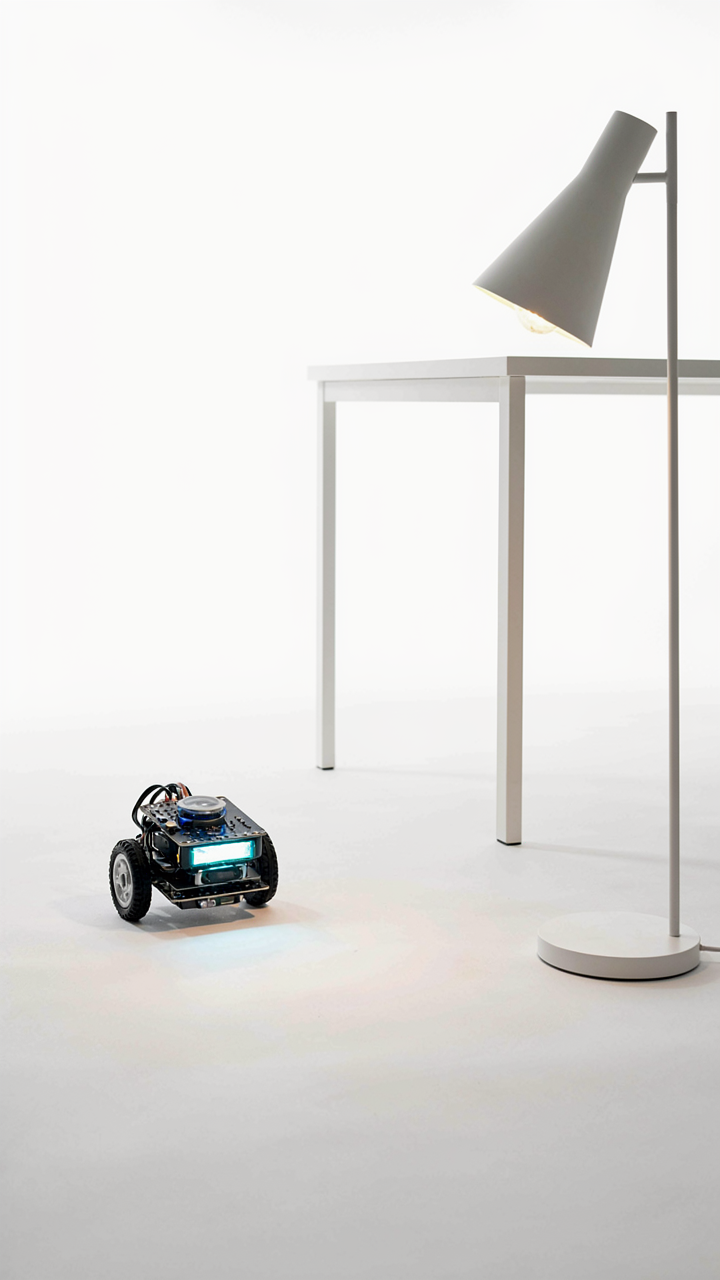
Most microbit projects treat feedback as decoration. The light flashes, the motor spins, the game ends. Real self-correcting systems work differently. Build a microbit that reads its own environment, compares it to a target state, and adjusts its behavior. A light-tracking robot uses a light sensor to detect where the brightest area is, then turns the motor until it faces that direction. The feedback loop closes: sense, compare, act, repeat. That mechanism is what separates a toy from a tool.
Projects That Adapt To What The User Actually Does
Static games bore fast because they never change based on player choice. Build projects where user input doesn’t just trigger a response but changes how the system behaves next time. This separates projects that kids abandon from ones they return to because the behavior feels alive.
A simple dice game on microbit can track how many times a player has rolled it, then weight future rolls toward numbers they haven’t seen yet. The system evolves based on actual play history. Another approach: a button-press reaction game that adjusts difficulty in real time. If the player responds fast, the next flash comes sooner. If they miss, it slows. The microbit doesn’t follow a script; it responds to performance. This requires storing state between interactions and modifying thresholds based on what happened before. When a system changes its rules based on what you do, you stop treating it as a machine and start treating it as something that learned from you.
Micro:bit Robotics Tutorial: From Kit To Custom Creation
What Every Robot Kit Actually Contains
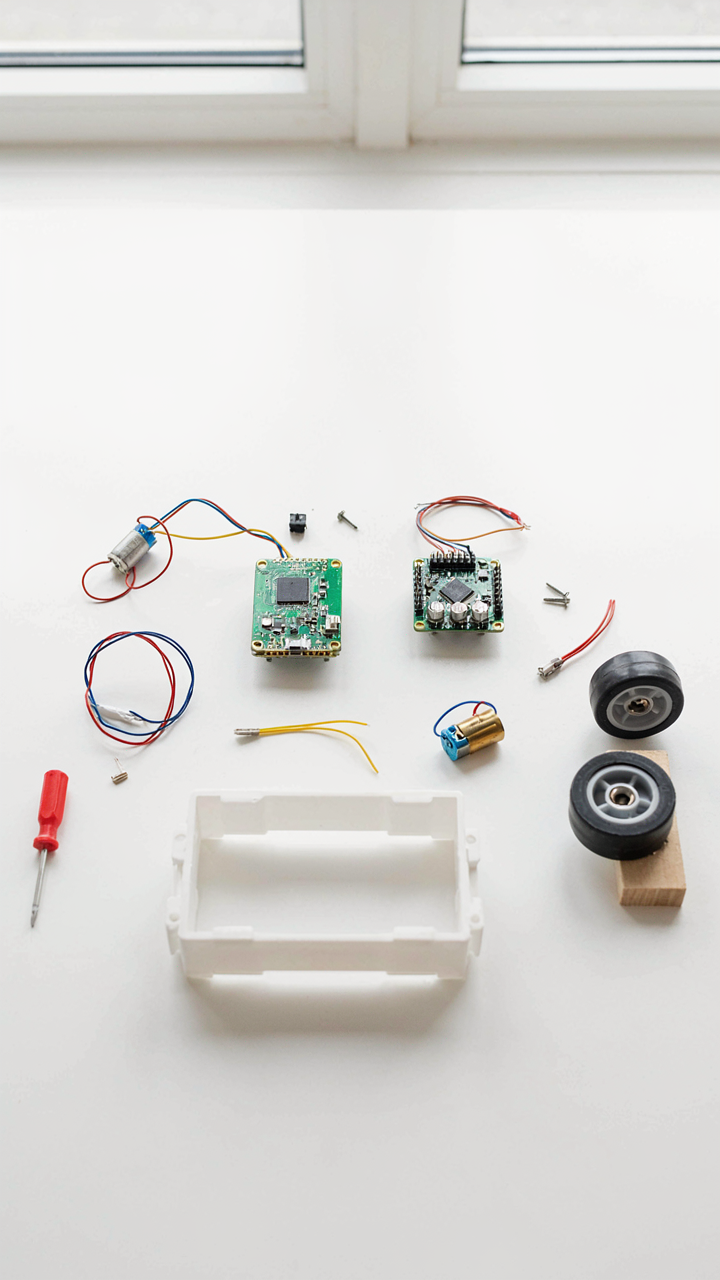
You want to build something that moves because it feels like you’re creating real technology, not because you understand what makes it work. Here’s the mechanism: every micro:bit robot kit ships with identical building blocks, and the companies intentionally obscure how few components actually matter. A motor driver handles voltage regulation between the micro:bit and motors. Motors convert electrical current into rotation. The chassis is just plastic. Wheels are just wheels. The micro:bit itself is the brain that decides when current flows.

Knowing this distinction changes everything. You stop treating the kit as a black box and start seeing it as a toolbox with five or six critical parts doing actual work. The rest is assembly material. Most kits include two DC motors, a motor driver module like the L298N or similar, a chassis frame, wheels, caster wheels for balance, batteries, and the micro:bit itself. The motor driver is the part most kids and parents never think about, yet it’s the single component that lets a micro:bit control anything with real power.
Swap And Stack Components For Different Missions
System thinking borrowed from engineering teaches you that inputs flow to processors, then outputs. The micro:bit is your processor. Motors are one type of output. Swapping the output is how you build bots that solve different problems. A line-following robot needs optical sensors as inputs. A grabber bot needs a servo motor instead of DC motors. A remote-controlled rover needs wireless communication through the micro:bit’s radio module, not physical obstacles.
The key move is this: keep the micro:bit and motor driver locked in place, then swap everything else. Build a gripper by replacing wheels with a servo-controlled claw. Build a light-tracking bot by adding light sensors to the front. Build a sumo-style robot by keeping the heavy frame but adding obstacle detection. Each version uses the same micro:bit and same programming logic. You’re not learning robotics eight times. You’re learning one architecture and reskinning it for different jobs. Start with a basic chassis that accepts modular attachments, then iterate based on what problem you want to solve.
The “Gadget” Illusion: Turning Micro:bit Project Ideas Into Practical Tools

Why Most Micro:bit Projects Fail After Week Two
You want to build something that looks impressive on a shelf. That’s the real reason you’re reading this. The mechanism beneath the failure is simple: most micro:bit projects treat the board as the end goal instead of the tool. Kids assemble a blinking LED circuit, feel the dopamine hit, then abandon it because there’s no problem it solves. The board becomes decoration.

The shift from novelty to utility requires one hard constraint: the micro:bit must do something the kid actually needs done. Not wants to see happen in theory. Needs done in their actual daily routine. This means starting backwards. Identify the friction point first. Then ask what the micro:bit can automate or measure. The board becomes invisible when it serves a purpose.
Build Systems That Solve Real Friction Points
Prototyping in systems engineering terms means building the minimum viable mechanism that reduces a specific constraint. A micro:bit isn’t a toy that teaches coding. It’s a constraint-reduction tool. Kids who understand this difference ship functional projects. Kids who don’t ship dead weight in a plastic case.
Real-world friction points students can target and automate include:
- Plant watering reminders: A soil moisture sensor connected to the micro:bit triggers an alarm when the plant needs water. Solves the problem of forgotten watering schedules.
- Room temperature logging: The onboard temperature sensor records data throughout the day, showing patterns. Kids can adjust heating or cooling based on actual data instead of guessing.
- Door open alerts: An accelerometer or button input attached to a door sends a signal when opened. Useful for knowing when siblings enter a room or when the fridge door stays open too long.
- Study session tracker: A button press starts a timer that logs focus periods. Data reveals when the kid actually works best and for how long before losing focus.
- Noise level monitor: A sound sensor measures decibel levels in a room and displays warnings when noise exceeds a set threshold. Practical for shared spaces or during quiet hours.
The projects that stick are the ones that run continuously and solve something concrete. Not a one-time demonstration. Build the system so it works without supervision. The kid checks results, not resets the board every session.
The Curriculum Conundrum: Meaningful Microbit School Projects

Where Microbit Actually Belongs In Class
You want microbit projects to feel legitimate so parents and administrators don’t question whether this is just screen time dressed up as learning. The mechanism is simple: subject integration only works when the microbit solves a problem the subject already has, not when you force the subject around the microbit. A math class needs data visualization. A physics class needs sensor measurement. A history class needs… nothing from a microbit, so stop trying.

The mistake most teachers make is treating microbit as a general tool that fits everywhere. It doesn’t. Microbit excels at collecting data, responding to inputs, and displaying outputs. If your subject involves those three things, the integration is real. If it doesn’t, you’re creating busywork. The sensor on the microbit isn’t optional flavor—it’s the entire reason the device exists as a teaching tool. Use that or don’t use the device.
Proving Theory With Hardware Instead Of Textbooks
Physics teaches principles that textbooks present as settled fact. Microbit flips this: students write code to predict sensor behavior, then run the test on actual hardware. When a student programs the accelerometer to detect movement and builds a step counter, they’re not learning about acceleration in the abstract. They’re watching physics equations become real numbers on a display they controlled.
The standard approach fails here because it asks students to memorize force and motion without ever seeing the mechanism fail or succeed in their hands. With microbit, a wrong prediction produces wrong output. A correct one produces measurable results. This forces thinking instead of recall. The protocol is direct: have students write the code prediction first, run it on hardware second, compare results third. Mismatches become teaching moments instead of test questions.
Beyond The Beginner Box: Advanced Microbit Project Ideas For Beginners
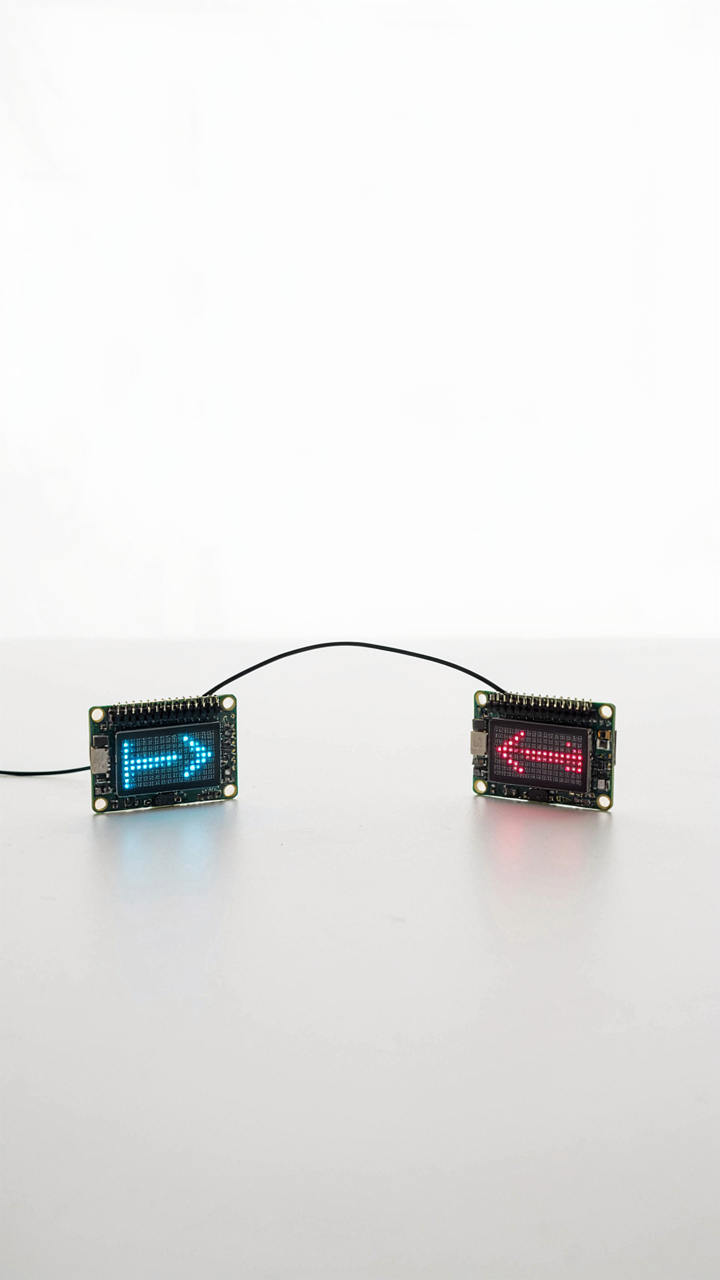
Networking Multiple Microbits Into One System
You want proof you’ve moved past the basics. Here’s the mechanism: a single Microbit has limits. Two or more Microbits talking to each other via radio removes those limits and turns a toy into a real system. Radio communication on Microbits uses the same frequency band as WiFi, so interference is a real constraint you must design around, not ignore.

Connect Microbits using their built-in radio blocks in MakeCode. One Microbit acts as a transmitter, another as a receiver. Send data like sensor readings, button presses, or game states across the air. The range tops out around 20 meters indoors without obstacles. Use channel numbers to separate different projects on the same bench so they don’t collide. This is how you build multiplayer games or distributed sensor networks that actually work.
Pairing Boards With Motors, Screens, And Sensors
The common advice stops at LEDs and buttons. That’s incomplete. Motors, OLED displays, and analog sensors unlock projects that feel like real electronics, not tutorials. Think in systems: each external component needs power, data lines, and sometimes ground connections. The Microbit’s GPIO pins are the interface layer between the board and the physical world.
- Continuous servo motors: Connect to Microbit pin 0 or 1 with a servo library. Control angle from 0 to 180 degrees for robotic arms or vehicle steering mechanisms.
- DC motors with relay modules: Motors draw too much current for Microbit pins directly. Use a relay or motor driver IC to switch power on and off based on Microbit logic.
- OLED I2C displays: Wired through pins 19 and 20, these show real-time data without USB connection. Display sensor values, scores, or status updates instantly.
- Analog sensors (light, sound, temperature): Connect to pin 2 or 3 and read values 0-1023. Use these inputs to trigger conditional logic or game events.
- Ultrasonic distance sensors: Measure distance to objects using echo timing. Useful for obstacle detection in robot projects or interactive installations.
Stack these components intentionally. A motor responds to sensor input. A display shows what the sensor detected. A second Microbit broadcasts the results. Each layer adds function without adding complexity if you wire it right. Prototype on breadboards first. Messy wiring kills projects faster than bad code.
The Self Directed Inventor: Your Micro Bit Ideas Manifested
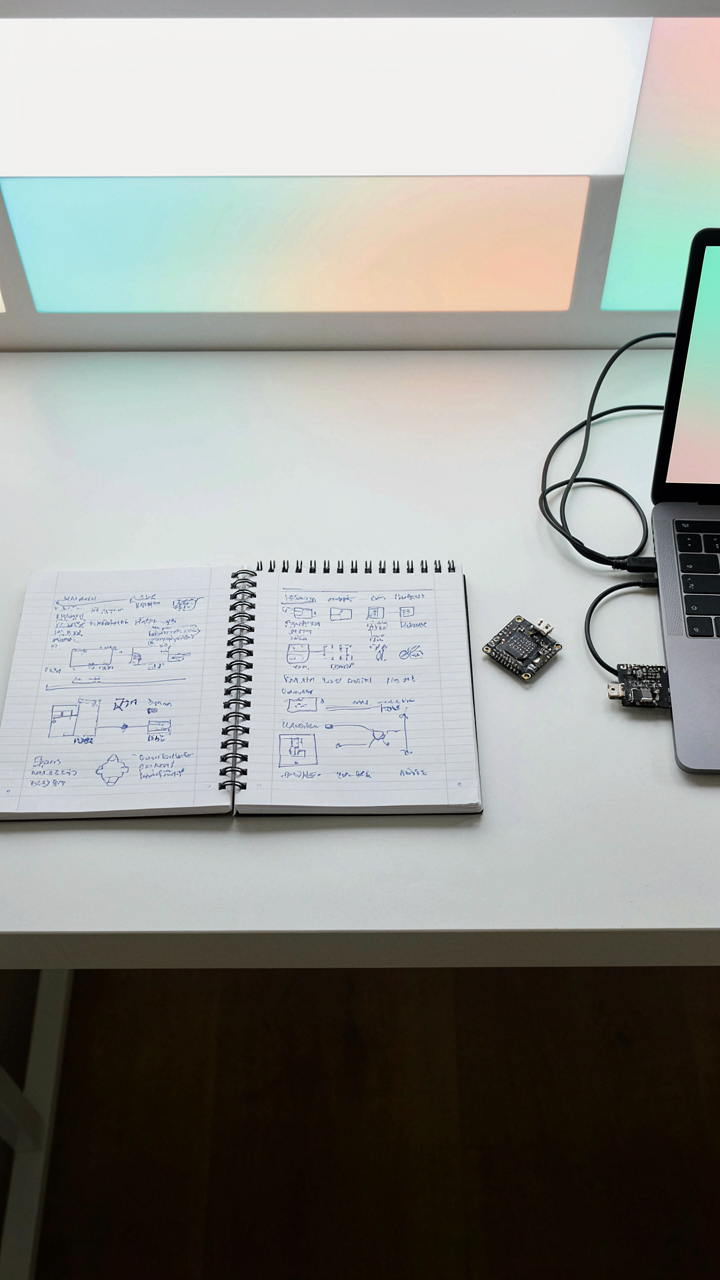
Build Without Permission First
You want validation that your idea is worth building. That’s fear dressed up as planning. The real mechanism here comes from systems thinking: feedback loops. A microbit project needs rapid iteration cycles to work, and you can’t iterate if you’re stuck in the approval phase.

Start building the moment you have a problem to solve. Plug in your microbit, write three lines of code, test it. The device was engineered for this exact workflow. You don’t need a perfect schematic or a finished design document before you touch hardware. That’s enterprise thinking, and it kills momentum on projects that live or die by experimentation speed.
Failure Logs Aren’t Optional
Most advice says “learn from your mistakes.” That’s incomplete. You need a written record of what failed and why, or you’ll repeat the same mistake three projects later. Document the specific line of code that crashed the program. Write down which sensor gave bad readings and under what conditions. Note the exact wiring configuration that made the LED flicker.
This isn’t a journal for feelings. It’s a reference library you build over time. When a future project needs a light sensor, you open your failure log, see what you learned about calibration and ambient light interference, and skip straight to the working solution. The microbit’s limited memory forces specificity anyway—you can’t afford vague notes because you’ll have nowhere to store them.
The Real Obstacle Isn’t The Microbit; It’s Your Comfort With Curated Limitations
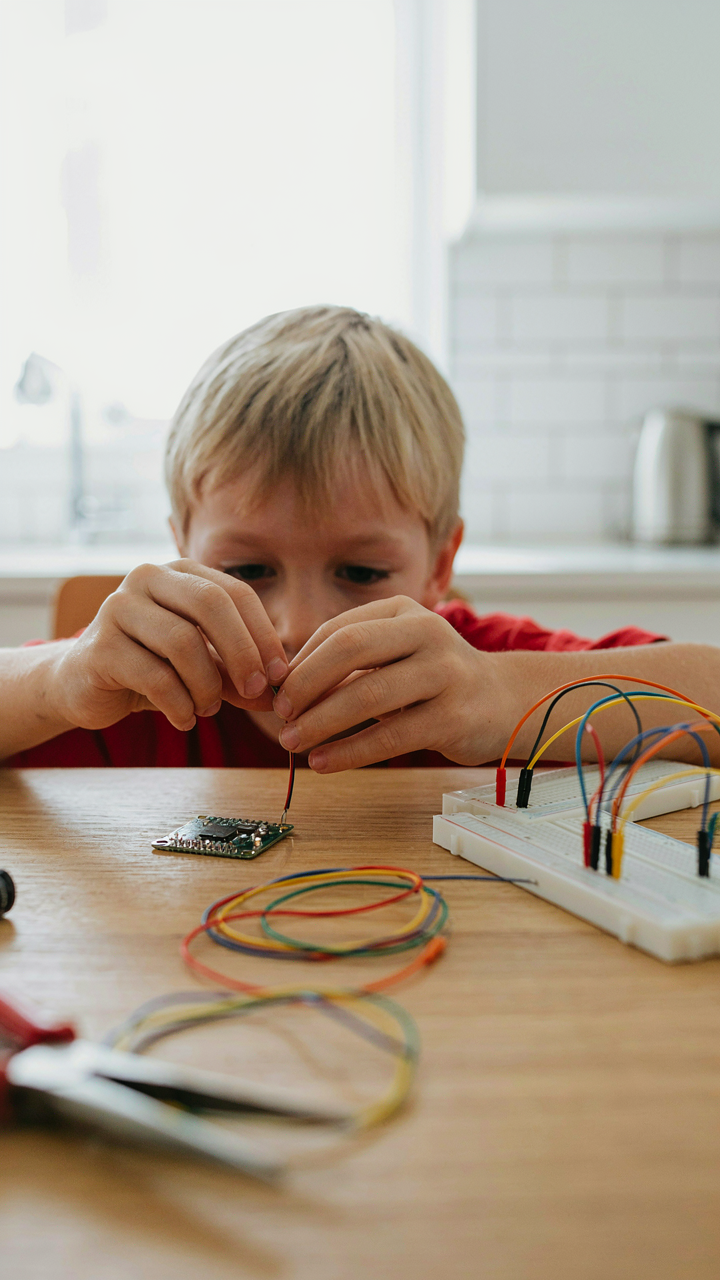
Most kids don’t need another polished app. They need permission to break things. The microbit wins because it forces constraints—limited memory, simple outputs, real consequences. Your kid won’t become a builder by following tutorials. They become one by hitting a wall, getting frustrated, then figuring out a workaround. Stop protecting them from that friction. Grab a microbit today and intentionally leave the instructions behind. The discomfort is where the actual learning lives.




