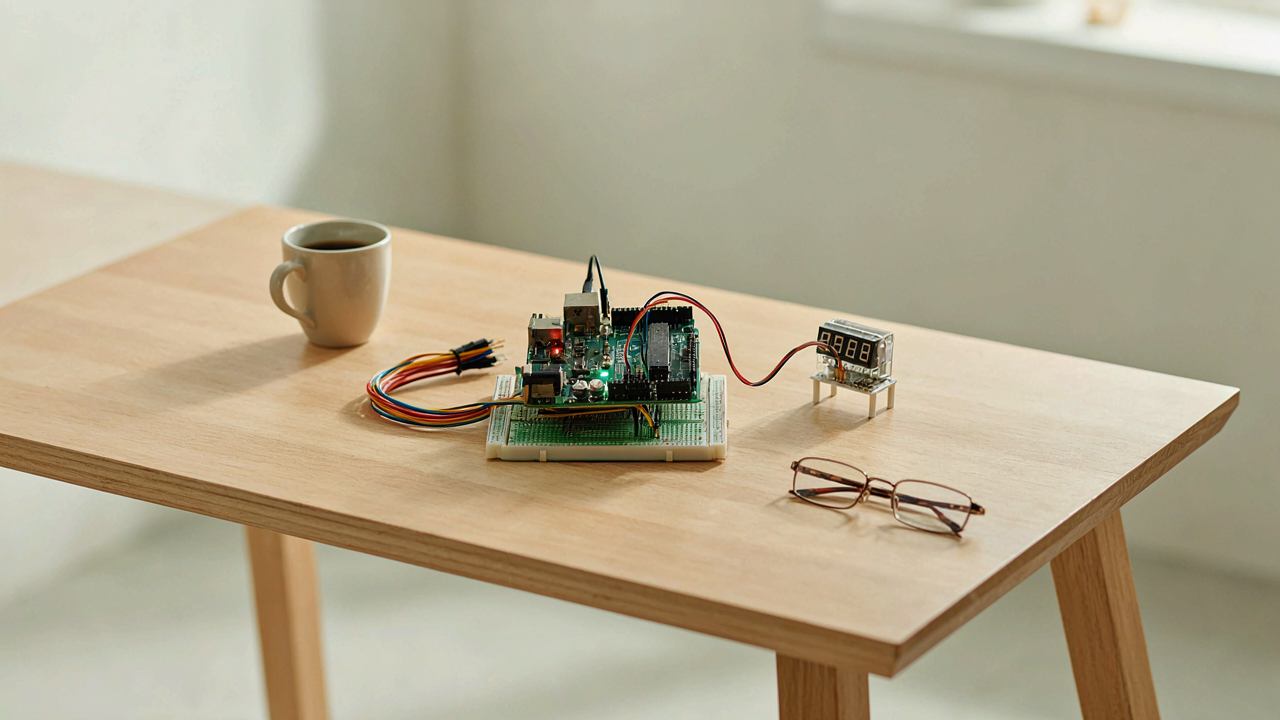
The Illusion Of Convenience: Why Your “Smart” Alarm Fails You

Outsourcing Your Wake Up To A Device
You want the alarm to do the hard part so you don’t have to. That’s the real reason you’re reading this. The mechanism is delegation of willpower. When you hand responsibility to a gadget, you’re not saving effort—you’re creating distance between the decision and the consequence. Your phone’s alarm doesn’t wake you up. It creates permission to ignore waking up. The snooze button exists because the device absorbs blame instead of you.
A DIY alarm clock flips this. You build it. You face the electrical circuit, the components, the sound output. The moment it rings, there’s no abstraction layer between your choice to stay in bed and the device’s indifference. No interface mediates the transaction. This is why building one matters more than owning one.
The Snooze Button Trap
Behavioral economics calls this temporal discounting—the brain values immediate comfort over future benefit. Press snooze and you trade nine minutes of sleep for the afternoon wreckage that follows. Every snooze reinforces the neural pathway that makes the next snooze easier. Your alarm didn’t fail. Your system designed failure into it. The button exists because manufacturers know most users will choose it. They sold the convenience of choice, not the discipline of commitment.
A DIY digital display alarm eliminates the snooze function by design choice, not accidental limitation. You decide the wake protocol before building it. No button means no bargaining with yourself at 6 AM. The alarm sounds, you get up, the loop closes. This is the actual mechanism: remove the escape route and the brain adapts faster than you think.
Diy Alarm Clock: Deconstructing The Digital Timekeeper
The Brain And The Face
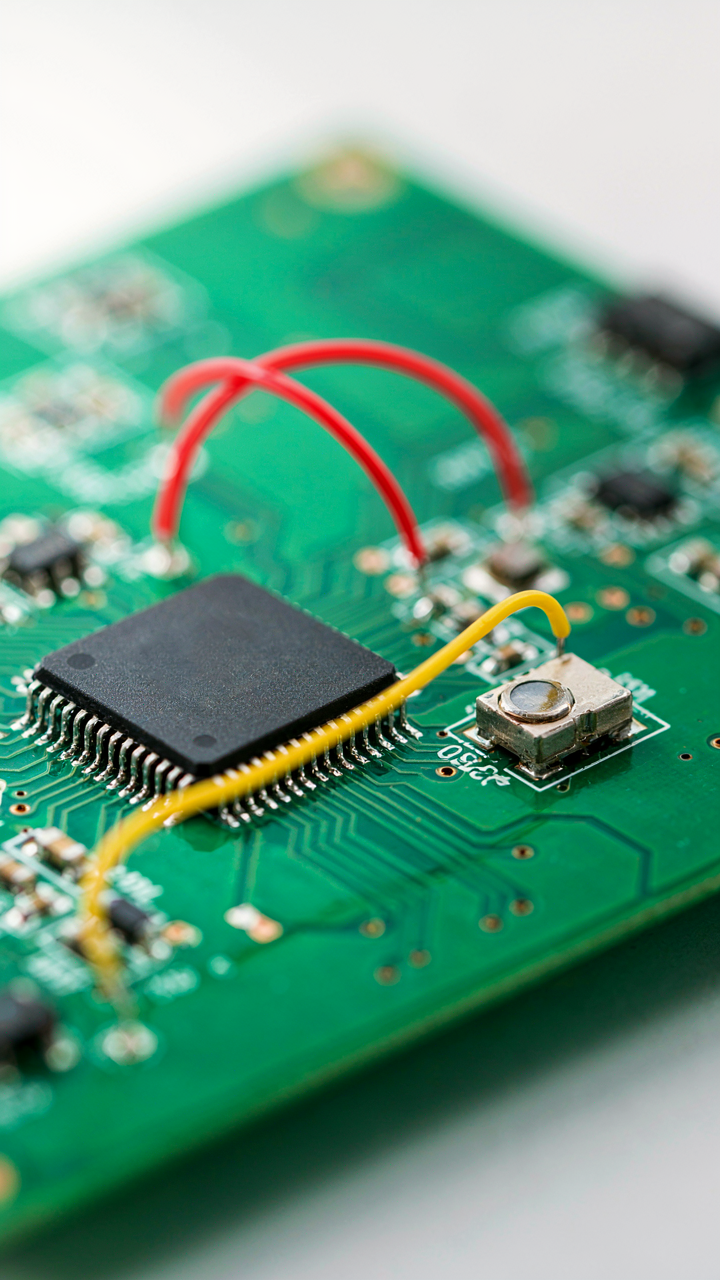
You want to build this because you think it proves you understand electronics. It doesn’t, but the mechanism does matter: a microcontroller executes time logic while a display shows the output. Every digital clock splits this way. The microcontroller reads a clock signal, counts milliseconds into minutes and hours, then sends formatted data to the display. No magic. Just signal in, computation, signal out.
- Microcontroller (Arduino, PIC, STM32): The processor that tracks time via an oscillator, runs your alarm logic, and manages all pins feeding the display module.
- Real-Time Clock Module (DS3231, DS1307): A dedicated chip with its own battery that keeps accurate time even when main power drops, preventing time reset on shutdown.
- Display Module (16×2 LCD, 7-segment LED, OLED): Renders hours, minutes, seconds as readable output; different types have different pin counts and communication protocols.
- Oscillator Crystal (32.768 kHz): Generates the timing reference; this specific frequency divides cleanly into seconds, making time calculations straightforward.
- Button Interface (push buttons): Lets you set the time and alarm without reprogramming; each button press triggers an interrupt in the microcontroller.

The display choice determines your circuit complexity and power draw. A 7-segment LED array needs more pins than an LCD running I2C protocol. Your microcontroller only has so many GPIO pins. Pick display first, then choose your controller.
Sounds That Actually Wake You
Most DIY advice says “add a buzzer.” That’s incomplete. A simple buzzer produces a single tone at fixed volume until you silence it. Real alarm clocks escalate: tone changes frequency, volume increases over time, or patterns repeat. This is from neuroscience—your brain habituates to constant stimuli. Changing the stimulus keeps attention.
You control this with PWM (pulse-width modulation) on a speaker or through a tone() function that shifts frequency every few seconds. Set a timer that escalates volume in steps: 30% for 10 seconds, 60% for the next 20, then max at 100%. Add a snooze button that resets the alarm to trigger again in nine minutes. The nine-minute interval is arbitrary but standard because it’s long enough to feel like real rest without oversleeping into lateness.
The Spartan Protocol: Essentialism In Your Clock Project
Design That Refuses To Apologize
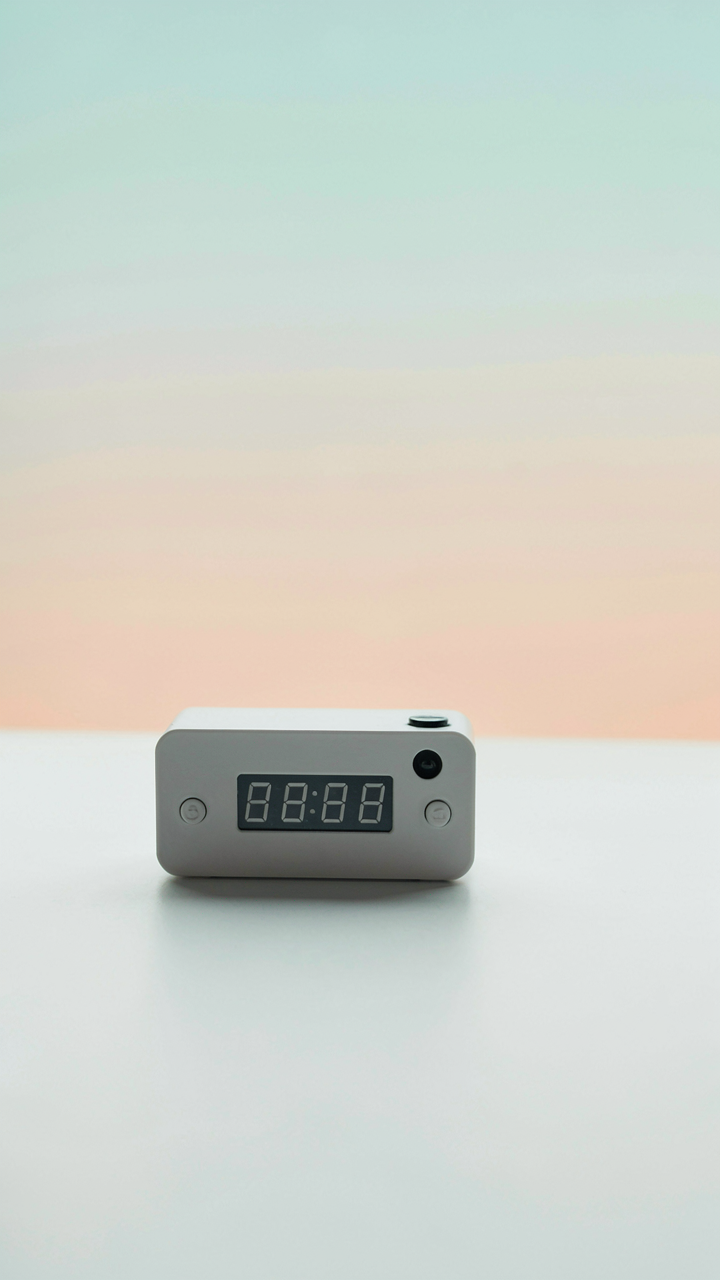
You want permission to build something “simple” without feeling like you’re settling. That’s the real thing here. Bauhaus design principles from the 1920s proved that constraint breeds clarity, not compromise. Every component on your clock either measures time or it doesn’t. Everything else is noise. Your circuit board, your display, your power source—they’re the skeleton. Strip everything that doesn’t directly serve the function of waking you up.

A minimalist clock uses only what works. An Arduino microcontroller, a real-time clock module, a display, a buzzer. Seven-segment displays or a small LCD screen. Buttons for setting time and alarm. Nothing decorative. Nothing that requires maintenance or creates points of failure. This isn’t about aesthetics—it’s about reliability. A clock that does one thing perfectly beats a clock that does ten things poorly.
Cutting Features Before They Multiply
Most DIY alarm clock guides tell you to add snooze, weather updates, calendar sync, and Bluetooth before you’ve even built the base. That’s backwards. The mechanism here is scope creep: each feature multiplies complexity and the number of ways your clock fails. You start with time display and alarm. That’s it. Everything else you add later should pass a single filter: does it improve wake-up reliability or does it just exist because you can code it.
Your first version needs a power switch, a time-set button, an alarm-set button, and a test button to verify the alarm triggers. That’s four inputs. A buzzer or speaker for the alarm. A display showing hours and minutes. Build this. Make it work for a month without modification. Only then—if you genuinely need it—add a snooze feature or a brightness control. The protocol is: ship the core. Expand after proof.
The Feedback Loop Fallacy: Applying Cybernetics To Alarm Clocks

Closed Loop Systems In Timekeeping
You want this section to make you sound smart at dinner. Here’s the real mechanism: cybernetics is the study of control systems, and your DIY alarm clock is literally a control system trying to regulate your behavior through feedback. The alarm generates output (sound or light). You respond (wake up or ignore it). That response feeds back into the system’s effectiveness. Most people build clocks that don’t account for this loop, so they fail repeatedly.

A closed loop means the system measures its own results and adjusts. Your clock’s display shows time, you compare it mentally to your schedule, then you either wake or sleep longer based on that data. The circuit board doesn’t care if you ignored it yesterday. It fires the same alarm at the same decibel level. That’s why people sleep through alarms or develop immunity to them. The feedback never actually changes the system’s behavior.
When The Device Controls You Back
Your interaction with the clock isn’t one-directional. Cybernetics calls this mutual causality, and most DIY alarm clock designs ignore it completely. You think you’re controlling the clock, but the clock’s limitations are controlling your behavior just as much. If your display is hard to read, you’ll lean closer. If the alarm is weak, you’ll sleep through it. If the snooze button is too easy to hit, you’ll hit it.
The real design question isn’t “how do I make it louder” but “what feedback should change the system’s next cycle?” A proper DIY clock should log your snooze patterns and escalate the alarm volume each day you hit snooze. Your behavior becomes the input that recalibrates the output. Most hobbyists wire a basic 555 timer and call it done, missing the entire control mechanism that makes a clock actually work on a human being.
Beyond Arduino: Crafting A Cardboard Alarm Clock For Pure Intent
Wire And Cardboard Work Better Than You Think
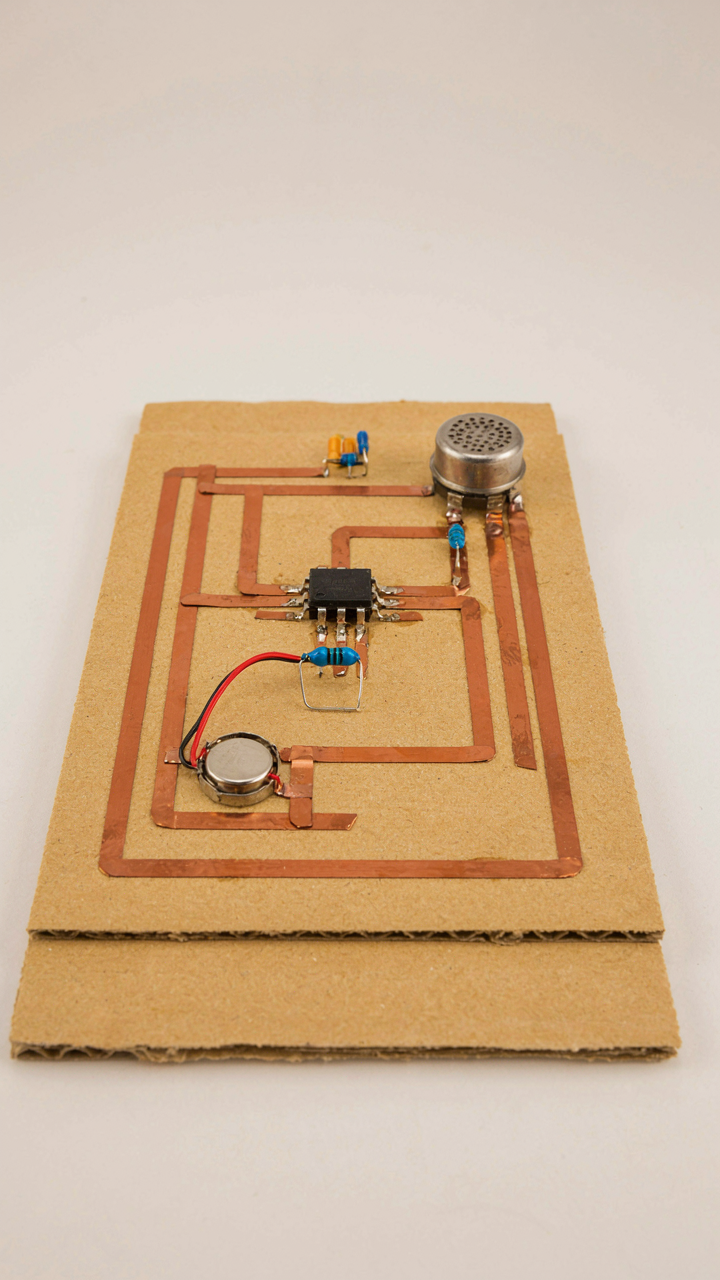
You want this section because you’re afraid a DIY alarm clock requires soldering skill you don’t have. It doesn’t. The mechanism is simple: electricity moves through a closed loop. Break the loop, sound stops. Complete the loop, sound starts. You build this with copper tape, a battery, a buzzer, and a timer circuit. Cardboard becomes the chassis because it’s rigid enough to hold components and cheap enough to fail without consequence.

A 555 timer IC creates the oscillation that drives the buzzer. This chip does one job: it switches voltage on and off at a frequency you set with resistors and capacitors. You don’t need to understand the math. You need to know that changing the resistor values changes how fast the buzzer pulses. Cardboard holds everything flat. Copper tape replaces solder in most connections. Battery clips snap onto the cardboard frame without tools.
Limits Force The Real Design
Design theory borrows from economics: scarcity drives innovation. When you remove options, you solve differently. You can’t use a programmed microcontroller here, so you use a 555 timer instead. You can’t use a lithium battery, so you use AA cells. You can’t use a circuit board, so you use copper tape on cardboard. Each limit forces a choice that changes how the clock actually works.
The cardboard constraint kills unnecessary features before they exist. You get an alarm that sounds at a set time, nothing more. No snooze function. No display animations. No Bluetooth. This isn’t deprivation, it’s clarity. The clock does one thing and does it with five components visible and replaceable. When the buzzer fails in six months, you unclip it and clip a new one on. That’s the entire maintenance protocol.
How To Make An Alarm Clock With Arduino: The Power User’s Path
Writing Code That Actually Runs Your Alarm
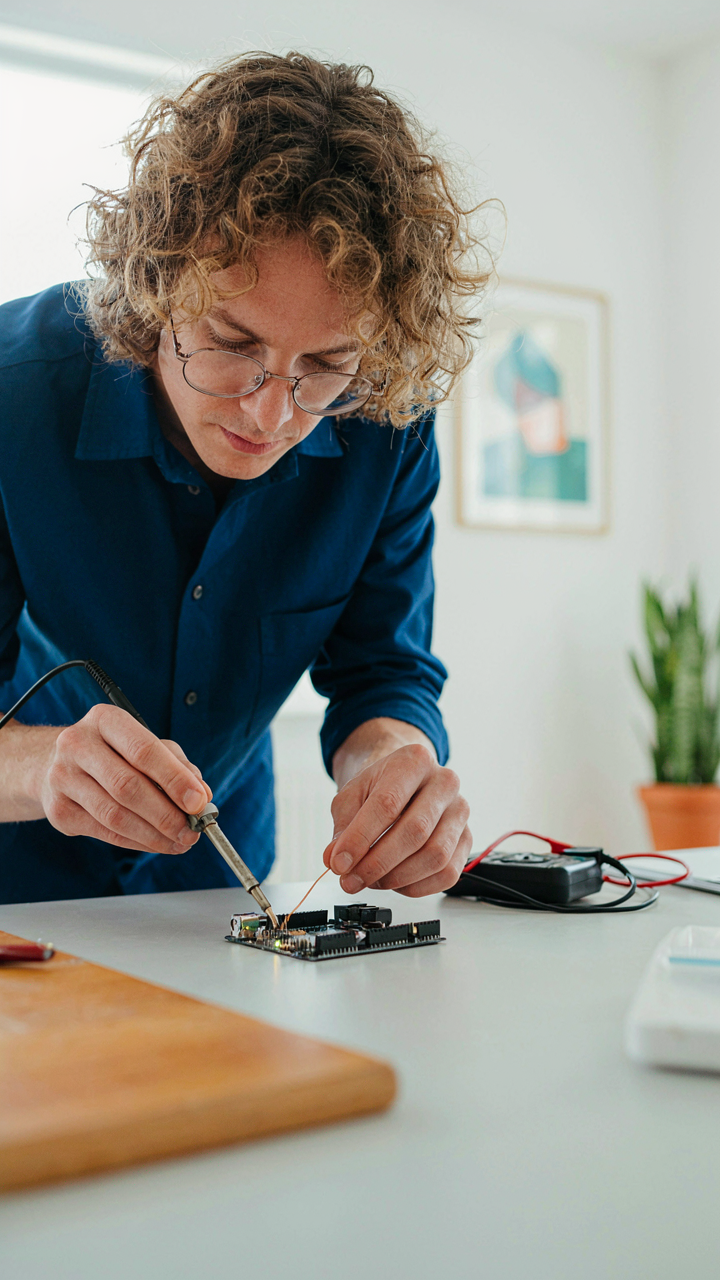
You want this section because you’re tired of following tutorials that work for someone else’s setup and fail on yours. The real mechanism is this: Arduino alarm logic runs on interrupts and timers, not on continuous polling. Most beginner code wastes CPU cycles checking the time every loop iteration. The ATmega328P chip in standard Arduino boards has built-in timer interrupts that fire at set intervals without draining resources. Use Timer1 or Timer2 to trigger your alarm condition instead of watching the clock in your main loop.

Your display code determines how fast the user can set the time and whether they’ll actually use the device or leave it blinking 12:00. Multiplexing a seven-segment display or using an I2C LCD module cuts your pin usage and keeps your main program logic clean. The display refresh rate should hit 60Hz minimum to avoid visible flicker. Store alarm times in EEPROM so they survive power loss. Write a simple state machine: one mode for displaying time, another for setting hours, another for minutes, another for the alarm trigger itself.
Sensors That Change What Your Clock Actually Does
Ambient light sensing is borrowed from environmental control systems, where the mechanism is threshold detection: a single threshold divides two states, not a spectrum. Most DIY alarm clocks treat light as binary (on or off), but that’s incomplete thinking. An LDR paired with an analog-to-digital converter lets you dim the display at night and brighten it during day without manual adjustment. This prevents the false alarm experience: waking up convinced your display is a second sun at 3 AM.
- Light Sensor (LDR): Reads ambient brightness and auto-adjusts display intensity. Connect to analog pin with 10k pull-down resistor for stable readings.
- Temperature Sensor (DHT11 or DS18B20): Displays room temperature alongside time. Useful for deciding whether to stay in bed or face the cold.
- Motion Sensor (PIR): Triggers display wake-up only when you enter the room. Saves power and eliminates pointless display drain during sleep hours.
- Sound Sensor Module: Detects loud noises and logs them, creating a primitive sleep disruption tracker. Requires calibration to filter background noise.
- Button Matrix: Simplifies user input without consuming six separate pins. Use multiplexing code to scan multiple buttons on fewer Arduino pins.
Integrate these sensors through separate analog pins, not all at once. Start with one sensor, verify the data stream cleans, then add the next. Wire each sensor’s power line through a 100nF capacitor to ground to kill noise spikes that trigger false readings. Your alarm logic runs independent from sensor data: sensors feed information into variables that your main timer interrupt checks against, but they don’t control the interrupt itself.
The Unseen Battle: Your Alarm Clock As A Training Ground

When The Snooze Button Wins
You want to build a DIY alarm clock because you think it proves you’re disciplined. That’s not why you should care. The real mechanism is this: waking up is a decision architecture problem, and your alarm clock is the first test of whether you can execute a rule you set for yourself yesterday. Most people fail this test daily. They build the hardware but ignore the behavioral system that makes it matter.

Neuroscience calls this “inhibitory control,” and your alarm clock is the training apparatus. When your circuit delivers sound at a predetermined time, you face a binary choice with no negotiation: rise or stay. The physicality of reaching across the room to silence a device you built yourself creates friction that matters. This friction is the entire point. Without it, you’re just buying a commercial alarm clock with extra steps.
The Protocol That Replaces Motivation
Common advice says “use willpower” or “set a good intention.” Both are incomplete. Willpower depletes. Intentions drift. What works is a mechanical rule: the alarm clock stays arm’s length away. The device does not come to you. You move to it, fully awake by the time you reach the button. Build it so the off switch requires standing. Position it where you cannot silence it from bed.
Your DIY alarm clock becomes a commitment device because you engineered its location and design. You removed the option to negotiate. Document your rule in writing before you finish building the device. The rule must include where the clock sits, how far from your bed, and what you do immediately after silencing it. Execute this protocol for 14 consecutive days. The behavior locks in. The alarm clock becomes irrelevant. The system becomes the alarm.
The True Signal: What Your DIY Clock Really Tells You

Beyond Time: Measuring Your Commitment
You want to believe building a DIY alarm clock proves something about you. It doesn’t, unless you actually finish it. The mechanism is simple: completion reveals whether you treat yourself as someone worth listening to. Most people abandon projects at the debugging stage when the circuit doesn’t work the first time, or when soldering connections takes longer than expected.

A functioning DIY clock sitting on your nightstand is a daily referendum on follow-through. It’s not about owning a product you could buy for ten dollars. It’s about the fact that you made yourself go through the entire cycle: design decisions, component sourcing, assembly, troubleshooting, testing. Each morning your clock fires up because you didn’t quit.
The Personal Accountability Of Creation
Building something yourself removes the buffer between intention and outcome. You can’t blame the manufacturer or return it to the store. Industrial design creates distance between creator and user, but DIY collapses that gap. When your alarm clock’s display flickers or the button feels wrong, you know exactly why: you built it that way.
This is where most advice on DIY projects gets it wrong. The value isn’t motivational or therapeutic. The value is informational. Your finished clock teaches you which decisions matter and which don’t. You’ll know whether a better capacitor actually changes audio quality, or if your buzzer volume depends on power delivery, or if the display refresh rate matters for readability. You learned through material consequence, not theory.
Your Alarm Clock Reveals Your Deepest Dependencies; Mastering It Means Mastering Yourself, Not Just Time

You don’t have an alarm clock problem. You have a discipline problem disguised as a technology problem. Building a DIY alarm clock forces you to confront this. You can’t blame the device when you built it yourself. Stop scrolling for the perfect alarm app today. Grab a breadboard, an Arduino, and wire one yourself. The friction of creation will teach you what no article can: you don’t need a better alarm. You need to become someone worth waking up for.




