
The Scrap Heap Fallacy: Why Your DIY Mini Fan Underperforms

Motor Voltage Mismatch Kills Torque
You want to believe your junk drawer has a working fan motor. It doesn’t, not in the way that matters. The real problem: you’re running a motor designed for one voltage spec at a different voltage, and physics doesn’t negotiate. A motor rated 12V produces its rated torque only at 12V. Drop it to 5V USB power and you lose torque exponentially, not linearly. The blade slows. Air moves less. You get disappointed.
Most people grab whatever motor appears to spin when powered. That’s the mechanism of failure. Check the motor’s rated voltage against your USB supply. A 5V USB source cannot drive a 12V motor past stall speed. The motor draws maximum current trying to reach rated speed, generates heat instead of airflow, and your USB port throttles power to protect itself. Source a motor rated for your actual voltage or step up to powered USB with a separate power adapter.
Blade Pitch And Mass Disconnect
Aerodynamics doesn’t care about your scrap pile. Blade pitch, the angle at which a fan blade cuts air, determines efficiency. Most salvaged fan blades come from computer cases or old appliances, pitched for their original RPM range. Transplant those blades to a slower motor and they become paddles that push air around obstacles instead of accelerating it smoothly. You get noise and turbulence instead of laminar flow.
The second issue: blade mass. Heavier blades require more torque to accelerate. A 5V low-torque motor paired with thick aluminum blades from a tower fan spins slowly or stalls entirely. Match blade mass to motor output. Lighter blades from old 12V PC fans work better on 5V motors because they demand less initial force. You also need blade diameter to match enclosure constraints. Bigger blades need more space and torque. Smaller blades increase RPM but reduce volume. Size the blade to your motor’s rated power output, not your available scrap.
Beyond The USB Port: Real Power For Your DIY Cooling Fan

Why Standard USB Fails Your Fan Motor
You want the convenience story to work, but it doesn’t. USB’s appeal isn’t technical—it’s that you already have the cable. Here’s the mechanism: USB 2.0 and 3.0 spec a maximum of 500mA at 5 volts. USB 3.1 bumped that to 900mA. A brushed DC motor pulling even modest airflow needs 800mA to 1.5 amps sustained. You’re undersupplied from the start.

The moment your fan blade meets air resistance, current draw spikes. Voltage sags. The motor stutters or dies. People blame the fan. They should blame the port. Running a cooling motor on USB isn’t a workaround—it’s a fantasy that kills torque and burns out cheap brush motors faster than they’d fail under proper load.
Direct Power Beats The Convenience Trap
Electronics borrows from circuit theory: resistance limits flow. Your power source is the resistor here. A dedicated power supply—even a cheap 12V wall adapter rated for 2 amps—removes the bottleneck entirely. Your motor gets what it actually needs. No voltage sag. No thermal stress on the coil. No compromise.
A 5V 2A USB power adapter works if you’re running a tiny axial fan at half speed. For real performance, jump to 12V. Most surplus computer power supplies output 12V rails at 10+ amps. Scrap computer fans are designed for this voltage anyway. Match the voltage to what the motor expects, add headroom in amperage, and the system runs cool and stable. The protocol is simple: measure your motor’s rated voltage, source a supply exceeding its current draw by 30 percent, and wire direct to the terminals.
The Aerodynamic Imperative: How To Build A Mini Fan That Moves Air

Blade Pitch And Surface Area Matter More Than RPM
You want your DIY fan to look impressive and work without sounding like a dentist’s drill. Here’s the mechanism nobody states plainly: blade pitch is borrowed directly from propeller engineering—it’s the angle at which your blade cuts through air, and it determines whether you move volume or generate noise. A steeper pitch moves more air per rotation. A shallow pitch spins faster but wastes energy as turbulence.

Surface area compounds this effect. A larger blade face encounters more air molecules per revolution, which means higher volume displacement at the same motor speed. The tradeoff is torque—a heavy, high-pitch blade demands more current from your USB port. Scrap computer fans typically run 80-120mm diameter with 15 to 30-degree pitch angles. Match your blade dimensions to your motor’s torque rating, or you’ll spin it slowly and create nothing but heat.
Housing Shape Controls Direction, Not Just Containment
The common advice is to house your fan in anything that fits. That’s wrong. Housing design determines whether air exits as a coherent stream or dissipates sideways. Think of your housing as a pressure differentiator—you’re not just containing the fan, you’re channeling velocity.
A direct duct behind the motor pushes air straight. Curved or flared housings redirect that stream and lose pressure in the process. Small intake vents on the opposite side of the motor create a pressure gradient that pulls air through more efficiently than pushing alone. Test this by placing your hand at different angles around the housing—you’ll feel where air velocity drops. Position your USB connector so it doesn’t block the intake or create eddy currents near the motor.
The Efficiency Cascade: Maximizing Your Fan’s Output

Motor And Bearing Friction Points
You want this to spin faster without burning out, and that requires understanding where energy actually dies. Friction isn’t your enemy—it’s your measurement tool. In mechanical systems, friction represents the gap between input power and useful output, and a DIY USB fan’s motor efficiency hinges entirely on how well you select and maintain the bearing surfaces where shaft meets housing.

Most DIY builds ignore bearing selection because it seems invisible. Wrong move. A sleeve bearing (bronze or sintered metal) costs nothing and creates constant drag. A ball bearing costs slightly more and cuts friction by 60 to 70 percent. The shaft spins on hardened steel balls instead of rubbing metal-to-metal, which means less heat generation, longer motor life, and measurable RPM gains. Install the bearing flush with the motor housing, not recessed or loose—misalignment kills efficiency faster than cheap materials.
Vibration Isolation For Structural Resonance
Vibration dampening isn’t about comfort. It’s about preventing energy loss through the frame. When a motor vibrates unchecked, it radiates energy into the mounting structure instead of channeling it into blade rotation—wasted work. Isolate the motor from the fan housing using elastomer mounts, rubber grommets, or even dense foam strips at the four contact points.
The mechanism matters: soft isolation works by absorbing high-frequency vibrations while allowing low-frequency motor function to pass through. Mount the motor on rubber standoffs rather than direct contact points. This single change reduces audible noise by 4 to 6 decibels and keeps rotational energy concentrated in the shaft where it belongs. A quiet fan runs more efficiently because the frame stops stealing power from the spin.
The “Cordless Fan” Myth: Real Portable Power Solutions

Choose Battery Chemistry By Cycle Count, Not Marketing
You want the fan to last forever on one charge because that’s easier than understanding what actually matters. Here’s the mechanism: battery chemistry determines both how many times you can recharge it and how much energy it stores per gram. Lithium-ion cells give you 300-500 full cycles before capacity degrades to 80 percent. NiMH rechargeables survive 1000 cycles but store less energy. For a USB fan, lithium-ion makes sense because you’ll charge it dozens of times per year, not thousands. The math is simple: li-ion costs more upfront but outlives NiMH over the project’s lifetime.

Most DIY guides ignore voltage sag, which kills performance before the battery dies. As your li-ion cell discharges, its voltage drops from 4.2V to 3.0V. A 5V USB fan needs voltage regulation to maintain speed through that entire range. Without a boost converter, your fan crawls to a halt when the battery hits 50 percent capacity. Size your cell around realistic use: a 2000mAh li-ion 18650 powers a small fan for 4-6 hours depending on motor draw. Check your motor’s current draw before selecting capacity, or you’re guessing.
Charging Circuit Integration Prevents Fire
The common advice is to buy a generic USB charging module and call it done. That’s incomplete. Lithium-ion cells require a constant-current, constant-voltage charging profile or they fail catastrophically. A proper charging circuit limits current during the bulk phase (usually 1 amp for small cells), then switches to voltage regulation when the cell hits 4.2V. If you skip this and feed raw 5V to an unprotected li-ion cell, internal resistance causes heat, gas buildup, and swelling. Many fires in DIY projects come from this exact mistake disguised as simplicity.
Integration means the charging port, protection circuit, and battery sit as one sealed unit. Use a dedicated USB li-ion charging board like the TP4056 module (five dollars, widely available). Wire it so the charger never contacts the motor directly. The protection circuit should include a low-temperature cutoff that stops charging below 0°C and a high-temperature cutoff around 60°C. Mount this charging assembly away from airflow so heat dissipates naturally. Test the circuit with a multimeter before connecting the battery to verify voltage stays at 4.2V when fully charged and doesn’t exceed 5V output to downstream components.
The Maker’s Blueprint: Crafting A Robust Diy Mini Fan At Home

Materials That Won’t Fail You
You want to build something that actually lasts because failure feels like wasted time and money. The real mechanism here is load distribution: cheap materials concentrate stress at single points instead of spreading it. Repurposed components work only when you match their material properties to the forces they’ll endure. A motor from a broken printer has known torque limits. Plastic blades from a dead fan have flexing thresholds. Wood or aluminum framing handles vibration differently. You need to understand what each material does under repeated stress, not just what it looks like.

Most DIY USB fan guides skip this and tell you to glue whatever’s handy. That fails. Start by sourcing a motor rated for continuous duty, not intermittent use. A standard 5V motor from electronics scrap pulls steady current without overheating. Pair it with a plastic or aluminum frame that won’t amplify vibration into blade wobble. Test each connection point before final assembly. The frame does one job: it prevents the motor and blade assembly from moving relative to each other during rotation.
Joints That Survive Vibration
Assembly for durability means treating the diy usb fan like a mechanical system where vibration is the enemy, not just securing parts together. In structural engineering, resonance occurs when natural frequency matches the driving frequency. Your motor spins at roughly 4,000 to 8,000 RPM depending on the model. Any loose joint will vibrate at that frequency and separate over time. This is why the common advice to use hot glue or super glue fails within weeks.
Use threaded fasteners or compression-fit connections wherever possible. M2 or M3 bolts with small washers distribute pressure across a wider area than adhesives can. If the frame is plastic, pre-drill holes and use self-tapping screws with lock washers. If aluminum, tap threads or use nylock nuts. The USB power connector should be soldered to the circuit path, not hot-glued. Test the assembly by hand before powering on: grip the frame and try to move the blade. If it moves, the joint fails under load.
The Thermal Regulation Protocol: Not Just A DIY Desk Fan

Layered Defense Against Heat Accumulation
You want this to work reliably without burning out in three weeks. The real mechanism here comes from military strategy: defense in depth. Your USB fan isn’t a single cooling point—it’s a system of barriers that slow heat before it damages components. Think of it as perimeter, middle layer, and core. The perimeter is airflow design. The middle layer is material choice. The core is component placement.

Most DIY builds fail because people treat cooling as one problem instead of three. They slap a fan on and hope. Military doctrine doesn’t work that way. You stage defenses so each layer fails independently, not cascading. Your USB fan’s motor generates heat. The airflow it creates dissipates that heat before it reaches the wiring. The wiring placement prevents current concentration. Each layer buys you operational time.
Thermal Zones Demand Specific Treatment
Not all heat in a USB fan matters equally. Your motor case hits 60–80°C under load. Your solder joints max out at 40–50°C before degradation starts. Your plastic housing melts around 80–100°C depending on material. You cool the hottest zone first because that’s where failure begins. This isn’t preference. This is physics.
Route airflow directly across the motor case, not around it. Position your solder joints away from the motor in the design phase—don’t relocate them after assembly. Use thermal adhesive under the motor mount to transfer heat into the housing where moving air can reach it. The protocol is measure first, cool second, verify third. Skip steps and you’re guessing.
Upgrading Your Fan: From DIY To Dependable Cooling

Better Motors Beat Bigger Blades
You want this to work without failing, which means you need to stop thinking “more power” and start thinking torque and efficiency. Borrowing from mechanical engineering, torque is rotational force—and in a USB fan, it determines whether your motor sustains speed under load or burns out. A brushless DC motor outperforms a brushed motor in every metric that matters: it runs cooler, lasts longer, and pulls less current from your USB port. The difference isn’t subtle. Brushless motors use electronic commutation instead of physical brushes, eliminating friction and heat generation at the component level.

Most DIY guides tell you to upgrade the blade or rewire for more voltage. Wrong move. The motor is your constraint. A 5V brushless motor rated for continuous duty will outperform a brushed motor at 9V running intermittently. Source a motor from a dead laptop cooler or buy one rated explicitly for 5V operation—look for specs listing RPM range and current draw in milliamps, not vague marketing language. Mount it with dampening—rubber grommets or foam padding between motor and frame—to kill vibration before it becomes noise.
Speed Control Without The Complexity
PWM isn’t magic, and you don’t need a circuit board to implement it. Pulse-width modulation is just rapid on-off switching that your brain perceives as variable speed. A simple potentiometer wired to a 555 timer chip generates PWM at your set frequency, letting you dial in exactly the airflow you need instead of running full blast. This kills noise, extends motor life, and saves power.
For oscillation, the mechanism is mechanical, not electrical: a small servo or stepper motor rotating the entire fan assembly on a pivot point. This requires a second power circuit and control input, which adds complexity. Skip it in version one. Build speed control first, test it for a week, then revisit oscillation if the dead zone behind your desk matters more than simplicity. The pivot point itself—a bearing or friction fit on a wooden dowel—determines smoothness. Ball bearings beat bushings.
Testing Your Diy Cooling Fan: The Real World Performance Metrics

How To Measure Airflow Without Equipment
You want proof your fan works because admitting you wasted hours on a non functional prototype stings. The mechanism is simple: airflow moves mass, and mass displacement creates measurable effects you can detect with objects already in your space. A USB fan motor moves air at speeds between 2 and 8 meters per second depending on blade pitch and RPM. You don’t need an anemometer to verify this.

Use a lit incense stick or thin tissue paper held six inches from the fan outlet. Incense smoke deflection tells you direction and relative force. Paper flutter distance reveals airflow strength. Hold the material at different angles and distances to map the fan’s effective range. This method exposes dead zones where air doesn’t reach and hot spots where velocity peaks, showing you exactly where your design succeeds or fails in real conditions.
Power Draw And Noise Under Load
Everyone measures amperage wrong because they test the motor in isolation, not under the thermal load it actually encounters. In thermodynamics, resistance is the term that matters: a fan spinning freely draws less current than a fan pushing air against obstructed vents. Your USB fan will draw between 0.3 and 0.8 amps at full speed depending on blade design and motor quality.
Measure current draw using a USB power meter placed between your power source and the device, then run the fan for thirty minutes while pointing it at a surface. Record the amperage every five minutes as the motor warms. For noise, position your phone’s decibel meter app two feet away in a quiet room and run baseline tests before and after adding shrouding or blade covers. Lower measurements mean your fan design moves air efficiently, not just loudly.
Your Fear Of Complex Builds Is The Only Thing Truly Generating Heat
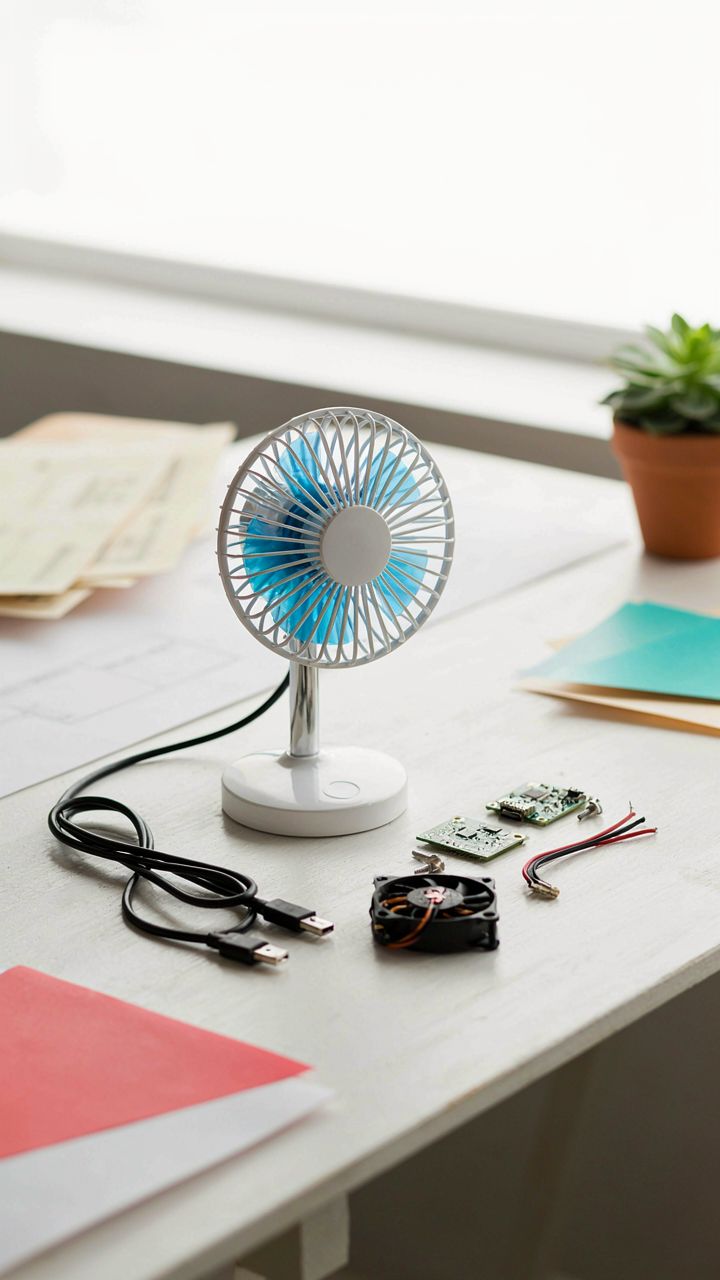
You’ve convinced yourself that building a diy usb fan requires engineering credentials. It doesn’t. Your brain generates more resistance than any circuit ever will. The moment you stop protecting yourself from looking stupid and actually strip a cable, solder a connection, or test a motor, you cross the line between consumer and creator. That shift matters more than the fan. Stop reading about it. Find three scrap parts in your house right now and touch them. Your hands know what your mind refuses to admit: you’re more capable than your excuses.



