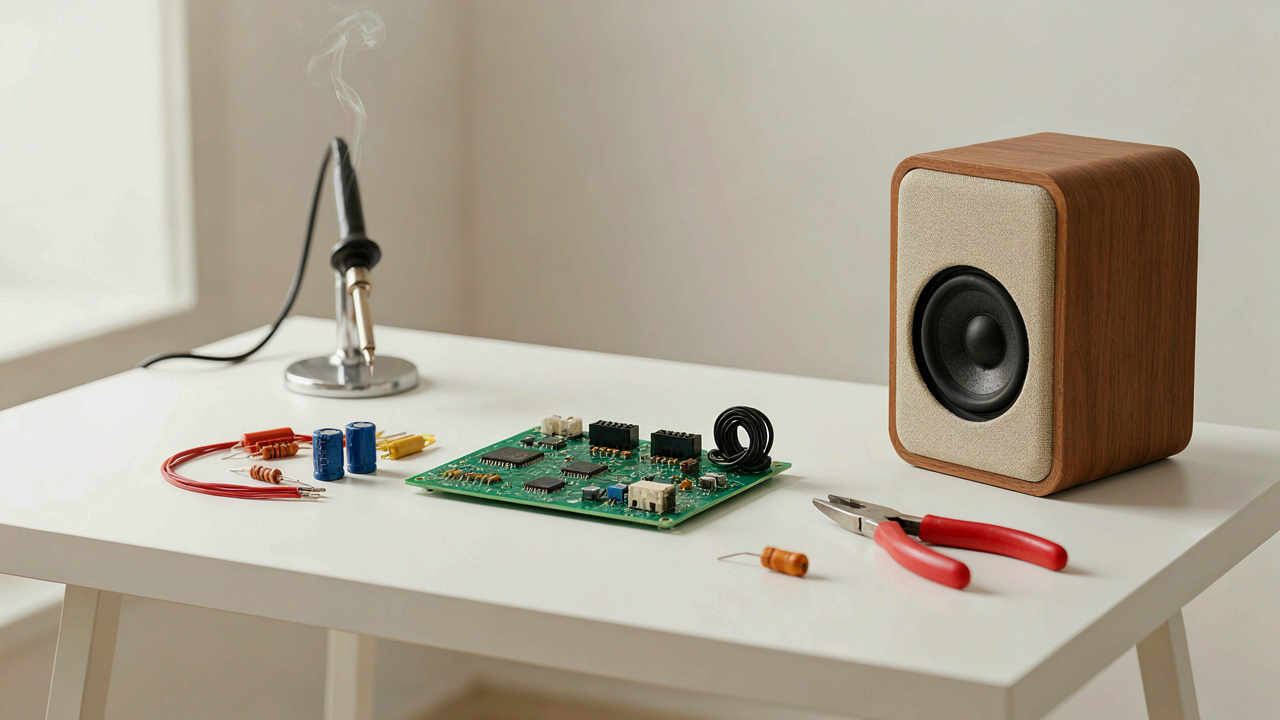
The Myth Of “Simple” Bluetooth: Why Off The Shelf Fails

Generic Receivers Are Audio Bottlenecks
You want to believe a thirty-dollar receiver will solve your problem, because admitting it won’t means you wasted money and time already. The mechanism is simple: cheap receivers use low-cost Bluetooth chipsets that decode audio at minimum bitrate and route it through equally cheap DAC chips with high noise floors. The speaker sounds exactly as good as the weakest component in the chain allows, not better.
Most generic receivers skip proper power supply filtering and use single-layer PCBs that introduce ground noise. The Bluetooth codec defaults to SBC, which compresses audio aggressively. You’re not getting “wireless” sound—you’re getting a degraded signal that obscures what your speakers were always capable of producing. The problem isn’t Bluetooth itself; it’s the parts manufacturers choose to skip.
Planned Obsolescence Versus Custom Longevity
Economics calls this “negative durability incentive”—companies engineer products to fail or feel outdated so you buy again. A DIY receiver built with standard components can outlive five commercial units because you replace specific parts, not the entire device. When the Bluetooth module fails, you swap it. When the DAC drifts, you upgrade just that section.
Commercial receivers integrate everything into sealed modules. Repair means replacement. A modular build treats each function separately: Bluetooth reception, analog conversion, amplification. You control every choice and every failure point. This isn’t romantic—it’s economic. You stop paying the planned obsolescence tax and start paying only for the parts that matter.
Deconstructing Sound: The Signal Chain Reimagined
Where Digital Becomes Analog
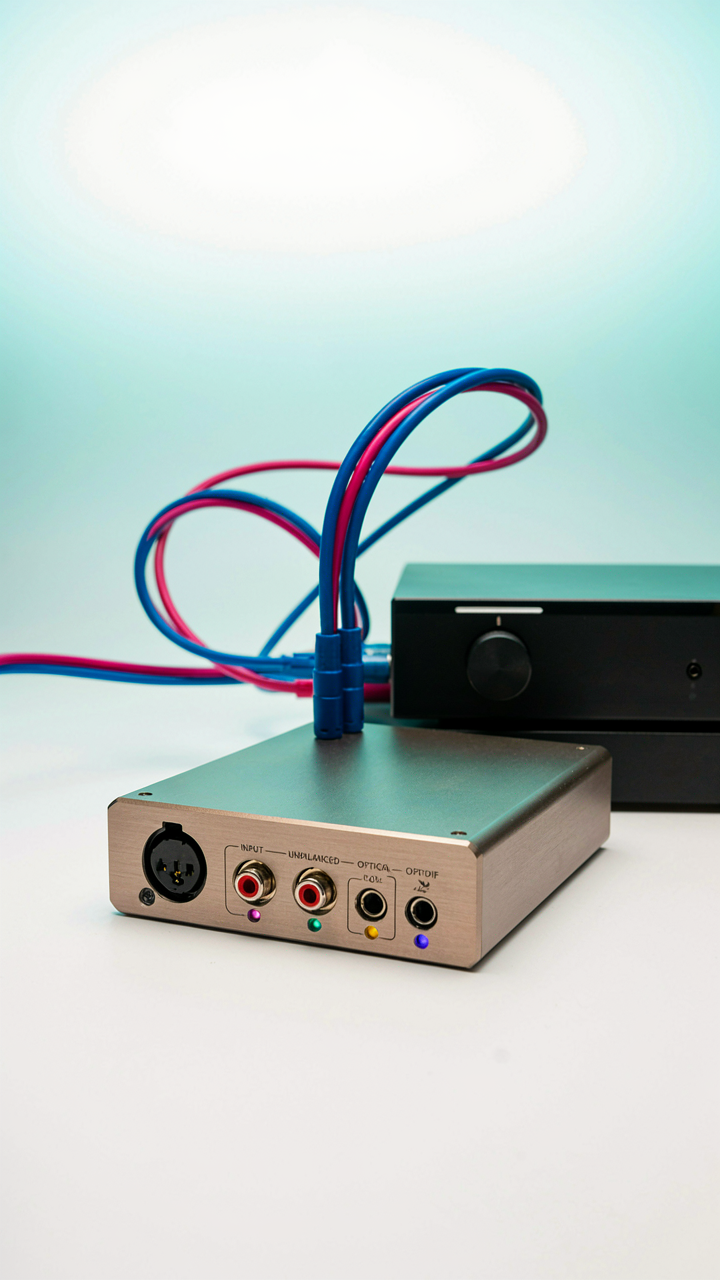
You want this to sound better than your phone’s speaker without admitting you spent money on old equipment. Here’s what actually matters: every DIY Bluetooth receiver converts a digital bitstream into an analog voltage your speakers understand. That conversion happens in a DAC, a digital-to-analog converter. Most people treat it like a black box. It isn’t. The quality of this conversion determines whether your signal arrives clean or corrupted.

A cheap DAC introduces quantization error and clock jitter. Quantization error is the rounding loss when the chip approximates digital values as analog voltages. Clock jitter is timing drift in when the chip samples data. Both degrade clarity in ways you’ll hear as harshness or flatness. You can’t fix a weak DAC with better cables. The chip either performs or it doesn’t. Use a DAC rated 24-bit or higher and check the jitter specification before buying your receiver module.
Shielding Against The Noise You Can’t See
Electromagnetic interference operates like terrain in military strategy: it takes the path of least resistance. Your Bluetooth receiver sits between a radio transmitter and analog amplification. Both generate electromagnetic noise. Without proper shielding, that noise couples into your signal path and rides straight into your speakers as audible distortion or hum. This isn’t theoretical. It’s physics.
Run your receiver’s ground wire directly to the amplifier’s ground. Don’t chain grounds through multiple points. Use twisted pair cables for audio connections to reject common-mode interference. House your DAC and Bluetooth module in a metal enclosure, grounded to your power supply’s ground reference. Position the antenna away from power transformers and switching power supplies. These steps kill interference before it reaches the analog stage where you can’t separate it from the music.
The “DIY Bluetooth Speaker” Blueprint: Essential Components

Which Bluetooth Module Actually Works
You want this to work on the first try because you’re tired of failed projects collecting dust. The real mechanism is simple: not all Bluetooth modules are built for audio. Most cheap modules handle data only. You need a module with an onboard codec that converts Bluetooth audio packets into analog signal. The CSR8645 and the aptX-enabled modules do this. The HC-05 does not. That distinction kills 90% of DIY attempts before they start.

The CSR8645 ships with a built-in DAC (digital-to-analog converter) and amplifier on the same chip. It accepts power from 3.3V to 5V and outputs a clean line-level signal or amplified headphone jack output depending on your variant. Pair it once, and it remembers the device. No recoding needed after that. The module handles the Bluetooth protocol stack internally, which means you’re not wrestling with firmware or AT commands to stream audio.
Powering Your Project: Voltage Stability Decides Everything
Borrow a concept from electrical engineering: impedance matching determines signal quality. In power delivery for audio circuits, voltage ripple is your impedance problem. A 5V supply that drops to 4.2V when the Bluetooth module transmits will introduce noise into your audio output. Cheap USB phone chargers and laptop cables create exactly this ripple pattern.
- Linear voltage regulators (LM7805, LM1117): Drop excess voltage as heat but output extremely clean DC. Use these if your power source is over 9V and heat dissipation isn’t constrained.
- Switched-mode supplies under 500mA: Compact and efficient but generate high-frequency noise. Pair with a ferrite bead on the Bluetooth module’s power pin to suppress this noise.
- USB power banks with stable output: The better ones maintain 5V within 0.1V under load. Check the datasheet for ripple specification, not marketing claims.
- Dedicated battery power (four AA cells): Delivers 6V with minimal ripple. Adds weight but eliminates the need for a wall charger and gives you hours of runtime.
- Capacitive filtering on the module itself: Solder a 10uF and 100nF capacitor across the power and ground pins of the Bluetooth module to absorb voltage transients.
Stray voltage noise couples directly into the audio output and gets amplified by your speaker’s amp stage. The mechanism is unavoidable: power quality determines audio quality. Add the capacitors to the module’s power pins immediately. This single step removes more noise than swapping cables.
Beyond The Board: Enclosure Design As Acoustic Engineering
Stop Vibration Before It Kills Your Signal
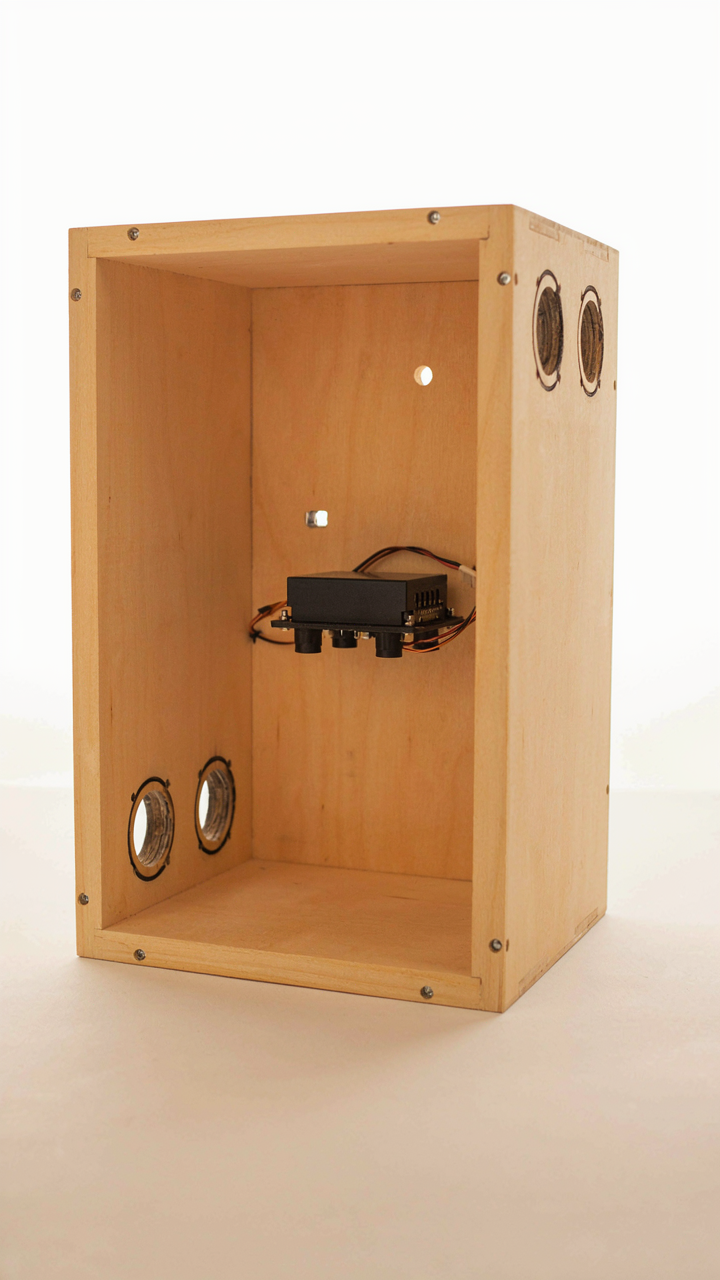
You want your enclosure to look intentional, not like a parts bin you forgot about. Here’s what actually matters: vibration transfers energy from your amplifier circuit into the box walls, and those walls radiate that energy as electromagnetic noise that corrupts the Bluetooth signal path. Physics calls this mechanical coupling. Your enclosure is either a noise antenna or noise sink, depending on what you build.

MDF and plywood work because they’re lossy materials, not because they’re trendy. They absorb vibration energy through internal friction rather than reflecting it back into your circuit. Mount your amplifier module on rubber feet or peel-and-stick vibration damping tape rated for audio frequencies. The material doesn’t need to be thick, it needs to break the structural connection between the amplifier’s oscillating power supply and the metal chassis or speaker binding posts.
Airflow Keeps Your Amplifier From Thermal Throttling
Forget ventilation holes that look like design flaws. Your amplifier chip generates heat under sustained load, and heat shrinks both output power and the Bluetooth receiver’s signal sensitivity. Thermal management isn’t about comfort, it’s about preventing your receiver from dropping connection midstream because the die temperature hit a shutdown threshold.
Calculate cubic inches of enclosure volume and drill intake vents on the bottom, exhaust vents on the top. Air moves from cool to hot zones by convection without forced fans. If your amplifier IC runs at 0.5 watts continuous in a sealed 8-inch box, you’re looking at internal temperatures 40 to 60 degrees Celsius above ambient. Add 2 to 4 square inches of combined vent area to keep that delta under 30 degrees and hold your receiver stable across temperature swings.
The “Bluetooth Amplifier Project” Protocol: Integration Mastery

Pre Amp Considerations: Matching Impedance
You want this to work without frying anything or sounding like garbage, which means you’re terrified of the invisible part nobody explains. Here’s the mechanism: impedance is electrical resistance, and when it mismatches between your Bluetooth receiver’s output and your amplifier’s input, signal reflection destroys your audio fidelity and wastes power. Your DIY Bluetooth receiver outputs a line-level signal, typically around 10 kilohms impedance, and your amp’s input expects that range or higher.

Most receivers use a simple amplifier IC like the TPA3116 or similar, which has a defined output impedance. You need to verify this against your speaker amplifier’s input impedance specification. If the receiver outputs 1 kilohm and the amp expects 10 kilohms or above, you’ve created a voltage divider that cuts your signal by half before it reaches the amp. A buffer stage or a simple op-amp circuit fixes this, but only if you actually measure and know what you’re building.
Soldering Techniques For Robust Connections
The common advice says “use good solder and a hot iron,” which is lazy and incomplete. Cold joints and brittle connections kill DIY audio builds because Bluetooth boards vibrate from speaker output, and inadequate solder joints fracture under thermal cycling. Solder at 350 to 400 degrees Celsius, apply flux to every joint before the solder touches, and let capillary action pull the molten solder into the connection for three to five seconds.
Use 60/40 tin-lead solder or lead-free solder rated for audio work, not plumbing solder. Your connection should shine like a hershey’s kiss, not look dull or blobby. Strain relief matters: bend wires at least a half-inch from the joint to prevent mechanical stress from reaching the solder. Test continuity with a multimeter after cooling. A single cold joint on a power line will generate heat, kill your Bluetooth module, and waste your entire project.
The Feedback Loop System: Tuning For Optimal Performance

Your Bluetooth Receiver Isn’t Stable Until You Force It To Be
You want this to work once and forget it. That’s not how systems behave. Cybernetics—the study of control and feedback in machines—teaches us that any system without recalibration drifts. Your DIY Bluetooth receiver is a feedback system: it receives a signal, processes it, outputs audio, and that output either matches your target or doesn’t. The gap between target and actual is the error signal. You close that gap by measuring it, identifying what caused it, then adjusting the input conditions.

Most people skip this step entirely. They build the thing, it plays music, they declare victory. What actually happens is the receiver sits in an unstable equilibrium. Temperature fluctuations shift component values. Bluetooth interference waxes and wanes. Battery voltage sags under load. The system tolerates these variations until it doesn’t. Real optimization demands you intentionally vary conditions, measure the response, and lock in the settings that survive stress.
Diagnose The Actual Problem Before Touching Anything
The standard advice is to tweak the volume knob and call it tuning. That’s lazy. Diagnosis means isolating which variable is causing your specific failure. Is the audio cutting out? Measure signal strength at different distances and angles. Is the sound distorting? Run a test tone through the receiver and measure output with a cheap USB audio interface. Is the connection dropping? Log the Bluetooth chip’s connection metrics using its debug mode, not guessing.
Document everything in a simple spreadsheet: input level, output level, distance from source, ambient temperature, power supply voltage. Run the same test three times. Look for patterns. Most people hear a problem and immediately assume it’s the amplifier stage or the DAC. Nine times out of ten it’s the power supply sagging under load or the antenna placement creating dead zones. Once you know the actual culprit, the fix becomes obvious. Test one variable at a time, never change two things simultaneously, or you’ll never know which one mattered.
Diy Wireless Audio Transmitter And Receiver: Expanding Beyond A Single Room

How Multi Room Audio Actually Works
You want multi-room audio because you’re tired of being tethered to one speaker. The real mechanism is simple: Bluetooth was designed for point-to-point connection between two devices, not broadcast to many rooms. To fake multi-room with DIY Bluetooth, you either chain multiple receivers to a single source, or you daisy-chain audio through a network. Most people ignore this distinction and end up with lag and dropout.

The cleanest approach uses a Bluetooth transmitter connected to your audio source, with multiple independent Bluetooth receivers scattered across rooms. Each receiver pairs separately to the transmitter. This works because Bluetooth v5.0 and later supports up to 7 active connections on one transmitter. Latency stays under 100ms when receivers are within 30 feet and line-of-sight to the transmitter. Walls and metal objects destroy this fast.
Cutting Through The Range Problem
Signal strength in RF design follows the inverse square law: power drops by a factor of four when you double your distance. Your DIY receiver’s range depends on transmitter power output, antenna quality, and physical obstacles. The cheap CSR8675 chipset maxes out around 50 feet in open space. Once you add drywall, range collapses to 20 feet per wall. The common advice to “just buy a better antenna” is incomplete because the transmitter’s power class matters more than antenna design at these distances.
Orientation kills range faster than distance. A vertical antenna receives better than a horizontal one when the transmitter antenna is also vertical. Mismatched polarization cuts range in half instantly. You optimize by keeping transmitter and receiver antennas parallel and upright, placing the transmitter centrally in your home, and running copper trace antenna designs on your PCB instead of external wire. External antennas help marginally only if they’re positioned perpendicular to walls and wiring.
Bluetooth Speaker Repair Guide: When Your DIY Goes Sideways

Connection Drops Every Few Minutes
You’re troubleshooting this because you hate feeling like you wasted money and time on something that should just work. The real mechanism: Bluetooth operates on the 2.4 GHz band, the same frequency as WiFi, microwaves, and cordless phones. Your receiver module picks up interference, loses the signal lock, and drops the pairing without telling you why.

Start with distance and environment. Move the speaker and phone within ten feet of each other with no obstacles. If dropouts stop, interference is your culprit, not the module. If drops persist at close range, check your power supply voltage with a multimeter on the receiver board’s input pins. Low voltage starves the Bluetooth chip of processing power and causes phantom disconnections.
Pairing Works Once, Then Never Again
Most advice says “reset and re-pair,” which wastes thirty minutes and addresses nothing. The actual problem: your DIY receiver’s firmware stores pairing data in flash memory, but the write cycle often corrupts mid-save if power fluctuates or the module loses ground during the handshake. You end up with a half-written pairing table that the chip can’t read.
Locate the reset button or pin on your Bluetooth module—usually labeled RST or RES. Hold it for five seconds while powered on, then release. This clears corrupted flash data. Perform a fresh pairing immediately after reset, but do it with the speaker plugged directly into a wall outlet, not a USB port or battery. USB ports deliver unstable power during high-current handshakes. Once paired cleanly, the connection typically holds.
Audio Cuts Out Mid Song
This isn’t a connection loss—it’s a buffer underrun. Your Bluetooth receiver streams data faster than your audio DAC can convert it, or slower than the DAC can pull it, creating timing skew. The audio buffer empties or overflows, and the signal halts.
Check the baud rate on your UART connection between the Bluetooth module and your microcontroller or DAC. Standard is 115200 bps, but some modules ship configured for 9600 bps. Use a serial terminal to query the module’s AT commands and confirm baud rate matches your downstream hardware. If baud rates sync but dropouts continue, reduce the Bluetooth bitrate from high quality to standard in your phone’s Bluetooth settings—this increases buffer margin and hides marginal hardware.

Future Proofing Your Audio: Adaptability Over Obsolescence
Build Around Swappable Components
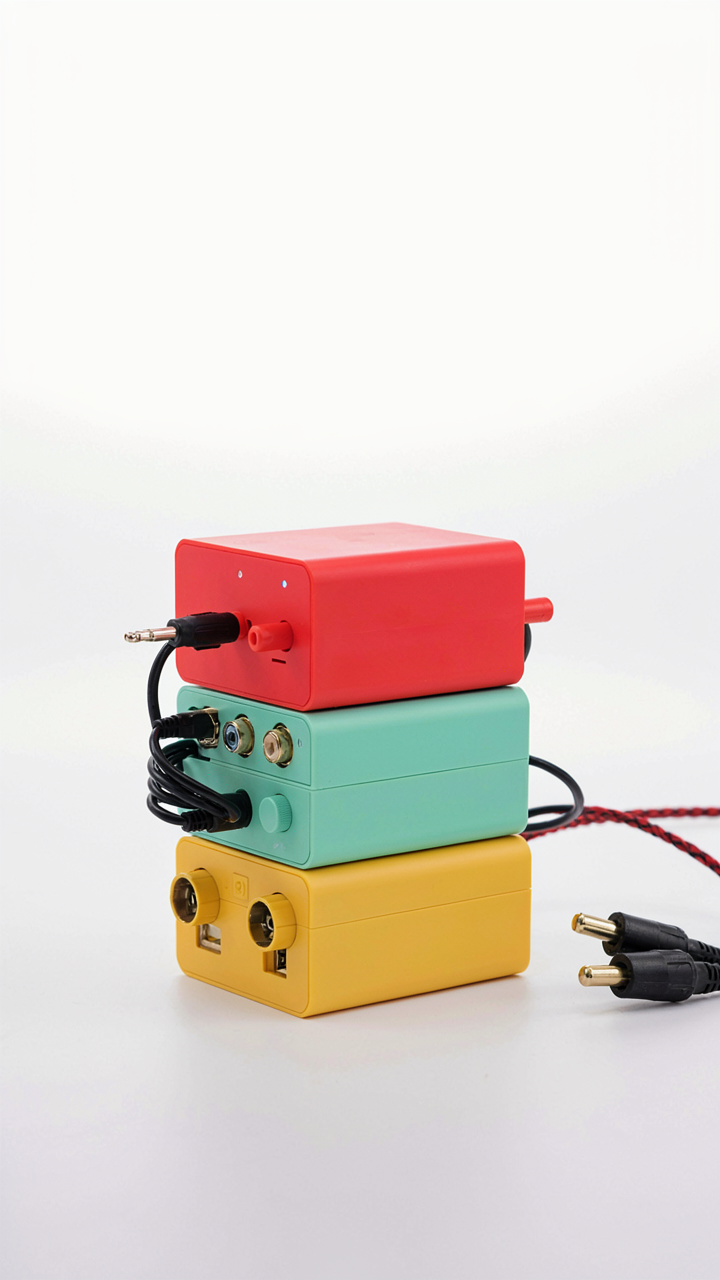
You’re really asking: will this thing still work in five years without me rebuilding it from scratch? The answer depends on whether you treat your DIY receiver like a sealed box or a modular system. Most people choose wrong because they confuse “finished” with “done.”
A modular architecture means your Bluetooth module, amplifier, and power supply operate as independent units. Use standardized connectors—3.5mm jack between Bluetooth board and preamp, speaker terminals that accept banana plugs or bare wire. This lets you upgrade the Bluetooth chipset without touching the amp, or swap the amp without rewiring everything. Invest two hours in documentation: label every connection, photograph the layout, note voltage specs for each component.
The mechanism is friction reduction. When upgrading costs you thirty minutes instead of three hours, you actually do it. When you don’t know what voltage your old amp expects, you don’t touch it. Write a one-page schematic by hand. Store it in your phone. The cost is zero. The result is a system that evolves instead of stagnates.
Open Source Firmware Extends Device Lifespan
Everyone selling you commercial Bluetooth receivers relies on proprietary firmware that gets abandoned the moment the product line rotates out. Your device stops receiving updates. Bugs pile up. You’re stuck.
Open source firmware like ESPHome running on an ESP32 chipset inverts this dynamic. Community developers patch security holes years after release. You compile code locally instead of waiting for a manufacturer push. ESPHome handles Bluetooth connectivity, codec selection, and I2S audio output through a text-based configuration file you can read and modify. If the maintainers abandon the project, other forks continue. No single company controls your audio chain. Update the firmware by plugging in a USB cable and running three commands in terminal. The device learns new tricks as the project evolves instead of calcifying at launch specs.
The Real Obstacle Isn’t Technical Skill, But Your Willingness To Break Free From Plug-and-play Mediocrity

Most people won’t build a DIY Bluetooth receiver because they’ve accepted the lie that convenience matters more than control. You’ve already read this far, which means you’re different. Stop researching and order a CSR8675 module today. Wire it to your speakers this weekend. The moment you hear your favorite song stream through a system you built yourself, you’ll understand that every corporate product you’ve ever bought was designed to keep you dependent, not inspired. Build it and reclaim your sound.



