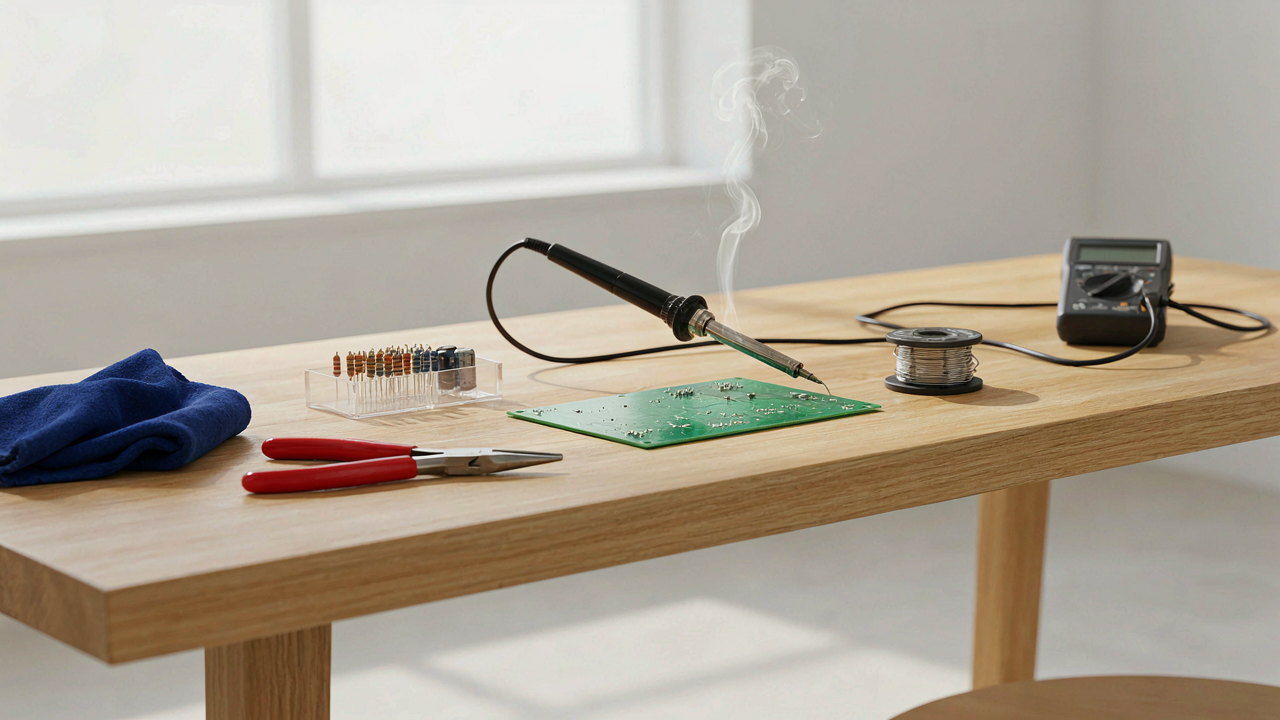
The Delusion Of The Soldering Practice Board Kit
Why Basic Kits Breed False Confidence
You buy a kit because you want proof that you’re serious about this. The mechanism is simple: a kit removes decision-making, so your brain mistakes convenience for competence. You solder a few pre-drilled holes, the joints look shiny, and you feel like you’ve leveled up. You haven’t. The board is designed so that failure is nearly impossible. That’s the trap.
Real soldering lives in constraint and variation. A practice board gives you the same copper pad geometry, the same component leads, the same spacing every time. Industrial work, repairs, and prototype assembly don’t work that way. You’ll encounter awkward angles, tight spaces, components with different lead thicknesses, boards with poor layout design. A kit teaches you to solder in a vacuum. It doesn’t teach you to problem-solve under pressure.
The Critical Gap Between Simulation And Application
Think of soldering like signal processing: a kit is the clean lab signal, but the real world is noise. In signal processing, a system that works perfectly on pure input fails catastrophically on real data. The same happens with soldering. You practice on ideal conditions, then encounter a through-hole that’s already partially filled with old solder, a component that doesn’t sit flat, or a board material you’ve never seen before.
The gap isn’t about hand skill. It’s about decision-making under variation. A kit trains your hands to follow a script. Actual soldering demands you read the board, adjust iron temperature, recognize when you’re overheating a pad, and pivot your technique in real time. Start with broken electronics from thrift stores, old computer boards, and damaged circuit cards. These force you to diagnose, adapt, and actually learn. A kit makes you feel ready. Real work reveals you’re not.
The Minimum Viable Component Soldering Method

Start With Essential Soldering Practice Components
You want permission to skip the boring stuff and jump to impressive projects. That’s not the problem. The problem is you’ll waste months building muscle memory on the wrong joints. Industrial training uses task decomposition: breaking complex work into discrete, repeatable units until each one becomes automatic. Soldering works the same way. You don’t start with a circuit board. You start with two pieces of wire and solder.

The first component you need is copper wire, stripped bare, about 22 gauge. The second is solder wire with rosin core flux. Third: a soldering iron between 30 and 40 watts. That’s it. These three items teach you heat transfer, solder flow, and joint geometry without distracting variables. Your only job is making the solder wet the joint, not blob on top of it. When that instinct fires automatically, you’re ready for the next layer.
Building Blocks For Complex Soldering Projects
Most advice tells you to practice on perfboard or breadboards before real circuits. That’s backwards. Perfboard teaches you nothing about why a joint fails because the holes do half the work for you. Start with point-to-point wiring: one wire to another, no substrate, no shortcuts. You learn to hold tension, feed solder at the right angle, and recognize when the joint is actually fused versus just sticky.
Once point-to-point joints stop failing, move to component leads. Resistors first, then capacitors, then diodes. Each teaches different heat management because each has different thermal mass. A resistor leg heats fast. A capacitor body absorbs heat and makes you adjust timing. This is the actual progression. You build tolerance bands one joint at a time. Only after 200 solid joints across these components do you touch a circuit board project that matters.
From Zero To Function: Your First DIY Soldering Kit Instructions
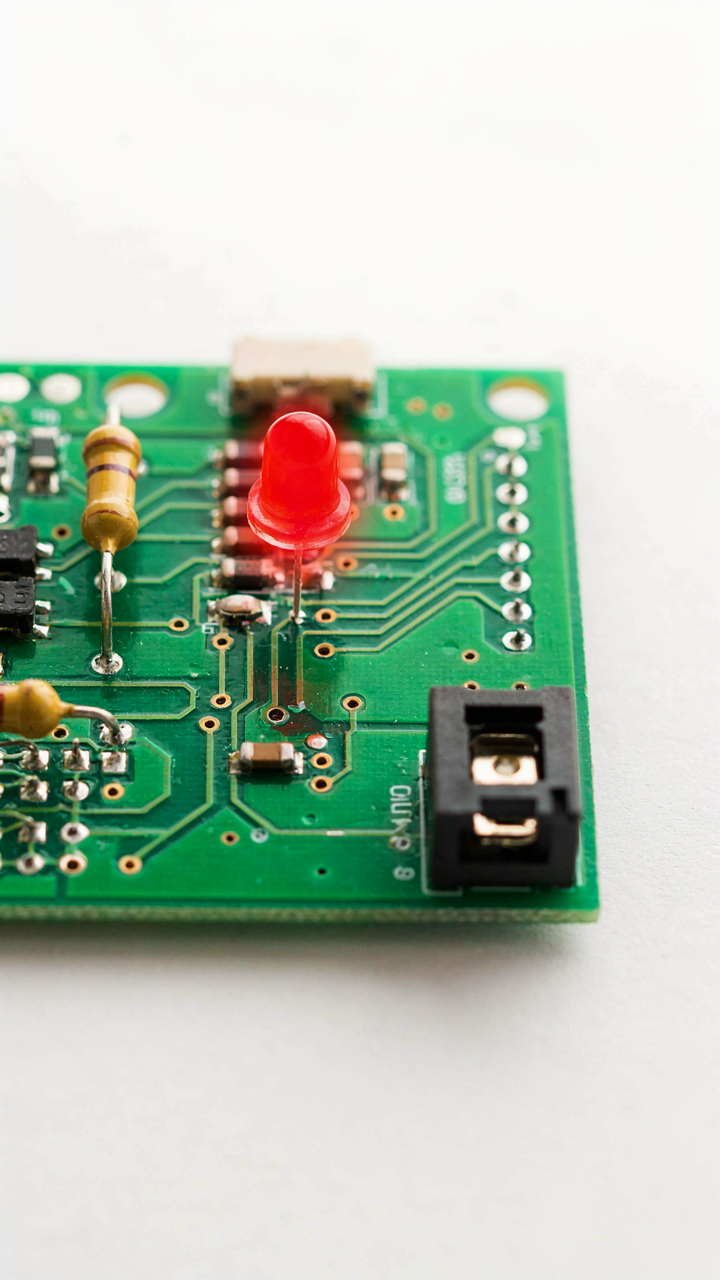
What A Real Beginner Kit Actually Contains
You want to feel competent without spending money on junk that teaches you nothing. The mechanism is simple: a functional kit removes variables so you can isolate the one skill that matters—heat transfer and joint formation. A genuine beginner kit includes a soldering iron rated 25-40 watts, rosin-core solder with 60/40 or 63/37 tin-to-lead ratio, a wet sponge or brass wire cleaner, and a simple circuit board with pre-drilled holes sized for standard component leads. Avoid “kits” bundled with twenty parts you’ll never use.

The board itself should have labeled pads for resistors and LEDs that light up when you complete connections correctly. You’re not building art. You’re building immediate feedback. A basic LED circuit with a resistor, battery connector, and single LED teaches you everything: how to heat a pad and component lead simultaneously, how solder flows when temperature is right, how a cold joint looks versus a good one. The iron heats both surfaces. The solder flows to the heat, not to the iron tip. That’s the entire game.
How The Circuit Teaches What Your Hands Are Actually Doing
Electrical engineering treats circuits as systems with voltage, current, and resistance as inputs. Apply that lens to soldering: each joint is a resistance point. A cold joint has high resistance, causes voltage drop, and the LED dims or dies. This isn’t metaphor. It’s measurable behavior. When you solder, you’re creating a physical and electrical connection simultaneously. Most guides show you the motion without explaining why the motion matters electrically.
Your first kit should make this visible. Solder a joint with low heat and fast speed—cold joint. The LED barely glows or stays dark. Solder the same pad again with the iron held for three seconds and solder flowing freely—good joint. The LED lights at full brightness. You just proved that joint quality controls circuit function. That’s not motivation to practice. That’s the mechanism that makes practice stick. Repeat this test ten times on the same board to lock in the feel of proper heat timing.
The Feedback Loop: Debugging As Skill Catalyst

Failure Teaches What Success Hides
You want to skip the failure part. You think watching videos and reading schematics gets you there faster. It doesn’t. Failure is the feedback mechanism that rewires your hands and eyes to spot problems before they happen. Most people treat debugging as punishment for mistakes. It’s actually the only reliable way to build pattern recognition in soldering.

When a cold joint fails electrically or a bridge shorts two traces, you have to trace backward. Why did the iron linger too long? Why didn’t the solder flow smoothly? Was the pad oxidized? Did you use too much flux or too little? Each failed joint teaches you a specific failure mode your brain will now recognize instantly on the next board. Skipping failures means you stay dependent on checklists instead of developing intuition.
The Feedback Cycle: Finding Root Causes
Cybernetics calls this negative feedback, and it applies directly to soldering: the system detects deviation from desired output and uses that information to correct the input. Your desired output is a solid joint. The deviation is a cold joint, bridge, or burnt component. The feedback is what you observe when testing. The correction is changing your technique the next time.
Stop accepting surface explanations for bad joints. “It looked bad” teaches nothing. Dig deeper. Did thermal mass pull heat from the iron? Did you move the joint before solder solidified? Did residual cleaning flux prevent wetting? Map one variable at a time on your next board. Test immediately after soldering, not after you’ve finished ten more joints. Tight feedback cycles compress learning time drastically.
Beyond The Kit: Sourcing Components For Real Soldering Projects
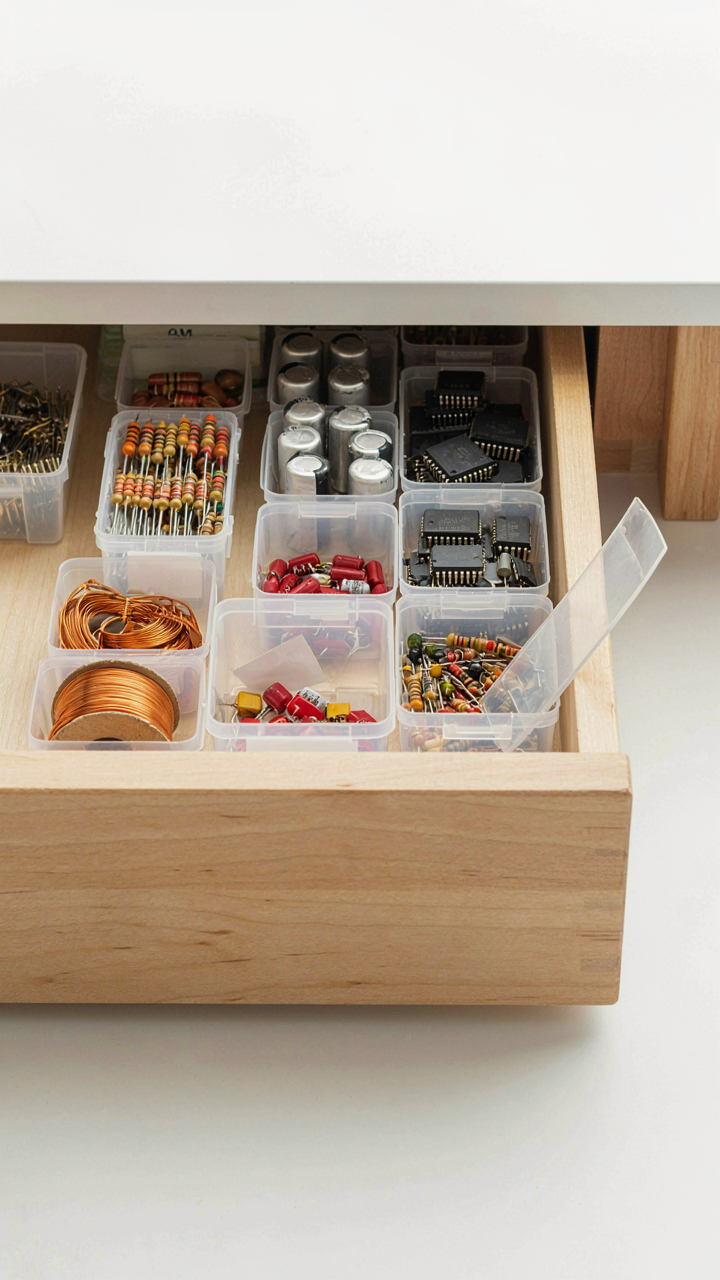
Where To Actually Find Parts That Won’t Fail Mid Project
You want to feel like you’re doing “real work” instead of following instructions on a board that’s already designed for you. The mechanism is simple: kit projects hide bad sourcing decisions behind pre-selected parts. Real projects force you to decide, and that’s where most people panic and buy trash.

Electronics distributors like Digi-Key, Mouser, and Newark stock parts with verified datasheets and traceability. They cost more than marketplace sellers, but they don’t sell counterfeits or parts pulled from old equipment. Aliexpress and eBay sell cheap components that may be used, remarked, or electrically degraded. The price difference isn’t worth learning soldering on parts that might be dead on arrival.
Building Your Component Library Without Wasting Money
The logistics metaphor applies here: you need supply chain redundancy. Don’t stock one resistor value in one quantity. Component inventory fails the same way military supply lines fail—single points of failure cause project delays.
- Resistor assortments: Buy 50 to 100 units each of E12 series values (10 ohm through 1 megaohm). Resistors never fail or expire, so overstock costs nothing.
- Capacitor variety: Stock ceramic disc capacitors (100nF to 100uF), film capacitors (0.1uF to 10uF), and electrolytic types. Different applications demand different dielectric properties.
- Common diodes and transistors: 1N4148 signal diodes, 1N4007 rectifiers, 2N2222 or 2N3904 NPN transistors, and 2N2907 or 2N3906 PNP transistors cover most beginner circuits.
- LEDs and switches: Red, green, and yellow LEDs in multiple brightness ratings. Push buttons and toggle switches in common pin configurations prevent project delays.
- Trim potentiometers and ICs: Stock 10K trim pots for tuning circuits. Keep 555 timer chips, op-amps like LM358, and common logic gates on hand for repetition.
Start with a parts kit from a distributor rather than collecting scraps. Label everything by value and component type in small bins or drawers. When you reach for a 10K resistor at 11 PM, you grab it in three seconds instead of hunting through unlabeled bags. Inventory discipline saves more project time than any other single practice.
The Constraint Protocol: Elevating Your Soldering Practice

Imposing Limits For Accelerated Skill Acquisition
You want permission to skip the unglamorous stuff and jump to complex builds. That’s not how skill compounds. Constraint works like load progression in strength training: you deliberately reduce variables so your nervous system isolates and reinforces one movement pattern at a time. Remove options, and your brain stops shopping for shortcuts.

Most advice tells you to “practice more.” That’s useless. You need to practice less, but under tighter rules. Set a single constraint per session: one iron temperature, one solder type, one joint geometry, one component value. This forces your hands to adapt to that one variable instead of your attention fracturing across ten. Your muscle memory builds toward specificity, not chaos.
Time, Tools, And Component Constraints
Beginners waste months on projects with too many unknowns at once. You need a constraint calendar: define your iron wattage before the week starts, lock your solder gauge for the entire month, pick one PCB footprint and master it for two weeks straight. This removes decision fatigue and lets your joints improve measurably against a baseline.
Set a timer for each session and commit to the duration, not the result count. Thirty minutes with one 0603 resistor soldered ten times beats two hours jumping between resistors, capacitors, and ICs. Track your joint inspection results against yesterday’s joints using the same magnification. When the constraint becomes automatic, upgrade one variable only. This is how you build a nervous system that transfers to any board.
The Art Of Desoldering: When Good Soldering Goes Bad
The Removal Mechanism
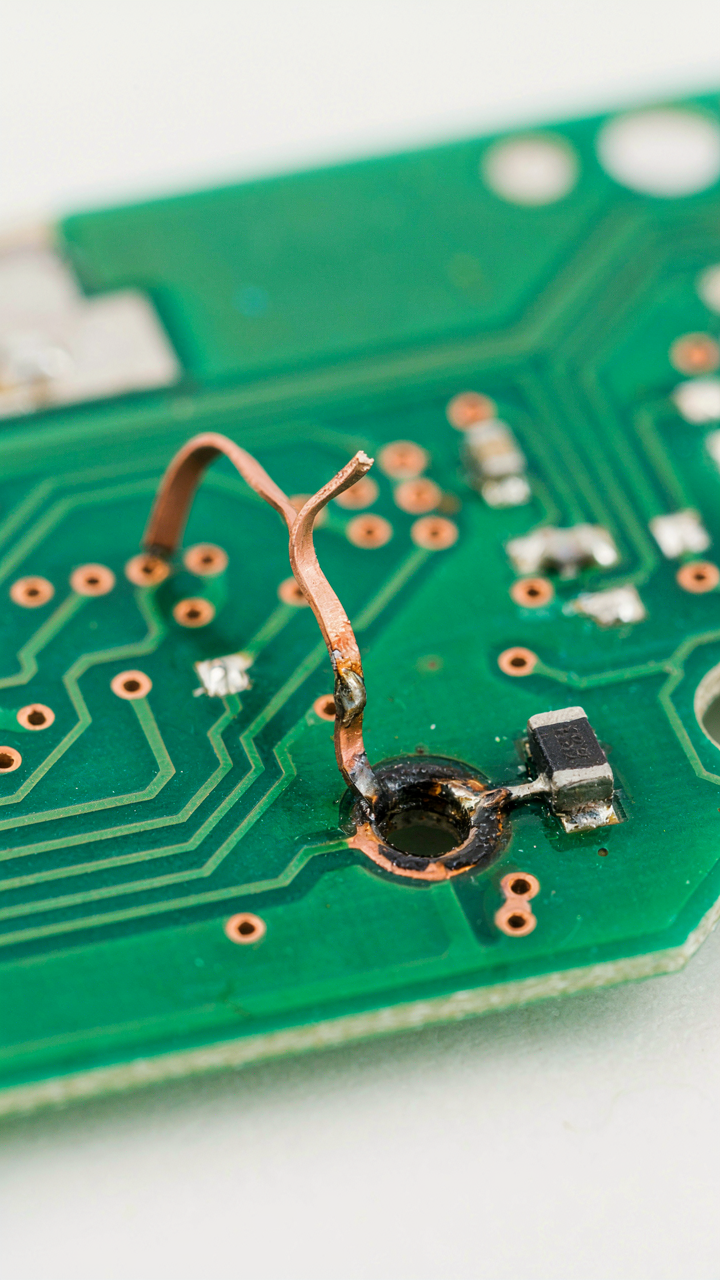
You care about this because you’re terrified of destroying a board you spent time building. The real issue isn’t desoldering itself—it’s thermal management. Desoldering is thermodynamics applied to a joint: you must heat the solder and the pad simultaneously without overheating the component or lifting copper traces. Most people heat only the solder, which fails because solder conducts heat poorly without contact to the pad underneath.

Use a solder sucker or desoldering braid, not tweezers to pull components. Heat the joint from the pad side, not the component lead. The pad absorbs and distributes heat across the board. Once the solder flows, remove heat immediately. Rushing this step causes pad separation from the substrate—thermal shock that happens in seconds and cannot be reversed.
Salvaging Damaged Boards
Common advice says to use flux when desoldering. This is incomplete. Flux alone doesn’t save a board—understanding failure modes does. Pads lift because you applied heat too long or too hot. Traces crack because you twisted a component while solder was still cooling. Component legs break because you yanked instead of letting gravity work after the joint melted.
The protocol: apply flux to the joint, heat for three to five seconds maximum, let solder flow, remove heat, wait two seconds, then remove the component straight upward with steady pressure. If the solder doesn’t flow after five seconds, the pad temperature is wrong—reheat the pad itself, not the lead. Practice this timing on scrap boards until you hit it consistently, because desoldering speed and heat duration determine whether your next project stays intact.
Building A “Soldering Kit Learn Soldering Practice” Mindset

Treating Skill Development Like A Long Term System
You want to skip ahead because you think momentum will solve this. It won’t. The real mechanism here borrows from systems thinking in engineering: feedback loops determine whether a system improves or stagnates. In soldering, your feedback loop is the quality of your joints under magnification, measured consistently over months, not days. Most people break this loop by switching projects too fast.

Set a baseline. Solder the same joint design ten times, then inspect each one under magnification at the same distance and lighting. Document the results visually or in writing. This isn’t about perfection yet. It’s about seeing whether your wrist position, temperature control, and solder flow are improving or drifting. Return to this same joint every two weeks. The metric that matters is consistency, not speed.
Finding Real Feedback Through Community And Mentorship
The common advice here is generic: “Find a mentor” or “Join a maker community.” That’s incomplete. What you actually need is someone who will critique your joints without ego. Not a cheerleader. A person who has failed more than you have and knows what bad technique looks like under a microscope.
Seek out local electronics repair shops, hackerspaces with soldering stations, or online communities built around specific projects like vintage radio restoration or synthesizer repair. These places attract people who depend on consistent joint quality for real reasons. Ask someone to review a joint you’ve made. Ask why it failed, not whether it passed. Then return with three improved joints. That cycle, repeated over months, compresses years of independent trial into usable skill.
Advanced Practice: Miniaturization And Surface Mount Soldering
When Component Size Stops Mattering
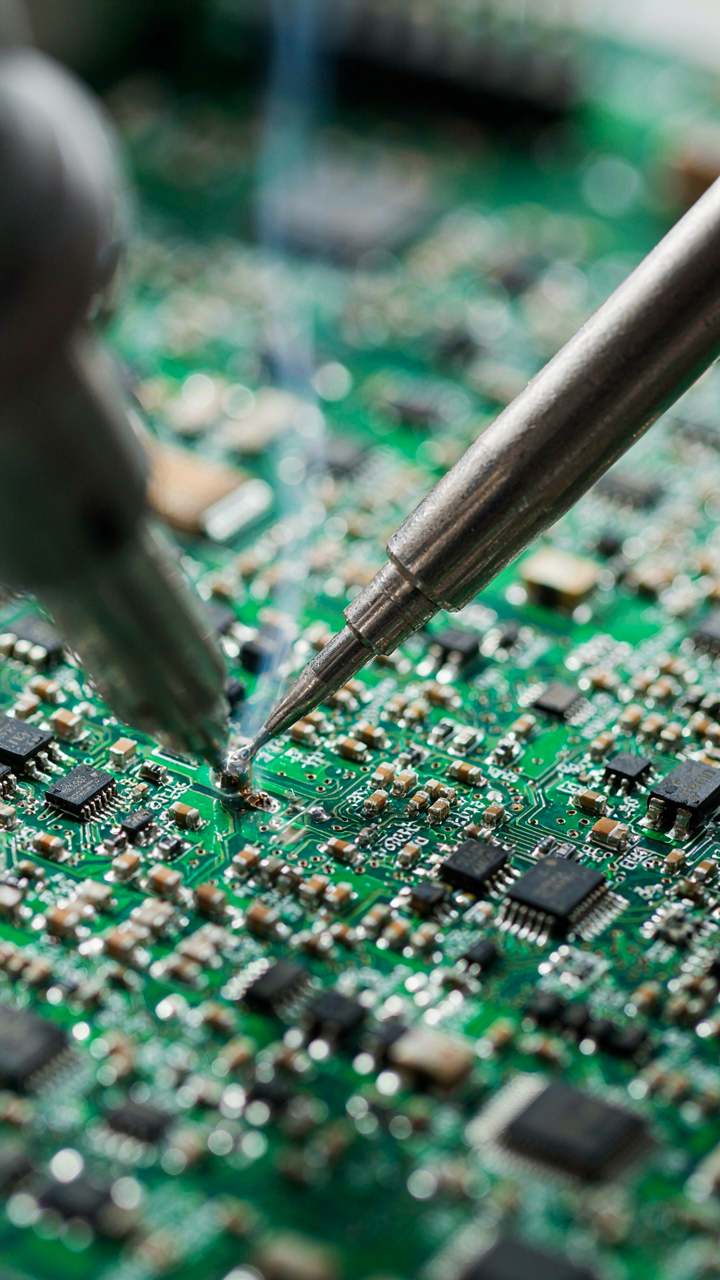
You want this section because smaller components feel like proof you’ve graduated. The real mechanism is different: miniaturization forces you to fix every bad habit you’ve hidden at through-hole scale. Hand soldering surface mount requires your iron temperature stable within five degrees, your solder paste consistency uniform, and your hand position locked down. There’s nowhere to hide sloppy technique when a 0402 resistor is smaller than a grain of rice. Thermal management becomes physics, not preference. You learn to work fast without rushing, which is the actual skill nobody names.

Surface mount soldering exposes the gap between “can solder” and “can solder consistently.” Your hand tremor matters now. Your iron’s thermal recovery matters now. The angle of approach matters now. You’ll either adapt your process or keep producing cold joints you can’t see without magnification. This is where practice stops being forgiving and starts being diagnostic.
Working In Density Without Destroying Neighbors
High-density boards treat soldering like a siege problem from military strategy: you must control the perimeter to avoid collateral damage. Each joint you make affects thermal energy distribution to adjacent components. Place your iron wrong, and you reflow a capacitor three millimeters away that wasn’t supposed to move. The tactic is reducing dwell time to under three seconds per joint while maintaining wetting. You accomplish this by preheating the pad and lead together before introducing solder, not by applying solder to a cold junction and hoping the iron catches up.
Spacing changes everything on dense boards. Components at 1.27 millimeter pitch require a different iron tip shape than 2.54 millimeter spacing. Use a chisel tip for ground planes that pull heat away. Use a fine conical tip for signal traces and delicate leads. Work systematically in one direction across the board rather than jumping around, which lets thermal patterns stabilize predictably. Finish each section completely before moving to the next to prevent thermal shock from cold areas adjacent to hot ones.
Monetizing Mastery: From Soldering Hobby To Side Income

The Market For Repair Skills Nobody Has
You want proof that your skill matters. That’s the real driver here. The mechanism is simple: consumer electronics fail constantly, repair shops charge labor rates that shock people, and most technicians won’t touch low-ticket items because the margin math doesn’t work for them. You fill that gap. Phone charging ports, headphone jacks, vintage audio equipment, arcade machines, synthesizers, guitar pedals—these accumulate in people’s homes and garages. They’re not broken beyond reason. They’re broken past the point where manufacturers support them. That’s your market.
Start with items you already own or can source cheap. A broken gaming controller costs 60 dollars new. A charging port resolder takes 15 minutes once you’ve done it fifty times. You’re not competing on speed against industrial shops. You’re competing on price and accessibility against people’s decision to throw the item away. Post before-and-after photos of repairs on local Facebook groups or through word of mouth. Charge 25 to 40 dollars per job initially. The goal isn’t volume yet—it’s proof of concept and feedback on which repairs actually sustain demand.
When Practice Becomes Production
Economics borrowed from manufacturing teaches the concept of “economies of scale,” where repeating a process makes each unit cheaper to produce. Apply this directly: the thousandth soldering joint you make costs you less time and frustration than the first. Specialization compounds this advantage. Don’t try to repair everything. Pick two or three repair categories and become the person known for those.
The real income comes from building finished products, not repairs. Custom cable assemblies for musicians. Modular synth modules for enthusiasts. Hand-soldered guitar pedals. LED display retrofits for vintage equipment. These command higher margins because you’re not negotiating against replacement cost—you’re pricing against custom labor and scarcity. Document your process, build a portfolio of completed work, and price based on your actual time invested plus component cost, not what you think the market will bear. Stop underpricing because you’re still learning—once your hands prove competence, your rate reflects that.
The Real Obstacle Isn’t Your Soldering Iron; It’s Your Addiction To Comfort And The Illusion Of Progress

Most people quit soldering practice projects because they mistake watching tutorials for actual skill. You won’t build steady hands by consuming content. Pick up your iron today and solder one joint badly. Fail visibly. That discomfort is where learning happens, not in your browser. The only difference between someone who can solder and someone who can’t is someone who did the work when it felt pointless. Your hands know nothing until you force them to remember.



