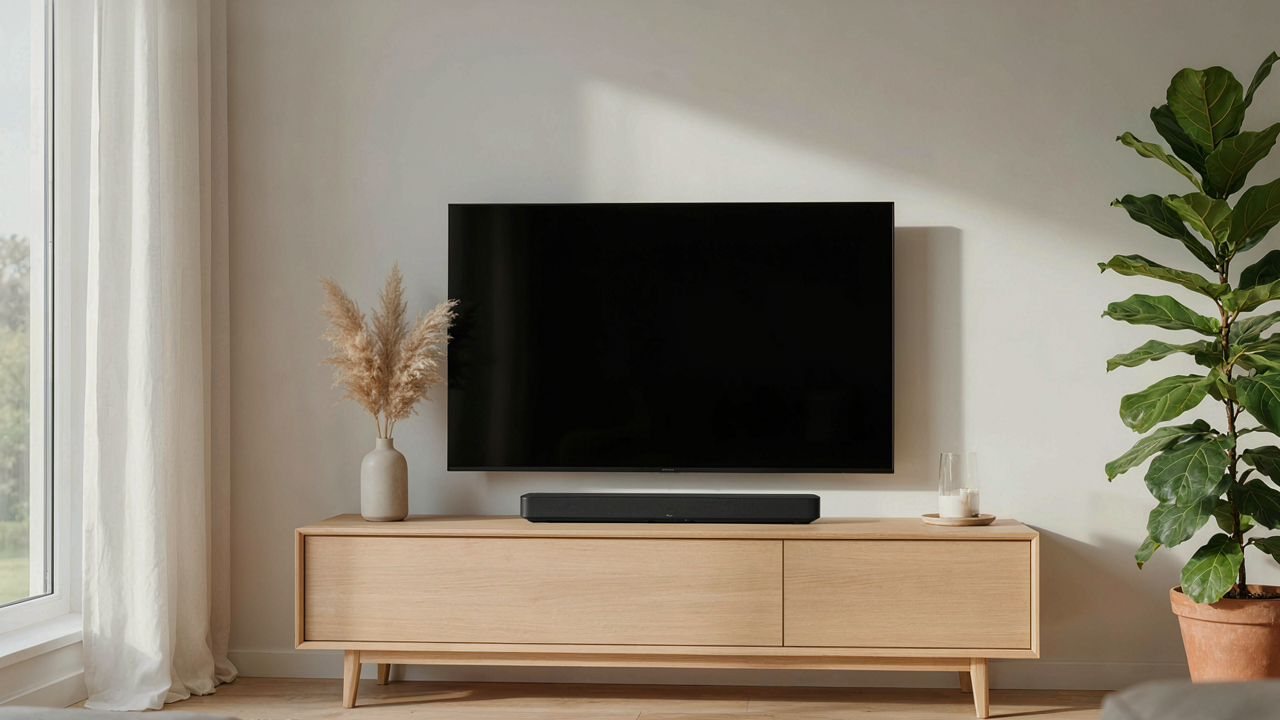
The Commercial Compromise: Why Off The Shelf Fails Small Rooms

Dimensions That Ignore Room Physics
You want to believe a $200 soundbar will fix your audio problem without requiring you to think about why it won’t. Here’s the mechanism: commercial soundbars ignore acoustic impedance matching, which is borrowed directly from electrical engineering. A soundbar optimized for living rooms of 250+ square feet produces wavelengths that don’t compress properly in rooms under 150 square feet. The drivers are tuned for distance. Your room is not that.
Most off-the-shelf soundbars measure 28 to 36 inches wide and sit at ear level when mounted on a TV stand or wall. This dimension works fine for medium-to-large spaces where sound has room to develop. In small rooms, this same width creates acoustic dead zones along side walls and amplifies reflections off rear surfaces. The enclosure itself becomes part of the problem, not the solution. You need to match enclosure dimensions to your room’s modal frequencies, not to TV bezel trends.
Feature Bloat Kills Enclosure Integrity
The conventional advice says more speakers mean better sound. That’s incomplete. Commercial soundbars pack seven to thirteen drivers into a single cabinet to justify price points and marketing claims. This approach sacrifices enclosure bracing, internal damping, and driver-to-driver coherence for spec sheet density.
When you compress that many drivers into a chassis designed to mount under a television, internal reflections become chaotic. Drivers fight each other for air pressure inside the enclosure. Quality drivers isolated in properly braced chambers outperform cheap drivers crammed together. A DIY approach uses fewer, better drivers in an enclosure engineered for your specific room dimensions, eliminating the feature tier that destroys acoustic performance.
The Acoustic Blueprint: Mastering Soundbar Dimensions For Your Space

How Room Size Changes Everything
You want a soundbar that impresses visitors without admitting you’re working with constraints. Here’s the mechanism: acoustic pressure builds differently in small rooms than large ones. In physics, we call this modal behavior—how sound waves bounce and reinforce themselves at specific frequencies. Your DIY soundbar’s dimensions directly control which frequencies dominate your space. A 40-inch soundbar in a 150-square-foot bedroom doesn’t scale up performance. It creates dead zones and bass bloat because the room can’t move air fast enough to reproduce what the drivers produce.

Small rooms demand compact driver configurations because boundary reinforcement is already working against you. The closer your walls sit to the speakers, the more bass energy accumulates in corners. This isn’t a problem to fight with bigger drivers. It’s a constraint to design around. A 20-to-24-inch soundbar in a small room typically outperforms a 36-inch unit because the wavelengths align with your space’s dimensions instead of fighting them. Measure your room’s length, width, and height. Your soundbar length should never exceed one-third of the wall it sits against.
Driver Selection Locked To Room Volume
The wrong advice here is that midrange drivers handle most of the work, so size them generously. That’s incomplete. What matters is matching driver frequency response to your room’s natural resonances. In a room under 200 square feet, a 4-inch woofer produces cleaner bass than a 6-inch one because the smaller cone moves with less inertia and tracks room modes more precisely. Your small space can’t absorb the excursion patterns that larger drivers create.
Choose your tweeter size based on listening distance, not aesthetics. A 1-inch tweeter works fine for seating six feet away. Beyond that, drop to a 3/4-inch tweeter that beams the high frequencies more directionally. For the midrange driver, 2-to-3 inches handles dialogue clarity in confined spaces. If your soundbar houses a 4-inch woofer, one 2-inch midrange driver, and one 1-inch tweeter, you have a functional small-room configuration. Build the enclosure first, then select drivers that fit the volume you’ve created. Never reverse this process.
Homemade Soundbar Materials: Beyond MDF And Plywood
Material Density And Resonance Control
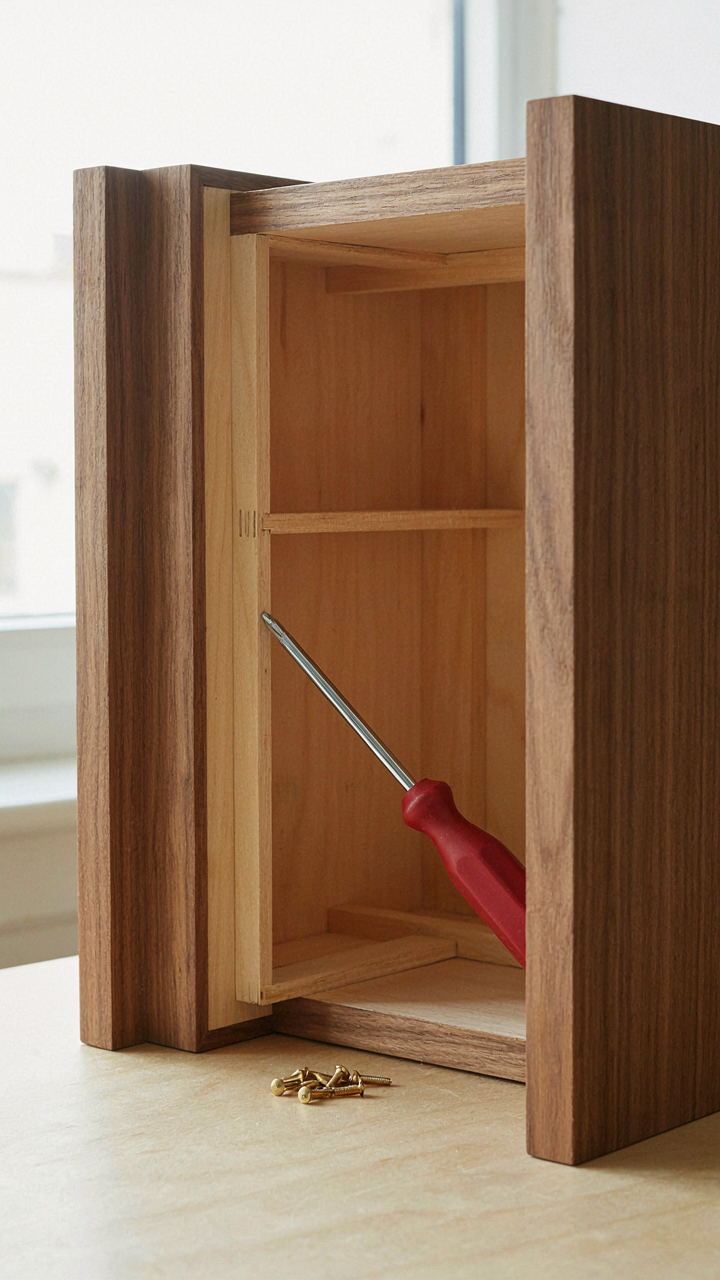
You want the material to sound expensive without the price tag. Here’s what actually matters: enclosure material controls resonance through mass and internal damping, borrowed directly from structural engineering where load-bearing capacity determines stability. A soundbar cabinet works the same way—density determines how much vibrational energy the walls absorb versus radiate back into the driver. MDF at 700 kg/m³ resonates noticeably. Solid wood, birch plywood, and Baltic birch at 600-750 kg/m³ perform similarly. The difference isn’t dramatic because you’re not building a concert hall.

What moves the needle is internal cavity tuning. A sealed box filled with the wrong material lets standing waves bounce around and muddy midrange. Increase material density strategically: use birch plywood for the front baffle where driver mounting matters most, standard MDF for sides and back where internal pressure needs control. The real mechanism is modal distribution—lower density walls couple with air pressure inside the cabinet, creating peaks and valleys in frequency response. Higher density decouples this interaction. For small room soundbars under 24 inches, this distinction between material choices produces audible clarity improvements without requiring exotic materials.
Bracing And Vibration Isolation
Most DIY builders skip internal bracing because it seems unnecessary. They’re wrong. Cabinet walls vibrate like speaker cones. Unbraced walls store energy, release it delayed, and destroy imaging. The solution isn’t complicated but it demands execution. Install cross-bracing from front to back using 1×2 or 1×3 lumber, perpendicular to the longest span. Space braces 8 to 12 inches apart. This reduces wall deflection under driver pressure, eliminating the secondary resonance that makes cheap soundbars sound colored and fatiguing.
Damping material fills the gaps between braces. Rockwool or rigid fiberglass at 1.5 to 2 inches thickness behind drivers absorbs standing waves. Line the back cavity completely. The braces themselves should contact the baffle and rear panel, creating three-point rigid triangulation. Avoid adhesive if possible—mechanical fastening with screws prevents vibration transfer through glue layers, which degrade over time. After bracing installation, tap the cabinet walls. An unbraced wall rings. A properly braced wall thuds. That change in acoustics indicates the mechanism is working: reduced vibrational energy means cleaner driver output reaches your ears.
The Signal Integrity Protocol: Wiring And Crossover Networks

How Impedance Actually Controls Your Sound
You want your DIY soundbar to sound “clean” without spending money on boutique cables. That’s not the real problem. The real problem is you’re running signal through cheap wire and wondering why it doesn’t match the specs you read online. Physics doesn’t care about your budget.

Impedance is electrical resistance that changes with frequency. In a DIY soundbar, your amplifier outputs a voltage signal that travels through speaker wire to your drivers. Every inch of wire, every connection point, every component in the path introduces resistance. Lower impedance in your wiring means less voltage drop, which means the amplifier delivers more actual power to the drivers instead of losing it as heat in the wire itself. Use 12 or 10 gauge speaker wire for runs under 20 feet. Solder all connections instead of crimping them. Shorter cable runs between components beat longer ones every time.
The signal integrity protocol starts with measuring voltage drop across your wiring before assembly. If you lose more than 5% of your amplifier’s output voltage to the wire itself, you’ve already damaged your clarity without ever playing a note. Most people skip this step and blame the drivers. Build your enclosure layout so the shortest path exists between amplifier and each driver type, then route your wiring accordingly, not aesthetically.
Crossover Design: Matching Frequencies To Driver Capability
Every driver has a natural frequency range where it performs without distortion. A tweeter driver physically cannot move low enough to produce bass. A woofer cannot vibrate fast enough for treble without breaking apart. Most DIY builders ignore this and wire everything in parallel, letting each driver fight for the same frequencies.
A crossover is a filter network that sends only the frequencies each driver can handle. An active crossover uses an amplifier and capacitors to split the signal before it reaches your amplifier stages. A passive crossover uses only capacitors, inductors, and resistors after amplification. Passive crossovers are cheaper and require no extra power, but they waste energy as heat and introduce phase shift. Active crossovers require separate amplifier channels but preserve signal clarity and let you tune the crossover point by changing capacitor values instead of replacing components.
For a small room DIY soundbar, a simple two-way passive crossover using a capacitor to roll off lows to the tweeter and an inductor to roll off highs to the woofer works. Set your crossover frequency between 2000 and 3000 Hz, where human ears are most sensitive to phase issues. Use film capacitors rated for audio, not electrolytic. An inductor wound from 18 gauge copper wire around a ferrite core minimizes DC resistance loss. Test the crossover point by playing a frequency sweep and listening for a smooth transition, not a peak or dip at the crossover frequency itself.

Diy Soundbar Plans: From Concept To Fabrication
Modeling Your Enclosure Before Building
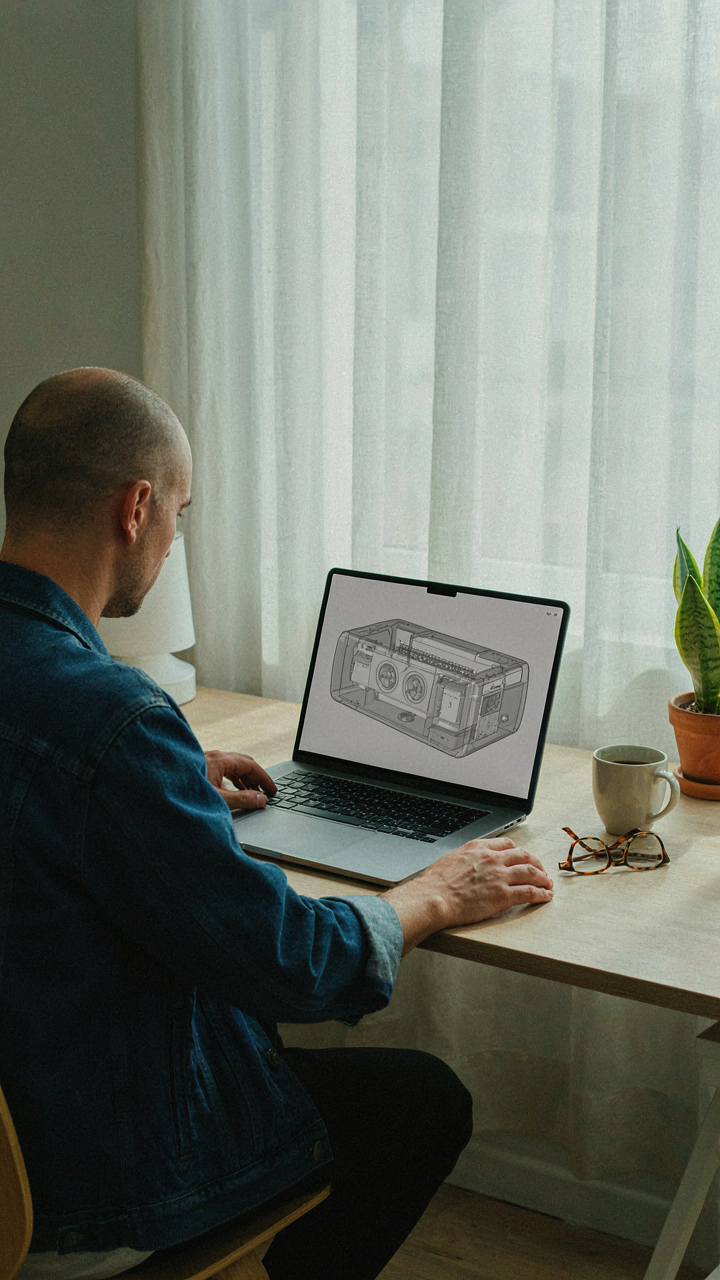
You want to avoid the embarrassment of building something that doesn’t work, so you’re looking for permission to spend time on design instead of admitting trial and error costs money. Here’s the mechanism: CAD software lets you model driver placement, internal volume, and port tuning before you cut wood. Acoustic design borrows from architecture’s spatial reasoning—treating your enclosure like a room where sound waves behave predictably. FreeCAD or Fusion 360 Community Edition runs on any machine. You input driver dimensions, measure your available space, and simulate where frequencies will bunch up or cancel.
The real advantage isn’t the 3D visualization—it’s catching joinery problems before fabrication. A badly placed internal bracing wall blocks port efficiency. Incorrect driver mounting depth kills frequency response. CAD forces you to think in cross-sections and clearances. You spot these issues on screen, not after you’ve already routed panels. Export your model to PDF with dimension annotations. This becomes your build reference.
Execution: Assembly And Acoustic Sealing
The common advice says build the box and move on. That’s incomplete and leads to muddy bass and rattle noise. Joinery quality determines whether your enclosure acts as a sealed acoustic chamber or a leaky box that bleeds low frequency energy into the room. Follow this protocol exactly: use wood glue on all joints, reinforce with pocket hole screws or traditional mortise joints, clamp for 24 hours minimum before adding the next panel.
- Driver Mounting Gasket: Apply acoustic foam tape around the driver flange before screwing into baffle. This isolates vibration transfer and kills cabinet resonance that colors midrange tone.
- Port Sealing: Use silicone caulk or polyurethane around internal port tube connections. Any gap leaks tuning and degrades bass response below your design frequency.
- Internal Damping Placement: Install acoustic foam on side and rear walls, not the baffle. The baffle stays rigid to maintain driver accuracy. Damping on interior surfaces kills standing waves.
- Cabinet Bracing: Add vertical braces every 12 inches for cabinets over 30 inches wide. This prevents panel flexing that introduces distortion during dynamic bass passages.
- Seal All Gaps: Check joints with a penlight from inside. Any light leak means air escape. Reseal with caulk. A sealed box is a tuned box.
Assemble the box in stages: front baffle to sides, then back panel, then bottom. This staging prevents trapped glue and allows proper clamping angles. Don’t skip the gasket seal around drivers—this single step separates clean output from boxiness. Once cured and sealed, test frequency response with a cheap measurement mic if you have one, or just listen for muddy bass that indicates incomplete sealing. Cabinet integrity is not optional.

Diy Surround Sound System: Expanding Your Soundstage

Center Speaker Placement And Crossover Integration
You want surround sound in a small room because it makes you feel like you’ve solved the problem of bad audio without spending money. The real mechanism is dialogue intelligibility. Most people watch content where voices matter. A center speaker extracts the center channel from your main speakers, which is where dialogue lives in standard surround mixes. This is basic audio engineering, not opinion.
Position the center speaker at ear level when seated, pointed directly at your listening position. This matters because sound from a point source reaches your ears simultaneously, eliminating the phase cancellation that kills clarity when dialogue comes from multiple angles. Set your AVR’s crossover frequency to 80Hz for the center speaker. This tells the speaker to reproduce only midrange and treble, sending bass to a subwoofer if you have one, preventing frequency overlap that muds dialogue.
Satellite Speaker Positioning For Immersion
The common advice says surround speakers create atmosphere. That’s incomplete. Surrounds exist in military audio doctrine as redundancy points—they confirm directional cues already established by the front stage. In DIY setups, they work best at 90 to 110 degrees from your listening position, elevated 1 to 2 feet above ear level.
Height matters more than distance. Surrounds reproduce ambient sound, not dialogue or main effects. Set them 2 to 3 decibels lower than your center and mains using your AVR’s level controls. Mount them firmly to wall studs or use quality shelving brackets. Loose speakers vibrate independently from the enclosure, breaking the spatial illusion. Run balanced XLR cables if your DIY amplifier supports it, or use shielded RCA cables run along baseboards away from power lines to minimize noise pickup and hum.

The Floating Sound Bar Aesthetic: Mounting And Integration

Bracket Selection And Cable Routing
You want your soundbar invisible because seeing the work makes you feel like you failed at design. The mechanism is simple: a floating soundbar uses friction and load distribution to stay put, not magic. Aluminum brackets distribute weight across studs or solid surfaces. Steel hardware handles the actual load. Your job is choosing brackets rated for your soundbar’s weight, then routing power and audio cables behind walls or through raceways before mounting.
Cable management determines whether your setup looks intentional or abandoned. Run power cables inside adhesive-backed raceways along the wall before mounting the bracket. Hide HDMI and optical cables inside the same raceways or drill them through walls into an equipment closet behind the TV. Use clips rated for cable diameter to prevent sagging. Secure cables at six-inch intervals minimum. Test the bracket’s hold on your actual wall material before final installation.
Visual Placement Within The Room
A soundbar sitting on furniture is a failure of spatial thinking, not practicality. Integrate it into your room’s existing vertical hierarchy by mounting it at ear level when seated, not floating it arbitrarily high. In small rooms, this usually means 24 to 36 inches above the floor or mounted directly below a wall-mounted TV. The visual anchor should align with your sight line, not hover above it like an afterthought.
Match the soundbar’s frame color to your wall or TV bezel, not your furniture. Matte black blends into dark walls. White or light gray works against pale surfaces. Paint the mounting bracket the same color as your wall to collapse the visual weight further. Position cable raceways vertically along wall edges where trim already exists. This approach treats the soundbar as architecture, not appliance. Install it flush against the wall surface with no gap between the unit and mounting plate.

Diy Soundbar Mini Boombox: Portable High Fidelity

Compact Design Principles For Powerful, Portable Audio
You want proof that you didn’t waste money on something that sits unused. The real mechanism here comes from acoustics, not aesthetics. In acoustic engineering, cabinet volume directly controls bass response—smaller enclosures require deliberate trade-offs. A mini boombox doesn’t fight physics. It accepts that deep bass below 80Hz becomes impractical, then optimizes midrange and treble clarity instead. This constraint becomes an advantage.
The enclosure itself is load-bearing structure, not decoration. Use a rigid material like MDF or plywood, minimum 0.75 inches thick. Internal bracing prevents panel resonance that destroys clarity. A sealed cabinet design works better than ported for compact builds because it needs less volume to maintain flat response. Mount drivers on separate baffles to isolate vibration. Aim for total enclosure volume between 0.5 and 1.5 liters—tight enough for portability, large enough to avoid frequency peaks that sound hollow.
Battery Power Solutions And Efficient Amplifier Selection
Most DIY guides mention wattage and ignore efficiency. That’s incomplete. An efficient amplifier converts more battery energy into sound instead of heat. Class D amplifiers deliver 85-95% efficiency compared to Class AB at 40-50%. For a portable boombox, a 20-30 watt Class D chip like the Infineon MA12070 or TPA3255 runs full volume for four to six hours on a 3000-5000mAh lithium battery.
Match battery capacity to actual runtime needs. A single 18650 cell at 2600mAh powers a 10-watt system for roughly five hours at moderate volume. Use a buck-boost converter to maintain stable voltage as the battery discharges—this prevents volume dropoff midway through use. Mount the battery in a removable module so users swap packs instead of waiting for recharge cycles. Test the complete power chain under load before final assembly.

Your Real Obstacle Isn’t Technical Skill; It’s The Courage To Reject Mass-market Mediocrity And Build For Your Own Ears

Most people never build a DIY soundbar because they wait for permission from a brand or a perfect tutorial that doesn’t exist. You already know enough. Stop researching and grab two speakers from your closet today. Mount them, wire them, test them. The only way you discover what actually works in your small room is by making something that fails first. Consumer audio companies bet you’ll never try. Prove them wrong by building something that sounds exactly how you want it to sound.



