The Lumens Fallacy: Why More Light Isn’t Better Camping Lights
Your Eyes Don’t Work Like Phone Screens
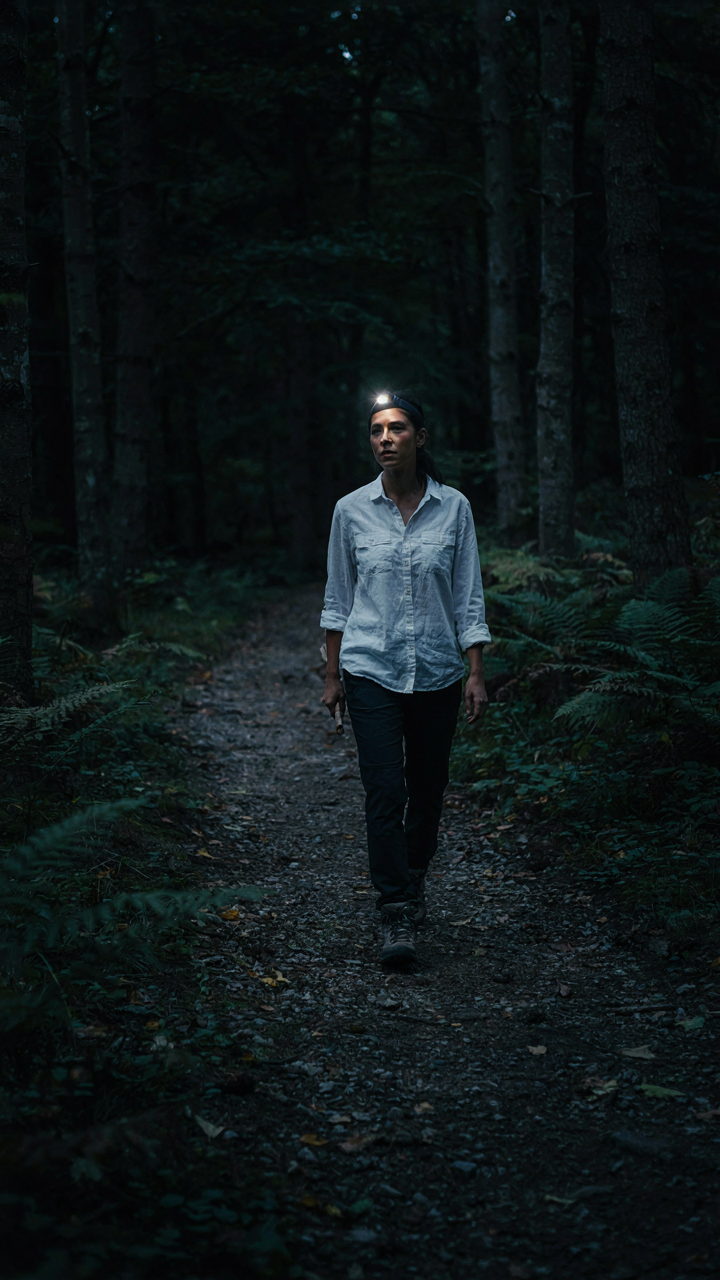
You think brightness solves the problem because you’re measuring camping light like it’s a spec sheet. It isn’t. Biology trumps watts here, and this is where pupil response becomes your actual constraint. Your pupils constrict under intense light, shrinking the aperture of your eye. This means a 1000 lumen headlamp pointed at your face doesn’t give you better vision of the trail ahead—it destroys the rod cells in your peripheral vision that handle low-light navigation. You lose depth perception and context for the exact problem brightness was supposed to solve.
The mechanism is simple: eyes adapt to their dominant light source. Blast yourself with a high-lumen headlamp and your pupils slam shut. Everything outside that beam cone becomes invisible. A 200-400 lumen headlamp lets your pupils stay partially open, keeping your night vision intact while still illuminating the immediate task. Lower lumen output actually expands your usable field of view. The real tell is that experienced campers often dial down brightness after dark and let their eyes adjust for fifteen minutes. That’s not preference. That’s physics.
Battery Drain Against Actual Utility
The common advice says carry a high-lumen light and use it when you need it. That’s incomplete. Brightness scales non-linearly with battery drain—doubling lumens doesn’t double runtime, it cuts it down faster. A 1000 lumen output might give you 3-4 hours on a full charge, while 300 lumens gives you 12-15 hours. Once you hit the woods at night, you’re not grinding that light constantly. You’re moving through camp, checking gear, maybe reading a map. Ninety percent of your nighttime needs fall below 200 lumens.
The protocol: set your headlamp or lantern to the lowest brightness that handles your current task, then leave it there. If you’re navigating terrain, use 150-250 lumens. For camp tasks like cooking or gear sorting, 100-150 lumens works. Keep your reserve output for emergencies, not habit. Conserved battery becomes usable light when your power actually matters.
The Red Light Advantage: Preserving Your Night Perception With Lighting Hacks
How Rhodopsin Actually Works
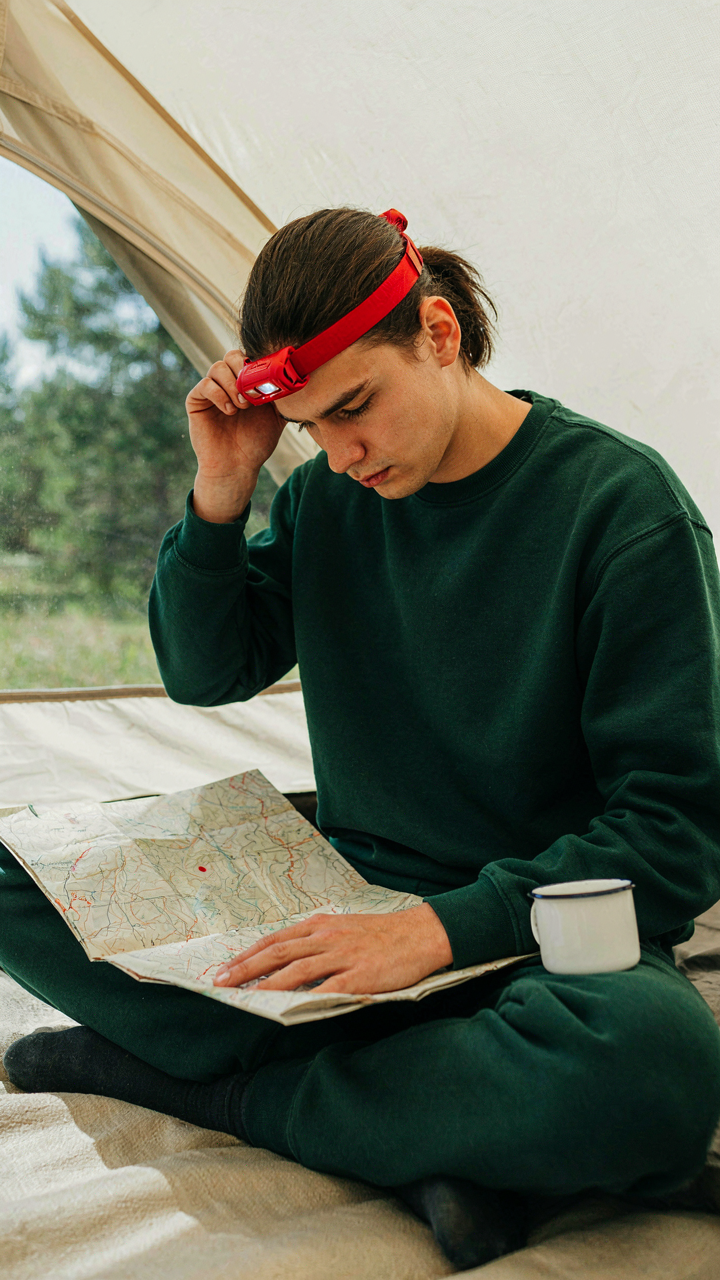
You want red light headlamps because you’re afraid of losing your edge in the dark, and the mechanism that matters is biochemistry, not mystique. Your eye’s rod cells contain a protein called rhodopsin that regenerates in darkness. When blue or white light hits your retina, rhodopsin breaks down instantly. Red light has a longer wavelength that barely stimulates rhodopsin at all, so the protein stays intact and available. This isn’t preference. This is physics applied to human biology.
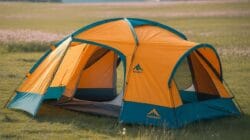
Regenerating rhodopsin takes time. After bright white light exposure, full dark adaptation takes 20 to 30 minutes. Red light cuts that recovery window down to nearly nothing because your rod cells never fully depleted their rhodopsin stores in the first place. The moment you stop using a red light headlamp, your eyes are already night-adapted. You keep the advantage you already had. Switch to white light once, and you start from zero.
Applying Red Light Without Wasting Time
Most camping guides tell you to “use red light to preserve night vision” and stop there. That’s incomplete. The real tactic is wavelength discipline: red light only during navigation and task work that demands seeing. White light remains faster for specific jobs like setting up gear or reading maps, so you’re not actually preserving night vision during those moments anyway. The strategy is choosing which moments matter for adaptation and which ones don’t.
Deploy red light selectively on your headlamp during the hours when you’re moving through camp or doing observation work where dark adaptation gives you a tangible advantage. Once you’re stationary and doing close work at your tent or cooking area, white light is faster and more practical. Then switch back to red when you move out again. The protocol is simple: red for passage and patrol, white for work at a fixed point, then red again when you leave.
The “Halo Effect” Protocol: Optimizing Campsite Lighting Ideas Campsite
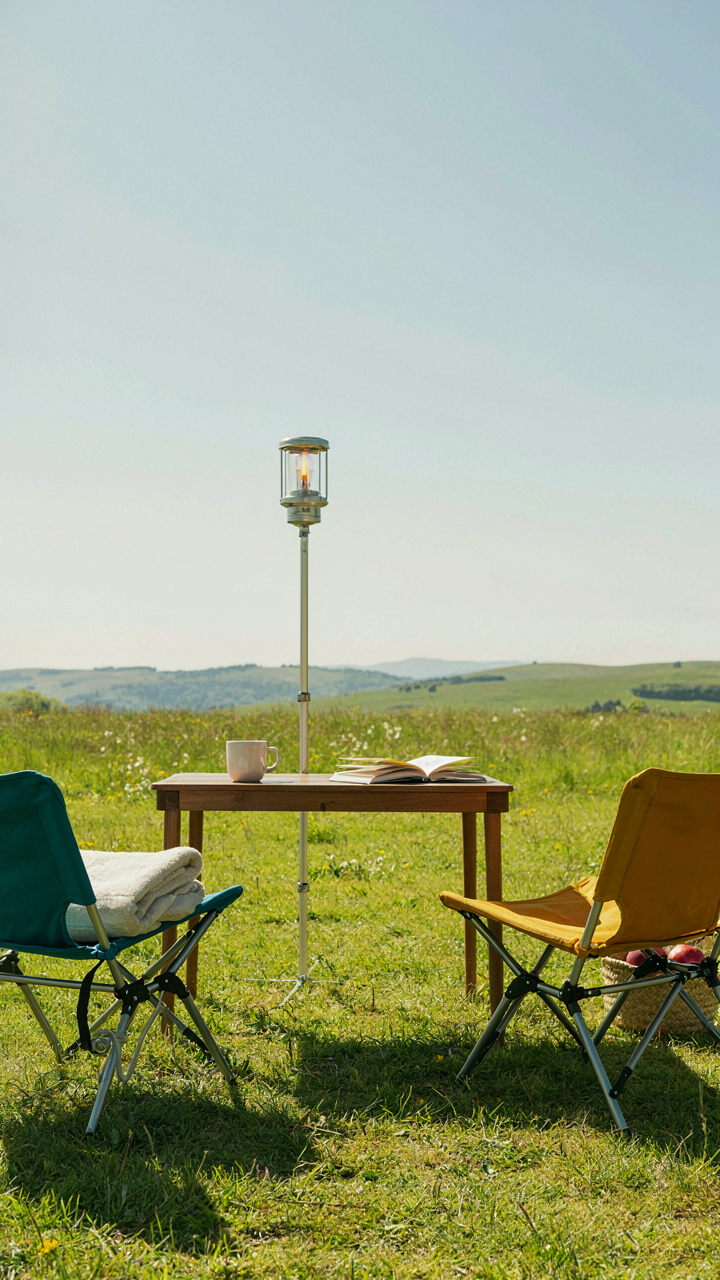
Where You Place Your Main Light Source
You want people to think you’re competent at camping. The mechanism that makes this work is shadow management, borrowed straight from stage lighting design. A single light source creates harsh shadows that make a campsite feel chaotic and unsafe. Position your lantern at chest height, slightly elevated from the center of your gathering space, not on the ground. This kills the long shadows that creep across faces and equipment.
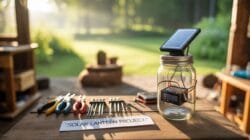
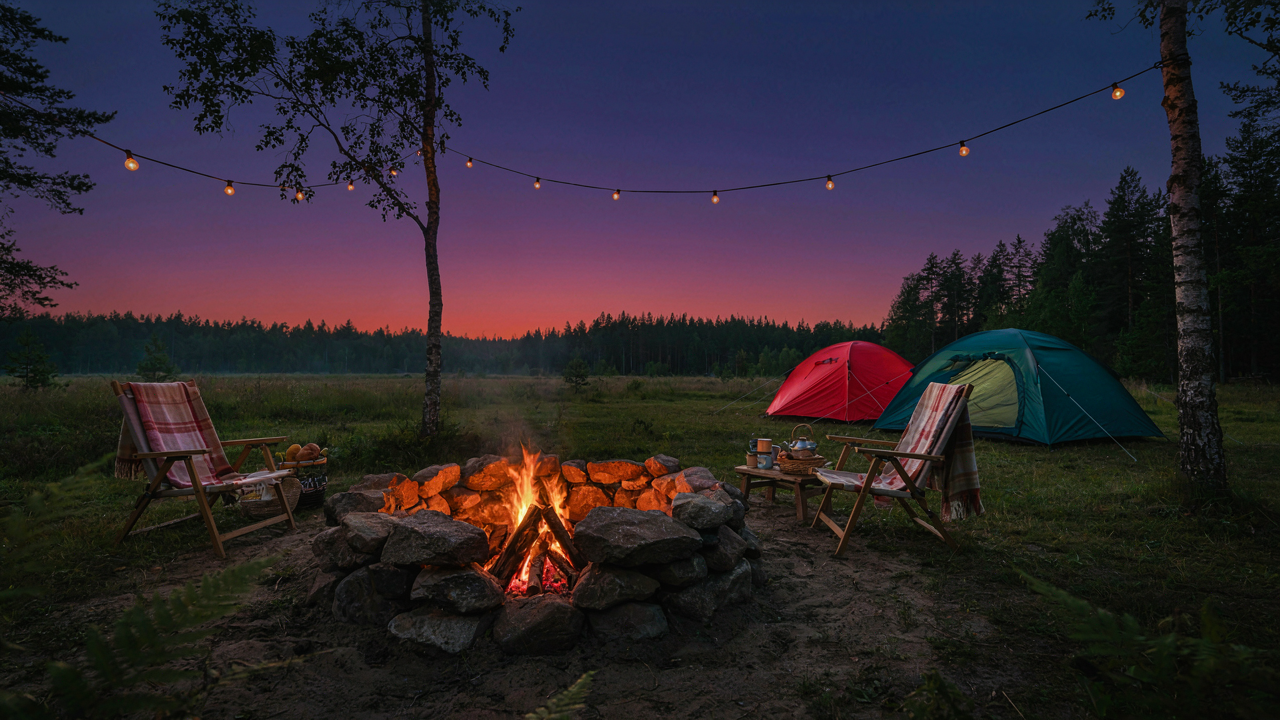
The common mistake is centering light directly overhead on a pole or tree branch. That setup casts shadows downward and creates a flat, washed-out zone. Instead, mount your primary lantern at a slight angle toward where people sit or cook. A 45-degree angle from ground level, roughly five to seven feet high, spreads light evenly across faces and cooking surfaces without creating the tunnel effect that destroys peripheral vision and makes the perimeter feel like a threat.
Defining Space Without Wasting Power On Glare
Perimeter lighting isn’t decoration. It’s a cognitive boundary that tells your brain where safety ends. Most campers make the error of trying to light the entire outer edge uniformly. That creates glare, wastes battery life, and actually makes the darkness beyond the lit zone feel more hostile. You need strategic placement, not coverage.
Place secondary lights at low angles around your site’s actual perimeter, not at eye level. Use headlamps or small LED sources mounted at ground or knee height pointing outward and slightly downward. This marks the boundary without blinding anyone who turns toward it. The darkness beyond becomes a clear perimeter, not an ambiguous gradation. Your brain reads the lit zone as defined territory, which is the actual function of boundary lighting. Orient each perimeter light slightly downward so the beam defines edges rather than projecting into your eyes.
Directional Dominance: Headlamps As Precision Tools, Not Floodlights

Task Lighting With Intent
You want a headlamp so you can move freely without holding a light, and you think that means you need maximum brightness everywhere. Wrong mechanism. A headlamp’s real value is forcing light exactly where your eyes point, which means you stop wasting battery power and attention on areas you don’t need to see. Most campers run their headlamps on full brightness the entire night. That’s like leaving your truck idling in camp all evening.
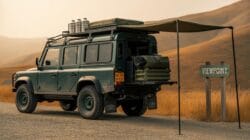
The physics term is beam concentration. Directed light travels farther on less power than diffused light because photons aren’t scattering in useless directions. When you’re reading a map or cooking at your camp stove, a tight focused beam does the work of a floodlight using half the battery. Position your headlamp to hit the task, not the surrounding air. Adjust down from maximum brightness. Start at 30 percent and increase only if you can’t see clearly.
Spot Mode For Precision, Flood For Camp Radius
Common advice says use flood mode for general camp lighting and spot for distance. That’s incomplete. Spot mode has a secondary use almost nobody mentions: it lets you see fine details without the glare that comes from a wide beam hitting your work surface. Flood mode creates wash, which fatigues your eyes faster and burns battery quicker than necessary.
Most modern headlamps have a rotating bezel or button that adjusts beam width on the fly. Use spot mode when you’re handling gear, cooking, or reading. The tight beam concentrates light intensity on a small area without spilling wasted photons outward. Switch to flood only when you need to move through camp and need ambient awareness of obstacles. At the fire or in the tent, stay on spot. The battery difference over a week is measurable.
Ambient Illumination: Lanterns For Mood And Utility In Campsite Lighting
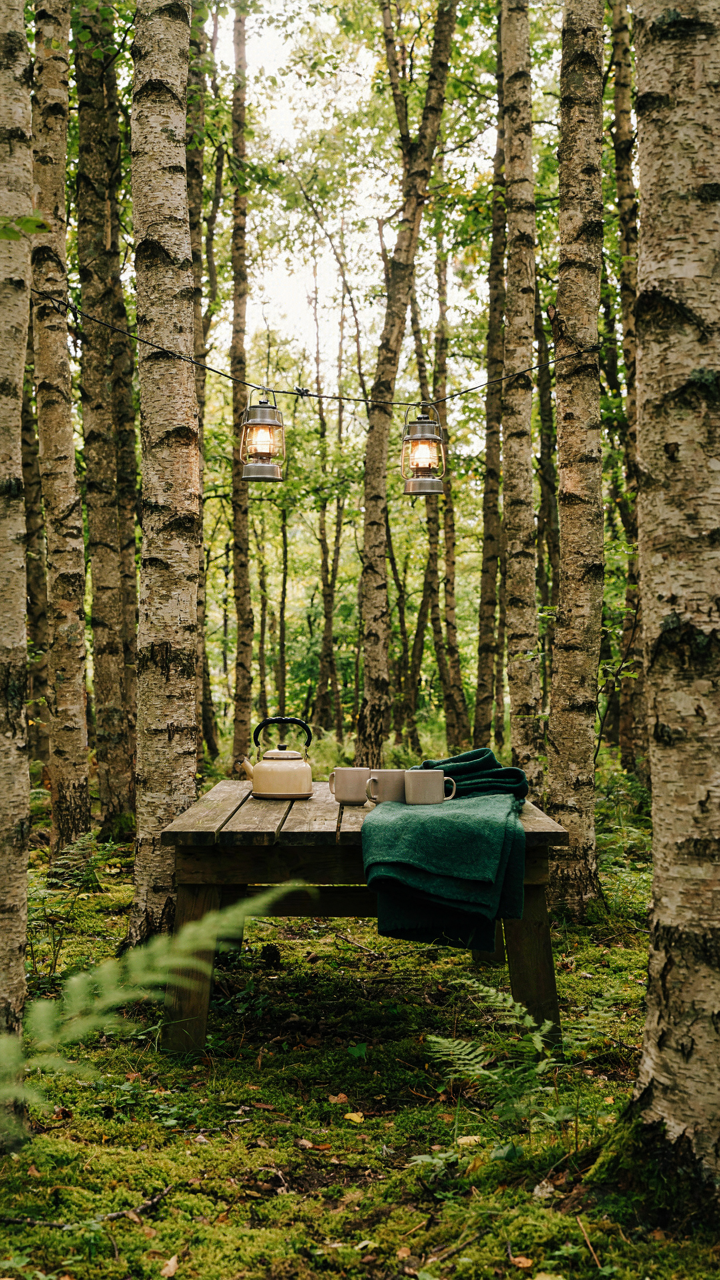
Diffused Light Without The Gimmicks
You want your camp to look intentional, not like you’re fumbling in the dark. The real mechanism here is optics: diffusion spreads photons across a wider area instead of concentrating them, which kills shadows and reduces glare. Most people think “softer light” is about lower brightness. It’s not. It’s about redirecting the beam pattern itself.
A lantern produces omnidirectional light, but the beam concentrates brightest at the source. Wrap frosted or translucent material around the lantern’s exterior and you scatter those photons. The frosted plastic diffusers sold with camping lanterns work. So do thin white fabric layers or even a clean, thin plastic bag. The light output stays the same. The distribution changes. Position the lantern at chest height rather than ground level, and the diffused glow reaches faces without creating stark overhead shadows.
Positioning For Zero Shadows
Hanging a lantern changes everything because elevation removes the single-source shadow problem. In physics, shadow definition depends on the relative size and distance of the light source to your subject. Raise a point light source high enough, and shadows fall behind objects rather than spreading sideways across your camp.
Mount lanterns eight to twelve feet high using rope, a tree branch, or a dedicated camping pole. This height forces light to travel downward at angles that eliminate the cave-like effect of ground-level lighting. The second lantern should hang on the opposite side of camp. This creates two light sources with no dominant direction, flattening contrast and making the entire campsite visible. Test placement before committing. One poorly hung lantern still leaves dead zones.
The “Energy Budget” Method: Sustainable Camping Lights Ideas
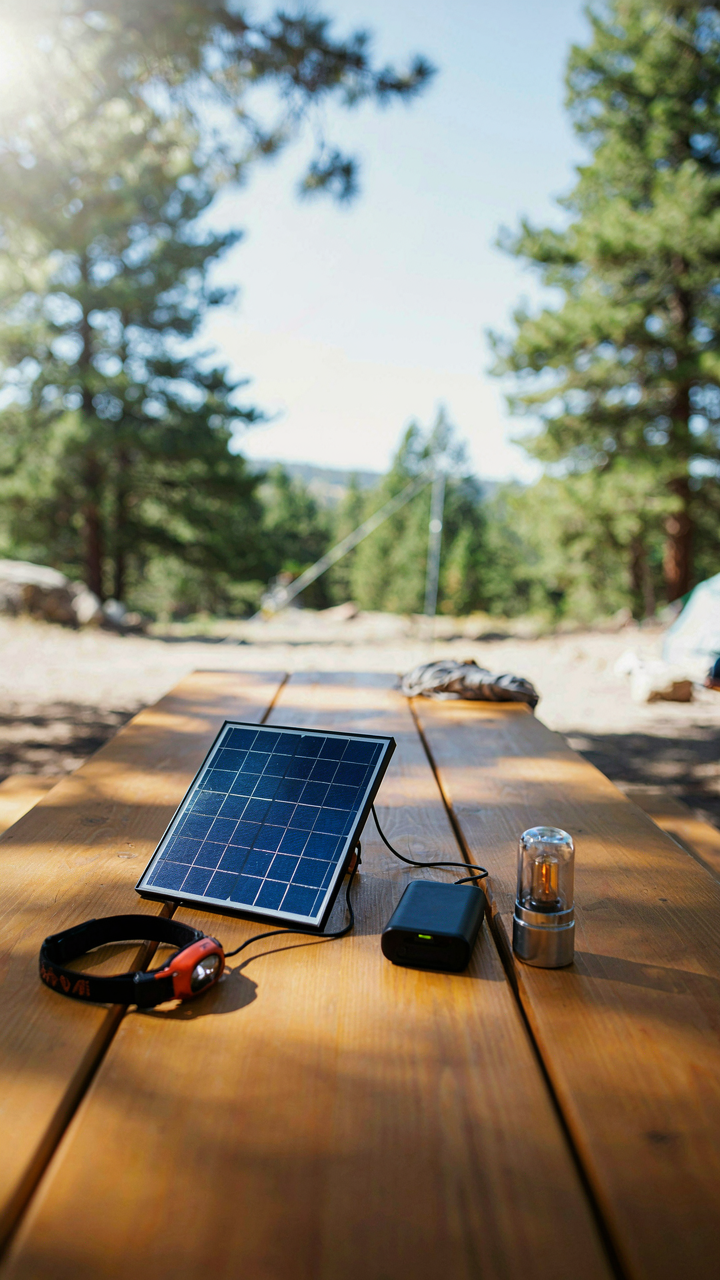
Rank Your Power Sources By Depletion Rate
You want to feel resourceful without actually planning. The mechanism is simple: every power source depletes at a different speed, and you’re betting your trip on picking the wrong one first. Borrow from economics the concept of “capital preservation”—treat your light sources as finite assets ranked by burn rate. Solar chargers demand sunlight and time. Rechargeable batteries hold charge for weeks but drain faster once depleted. Disposables last longest per unit but vanish completely when dead. Stack them in reverse order of importance.
Reverse your mental habit here. Don’t start with disposables as backup. Start with solar as primary, rechargeable as secondary, disposables as last resort only. Solar chargers weigh nothing and work passively during daylight hours—you’re not spending energy to maintain them. Rechargeable headlamps and lanterns give you predictable runtime once charged. Disposables should stay wrapped in your pack, untouched, for genuine emergencies. This ordering keeps your trip running longer without forcing you to choose between light and battery depletion on night five.
Use Light As Currency, Not Comfort
Most people waste light the way they waste money before understanding debt. You buy a headlamp, turn it on whenever dark falls, and wonder why the batteries die three days in. The actual mechanism is attention: light attracts your behavior. The moment you have it, you use it. Instead, establish rules before the trip starts. Light only the task in front of you, not the entire campsite. A headlamp on low brightness illuminates a 10-foot radius perfectly fine for cooking or reading. Full brightness wastes 40 to 60 percent of battery life on ambient glow you don’t need.
Position your light source to work with existing conditions, not against them. Camp near reflective surfaces—a light tarp, a tent wall, a water container—that bounce light back at you without requiring direct beam intensity. Use a lantern on low as a central point source instead of individual headlamps for group activity. Turn everything off during twilight hours when natural light still exists. The rule is simple: activate light the moment you physically need it to see a specific task, then kill it when the task ends. This alone doubles most people’s battery runtime.
Setting Up Your Strategic Campsite Lighting Grid: How To Set Up Campsite Lighting
Three Zones Beat One Bright Light
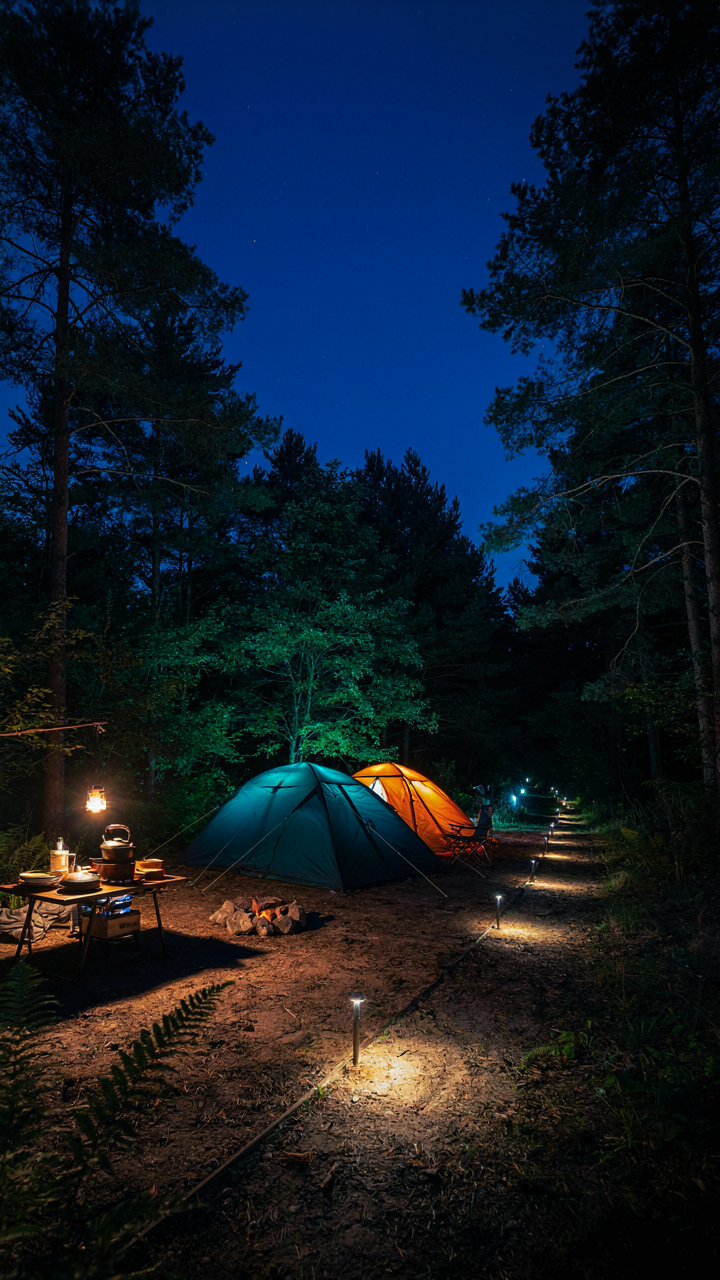
You want to look competent without thinking through the actual work. That’s why most people throw one lantern in the center and call it done. The mechanism is simple: your eye adapts to whatever light level surrounds you, so a single bright source creates harsh shadows everywhere else and kills your night vision the moment you step away from it. Strategic zoning fixes this by matching light intensity to task demands, not vanity.
Divide your site into functional zones based on what happens there. Each zone needs different light output and placement.
- Cooking zone: Requires 200-300 lumens minimum, positioned above eye level to prevent shadows on prep surfaces. Headlamp alone won’t cut it here. A lantern on a stable elevated platform works best.
- Sleeping zone: Needs ambient light only, 20-50 lumens max. Position a low-output light source away from tents to guide people without disrupting sleep. A dimmable lantern works better than a headlamp.
- Social area: Requires 100-150 lumens distributed across the gathering space. Two smaller lights beat one bright one. Multiple angles reduce eye strain during conversation.
- Pathways: Needs minimal lighting, 30-50 lumens, placed low to mark transitions between zones without creating trip hazards. Glow sticks or small clip lights on existing structures work here.
- Perimeter: Optional but tactical. A low-output light at the camp edge helps you see approaching wildlife or people without advertising your exact location to the wider area.
Distance between zones matters more than brightness. If your cooking area is 30 feet from your sleeping area, one light won’t serve both. That distance forces you to choose: either accept poor lighting in one zone or waste battery power lighting a corridor nobody uses.
Corners Create Coverage, Not Brightness
Military strategy calls this triangulation. In lighting terms, it means three light sources at different angles beat one bright source at the center. Your eye needs contrast and depth cues to navigate safely. A single overhead light flattens the terrain and hides obstacles.
Place one headlamp aimed at ground level from the northwest of your site, a lantern on a table toward the southeast, and a third light source (another headlamp or small lantern) positioned low near the northeast. This creates overlapping coverage zones with minimal dead space. You’re not lighting the entire campsite equally. You’re lighting the paths between functional areas and the work surfaces where tasks happen. The gaps between lights don’t matter because nobody works in gaps. Adjust the angle and height of each light based on what needs illumination. A cooking prep surface needs downward light. A pathway needs horizontal light at ankle height. A social sitting area needs light angled down at 45 degrees to avoid glare in people’s eyes.
Beyond The Obvious: Advanced Camping Trip Lighting Ideas
UV Insect Traps Work Because Of Attraction, Not Repulsion
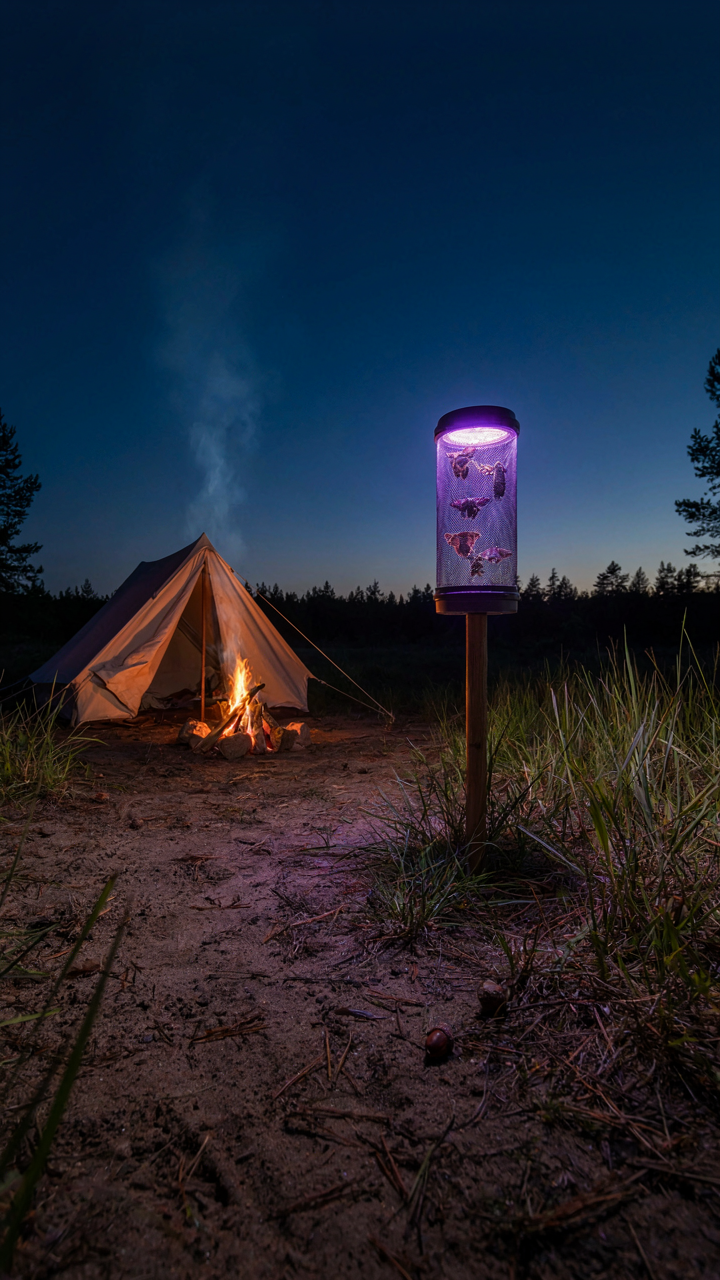
You want the camp perimeter to feel secure without spending all night swatting. Here’s what actually happens: insects navigate by ultraviolet light wavelengths their eyes detect. A UV headlamp or lantern positioned near your site pulls them toward the light source instead of toward you. This is basic animal behavior, not magic. The trap works when you concentrate the UV output away from your sleeping area and cooking zone, creating a decoy that redirects insect traffic.
Most UV camping lights claim they “repel” insects. They don’t. They attract specific insects to a concentrated point. The mechanism is simple: place a UV light 15 to 30 feet downwind from camp, ideally near water or vegetation where insects congregate anyway. Pair it with a sticky trap or electric grid if you want active elimination. Without distance between your camp and the UV source, you’ve just created an insect gathering point directly where you sleep. The light itself becomes the problem.
Mark Routes Without Batteries Or Fail Points
Glow-in-the-dark markers solve a navigation problem that headlamps can’t: they work when your battery dies and don’t drain power on an active search. Phosphorescent markers absorb ambient light during the day or under your headlamp, then emit visible light for four to eight hours depending on the material quality. You’re building a passive wayfinding system that functions independently of your active lighting.
- Trail markers on trees: Paint or tape glow markers at eye level every 20 to 40 feet along your primary walking routes. This creates a visual corridor even in complete darkness without requiring constant headlamp use.
- Tent perimeter identification: Mark the four corners and entrance of your tent with markers so you navigate back without sweeping a headlamp beam that wakes others in the group.
- Water source location: Mark the path to your water collection point with a distinct pattern or color so multiple people can find it independently without asking or using a light.
- Emergency assembly point: Place high-visibility glow markers at your designated meeting spot if the group separates, ensuring people can locate the zone in darkness without verbal communication.
- Hazard identification: Mark tree roots, rocks, or drop-offs that created problems during daylight. Glow markers prevent repeat accidents on night trips to the bathroom or water.
The real advantage emerges during extended outages or equipment failure. You’re not dependent on headlamp batteries or lantern fuel to navigate terrain you’ve already marked. Pre-marking your route before dark means a dead headlamp becomes inconvenient rather than dangerous. Apply markers during setup when visibility is high, not during the trip when you’re already moving in darkness.
The Minimalist’s Manifesto: Outdoor Camping Lighting Tips
One Light Solves More Than You Think
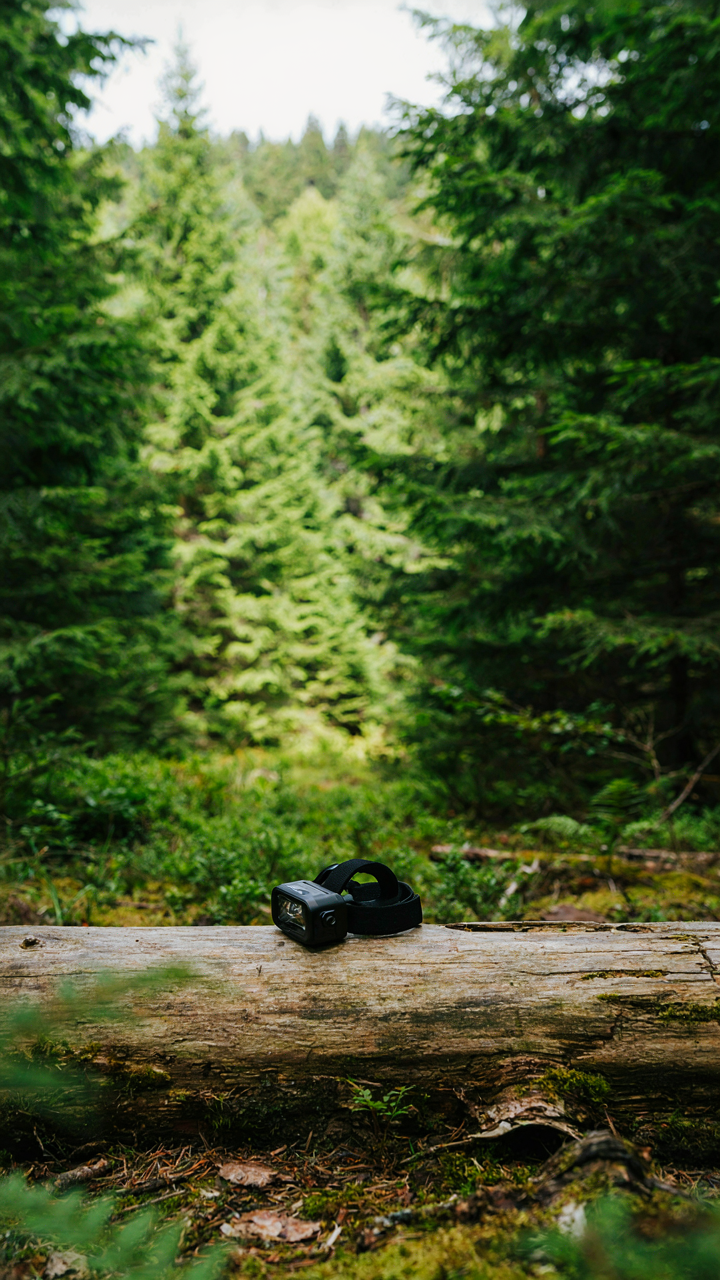
You want to feel prepared without carrying extra weight. The mechanism is constraint. When you own one versatile light source, you stop treating lighting as separate problems and start seeing it as one tool with multiple angles. A headlamp with adjustable brightness becomes your map reader, your cooking assistant, and your night navigation. A lantern with a removable diffuser works as ambient light, a spotlight, and an emergency signal. The limitation forces intentional design instead of redundant gear.
The trick is choosing a light with variable output. Most headlamps run 50 to 500 lumens across modes. A 500-lumen burst destroys your night vision but works for distance. Fifty lumens lights a campsite without waste. Don’t buy a light and ignore its range. Spend a week learning what each brightness level actually does. Then stop buying more lights. The second headlamp in your pack is insurance against poor planning, not actual versatility.
Your Eyes Work Better In Low Light Than You’ve Been Told
Everyone assumes darkness is the problem. It’s not. Your eyes contain two types of cells: cones for bright color vision and rods for low light sensitivity. Rod vision dominates after 20 minutes of darkness. This is pure biology, not mysticism. Your pupils dilate, your retinas adapt, and you see more detail at night than most campers ever discover because they drown themselves in white light.
Embrace darkness as tool, not obstacle. Kill your light for 30 minutes when you arrive at camp. Your eyes will adjust and you’ll navigate by starlight, moonlight, and the memory of your site layout. Use a dim red light for tasks that require it. Red wavelengths don’t trigger the same pupil contraction that white light does, so you preserve your adapted vision. A single red LED headlamp kept at the lowest setting keeps your night vision intact while you handle camp tasks. This isn’t survival theater. It’s how humans worked before batteries existed.
The Real Obstacle Isn’t The Darkness, But Your Untrained Perception Of It
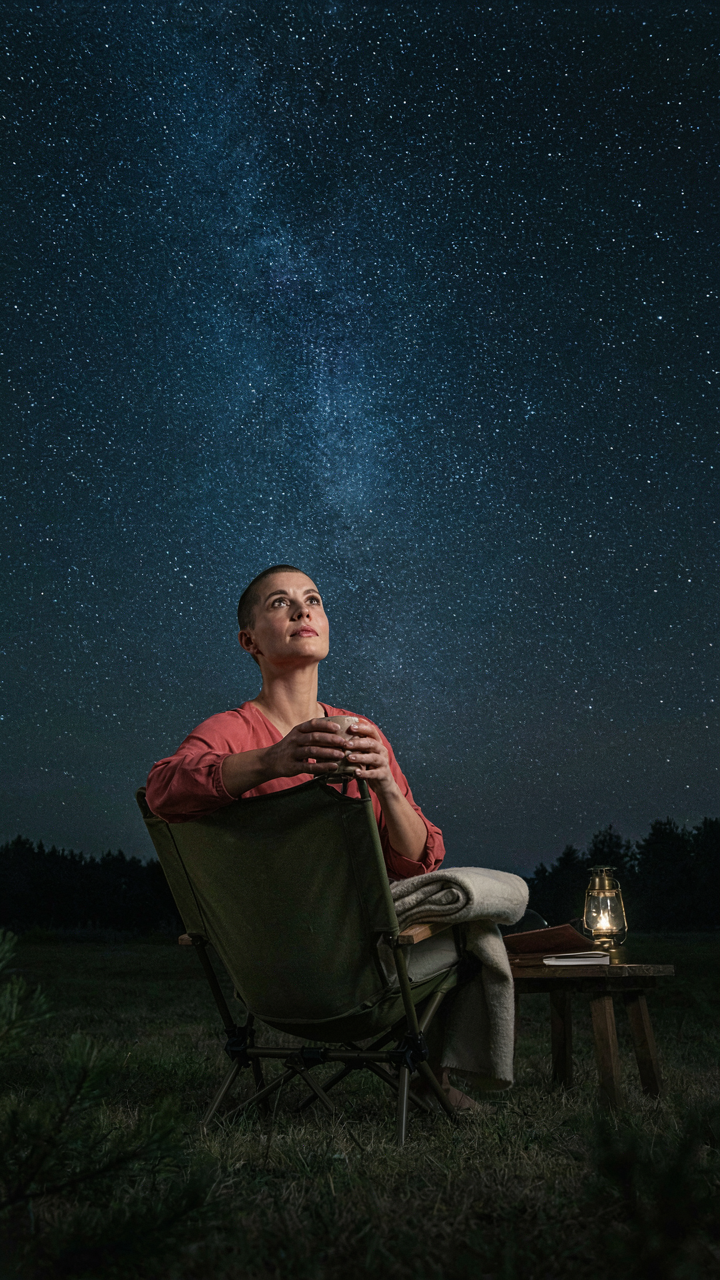
You don’t need better gear. You need to stop treating darkness like an enemy. Most campers waste battery life and money fighting what they should embrace. Your eyes adapt in twenty minutes. Your brain adjusts faster. Tonight, kill your lantern after dinner and sit for thirty minutes without any light source. Notice what you actually see versus what you imagined. This one shift rewires how you camp forever. Darkness isn’t your problem. Resistance to it is.