
The Inverted Pyramid Of Risk: Your Soldering Reality Check
What Everyone Gets Wrong About Solder Fumes
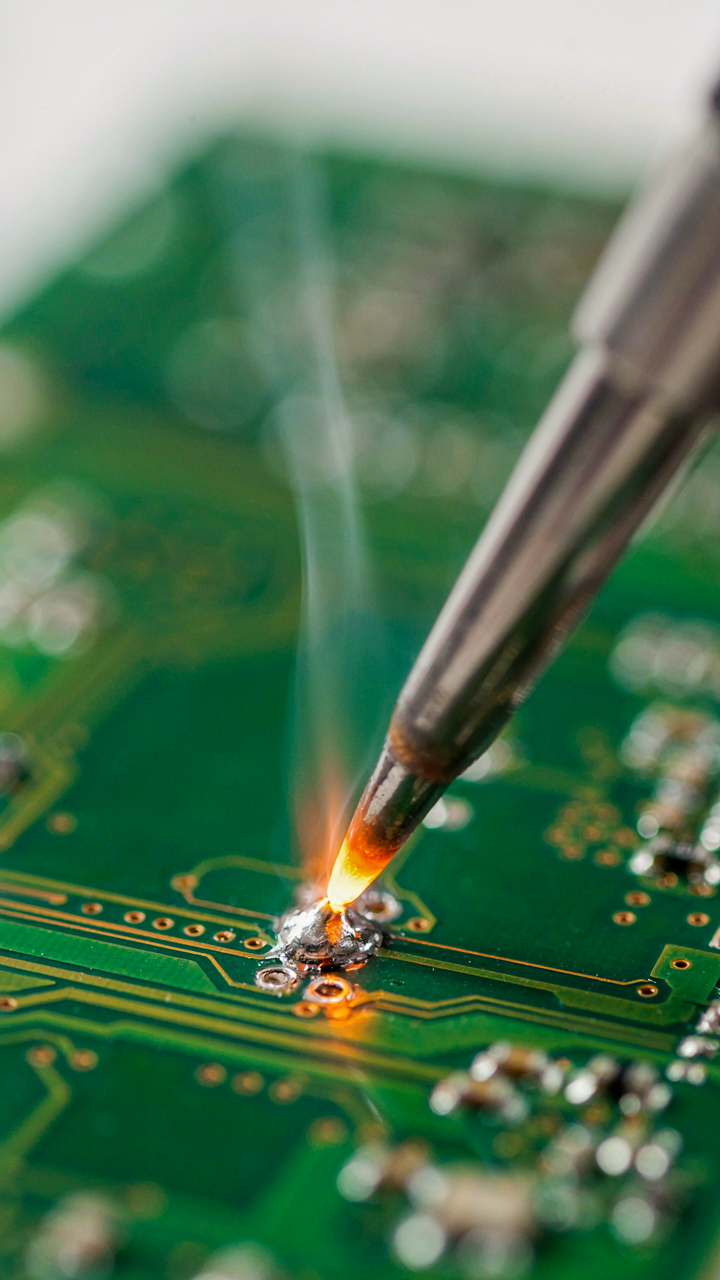
You’re reading this because you’re afraid of looking stupid in front of experienced solderers, so you want the full checklist of dangers to memorize. The real mechanism is simpler: solder fumes are a distraction from what actually damages your work. Lead-free solder produces rosin flux fumes that irritate respiratory tissue, but this discomfort is not your primary threat. Most beginners obsess over fume extraction because it sounds serious and visible, when the actual failure modes happen silently through poor technique.
The consensus advice demands expensive fume extractors and respirators before you even touch an iron. This is wrong. Adequate ventilation means a window open or a small desk fan directing air away from your face. Flux fumes burn your nose and throat as a warning signal, not a lethal poison. You need that signal. Your real enemies are thermal shock to components, cold solder joints from rushed cooling, and burns from careless iron placement. Fix your fundamentals first, then upgrade your extraction if you’re soldering eight hours daily in an enclosed space.
The Silent Failures Nobody Names
In systems thinking, a “hidden hazard” is a risk that operates below the feedback threshold, meaning you don’t feel it until damage is done. Your soldering iron’s temperature regulation is exactly this. Most beginners run irons at maximum heat to speed up joints, believing hotter means faster and safer. This reverses reality. High heat warps circuit board traces, lifts pads from the substrate, and cracks solder joints under thermal stress. You only discover this months later when a board fails in the field.
The mechanism works like this: excessive heat travels through solder into component leads, then into the board. Repeated thermal cycling from hot joints eventually fractures microscopic connections you cannot inspect. Use the lowest temperature that melts solder in under three seconds per joint. This means understanding your specific solder’s melting point, then setting your iron 30 to 50 degrees Celsius above it. Check your iron’s calibration with a thermocouple or temperature probe monthly. Temperature discipline is invisible until it isn’t, and then your project is dead.
Ventilation: The Unseen Killer Of Your Soldering Skills
Fume Extraction: More Than Just A Fan
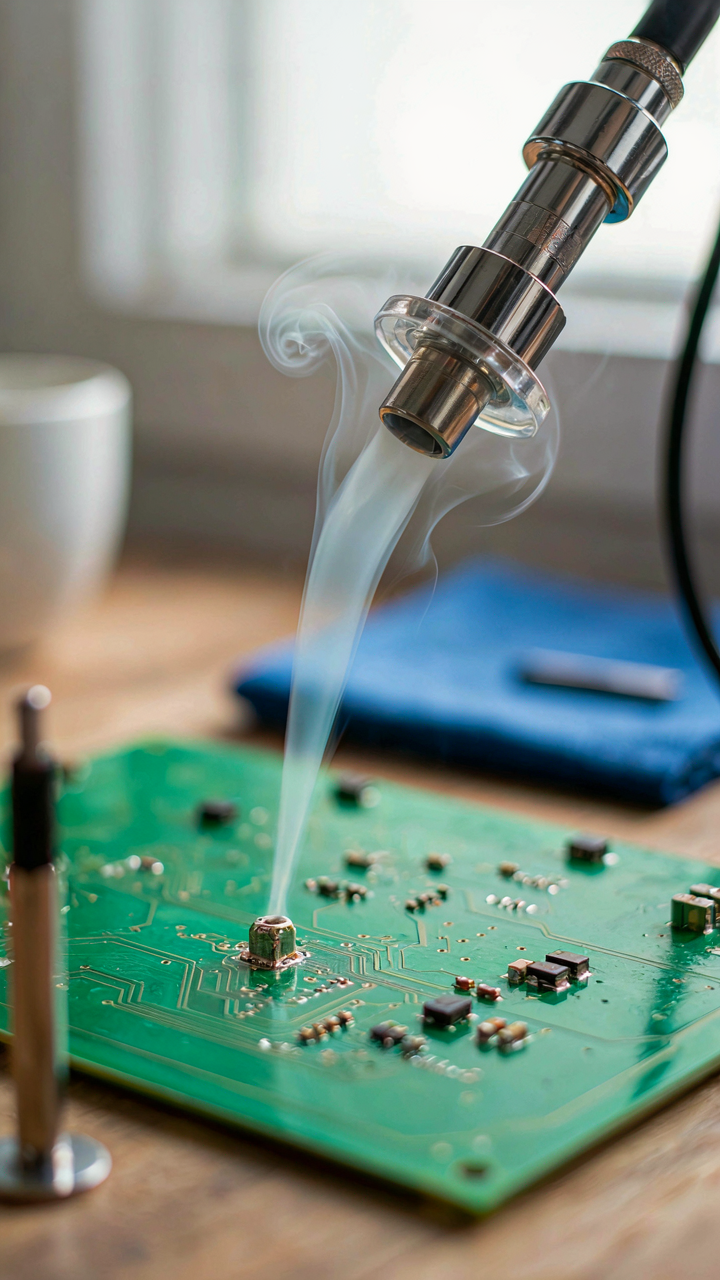
You want to believe a cheap desk fan solves this problem because buying real equipment feels like admitting you’re serious about something that might not stick. It doesn’t. Fume extraction operates on a basic physics principle: capture and containment. Your solder joint produces heated flux that vaporizes. That vapor travels upward and outward in a plume. A passive fan pushes air around the room. An extraction system creates negative pressure at the source, pulling the plume away before it reaches your breathing zone.

The difference matters because breathing flux smoke over months damages lung tissue incrementally. You don’t feel it happening. A proper fume extractor sits close to your work, draws the plume directly into a filter or ducting, and exhausts it outside or through a carbon filter. The capture happens at point of origin, not after the vapor has already traveled through your face. Position matters more than power. A weak extractor placed two inches from your iron beats a strong fan placed two feet away.
Flux Toxicity: Know Your Chemical Adversaries
The standard advice says all flux is “non-toxic.” That’s incomplete and misleading. Flux comes in three main types: rosin-based, no-clean, and lead-free alternatives. Rosin flux, the most common, burns at soldering temperatures and releases colophony resin smoke. When inhaled, it irritates airways and can trigger occupational asthma with repeated exposure. The mechanism is straightforward: heated organic compounds become airborne particles that deposit in your lungs.
No-clean flux produces fewer visible fumes but contains halogenated compounds that break down into acidic residues when heated. Lead-free solders often pair with more aggressive flux formulations to compensate for higher melting temperatures. You need to read the material safety data sheet for your specific solder and flux combination, not assume it’s safe because you bought it at a hobby store. Know what chemical you’re burning, and extract it before it enters your respiratory system.
The Soldering Iron Protocol: Taming The Heat
Temperature Control: Precision Over Brute Force
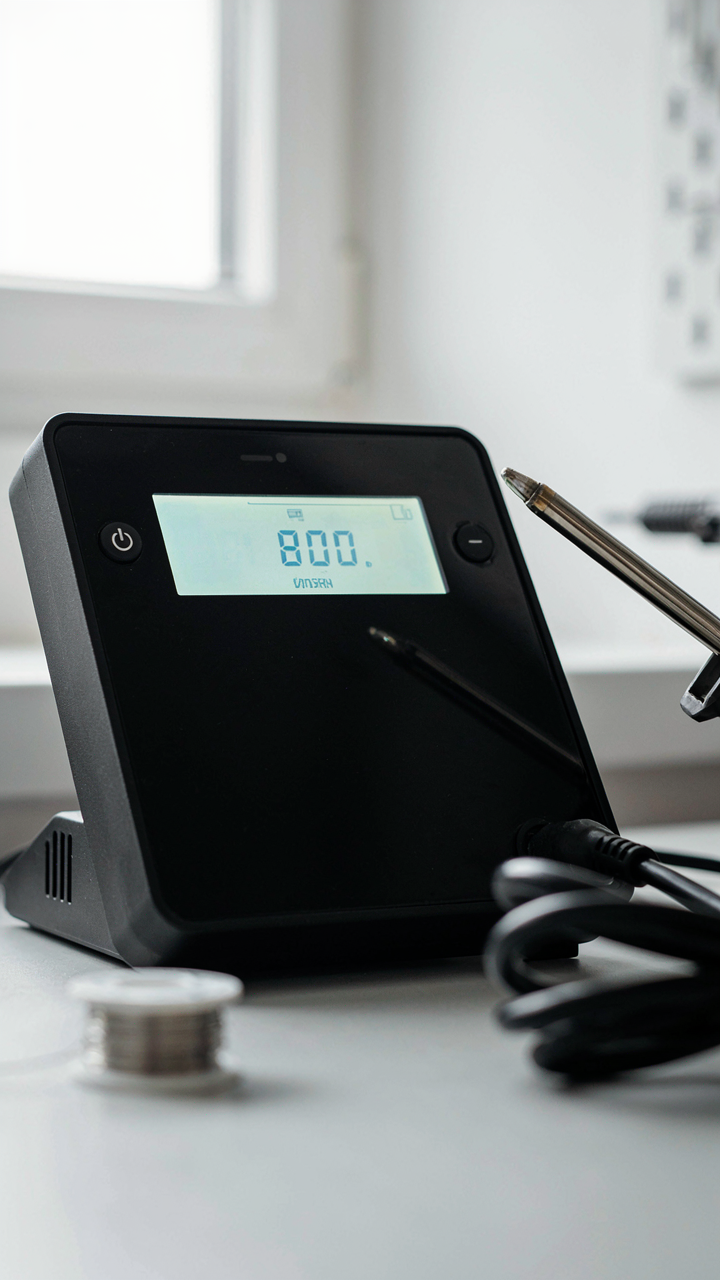
You want to feel like you know what you’re doing with expensive equipment. Here’s what actually matters: temperature control borrows from thermodynamic equilibrium, where the system reaches a stable state. Your iron’s heat output is that state. Too high, and you’re flooding joints with thermal energy that damages components and insulation. Too low, and solder refuses to flow, so you hold the iron longer, which defeats the purpose entirely. Most beginners crank temperature up because they confuse heat with reliability, when the opposite is true.

Select a temperature that melts your specific solder in three to four seconds of contact with the joint. Lead-free solder needs 250-260°C. Lead-based solder works at 230-250°C. Your iron should have a thermostat that maintains this setpoint, not just a dial you guess at. The mechanism is simple: cooler iron with proper thermal mass beats hotter iron with poor contact every time. Set it once, verify it stays consistent, stop adjusting.
Tip Care: Extend Life, Improve Results
The soldering iron tip is consumable, but most people treat it like a tool you just abuse until it dies. Oxidation builds on the copper faster when you run hot, use flux poorly, or let the tip sit bare in air. A clean tip transfers heat efficiently. A dirty or oxidized tip becomes thermally resistant, so you unconsciously reach for higher temperatures to compensate, which accelerates tip degradation further. You’re solving the wrong problem.
Wet the tip on a brass wire cleaner or damp sponge before every joint. Do this after each solder application, not at the start of your session. The cleaning happens between joints, not before you begin. Tin the tip with fresh solder immediately after cleaning, then proceed to your next joint. This prevents oxidation from forming between uses and keeps thermal transfer predictable. A maintained tip lasts months instead of weeks.
Personal Protective Equipment: Beyond The Obvious

Your Eyes Need Physics, Not Fashion
You want PPE to look normal so you don’t feel like an outlier in your workspace. That’s the real concern. But eye protection in soldering is a physics problem, not a style one. The threat isn’t just the bright light from the iron. Solder itself pops. Flux spatters. Wire snaps under tension. All of these travel at speeds your reflexes can’t intercept.

Standard glasses won’t stop a projectile. You need shatter-resistant lenses because the mechanism of injury is impact energy, not penetration. Polycarbonate lenses stop fast-moving debris by absorbing the force across a wider surface area than regular glass. Solder splash at temperature doesn’t penetrate polycarbonate the way it melts through plastic safety glasses. ANSI Z87.1 certification means the lens survived a steel ball drop test. That’s your baseline. Skip anything without it.
Heat Beats Chemistry In Your Hands
The common mistake is treating all hand protection the same. Cotton gloves protect against heat. Nitrile gloves protect against solvents and flux. You cannot use one for both jobs because the failure modes are different. Heat melts nitrile instantly. Solvents absorb through cotton fibers. Use the wrong material and you’ve accelerated the injury you meant to prevent.
Leather welding gloves handle sustained heat well but restrict dexterity for precise soldering work. Kevlar-lined gloves give you heat resistance without the bulk, letting you maintain hand control near the joint. Your dominant hand needs gloves rated for at least 300 degrees Fahrenheit. The non-iron hand can run cooler protection since it handles flux and pre-tinned components. Swap gloves between tasks instead of compromising on a single pair.
The “ESD Shield” Method: Protecting Your Circuit Board

Why Your Board Dies Without Warning
You’re worried about soldering technique when the real threat operates invisibly. Static discharge kills components before your iron even touches the board. Think of ESD like an infiltrator in a security system—it bypasses your defenses because you can’t see the attack happening. A single spark, ungrounded hand, or synthetic fabric brush discharges thousands of volts into a chip. The component fails immediately or degrades silently. Your solder joint looks perfect. The board works for three weeks then fails in the field.

The mechanism is simple: electrons accumulate on your body, your tools, or your workspace. When potential builds high enough, they jump to the nearest conductor, which is often your circuit. Integrated circuits manufactured in the last two decades operate on voltages between 1.5 and 5 volts. A discharge of 30 volts damages most semiconductors. You generate 3,000 to 4,000 volts walking across carpet in winter. The gap between your body voltage and component tolerance is catastrophic.
Ground Your Workspace Into The Earth
Grounding is the core defense. Most advice stops at “use an anti-static mat.” That’s incomplete. The mat alone does nothing if you’re not connected to it. Think of grounding through the physics of electrical potential—a free charge always seeks equilibrium. Your body holds charge. The Earth holds zero reference. The path between them drains your accumulation continuously.
- Wrist Strap Connection: Attach the alligator clip directly to your skin contact point. Run the cord to a grounded point on your workspace or a dedicated ESD ground rail. Test continuity with a multimeter monthly to catch broken wires before they fail.
- Footwear Protocol: Anti-static shoes or ESD-safe floor mats work only if your feet maintain contact. Regular rubber soles block the drain path entirely. Switch to conductive shoes or use a foot strap that connects to ground if you walk between workstations.
- Mat Grounding Path: Your anti-static mat connects through a resistor to ground, not directly. This resistor limits fault current to safe levels while still draining static. Verify the mat’s cord plugs into a properly grounded outlet, not just a power strip.
- Soldering Iron Ground: Your iron should connect to the same ground reference as your workspace. A floating iron generates charge during use. Some irons include grounding through the handle. Confirm continuity from the tip to ground before each session.
- Component Storage: Store chips in anti-static bags or tubes, grounded during removal and installation. The moment you pull a component from packaging, you expose it to discharge risk. Maintain ground contact through the entire handling process until soldering is complete.
Static discharge kills circuits. Grounding eliminates the charge before it builds. Connect your wrist strap to earth ground, verify the connection holds continuity, and test it before every soldering session. The strap prevents accumulation. The mat absorbs any charge that builds despite the strap. The iron stays grounded to match your potential. Without all three, you’re gambling with every component on the board.
Workspace Discipline: More Than Just Cleanliness
Clutter Kills Focus And Safety
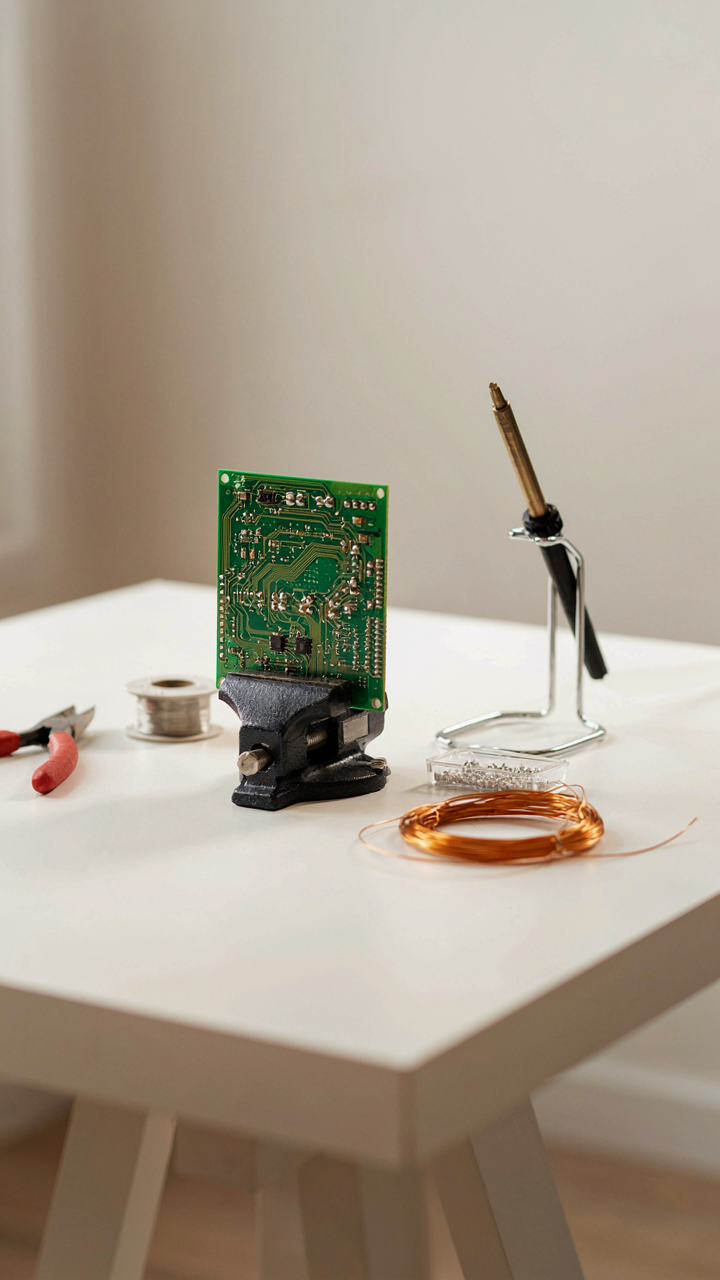
You think a messy bench doesn’t matter because you’re “just soldering a few boards.” That’s denial dressed as pragmatism. Clutter erodes attention, and attention is the only real barrier between your iron and your skin. Loose components, tangled wire, and scattered tools force your brain to navigate obstacles instead of managing heat and timing. The mechanism is simple: cognitive load increases, situational awareness drops, accidents happen in the gap.

A chaotic workspace also creates fire risk nobody mentions openly. Solder scraps, flux residue, and debris near your iron become fuel. More critically, you can’t see what’s under your work surface. A stray component touching a heated iron or nearby solder pot starts fires that spread because you’re too busy searching for tools to notice them. Spend ten minutes before each session clearing your bench completely. Nothing near the iron except what you’re actively soldering.
Spatial Arrangement As Operating System
The military calls this “station design,” and the principle transfers directly: position tools so your dominant hand reaches them without crossing your body or breaking eye contact with the joint. Most beginners reverse this. They cluster everything in front of them, forcing awkward reaches that destabilize the iron or knock over flux. Your solder spool, wet sponge, and desoldering pump should form a triangle around your work, not a pile.
Heat source placement matters more than people admit. Your soldering iron should sit in a holder positioned to the side, never behind your work area. If it’s behind you, you’ll rotate into it or grab blindly. Position the holder so the iron tip points away from your body and the handle remains within one-second reach. This single layout choice prevents most contact burns. Create this system once and never deviate from it.
Fire Safety: The Unspoken Truth Of Soldering

What Actually Burns Around Your Iron
You’re reading this because you want to feel in control, and fire is the one thing soldering makes you feel you can’t. The mechanism is simple: solder itself doesn’t burn. What burns is everything nearby. Your workspace holds fuel you don’t notice until it’s too late. Paper, cardboard, plastic, cloth, wood dust, flux residue buildup, and anything synthetic ignite around 300 to 400 degrees Celsius. Your soldering iron tip runs at 350 to 450 degrees. Do the math.

Most people think “don’t put flammable stuff near the iron” and leave it there. That’s incomplete. You need systematic elimination. Scan your workspace right now. Remove every scrap of paper, every cardboard box holding components, every plastic organizer within 12 inches of your iron. Push your soldering station to the center of a clear desk. Cloth work mats, old T-shirts used as rags, cardboard solder spools—gone. The iron doesn’t have to touch something to ignite it. Radiant heat does the work.
Fire Extinguishing Protocols
The common advice here is broken: people tell you to keep water nearby. Water on molten metal and a live electrical iron is how you get explosions, not safety. You need specific tools because different soldering fires behave differently. Most happen when flux residue or nearby materials ignite, not the solder itself. These are Class A fires (ordinary combustibles). Your approach must match the fire type, not your instinct.
- Class A dry powder extinguisher: Covers most soldering workshop fires. Keeps molten solder contained and cools the surrounding area without electrical hazard. Keep one within arm’s reach, never in a drawer.
- Soldering mat with fire rating: Ceramic or aramid fiber mats rated to 1000+ degrees Celsius prevent heat transfer to your work surface. Replace when visibly damaged or discolored from repeated thermal stress.
- Brass sponge or wet natural sponge: Cools the iron tip and removes flux buildup that can carbonize and smolder. Wet sponges work; they don’t conduct electricity like metal does.
- Fireproof work surface: Stainless steel or ceramic tile under your station eliminates the most common ignition point. Wood and plastic desks are fuel. Swap them out.
- Ventilation hood or exhaust fan: Removes flux fumes that accumulate and increase fire risk. Proper air movement also prevents heat buildup that radiates to nearby materials.
When fire starts, your first move is kill the iron’s power. Pull the plug or flip the switch. Then deploy the extinguisher on the fire source, not the iron itself. Never use water. Never use sand on an active electrical iron. Call emergency services if the fire spreads beyond your immediate station. The protocol is: power down, extinguish, evacuate if needed, call for help.
Material Science: Understanding Soldering Components Diagram
The Lead Question: Why It Actually Matters
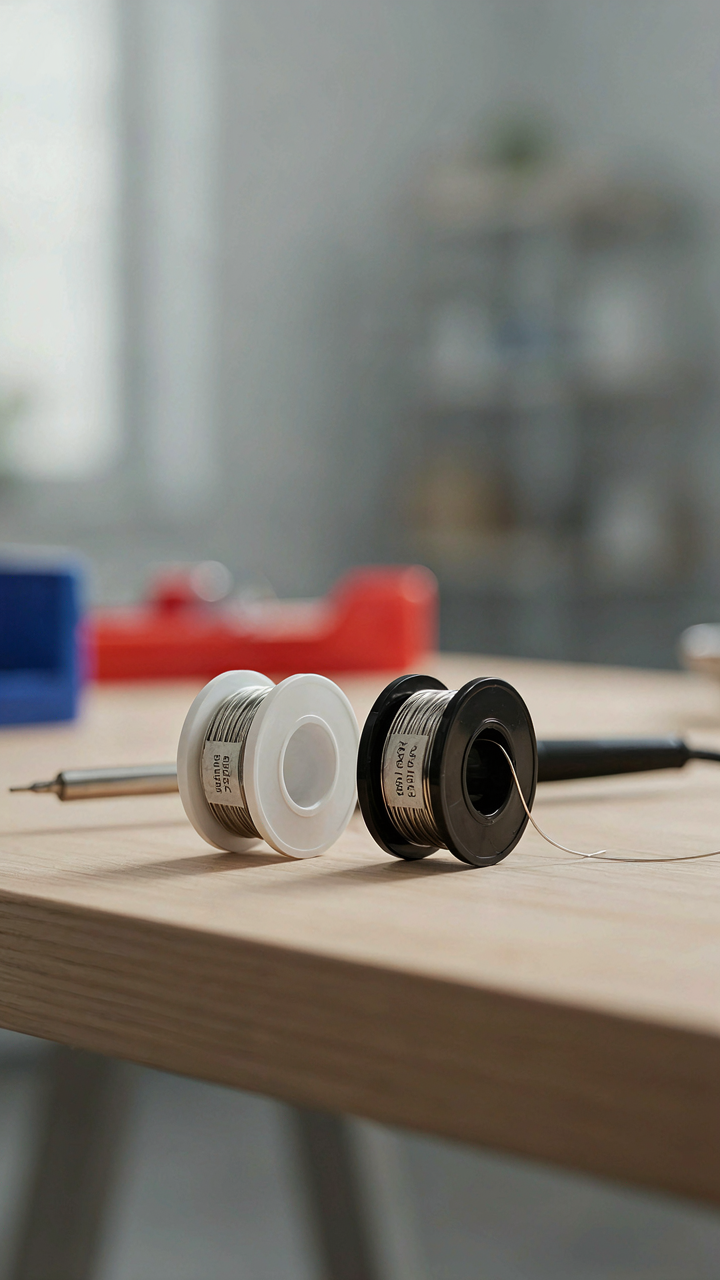
You want to feel like you’re making the responsible choice. That’s the real reason you’re reading about lead versus lead-free. Here’s what nobody tells you: this isn’t about morality. It’s about chemistry. Lead melts at 327°C. Lead-free solder melts between 217–227°C. That temperature gap changes everything about how the joint forms, how fast it cools, and what failures you’ll actually encounter in the field.

Lead solder wets faster, flows smoother, and creates stronger joints at lower temperatures. Lead-free solder requires hotter irons, longer heating times, and creates brittle joints if you rush the process. The mechanism is simple: lead solder has lower surface tension and better flowability. Your beginner iron probably maxes out around 350–400°C. With lead solder, you’re comfortable. With lead-free, you’re at the edge of what your equipment can handle. Pick the one that matches your gear, not your guilt.
Flux Types: Matching The Chemistry
Flux is a reducing agent in chemical terms, and like any reducing agent, it works by removing oxygen that prevents solder from bonding to metal. Three flux types exist: rosin-based, water-soluble, and no-clean. Rosin flux leaves a brown residue that doesn’t conduct electricity and doesn’t corrode the joint. Water-soluble flux dissolves in water but requires cleaning afterward or it will attract moisture and cause corrosion over time. No-clean flux leaves minimal residue and assumes you won’t clean it, which works only if the joint is already clean and the application is low-stress.
Most beginners use rosin-core solder because the flux is built in. This is correct. The rosin activates when heated, clears the oxide layer, and then stops working as the joint cools. The residue is inert. If your PCB will face humidity or high temperatures, clean the residue with isopropyl alcohol and a brush after the joint cools. If you’re soldering in a dry environment and the board won’t see thermal cycling, the residue stays put and causes no problems. Match your flux to your environment and your cleanup discipline, not to what sounds safer.
Post Soldering Protocol: The Clean Up Conundrum

Removing Residue Before It Removes Your Joints
You care about this section because you don’t want to redo work. The mechanism is simple: flux residue left on boards doesn’t just sit there. It’s hygroscopic—it pulls moisture from air into the solder joint, creating electrochemical corrosion that degrades conductivity over weeks or months. That’s not a maybe. That’s chemistry.

Clean joints while they’re still warm, within minutes of soldering. Use a brass wire brush or damp natural bristle brush, never steel wool. Steel wool leaves ferrous particles that accelerate corrosion on copper traces. Isopropyl alcohol works, but desoldering braid soaked in flux remover works faster. The goal is removing all flux residue completely—not just most of it. Partial cleaning is worse than no cleaning because trapped flux underneath continues corroding invisibly.
Handling Waste Without Creating Problems
Environmental responsibility isn’t virtue signaling here—it’s a legal liability you’re sidestepping. Spent solder, flux residue, and cleaning solvents contain lead, tin, and chemical compounds that damage groundwater. You’re not just disposing of garbage; you’re preventing soil and water contamination that affects your area for decades.
Collect all scrap solder in a designated container. Never pour spent isopropyl alcohol down the drain. Let it evaporate in a well-ventilated area in a metal or glass container, then dispose of the dried residue as hazardous waste. Contact your local waste facility for electronic waste collection days. Most communities require proper e-waste handling. Keeping a labeled container for solder scraps, spent tips, and chemical waste takes five minutes to set up and prevents fines plus the actual harm.
Beyond Soldering Safety Tips: Mastering Your Environment

Stay Current Or Become The Cautionary Tale
You want to know this section exists because you’re afraid you’re already doing something wrong and nobody told you. That fear is the mechanism at work. Safety knowledge doesn’t age well. Soldering flux formulations change. Equipment manufacturers update designs. Lead-free solder behaves differently than leaded solder under heat stress. Your first setup taught you baseline habits, but baseline habits from five years ago are now incomplete. The moment you stop updating your understanding is the moment you become a liability to yourself.
The real cost of stagnation isn’t dramatic. It’s subtle. You miss the shift toward lead-free solder’s higher melting temperatures, which changes your iron tip oxidation rate and flux performance. You don’t learn that newer ventilation standards exist because regulatory bodies updated exposure thresholds. You keep using the same brass sponge method when wet natural sponges introduce condensation that degrades solder joints. Small gaps compound. Find one person in your field doing this work at a professional level and ask them what changed in their practice in the last two years. Their answer is your curriculum.
Spot The Hazard Before It Spots You
Military strategists call this “threat surface mapping”—identifying vulnerabilities before they become incidents. Your soldering station has a threat surface you’ve never formally catalogued. Most beginners treat safety as a checklist they complete once, then ignore. That’s backwards. Every time you solder, your environment changes. Temperature fluctuations affect ventilation efficiency. Solder splatter patterns shift based on iron temperature and joint geometry. Your hand positioning drifts over sessions as fatigue sets in. These aren’t edge cases. They’re the normal operating conditions you need to actively monitor.
Start with a monthly environmental audit. Check your ventilation system’s suction force with a simple tissue test at the extraction point—it should pull consistently. Inspect your work surface for old flux residue buildup, which becomes conductive and creates unexpected current paths. Verify your iron’s tip temperature with an actual thermocouple, not guesswork. Test your fume extractor’s filter status by measuring airflow reduction compared to baseline. The protocol is simple: measure something, record it, establish a baseline, then track deviation. When airflow drops 15 percent from baseline, change the filter before you need to.
The Only True Risk Is Mistaking Compliance For Competence
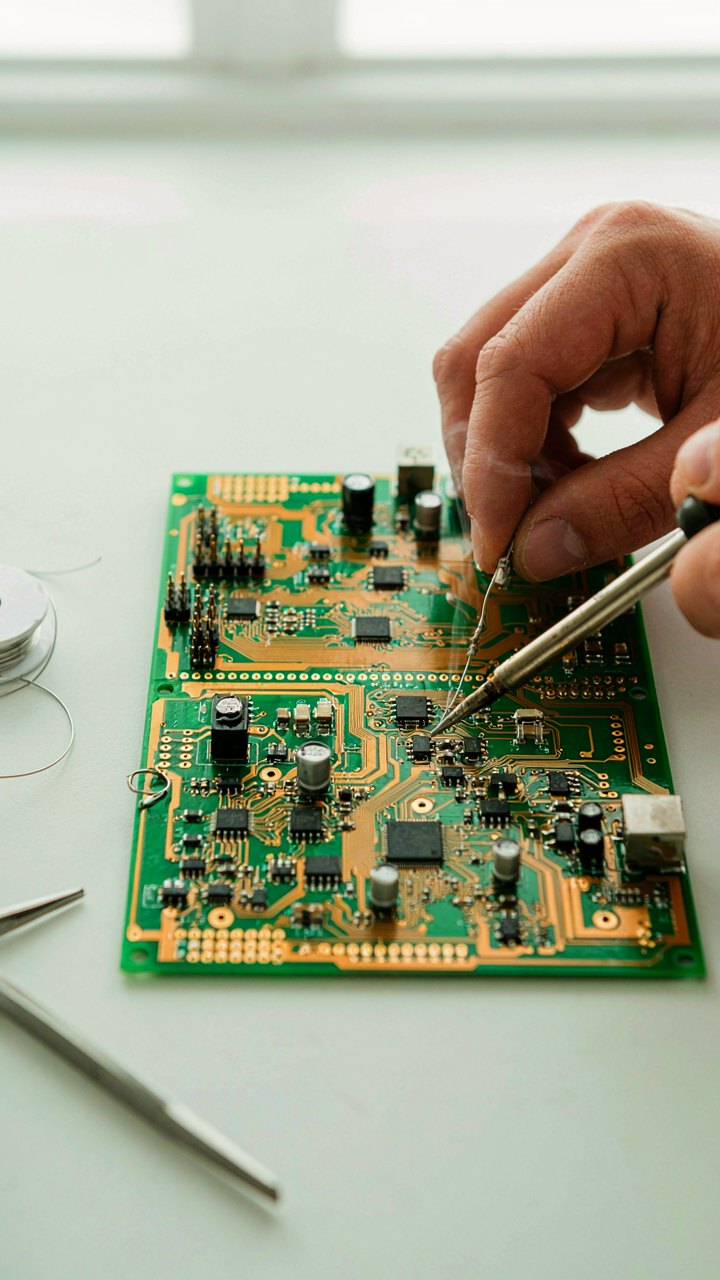
Most beginners memorize safety rules and think they’re protected. They’re not. Competence lives in your hands, not in your knowledge. Read the solder specs for your iron today. Actually read them. The gap between knowing fume extraction exists and building the habit of using it is where accidents happen. Safety isn’t what you know. Safety is what you do when nobody’s watching.



